Ceramic Tiles and Raw TiO2 Mix -- deja vu all over again?

Hope all had a nice Christmas and New Year holiday!

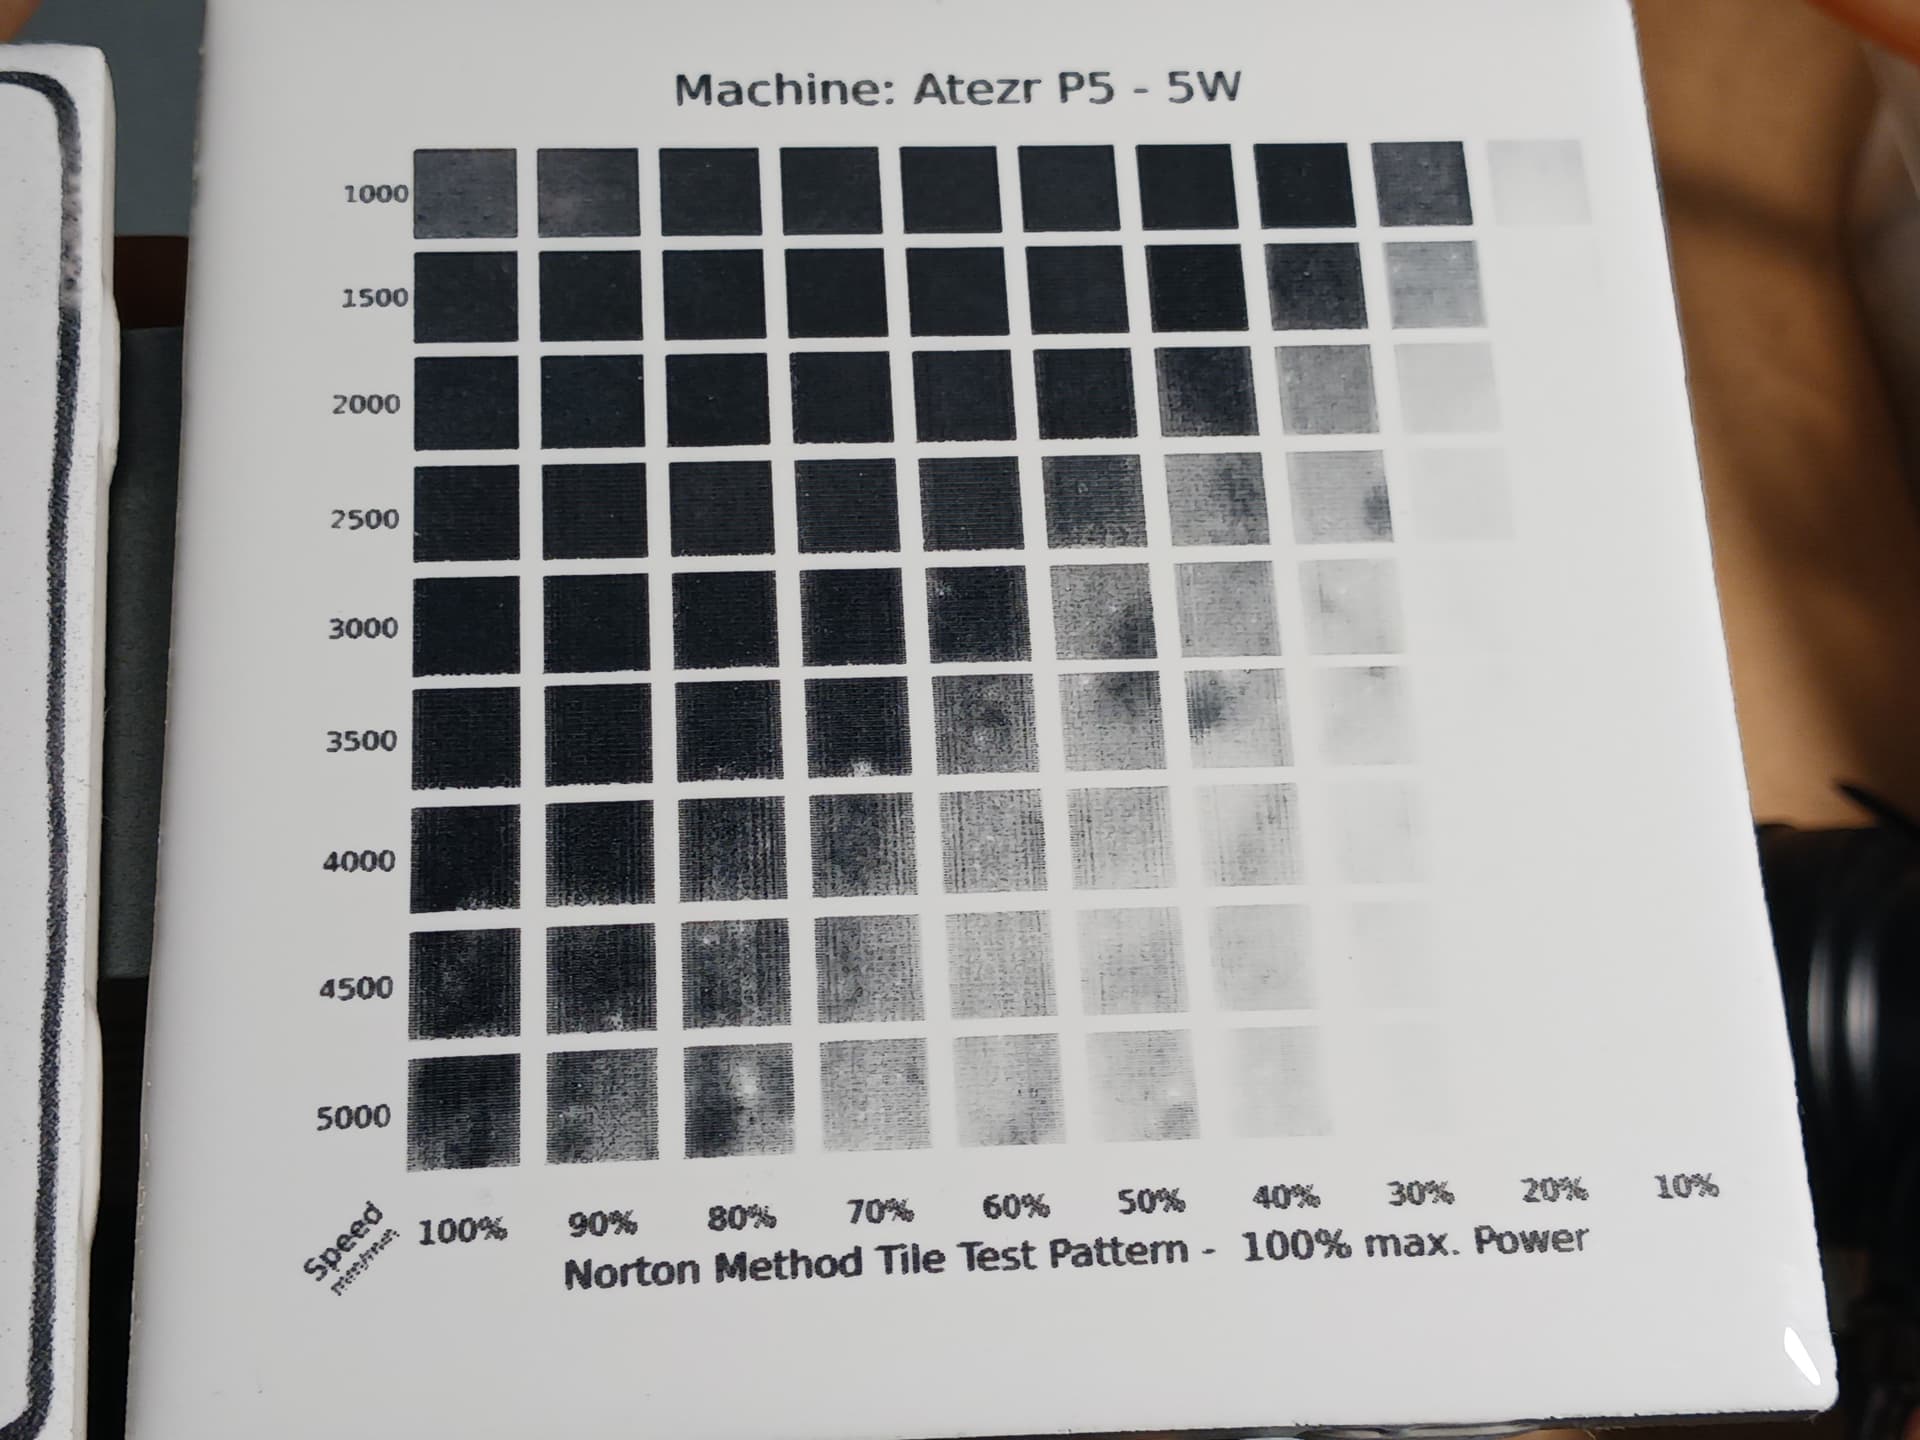
A few days ago, I saw a more recent ceramic tile YT video, where a raw TiO2 powder mix was brushed on the tile before lasering. His recipe seemed simple enough and his results were outstanding. He was also able to run his 10W laser at much higher speeds than I’d seen before… 5000 mm/min and 45% power vs. the 1500 mm/min and 100% power I’ve always used with my little 2.3W Banggood laser setup.

I also recently gave my little 2.3W Banggood laser setup to my son, as he’s started doing tiles as well. So during the holiday sales, Atezr put some refurbished laser engravers on sale and I was able to snag a P5 (same as my P20 20W unit but only 5W laser output) for just $139. More powerful than the 2.3W unit I had, for sure… but the spot size was advertised to be just 0.06mm x 0.06mm and I thought it might make a good candidate for ceramic tile engraving.

So I painted a few tiles with my trusty Krylon flat-white spray paint and started testing my new setup. The detail seemed good enough but I was less than impressed with the gray (not black), washed out look of the engraving… and left questioning whether the cool weather or phase of the moon had something to do with it.

The guy in the video said he attributed the gray to too little TiO2 in the paint however… and it sounded reasonable so I decided to give the TiO2 powder method another chance.

Having all the necessary ingredients already on hand from prior efforts, I was able to quickly mix up a jar of “TiO2 paint” following his recipe. By volume… three parts water, one part Elmer’s school glue, one part TiO2 powder, and a few drops of food coloring. And far less mess than I’ve made in previous attempts.

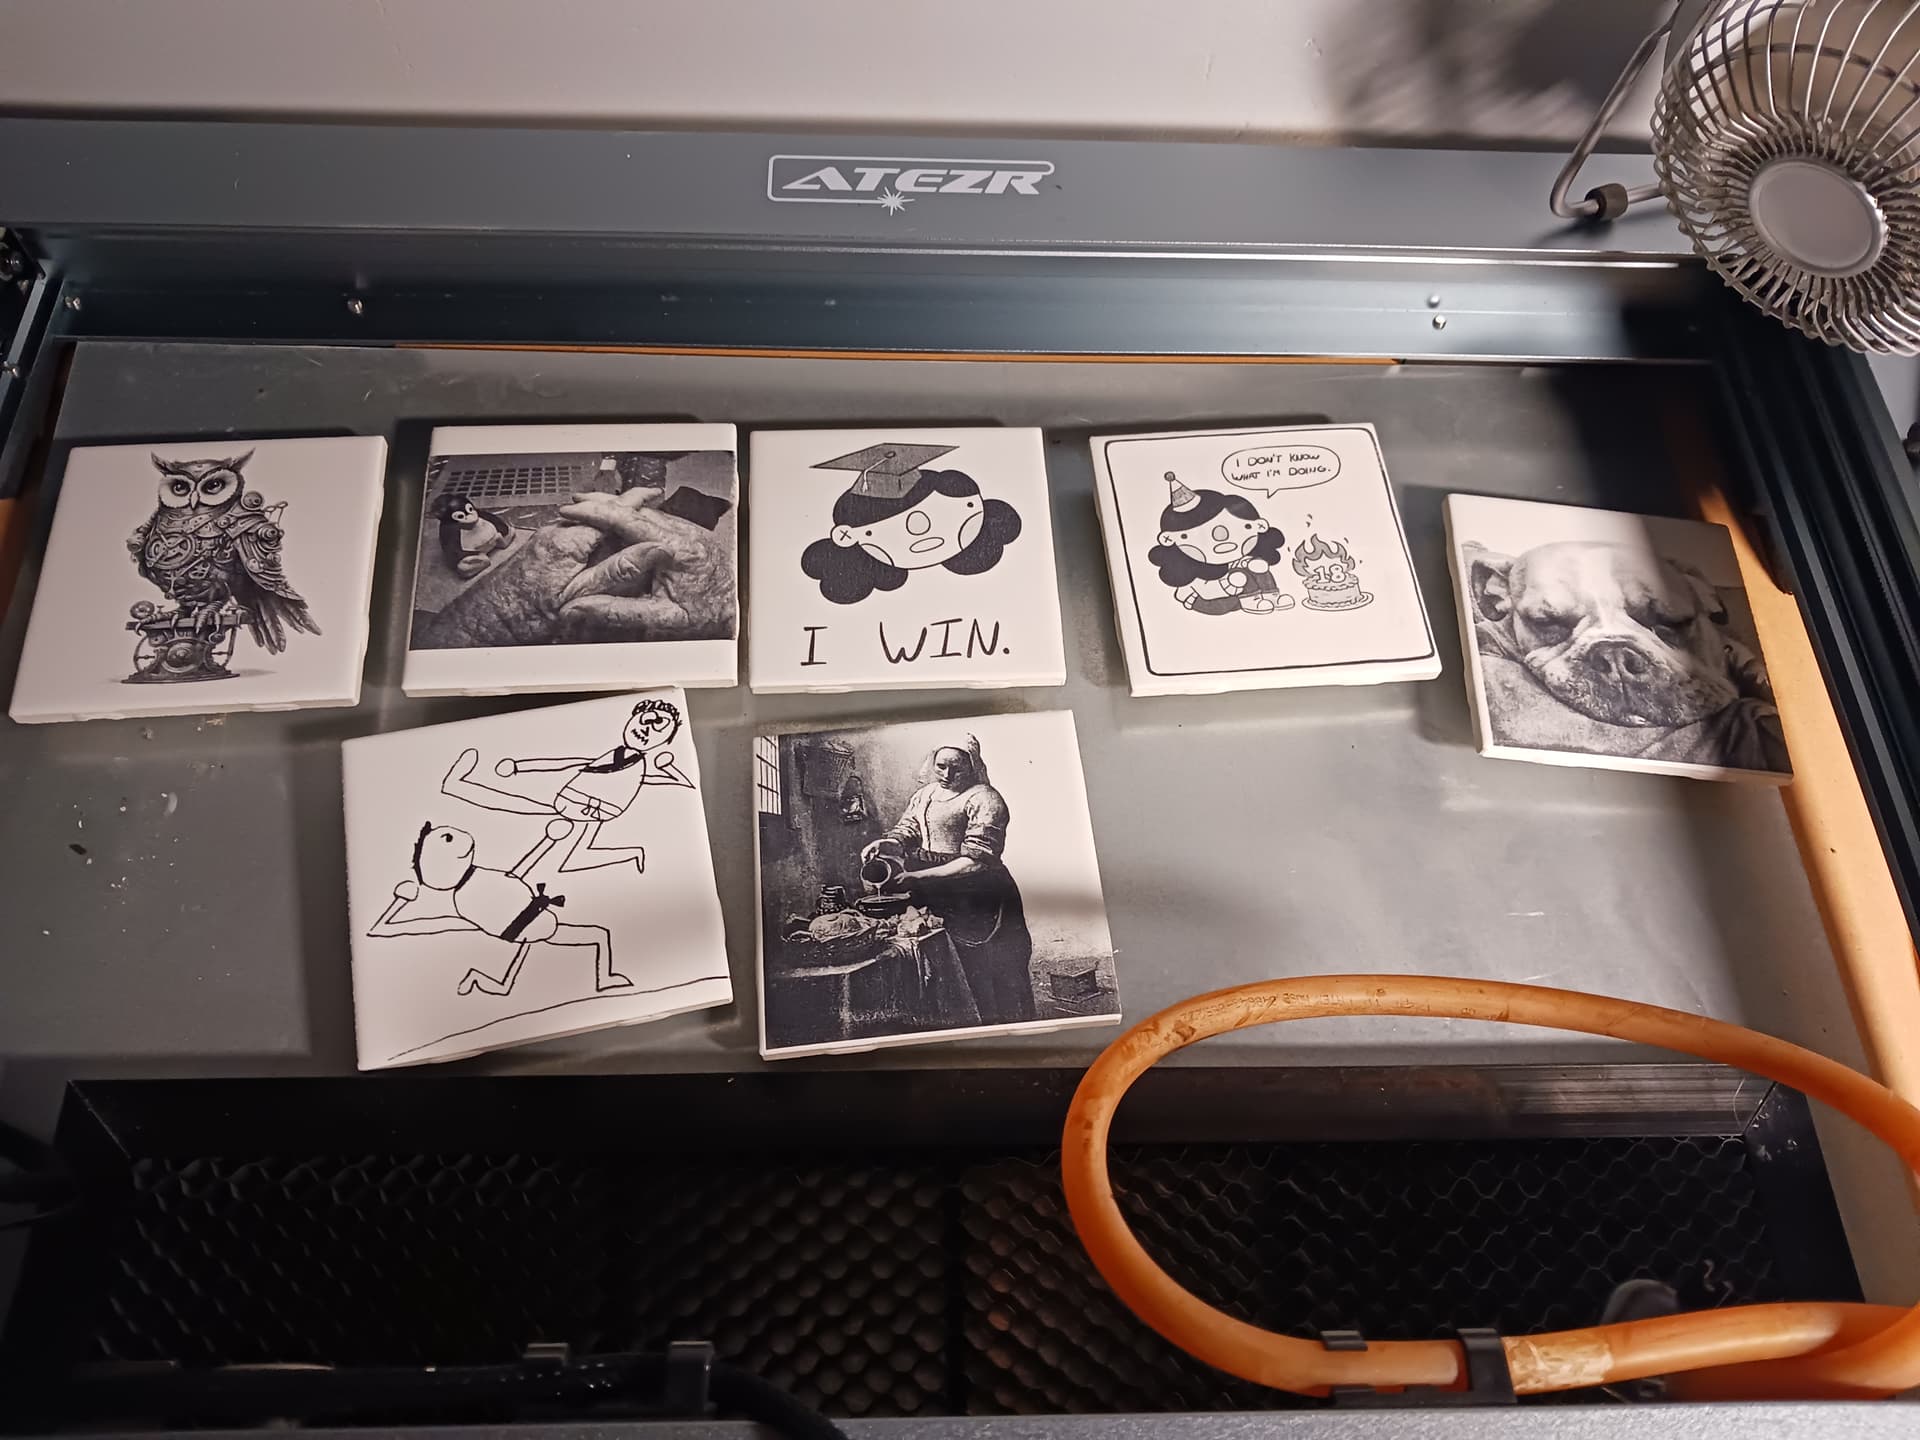
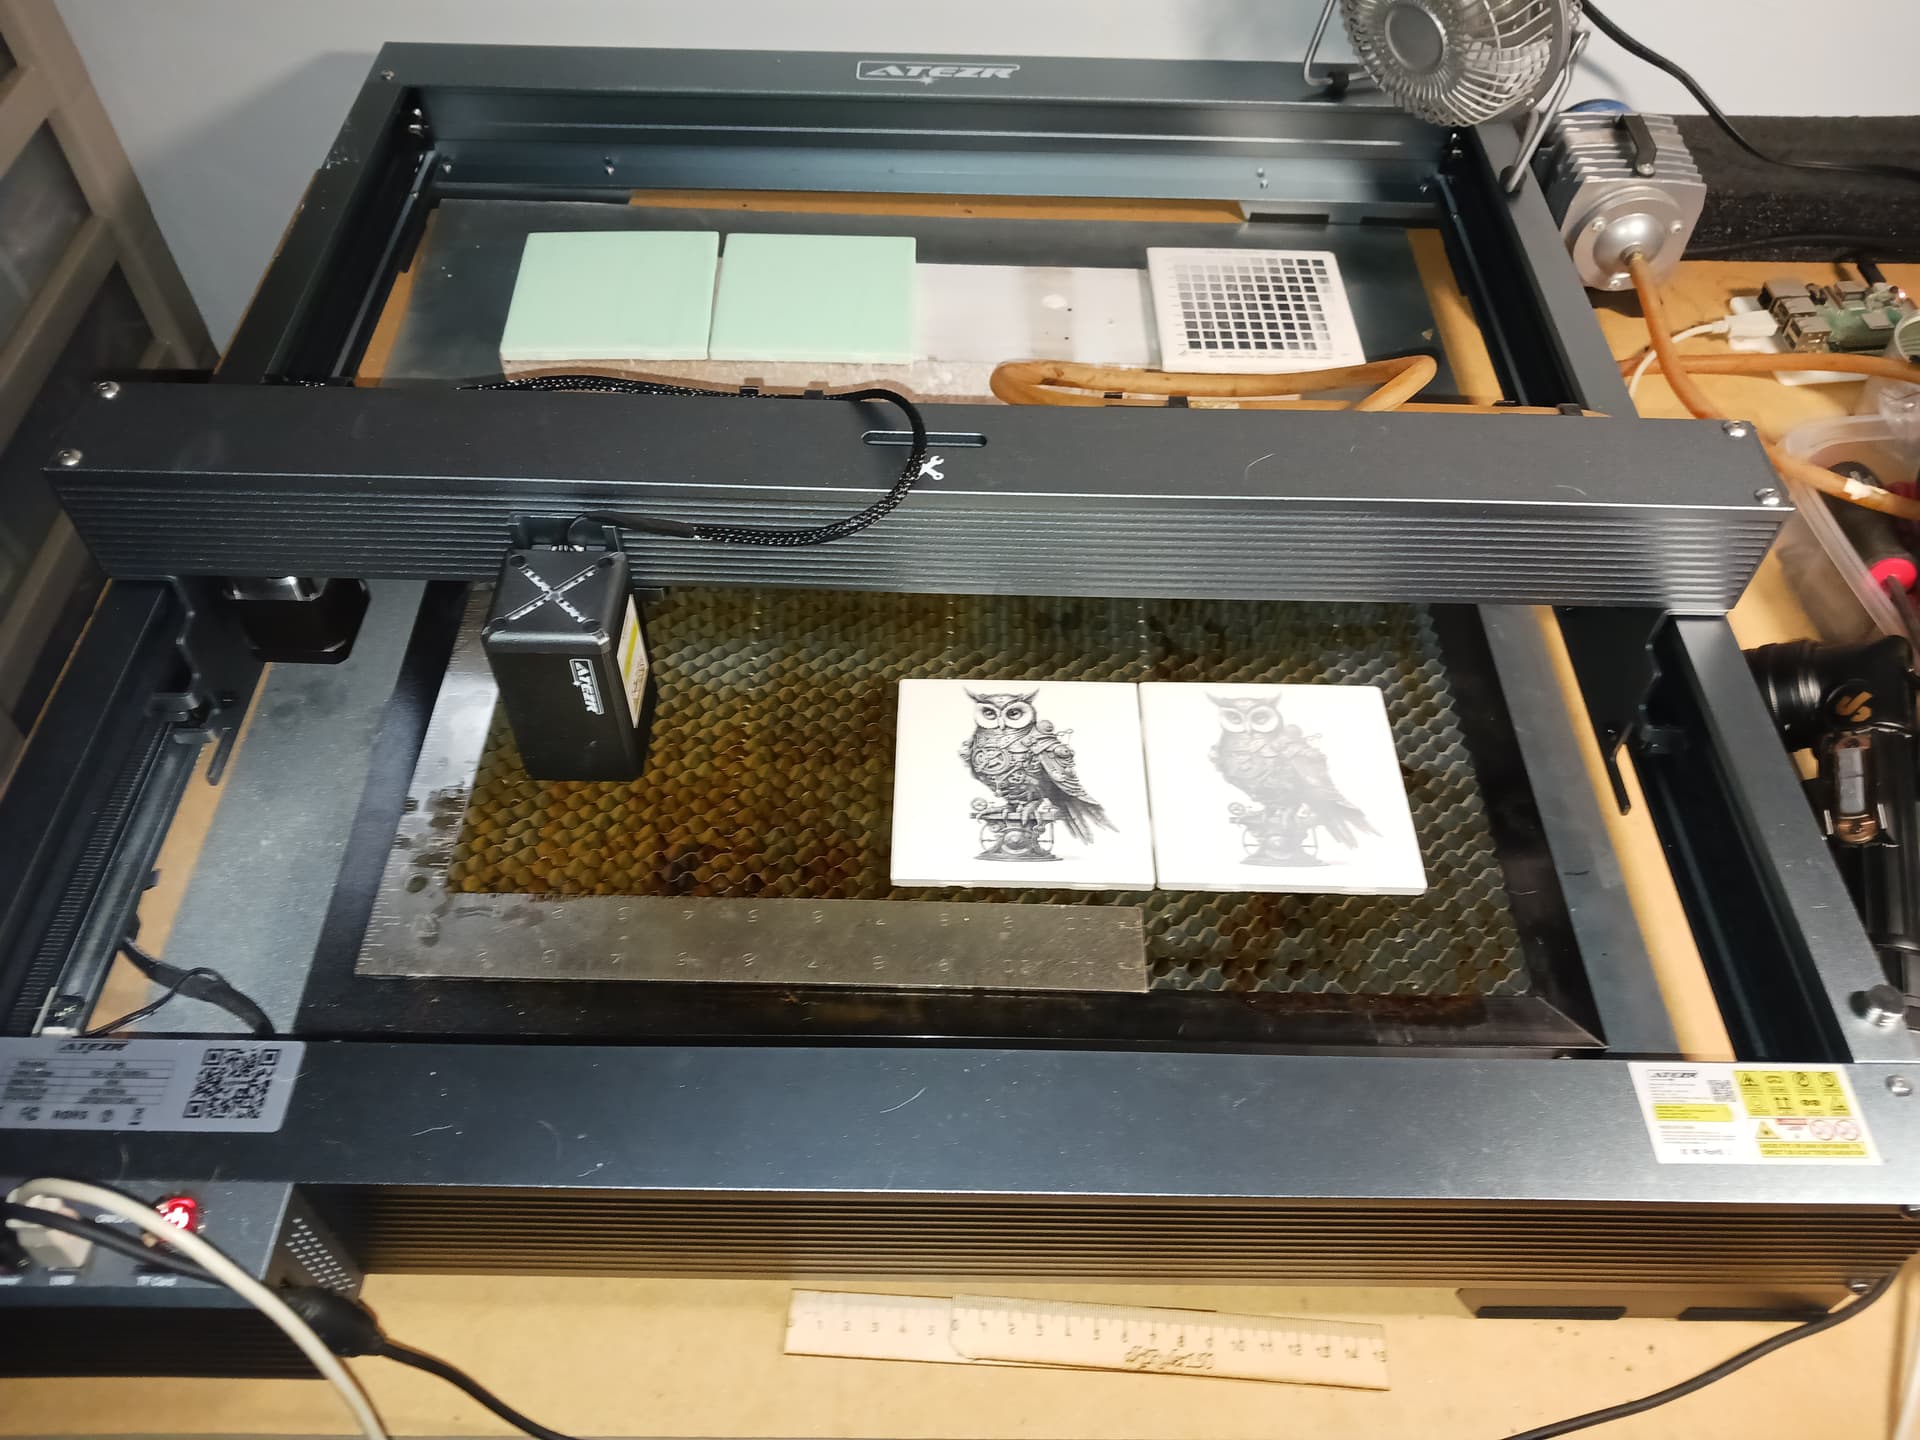
First things first, I did a test tile to see if my new Atezr 5W laser could run substantially faster… and give better blacks. Indeed, it could!

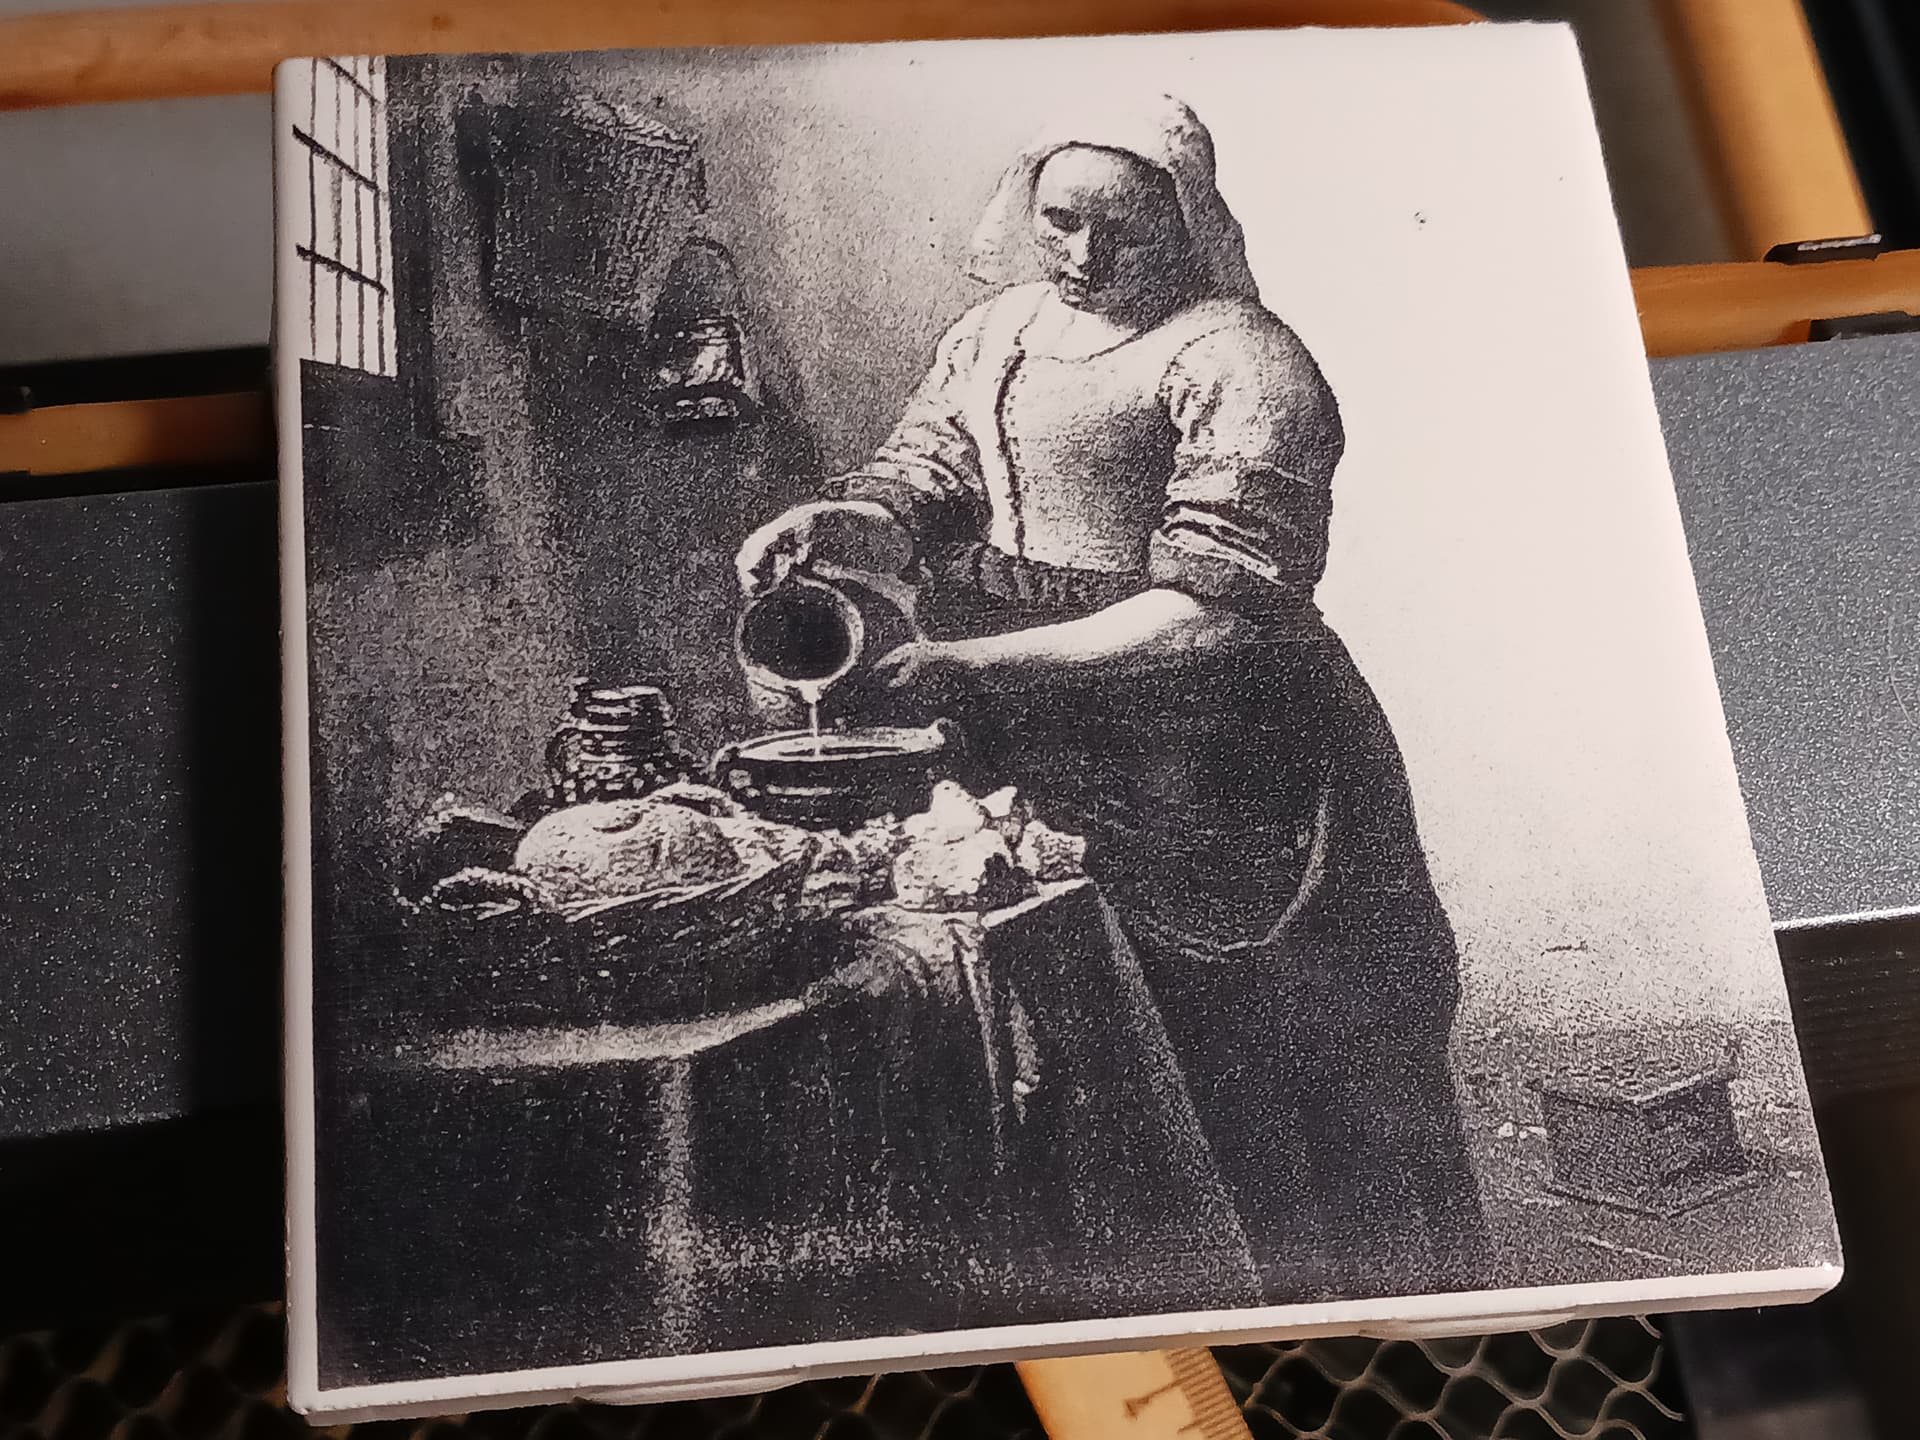
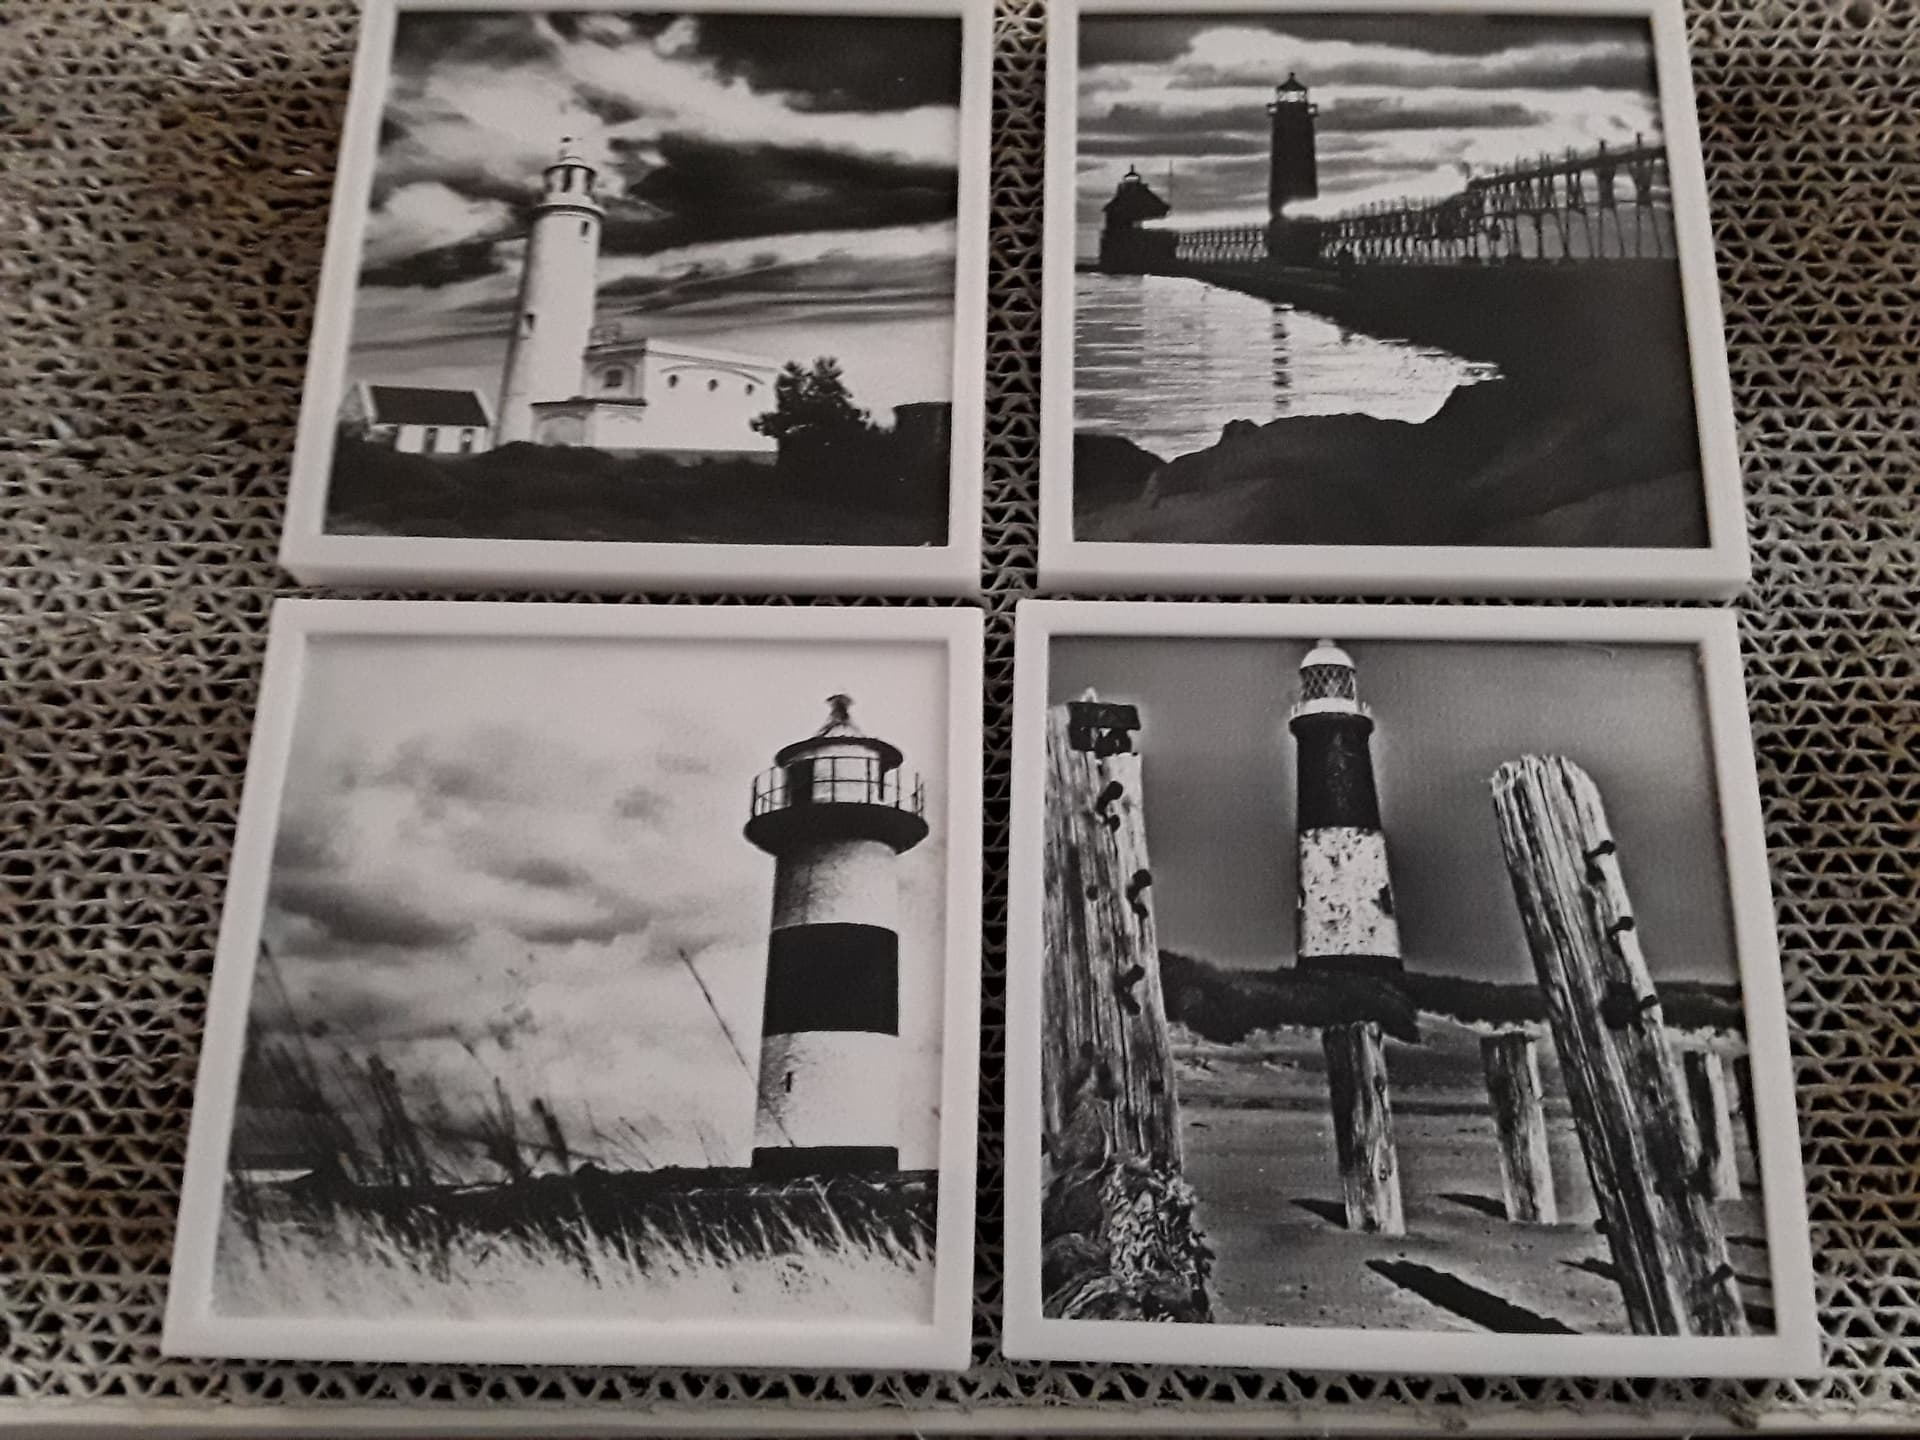
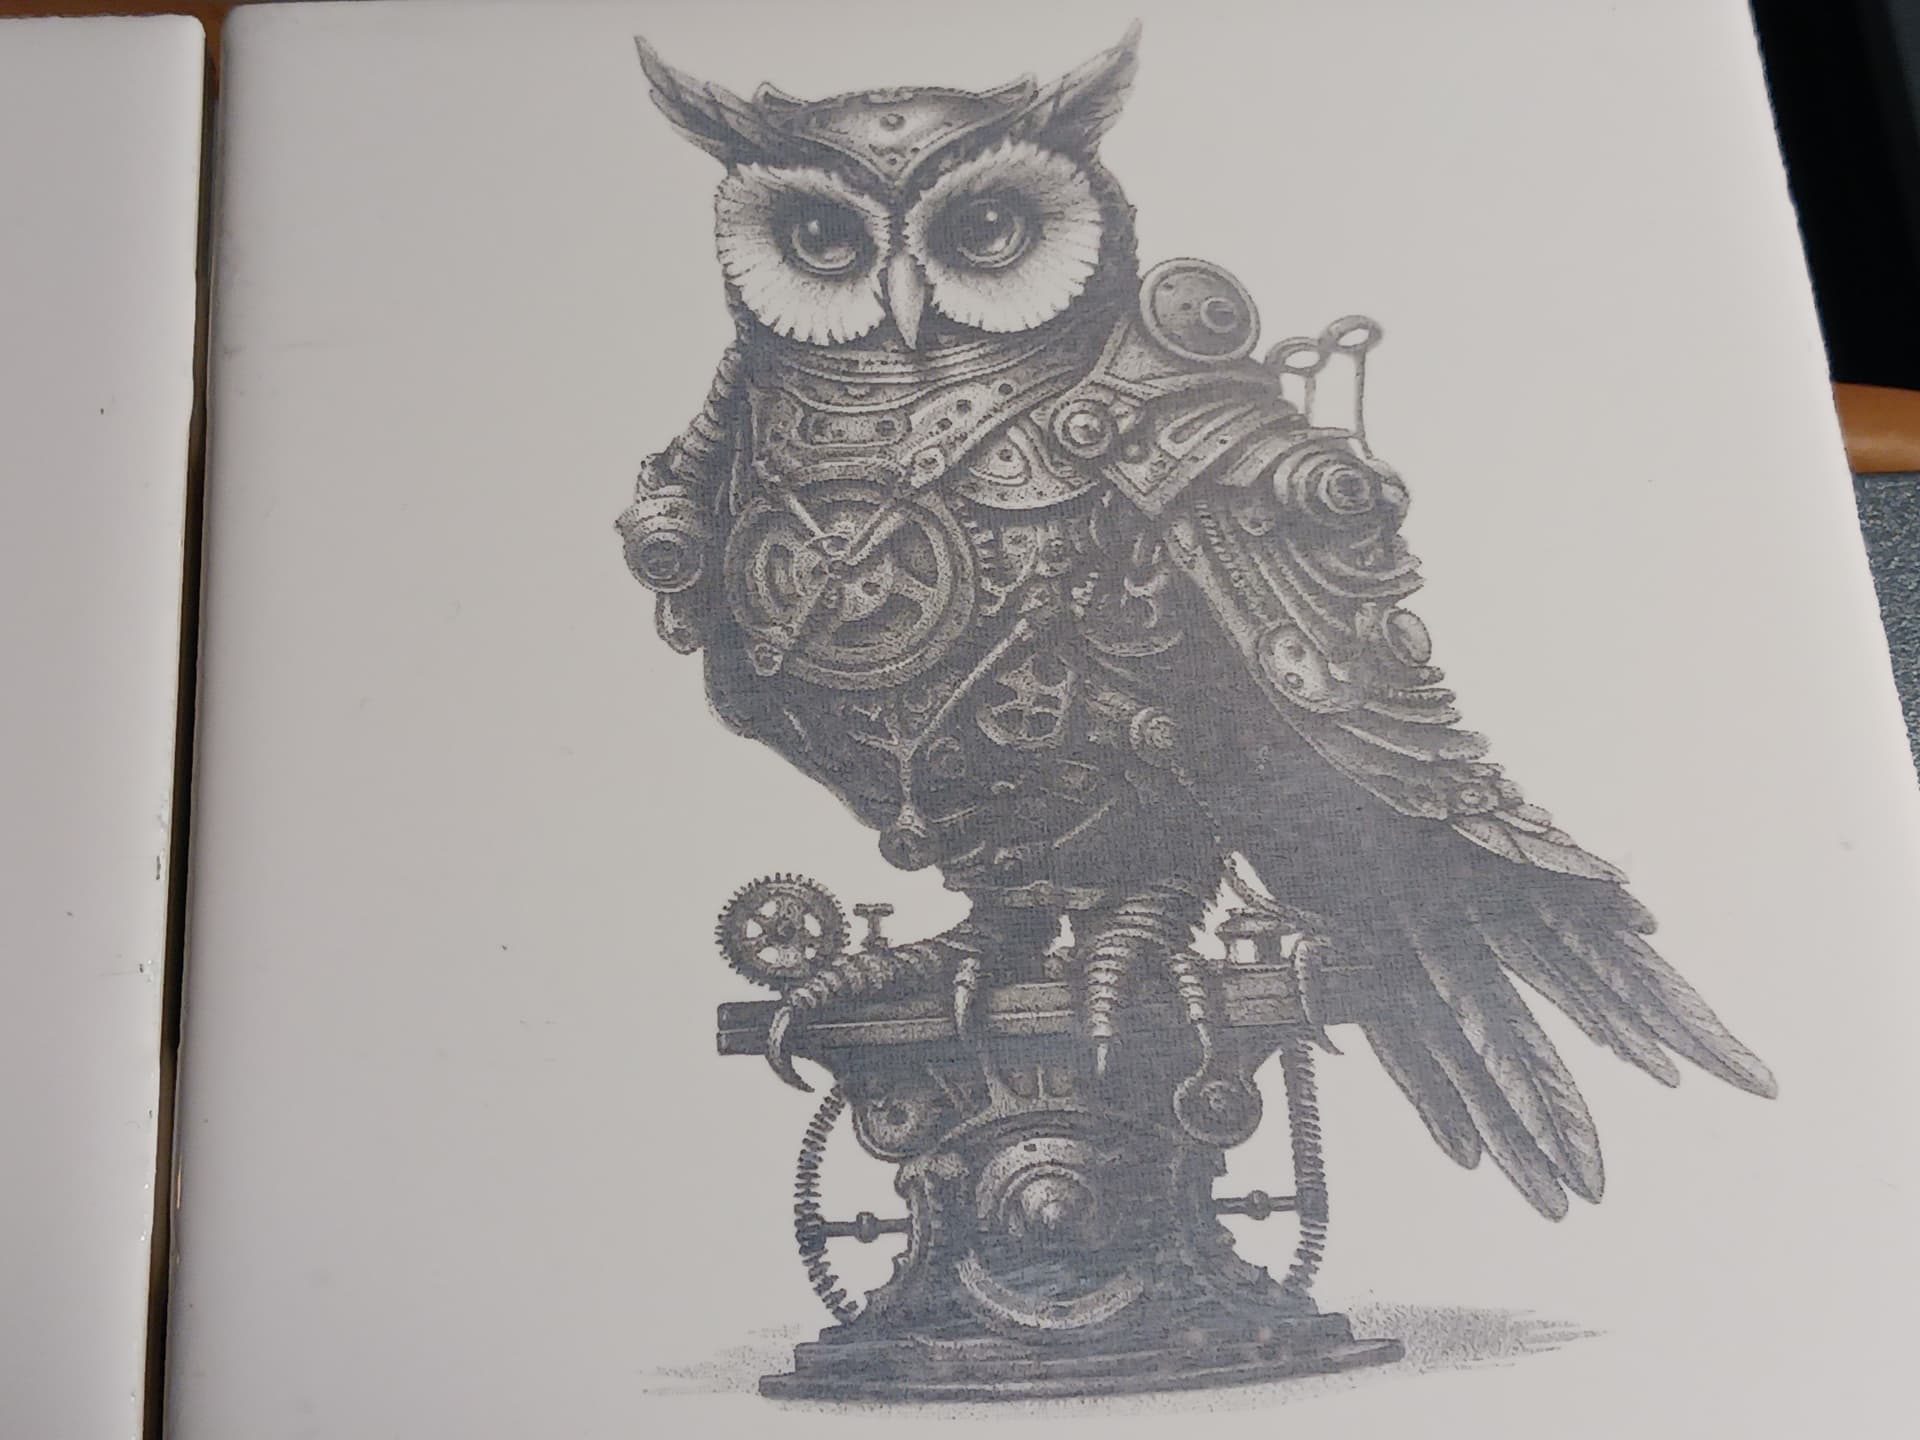
Then the owl – using 3500 mm/min speed and 100% power. TiO2 mix (left) vs Krylon flat-white spray paint (right)…

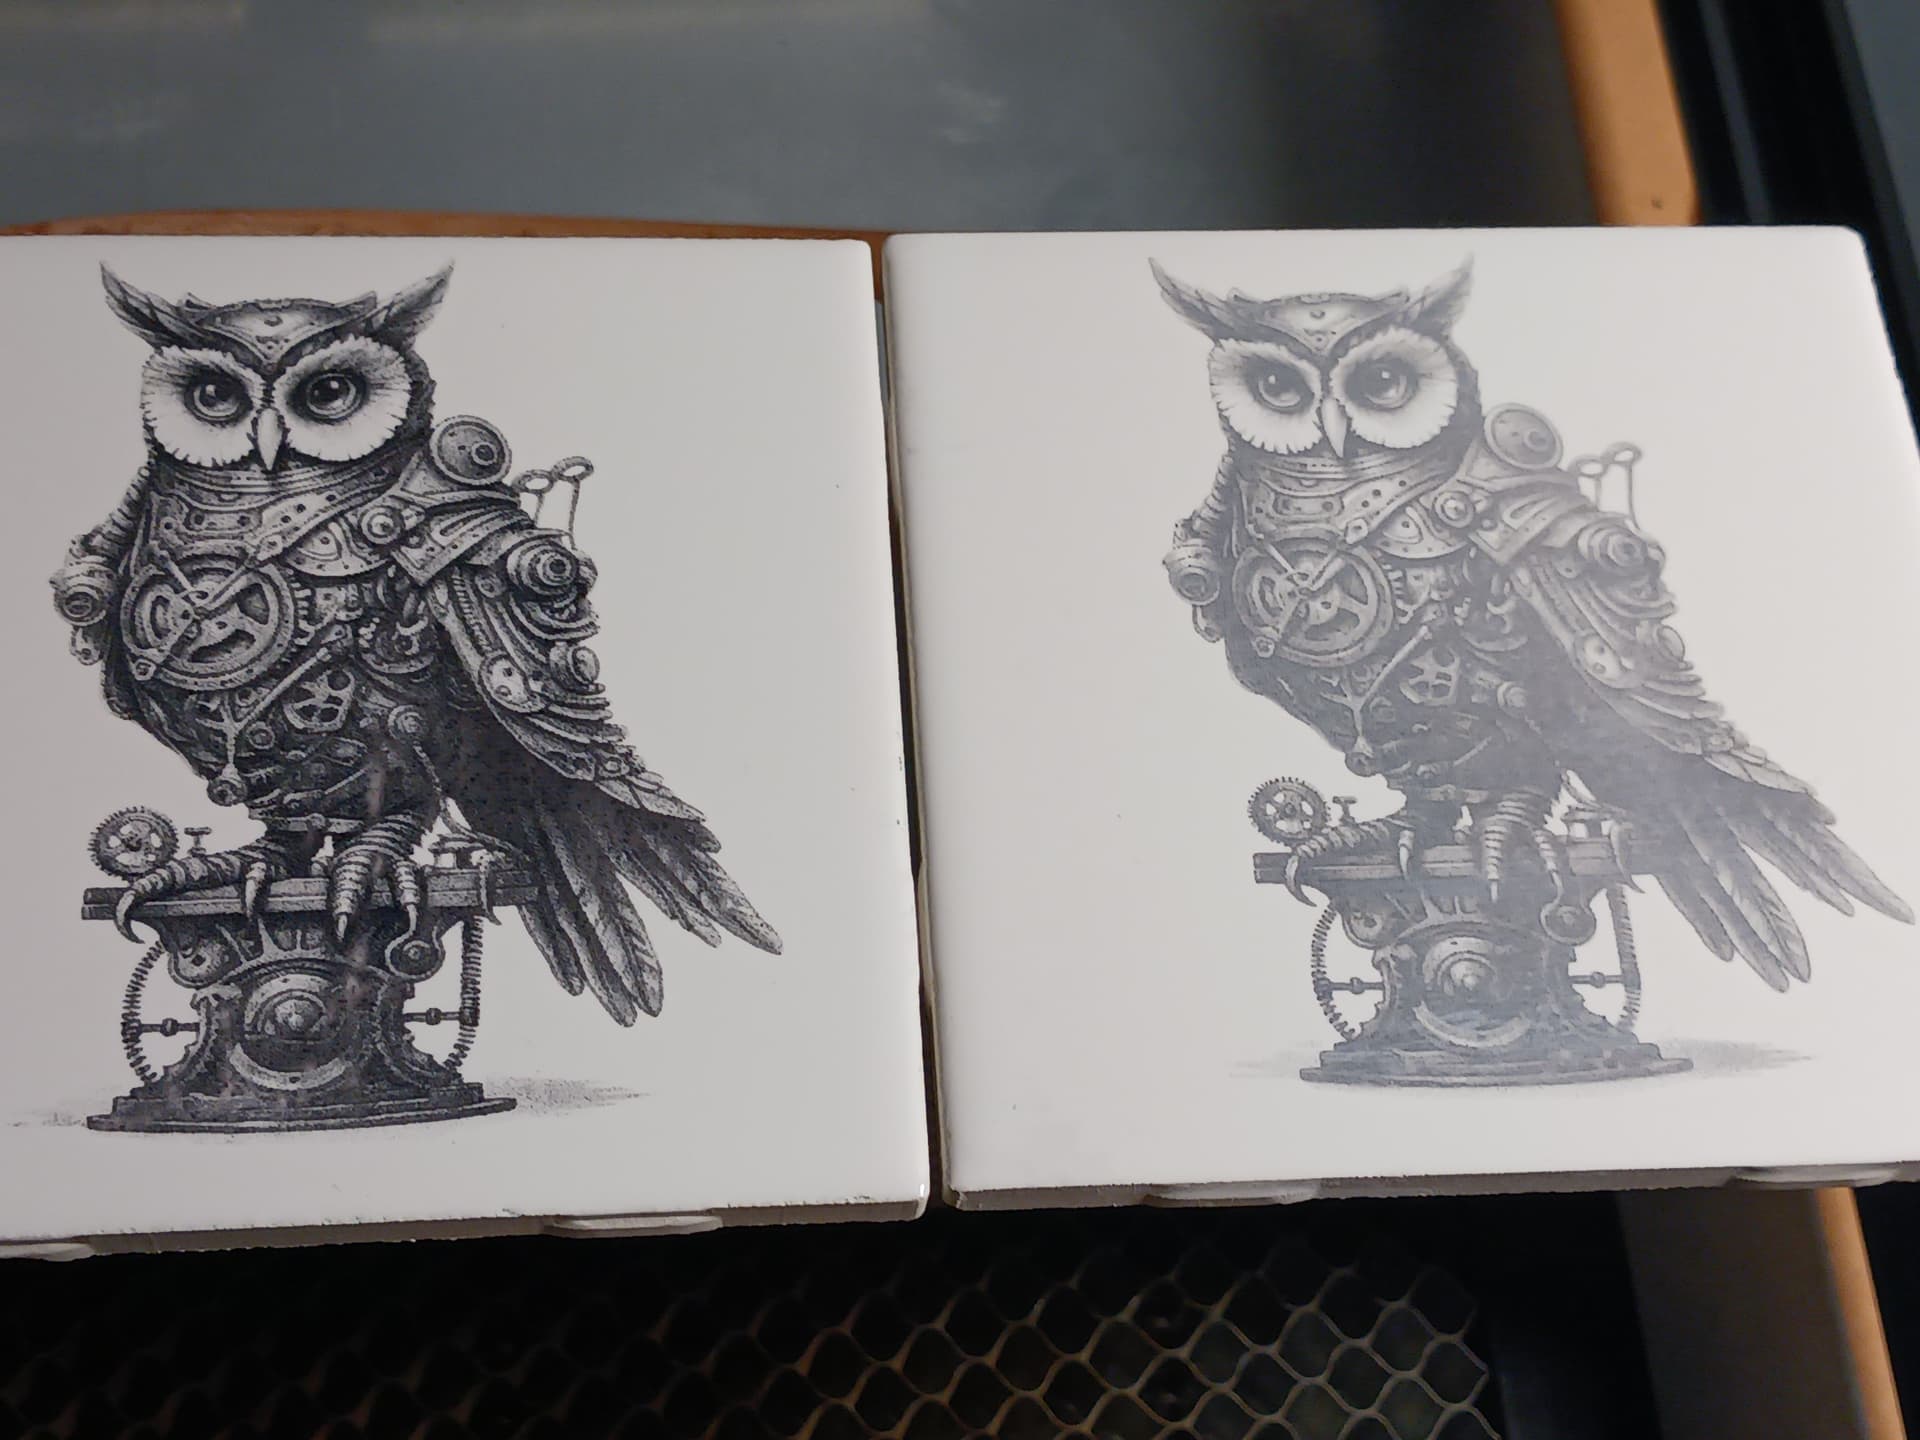
A couple of photos that appear a bit “grainy” but with decent contrast. The texture of the engraving with the TiO2 mix and higher speed does seem a bit “rougher” than all my previous tiles… maybe the reason for the “graininess”.

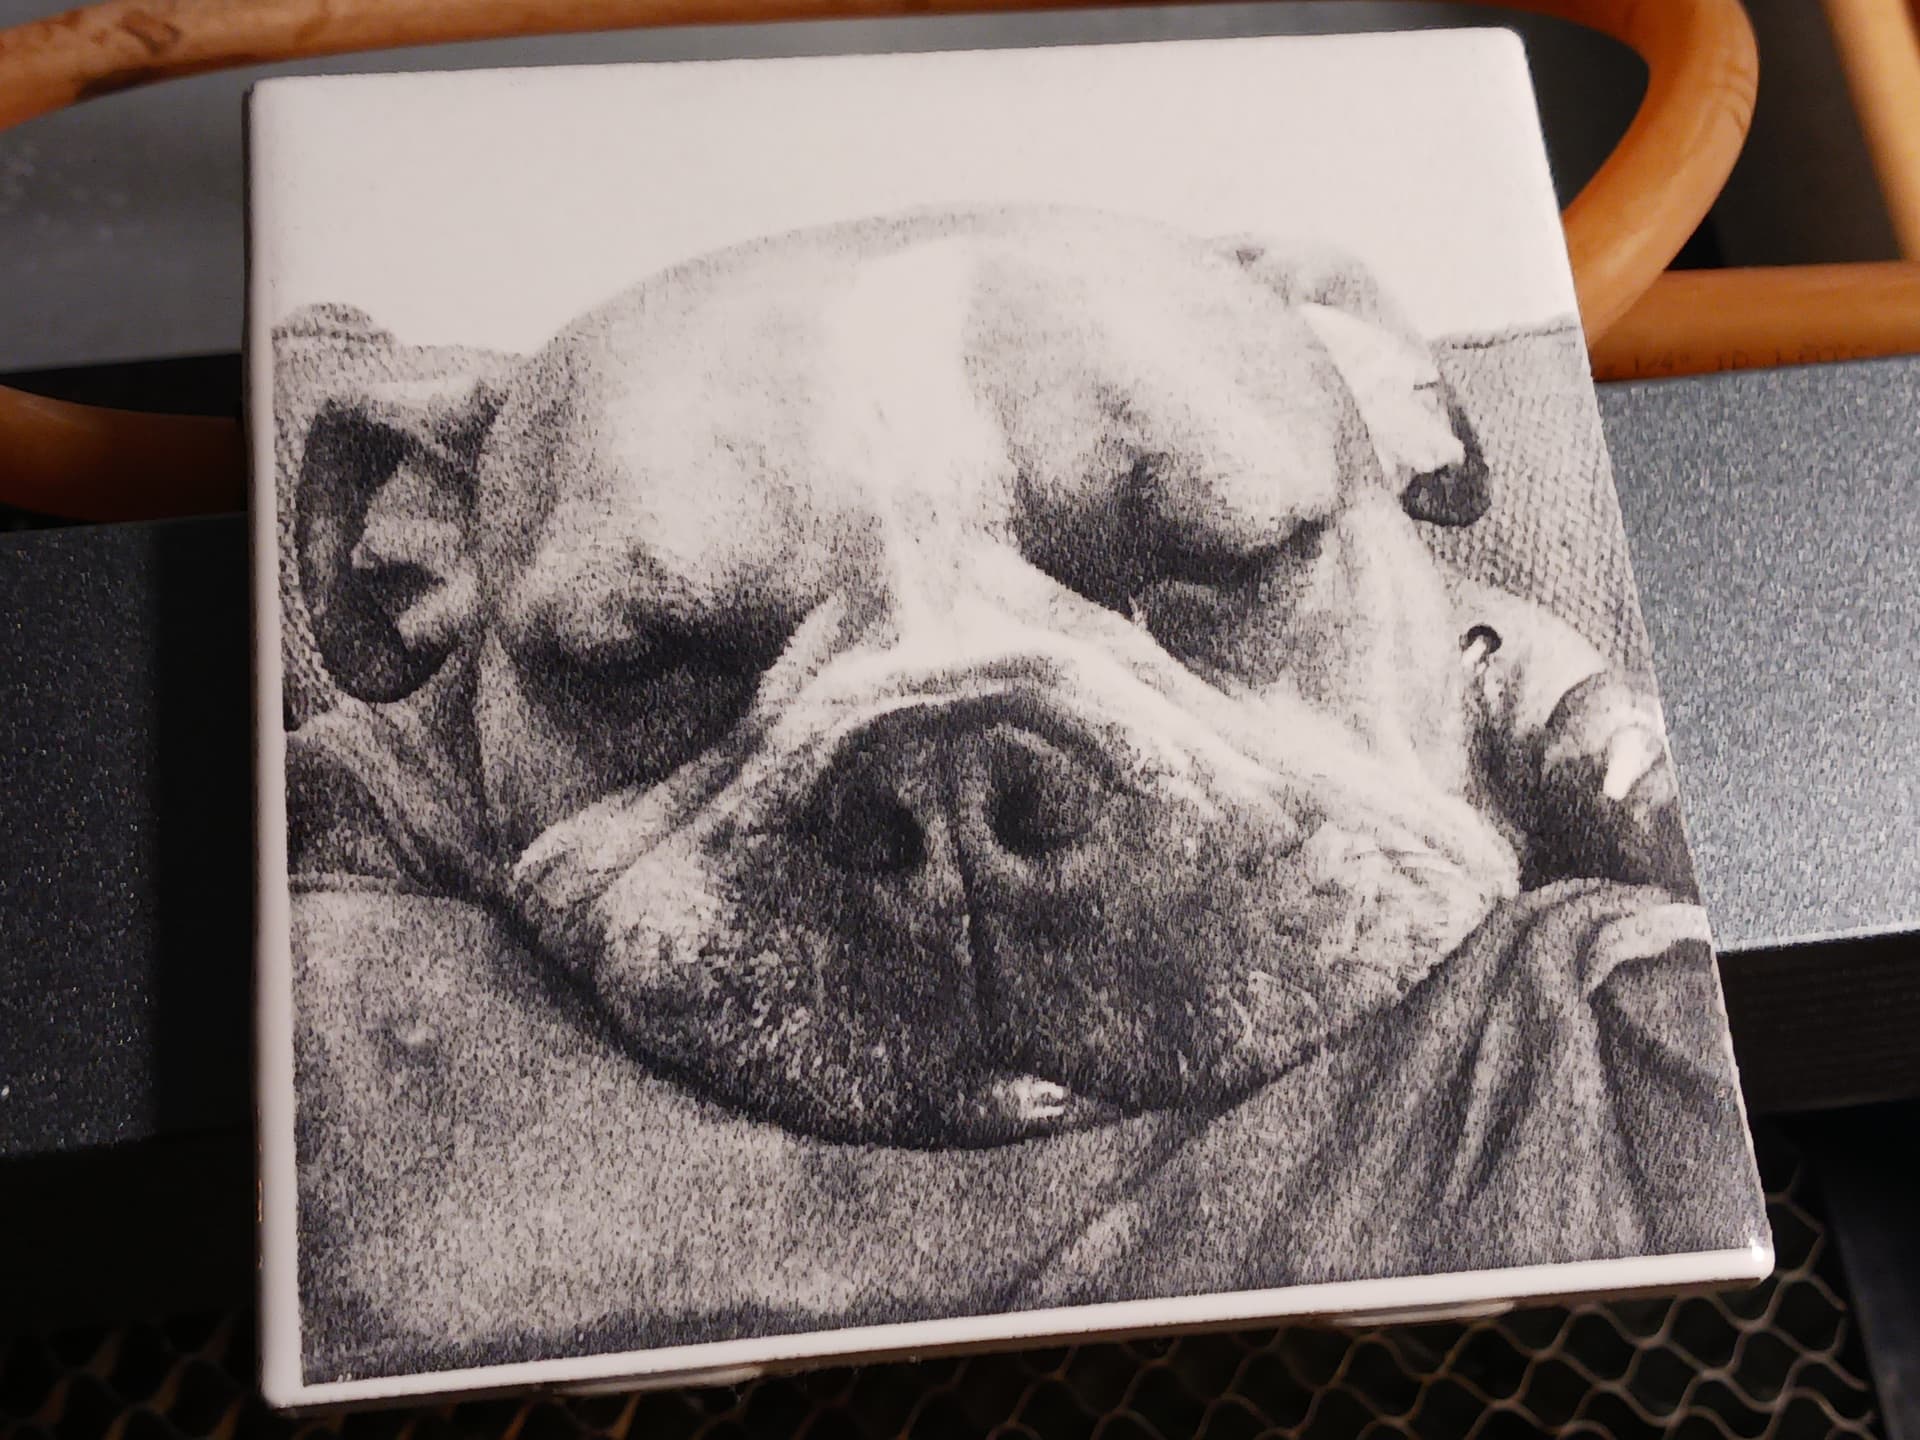
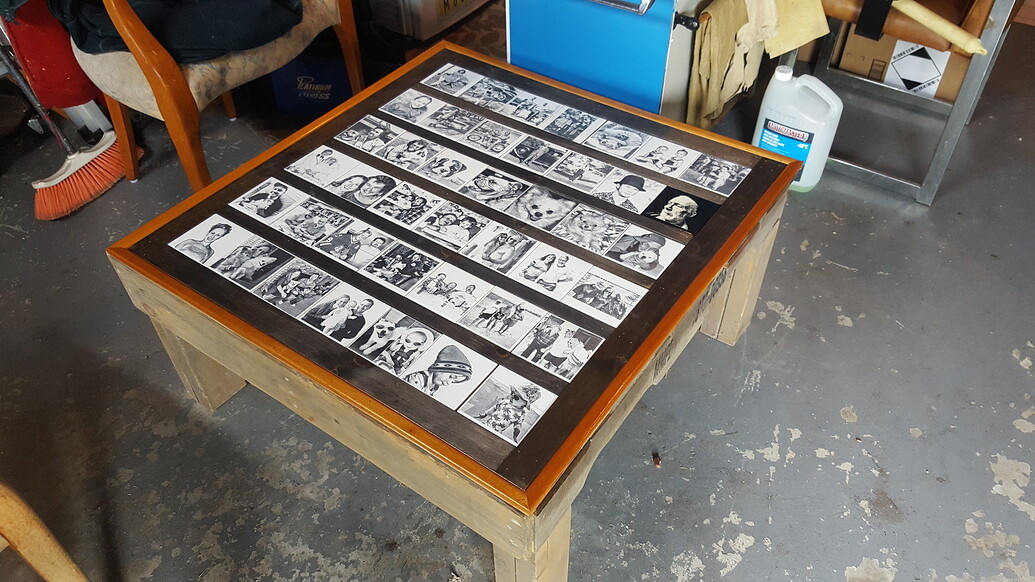
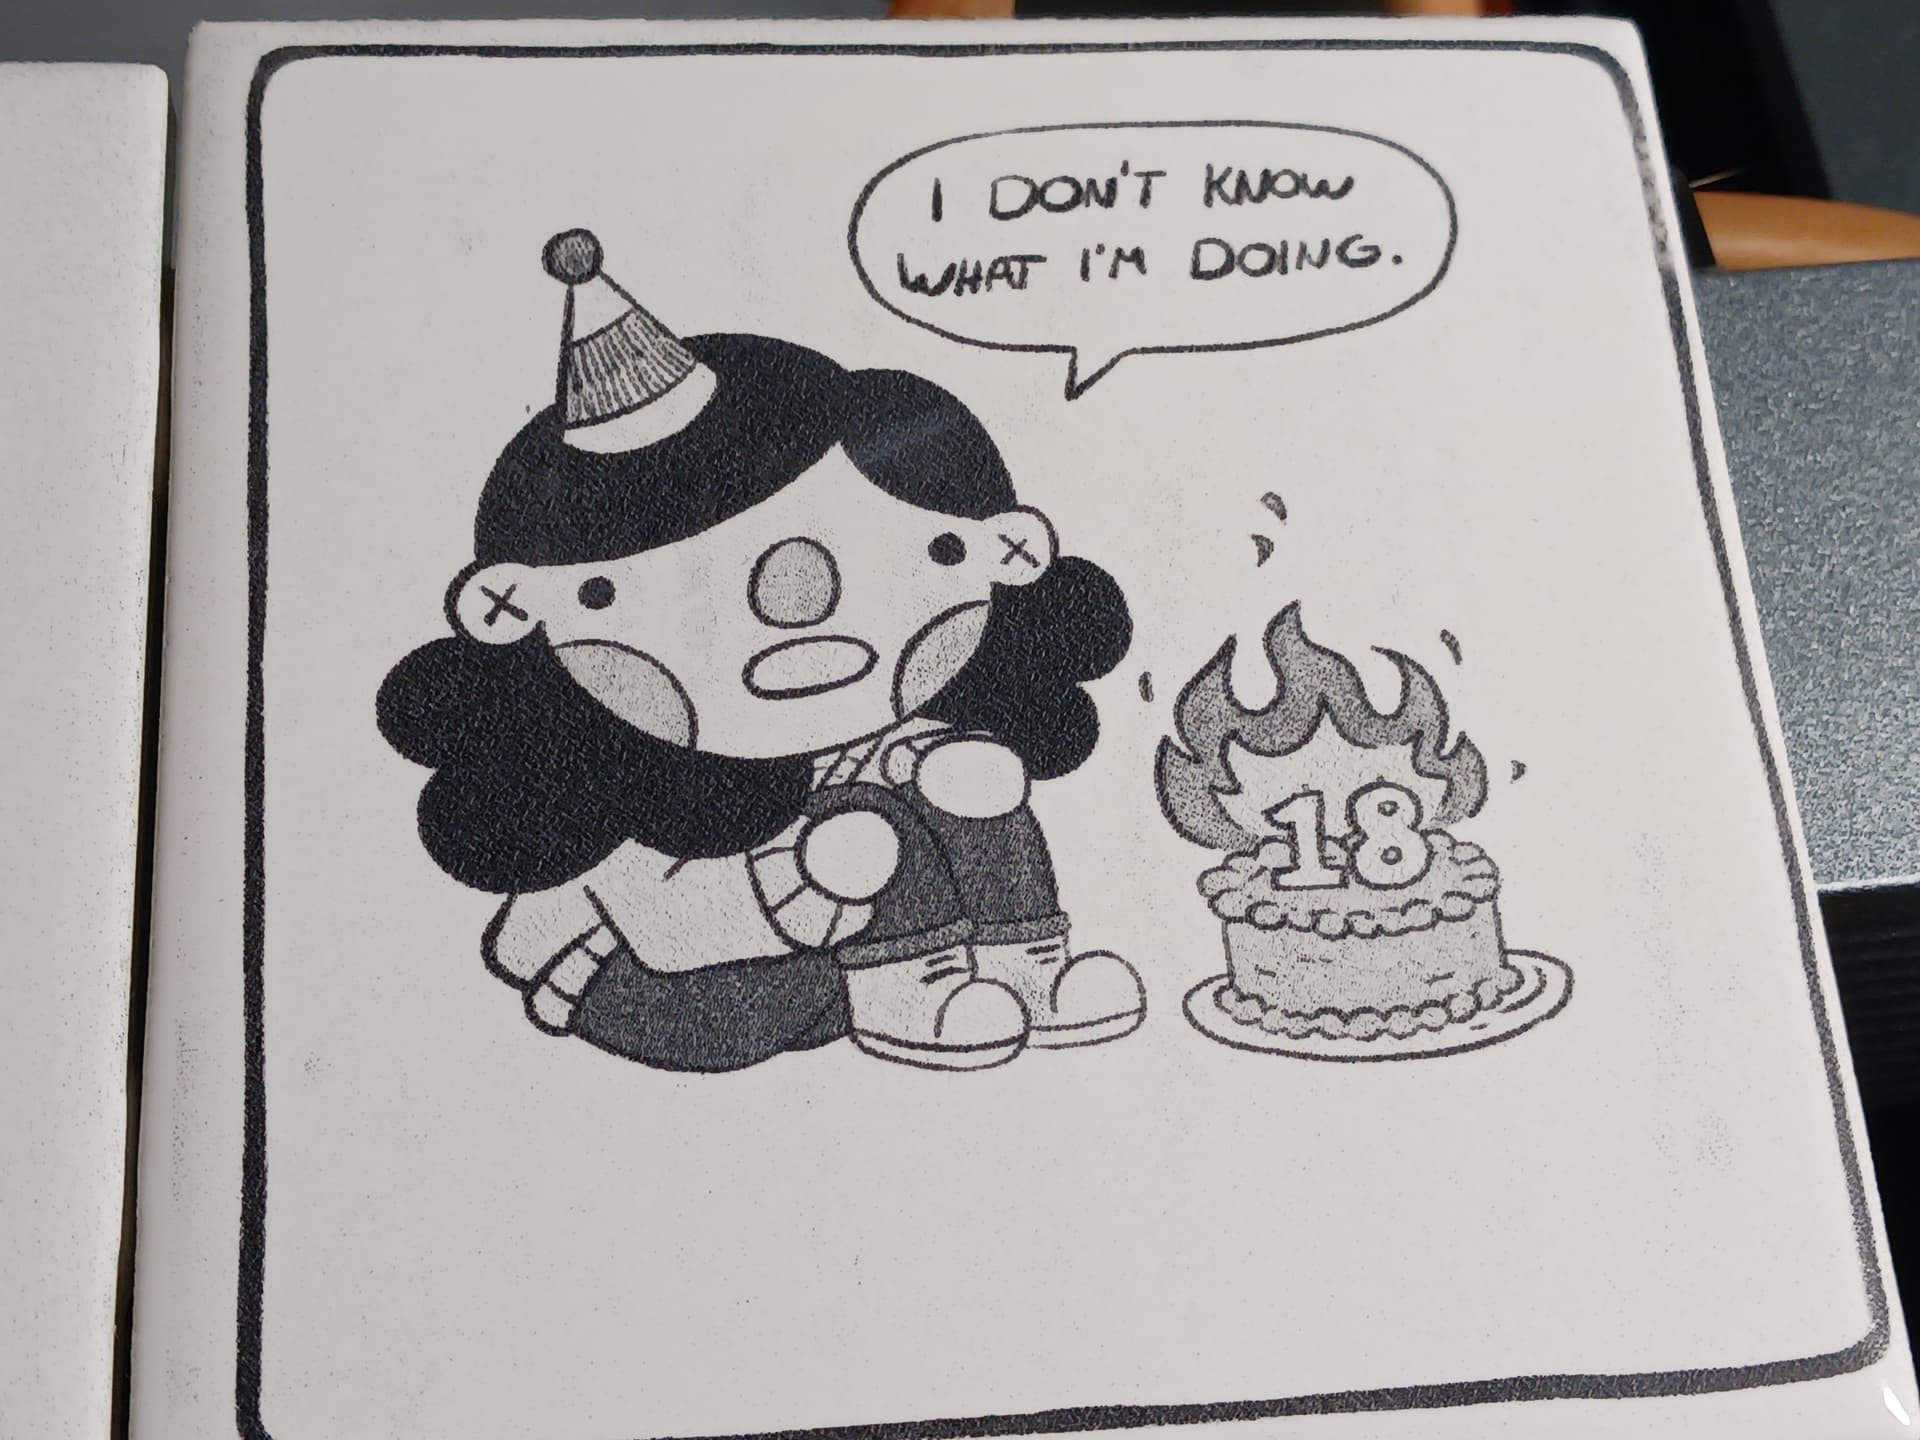
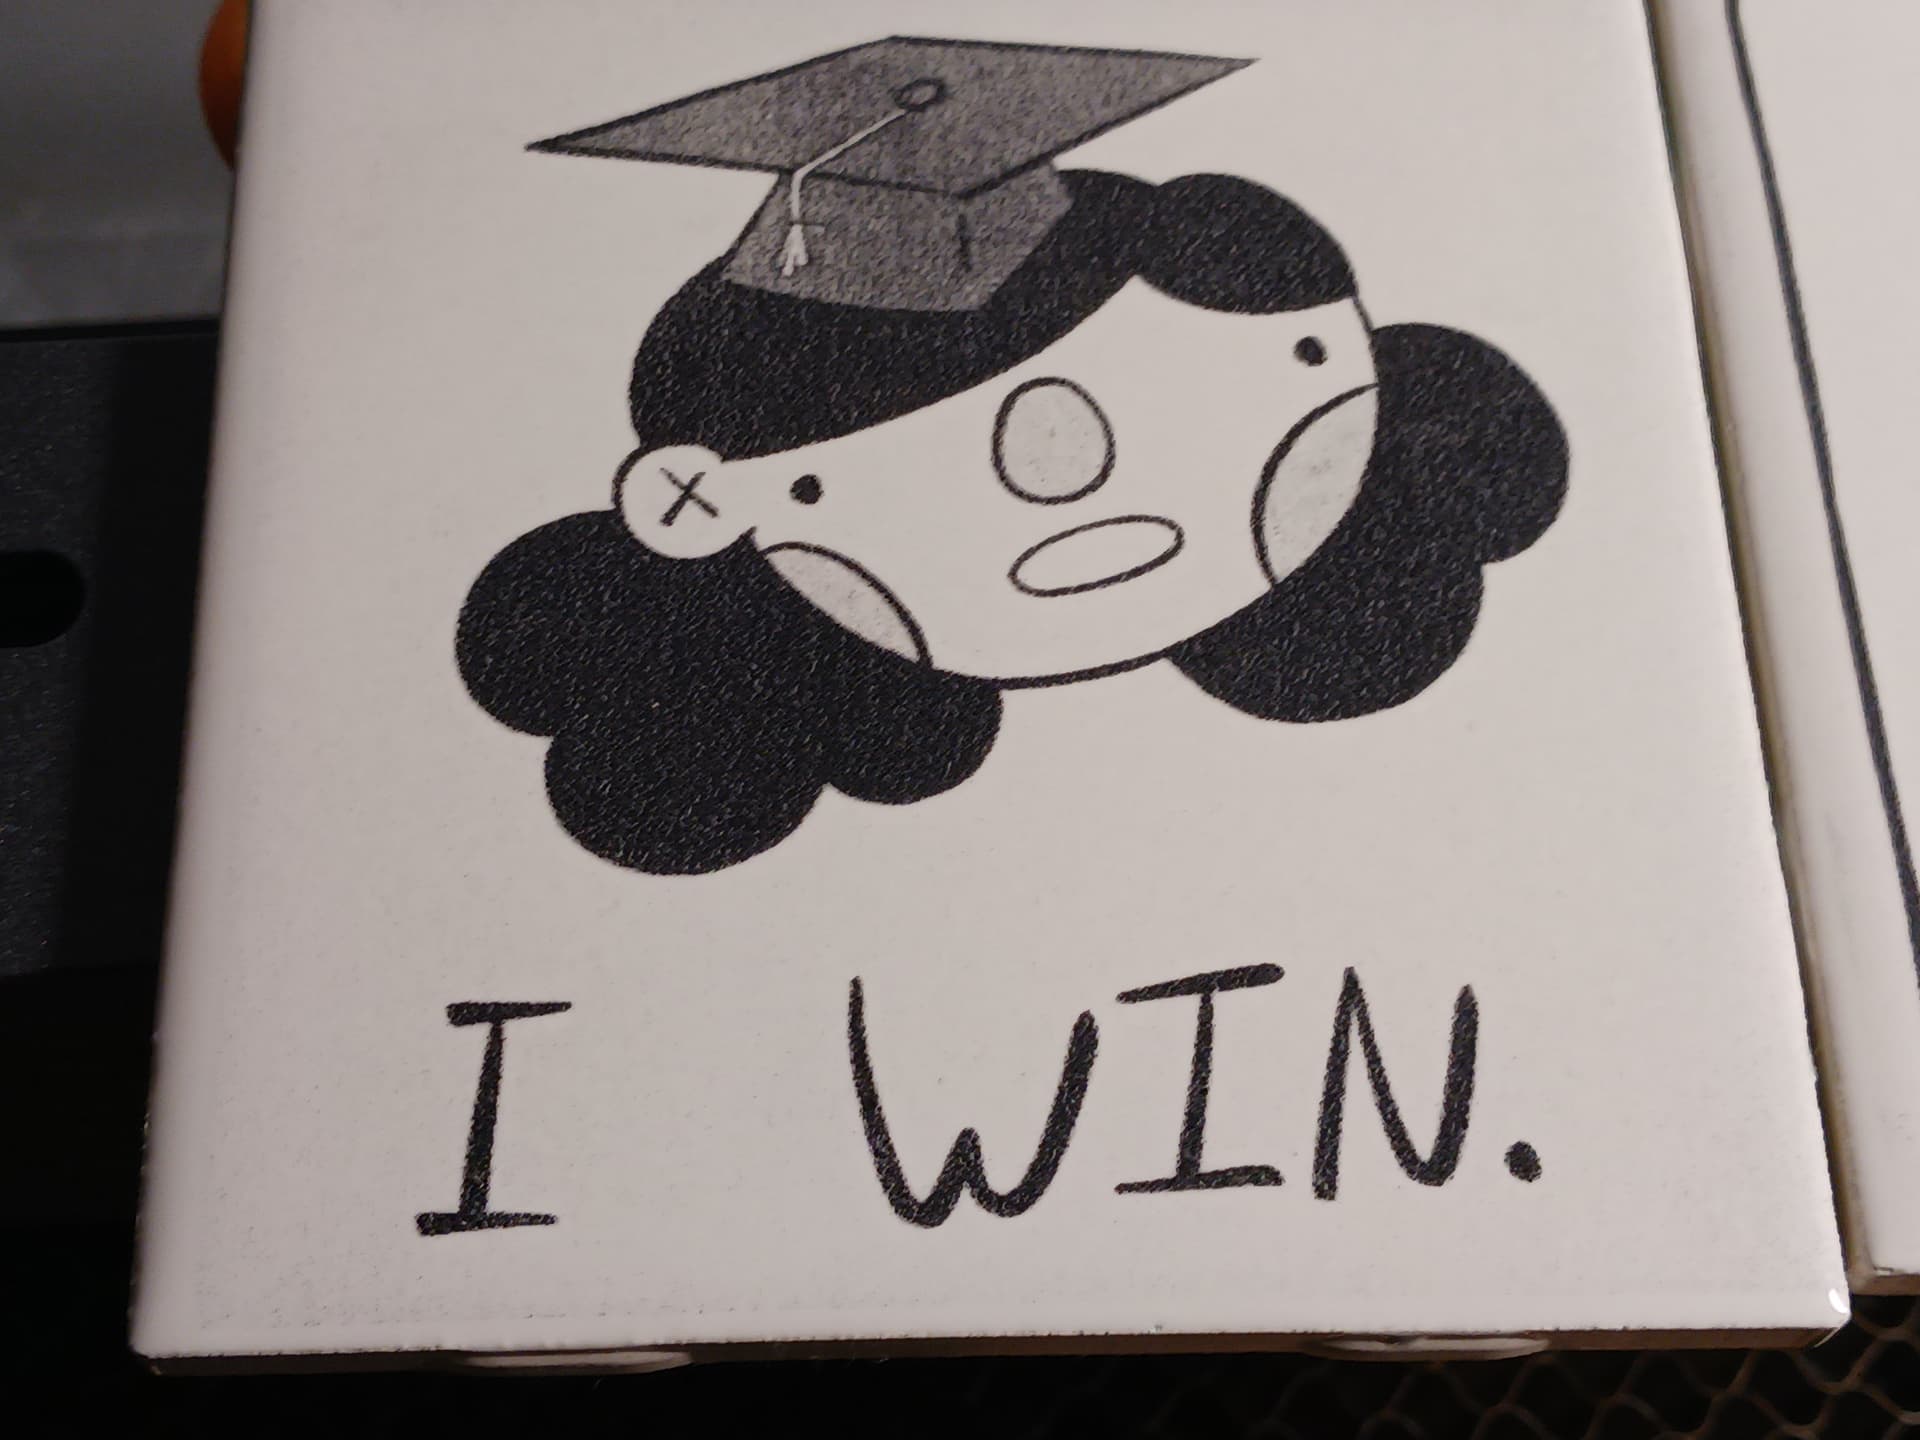
Finally, I’ve featured some of my talented grand-daughter’s work before. Now in college and doing well, it appears turning 18 and graduating HS last year made a distinct impression on her…

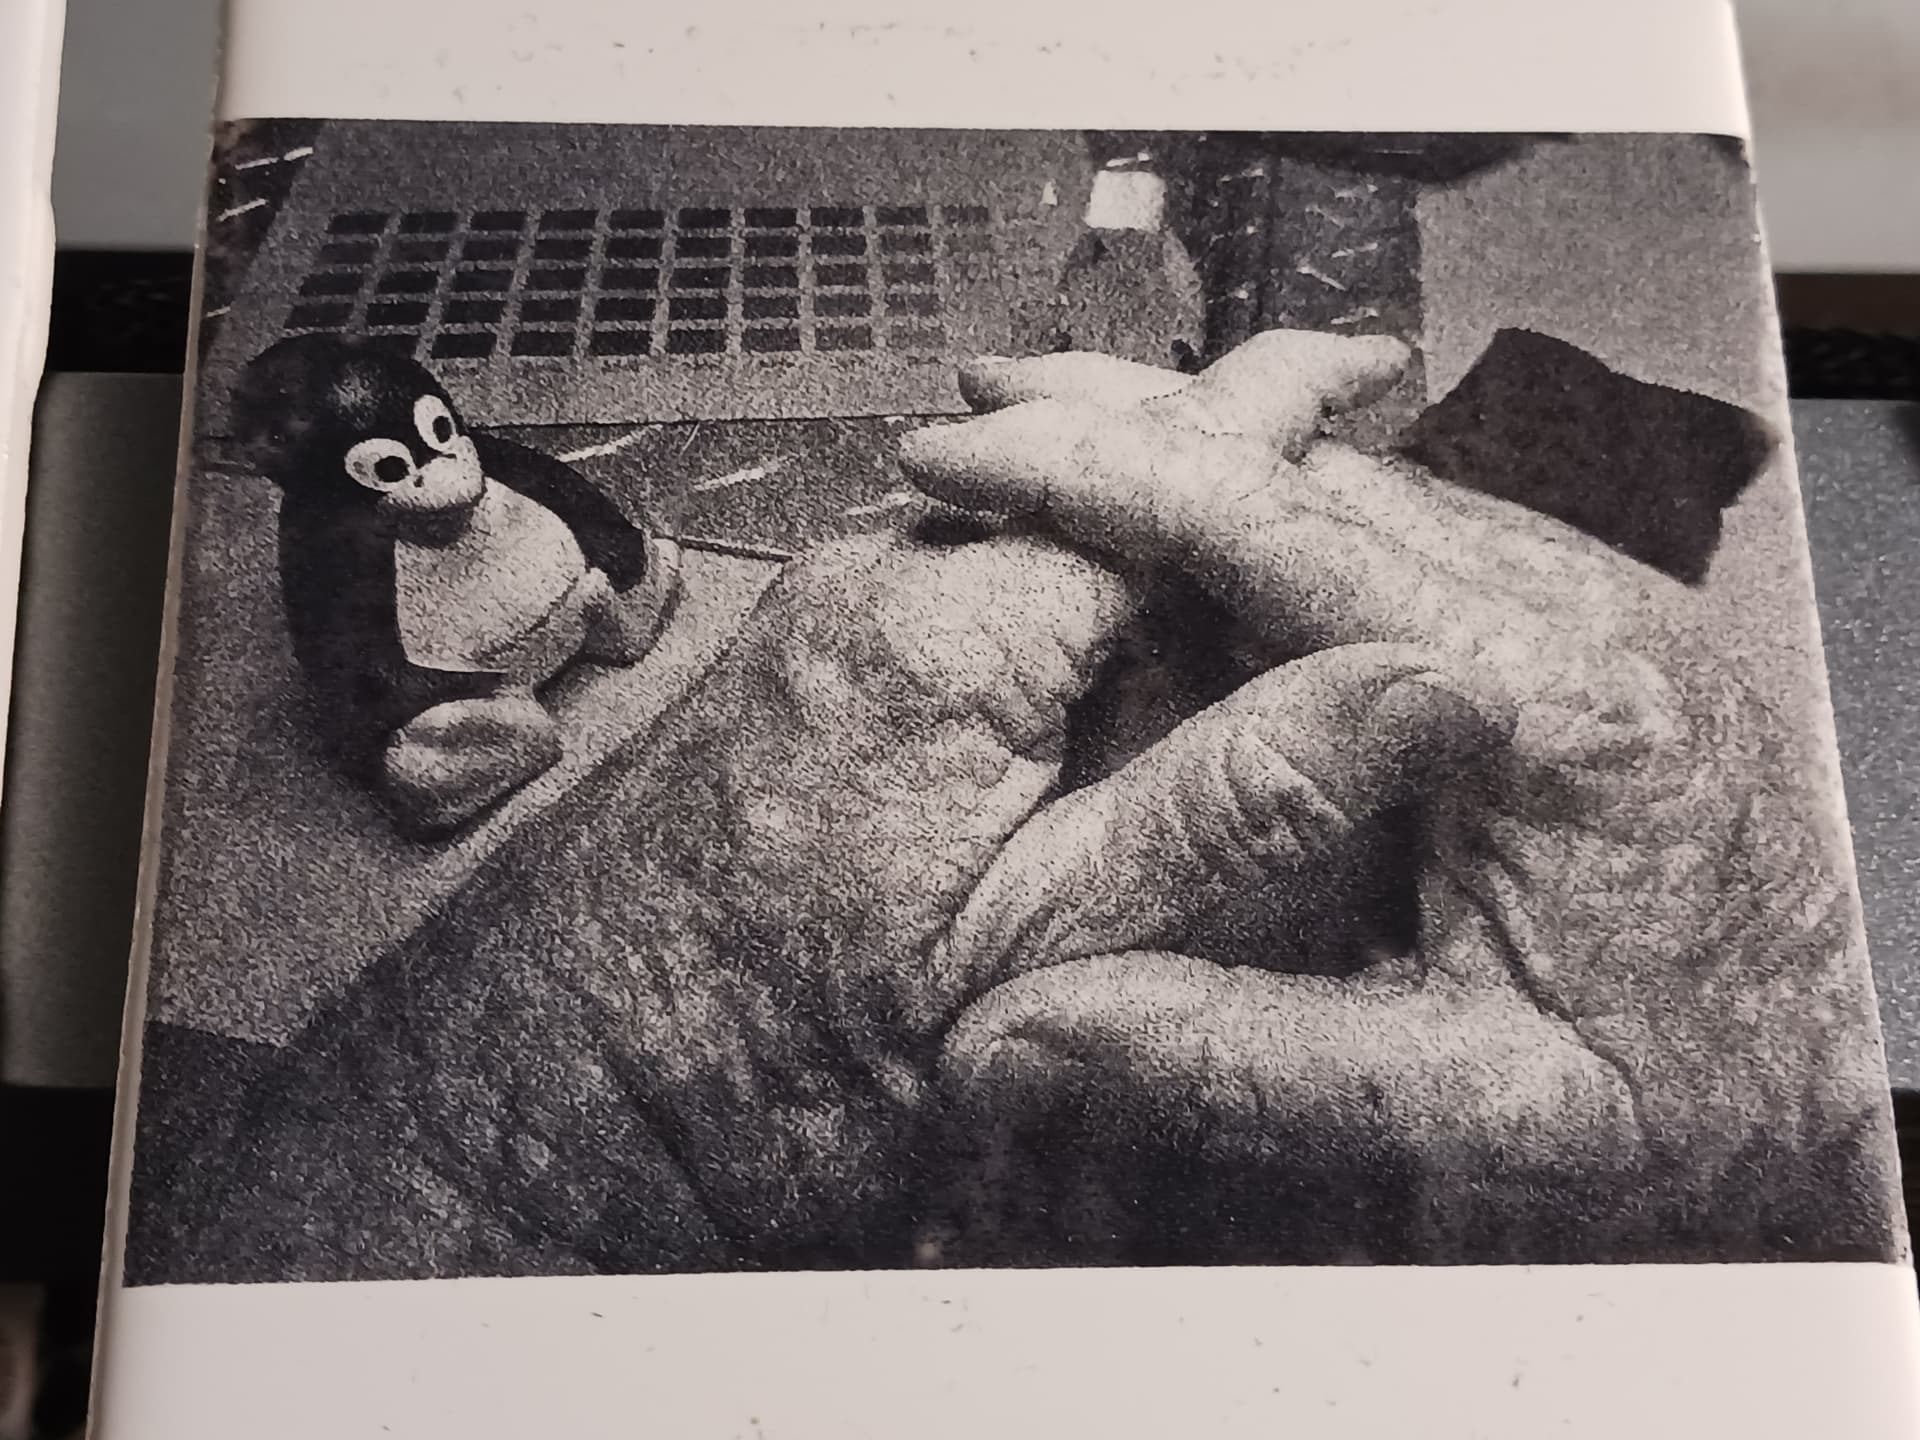
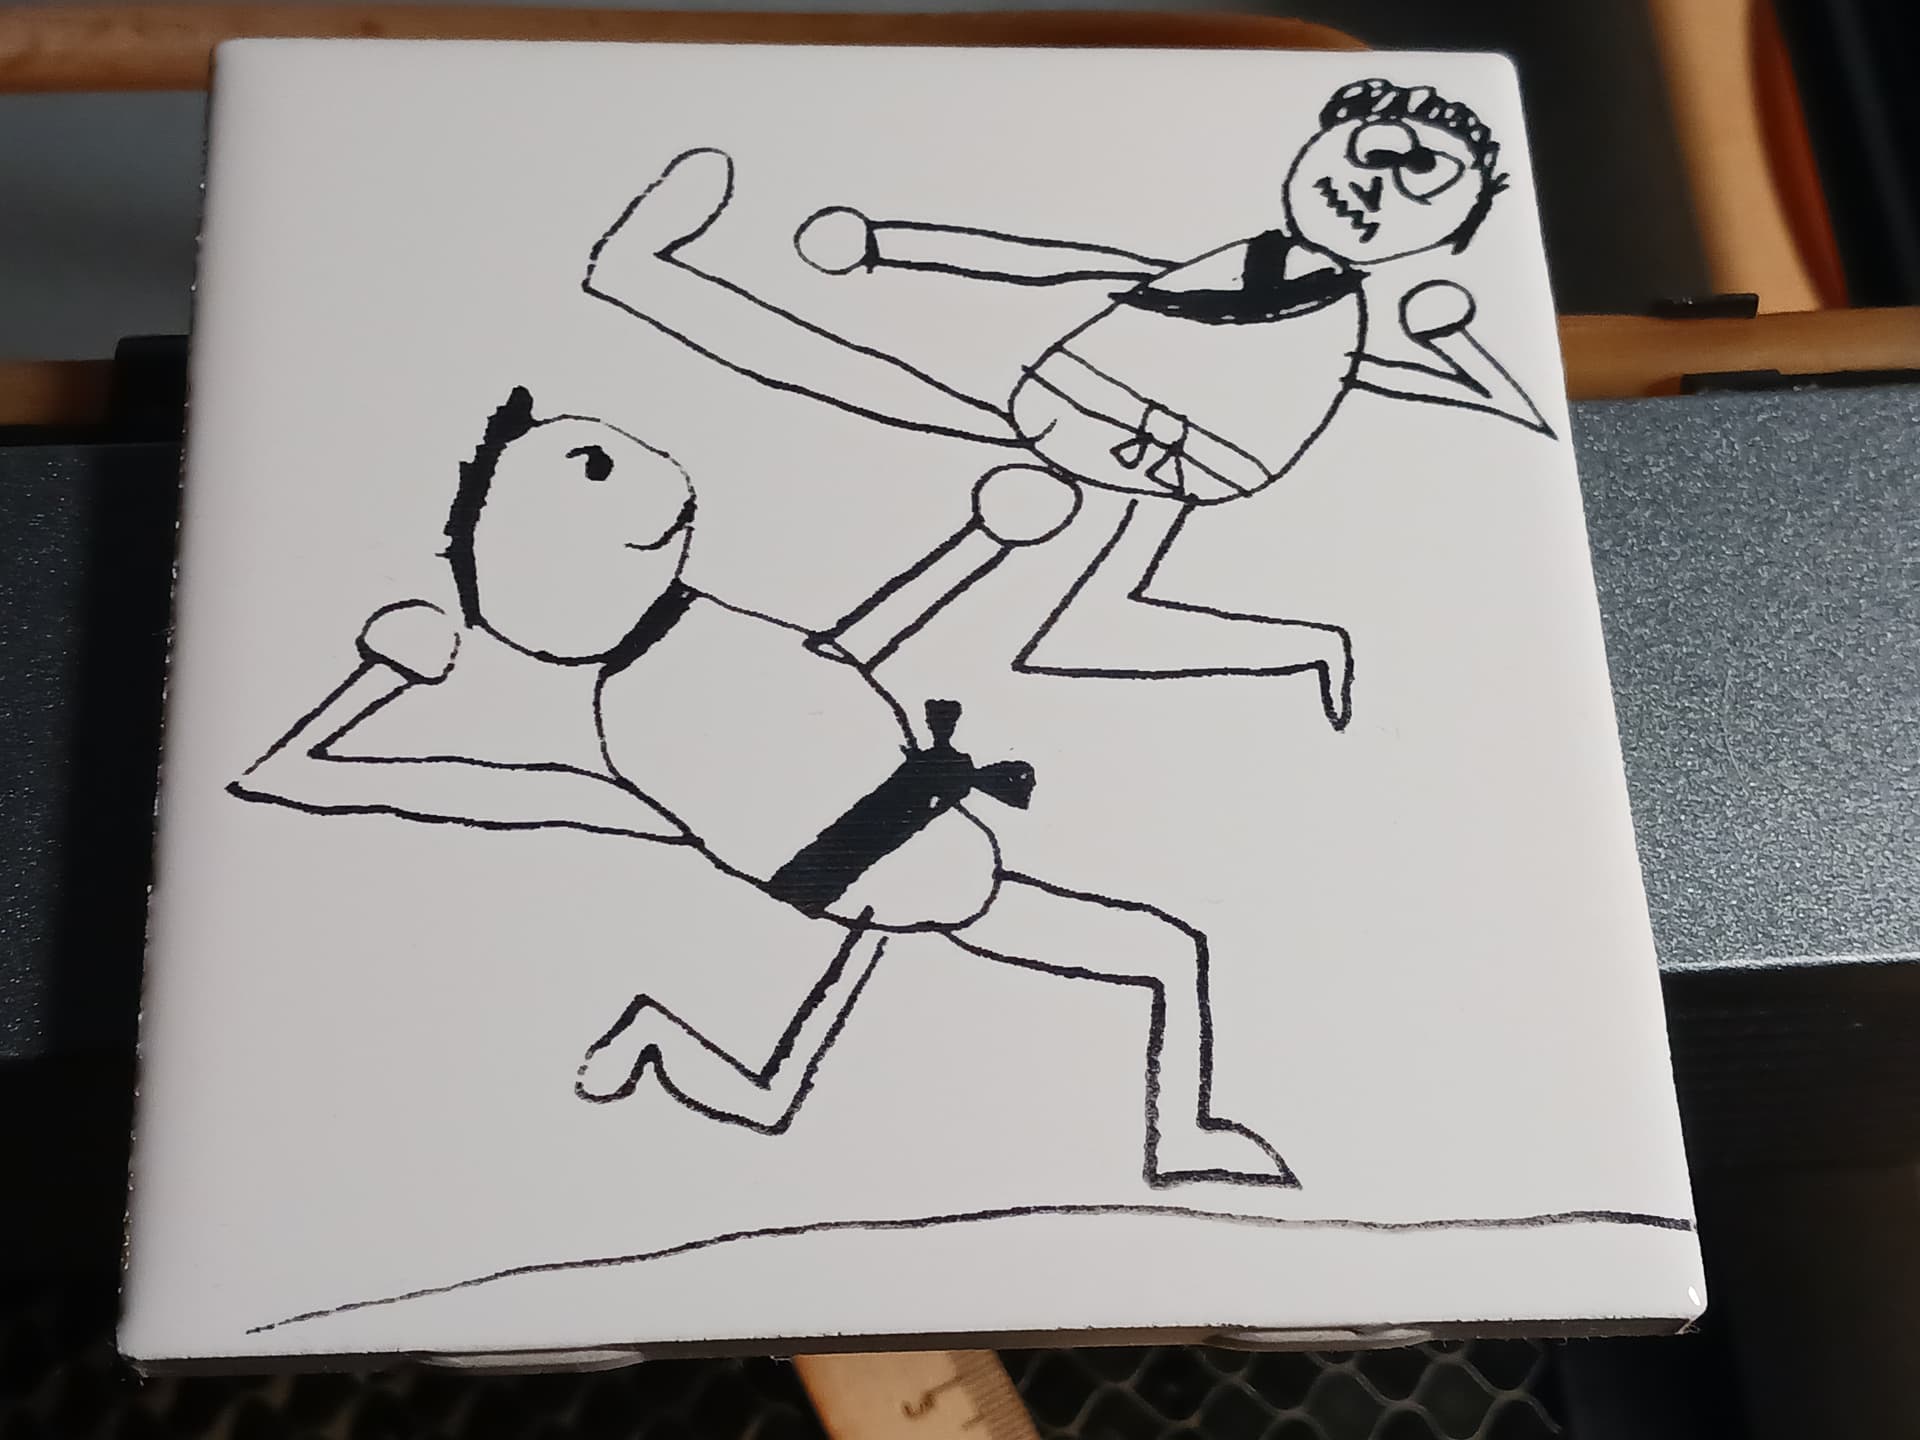
And, of course, I can’t forget my equally talented grand-son… who created this masterpiece some several years ago…

I can’t stress enough how pleased I am with this new method… a variation on the NWT and Ron Clarke methods I’ve tried before. I had given up on them after finding them just too inconsistent and messy. This method, however, seems to be working nicely for me at the moment… and I love the higher speed and easy water cleanup! Plus I can do it all indoors, where it’s warm…

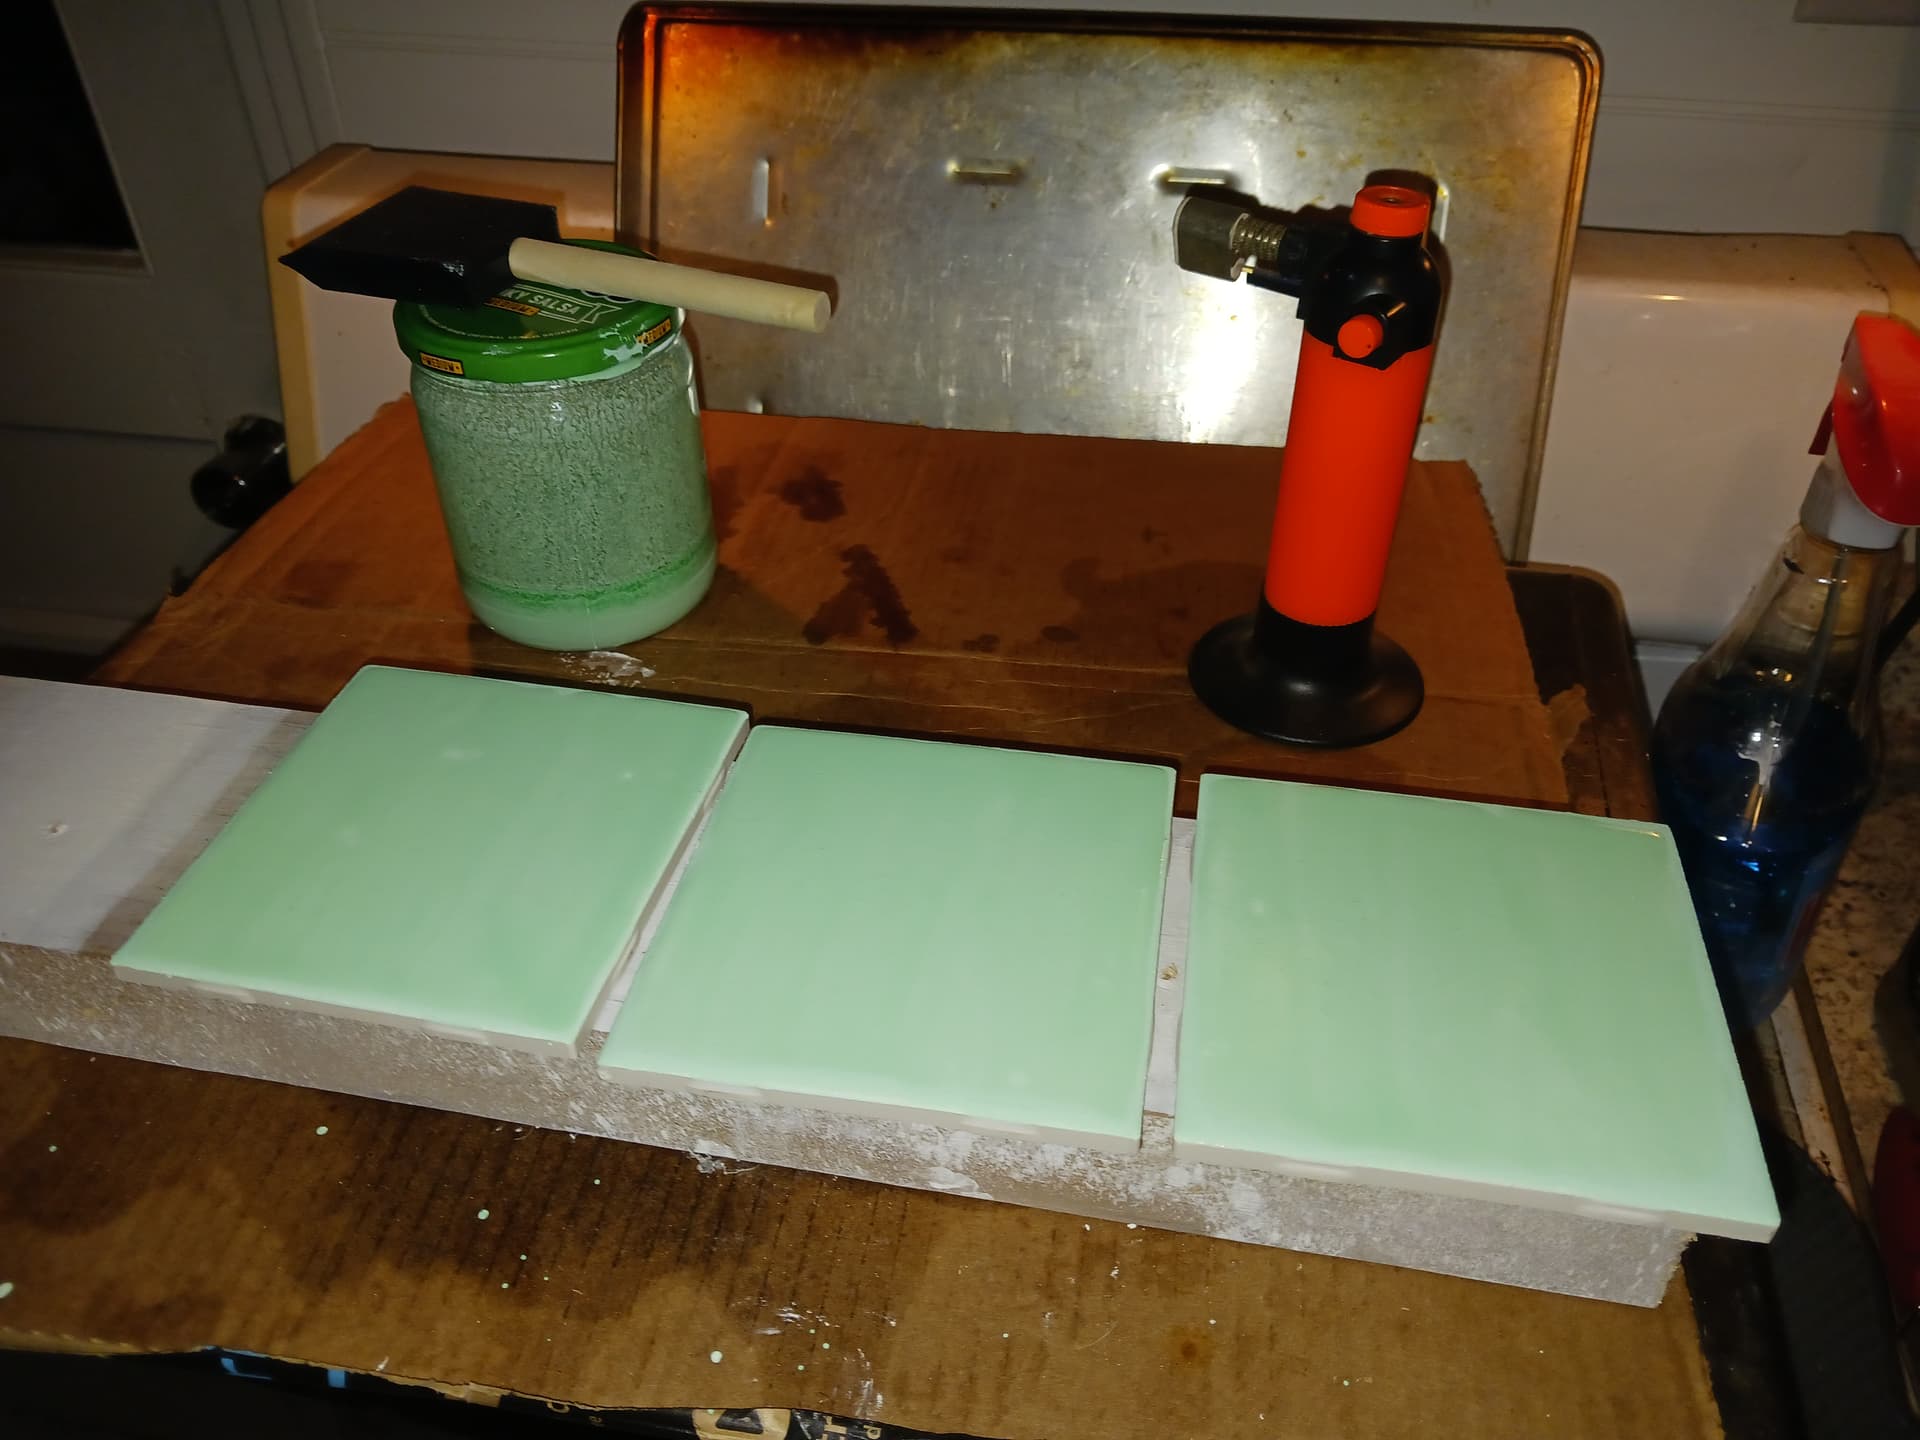
The mix needs to be shaken vigorously before use… and the torch does a fantastic job on any/all bubbles.

– David

17 Likes

Impressed. Faster, cleaner, easier…nice find for sure.

2 Likes

Thanks, Ryan. One of my favorites…

It’s definitely faster and easier doing everything indoors. Also happy with my $139 Atezr P5 refurbished machine purchase… 430mm x 430mm work area and super sturdy.

– David

5 Likes

Thanks so much for that @dkj4linux David! It’s incredibly useful information to someone with no experience.

I had come across that video a week or so ago, and have it on my list of things to try, but your experience bears it out and I don’t have to muck around with other methods.

May I ask what purpose these tiles serve? Are they individual display pieces or part of a bigger project? I particularly love your grandchildren’s drawings and my mind is trying to work them into some sort of screen-style wall!

1 Like

Looks super nice, that’s a very cool project!
Thanks for sharing!

Do you know how tough the paint is? My only concern would be the durability, especially since tiles are moslty used in warm and humid environments .

1 Like

Thank you, Peter! The tiles I’ve shown in this thread are first and foremost to prove the method with a variety of subjects… black and white clipart, drawings with gray shades, and photos of things that are interesting. I also like the challenge of “processing” photos/drawings in Lightburn and getting a good likeness on a tile. Part of the fun of doing these is that the “finished product” is so easily attained… without a lot of fussing or handwork. Just give them a day or two to dry out before setting them down on your nice furniture.

Most of these tiles are just kept in a box and periodically shuffled through like old photos but a lucky few end up in a simple 3d printed frame and gifted to family and friends. Or, they can also be used as just a simple coaster…

I’ve not done it myself but some folks have arranged a collection of tiles and attached them to a backing to form a coffee table top or wall hanging…

I’m really not sure what sets this particular method apart from all my previous attempts at mixing up a good TiO2 mix… you’d think I should have stumbled onto at least something close to this. Possibly it’s because I just trusted this fellow’s recipe from the get-go… and didn’t have all the uncertainty and confusion when trying to develop my own?

Good to hear from you, Peter.

– David

1 Like

Hey, Dui! Thanks for the kind words.

I’ve not set any tiles out in the weather for extended periods but these tiles are quite durable and resistant to moisture and scratching. The engraving is actually fused into the tile’s surface and not just a surface finish. The TiO2 (a whitening ingredient) in the paint/mix somehow reacts with the glassy tile surface where hit with the laser to leave a permanent black mark in its wake. It also works on transparent window glass in the same way…

I’ve never been able to scratch away the “engraving” on a tile or piece of glass with a sharp metal scraper… regardless of how vigorously I tried.

It’s good to hear from you, Dui!

– David

3 Likes