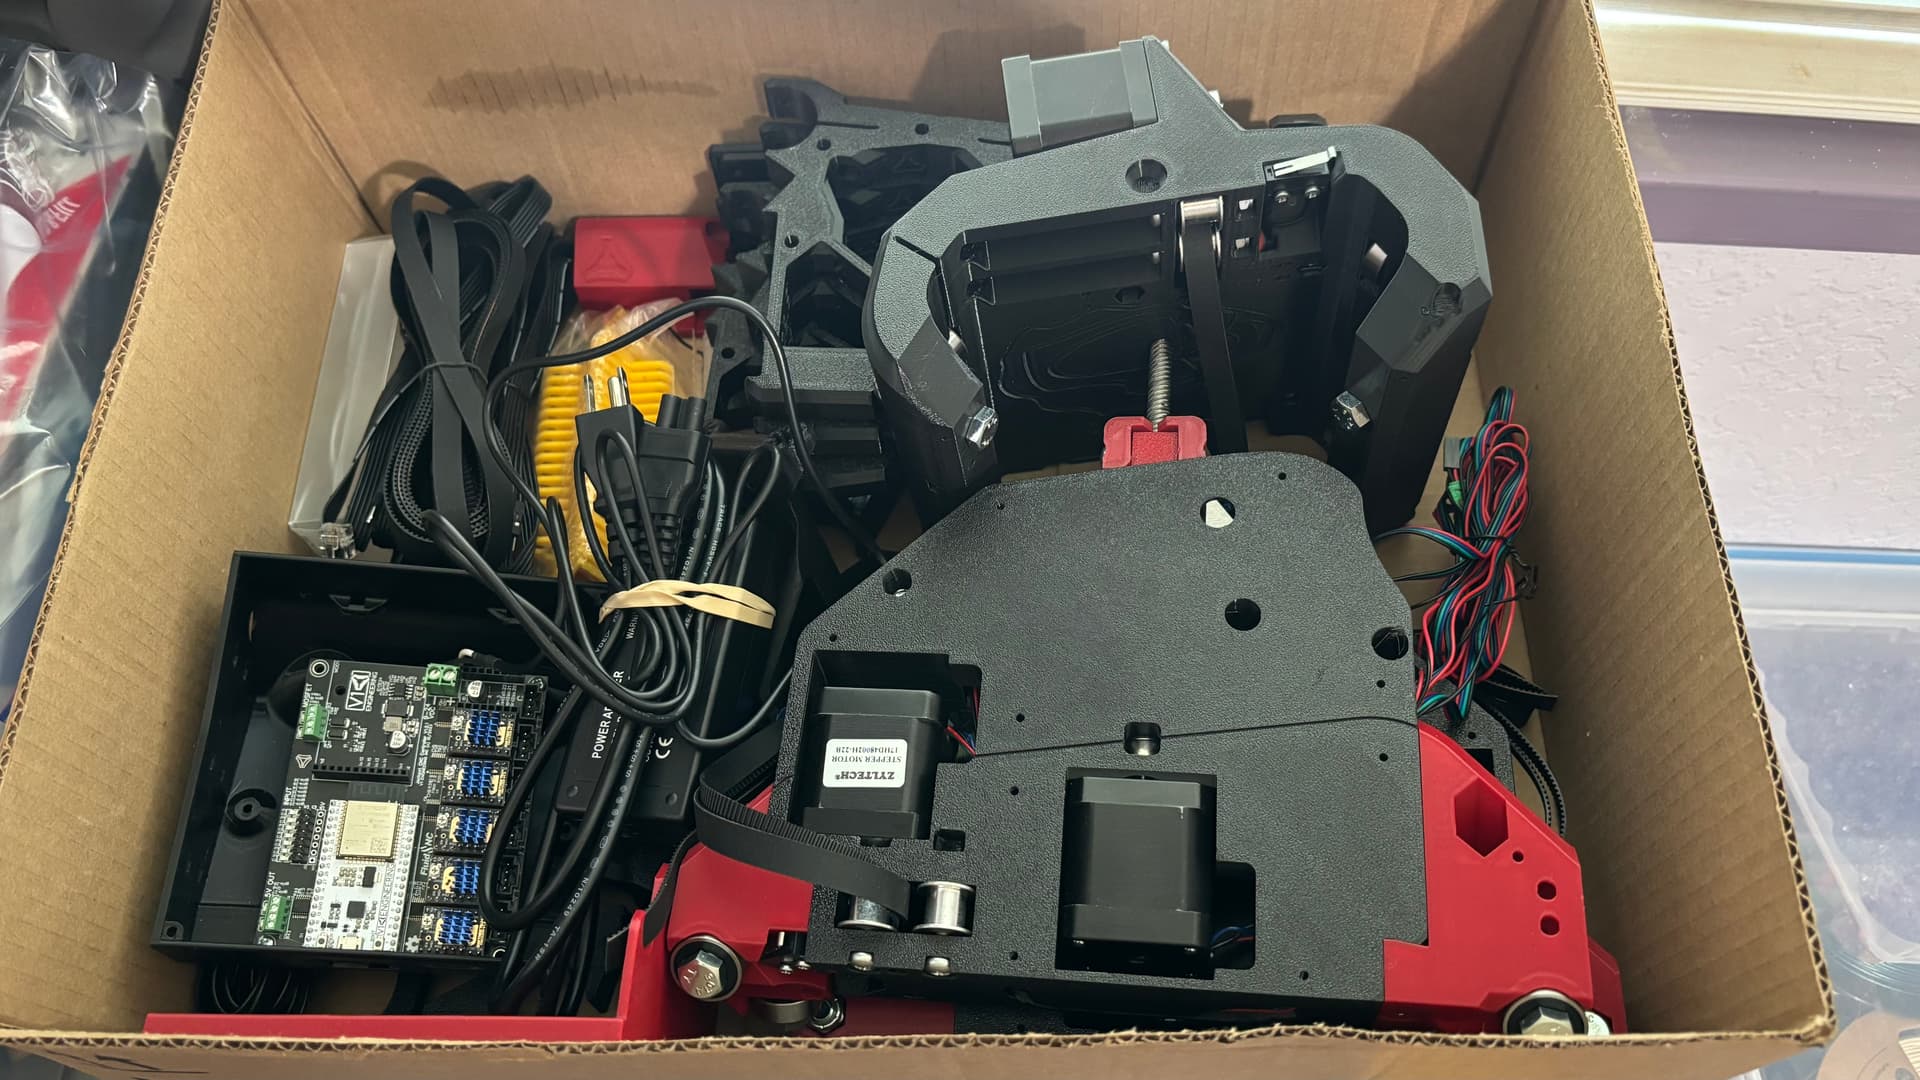
I am making progress on my LR4. I bought my first 3D printer in March. It’s the FlashForge AD5M. I have really enjoyed it and learned a lot. @tjb put his LR3 hardware kit up for sale and I decided to buy it and build a LR4. I started printing the parts for the LR4 right after I bought his kit. I must say @Ryan, I was so amazed at how well you have designed the LR4 and how well everything fits together. This is such an amazing machine. I built a LR2 at school for the woodshop teacher as well as an MPCNC Burly for me to make foamboard planes. The LR4 is leaps and bounds above these.
After everything was printed, I started assembling it with all the motors and endstops. I finished that and paused for a couple of weeks. I was having a hard time wrapping my head around the size of the workspace in relation to the beam and table.
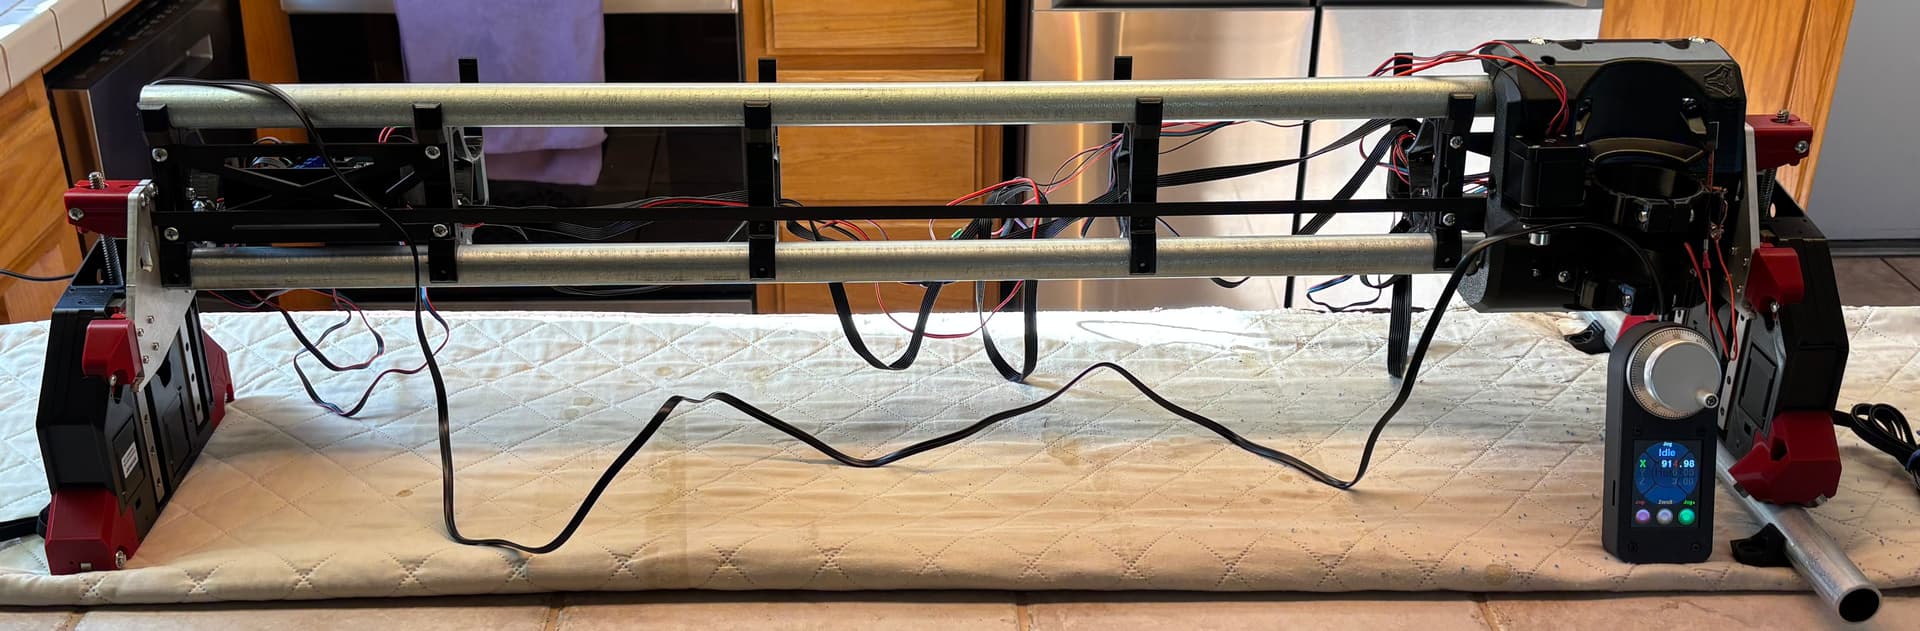
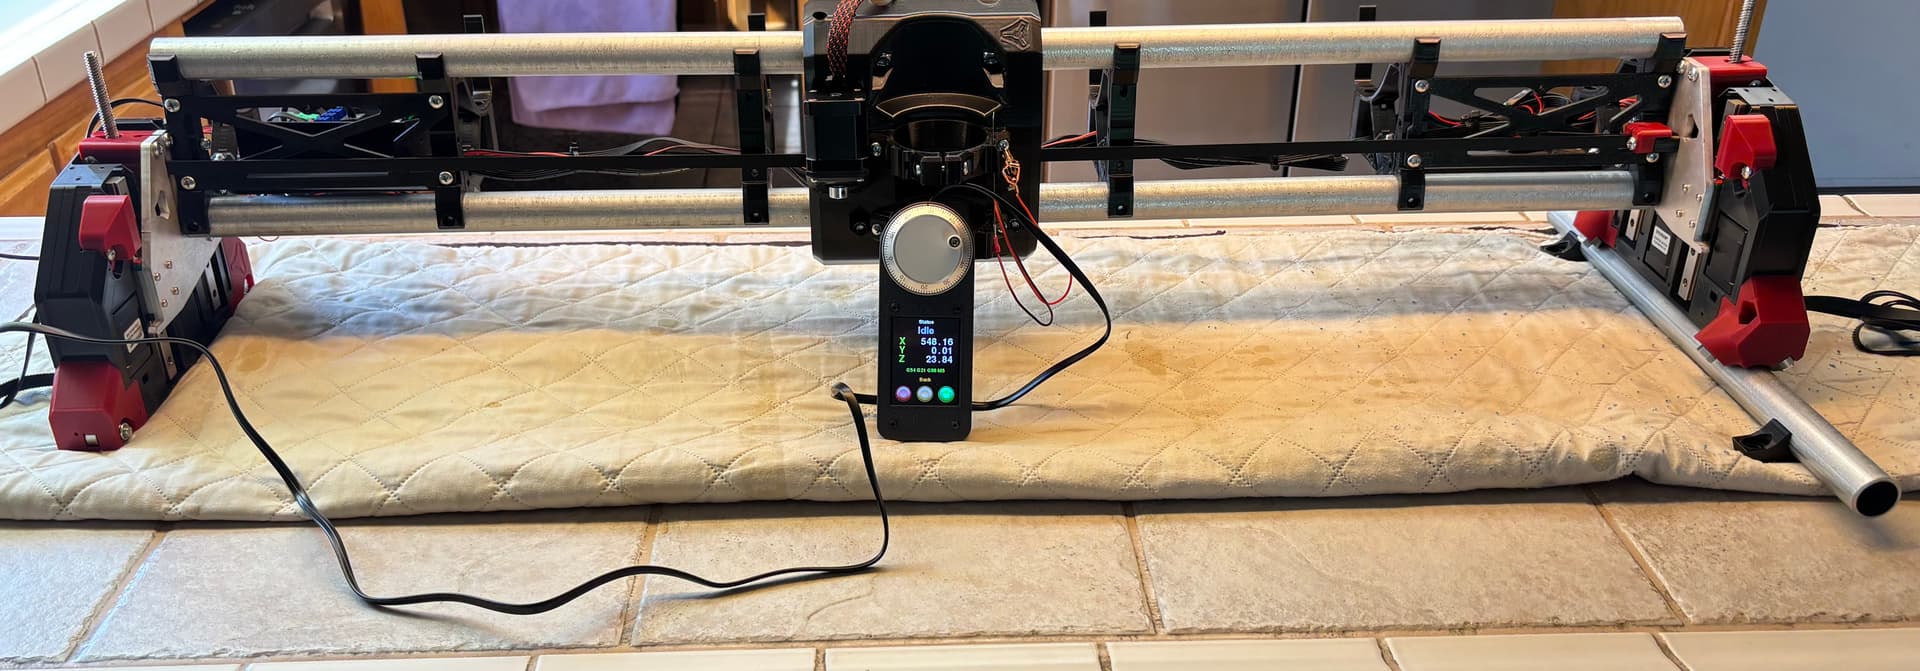
Yesterday I decided to buy some EMT and assemble the beam. It went together great and now my next step is the table. I’ll hopefully get that done next week.
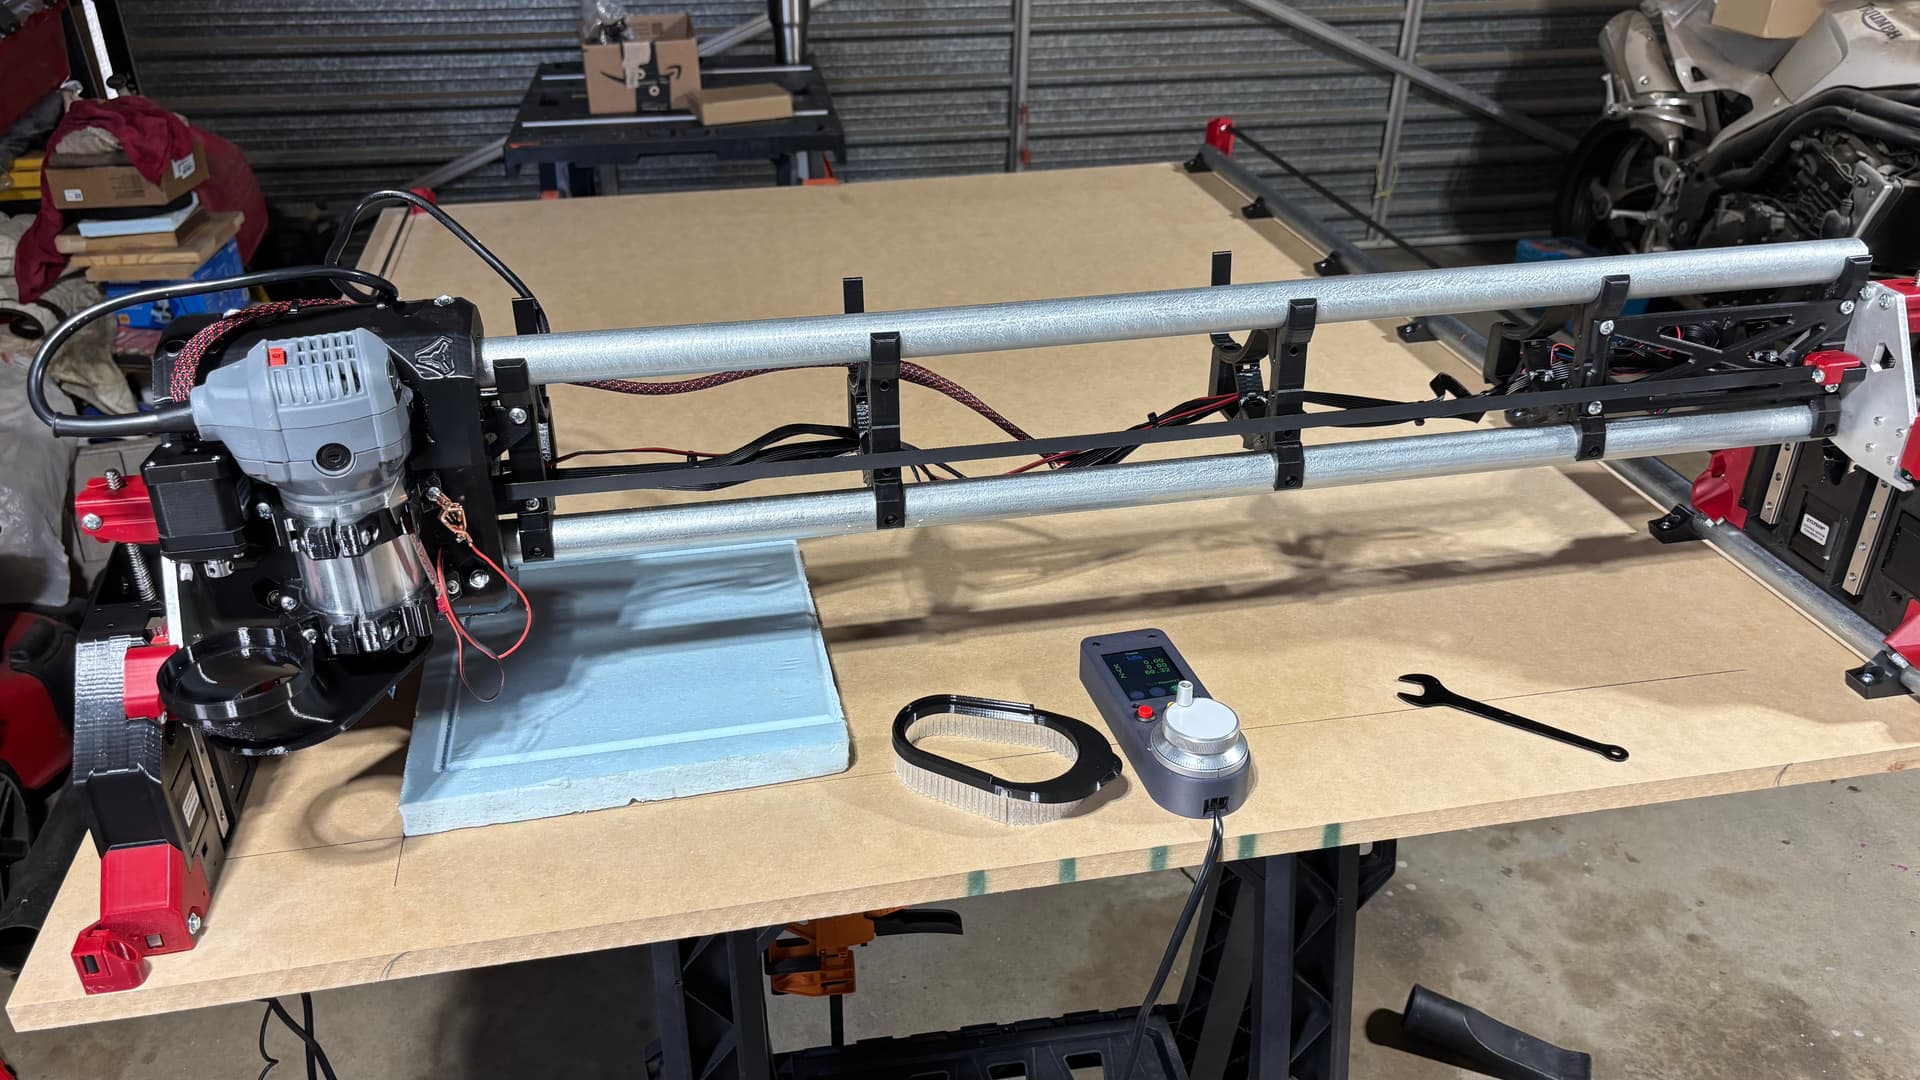
Almost a month later, I am now an official LowRider4 owner. It has a cut area of 36" X 48". I bought the Carbide ER11 router that is on sale for it.
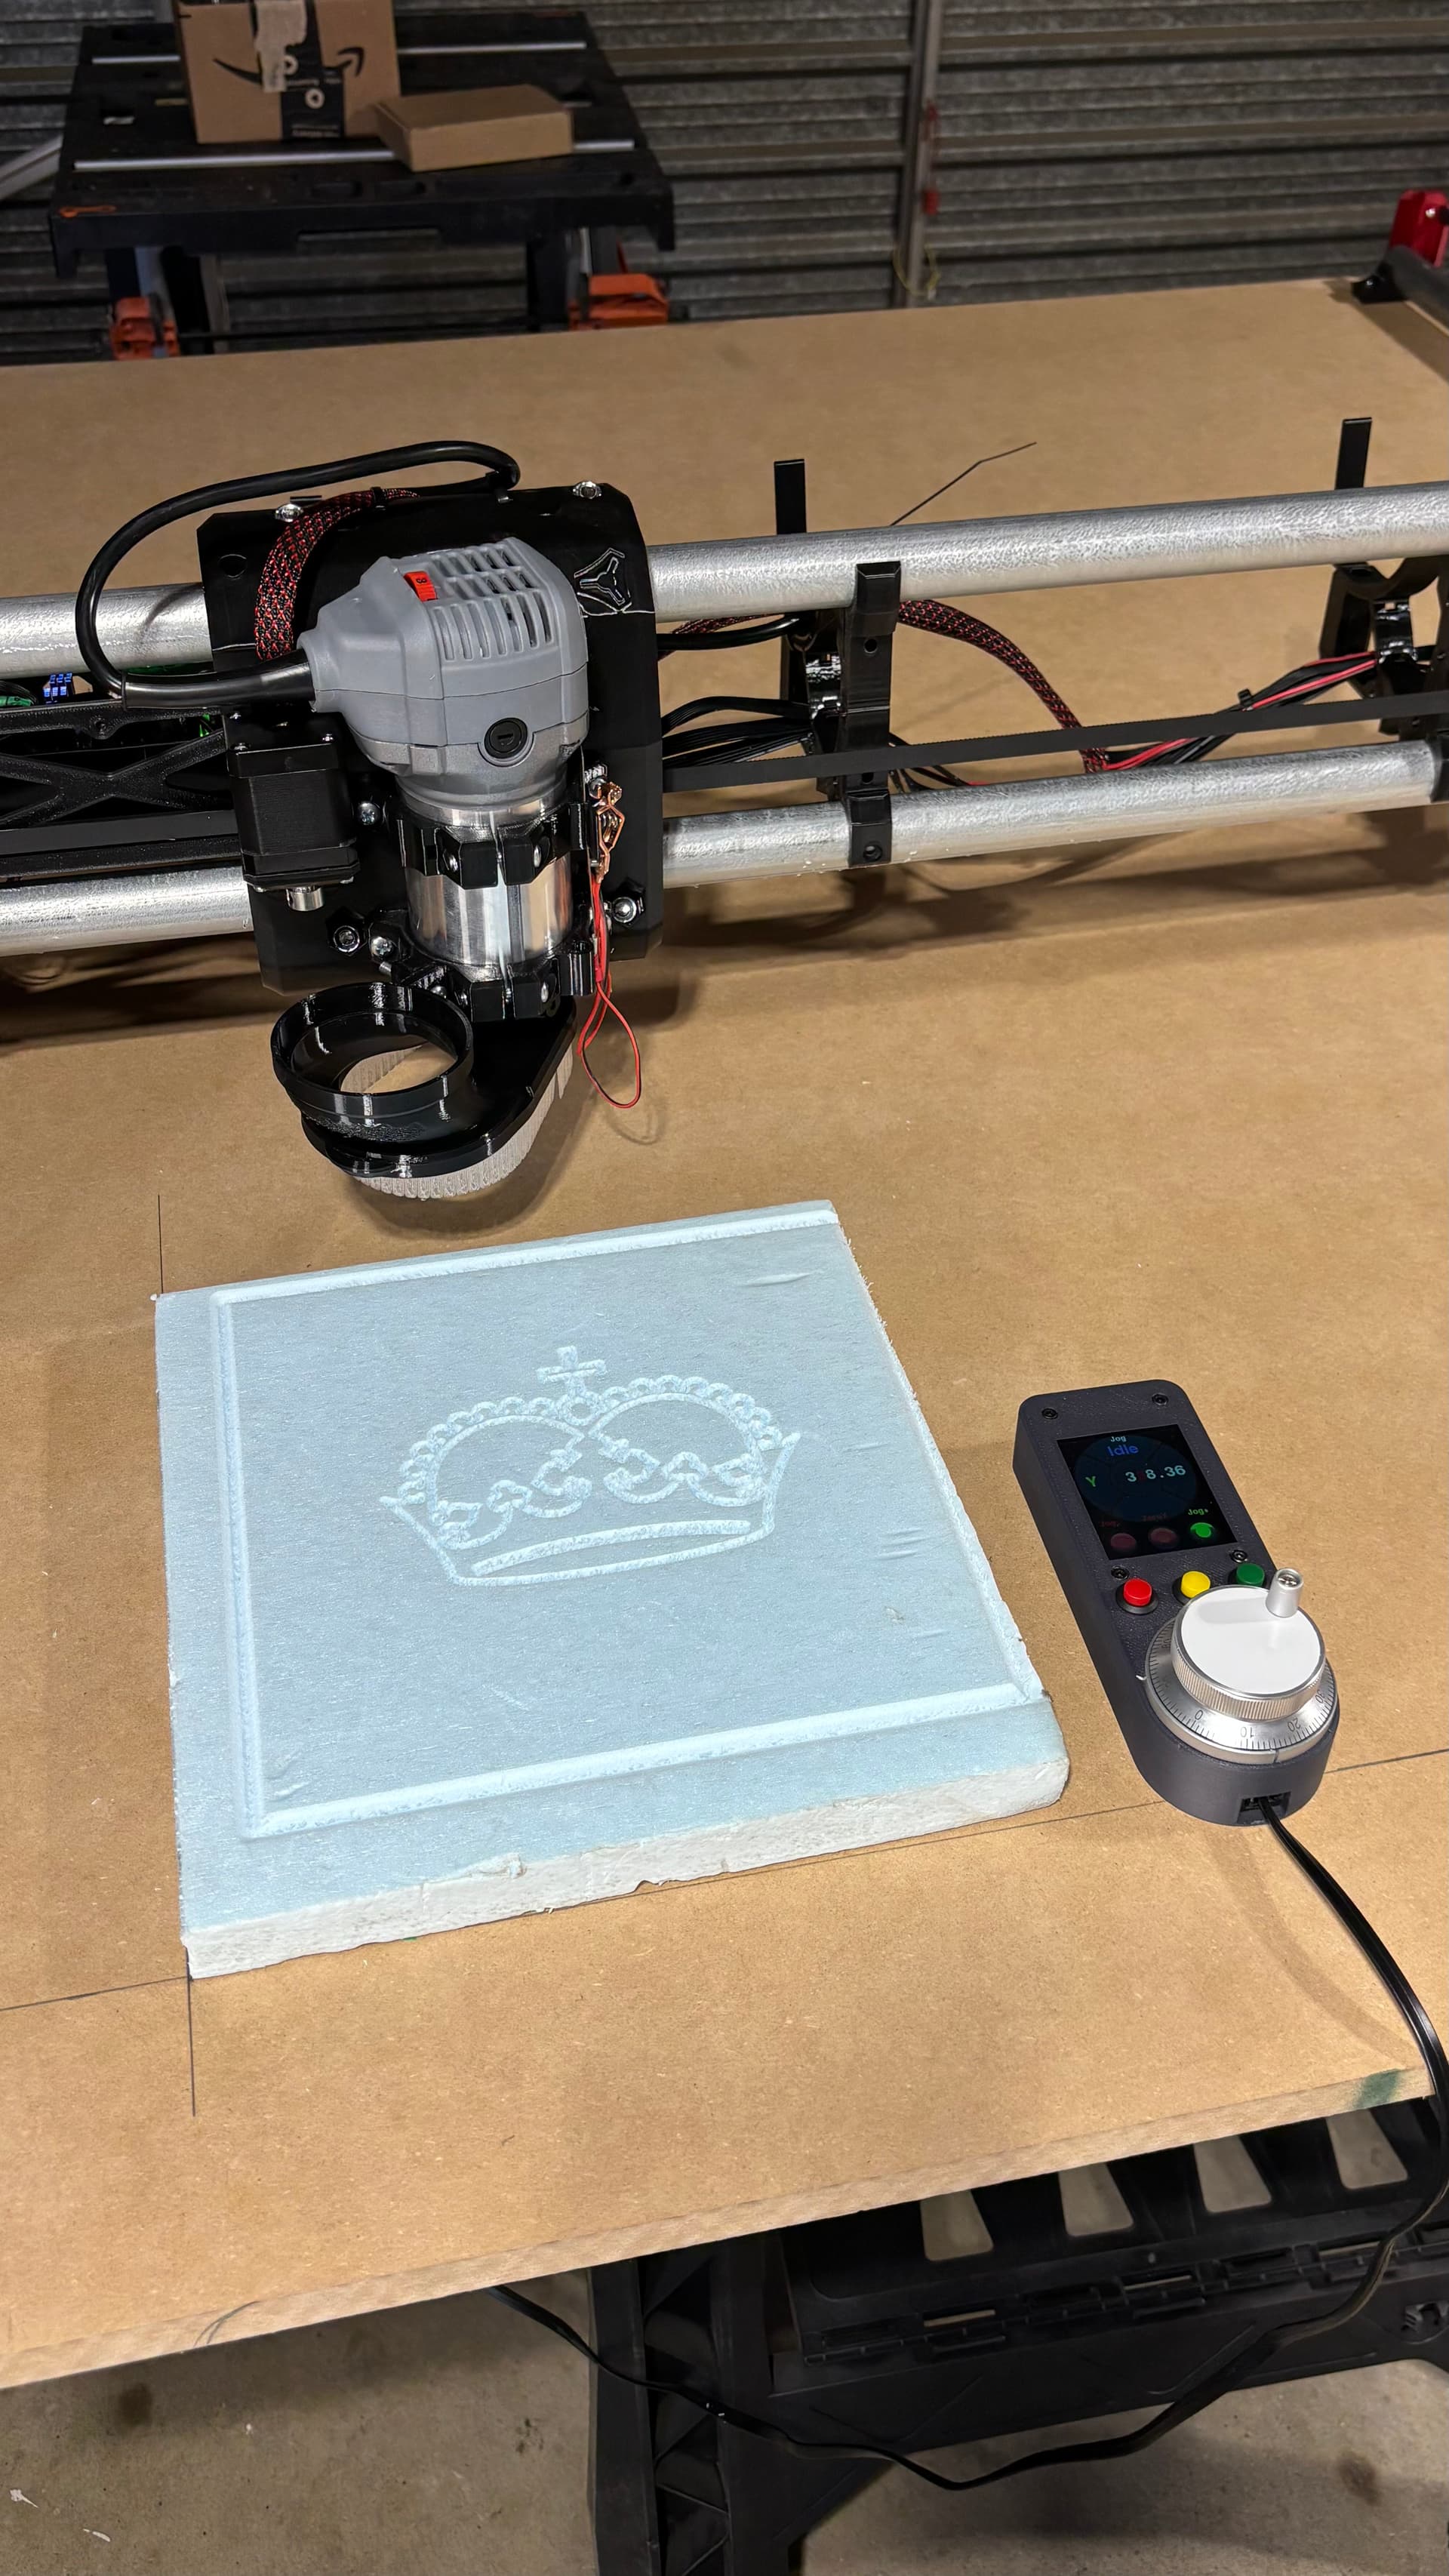
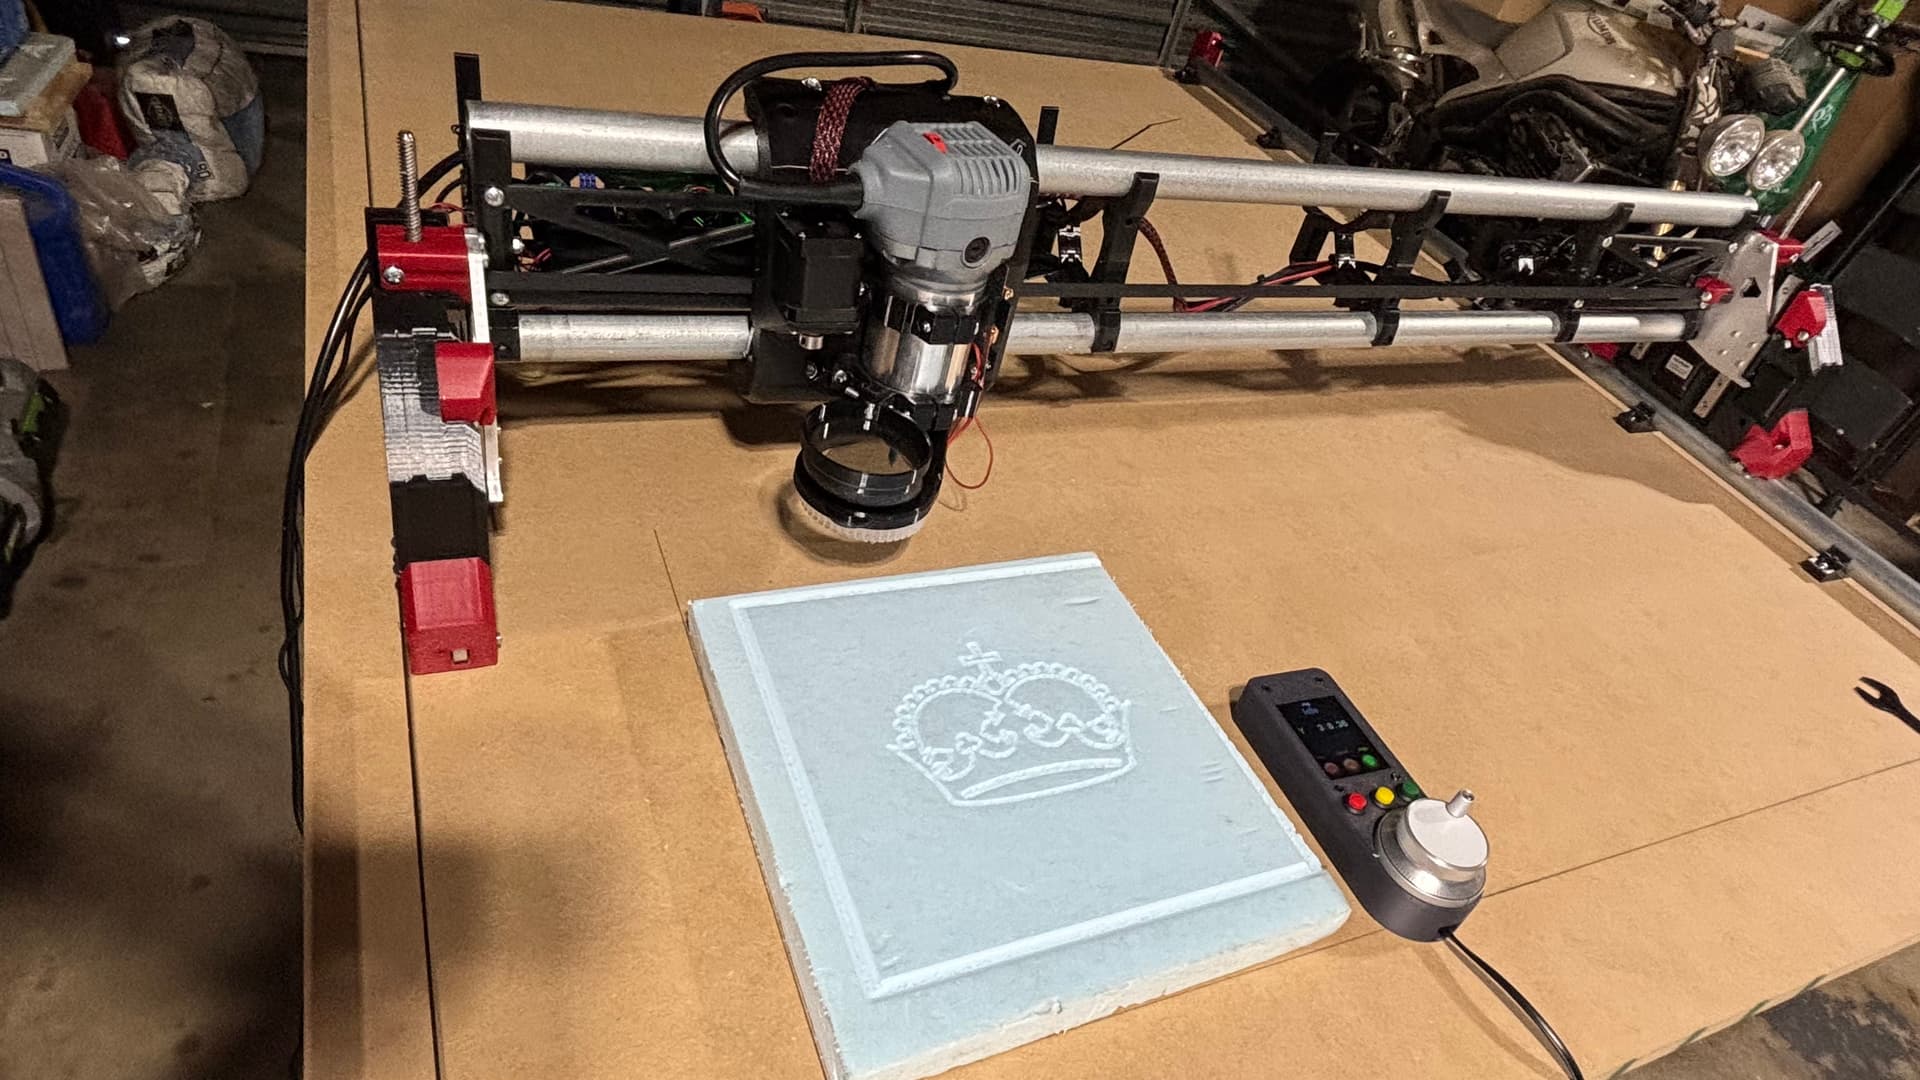
I finished the table today and got it squared and the z axes level. That took me a while. I did my first carve of the official crown on it using MillMage in foam. It turned out really well. Next I need to cut out the strut plates.
Having a dust shoe is really great! Especially when cutting foam.
To be honest, I didn’t use the vac hose yet. I just held the shopvac hose in the dust shoe. Once I have the strut plates mounted I will add the vac hose.
Thank you so much for making this all possible Ryan!
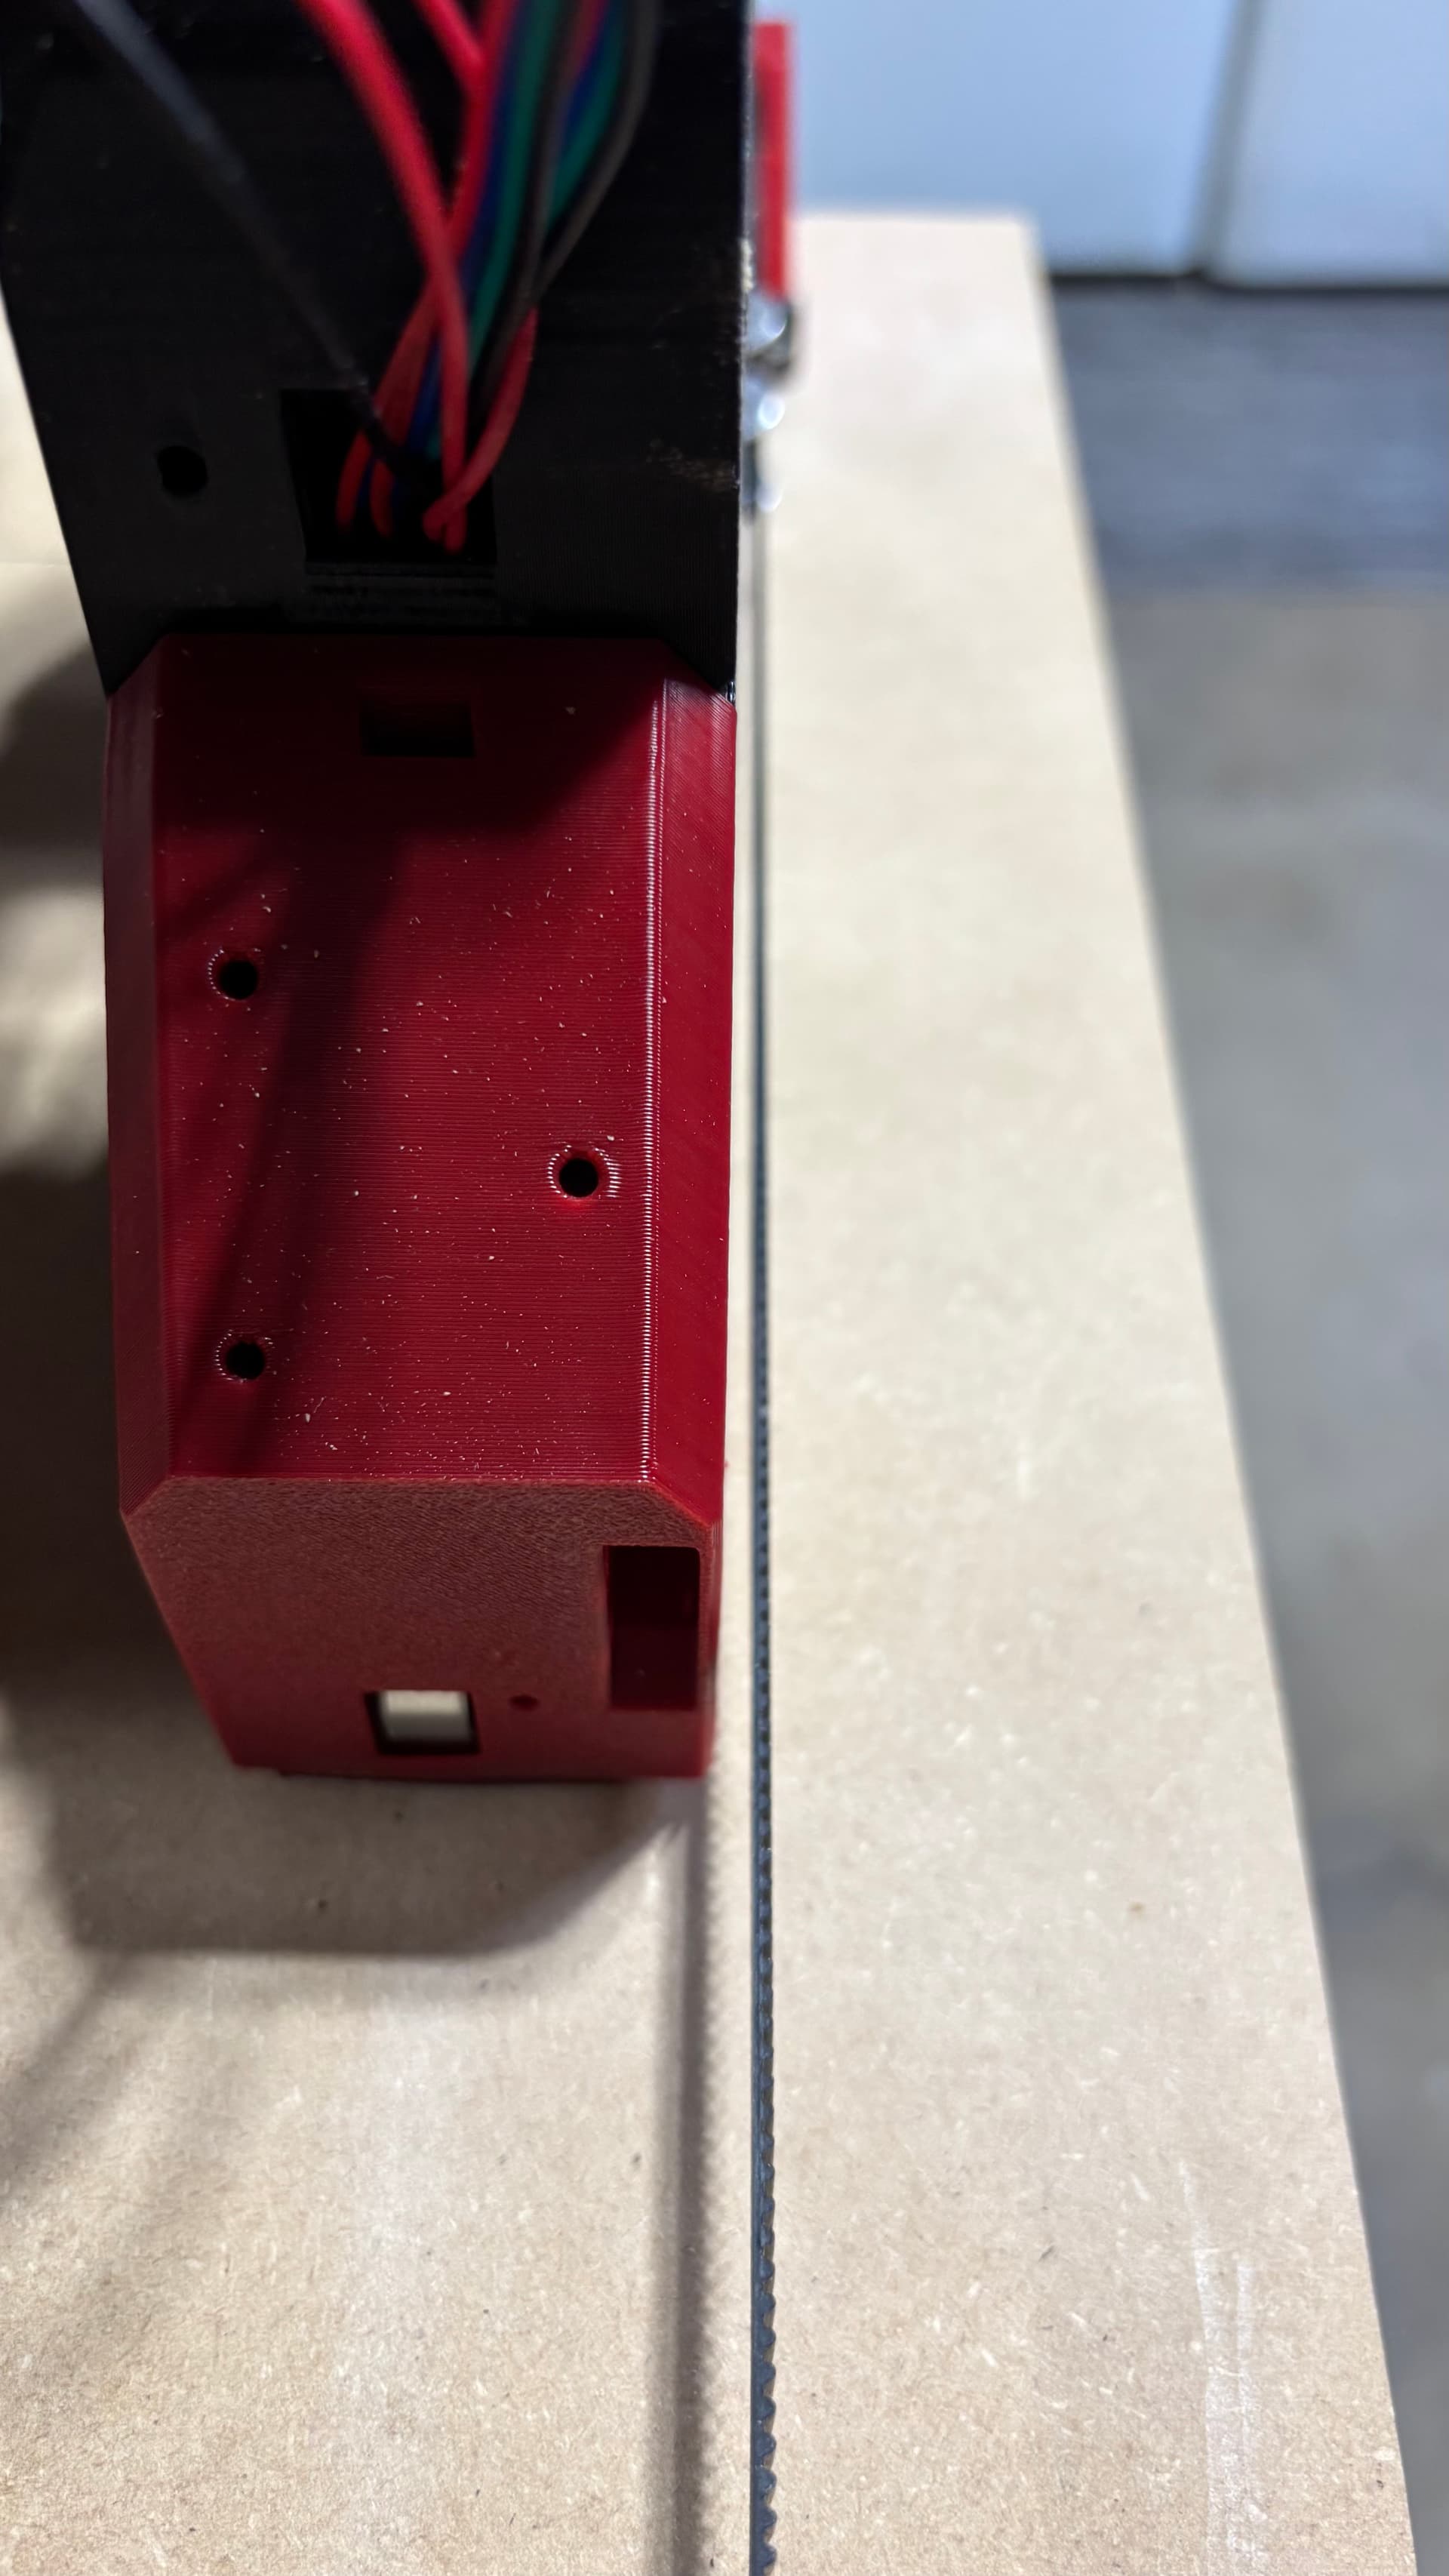
I finished building my LR4 and the table for it. I had a very frustrating time installing the permanent strut plates and getting it squared up. After installing them I put the LR on my table and the left side YZ had the toe out 5mm more than the heel. I tried to loosen and adjust it for over an hour but it never squared up. Finally in frustration I called it quits for the evening.
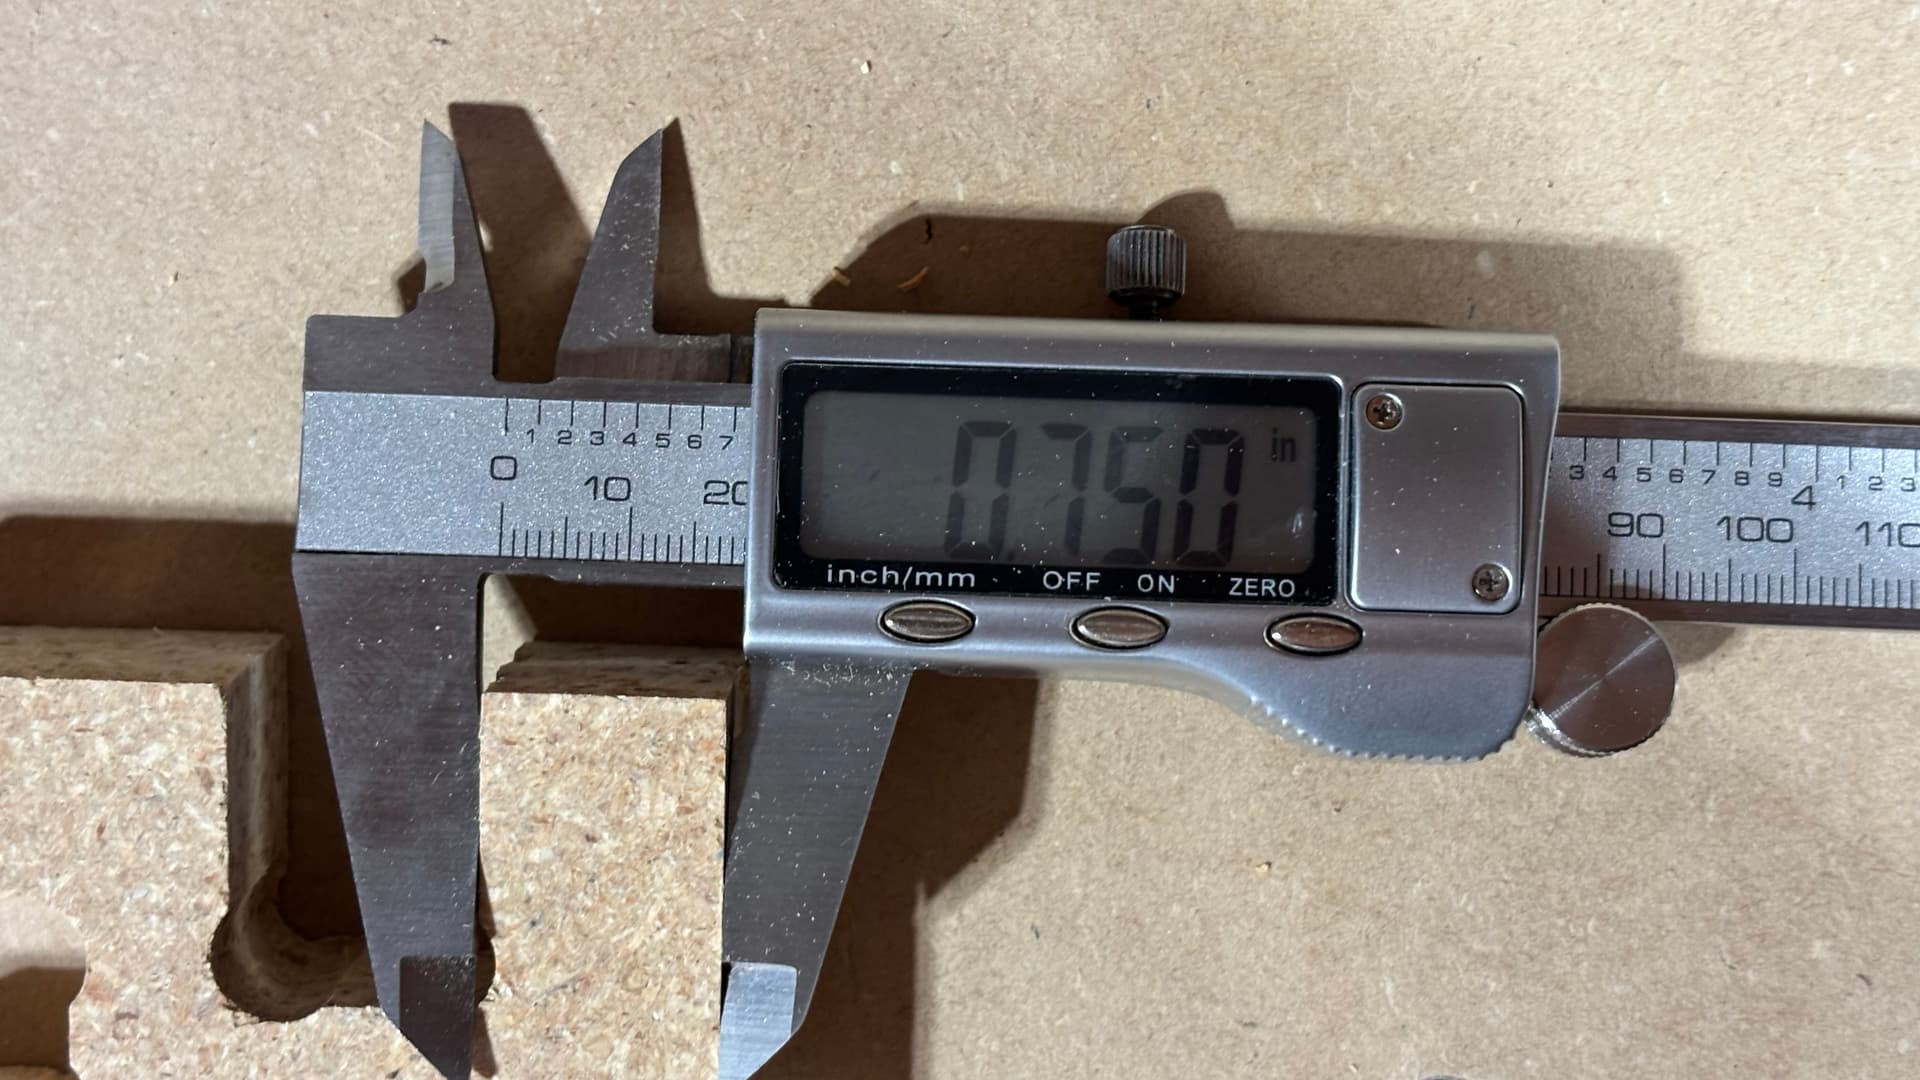
The next day I searched on the forum for anyone else experiencing the same problem and came across a similar post. The suggestion was to make sure that the X rails were not touching the aluminum side plates. I got out my tape measure and measured the rails. They were spot on with the calculator measurements. Then I decided to measure the strut plates. They were 3mm short!
I took the rails off and ground them down 3mm and put everything back together. Finally it was square.
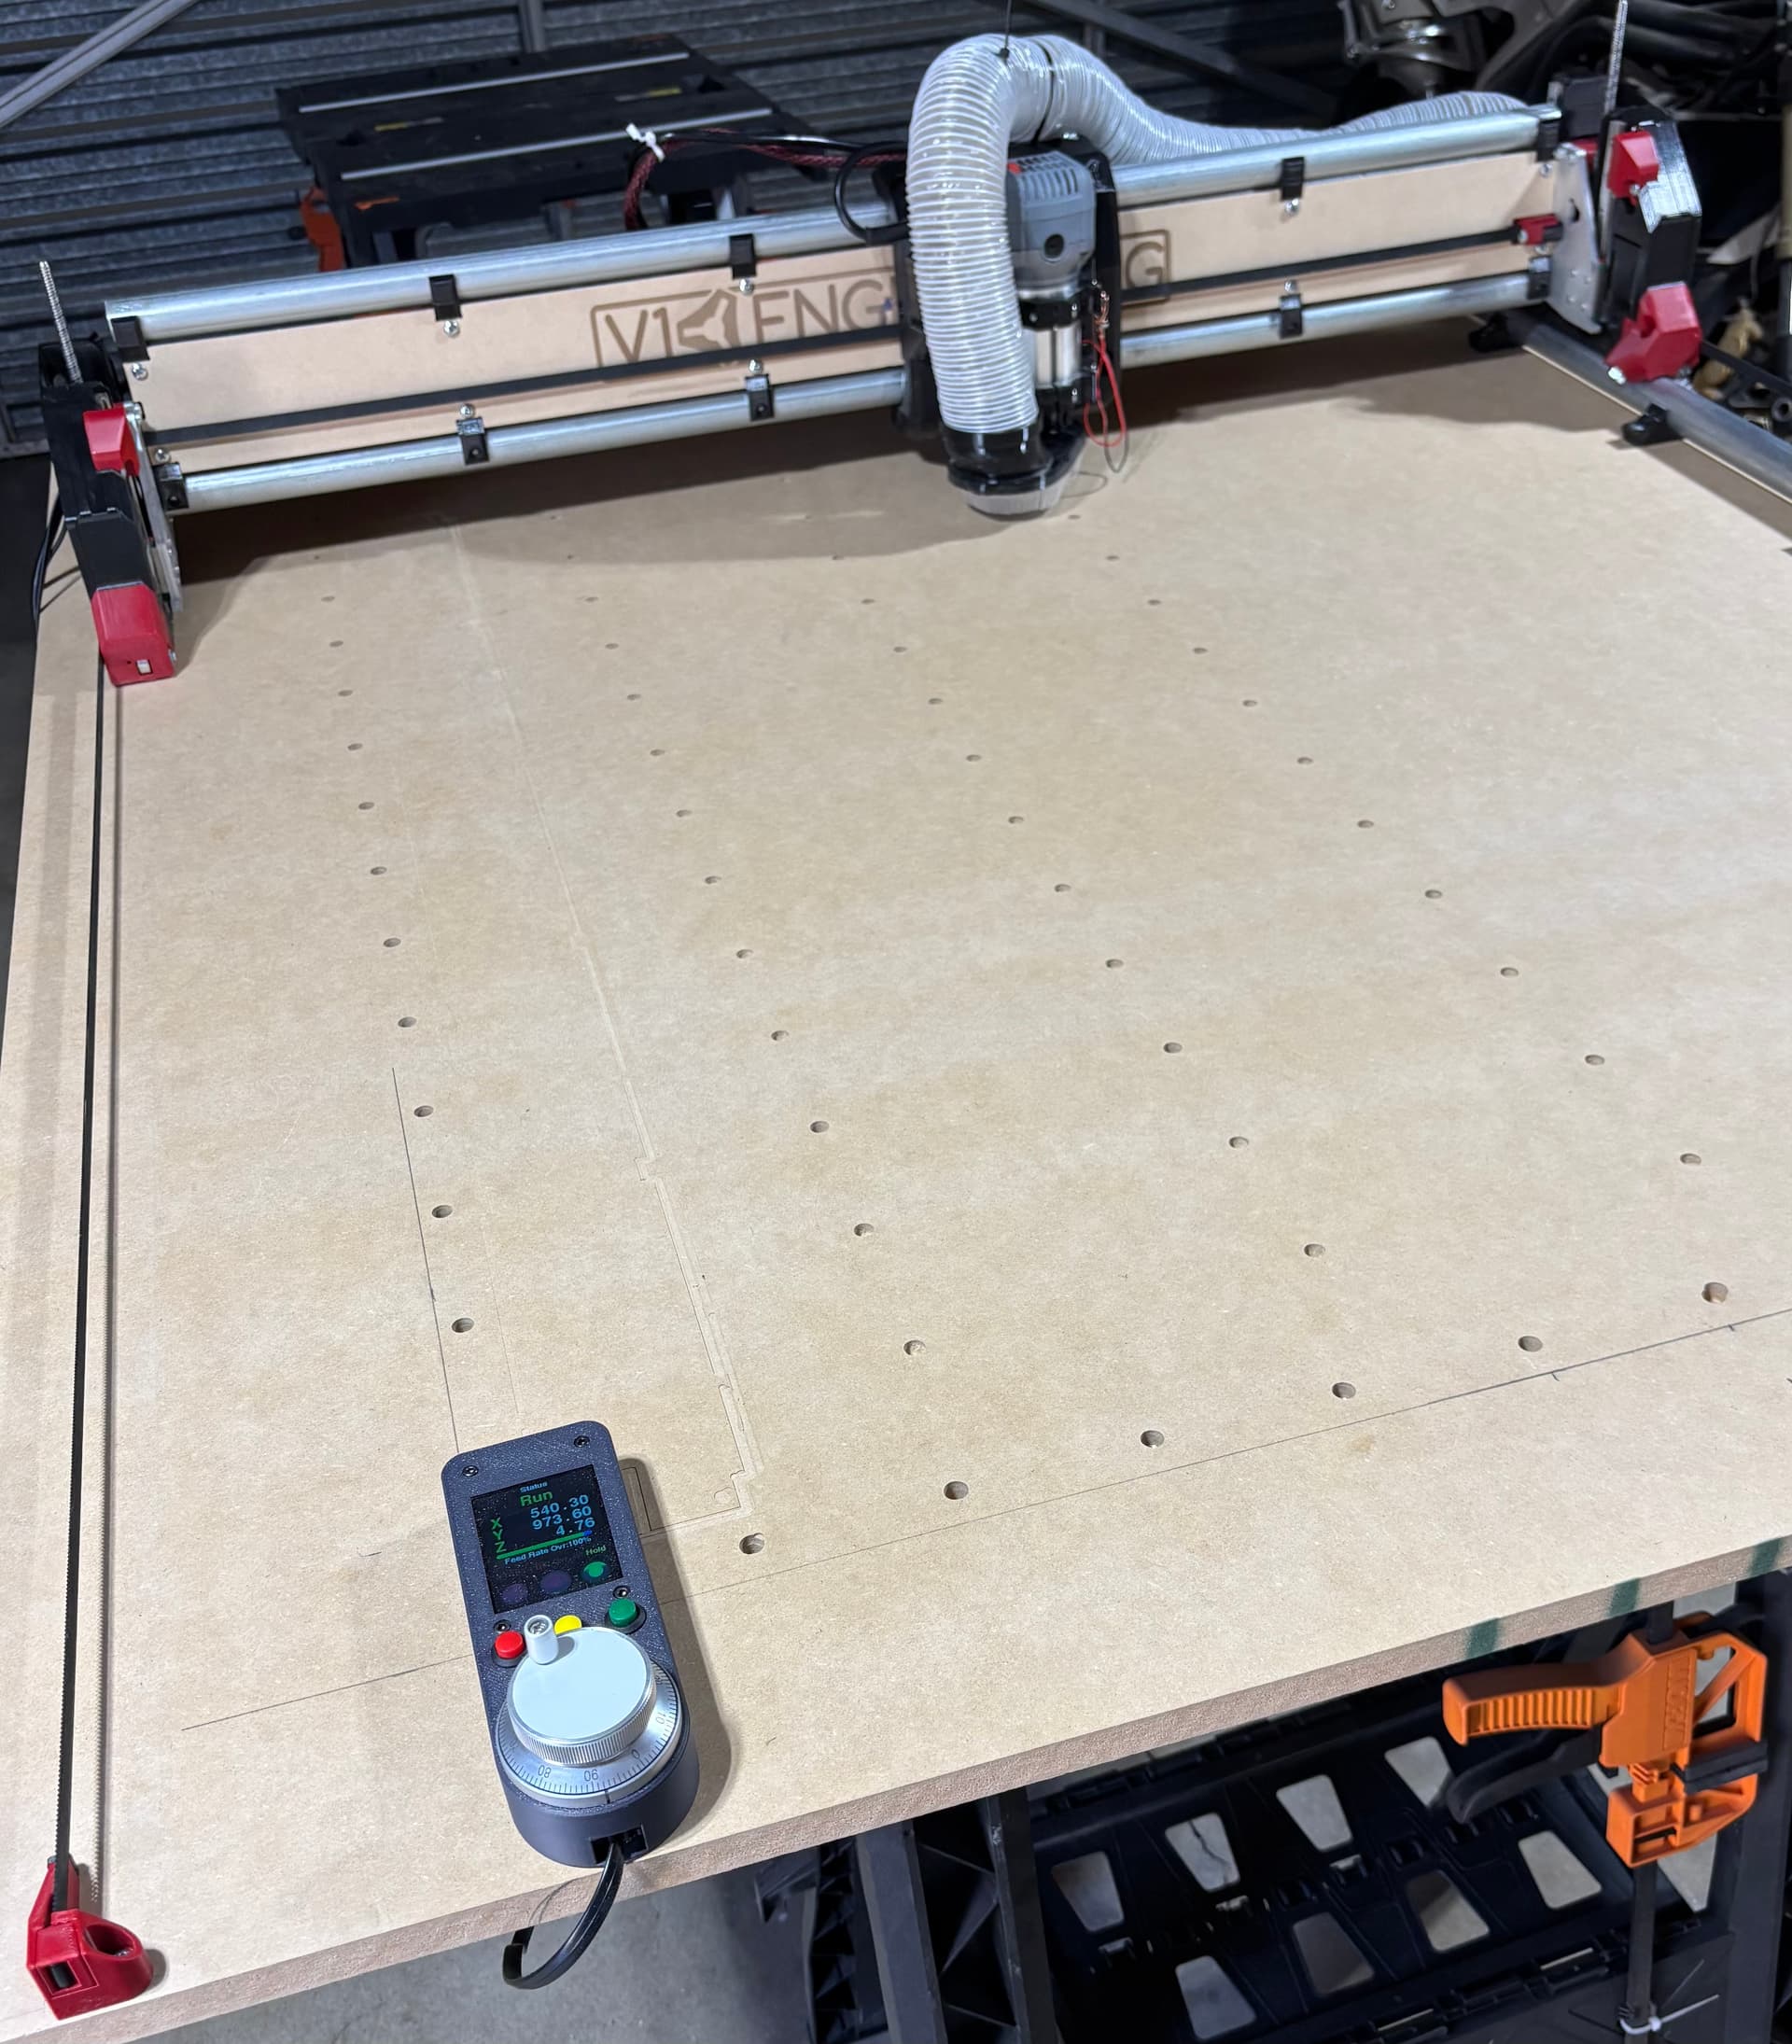
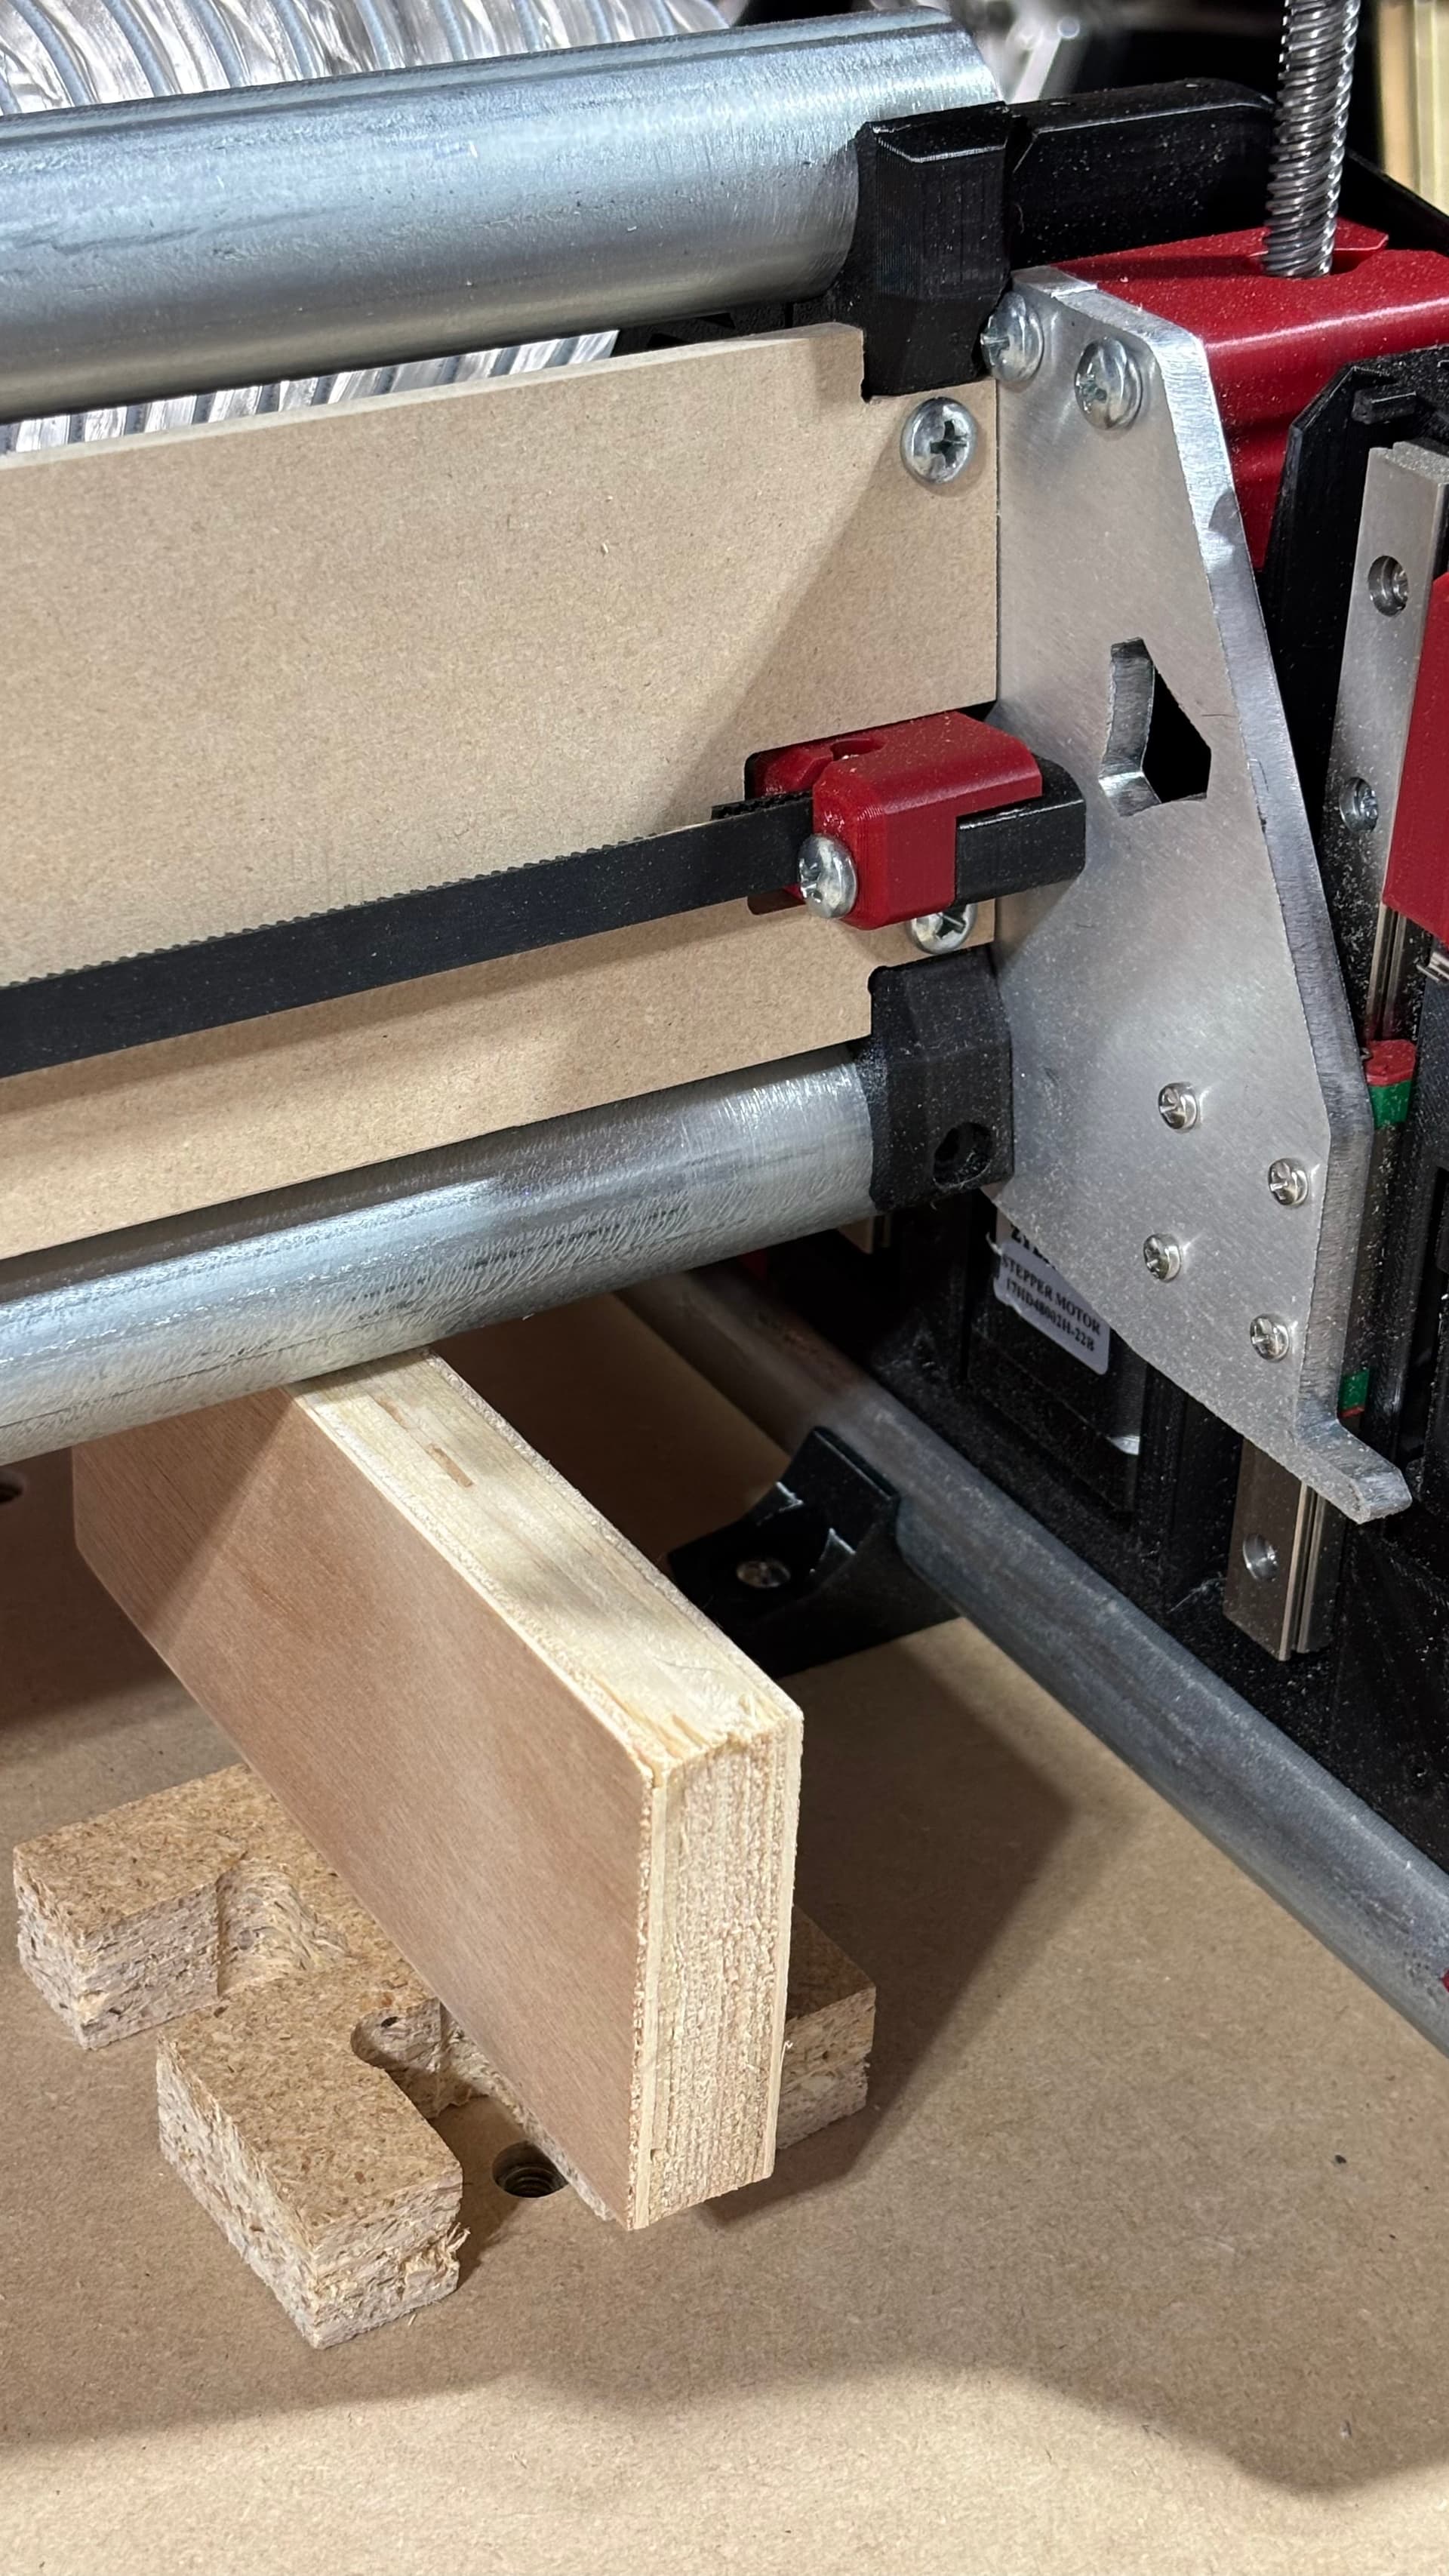
Then I remembered the discussion about the steps/mm being off for some belts. So I moved the gantry 1000mm and measured it and sure enough it was 3mm short. So I changed my steps/mm and remeasured. This time it moved 1000mm. @vicious1 maybe you could add to the docs to do a measurement with the temporary struts before cutting the permanent ones so this doesn’t happen to someone else.
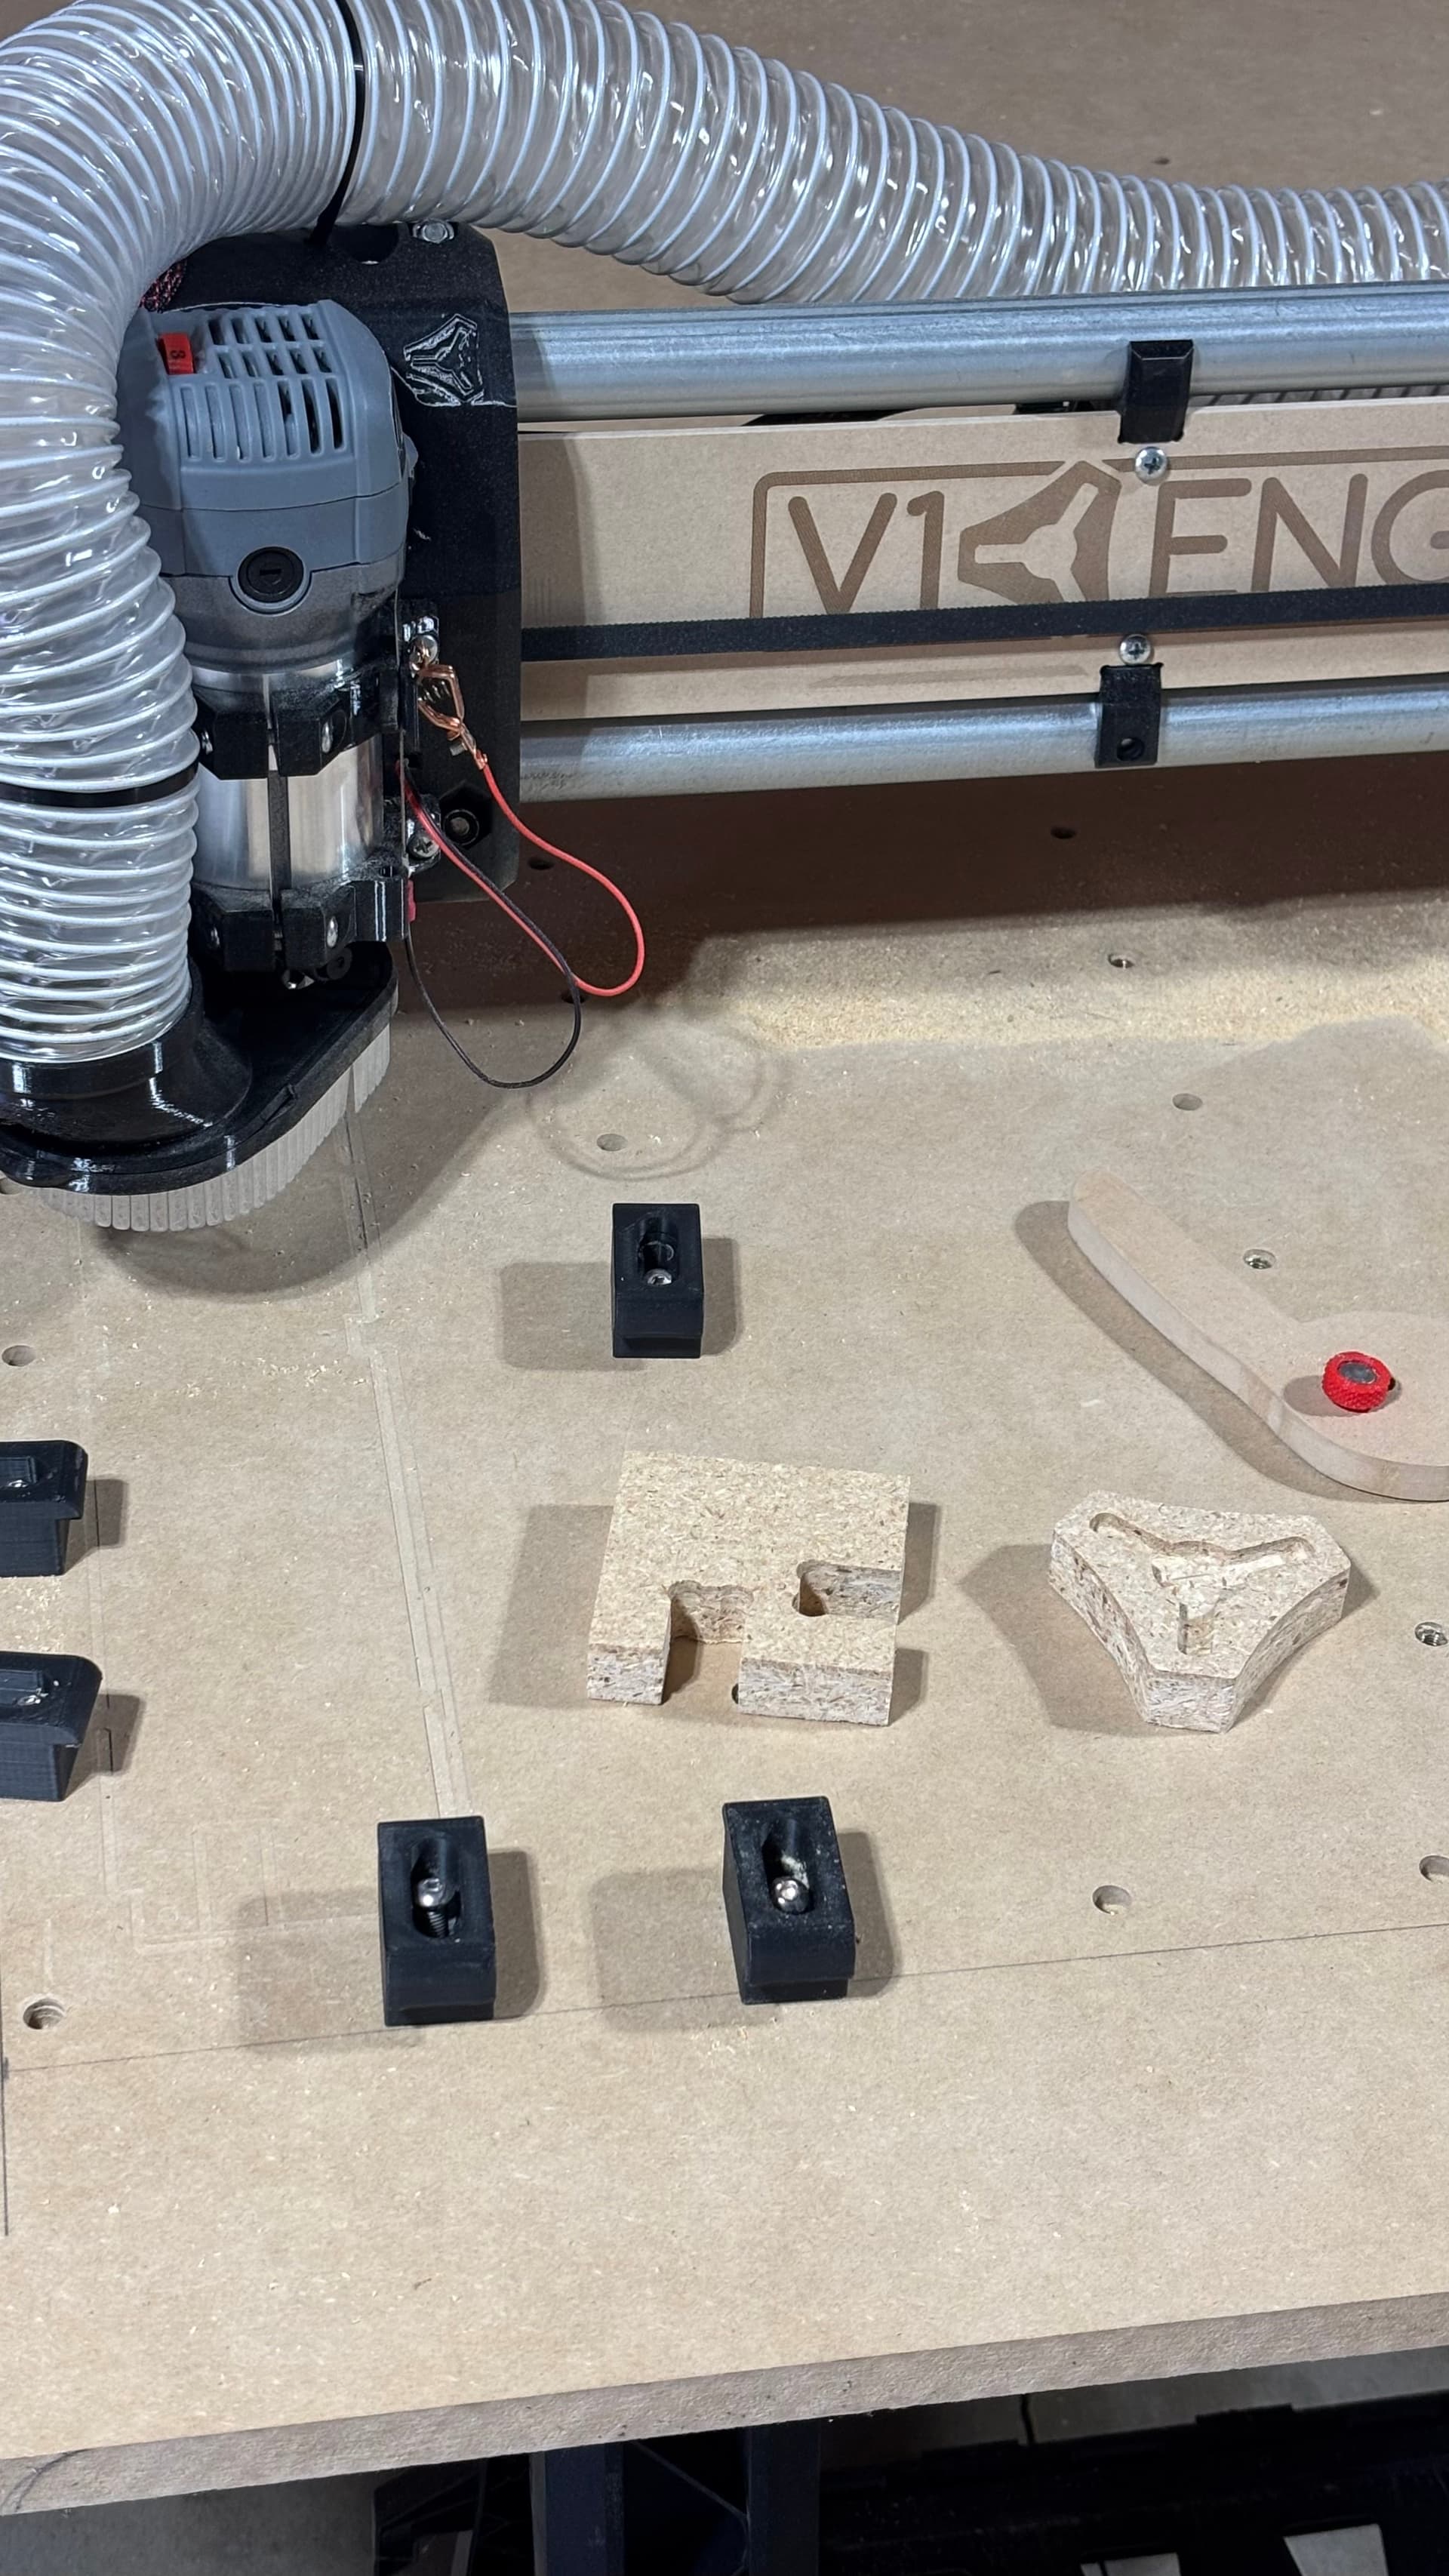
After checking for square I decided to try the dogbone cut that @tippmar posted. I used MillMage and a 1/4 inch bit. It turned out great. I was very happy with the results.
No worries @Ryan. I just wanted to bring it to your attention in hopes it will help someone else. This being my first working build of a LowRider, some things that might be obvious to you can be a puzzle to us just starting out.
Another thing that took me a while to understand is leveling the Z axes. I probed the min and compared it to the max. I tried adjusting the pulloff to equalize it several times. I thought I had it set, but when I cut out the strut plates the max side cut about 1.5mm into the spoil board. After I installed the strut plates and squared the machine I took a look at the z pulloffs. I used a small piece of plywood like a feeler gauge on both sides instead of the probe. I was surprised by how much the max side was off. I lowered the max side until it just touched and added that to the pulloff. Then I reprobed both sides and got them within 0.02mm.