Cat feeding station

Had enough with the cat’s feeding bowls lying on the floor in the living room… so I designed thiis little cat feeding station

I have 2 cats, so 2 feeding bowls and a water bowl in the center, bowl diameter can be adjusted by printing bespoke TPU gaskets

As always, finger joints and dogbones f360 plugins for assembly, and mapboards pro for laying out the parts…

Cut out of 10mm OSB, 2000mm/min, 3mm DOC, the LR4 really shines at fast cutting those simple materials

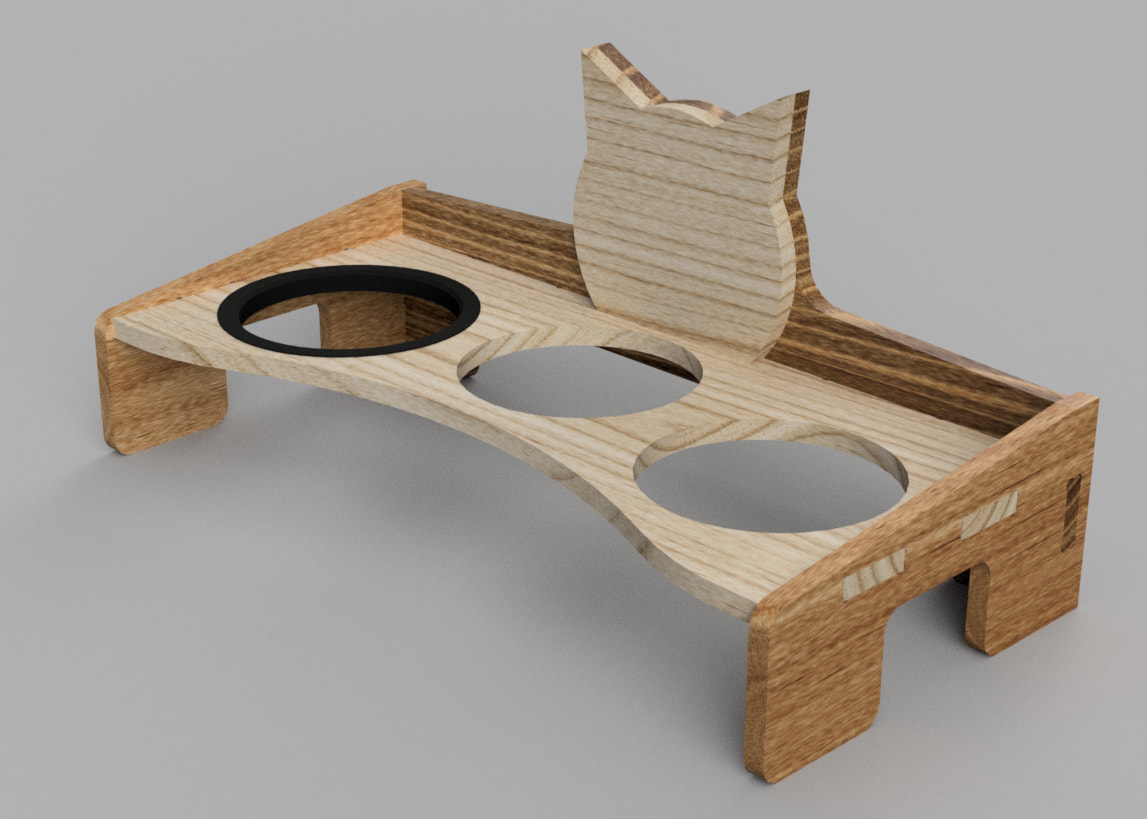
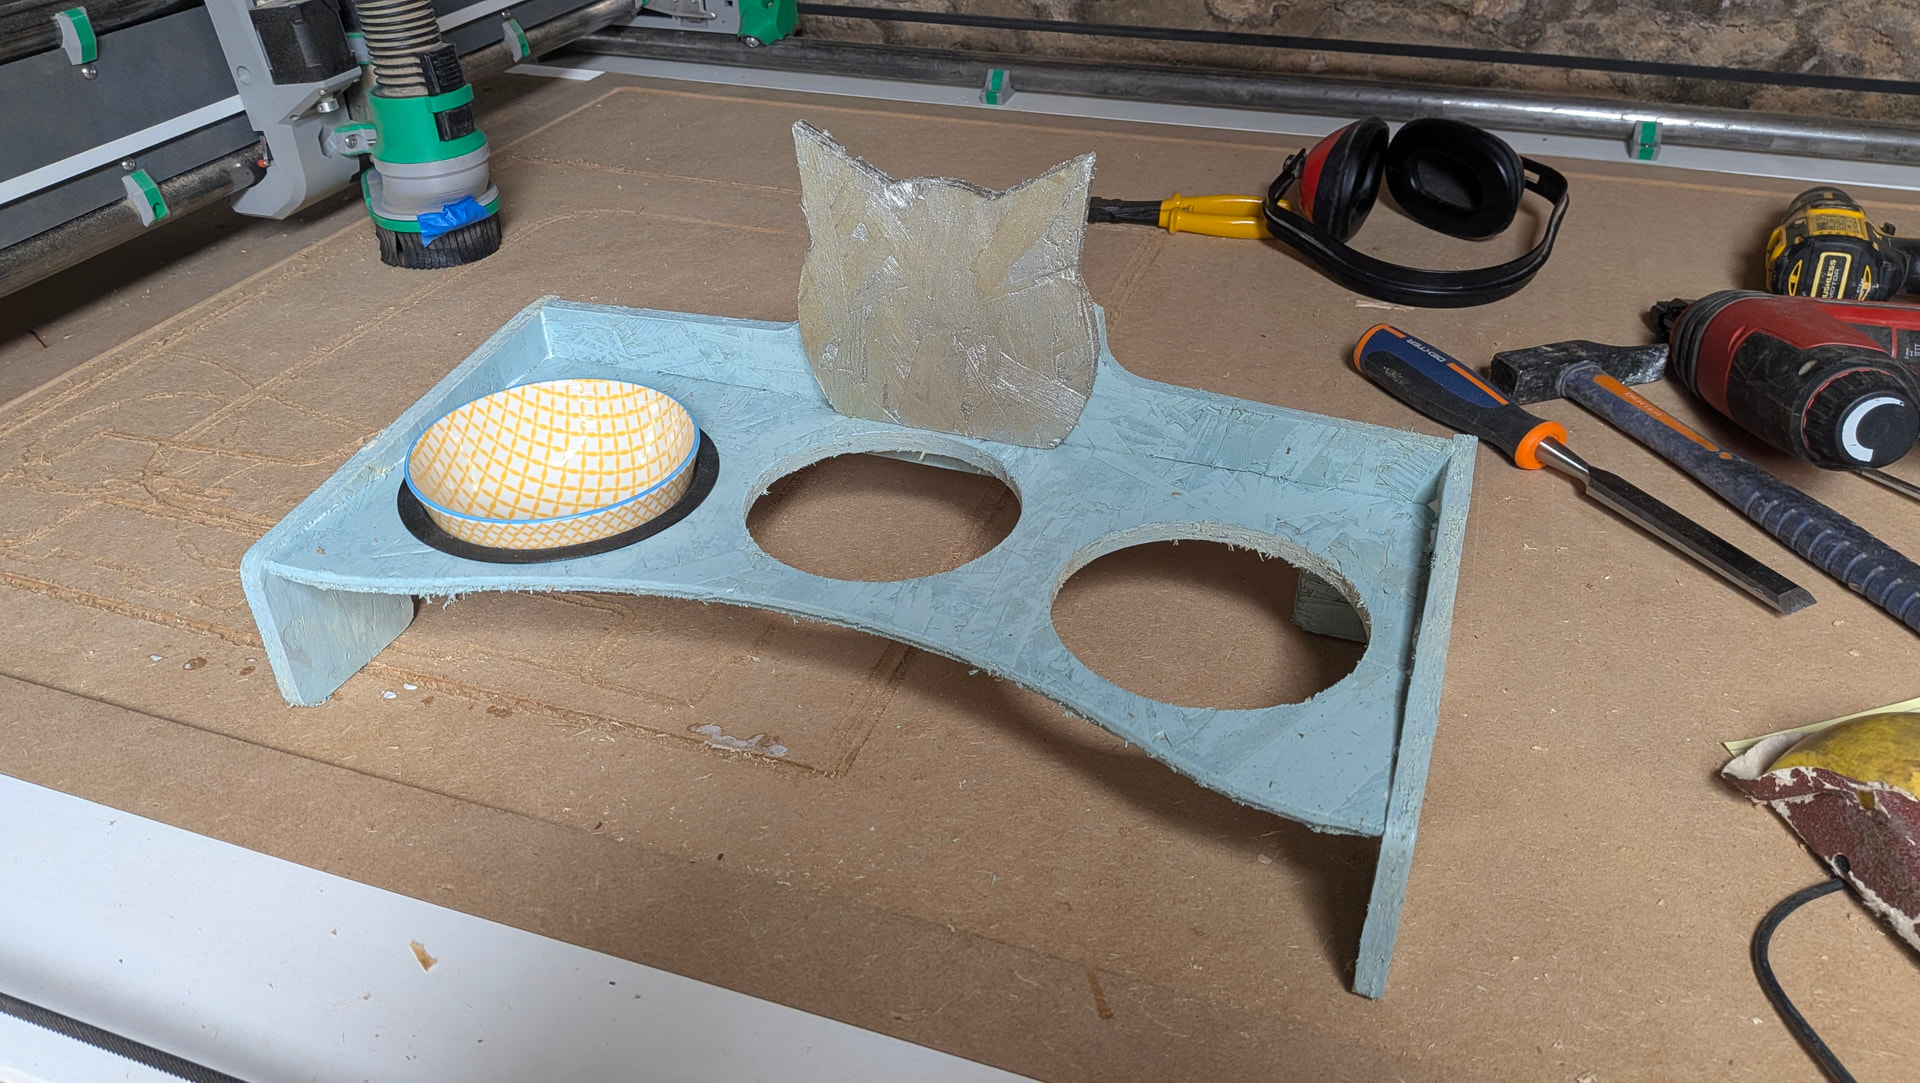
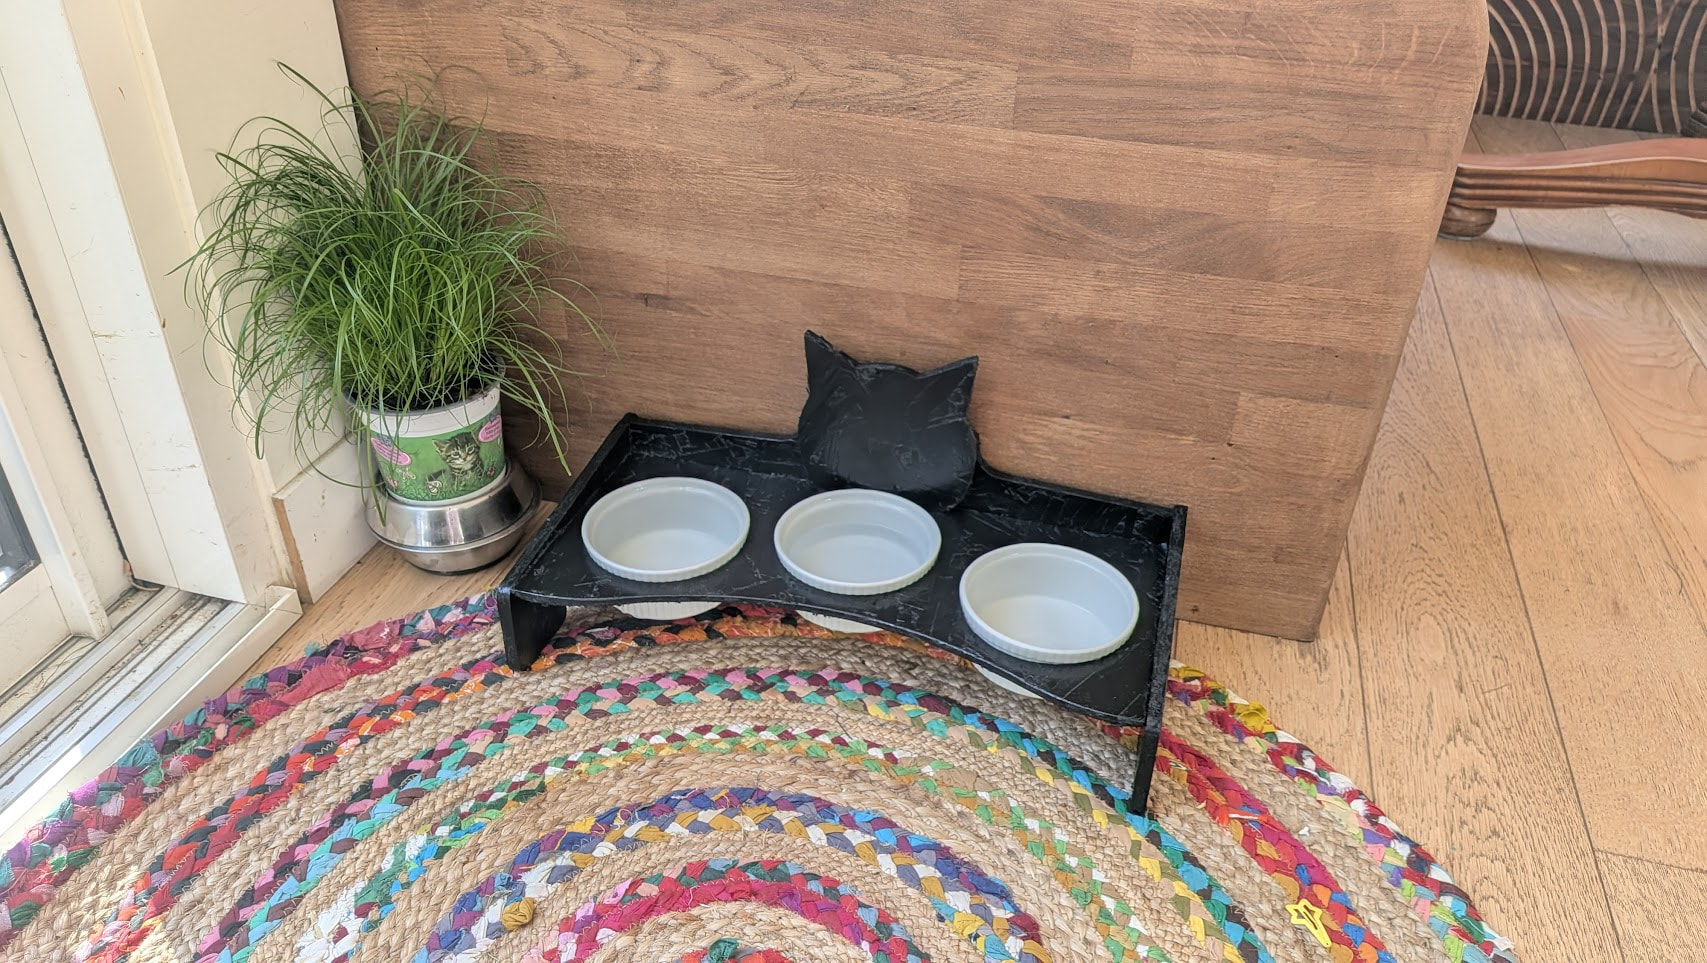
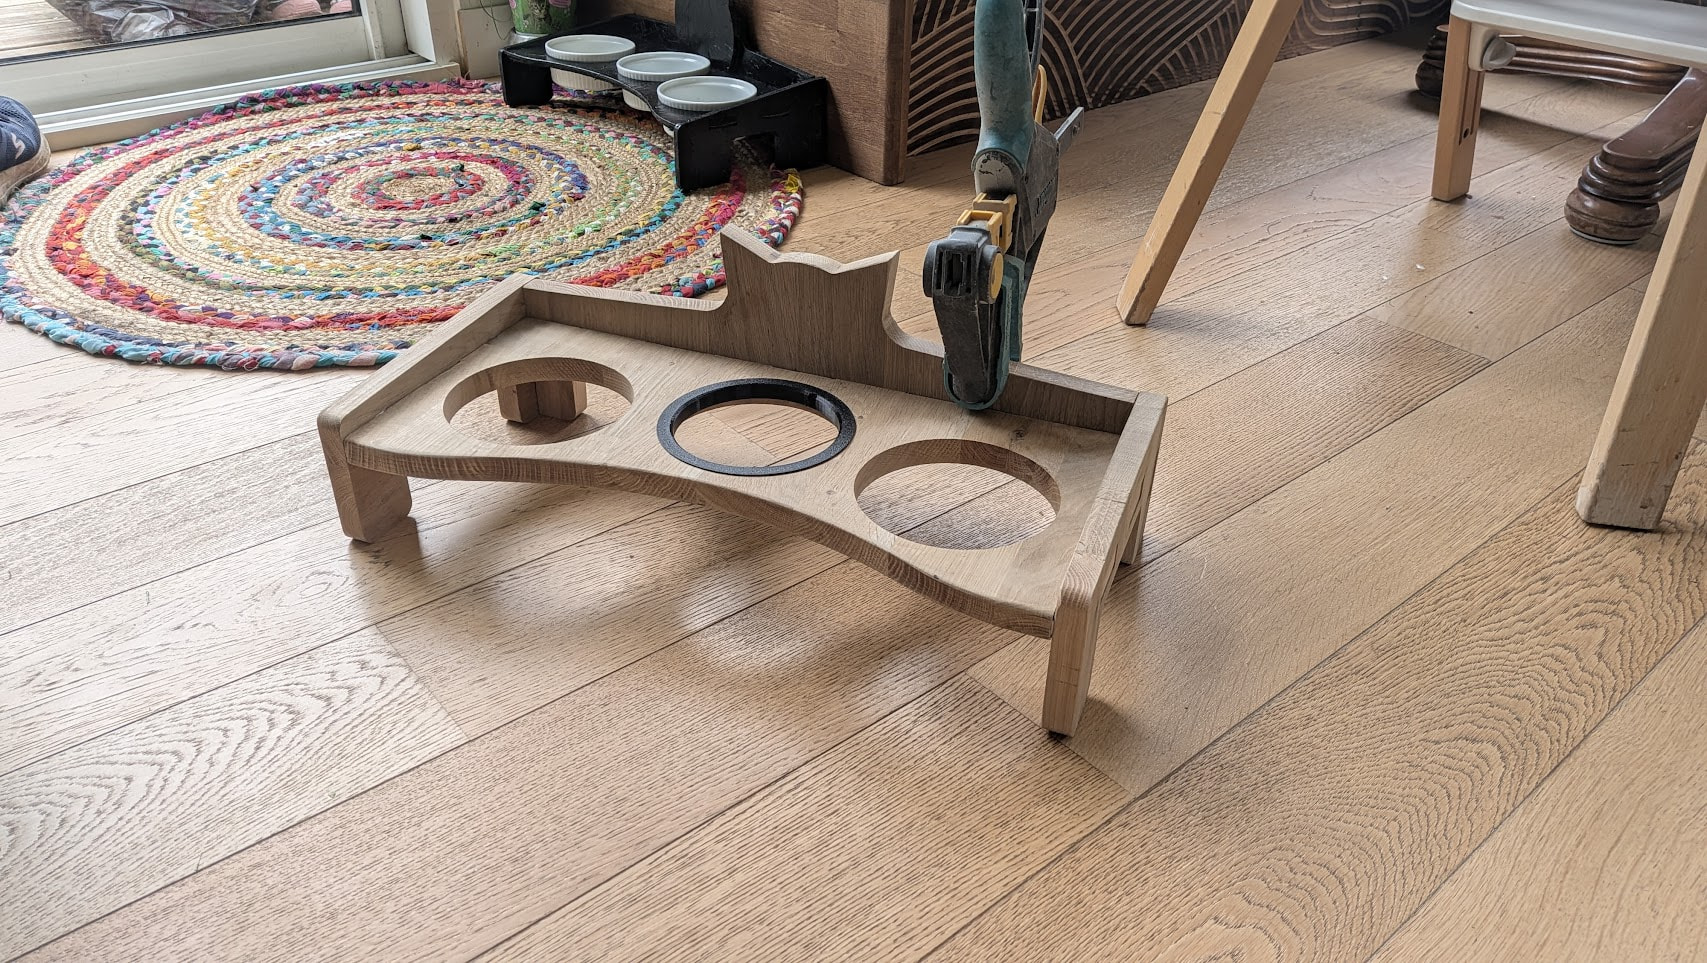
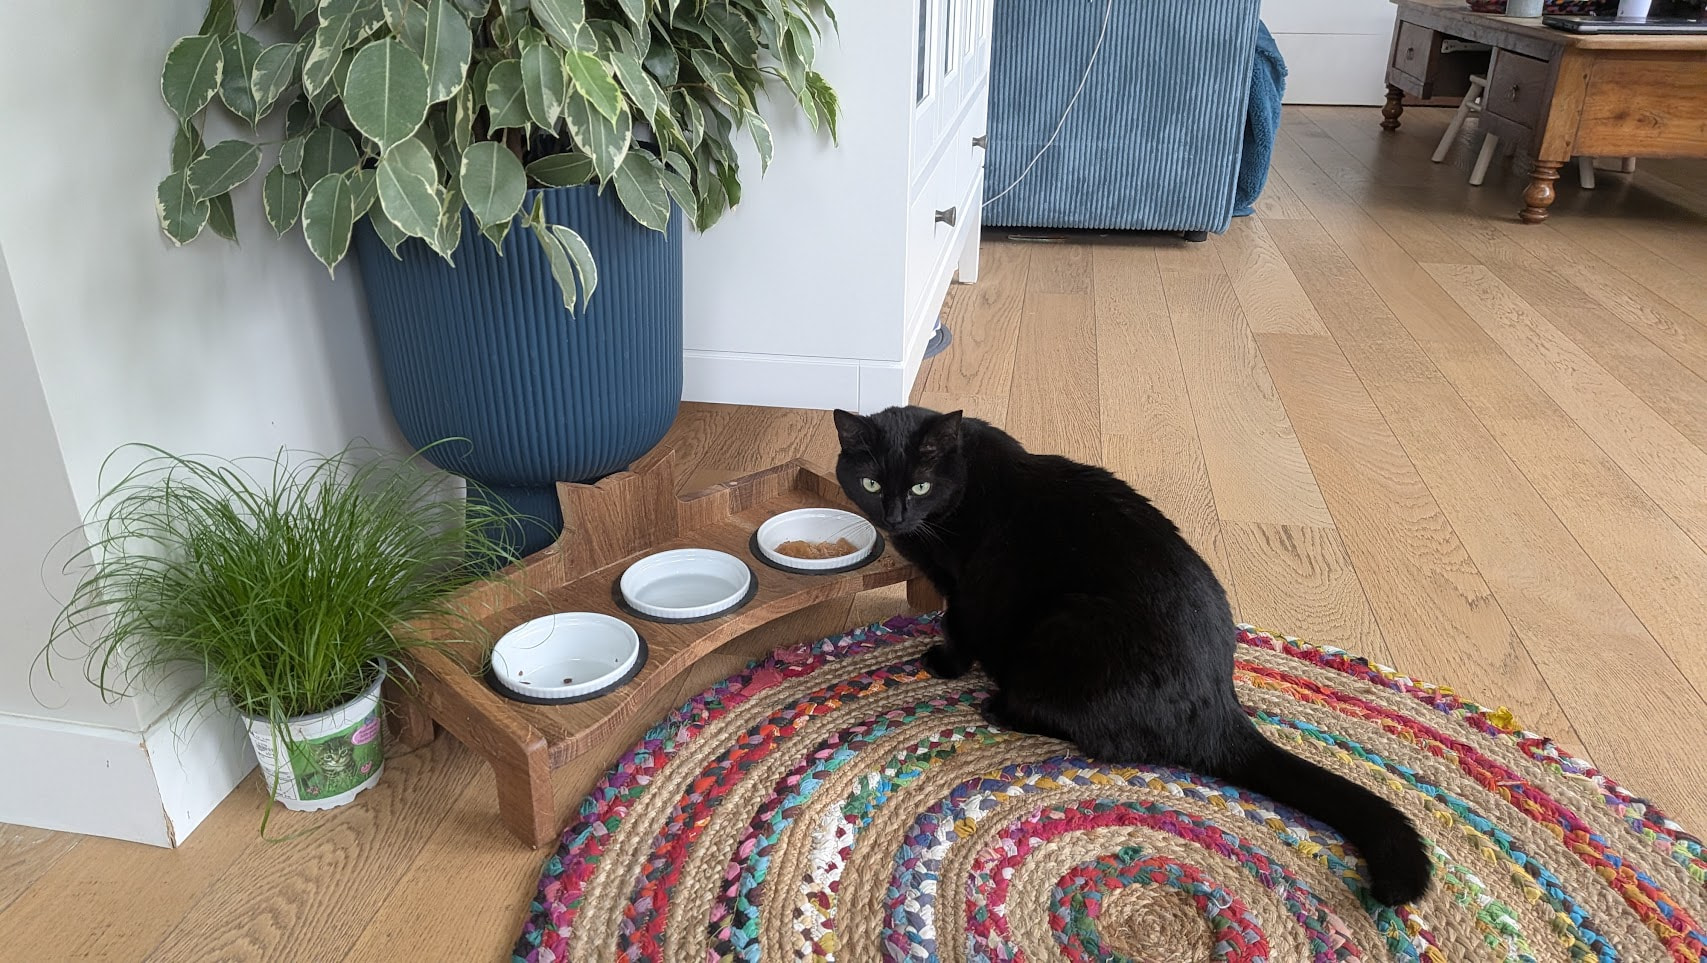
Had a boo-boo on the bowl hodler part, the back board wasn’t tall enough for the back part (hence the added cat head silhouette), but shh… don’t tell anyone :wink:

Design was ~1h/1h30, cut time: 40min, sanding time: 15min, now I’m painting those and waiting for it to dry so I can glue them up…

TPU parts are printing right now while the paint dries…

Love those fast projects, started design at 2pm, had the parts cut and ready to assemble at 9pm, going shoppping for 2 hours in-between…

Will keep you posted with pictures once assembled…

4 Likes

Did you know you can absolutely ruin a piece just by chosing the worst colors?

This is horrible, can’t believe I could pull out such a monstrisity, I’m laughing out loud right now :smiley:

5 Likes

Lol, I don’t think the color is too bad, at least on the picture it looks nice, but it clearly needs a bit of sanding !

Cool project :+1:

… for a cat. I get it!!

You know, if you put enough paint on it, it will be fine. Painting is kind of like soldering… the bigger the blob, the better the job. (not serious)

2 Likes

Let’s call this a prototype :slight_smile:

1 Like

Ok, that’s much better :slight_smile:

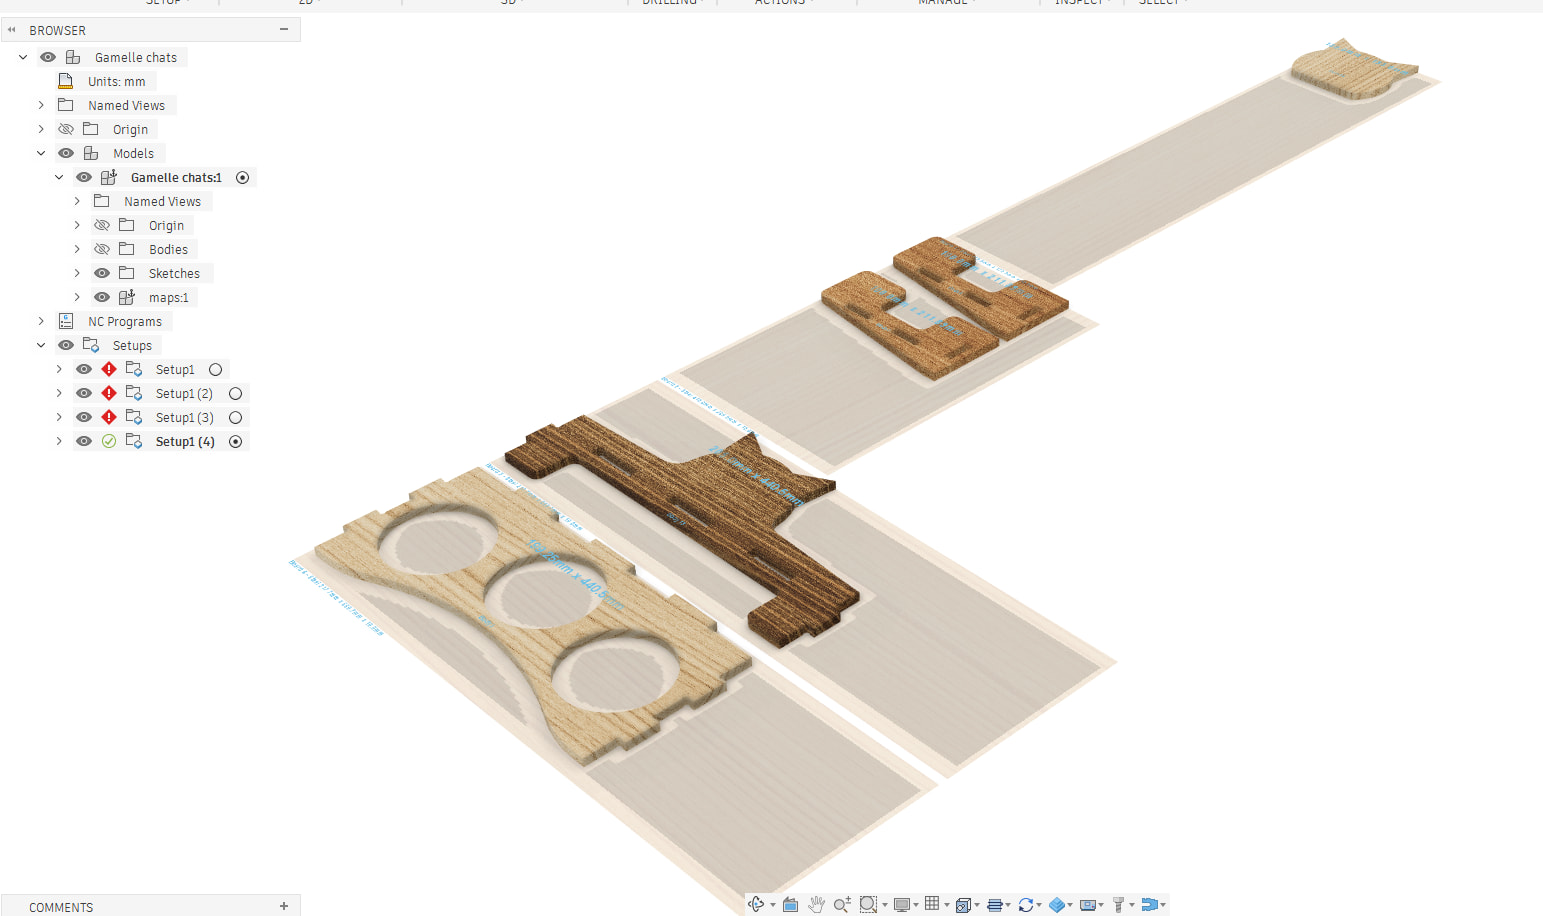
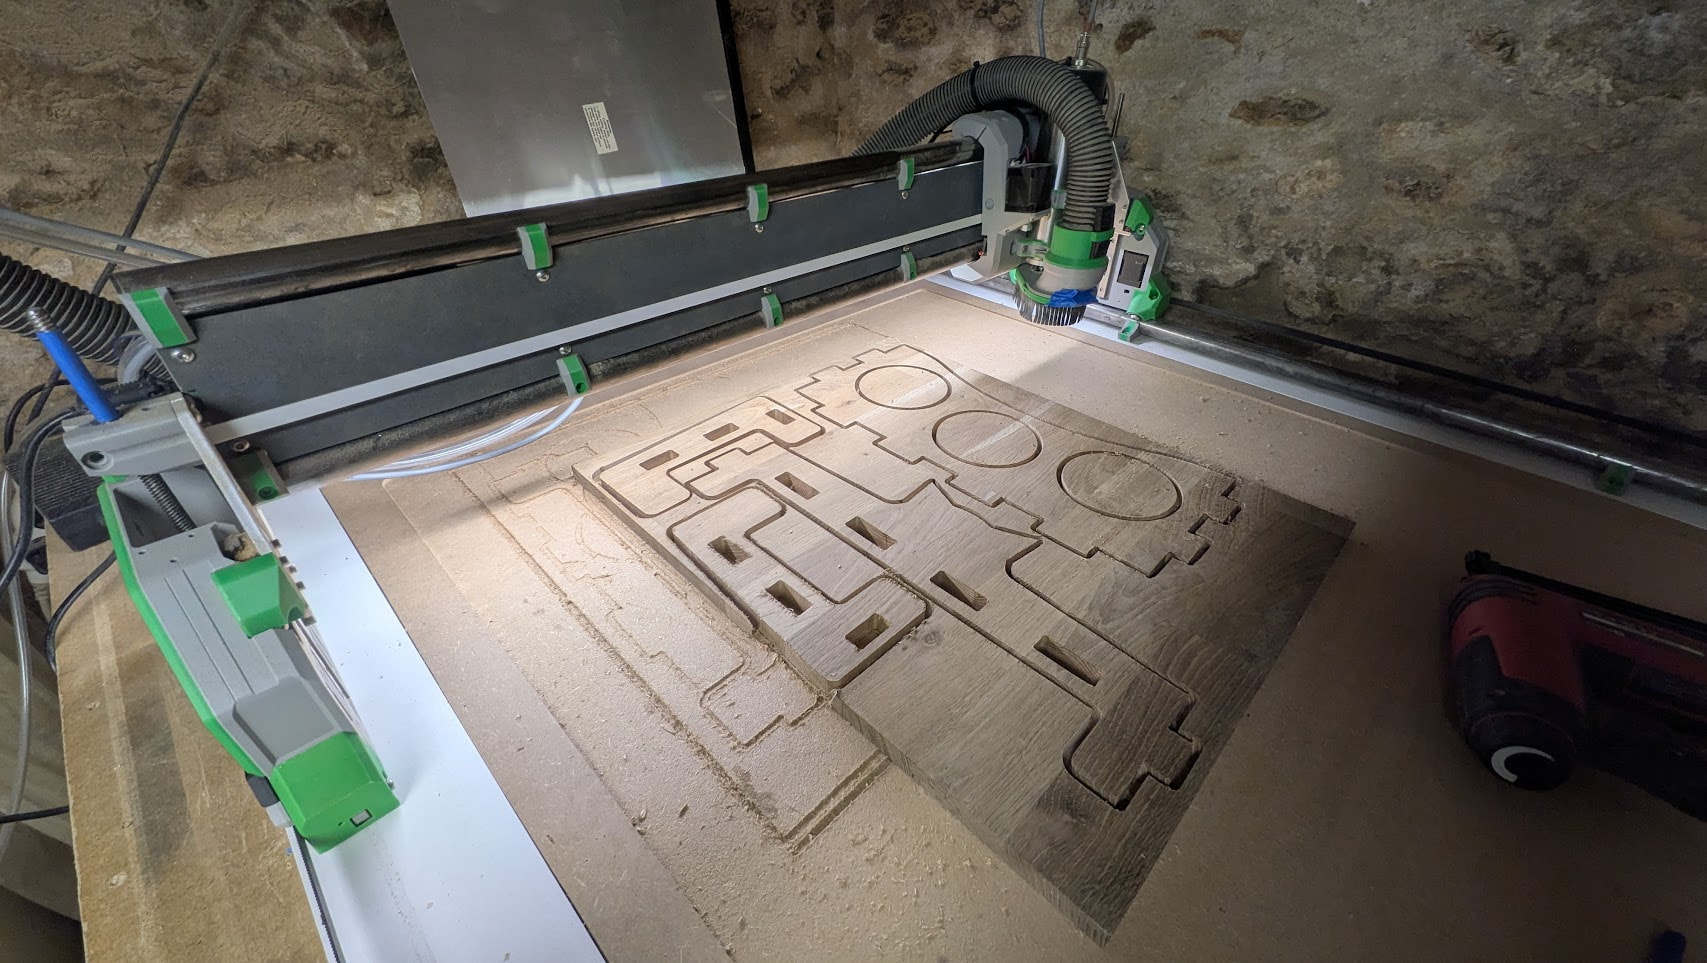
Made a massive crack in the rear panel because the board was thicker than advertised and I hammered the finger joints, but it should be alright…

Also noticed I lost z steps during the cut, my Z axis ended up 3mm lower than it started :confused:
I re-homed Z, and it was all good after that, so it’s not the bit sliding in the collet or router sliding on the core…0
Don’t know what’s going on here…

3 Likes

If Z is too fast it sometimes does not do the transition from down to up well and loses a few steps.

Regarding the cat: it looks great! I’d be scared that it cracks in the front though, I would have changed the direction of the grain for it. Maybe it works if the cats aren’t fat and the kids don’t step on it. :stuck_out_tongue:

Yeah the grain direction is wrong, but as you could tell from the nesting, I was quite limited in options for it to fit on the stock :stuck_out_tongue:

1 Like

All done, wiped with mineral oil and printed the TPU gaskets
Also fixed the cracks with some dowels

Very happy with how this turned out

5 Likes

I dont run a jackpot, but i had a similar issue with lost z steps and turned down the z acceleration to solve it. Top speed wasn’t the issue, it was changing speeds too quickly.

2 Likes

I’ll consider that a win :slight_smile:

I hear a sort of “clonk!” sometimes when the Z axis lift up suddenly I think that’s correlating…

What max-acceleration are you running at?
Should I limit it in FluidNC parameters or in CAM?

2 Likes

Is that the motor skipping or the lead screw connection grub screw?

In klipper the acceleration number is 80-150 mm/s^2. I think mine is at 120, but my github repo hasn’t been updated so I cant see the actual values for a couple weeks.