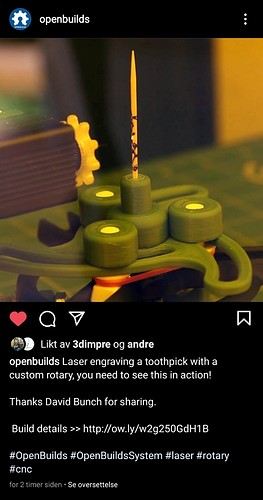
If we could just focus the laser down to, say, 0.005mm… Of course if you did that with the normal laser wattage, you’d cut right through the toothpick, very cleanly. 
I see some short & long focus lenses on aliexpress for neje lasers, but not sure they are any better than lens that is on there. They are in the $8-$16 range.
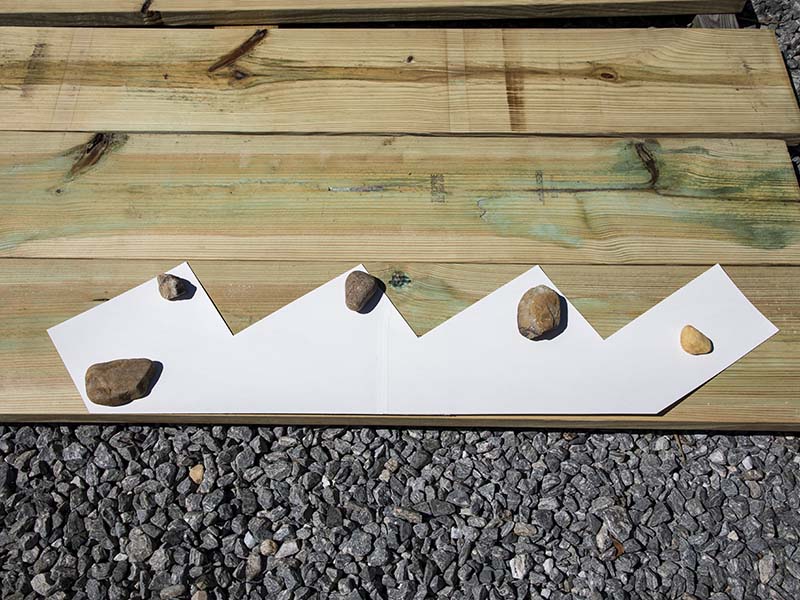
I have 4 stair stringers to cut soon that about 48" stringer length. I cut 8 stringers last year for the 1st time & had a hard time getting them marked correctly because of the rounds on the edge of the boards. They came out ok, but was think I might mark these stringers with the laser & add some hanging silhouette graphic. I have some 2040x1000mm extrusions which would give me a little over 32" work area, so I would have to do each stringer in 2 setups. Not sure it is worth the hassle of marking the cuts, but will probably add a graphic or 2 to the outside stringer.
I added another cap for the 2060 extrusion (V2060_EndCapVertical.stl) to be able to cover the 2060 ends in vertical position.
[Edit 9/18/2021] I put together assemblies of each alternative of this design that looks reasonable. I took the image out from here since I added one more option & had to change the letters to be consistent & didn’t want to add confusion with a different image here.
I took the for deflection calculation formula from How to calculate V-Slot® deflection | OpenBuilds and created a spreadsheet to make it easier to change values. I used the numbers in the example in the pdf file to verify the formula worked. Here is a zip file of the spreadsheet. Does it look correct? I mostly did this to see if a 1, 1.5 or 2 meter extrusion would have much deflection with this design. There is probably on 1-2kg of load on the 2040 beam. I am using some of Zyltech’s V-Groove, so I am waiting to hear back from them if they are using the same material for their V-Groove.
DeflectionCalculation_For_V-Slot.zip (8.4 KB)
Another variation on the theme, for those who are interested but lack the availability of a 3D printer
Thanks. He always has some cool designs.
I made a 1 meter longer version yesterday to see how wide a burn I could do. Looks like about 33.5" I didn’t have any 1 meter 2020, so used 2 2040’s.
I updated the build guide & BOM on thingiverse to cover the various options better. The BOM has a tab for each of the 8 configurations someone might use.
I think I saw you on the openbuilds instagram account! The linking on instagram is bad, so I didn’t check to source, but it certainly was your laser toothpick engraver.
I don’t have an instagram account, so it wasn’t me.
Yes, it was you indeed. I even took the time to type in the looong url  it’s not your instagram, but they are showcasing your build!
Oh that is pretty cool. Thanks for pointing this out. Mark Carew at openbuilds did give me the suggestion of making this laser work vertically & turntable ideas.
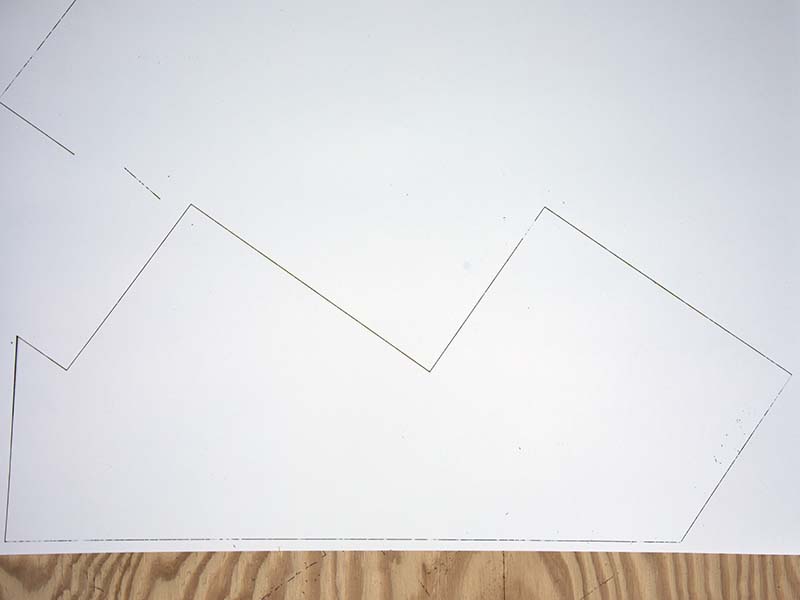
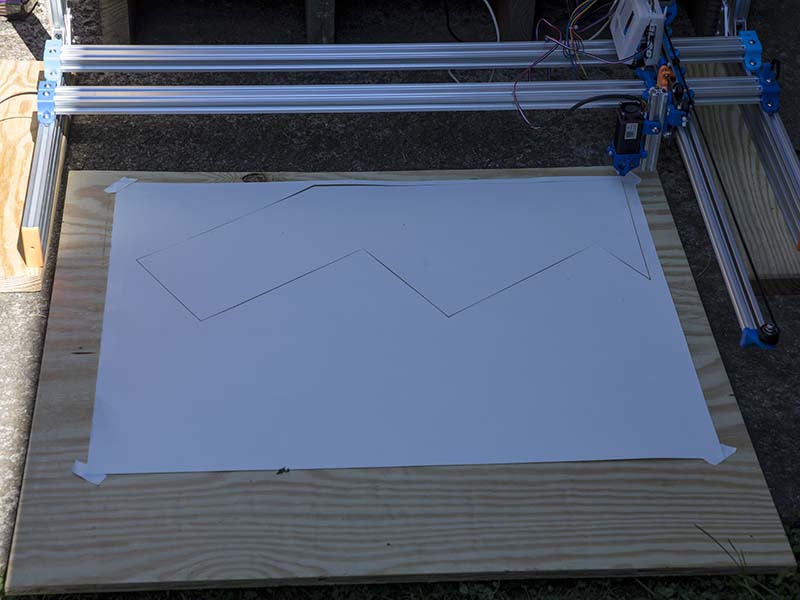
I cut my stringer template with the laser yesterday. After a few test burns on scratch piece of paper, I used 200mm/Min with 90% power with the 6W NEJE laser. It didn’t quite burn thru in some spots, so the 2nd one I used 200mm/Min with 91% & that burned thru perfect. Since I had to burn this in 2 parts, I overlapped the 2 about 2" on each side the matching corner. They took about 10 minutes to burn each half of the template. I did have one minor error. I used 11.25" as the width of the board. The boards were actually 11-7/16" wide. That is not really a problem as the cut side is correct.
Here is an interesting laser engraver/ plotter using PVC construction similar to a prusa bed slinger design that I came across while looking for something else.
P-CNC Laser Engraver and Pen Plotter : 17 Steps (with Pictures) - Instructables
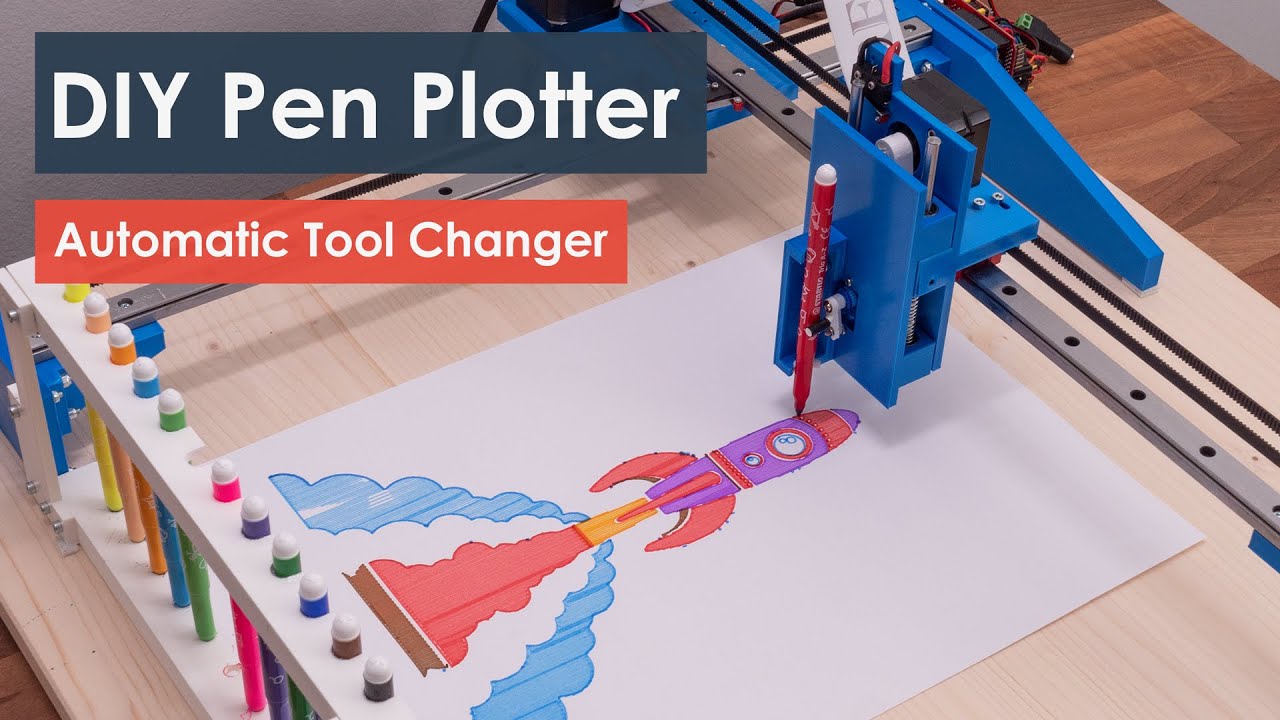
Here is an interesting DIY tool changing pen plotter using a cantilever design. He also did a laser engraver using this same design. His cantilever linear rail support is a little weak for all the weight he has on it. He shows his work around for this later in the video. Don’t think I have seen that grbl pen plotter software he is using before.
Are you counter balancing the weight of the laser in your design?
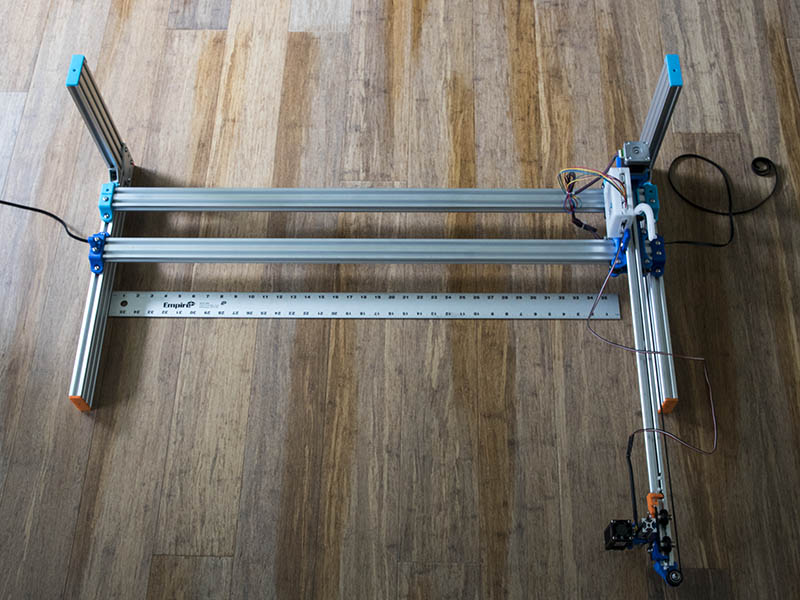
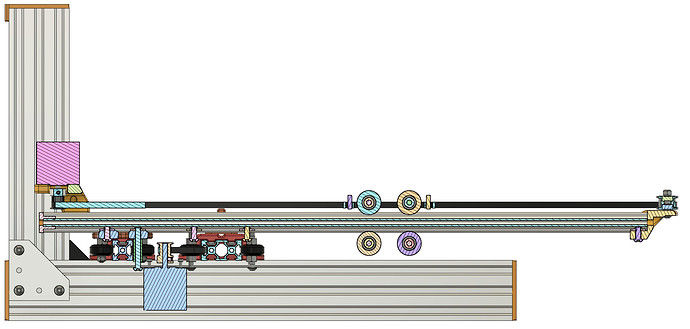
I think it is quite well counter balanced. My version has a 2040 V-Slot Main beam & 2020 V-slot back beam 68mm apart & cantilevered about 170mm from the total 700mm & has a stepper motor on the top in the back & the other one underneath & feels quite well balanced. The section below shows a 600mm long 2020 cantilever arm & I made mine 700mm after realizing it could go another 100mm. I have used it in vertical engraving mode with a 1000mm 2020 cantilever arm without any problems.
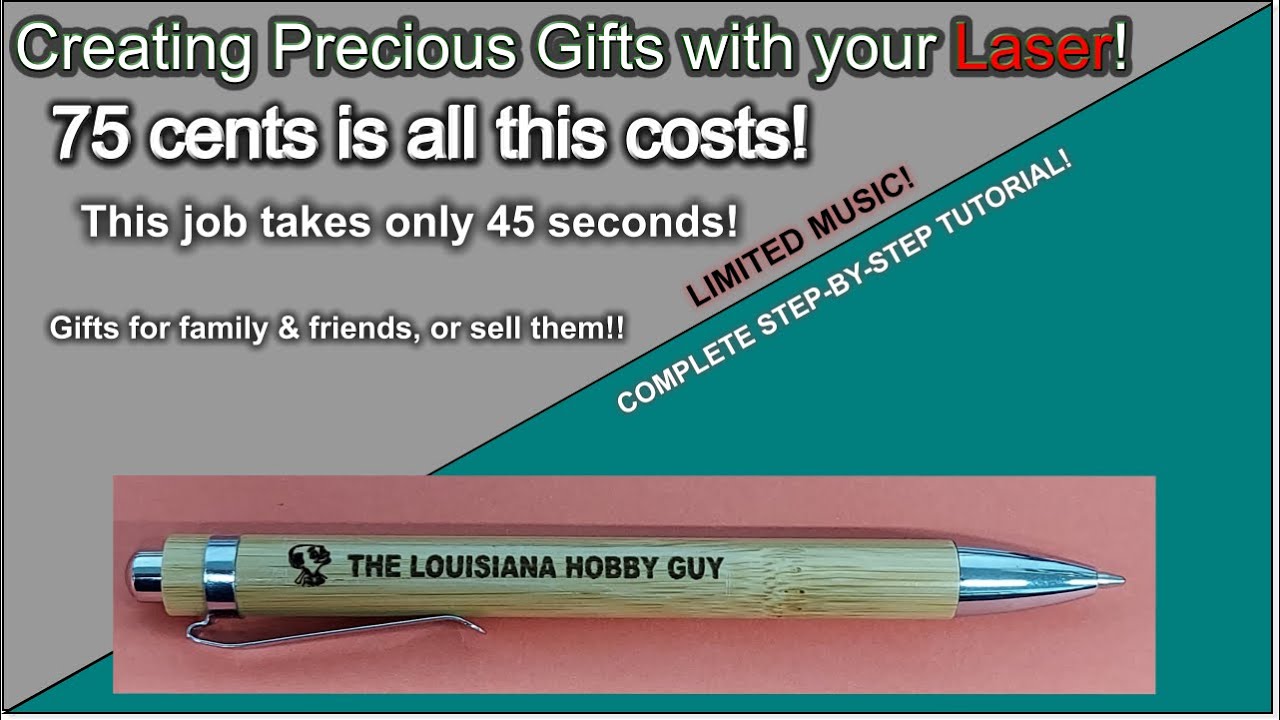
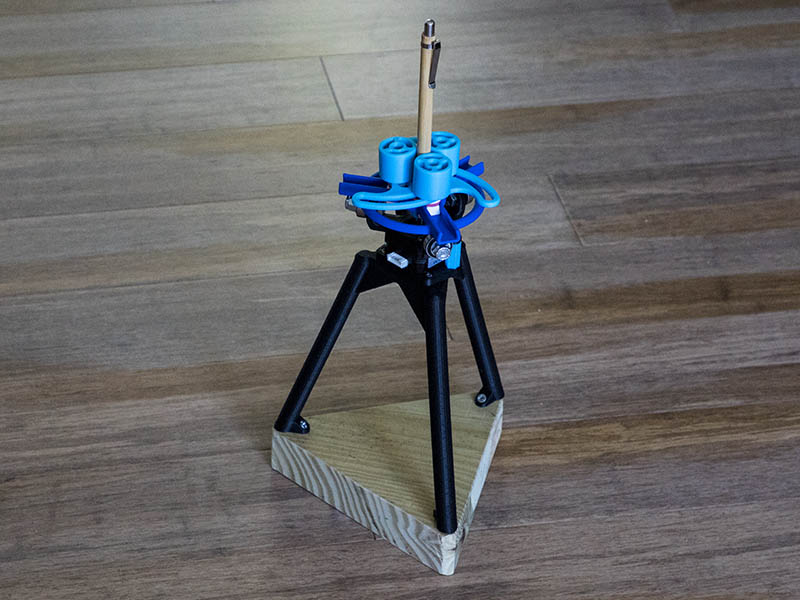
This guy came up with a good way to engrave bamboo pens from Amazon ($0.79 each) using horizontal X & Y axis. I went ahead and ordered some. Of course, I will have to try it with the rotary turntable if it gets warm enough in the shed anytime soon.
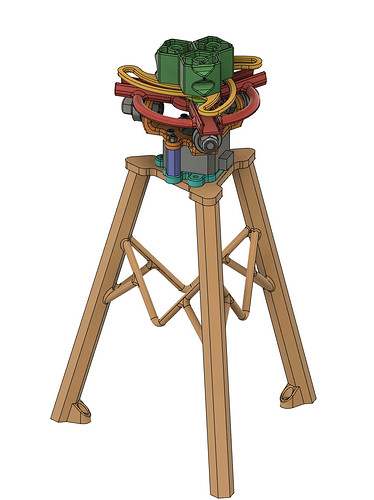
I worked on a table mount for my turntable today as I wanted a better table to mount it to. After looking thru a couple of stores today, I decided to take a stab at making a 3d printed table. The turntable is fairly light, so the table doesn’t need to be that beefy. The hex legs are 16mm diameter, legs are 220mm long and splayed out at 73.7degs. The round supports are 6mm in diameter & initially drawn as 6mm extrusions & then rounding the edges. They might need to be thicker. The table is about 208x180mmx226mm. I have mounting holes for the table to mount to base plywood & the turntable has 3 mounting holes to this. Print time is estimated at 5 hours 42 minutes. I also made some hexagonal spacers instead of using round ones to see if they will work for smaller objects to cut out the additional adapter for smaller objects. I added a rounded slot on outside edge of each of them to attach another rubber band for tensioning. I can add an addition 3 flat shims between the hexagons if needed. Anyone have suggestions for this design?
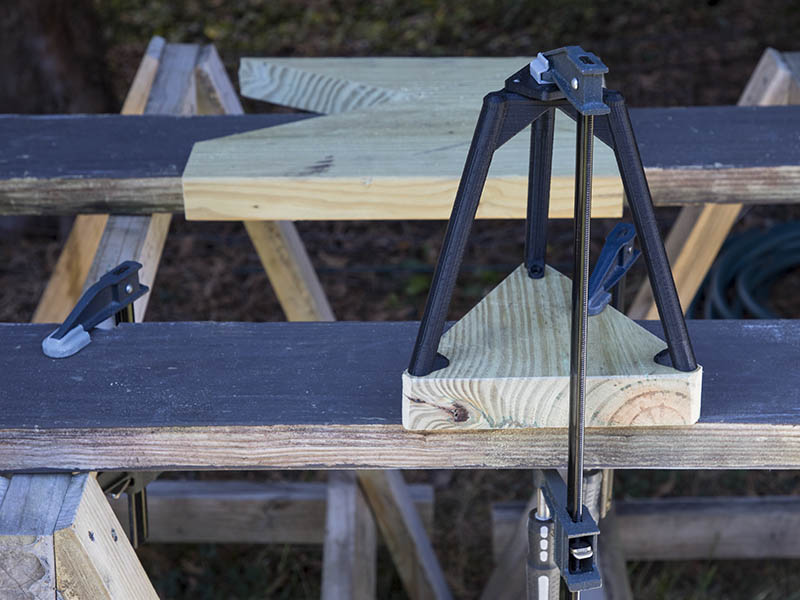
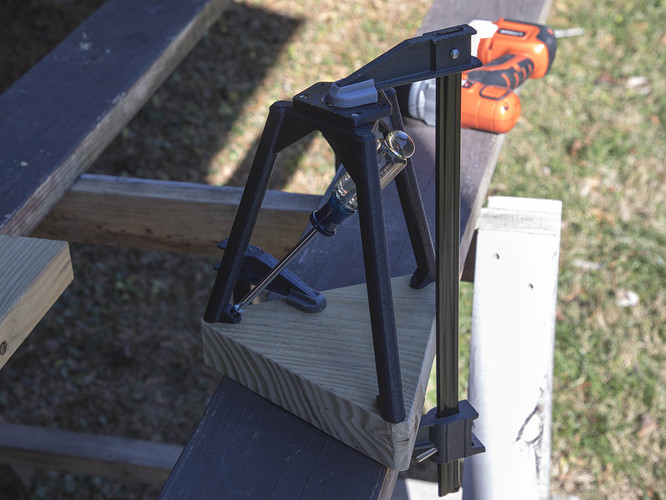
I had some problem printing what I call a stool for the turntable. I had 2 failed prints about 1/2 way thru. The nozzle hit the overhangs & pulled it off the bed the 1st time. The 2nd time, I used glue stick & it stayed on, but shifted the carriage when it hit this time, so had a layer shift. Since it is screwed to a piece of wood 1.5" thick, it didn’t really need the reinforcement, so changed the design to just 45 deg braces at the top. It still hit legs when it was about 9 minutes before finishing it but was usable. I probably needed to have a lift Z after it reached a certain height along with a retract on layer change after a certain height to overcome this (Using PrusaSlicer 2.4 beta4). 20/20 hindsight, I probably would have made this stool in 2 parts & bolted them together. At any rate, it seems like this should work sufficiently.
I had some left over 2x12s, so I cut the base out of this. The wood gives it a pound more weight & makes it more stable & brings the total weight of this to about 2 lbs. If it needs more stability, I will add another piece of wood to the bottom of that one.
We have warm weather here for the next week, so should be able to get some engraving done.
I clamped it down so I could drill the holes. They had to be at an angle to be able to drill & screw them in. The drill just barely fit. I am hoping to test it sometime today.

