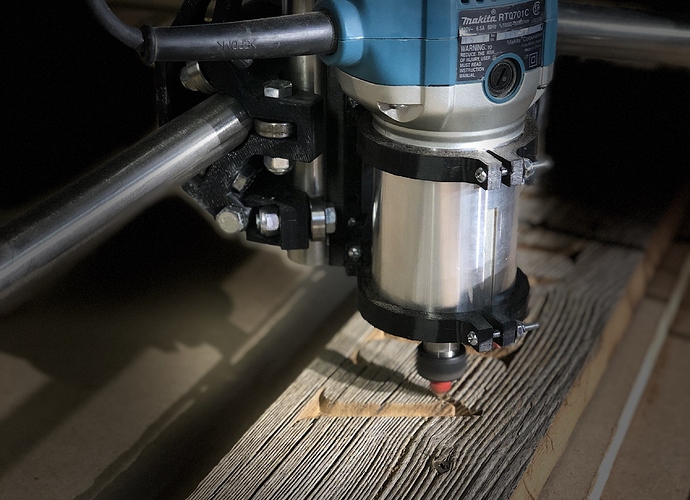
Belts is another part of this but don’t touch them upload some pictures of your zipties.
I’ve been busy just designing and cutting ever since we got it running well enough to cut. Appreciating it more and more! Really nice. Really empowering.
I have been using a finish cut. I’ve spent the past year programming and cutting on the Taig, so I’m at least decent in that area. I haven’t done any tests on plastic, I’ll try to get to that. Also didn’t get pics of my zip ties, but I’ve got one side right against the plastic, the other is around half an inch away.
So I did a 24" x 60" pen test. I ended up .0312" long on the 24" and .0625" long on the 60". The diagonal was .125" longer than the other. Also drew another 3" square with a pen. The Y was spot on, the X was .030" too long.
Starting to understand and know how to set everything more square and parallel before an important cut. Strangely my Z cut depth is less at the center of the table, you’d think it would be more with the 6’ span potentially sagging.
I am wondering how to pause a cut and still have the XYZ job position not cleared out. I’ve tried a few different M commands as well as some others I’ve dug up, but no success so far. Also wondering where to set the travel speed that the machine uses while going home. Over 60" away it takes a very long time to return.
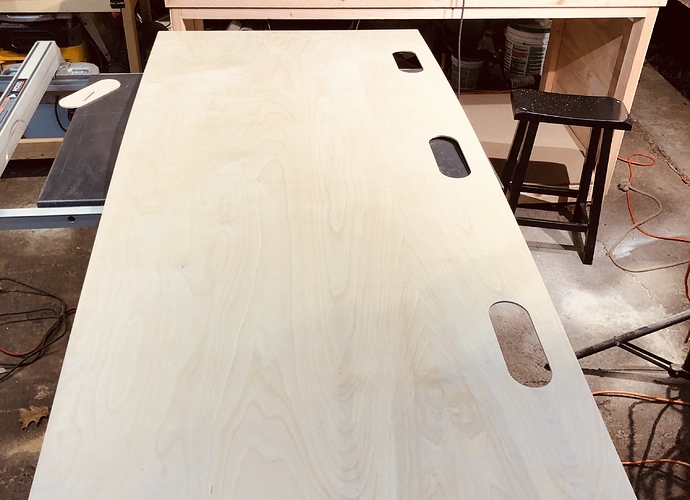
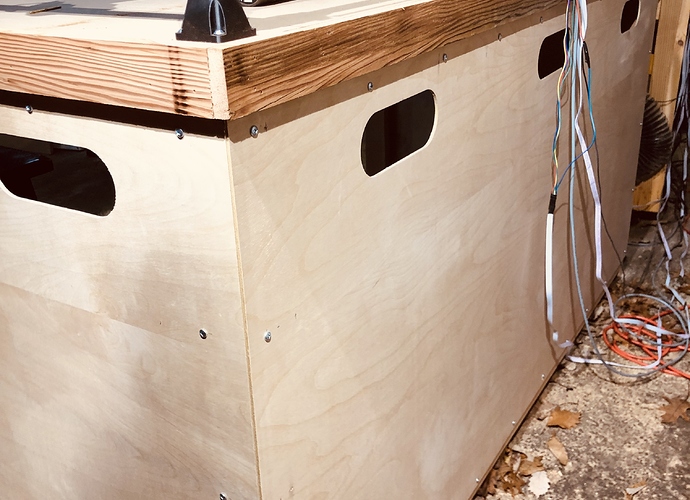
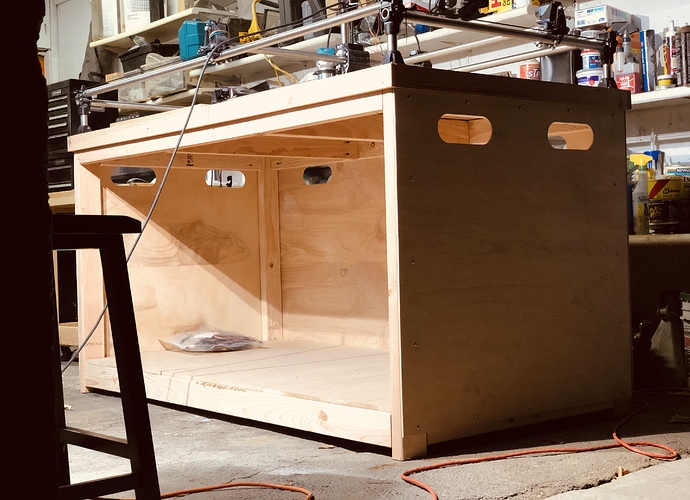
Here are some progress pics. Still need to finish the table and wiring, but this thing is a blast now that it’s working. Can’t stop cutting stuff!
Bonus content: I built a temp garage heater out of free or very cheap parts.
[attachment file=75585]
[attachment file=75586]
[attachment file=75587]
[attachment file=75588]
[attachment file=75589]
[attachment file=75590]
Turkey fryer, some single wall chimney pipe, and a brake rotor? That’s genius!
It is rare a cut is ever too long. Your numbers are really good for a giant machine, do you really need better than a 32nd at this point?
I am not saying it might not be able to get better but I suggest using it, getting to know it, make some things. Don’t spend all you time initially chasing tolerances higher than a 32nd on a machine without dual endstops.
Well, a lot of what I have planned are things that interlock with each other, although I agree that over 60" to be off by just a 1/16" is amazing! I just wish it scaled down more, because at 3" it’s still off .030" while the Y axis is now dead on.
I do think I could get my center assembly set to be a tiny bit more square. One question I had was that you reference certain bolts as A B or C, but I don’t see any images or other text pointing out which tension bolts are what. Am I missing that somewhere?
I have redone the instructions recently. But just look at the bolts, tighter pushes the rail away, looser, the opposite. Tighten the Z tension bolts in pairs.
I do not thing that is the issue though.
Got the cabinet braced up. Made up an excuse to cut some curved panels for the front. Extremely solid. Now to finish the wiring and other random items.
Still wondering how to pause a job in Repitier and maintain xyz zeros. Tried all the usual codes. Also looking for where to set the travel speed for when the return to zero command is sent.
[attachment file=75701]
[attachment file=75702]
Pause locks the steppers, and holds the coordinates. What are you looking to do, as in why pause and not change anything?
The build looks great.
I do a lot of test runs, or runs where I’m slowly lowering the cut. I’m often needing to stop the cut and return to Zero and restart. Also, when I’m 60 inches away and need to return to zero it goes incredibly slow and takes like 5 minutes. Working on getting dual end stops. Might order a Rambo today.
Exactly how are you doing this? It sounds like you are not giving it a feedrate.
In Fusion 360 I’ve got all my feedrates set to 300mm. Is that the source? It goes so slow that I thought it must be limited somewhere else. I’m not used to working in mm so it’s taking some getting used to.
I am not understanding what you are trying to do. How do you use fusion to tell you machine to go home? In fusion and the Post processor you have rapids and feedrates for both XY and Z axes.
300mm/s is way too fast and would move the whole table very quickly. 300mm/m=5mm/s…super slow and would explain your issue.
So looks like I was on 300mm / minute. So that explains that.
Now my only issue is while using Repitier, I cannot seem to pause or kill a job and maintain my zeros. In the scripts section under the buttons for pause or kill the scripts are blank. I tried adding various codes but none will stop cutting without acting like I hit the e-stop and wiping out my zero.
Kill, basically resets teh board. So nothing is retained.
Pause should work just fine but the buffer has to clear before it pauses if you use the pause button (8-12 moves). You can put it in the gcode (M00) and resume with the LCD button or manually by entering a command in repetier (M108).
We all use Pause to do tool changes it should function perfectly.
So thanks to Ryan’s quick shipping I have a Rambo to mess with this weekend! I got it all wired up last night with dual end stops. When I issue the M119 command they all show up as triggered. They are wired normally closed using the top and bottom pins on each end stop. Is this a firmware issue? I tried switching the logic in the firmware and uploading to the board but I can’t get it to communicate. Do I need the Rambo Arduino board support or is the Mega fine?
So my questions are:
1: Why are my end stops showing up as triggered?
- Do I need any special config to get Arduino to see the Rambo board?
Thanks!
- Do they change state if you trigger them? Specifically, hold a switch closed and run M119. That will tell you whether the switches are connected to the Rambo and being sensed by the Rambo.
- To reprogram a Rambo, you need the USB connection and separate 12V power for the board. Ryan's instructions are about 1/3 way down the firmware page. I use Octoprint with the firmware updater to update by board. It's nice because I don't need to disconnect and move the board.
1: Yup, they go to open when I trigger them. Does this indicate that whatever firmware is on the board is expecting them to be normally open and I need to change this? When I download the standard Rambo auto square firmware from github it has the switches set to normally closed already.
2: I’ve got the usb connection and separate power to the board following the instructions. Just can’t seem to connect via the arduino. Ill check out the Octoprint firmware updater. I dont have wifi in the garage and if I can just get it uploaded via Arduino software that would be optimal right now for me I think.
Thanks!
The firmware is expecting normally closed. That way if a wire gets broken, you don’t accidentally crash into a stop.
I think I’m going to need some more details, like what OS are you using? What is the specific error you are getting with the Arduino software? Speaking of which, what version of the arduino IDE do you have installed? It should be 1.9. Have you tried a different port? You can verify connection by using the Tools|Get Board info from the menu bar.
I believe I have them wired normally closed using the two outer pins, not the middle one. If this is correct, why am I getting a triggered state when they are not triggered? When it manually trigger them they state open.


