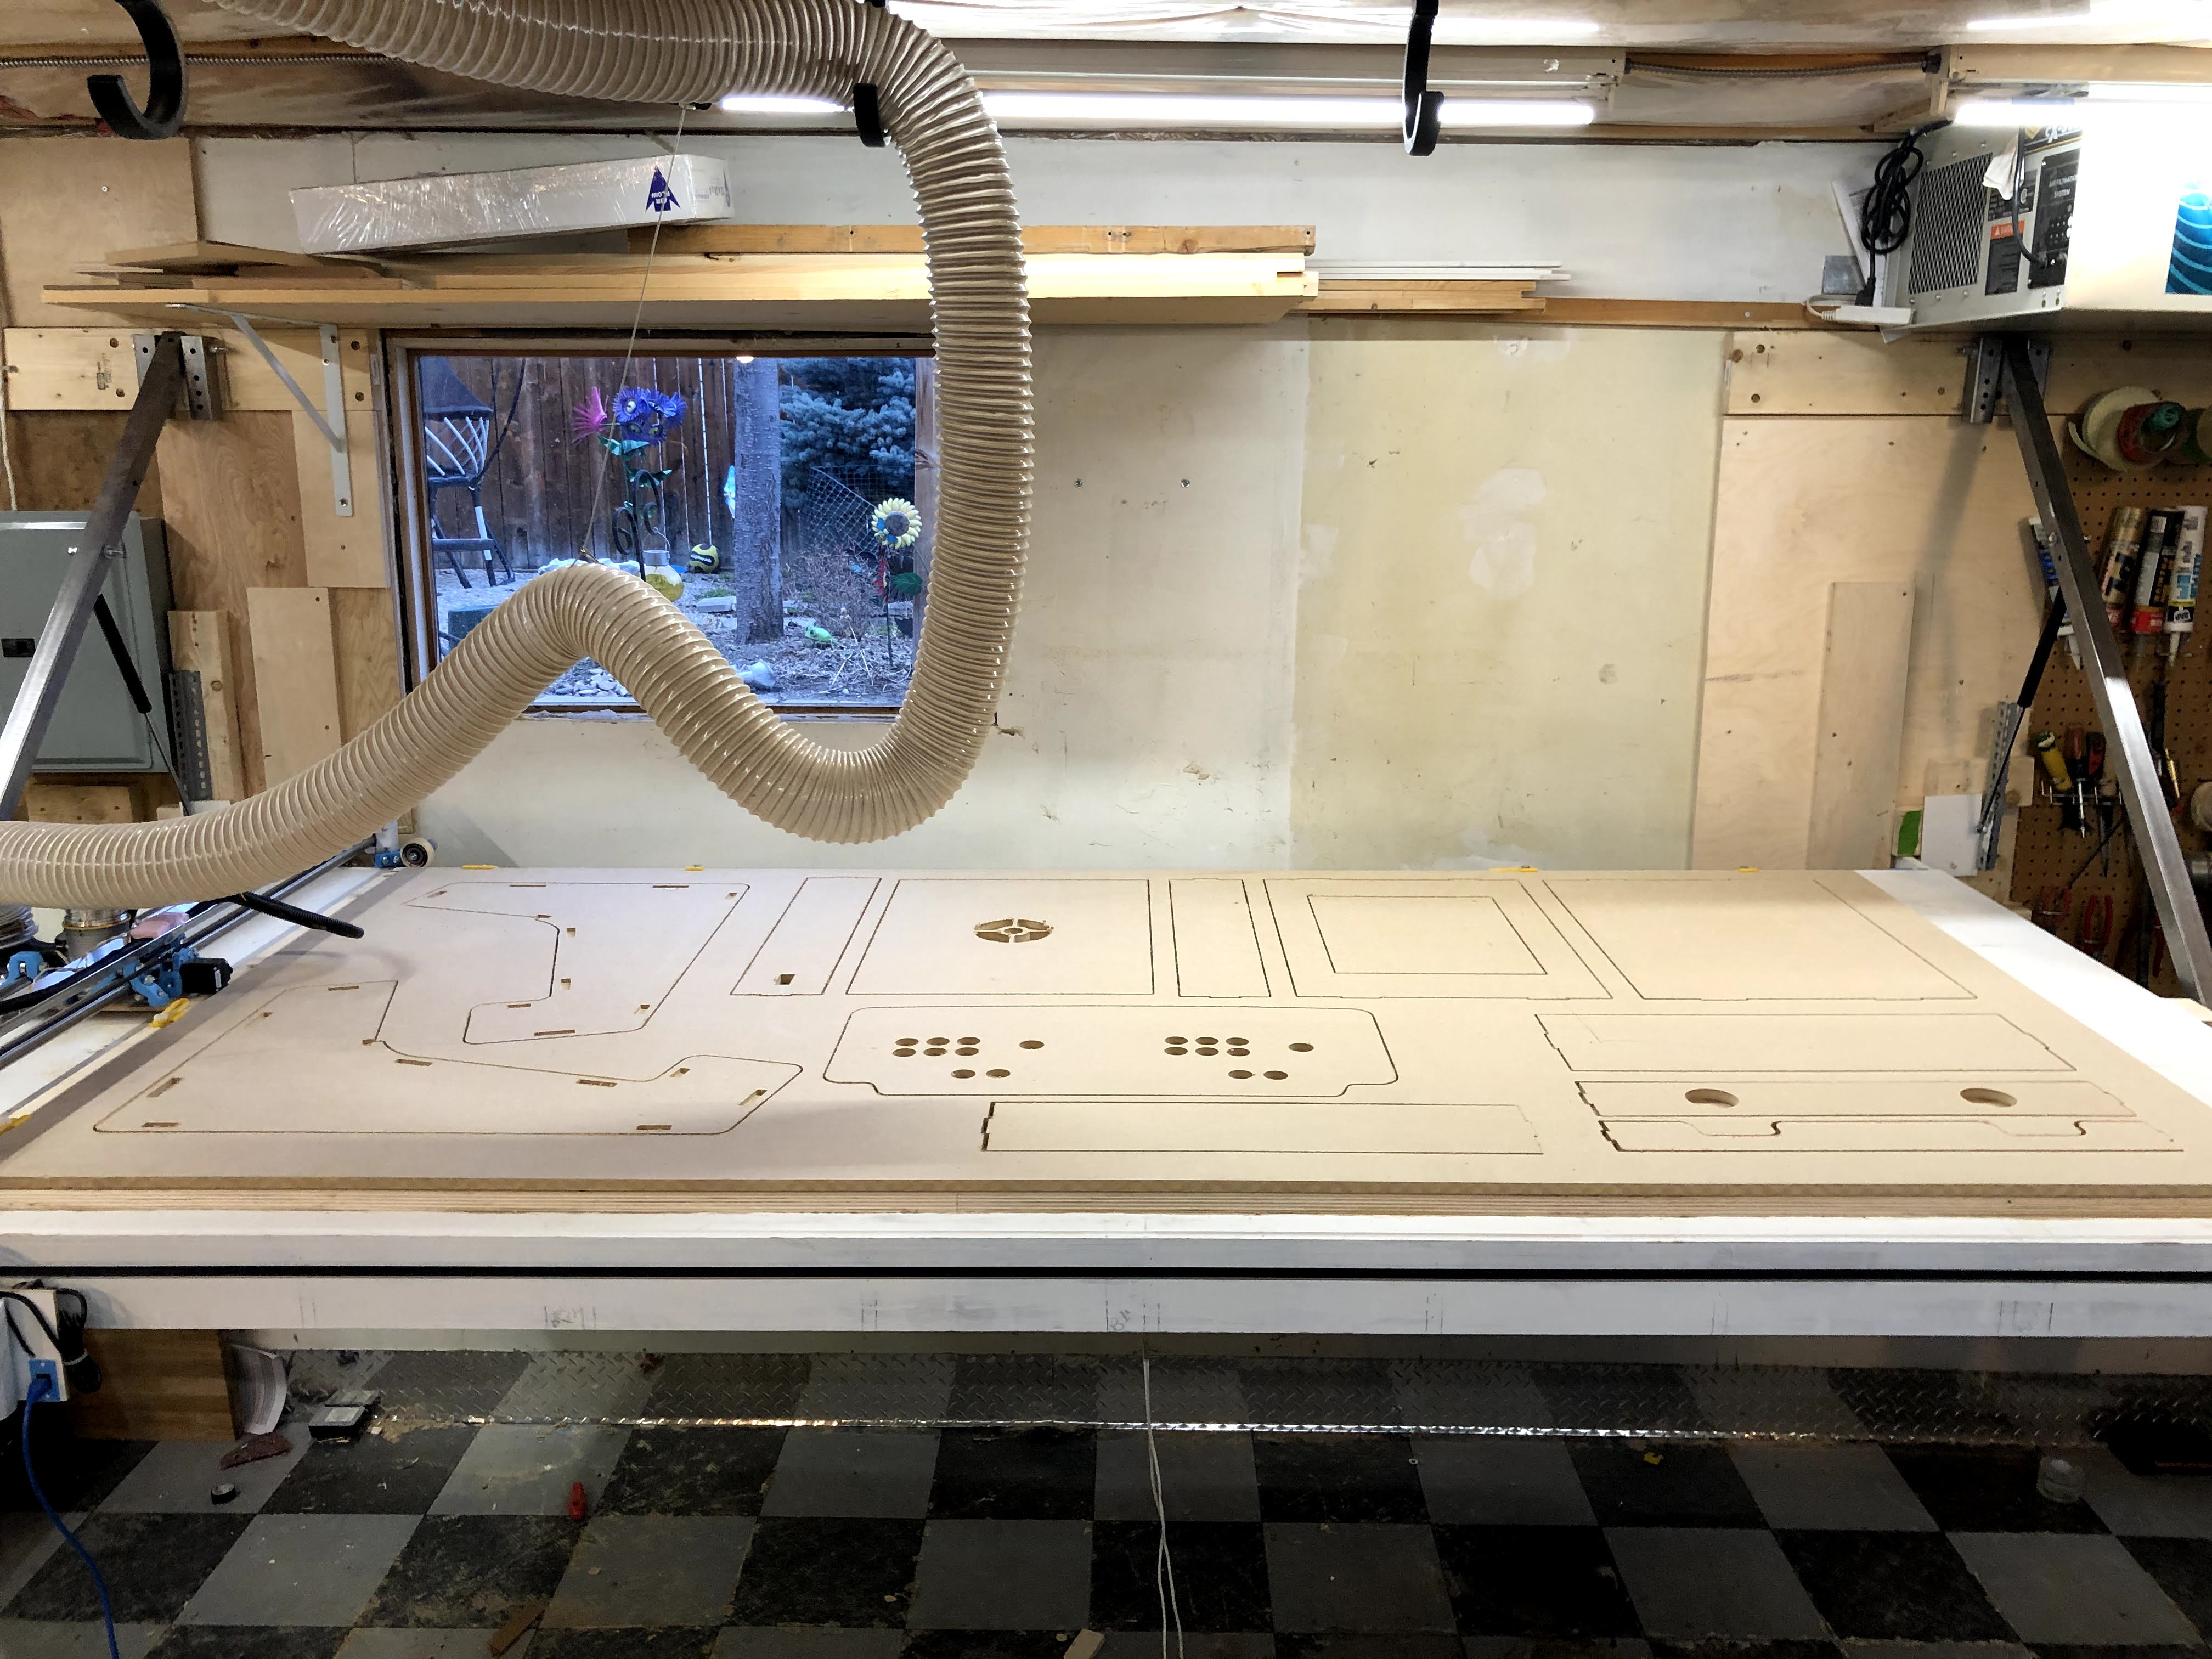
This is made from a single sheet of 8x4’ MDF cut in one go.
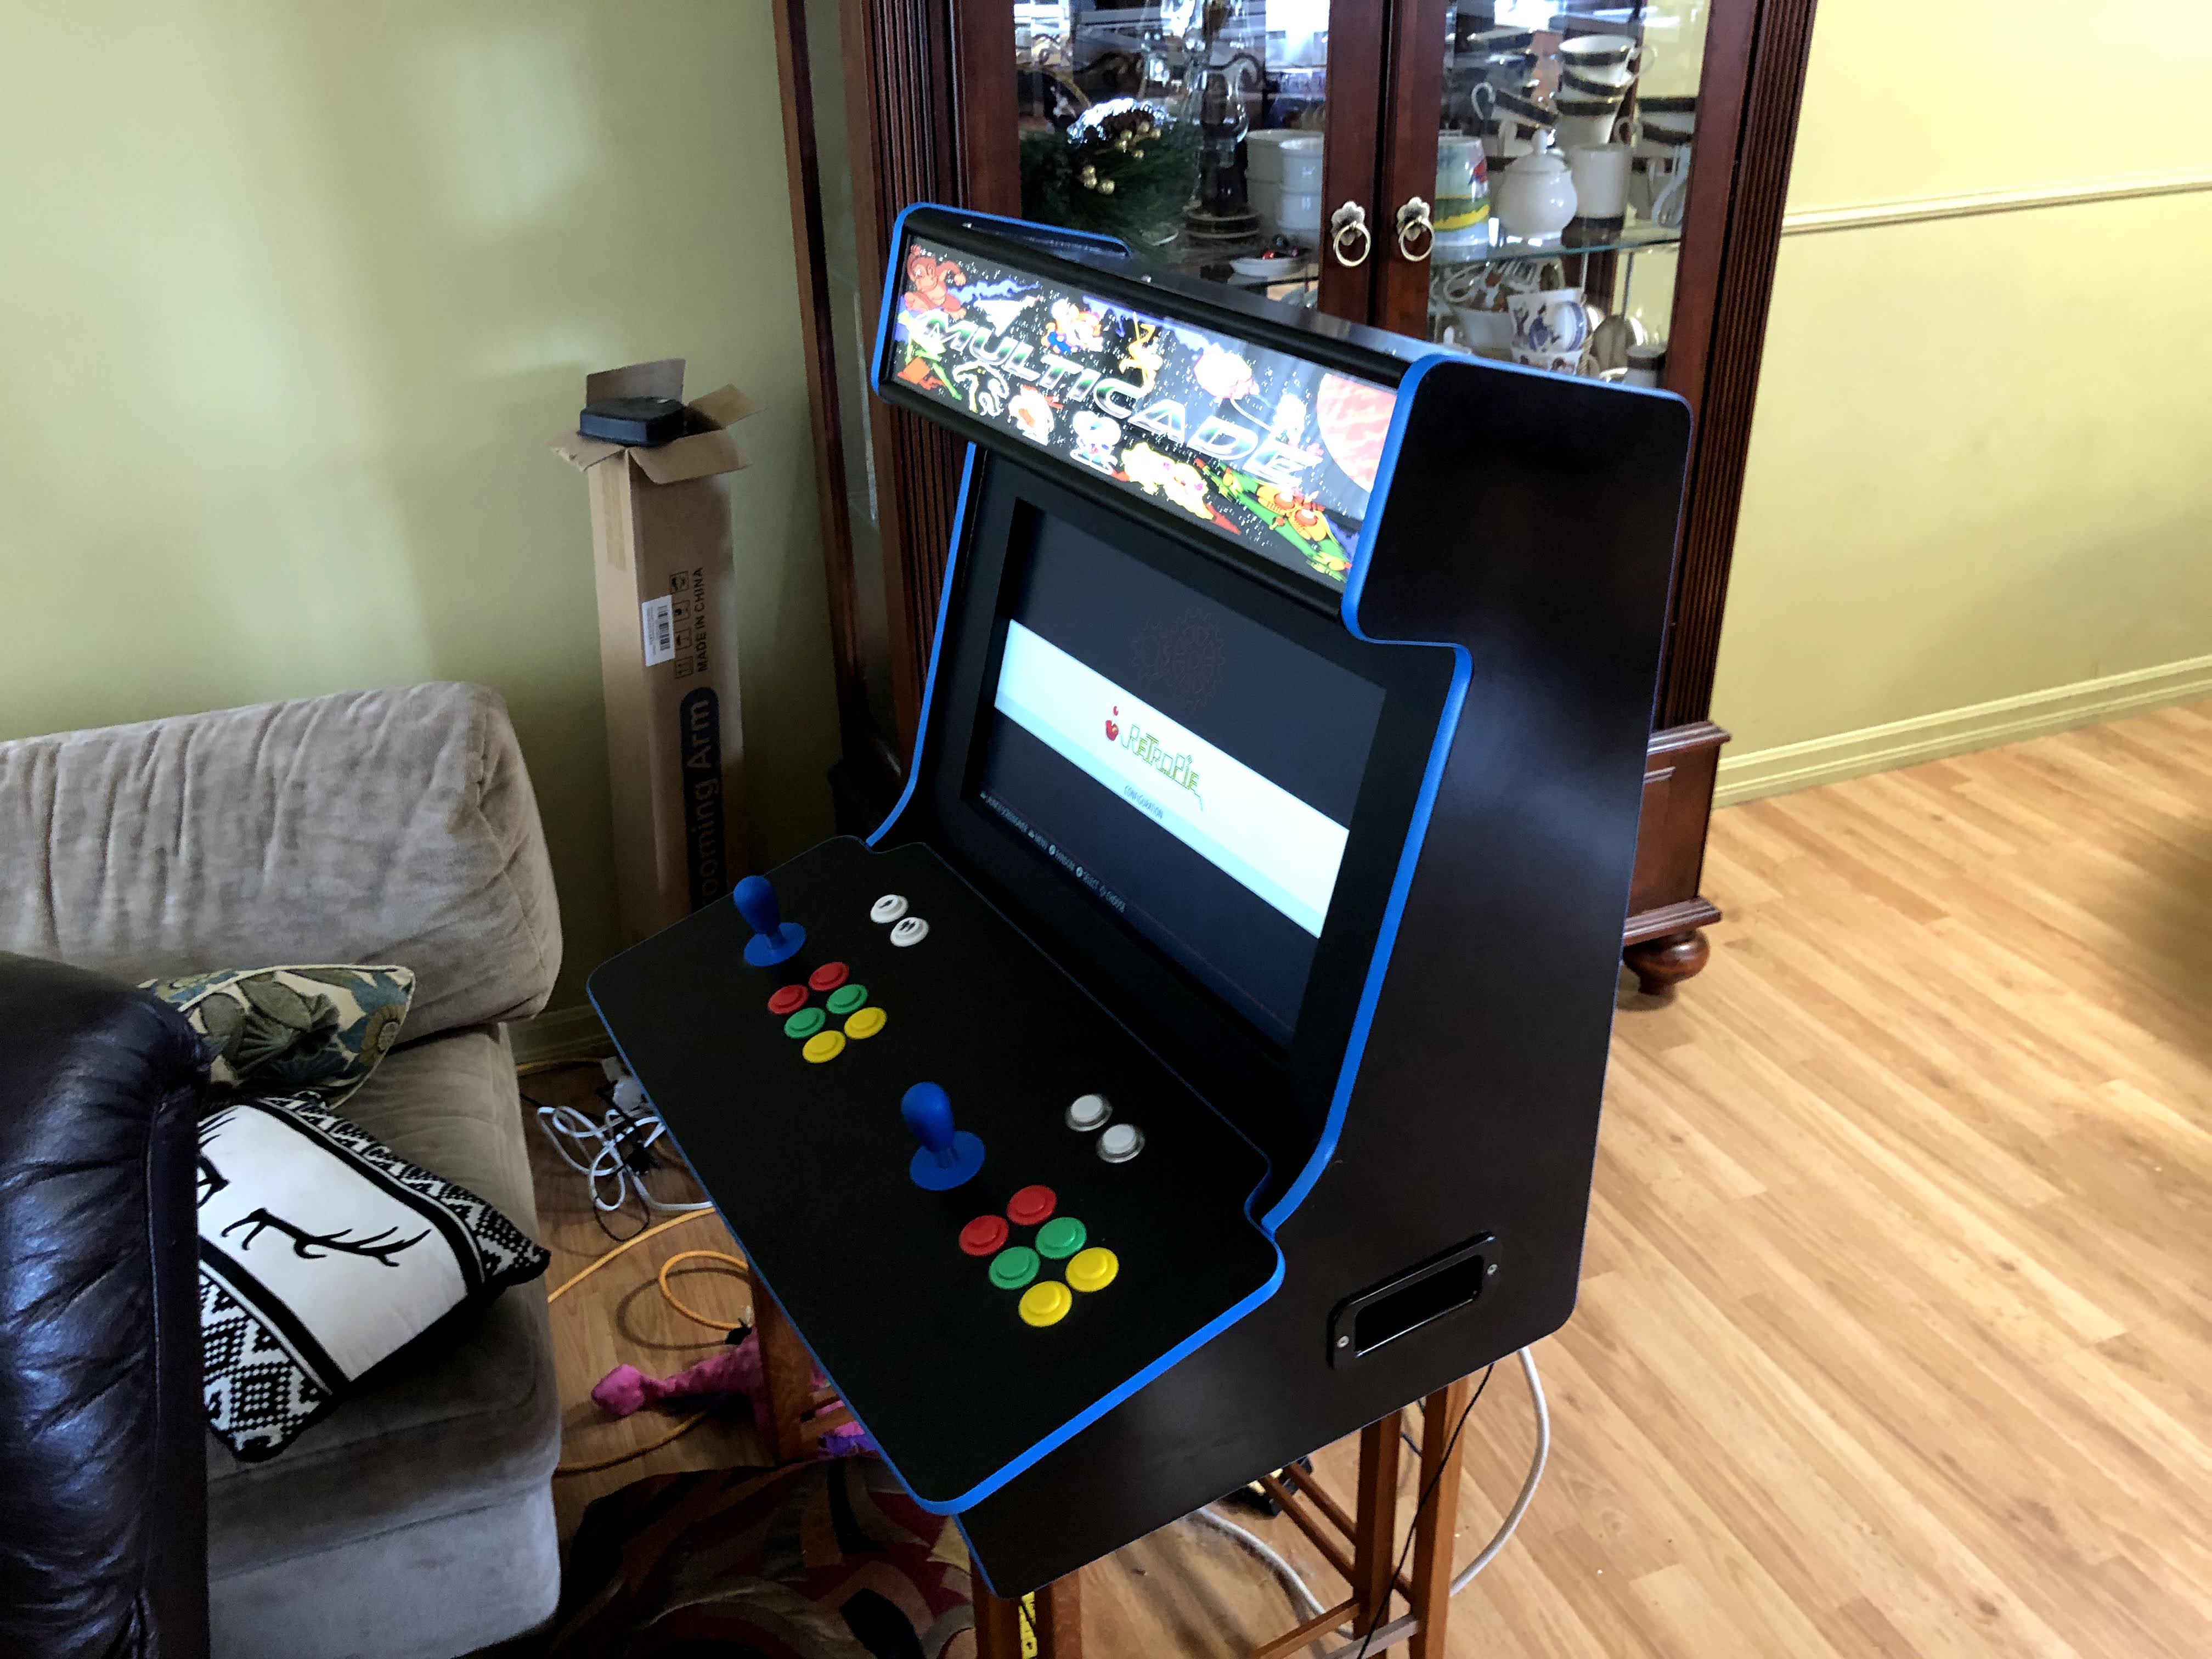
If I were to do this again I’d look at using some of that cheap chip board with black melamine pre-applied. Got the DXF off etsy for like $5. It’s running off a raspberry pi.
This is made from a single sheet of 8x4’ MDF cut in one go.
If I were to do this again I’d look at using some of that cheap chip board with black melamine pre-applied. Got the DXF off etsy for like $5. It’s running off a raspberry pi.
Cool. I think that is one of the fullest sheets I have seen in a while.
Got a favorite old school game or just all of them?
Crazy Climber and also Rampage… I have a full size cabinet and the kids always used to love being the monsters when they were little 
My friend’s mom brought an apple iie home from school, green screen. It had rampage on like 6 floppies. We played it all the time!
Did you like the design? Care to link to it?
Nice job. How long did it take to run the whole sheet?
I’ve been helping my son design his own bartop arcade cabinet and we just cut our first side panel last night. I hope to post the build in a couple of weeks.
Here’s a link to it… it’s pretty well done.
Just remember to resize the hole for your monitor size and not all cuts are through cuts. I found the gaps on the sides of the back door larger than I liked so I glued some hardwood edges on.
I think it took about 6 hours to cut… unless you are making them in quantities the cut time is the fastest part of the project though!
Looking forward to seeing your bartop machine.
Awesome!
How long time did it take to cut?
and it is very awesome!
What do u do during that time? Sit there and observe or do you go inside and have lunch and stuff?
What depth of cut did you use?
Since I hooked up my 4 inch dust collector hose the noise level is much more bearable than the shop vac. I clean up my shop while it’s cutting since there are usually tools everywhere. If I have time after that I’ll surf the internet or since it’s in the garage jump in the car and read or listen to music. Watching it cut is pretty interesting sometimes too… I don’t really trust it enough to leave it alone.
It’s 1/2" mdf and I did a little over 1/4" in two passes plus a (spring) finishing pass at the end. This is at 500mm/min which I think is as fast as I could push it… probably a little too fast. I’ve since got some roughing bits that should go faster/deeper.
I like it. Gotta build one of those.
I already did build an arcade machine, but I didn’t build in the monitor
I was originally going to use a Raspberry Pi, but instead I decided to build in a full PC. The full PC allows a little more power, and a lot more storage. (That’s a 2TB hard disk mounted in there.) it’s easy to throw into the car, and I have a couple more external joysticks for it, so it can handle full 4 player Gauntlet.
The cabinet predates my CNC, so the opening for the power supply is a little crude, since I did it with a jigsaw. The PC IO panel was done on the table saw for the long edges, and finished with the jigsaw.
Interior mount pieces were 3D printed, and the top panel was laser cut for me by old clients/friends that I have who run a sign shop. Thanks to me showing them how the guts of it work, they build stand-up arcade machines in the shop, and have sold several to their clients.
I’ve been meaning to get plans for a stand-up machine, and build it. Looks like I have a winner… Or not. I think that I’ll design my own after all. I’ve had the coin mechanism in my Amazon wish list for a very long time,
Top played games on my rig are Joust, Elevator Action, and Gauntlet. It’s primary use was for social events for my kendo club.
Nice work. I’ve wanted to build one of these for a while, wife says wait until the kids are older, not realizing this kid wants one now  .
.
Are you guys buying the electronics bundles for these predominantly? Or piecing it together?
My full size cab has a PC in it with an addon usb board that simulates a keyboard… it has a trackball and spinner and light guns… I think you need a PC if you go that route.
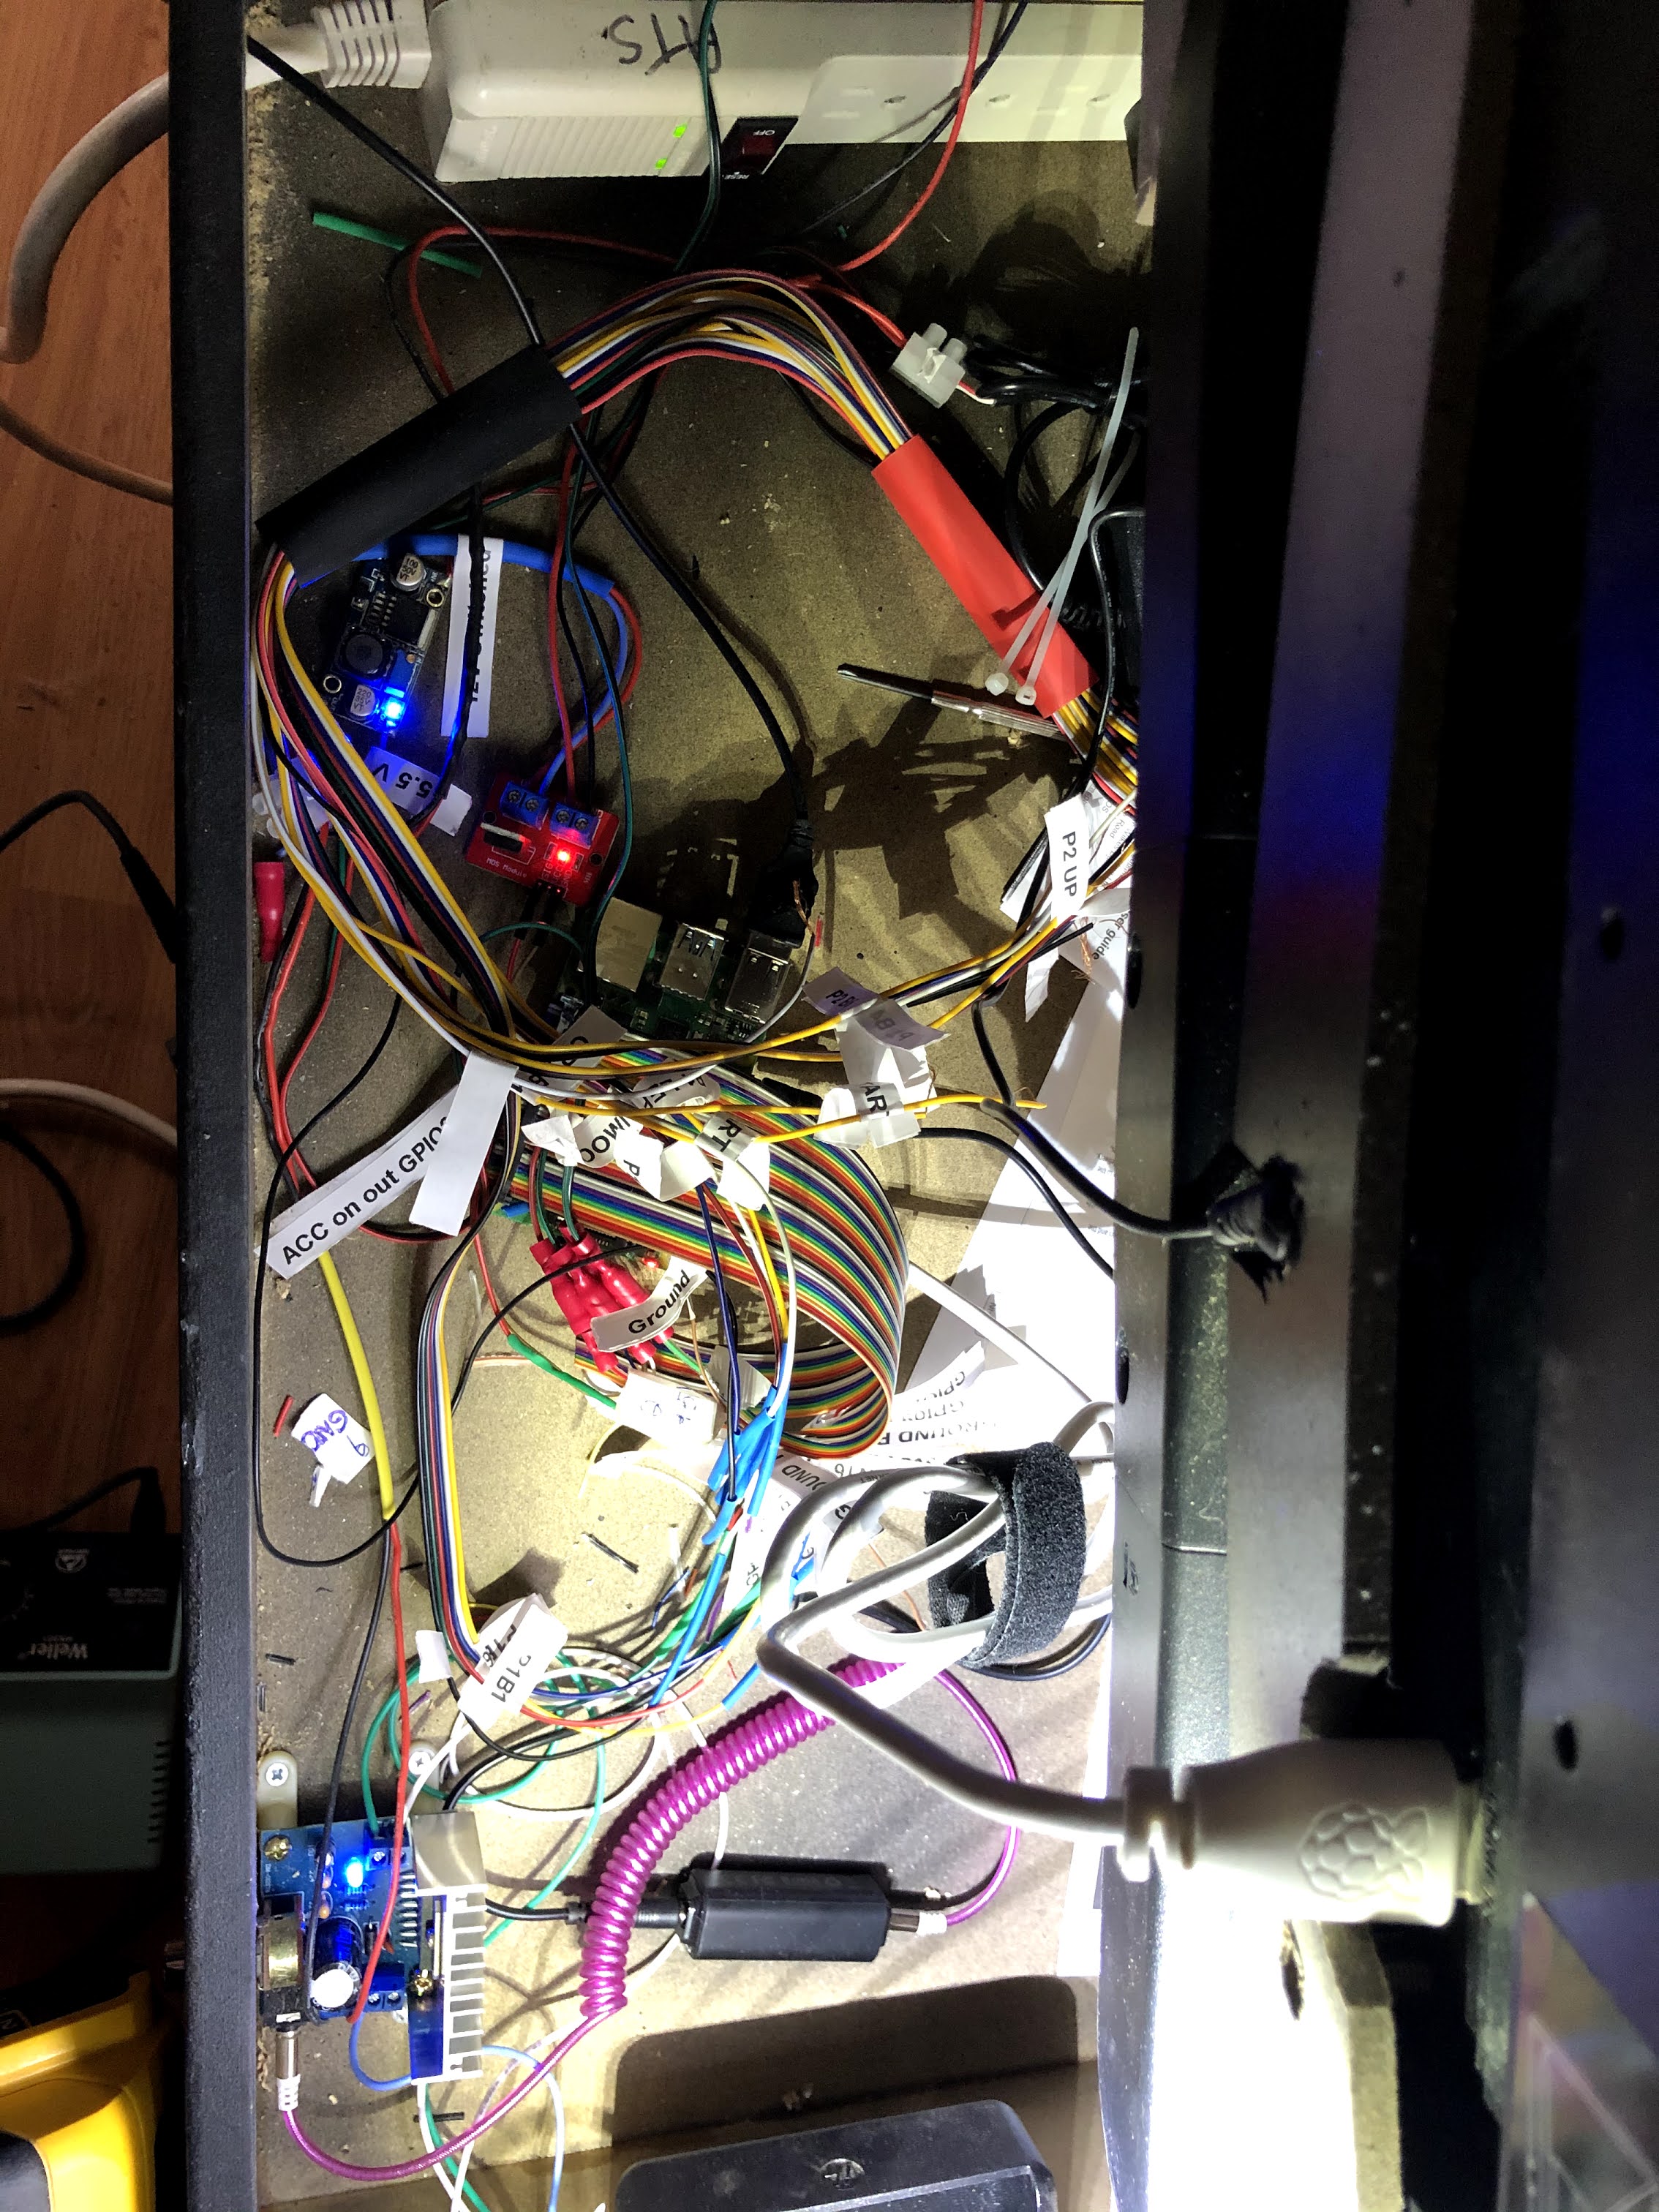
This one I just did myself with a raspberry pi running retropi plus if you get an extra long ribbon cable for the pi connector, you can wire the buttons directly to the gpio pins on the pi. Other than that you need a small 12v audio amp, speakers, spade connectors, crimper, ground loop eliminator, 12v power supply, buck converter to give your pi 5v from the 12v, LED light strip, 12v fan, and a IRF520 MOSFET Driver Module for toggling power to lights, fan and amp. You can get all the pieces on amazon/aliexpress. They also sell arcade kits on ali with a hardware emulator and stick and buttons and wires if you want plug and play.
Nice job ! Maybe you could design a cabinet that this ‘docks’ to.
Since you have a full blown PC check out the USB light guns too… they have a little Wii type sensor you have to mount above or below the screen.
That turned out great! I might buy that design and try it. I was going to design my own, but then I wouldn’t have it for a few years
I love Diego’s designs!! I just got him to do some artwork for my mini DK. I have the evo cab with the cabinet, and then the evo that’s an upright (1 piece) I have yet to cut either of them yet, but soon! Funny story, he now offer’s 1/2" and 3/4" versions of all of his cabinets because of all my pestering him over the years haha! Nah, all joking aside he’s a really good guy to deal with!
Question tho, where in the heck did you find 1/2" T-molding?
Anyway, looks great! Sleek and clean! What size monitor did ya end up going with?
I got the 1/2" molding at tmolding.com… they have a fantastic selection.
I went with a 22" LG television but I see amazon now has 22" LG monitors that look way less $$$.
Just make sure whatever you get it has HDMI-CEC so the pi can turn the monitor on automatically.
One more tip… buy a USB-C connector and wire your +5V to that instead of a GPIO pin or you will get undervoltage warnings.