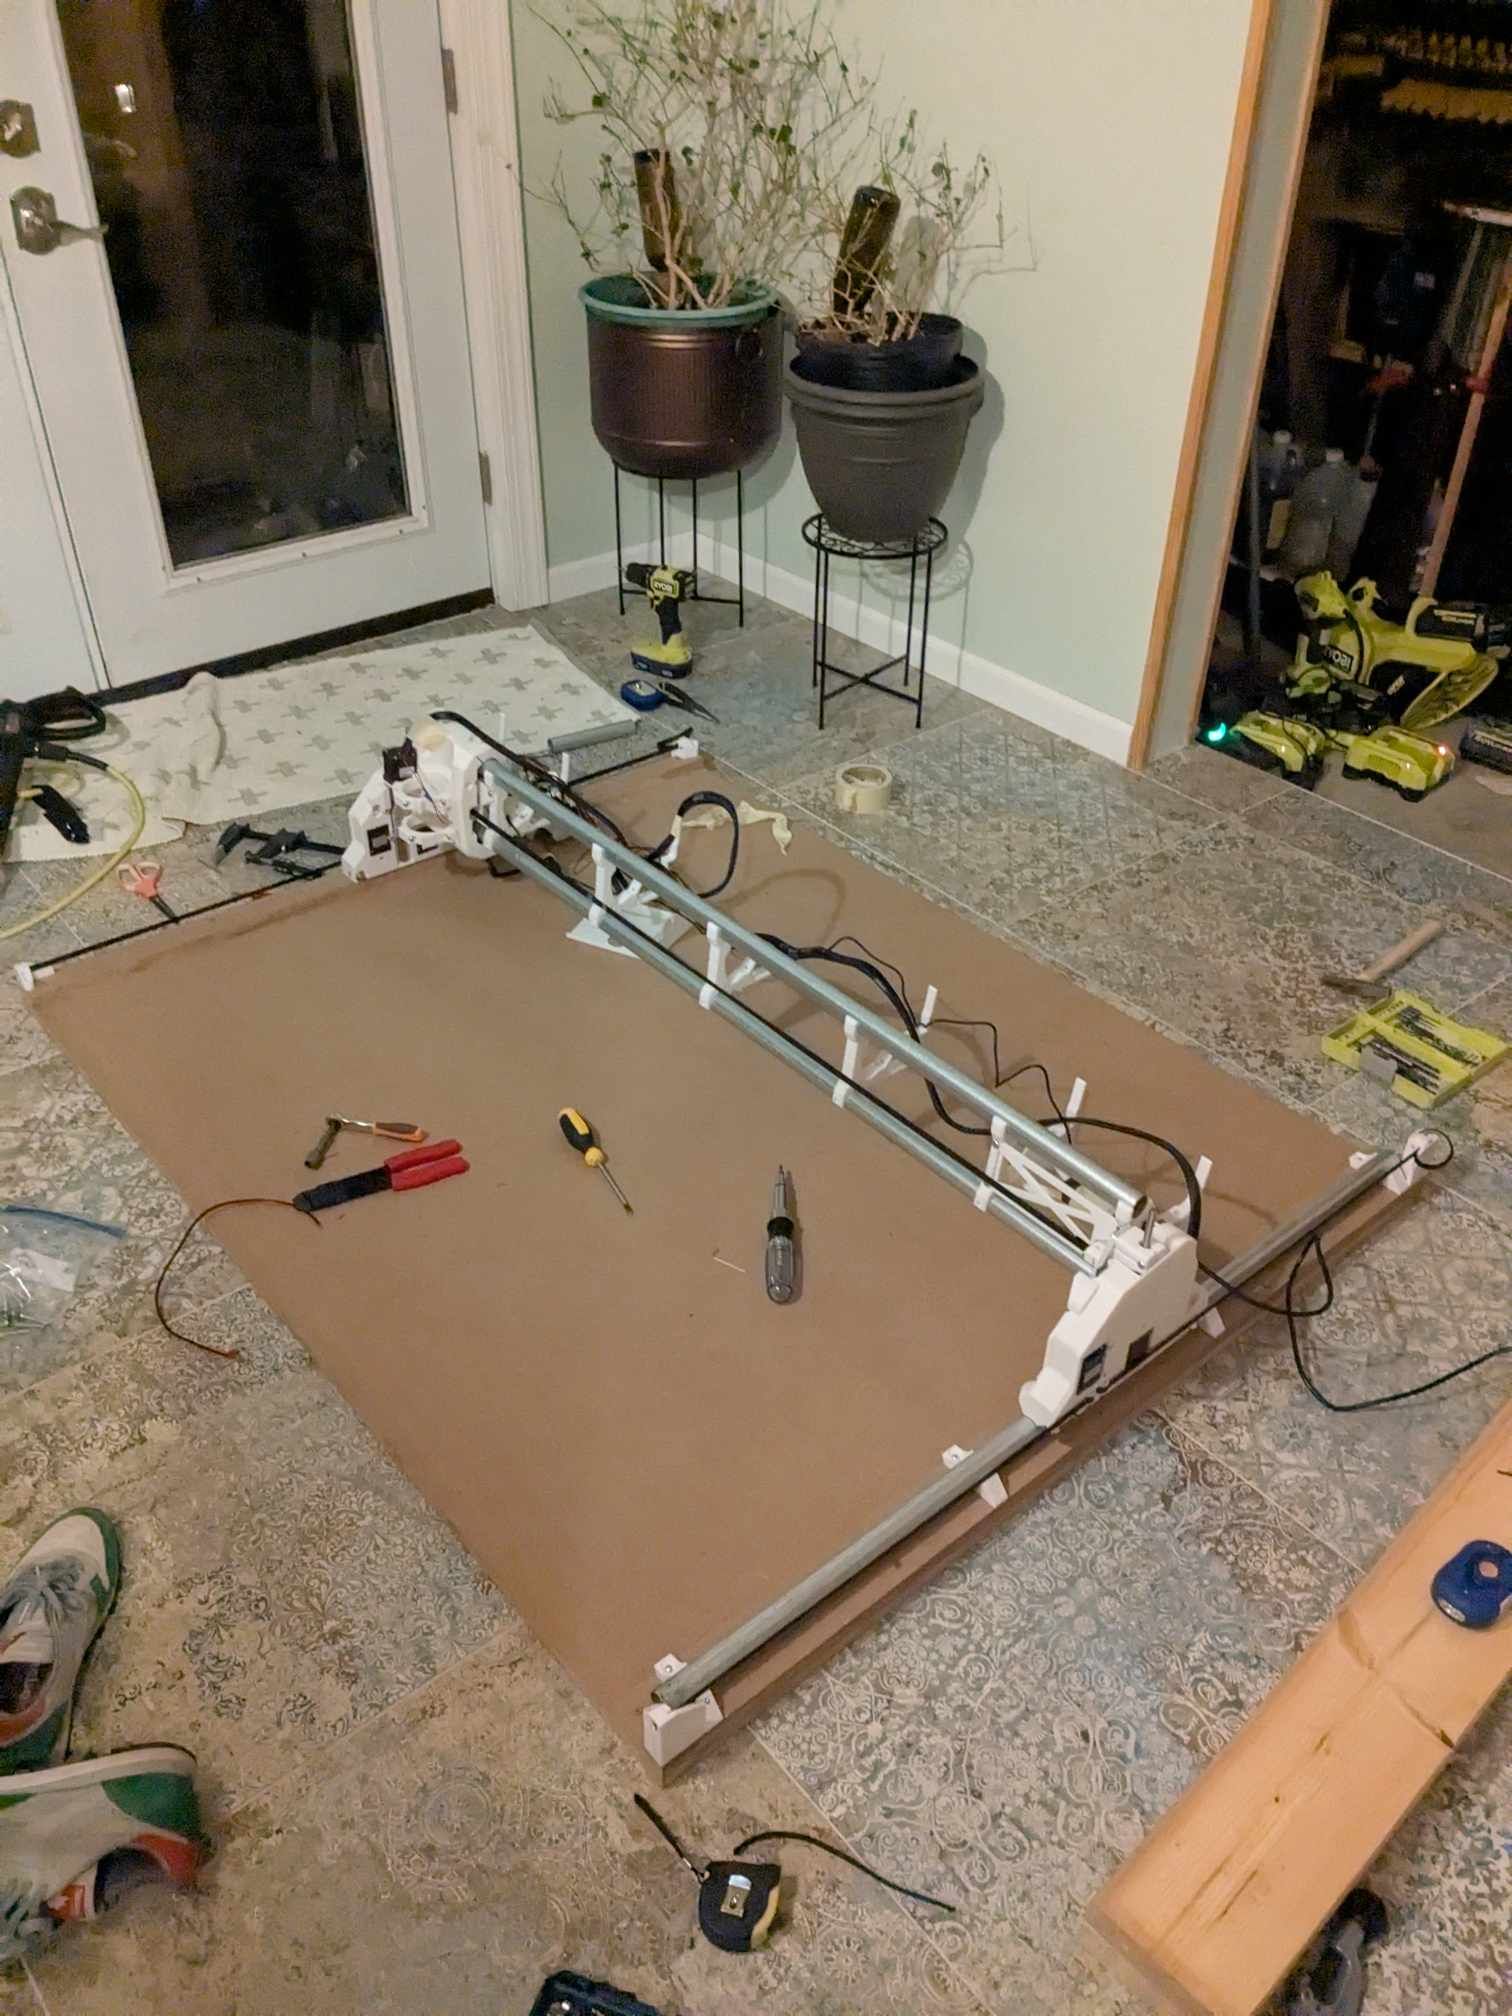
Started this build in Cleveland then moved back to east coast and am getting around to actually setting up a working machine. I printed and bought all the parts the week the L4 was formally released, but have had a couple other projects fall into my lap.
I’m still figuring out how to manage all the cables and the mounting of the SKR screen as my buddy has my 3d printer right now - to at least get it working temporarily. My core also seems to hang up a little close to the x/y assemblies, but it still seems to be moving under its own power just fine.
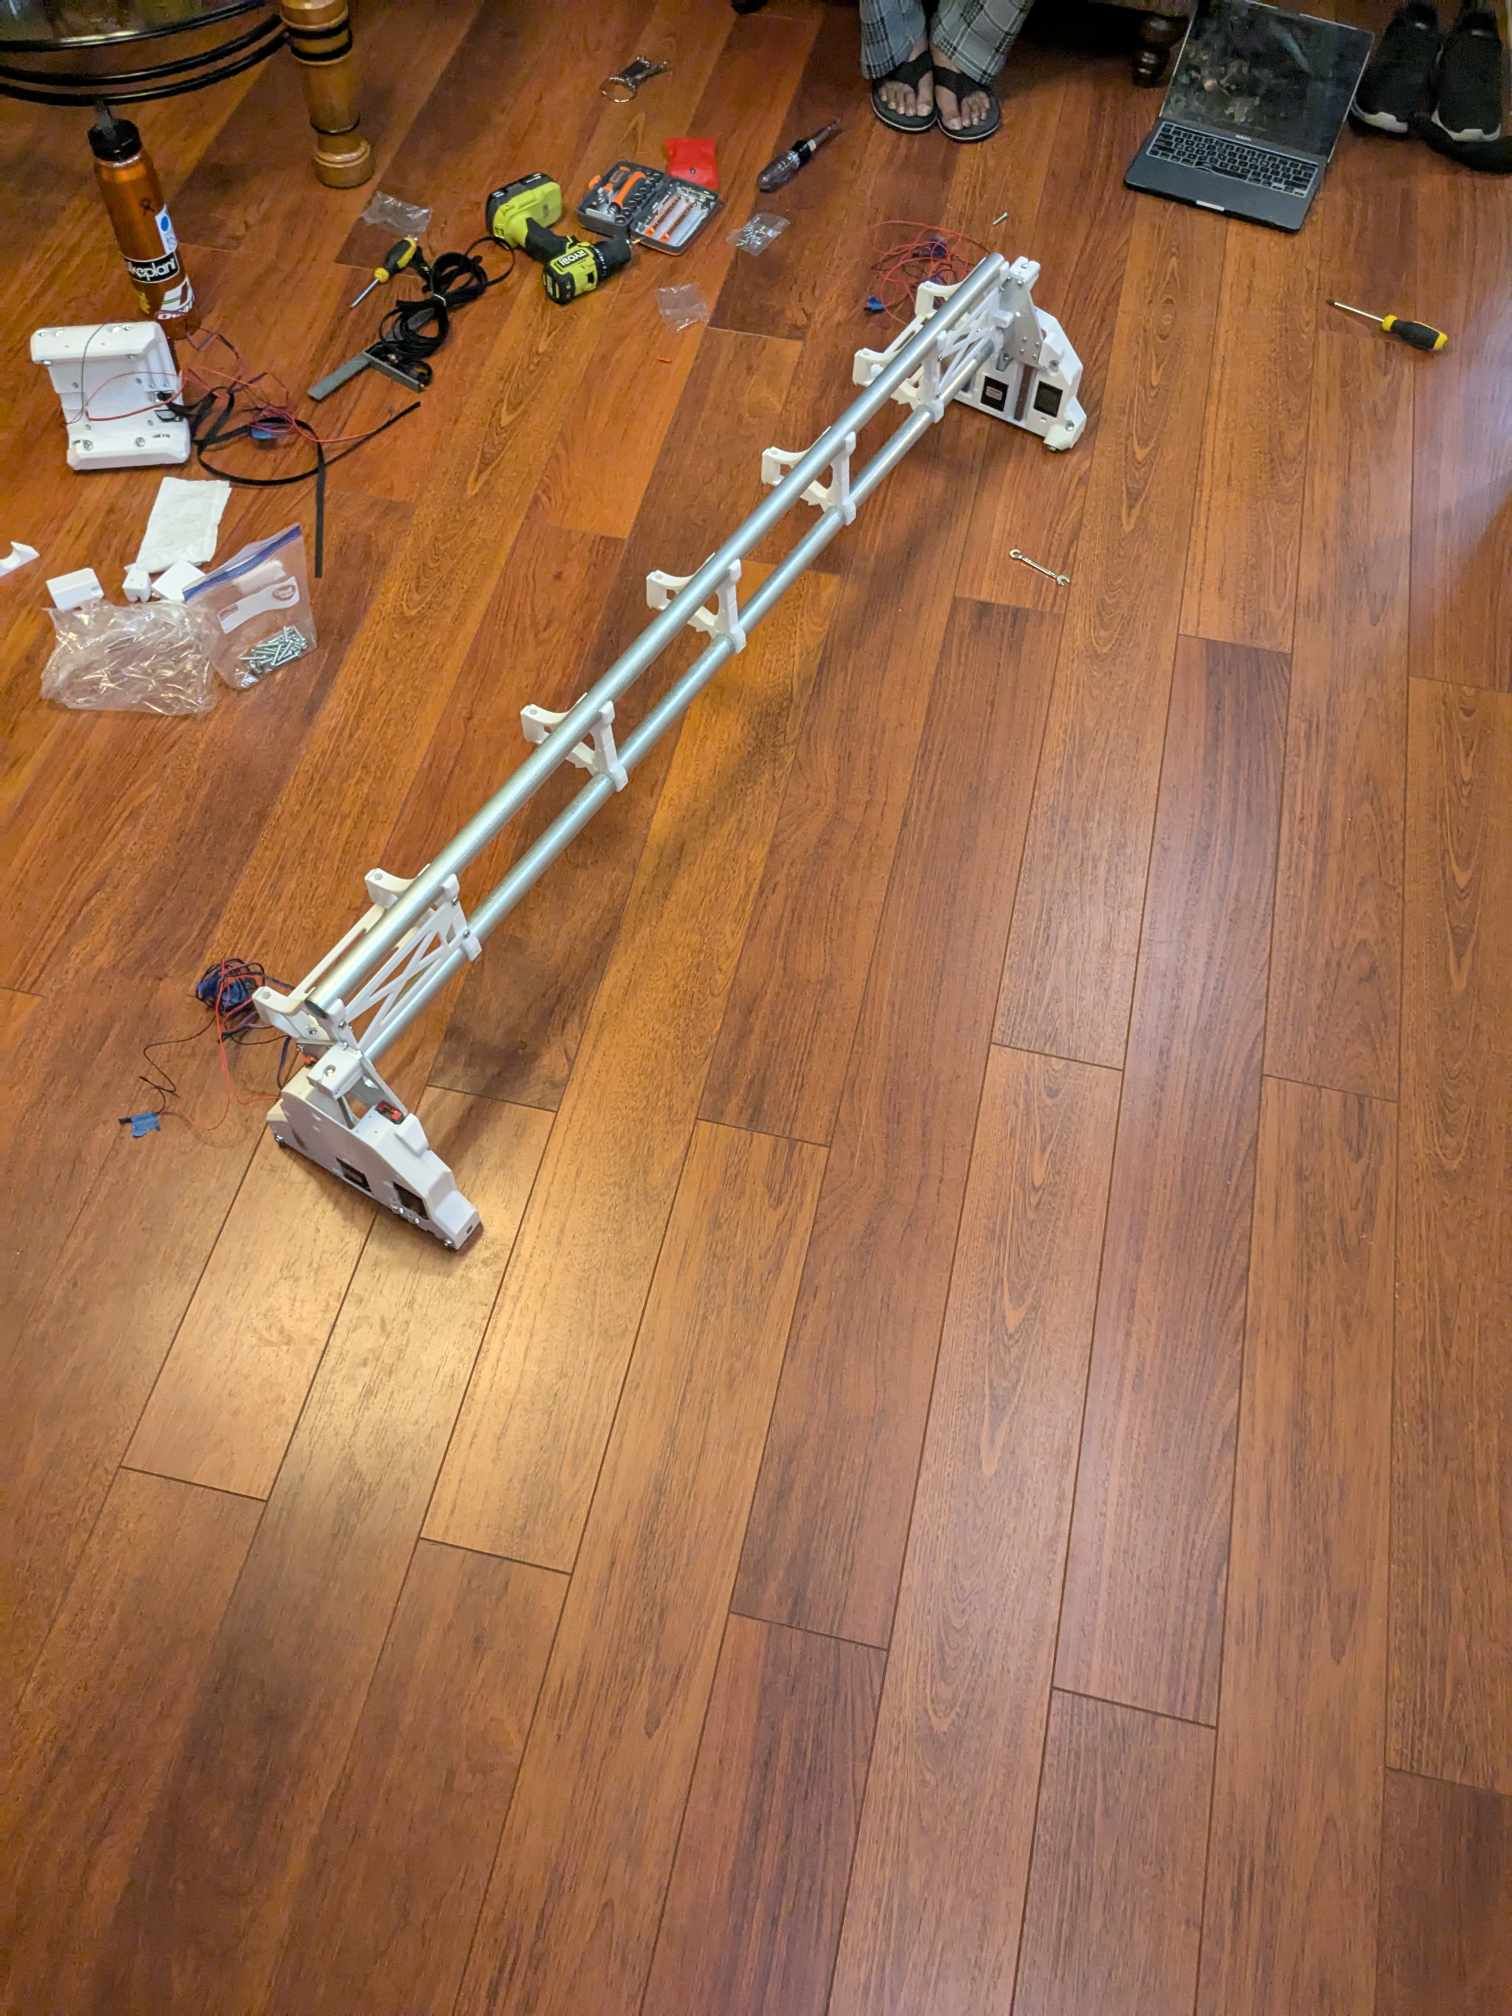
The instructions on setting up the SKR were pretty clear and I was able to jog it around today. Hoping I can get the spoilboard and the struts cut this week, and maybe get a box cut out to start making a camp kitchen type setup.
I love self deprecating humor. But there’s no way you made this much progress while being dumb or an idiot. Nice work!
I love it. Just be ready to expand the schedule in case the learning curve catches you in CAD/CAM. You’re building your skills alongside building the machine. So be forgiving.
Thanks all - if you saw me bumble my way through it I’m sure you would say otherwise haha
The documentation is very good which helped significantly. There is no way I would have gotten this together without it. I’m glad I chose the SKR over the Jackpot as that seems to have simplified the process. I think I should have this rewired and in a place to cut the struts today.
I think most of my projects will be ported over svgs from Sketchup. I still need to figure out how to use the CAM software, but I’m hoping that it won’t be too bad. I was just able to boot ETSLCAM in whiskey on my mac, so that’s a step forward as well.
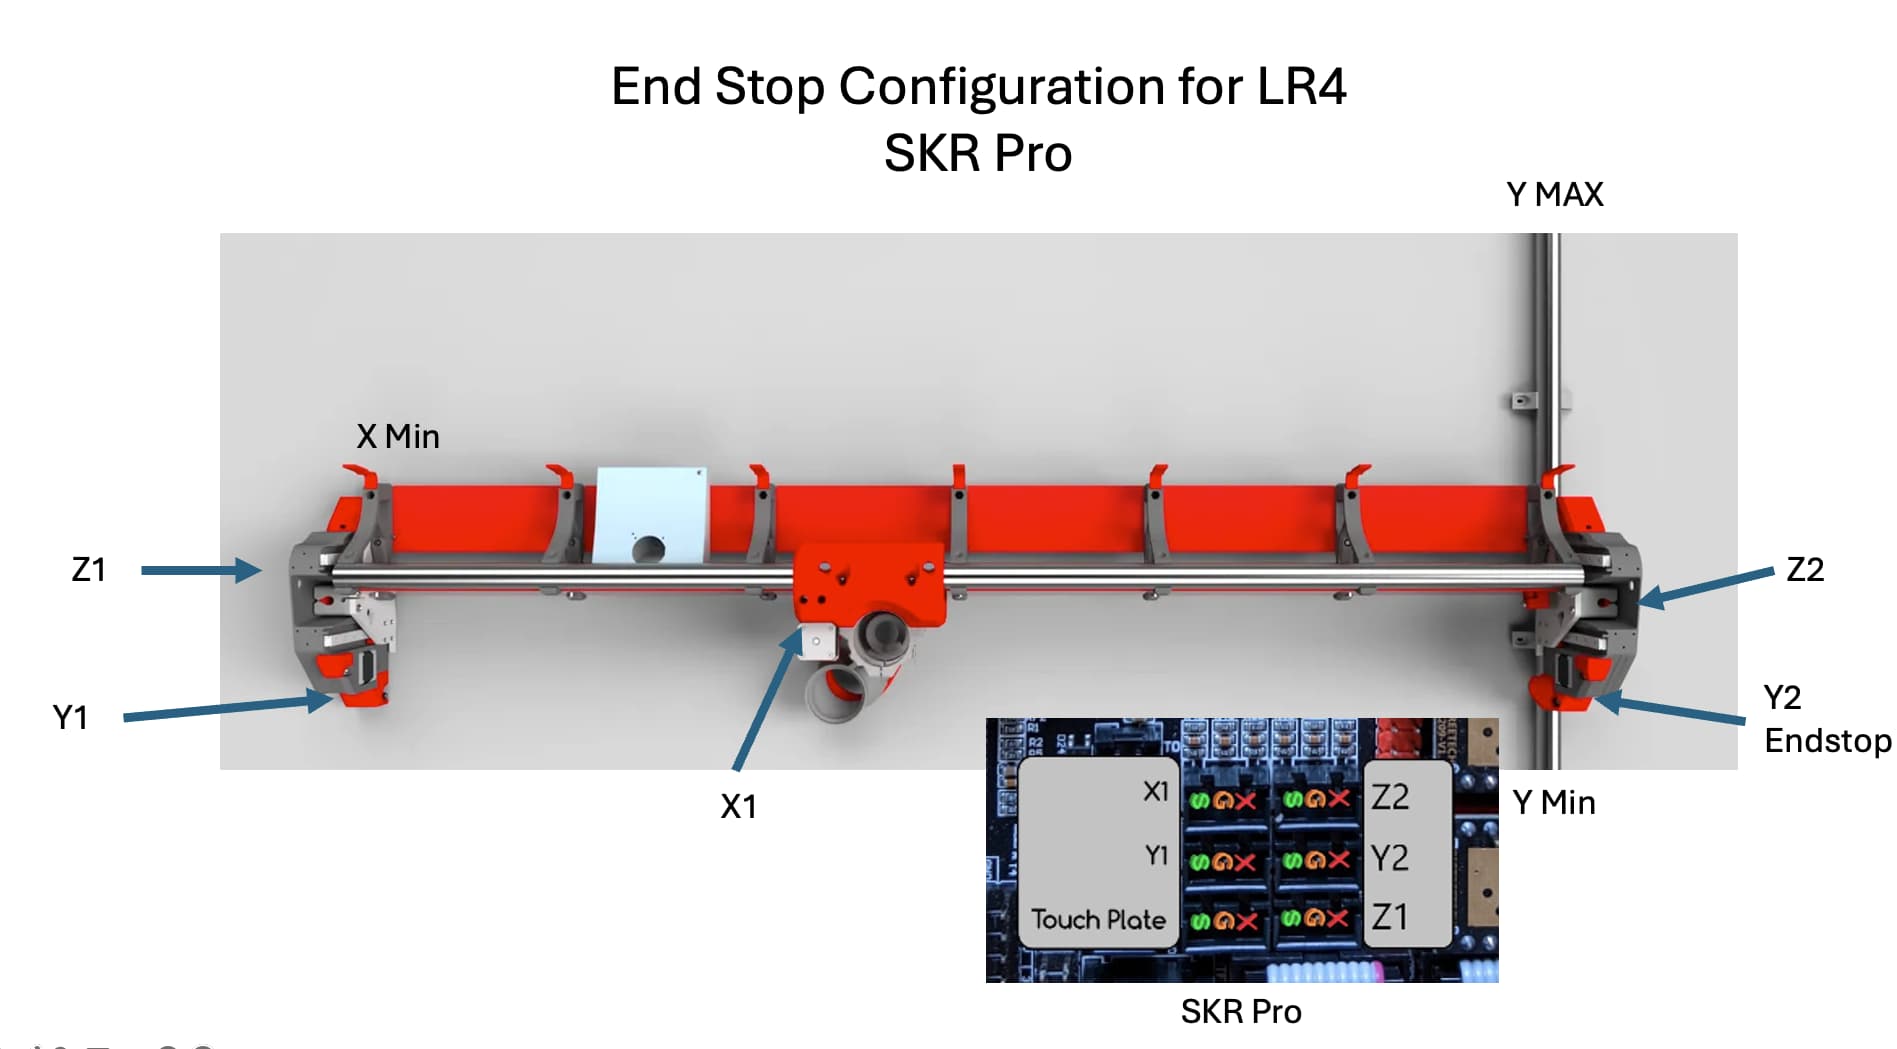
Set up the wiring temporarily and made sure the machine was homing properly.
I then used the crown stl in the documentation to set up a gcode file in ESTLCAM. I set up the file as an engraving and tried with a pen a couple of times, but my tape job was pretty poor and I think I’ll need to surface the spoilboard once I get that in. Got impatient and fired up the router with an endmill in it to see what it would do. I was pleased, but there is some variation in depth towards the x endstop on the y axis (not sure about terminology there). However, I think I should be able to cut my struts soon.

