I have only just complete my MPCNC here in Australia. I would like to thanks Ryan for designing a fantastic piece of equipment. Due to delays with obtaining all of the parts after I had printed all of the components this is a burly build.
I have only had it operational for a couple of weeks and already impressed with the capability of this machine.
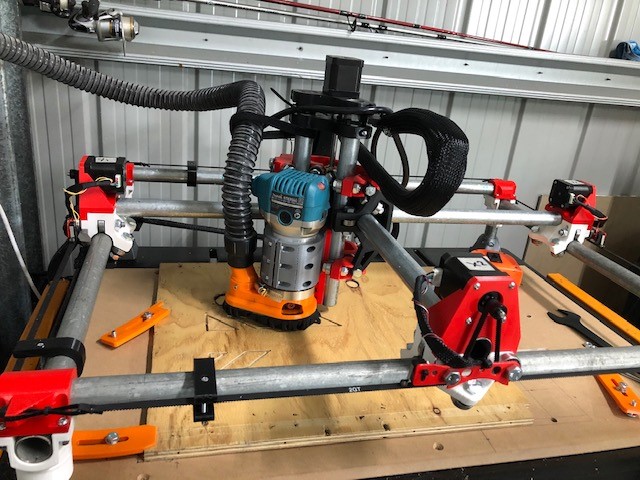
I am using a Rambo board with dual end stops and a Makita router.
As shipping to Australia from America is a bit expensive (sorry Ryan) I needed to find a local supplier of end mills.
I checked the usual online shops we all use and was a bit worried about the quality of the bits.
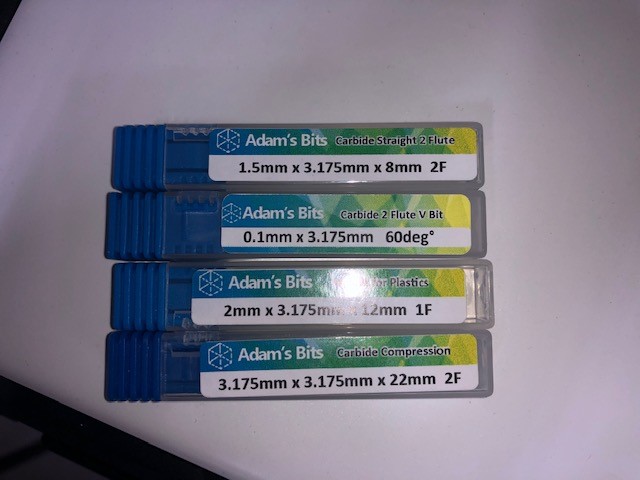
I then stumbled across Adam’s Bits. https://www.endmill.com.au/
I ordered a selection of bits and so far I have been very impressed with the quality and they were delivered very fast. Plus the packaging is first class. The prices are also very competitive.
This site also has a lot of information about the different types of end mills and their uses.
Even if you don’t purchase from this site it is worth a look.
Awesome stuff mate , about 90% finished mine this week , just need to build the cabinet and tidy wiring , also with all Australian hardware too , thanks for the link , iv been busy looking at all the end mills and working out what to get , will be closely following your progress !
Cheers
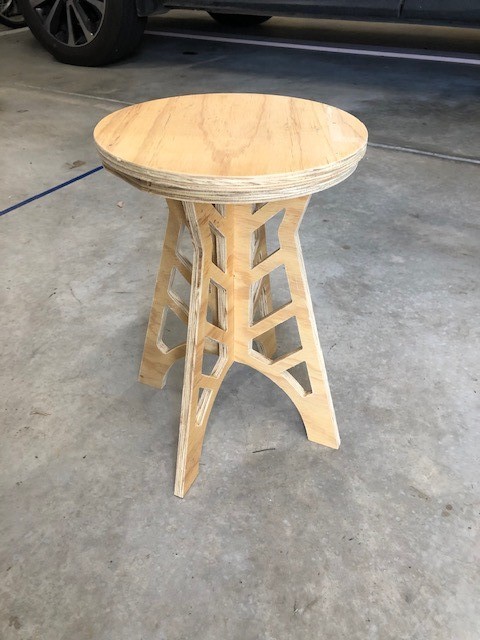
Ryan, the stool is actually not that big. The largest part is only 380mm high.
The original design is larger, however I scaled it down to work with some left over plywood I had.
My build has a work area of 470 x 340mm, it is technically long than 470mm but the vacuum attachment uses about 50mm of usable space.
Great work… thinking i would like to try the stool in the near future… postage here in Australia from the USA is a nightmare… completely out of Ryans control and at the mercy of overloaded Australia post… does not help when your parcel stops in your home town for 2 weeks before finally arriving…
Hi - looking to build a MPCNC (Melbourne based) - just researching and starting to get ideas together.
I’m interested in what you used for the tubes - hard to tell from the pic.
I used Bunnings 25.4mm tube for my build as well. However last time I priced up a build (pre-covid) you could get stainless steel tubing in either 25mm or 25.4mm OD for about $70. It will definitely have increased in price since then, but it’s a good option if you don’t mind spending a bit more.
Saying that the Bunnings gal pipe has held up fine with my machine.
Hi Andrew,
I didn’t use the gal tube form Bunnings, but others have. If you haven’t printed anything yet it would be best to purchase the tube so you can check the size first and then print the appropriate sized parts. A check fit is best.
If you have printed the parts first, take one with you to check the size.
Hey Andrew,
I used the Bunnings one and has held up well so far although I am weighing up the benefits of a thicker wall tubing.
It’s a good cheap option depending on suppliers in your area.