New core and tool mounts are fitted. Luckily I added connectors to the wiring for the X stepper/endstop and X2/Y2 endstops/steppers, that sits inside the beam. So removing the core again was fairly straight forward.
I did notice something which I had the same problem with last time. The nut behind the core on the top left tool mount bolt started spinning in the core long before it was tight (it span the nut easier than what it was to turn through the nyloc). I was pulling on the tool mount to ensure the nut was fully seated into the core but it still span. Ended up having to jam a small screwdriver in there to hold it while I did it up, which means its going to be very difficult to remove it if I ever have to without pulling the core off the beam again.

The new vacuum hose is on. Its much more flexible and sits down into the hose hangers as it moves left and right as it should. It turned out to be 50mm ID and ~54mm OD. I printed a clamp to go under the cable ties at the top, as the cable ties looked like they might rip the hose if done up too tight, and I wanted it fairly snug to stay secure.
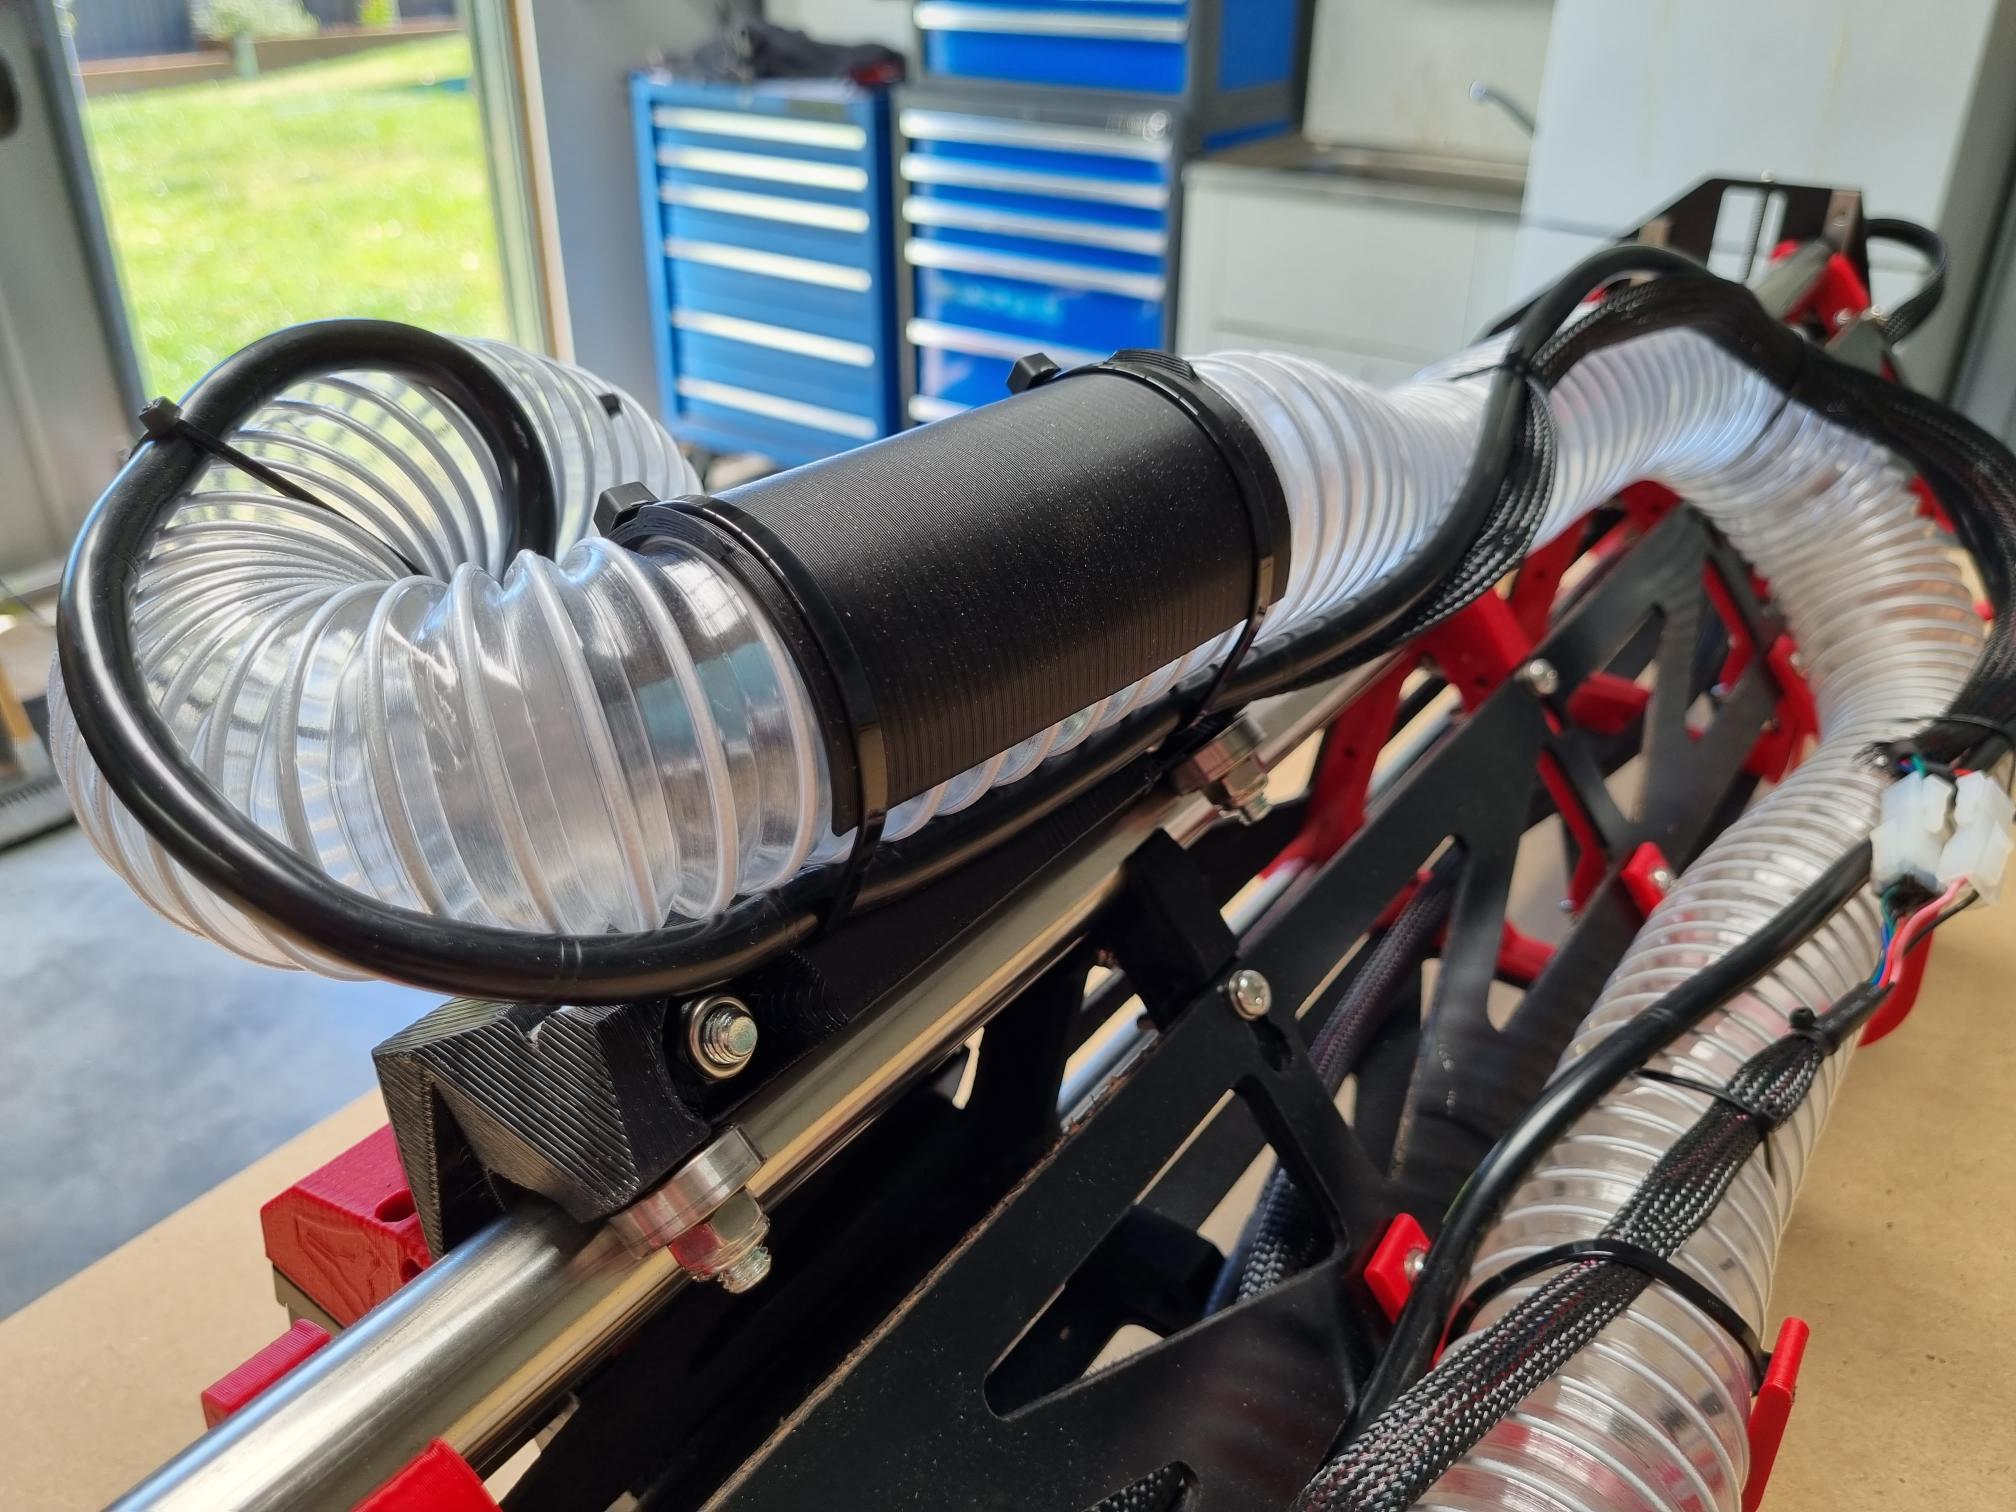
I made an extra long extended hose hanger that bolt onto the first 2 bolts of the strut plate, to hold the hose and wiring up and off the belt.
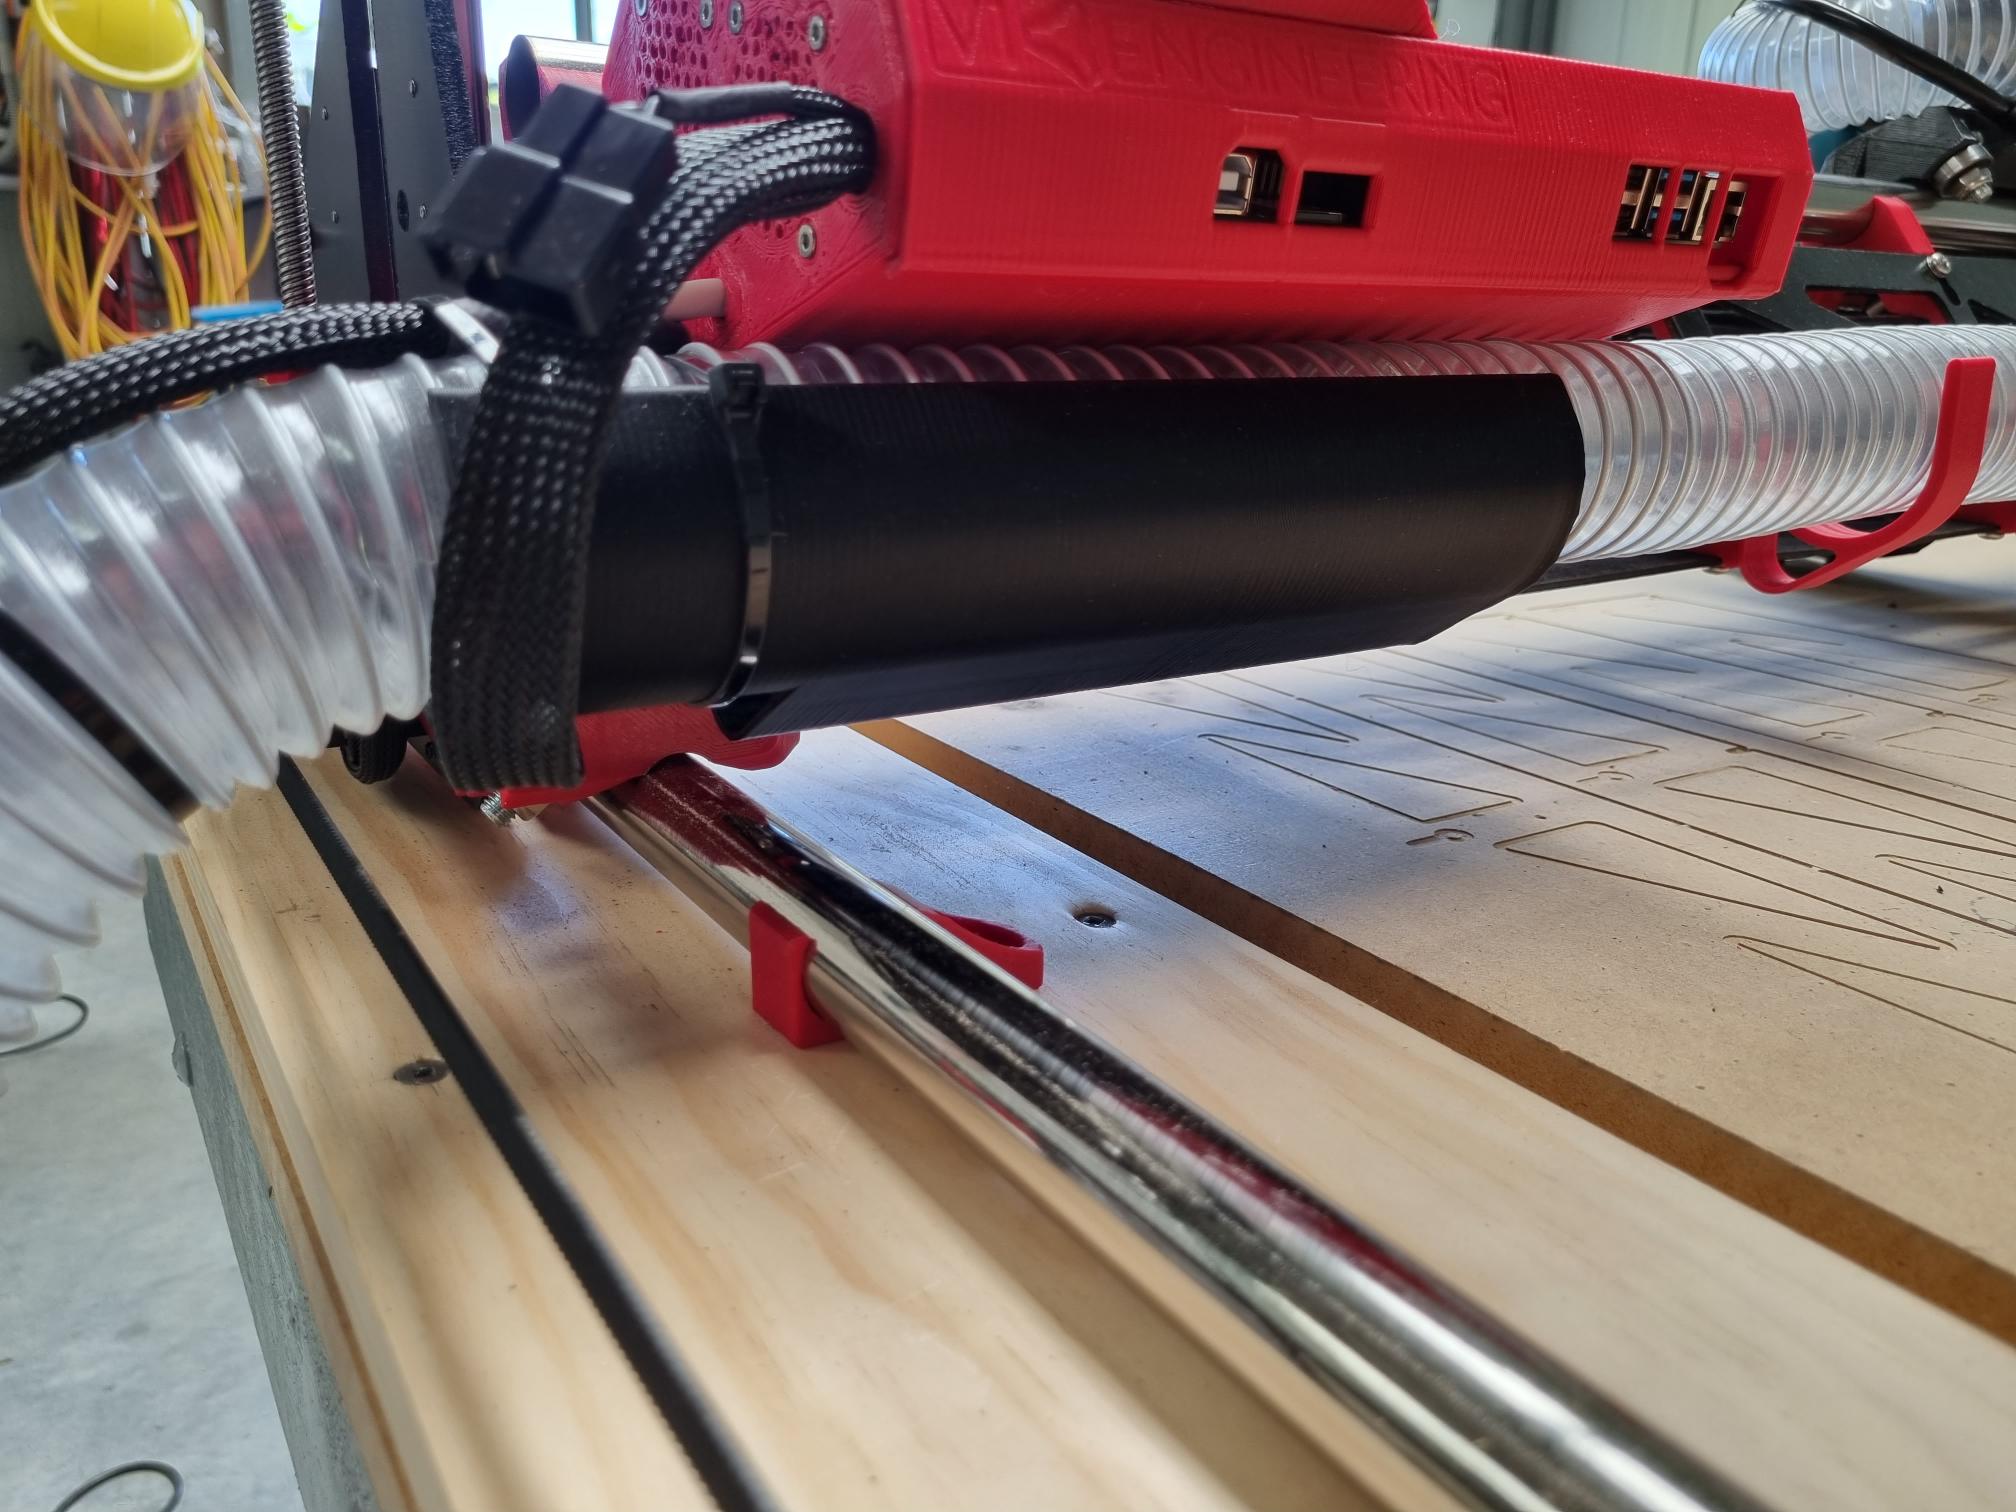
I extended the dust shoe by 10mm, and tightened it up where it snaps on. So its now a very satisfyingly snug clip-on fit and doesn’t sag down with a gap and rattle around. The increased size should improve dust extraction as well. I’ll also print another one (that’s been tightened up) at original height incase I ever need that Z travel space for something thick.
Also printed an adaptor from the 48mm hole into my 50mm ID hose, which also works to stop the bottom cable tie squashing the hose.

Next up is to do something about the Y belt holders. I already broke one of the bases when tightening the belt. I didn’t think it was that tight but maybe it was. Either way I don’t really need the quick release function, as I have no plan of removing it from the table. And they are very loose and sloppy where the 2 parts fit into each other. So I’m thinking I’ll make something more rigid and permanent.
After that I’ll square it all up again and then do some more cuts.