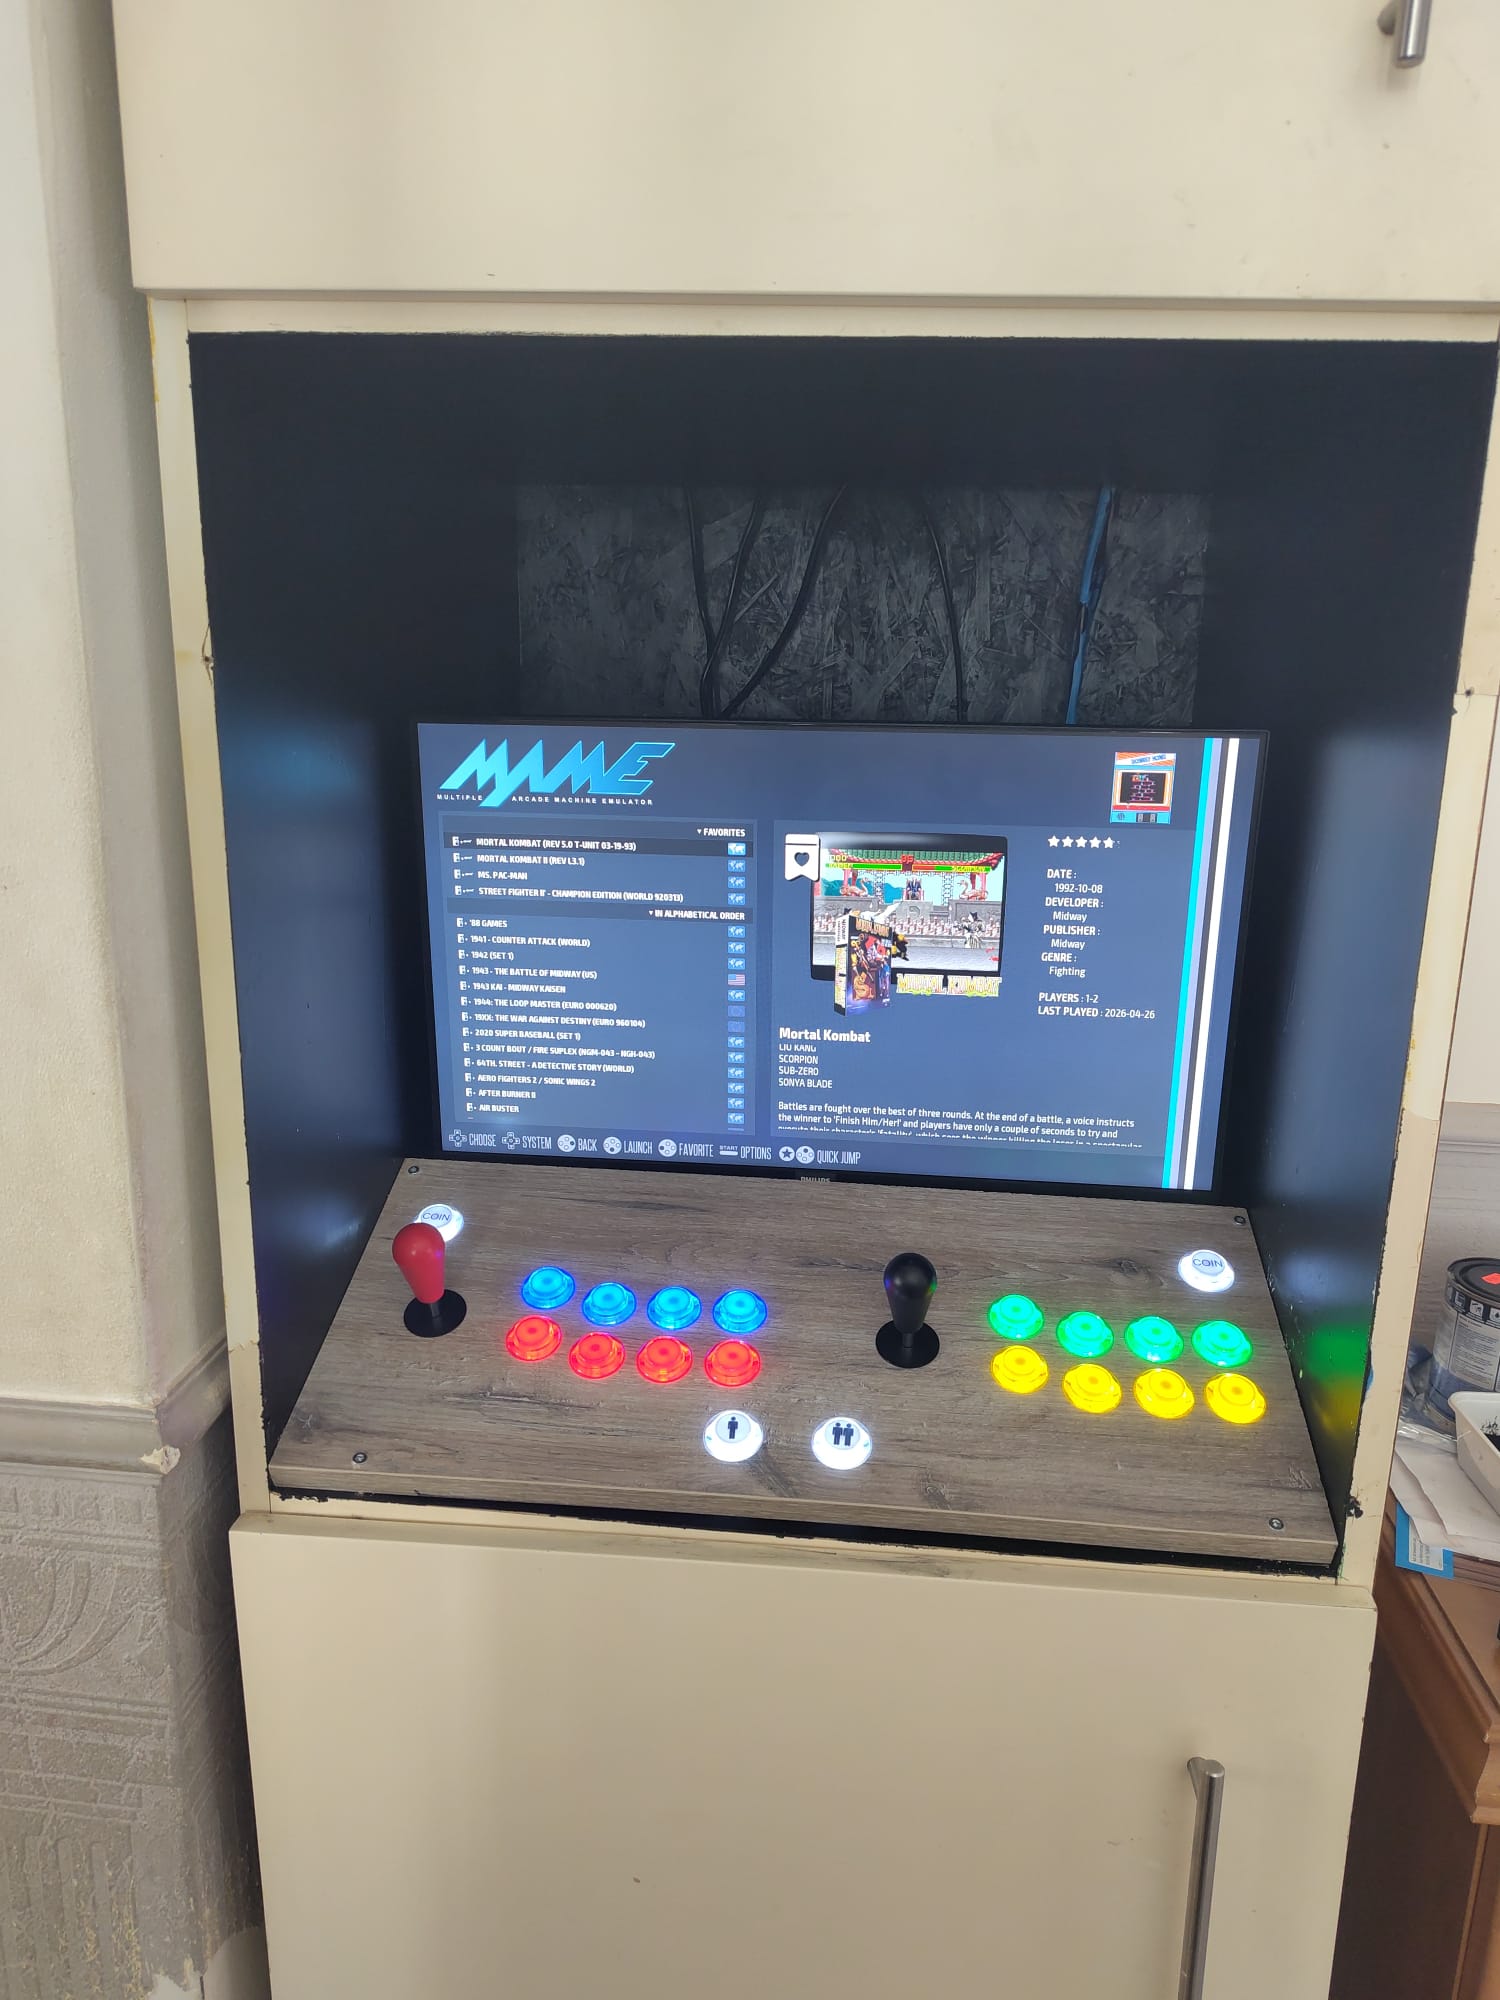
Okay, so maybe it’s not as impressive as cutting out an entire arcade system box on the CNC - but I don’t have room for one of those. What I did have was an IKEA cabinet in my living room with an open section in the middle (originally intended for a microwave oven)… which I thought would be perfect for a retro arcade setup.
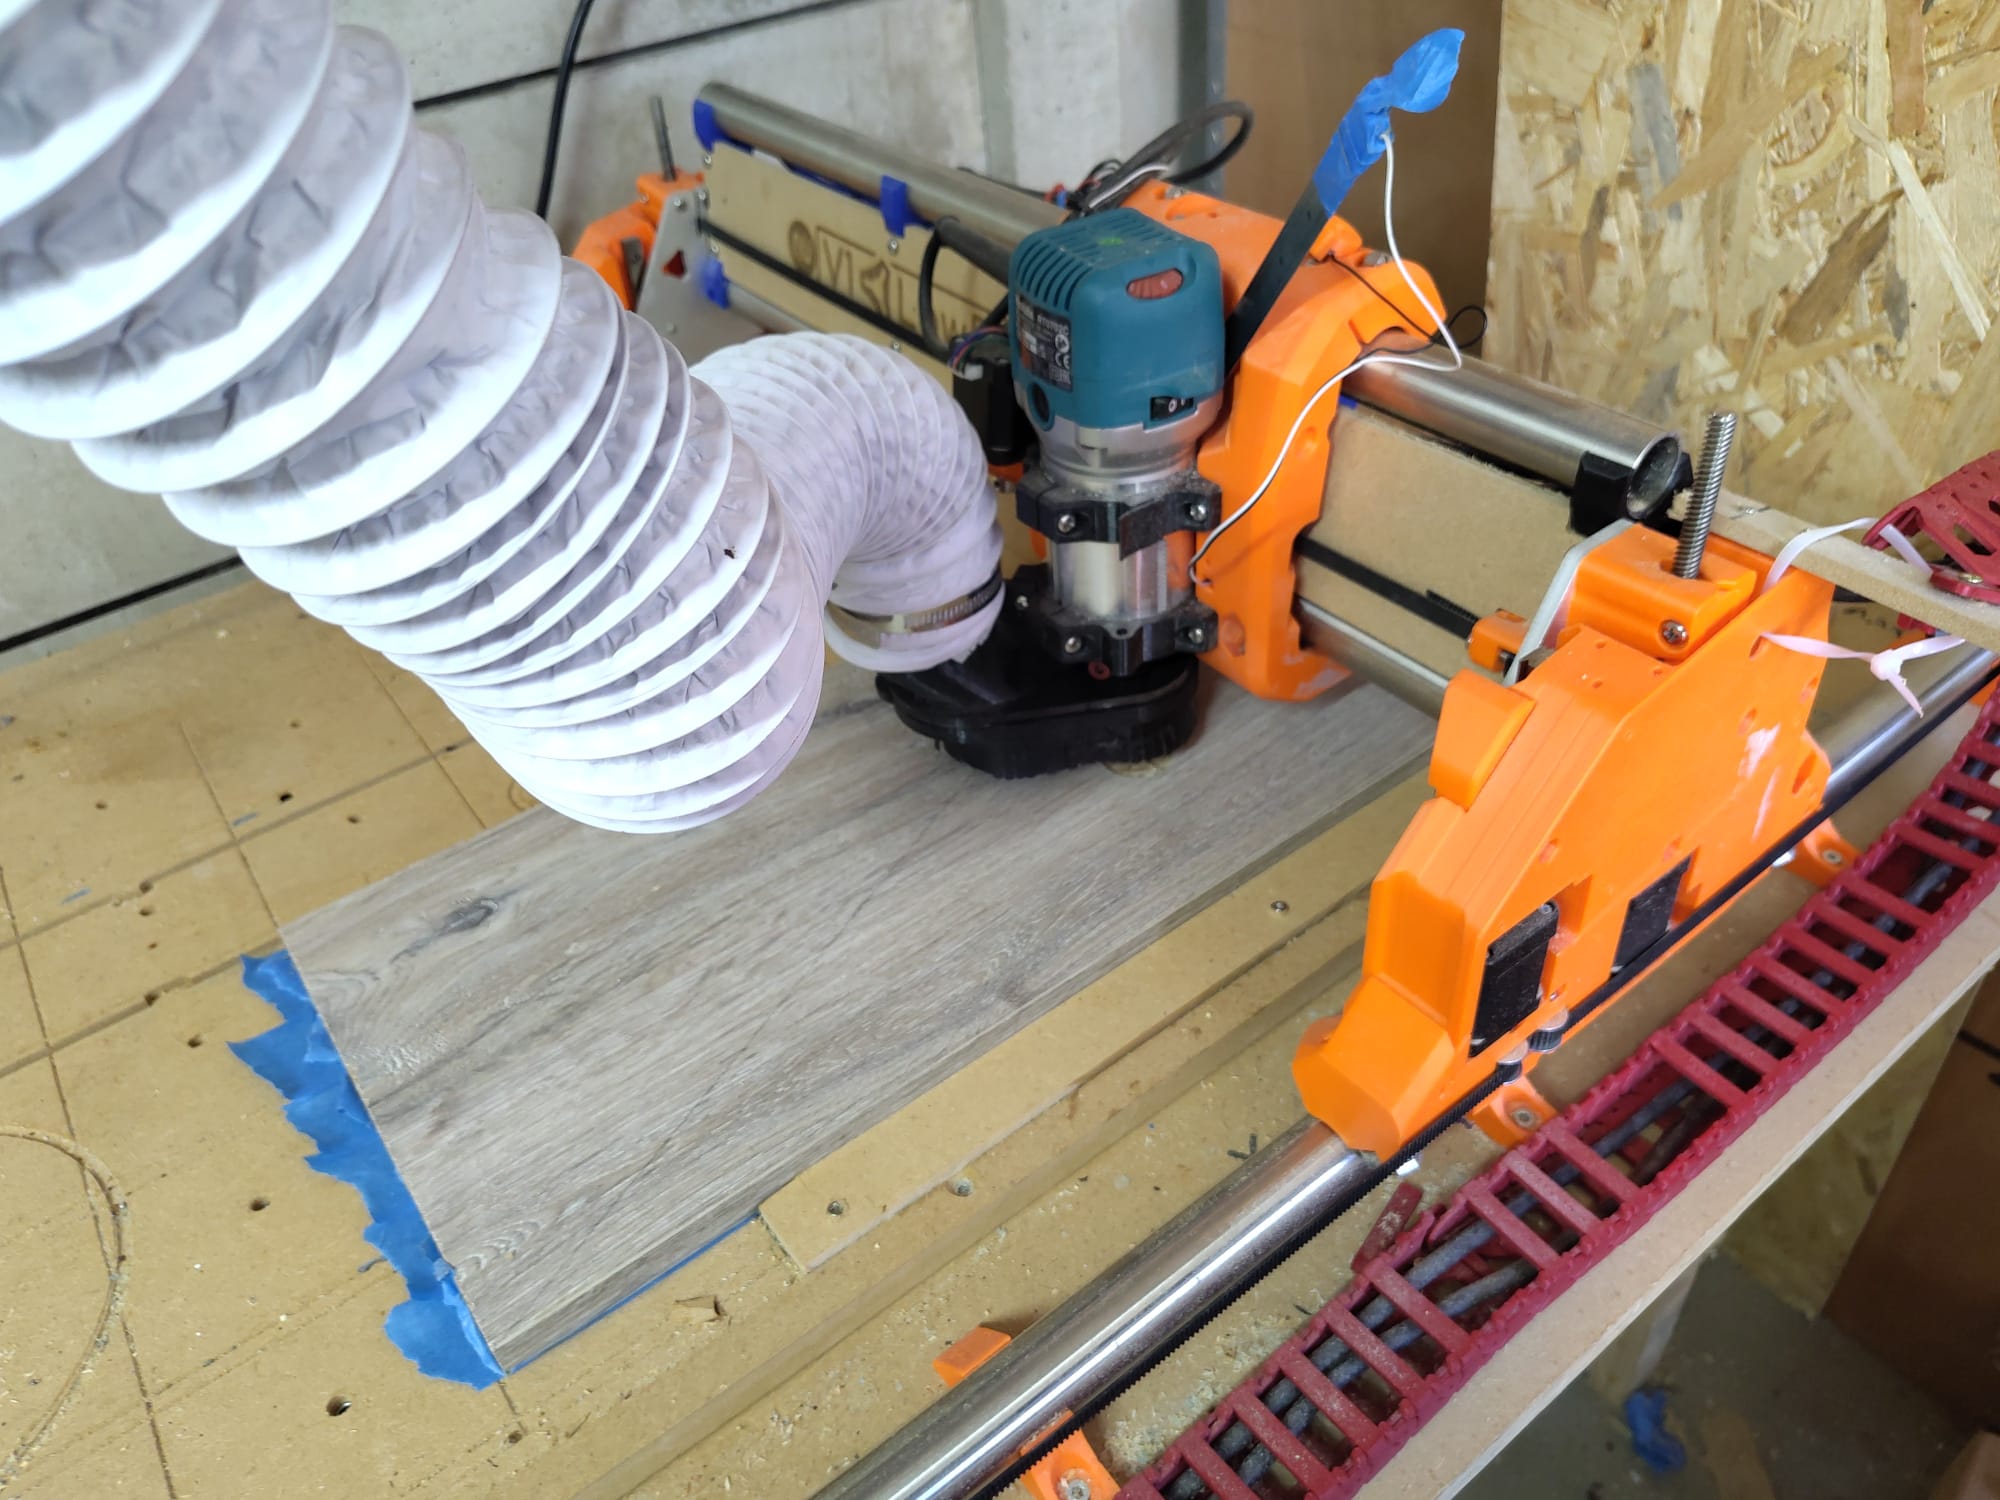
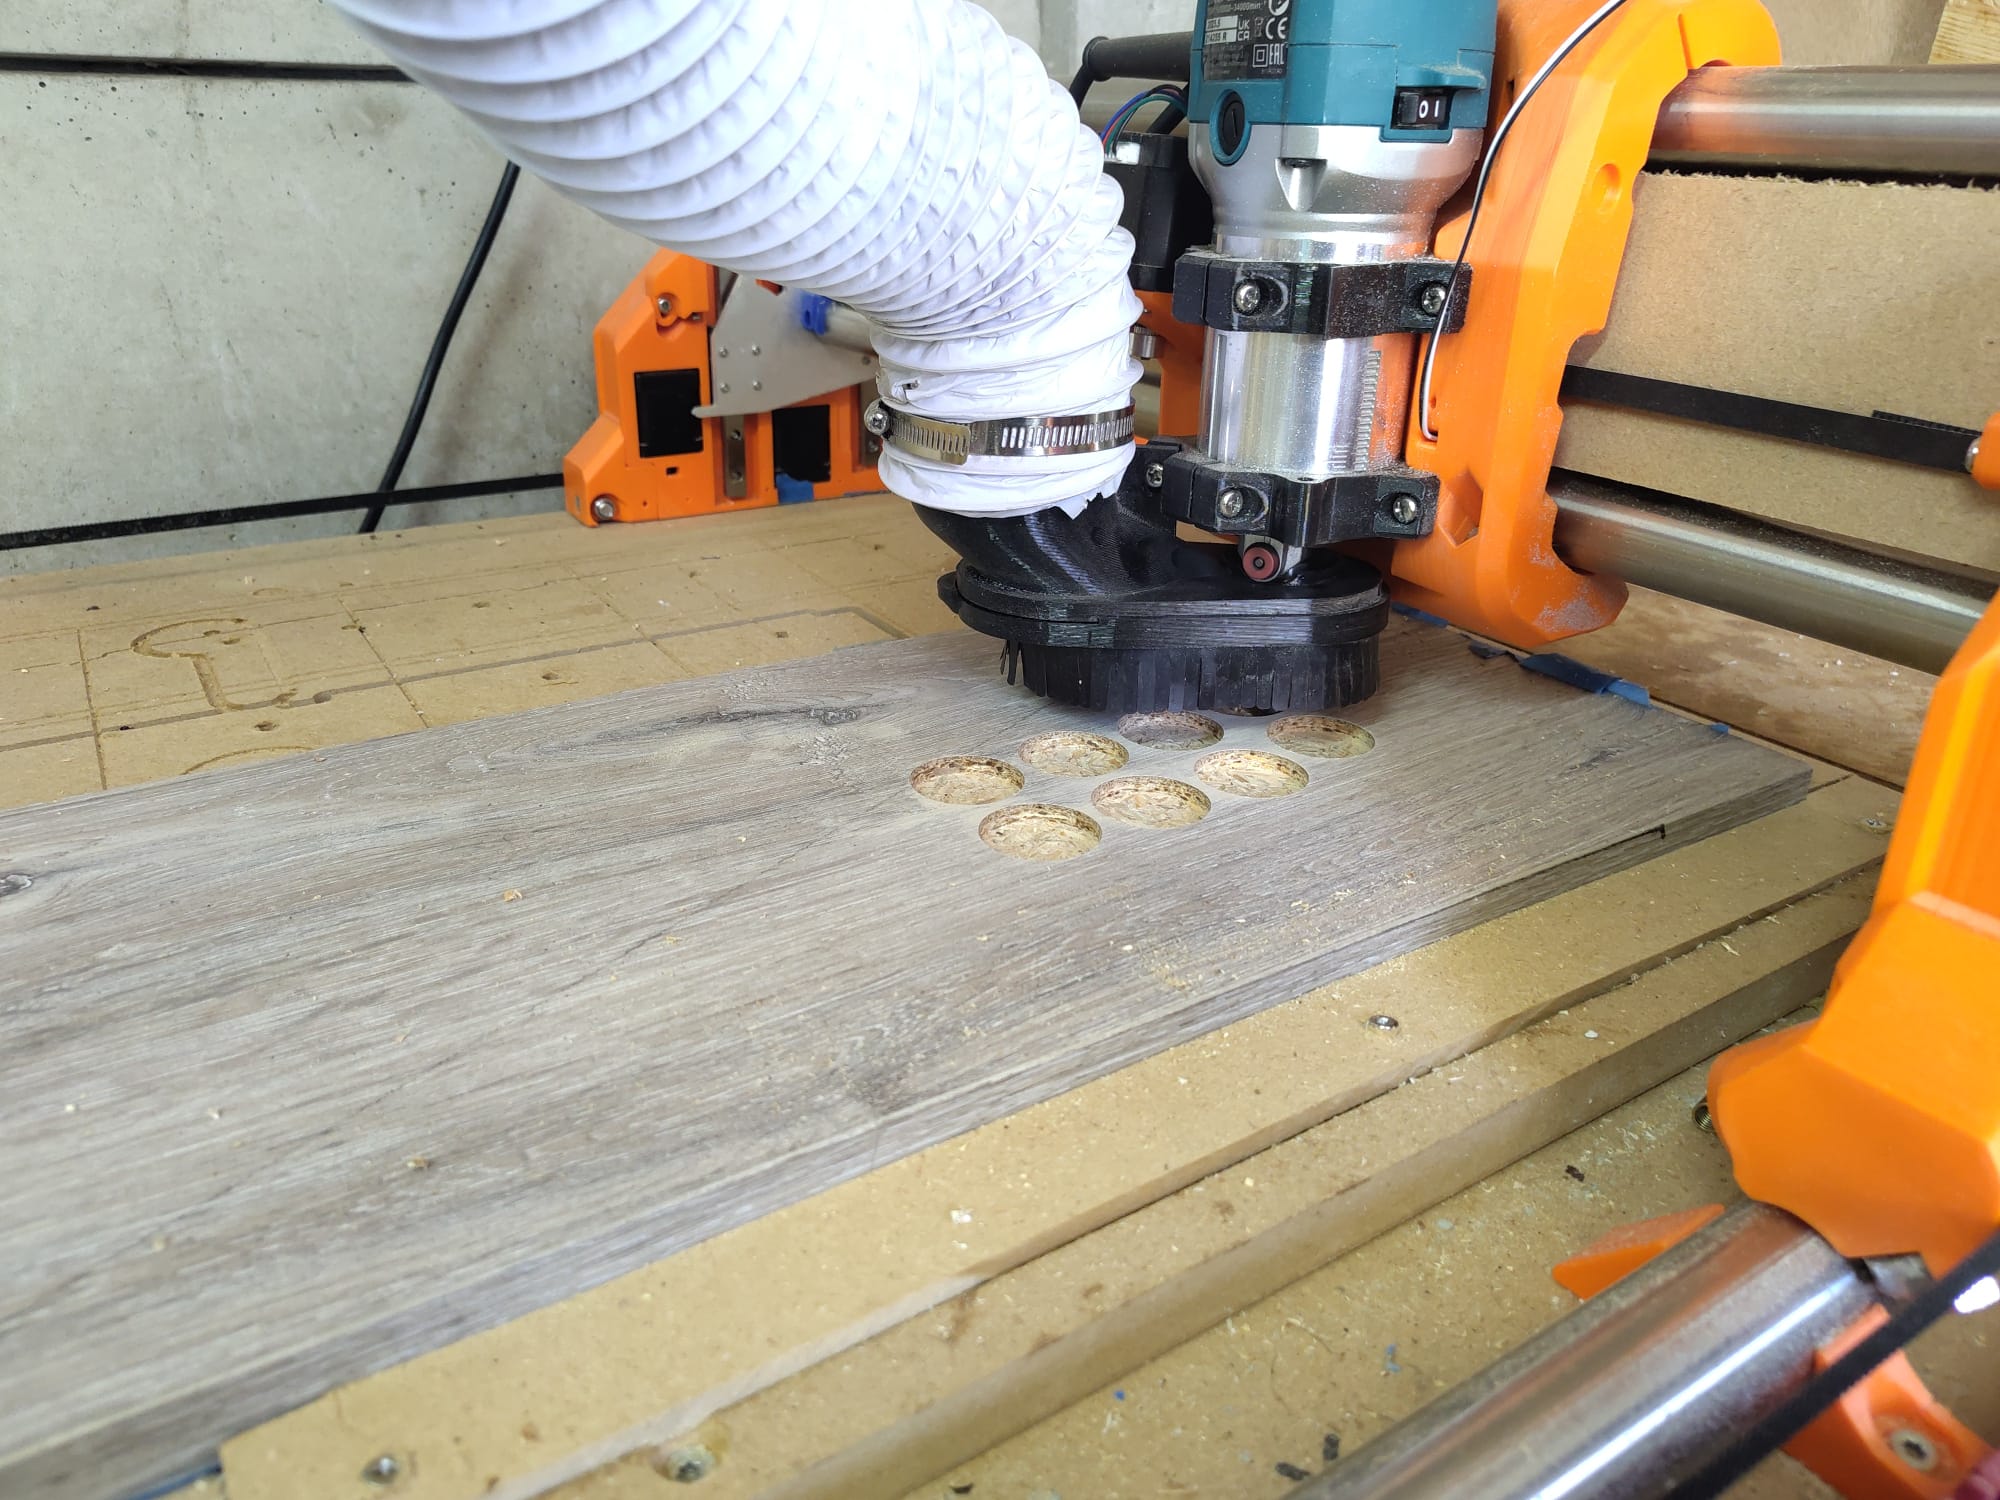
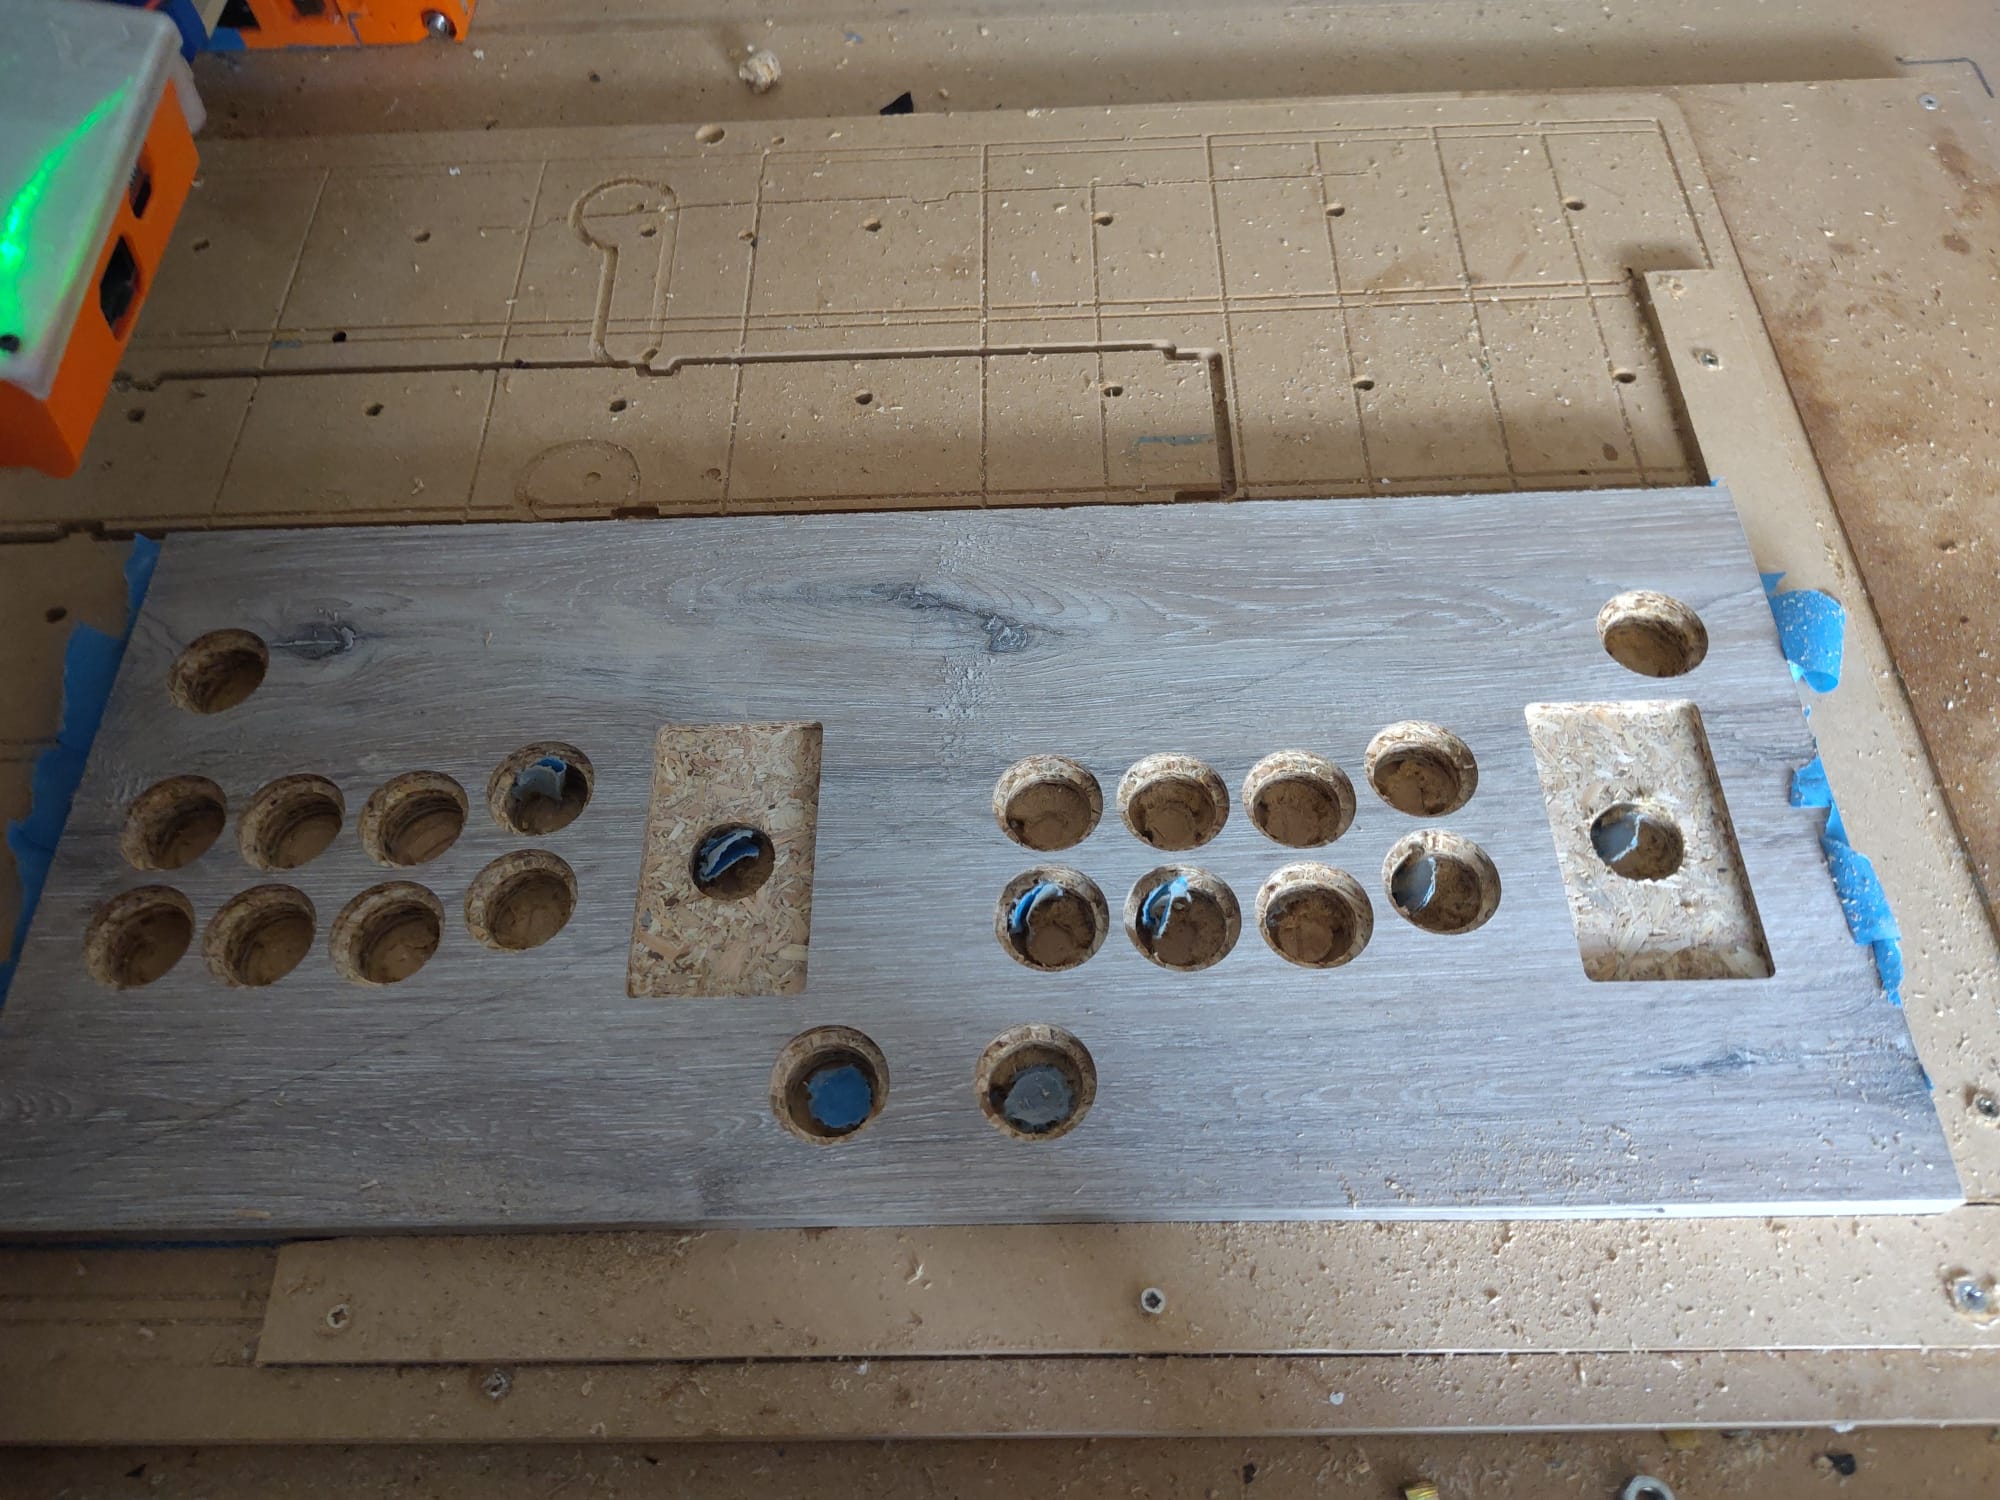
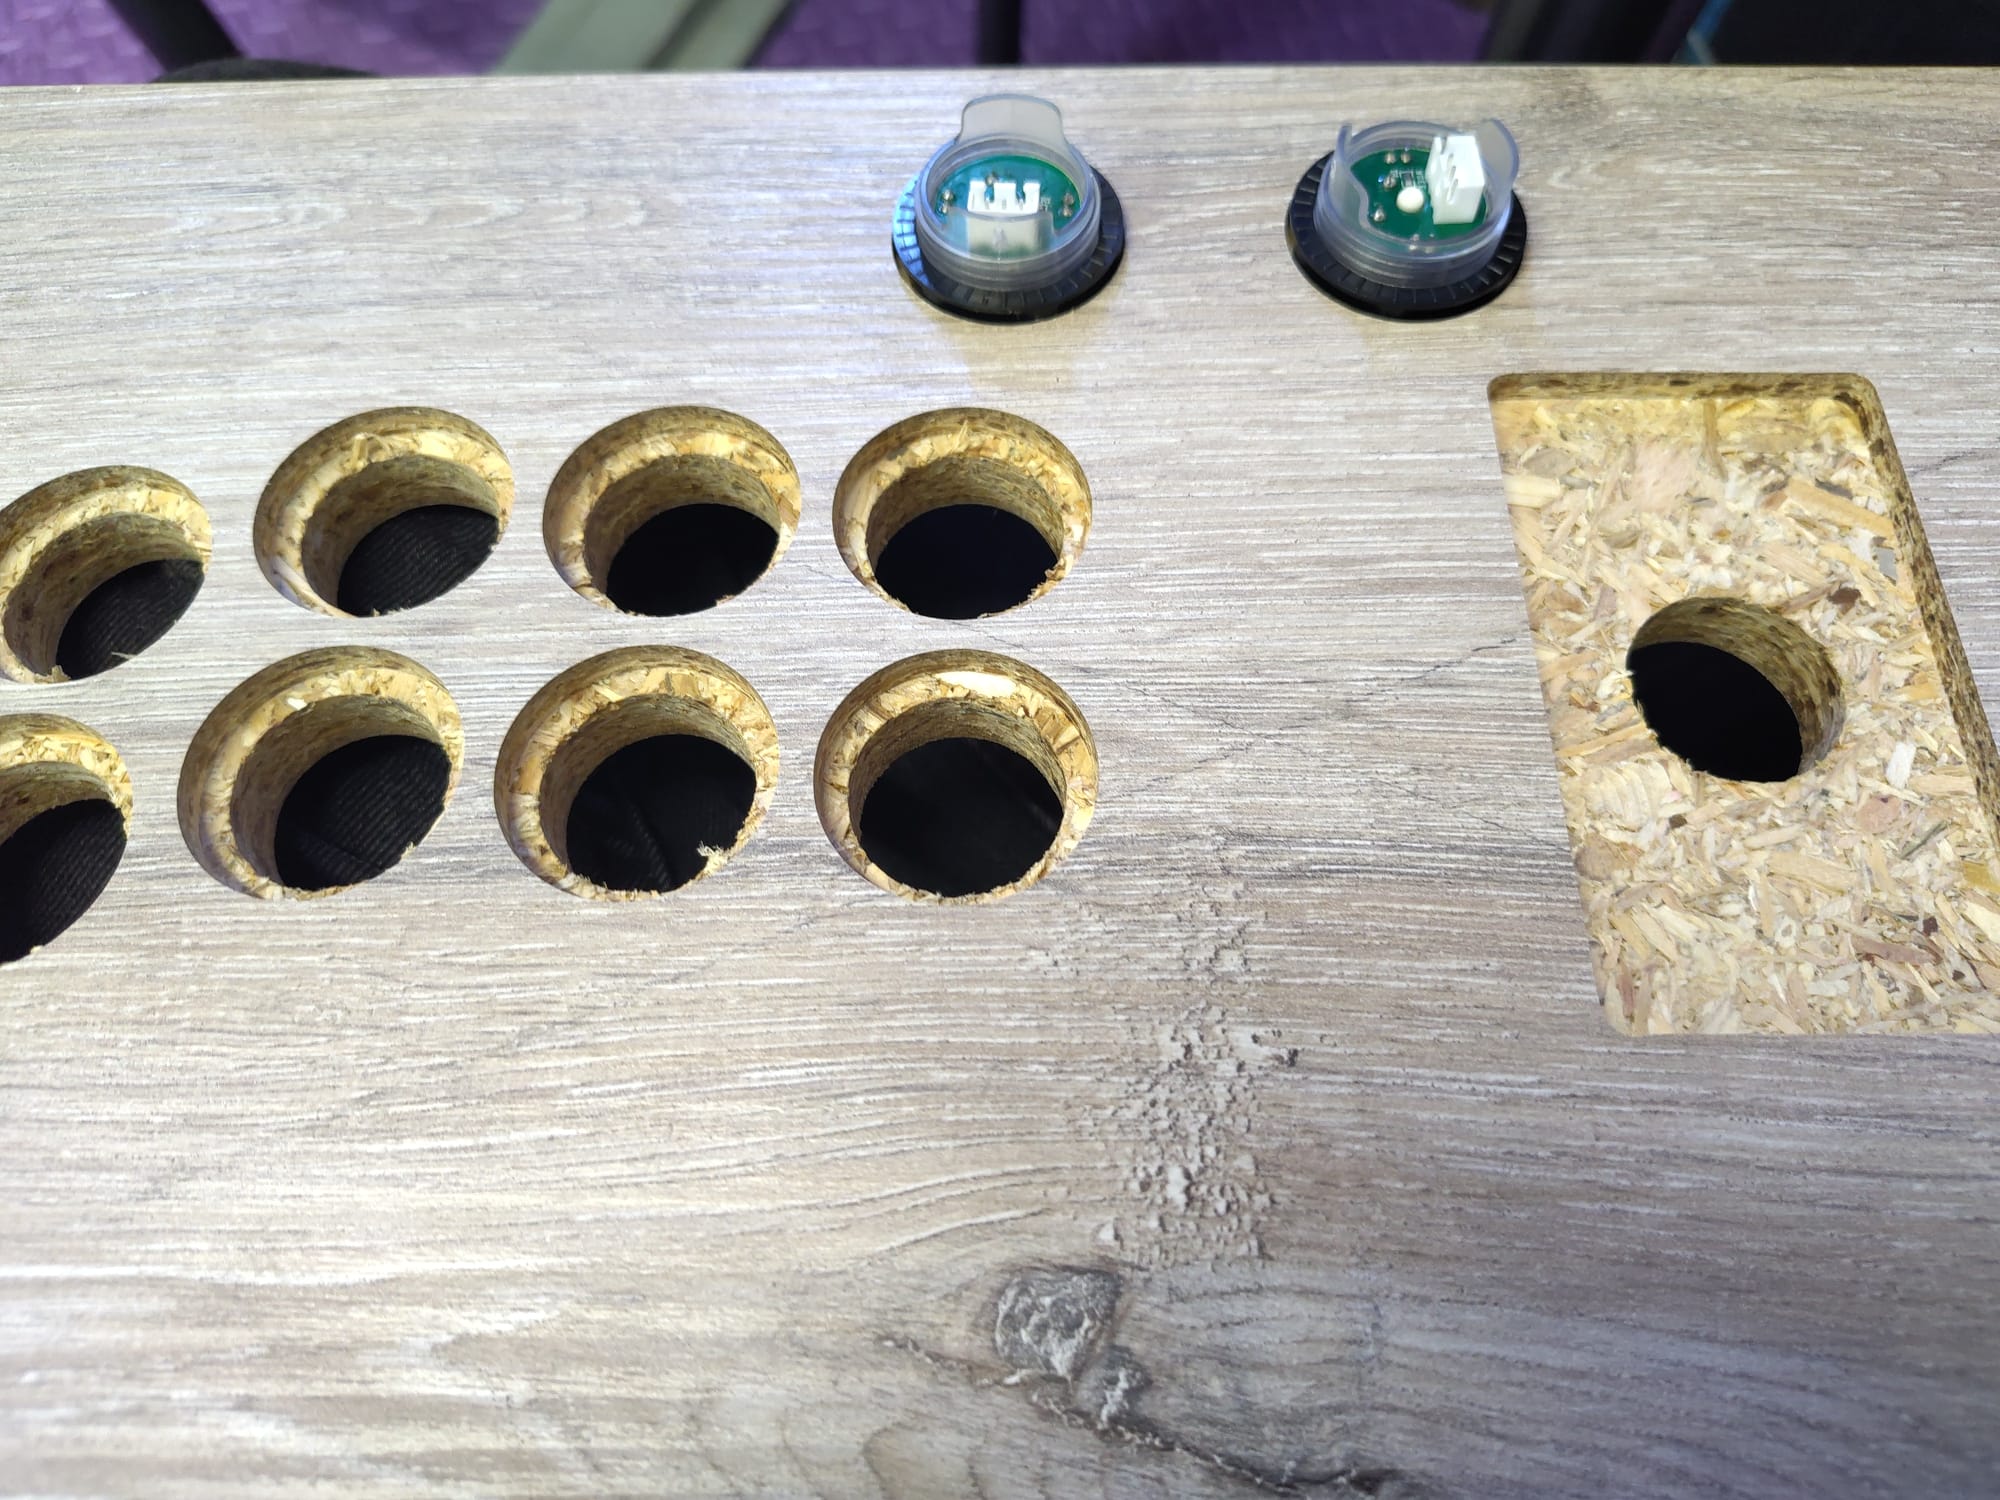
So I ordered a controller and button kit, and designed my own layout in inkscape. I was using a piece of 20mm plasterboard for the controller base, and I wanted a bit more thread behind the buttons than this would leave, and also a bit more joystick height.
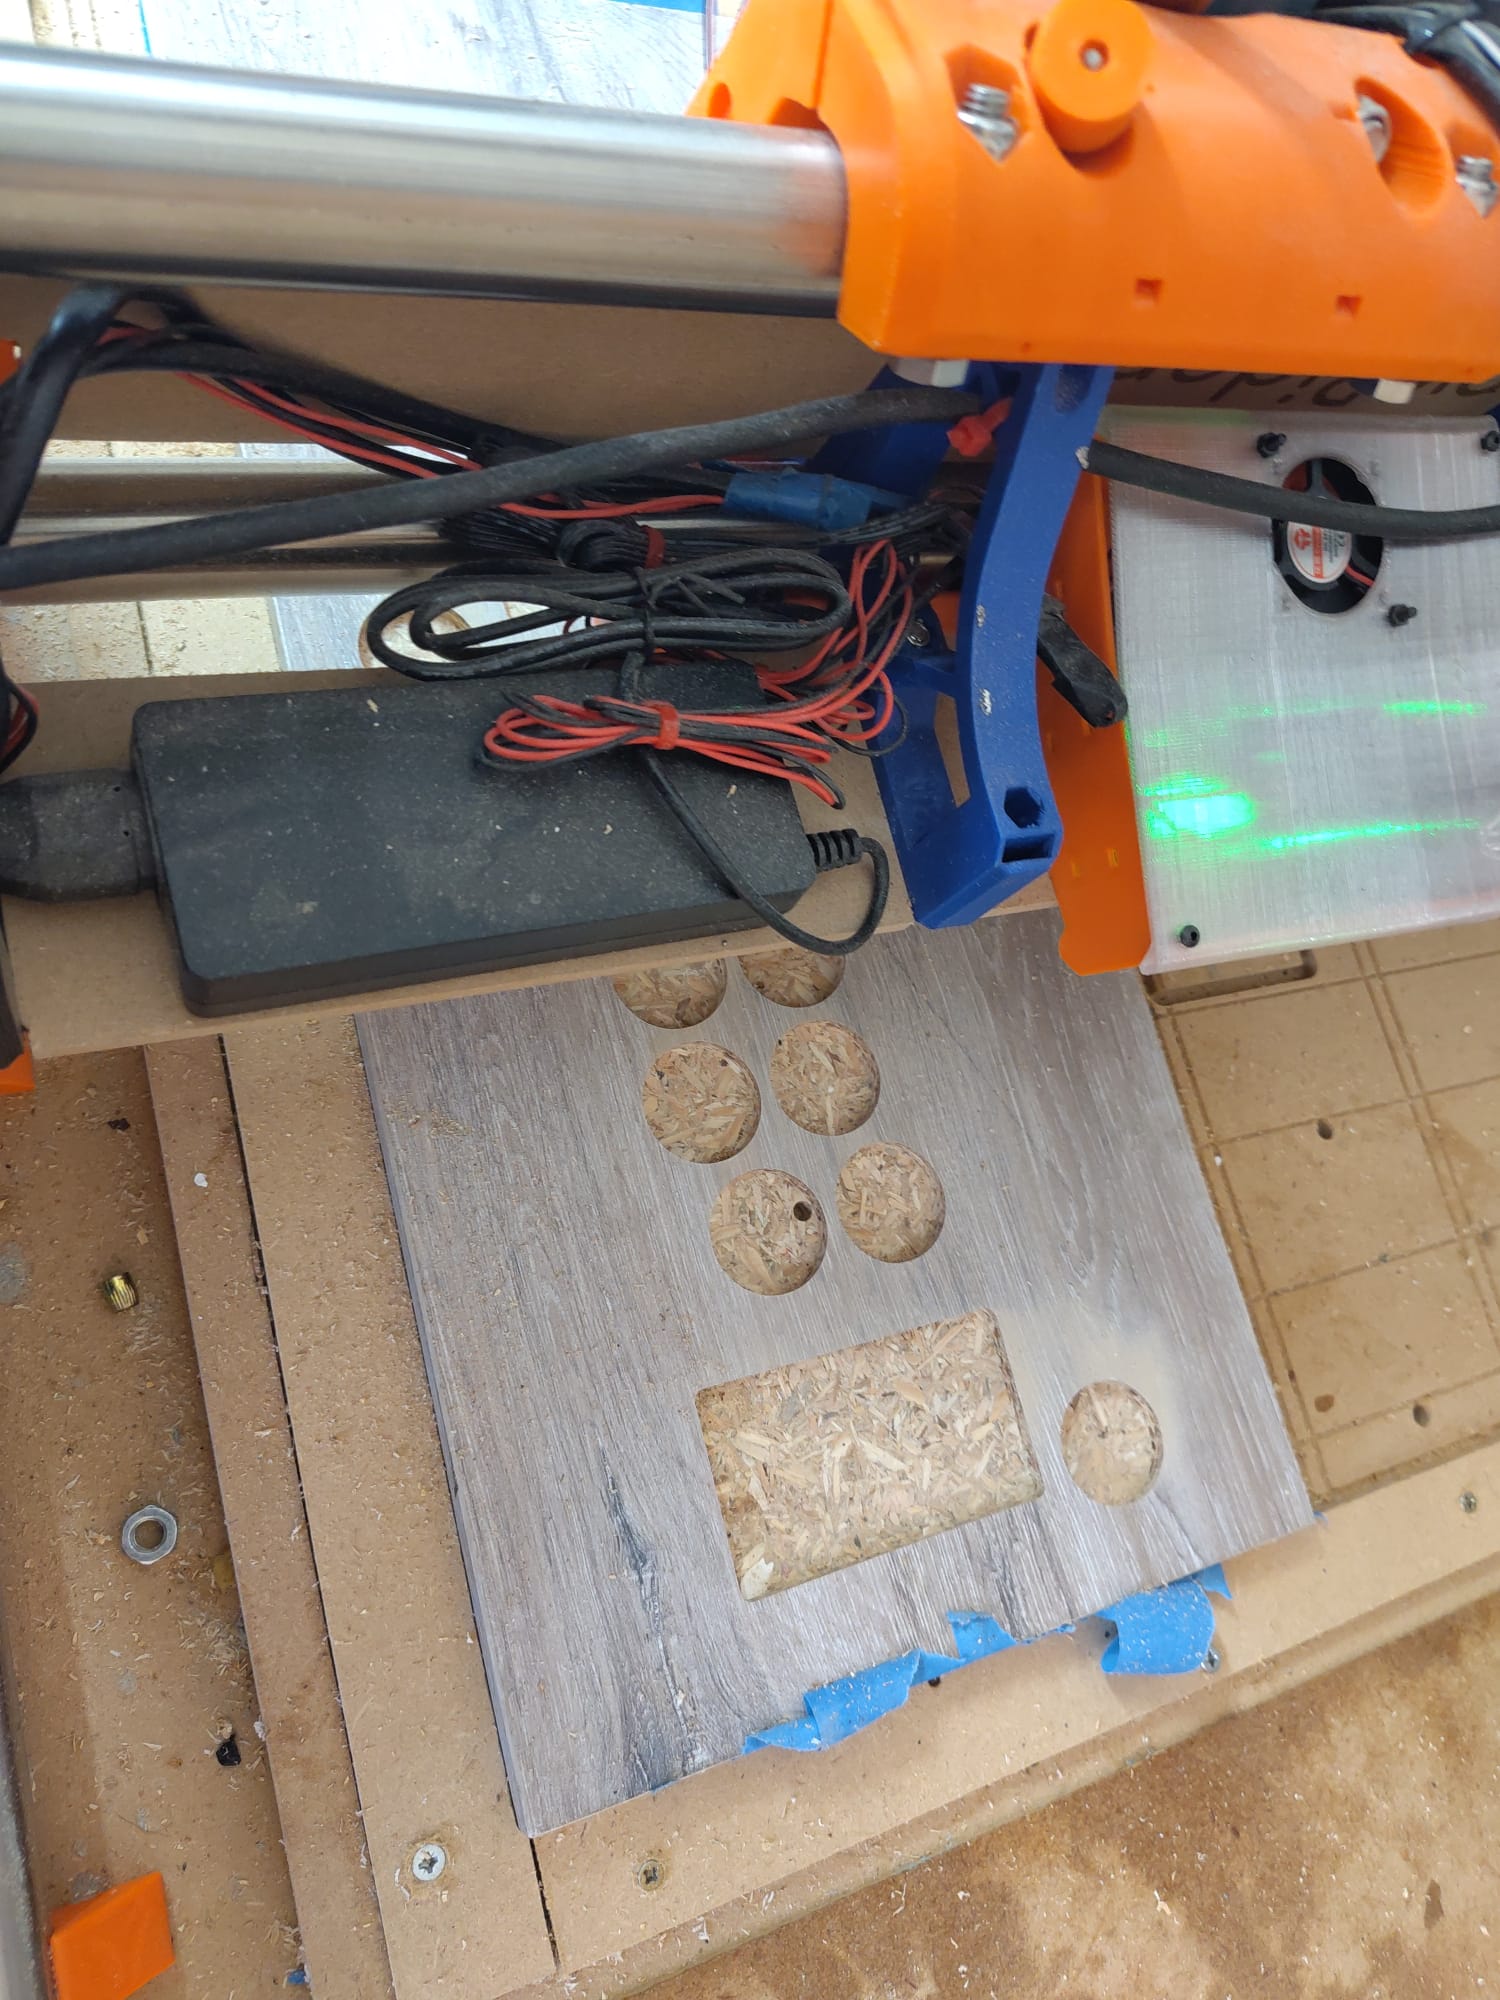
So aside from holes for the components to stick through, I also added pockets to be able to recess everything 5mm.
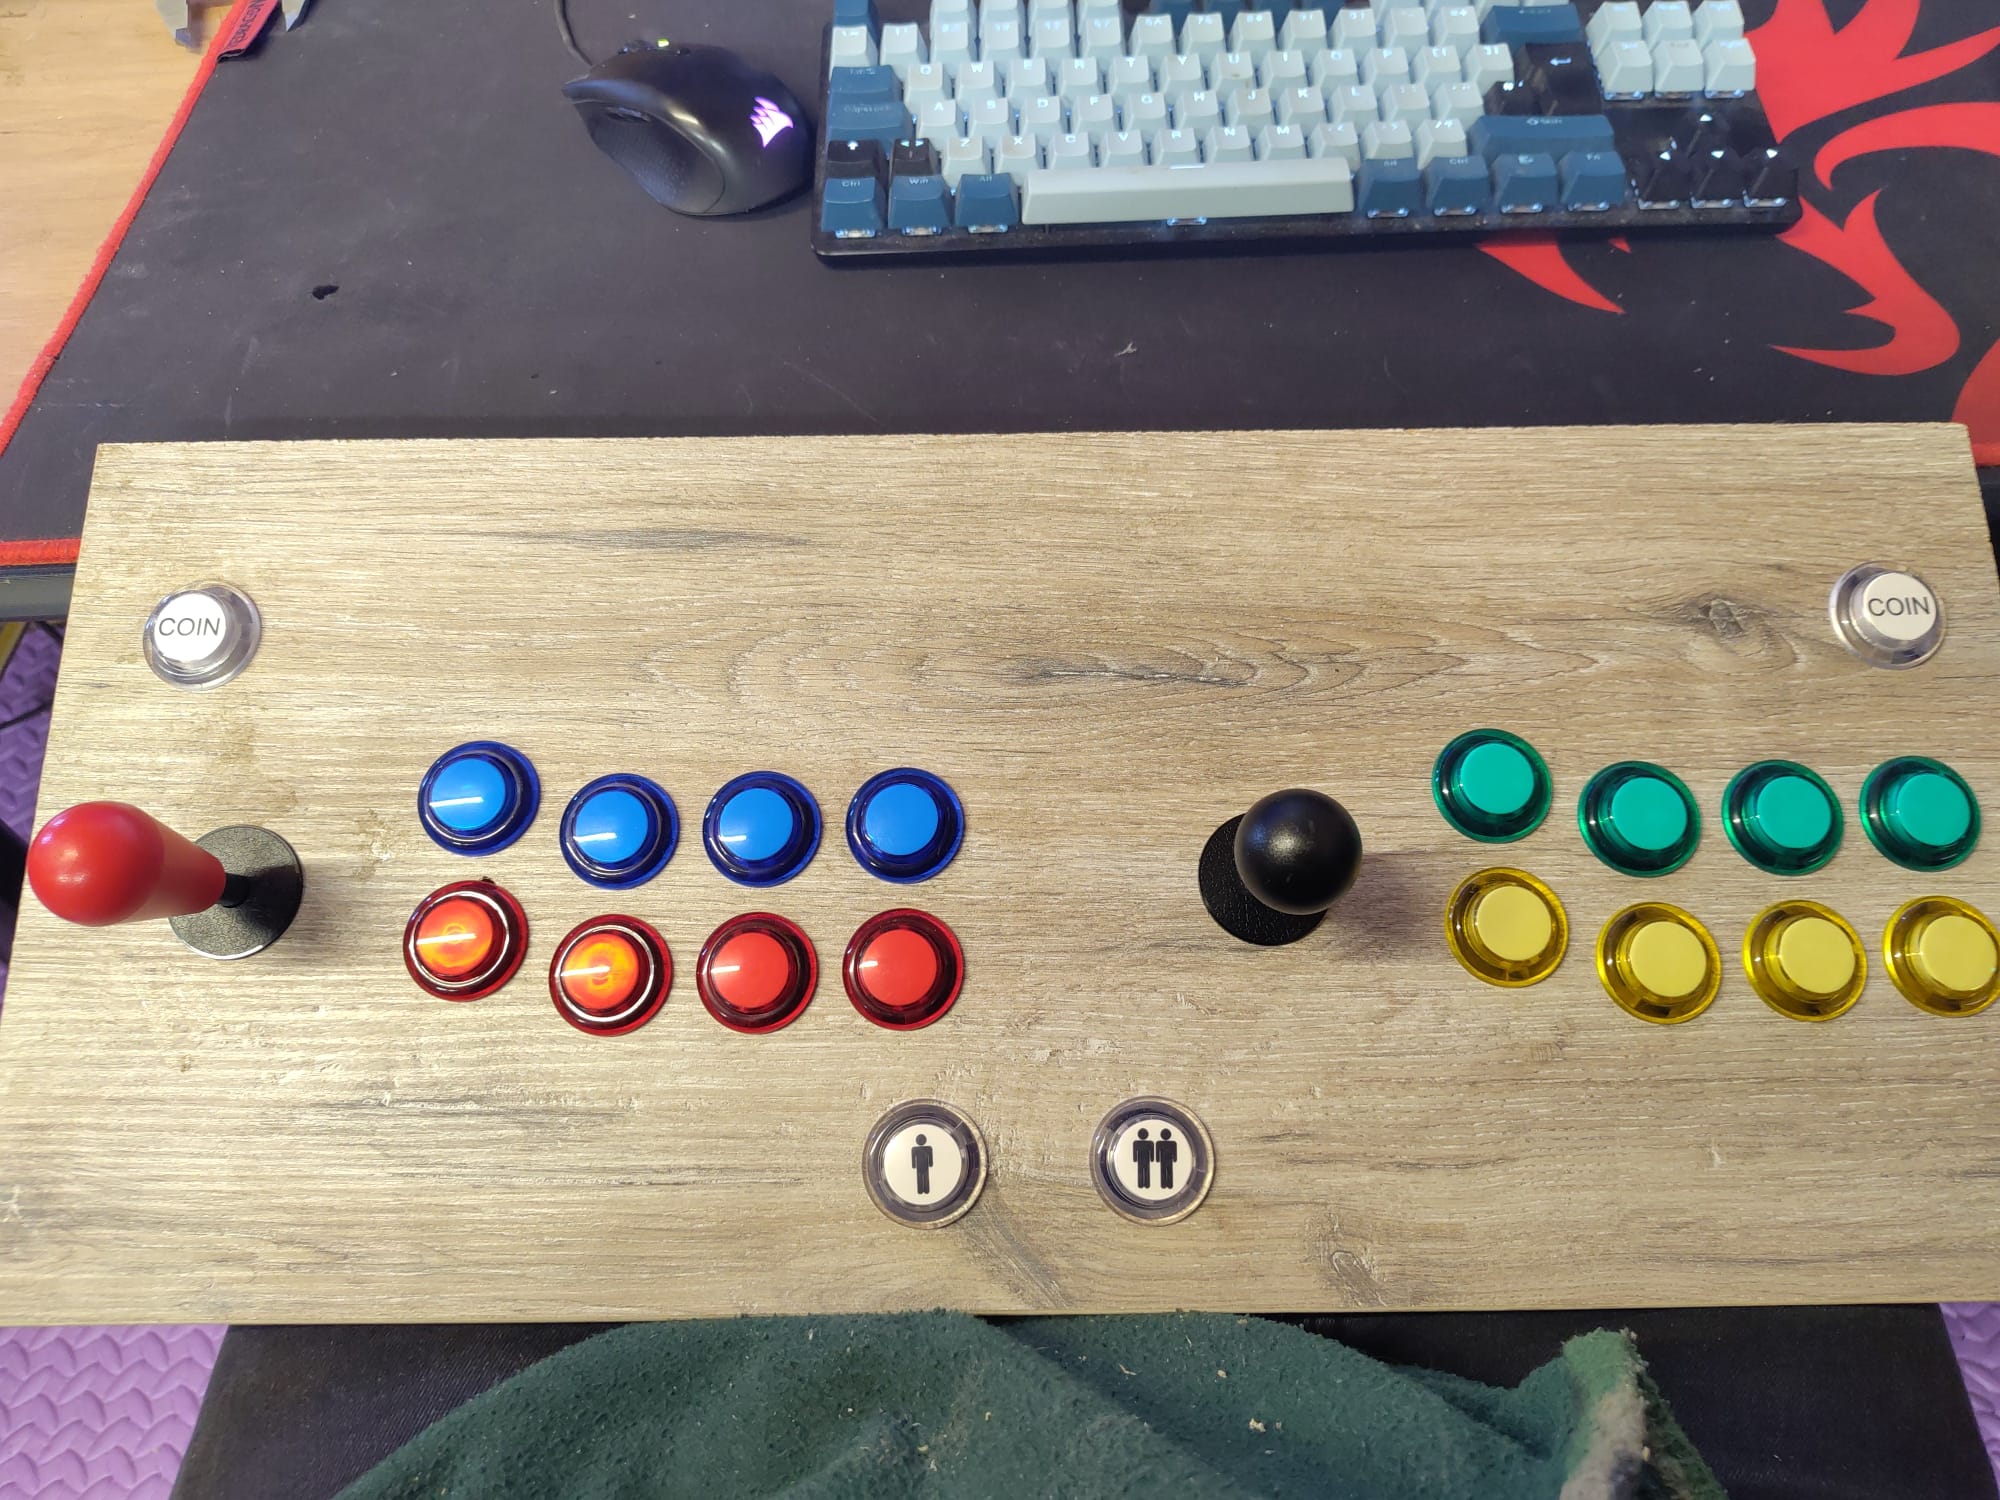
That was actually really easy. I used the EG Starts arcade kit, which requires no electronic skill: you just plug a cable into the button and the other end into a little control board. Then it connects via an included USB cable, doesn’t even need drivers.
For the actual emulation I just installed recalbox onto a raspberry pi4 I already had. Hardest part was configuring the buttons inside the software and even then it wasn’t hard to do: the challenge was mapping it so they would behave as mame expects and the recalbox UI stuff would be easy to execute and remember..
So really its personal preference and the only challenge was figuring out my own preferences.
With something like a zerodelay board, the electronics are way easier than the average V1 machine. The buttons have quick disconnects, and are less worl than the limit switches, and the joystick is also a cinch. Then it just connects using USB to a raspberry Pi or a PC and you’re done.
I’ve done several of them, and it’s a very satisfying project.
I can’t wait to see the finished project. Mine is almost done. I use the prototype more than I expected. Set a few favorites in the front end and play for 15-20 minutes.
For me the hard part is the setting up the front end. There are so many settings and the descriptions seem pretty vague to me. It looks fine, but I know it could use a little more pizzaz.
The old school games are soo good at short term play, I appreciate that part. I really like new games and the fancy graphics and perfect controls but I do not like getting lost for 3 days straight playing a game.
I’m using recalbox which makes the UI setup very quick and largely automated. Its plenty customisable not as much as retropie -but with the advantage that you dont need to do everything. No need for a keyboard for example.
At this point it’s in use. I’m still making some enhancements though. Bought a soundbar with a volume knob to allow for easy sound off/on depending on whether you’re using it, and a multiplug with a power switch I want to mount in the cabinet so you dont have to pull and replace the USB-C cable whenever you shut it down. And lots of decorations.
I may raid my LED supply and print a light box sign to go above the monitor that can double as a mounting for the sound bar. And in time perhaps buy a wiimote for light gun games.