One of those things you make for a friend of a friend of a friend… ![]()
A friend of mine has a retro-gaming guild/association where they collect and preserve old computers and arcade games
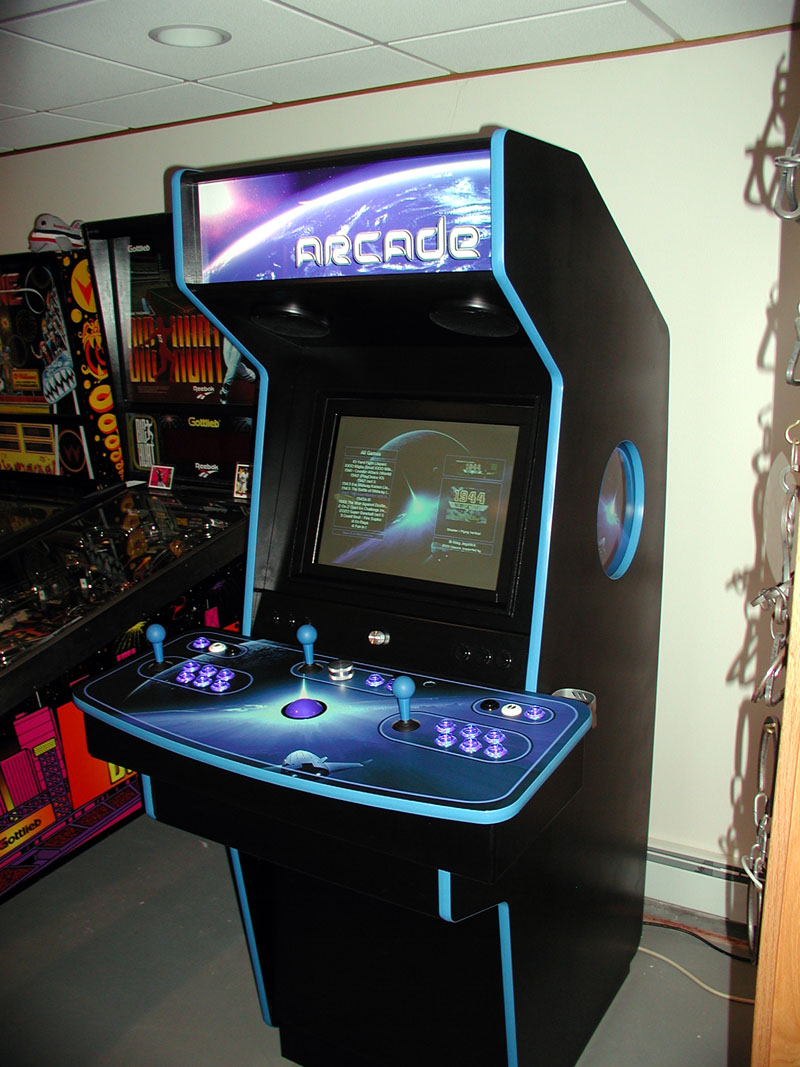
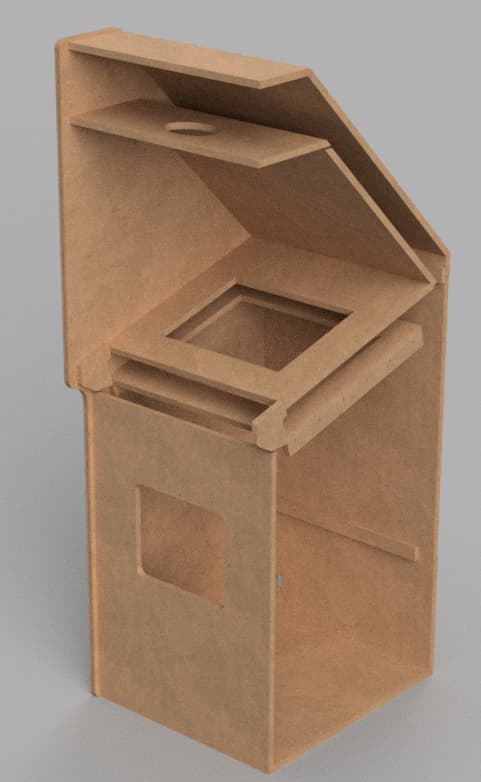
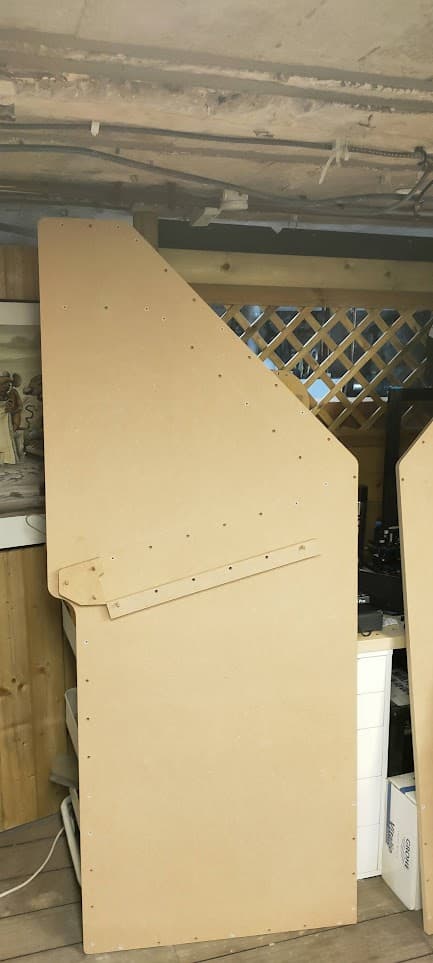
As a gift to one of the members, he wanted me to cut-out an arcade cabinet for the “Venture” game

I started from a 3d model one f the members did with onshape, and tweaked/adjusted a few things
I mainly added some dowel-pins holes to align and hold the elements

Again, I used Fusion360 MapboardsPro plugin to lay out the parts
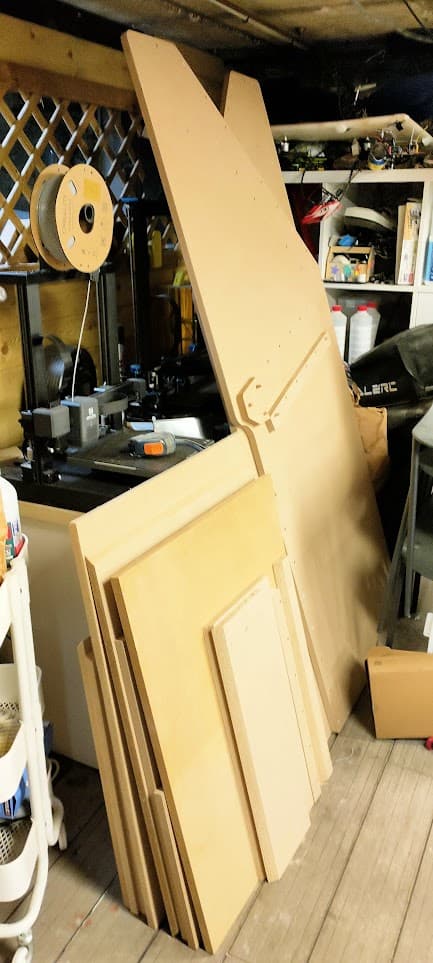
The model spans across 3 whole 18mm MDF sheets
After tinkering quite a bit and doing some complicated maths, I got this part layout which allows me to split some of those sheets in 2 or 3 for easier transportation

Then, off we go to the hardware store ![]()

A project can’t really be complete without implying a few side-rpojects though…
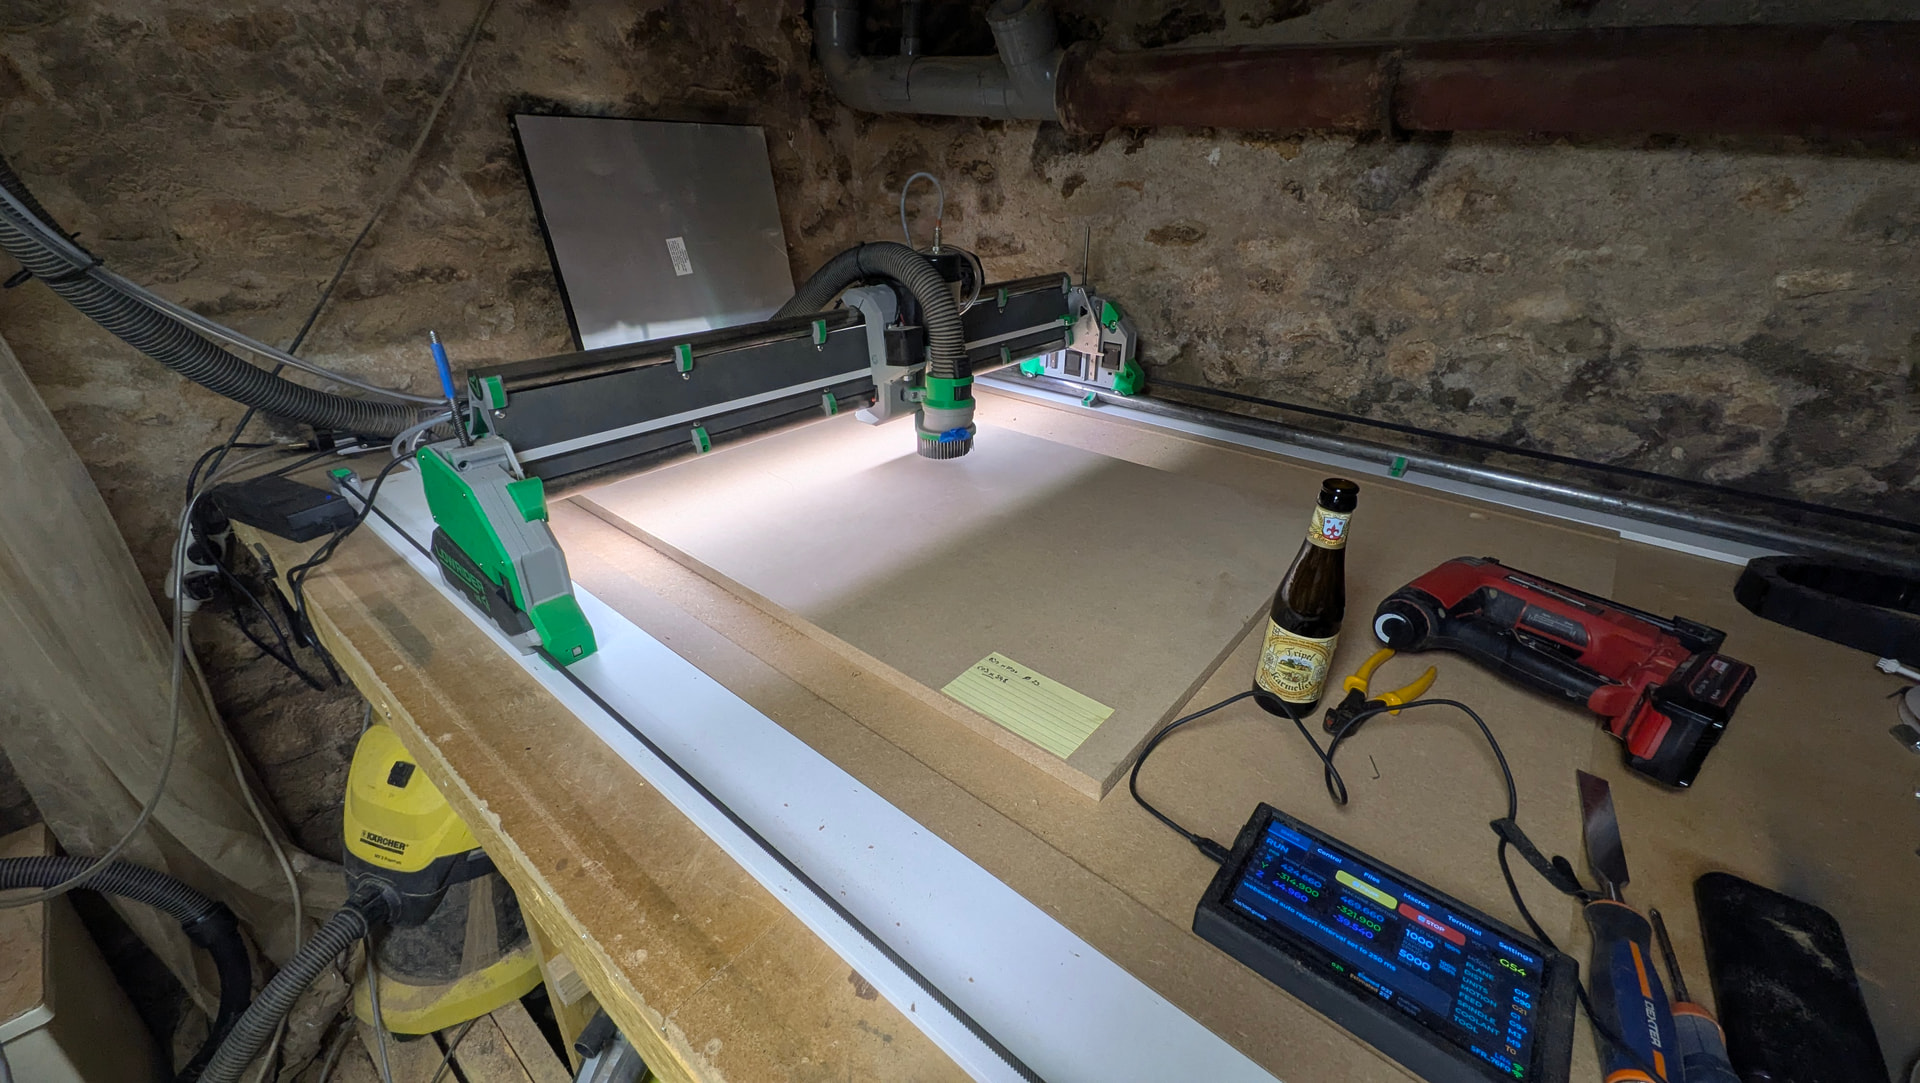
The first one here, is that my LR3 isn’t long enough on the Y axis to fit the side panels
Nothing to worry about though, I added a small Y-rail extension (witha 3d-printed insert to keep everything aligned) and changed the Y belts for longer ones

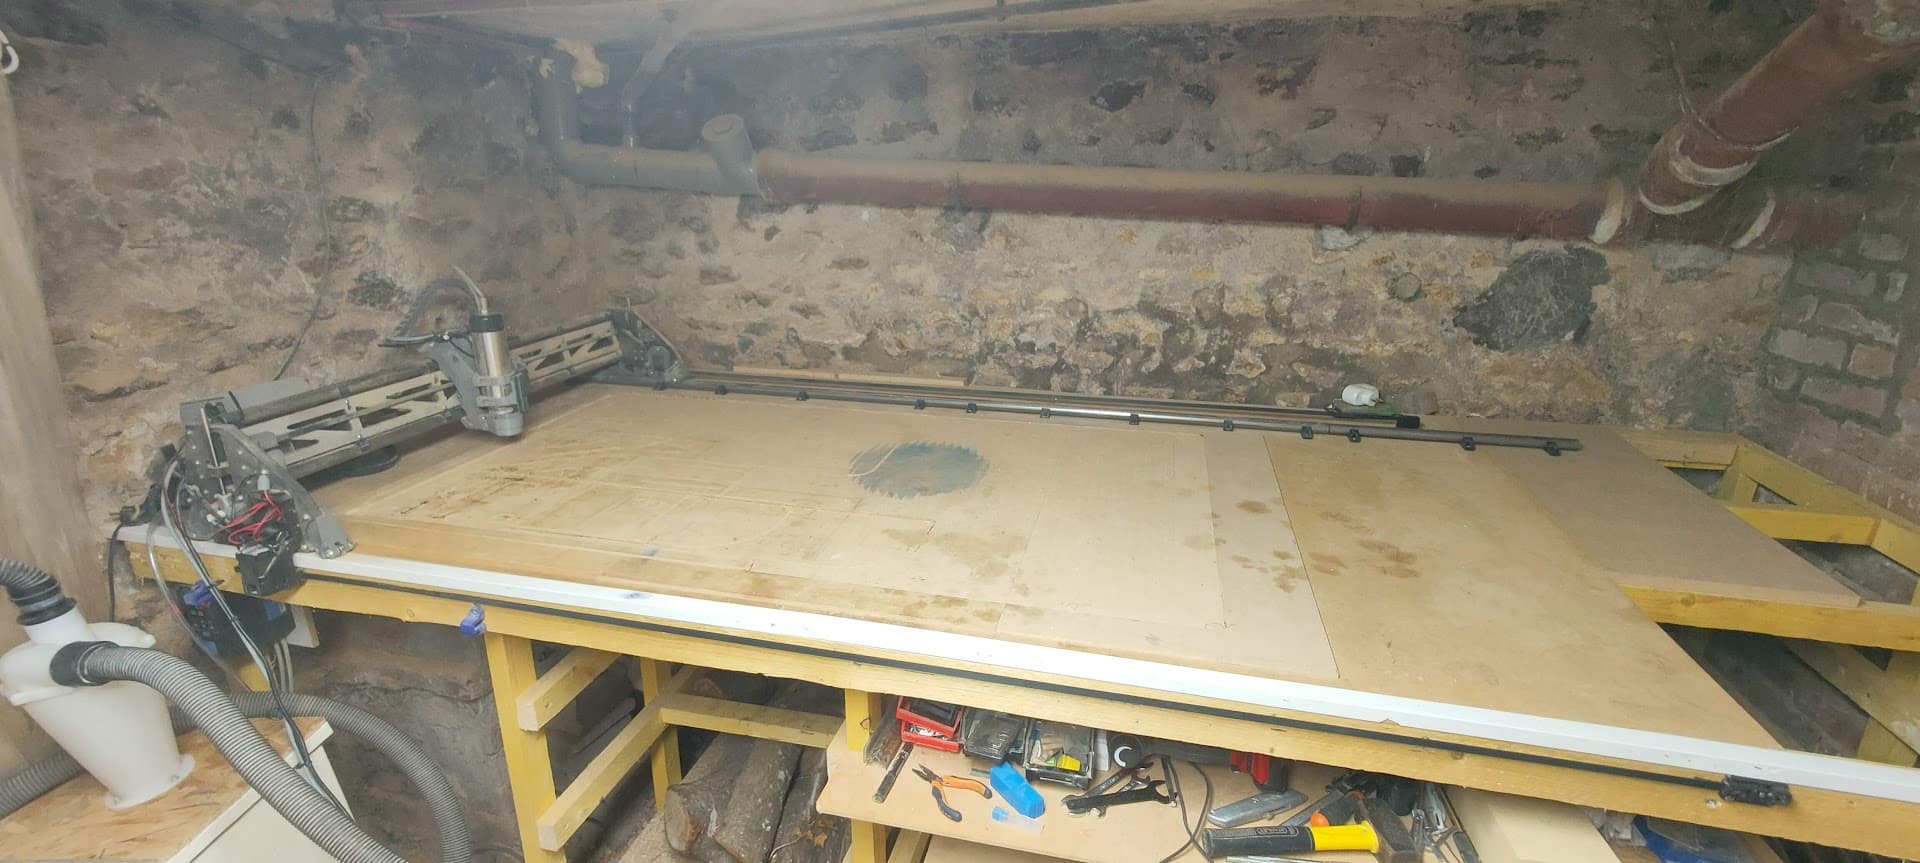
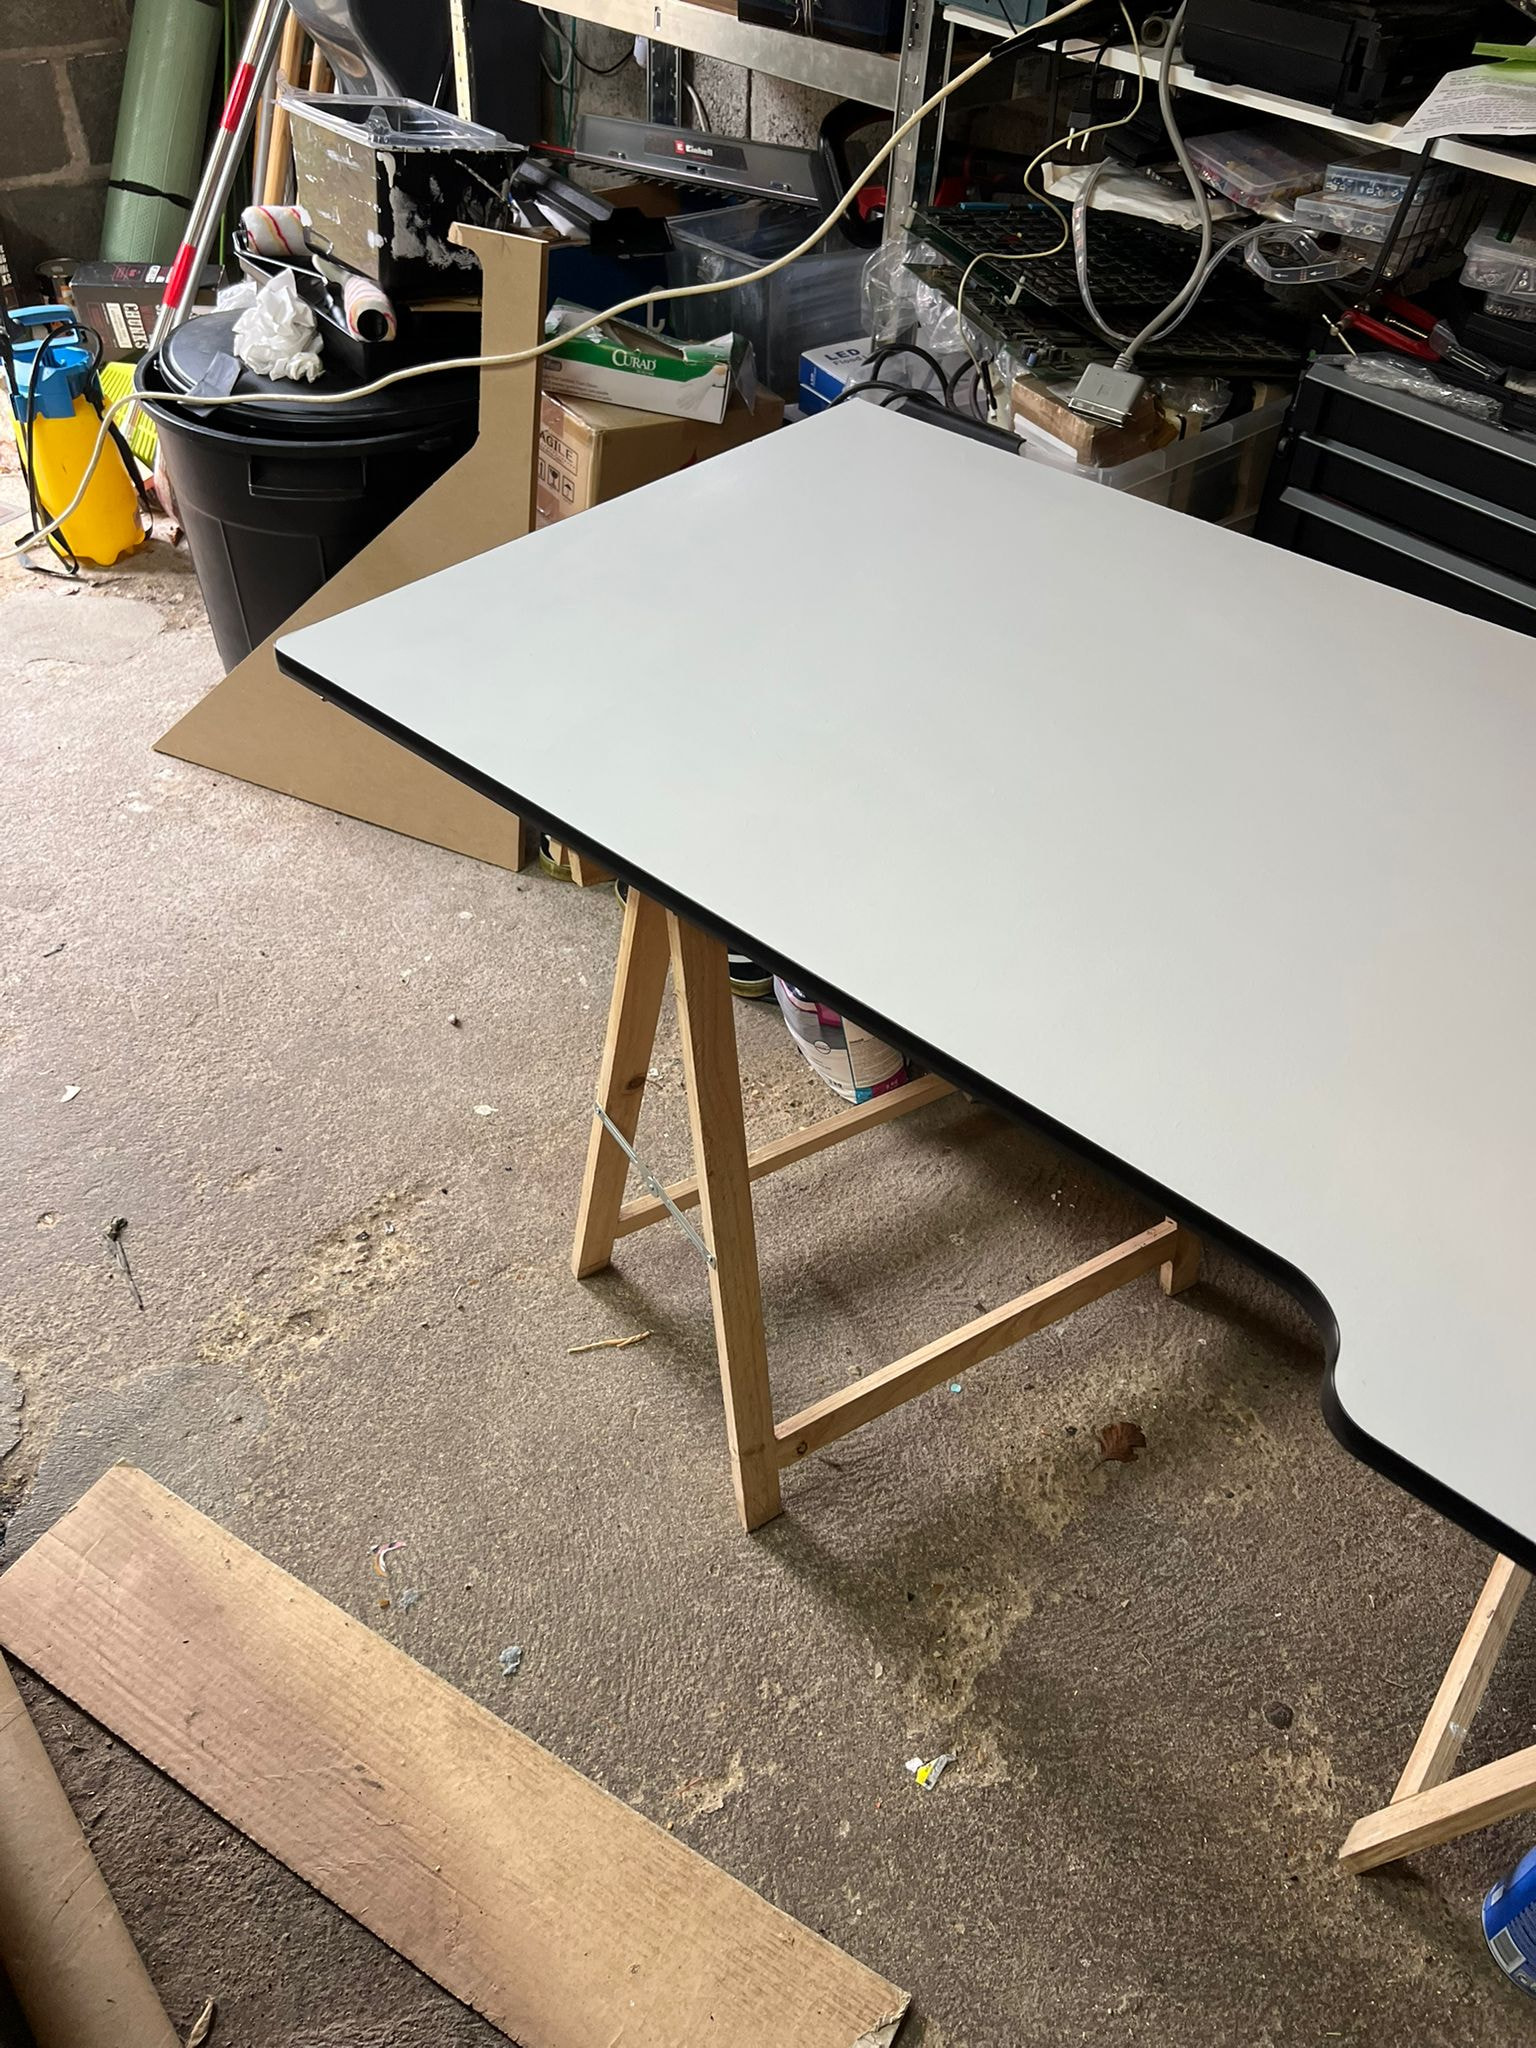
Then it was time for side project 2: re-surfacing the whole board - Y extension included

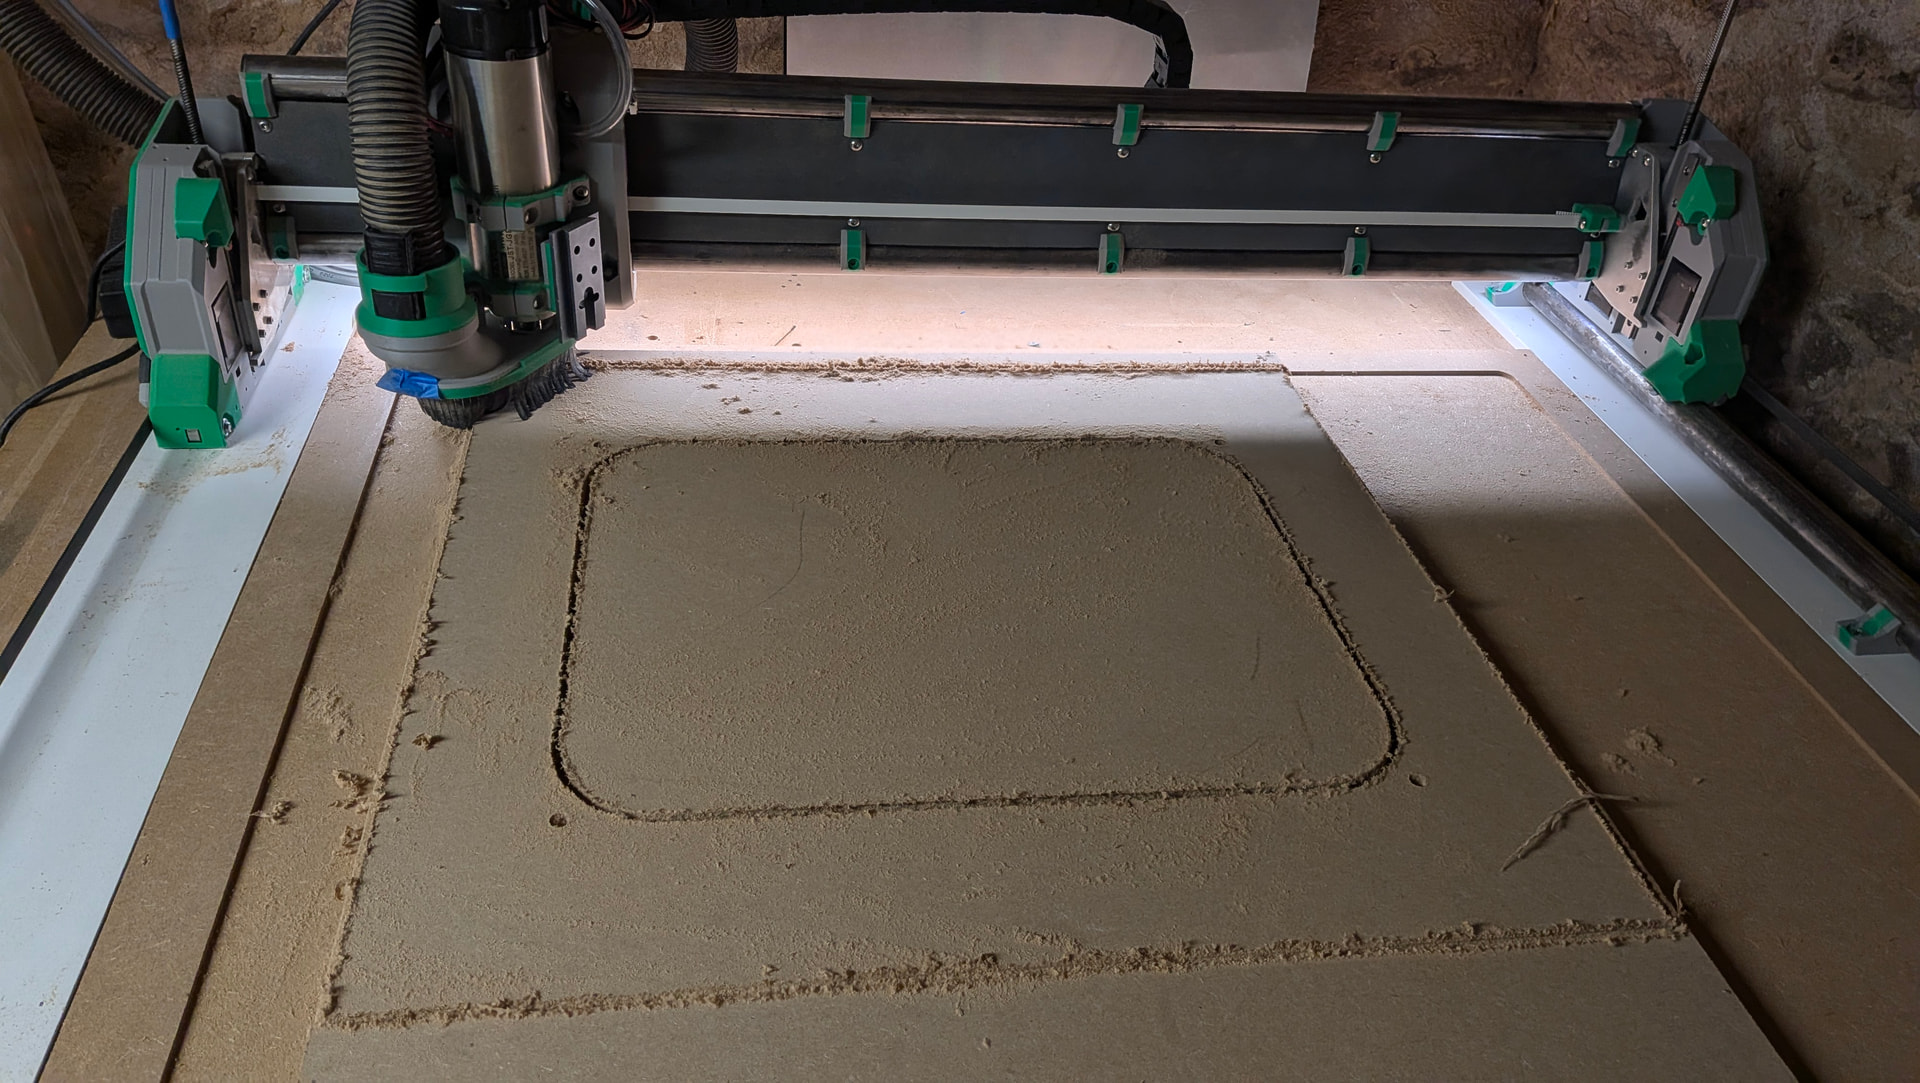
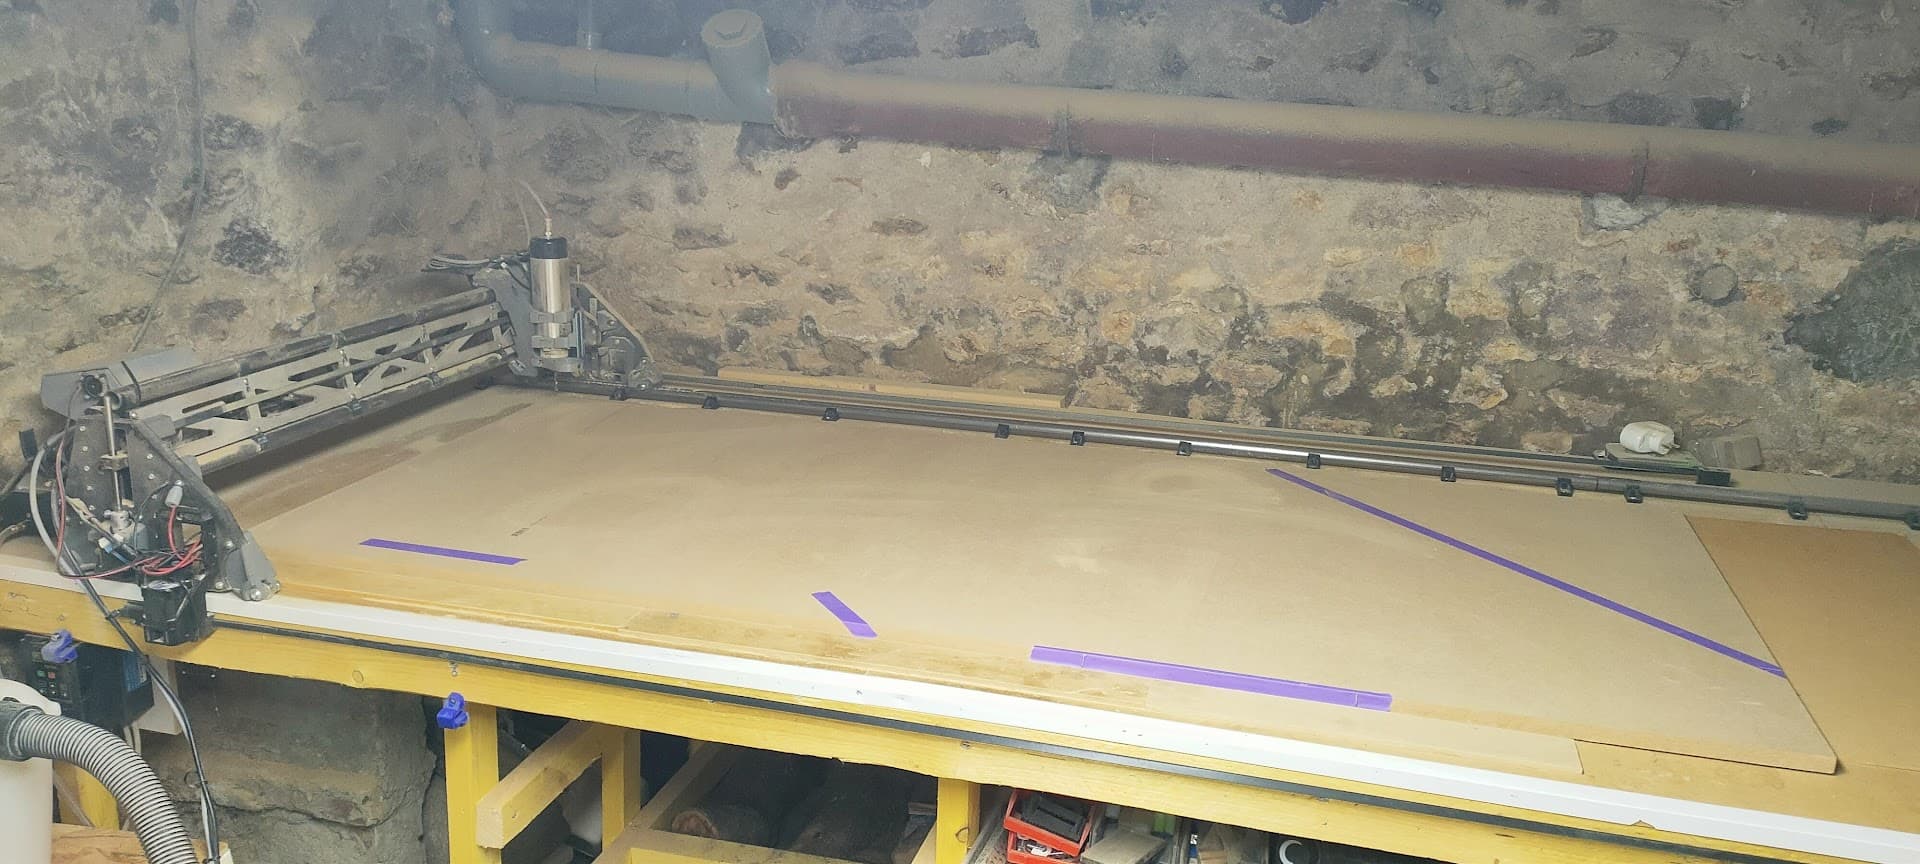
Of course, when you have this kind of project, be wise and always start by cutting the smallest part first! ![]()
And then skip directly to the largest one ![]()

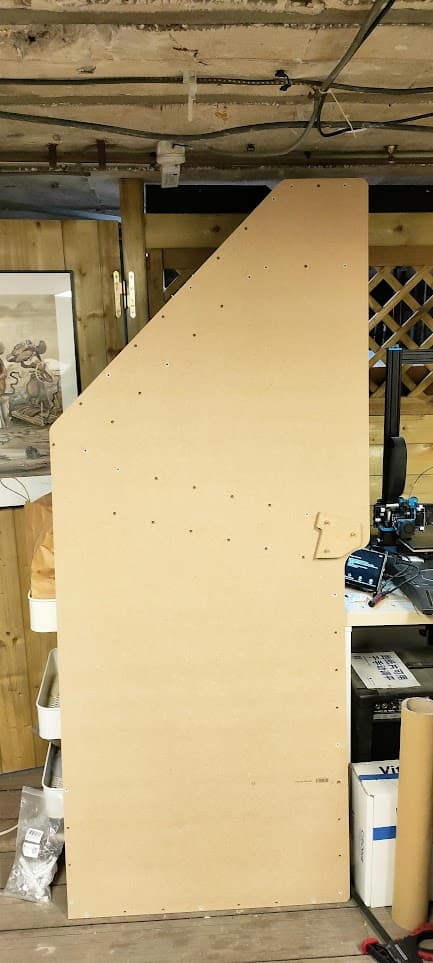
Also maybe check before assembling that your basement’s ceiling isn’t too low ![]()
I got lucky on this one ![]()
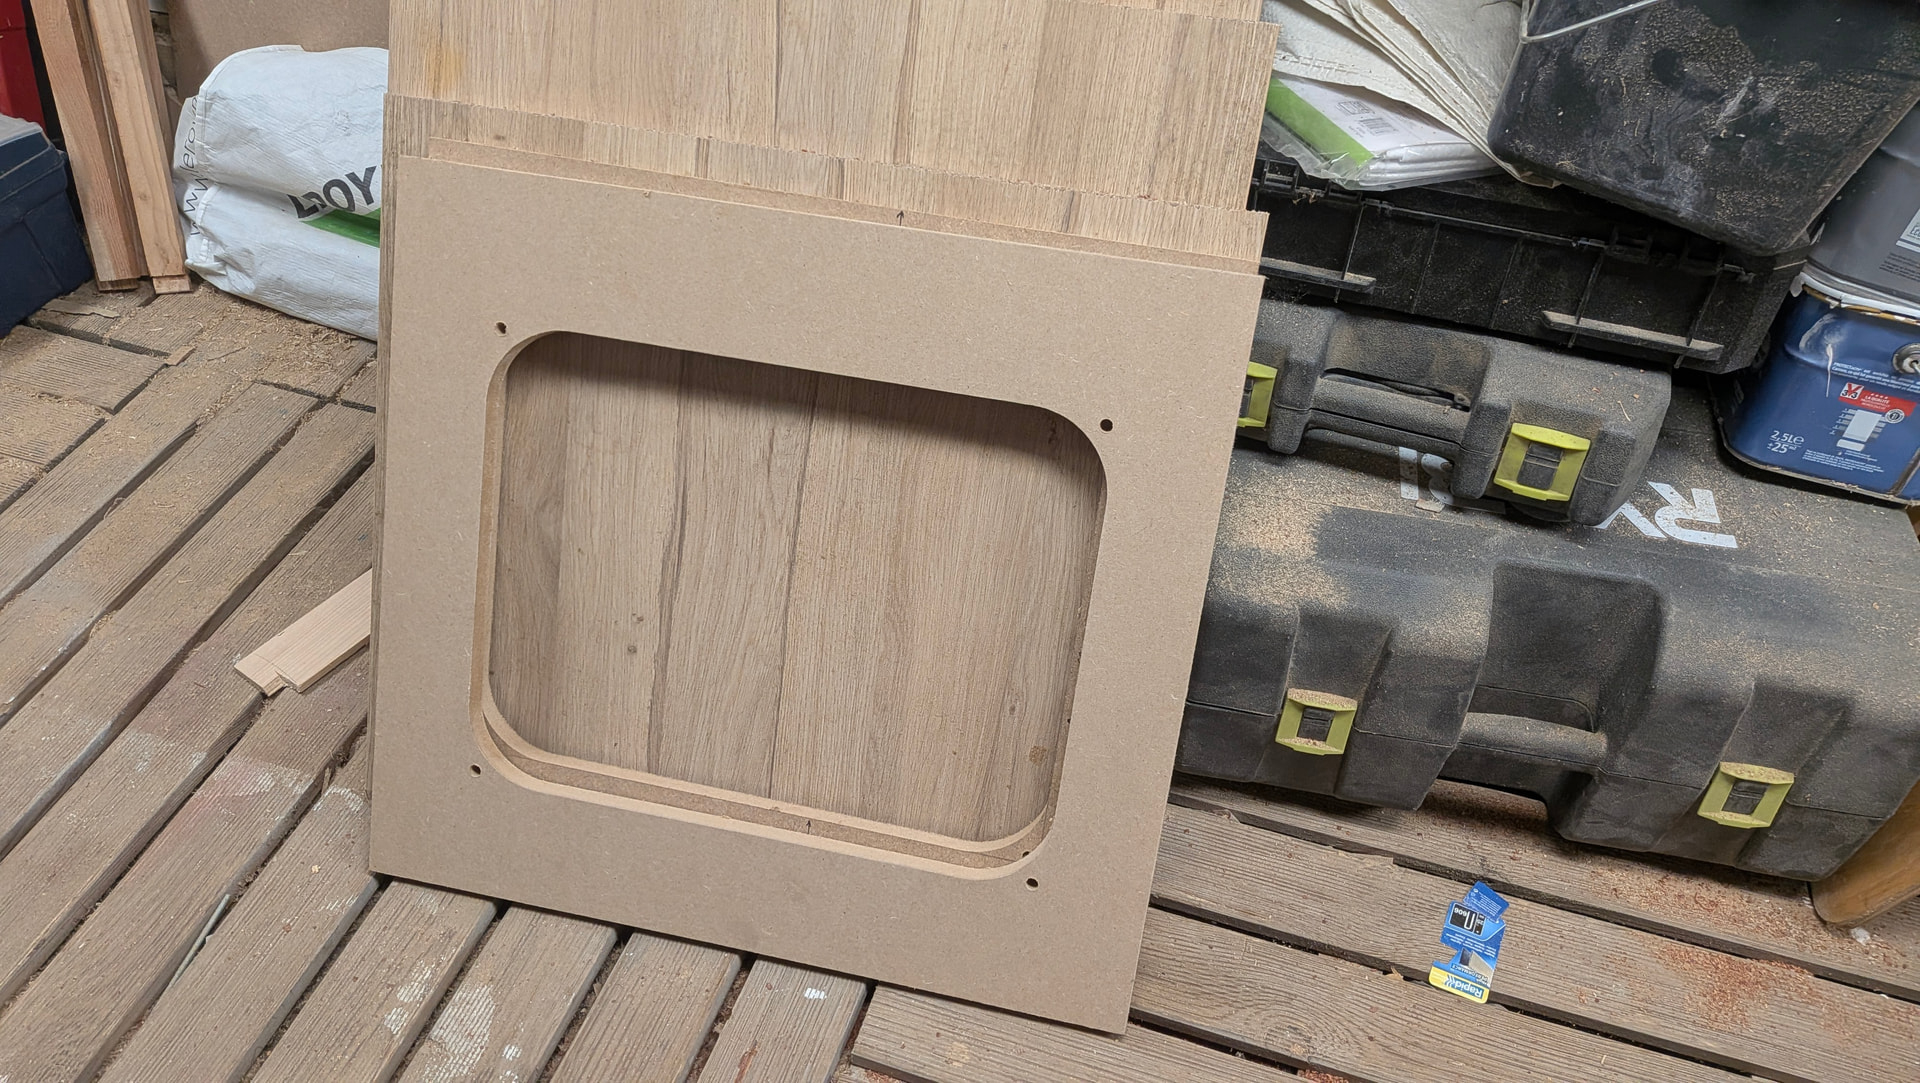
For some of the parts, I skipped a step and crudely cut the chamfer directly on the CNC
Those edges will be hidden, and it just avoids having to cut them with the circular saw…


Then it’s just a matter of cutting different parts for almost a whole week ![]()
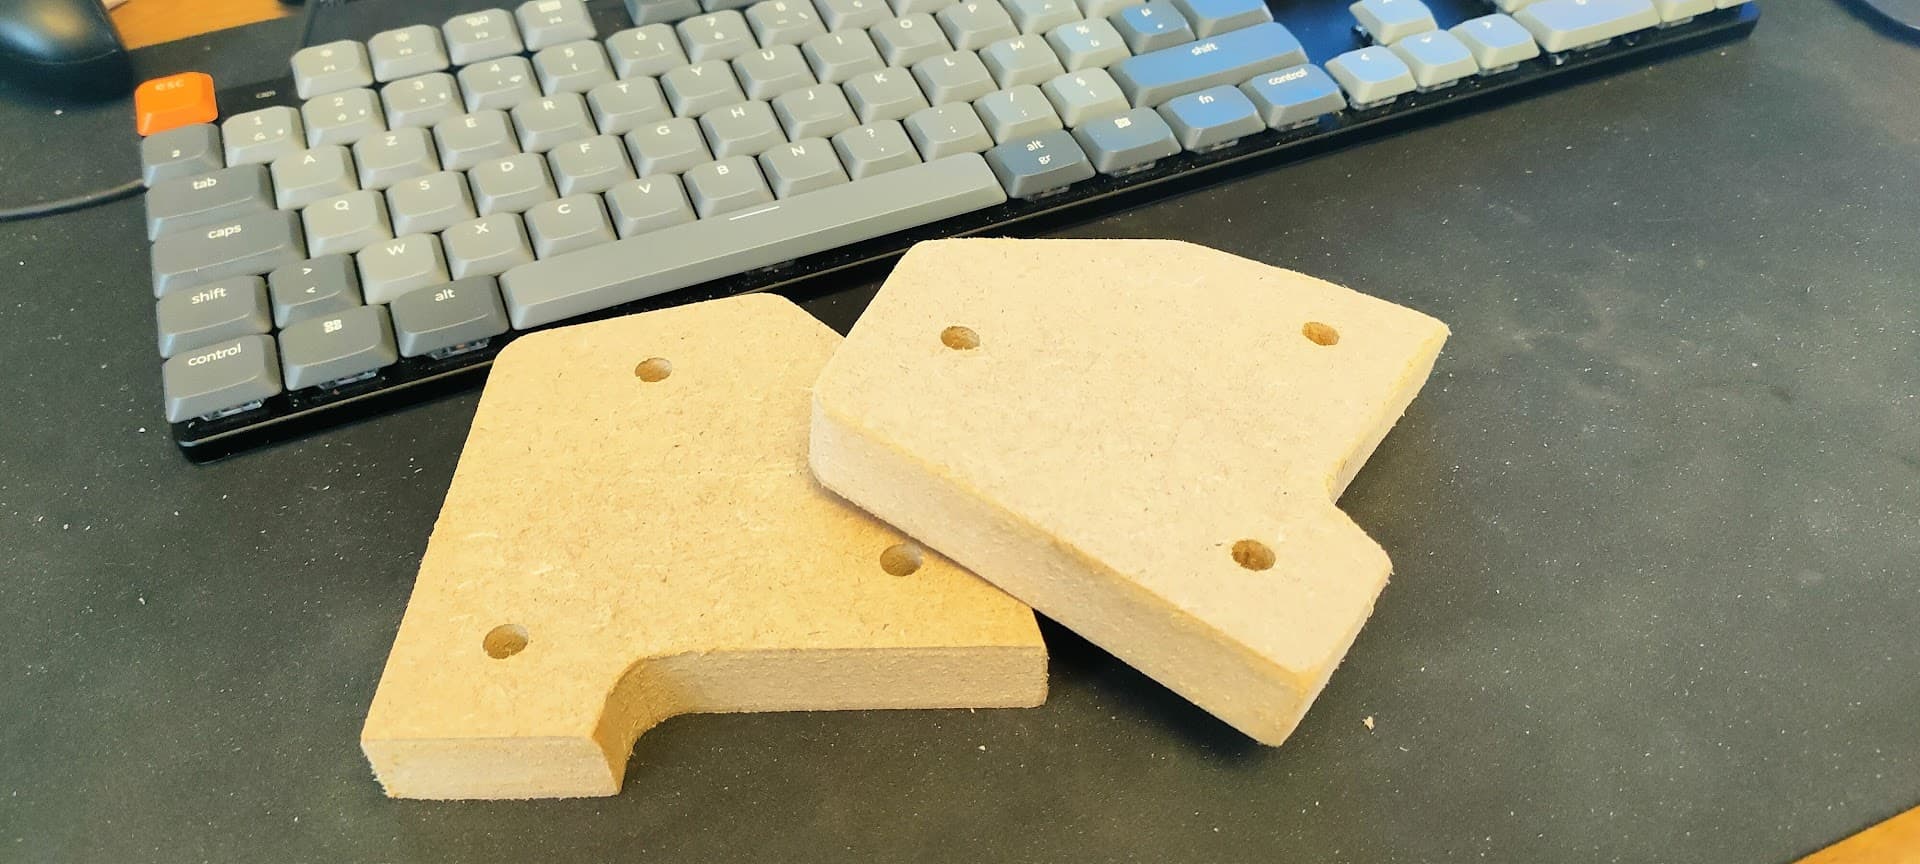
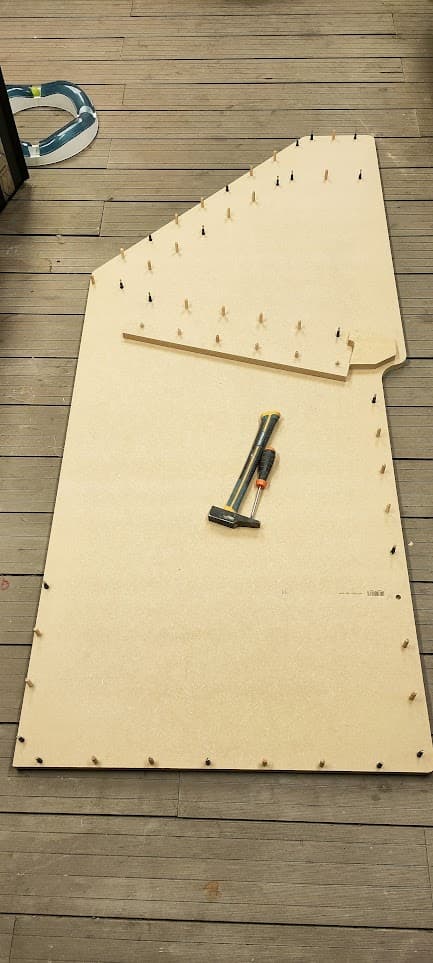
You may have spotted some larger holes and white “dots” on the sides.
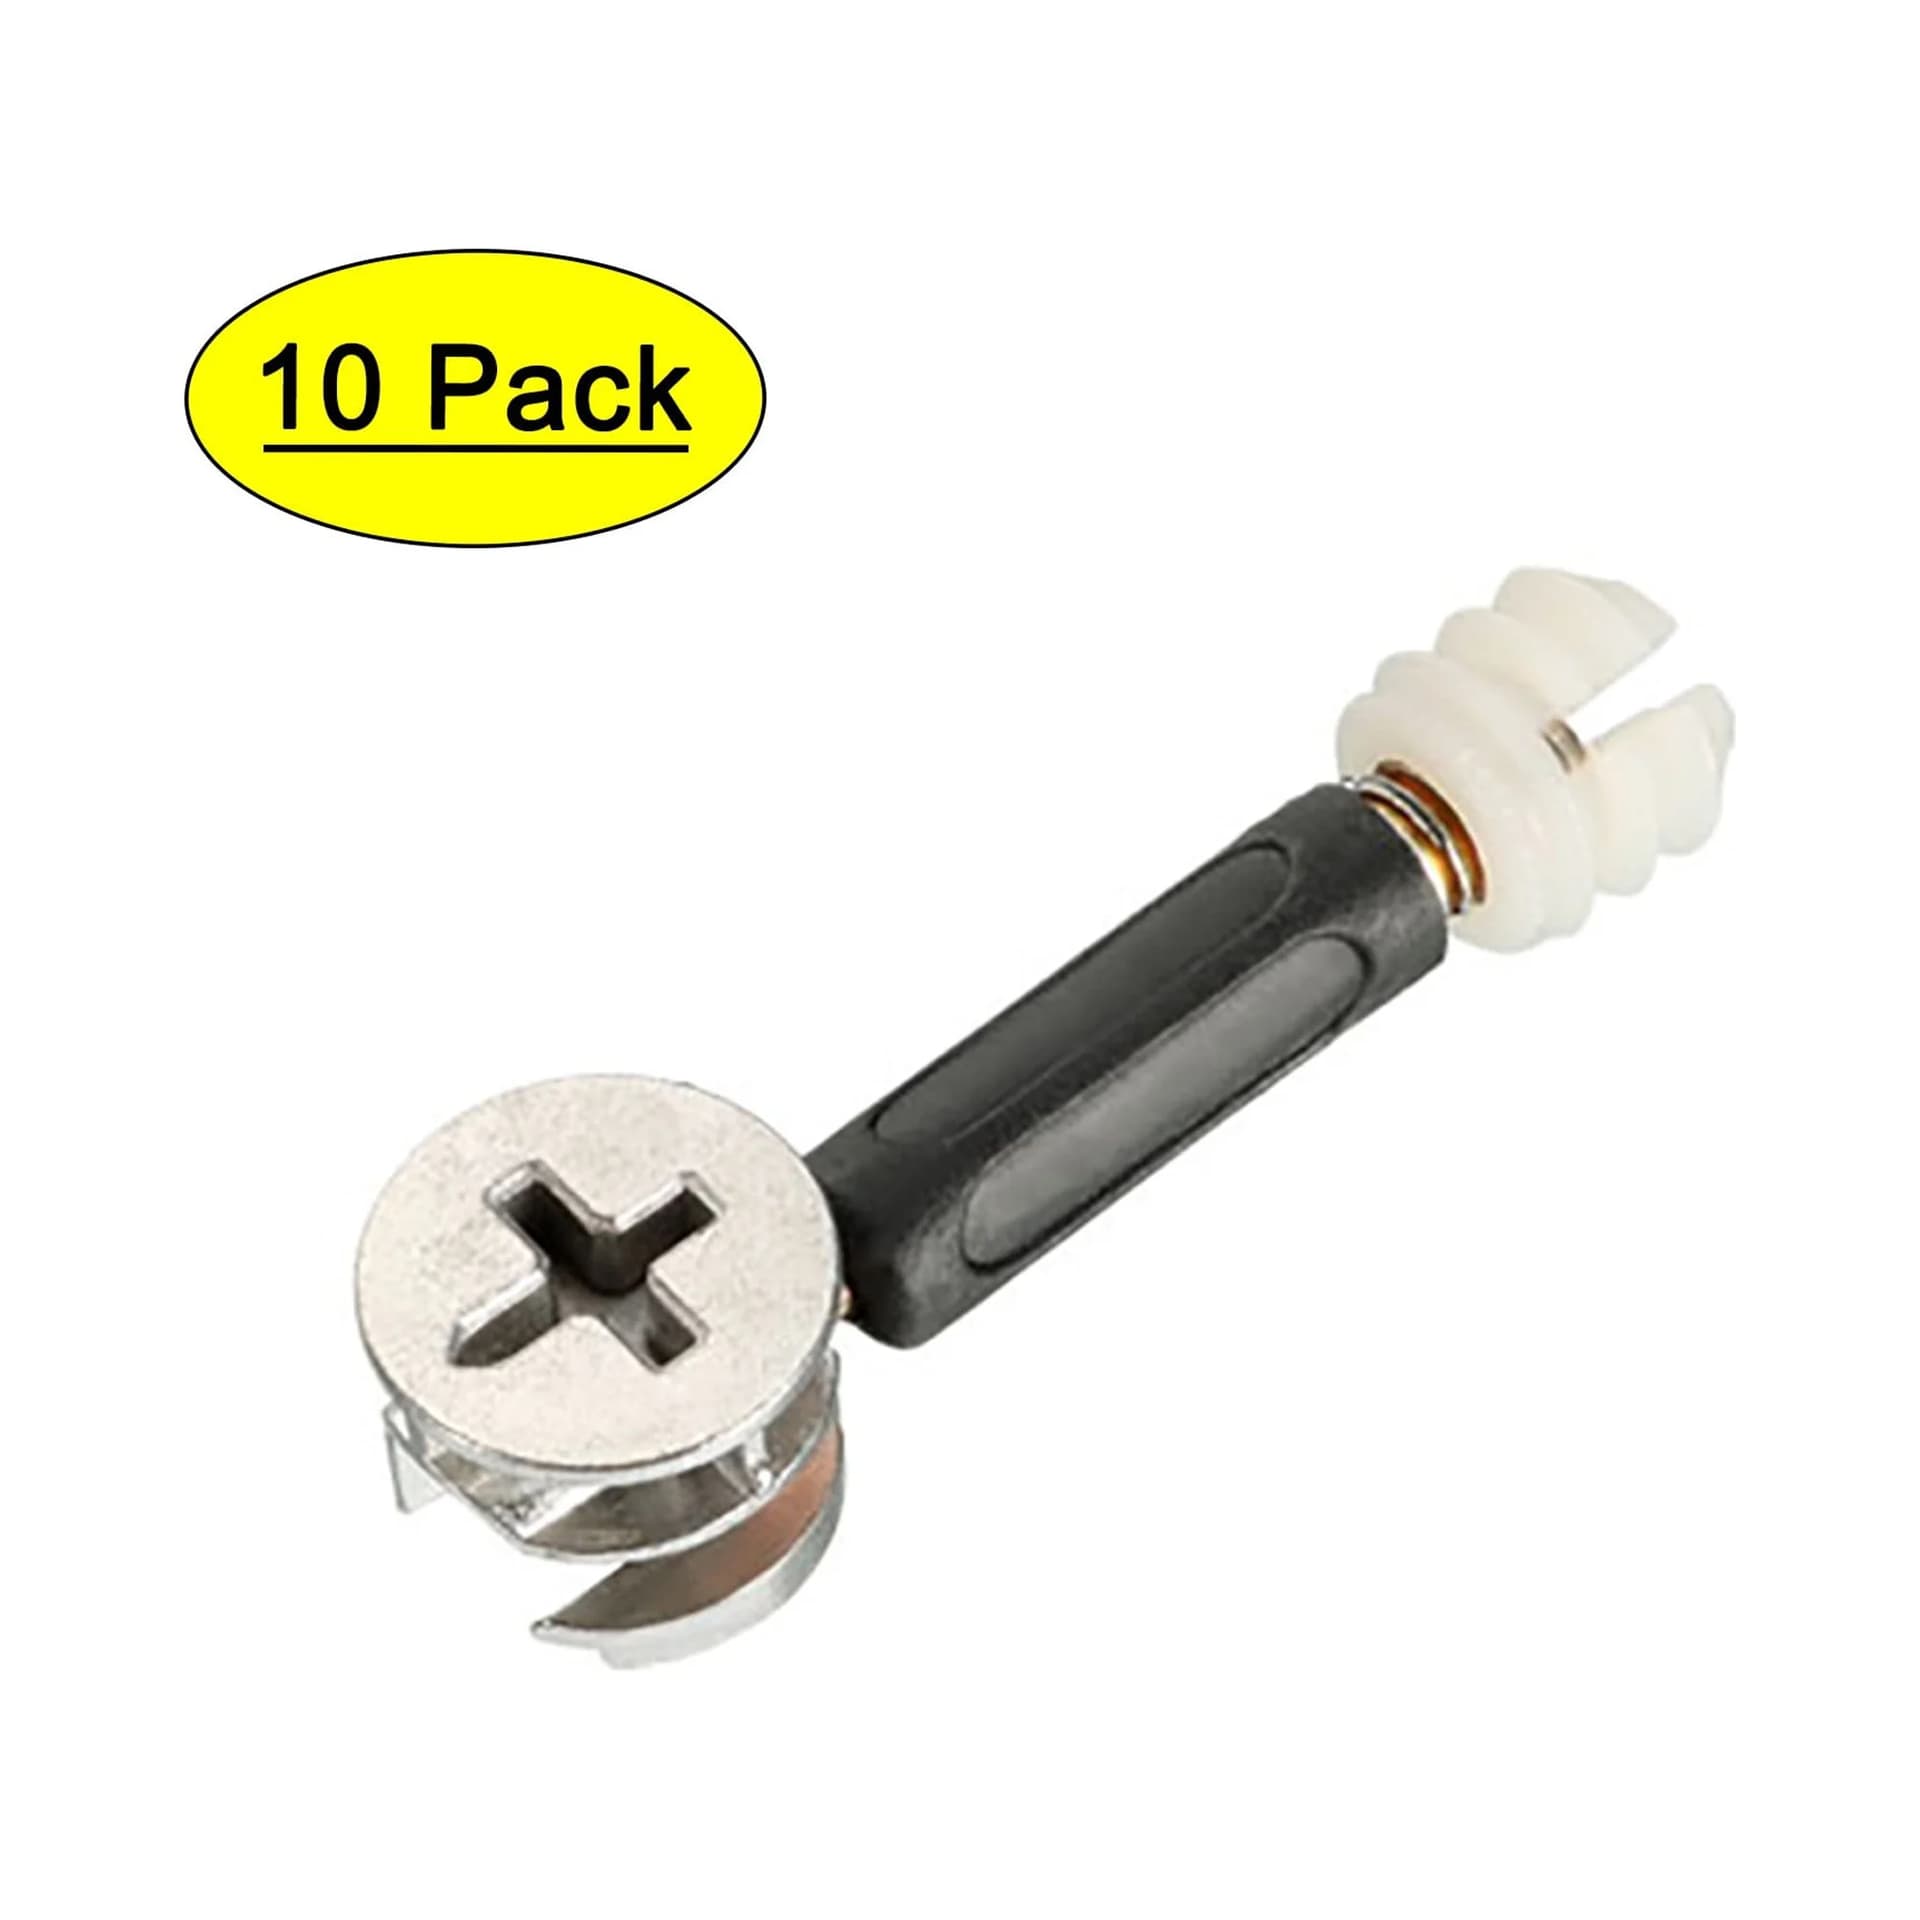
Those are holes and inserts for metallic dowels and cams that will “lock in” the parts
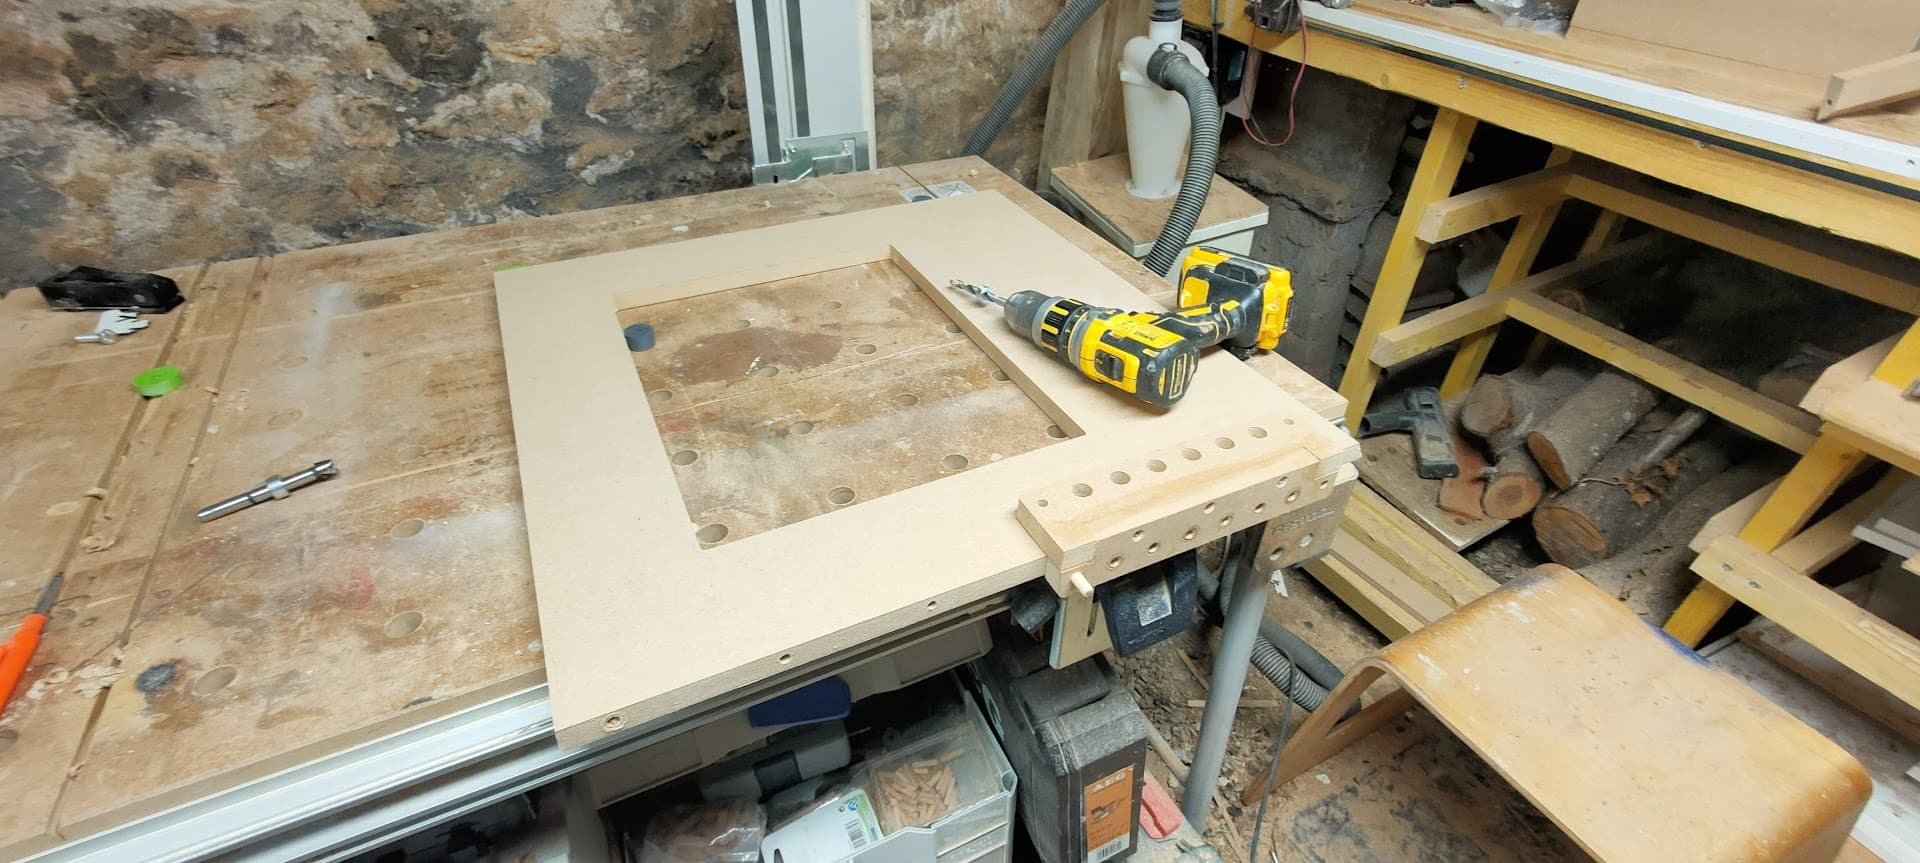
While I can mill out the holes on the faces of the part, I can’t access the edge, so it’s time for side project number 3!
I designed and cut a small jig to locate and drill the different holes for those cam and dowels

I used small brass bushing as drill guide for the dowels, but it’s mostly a throw-away jig so I didn’t bother too much about it wearing out
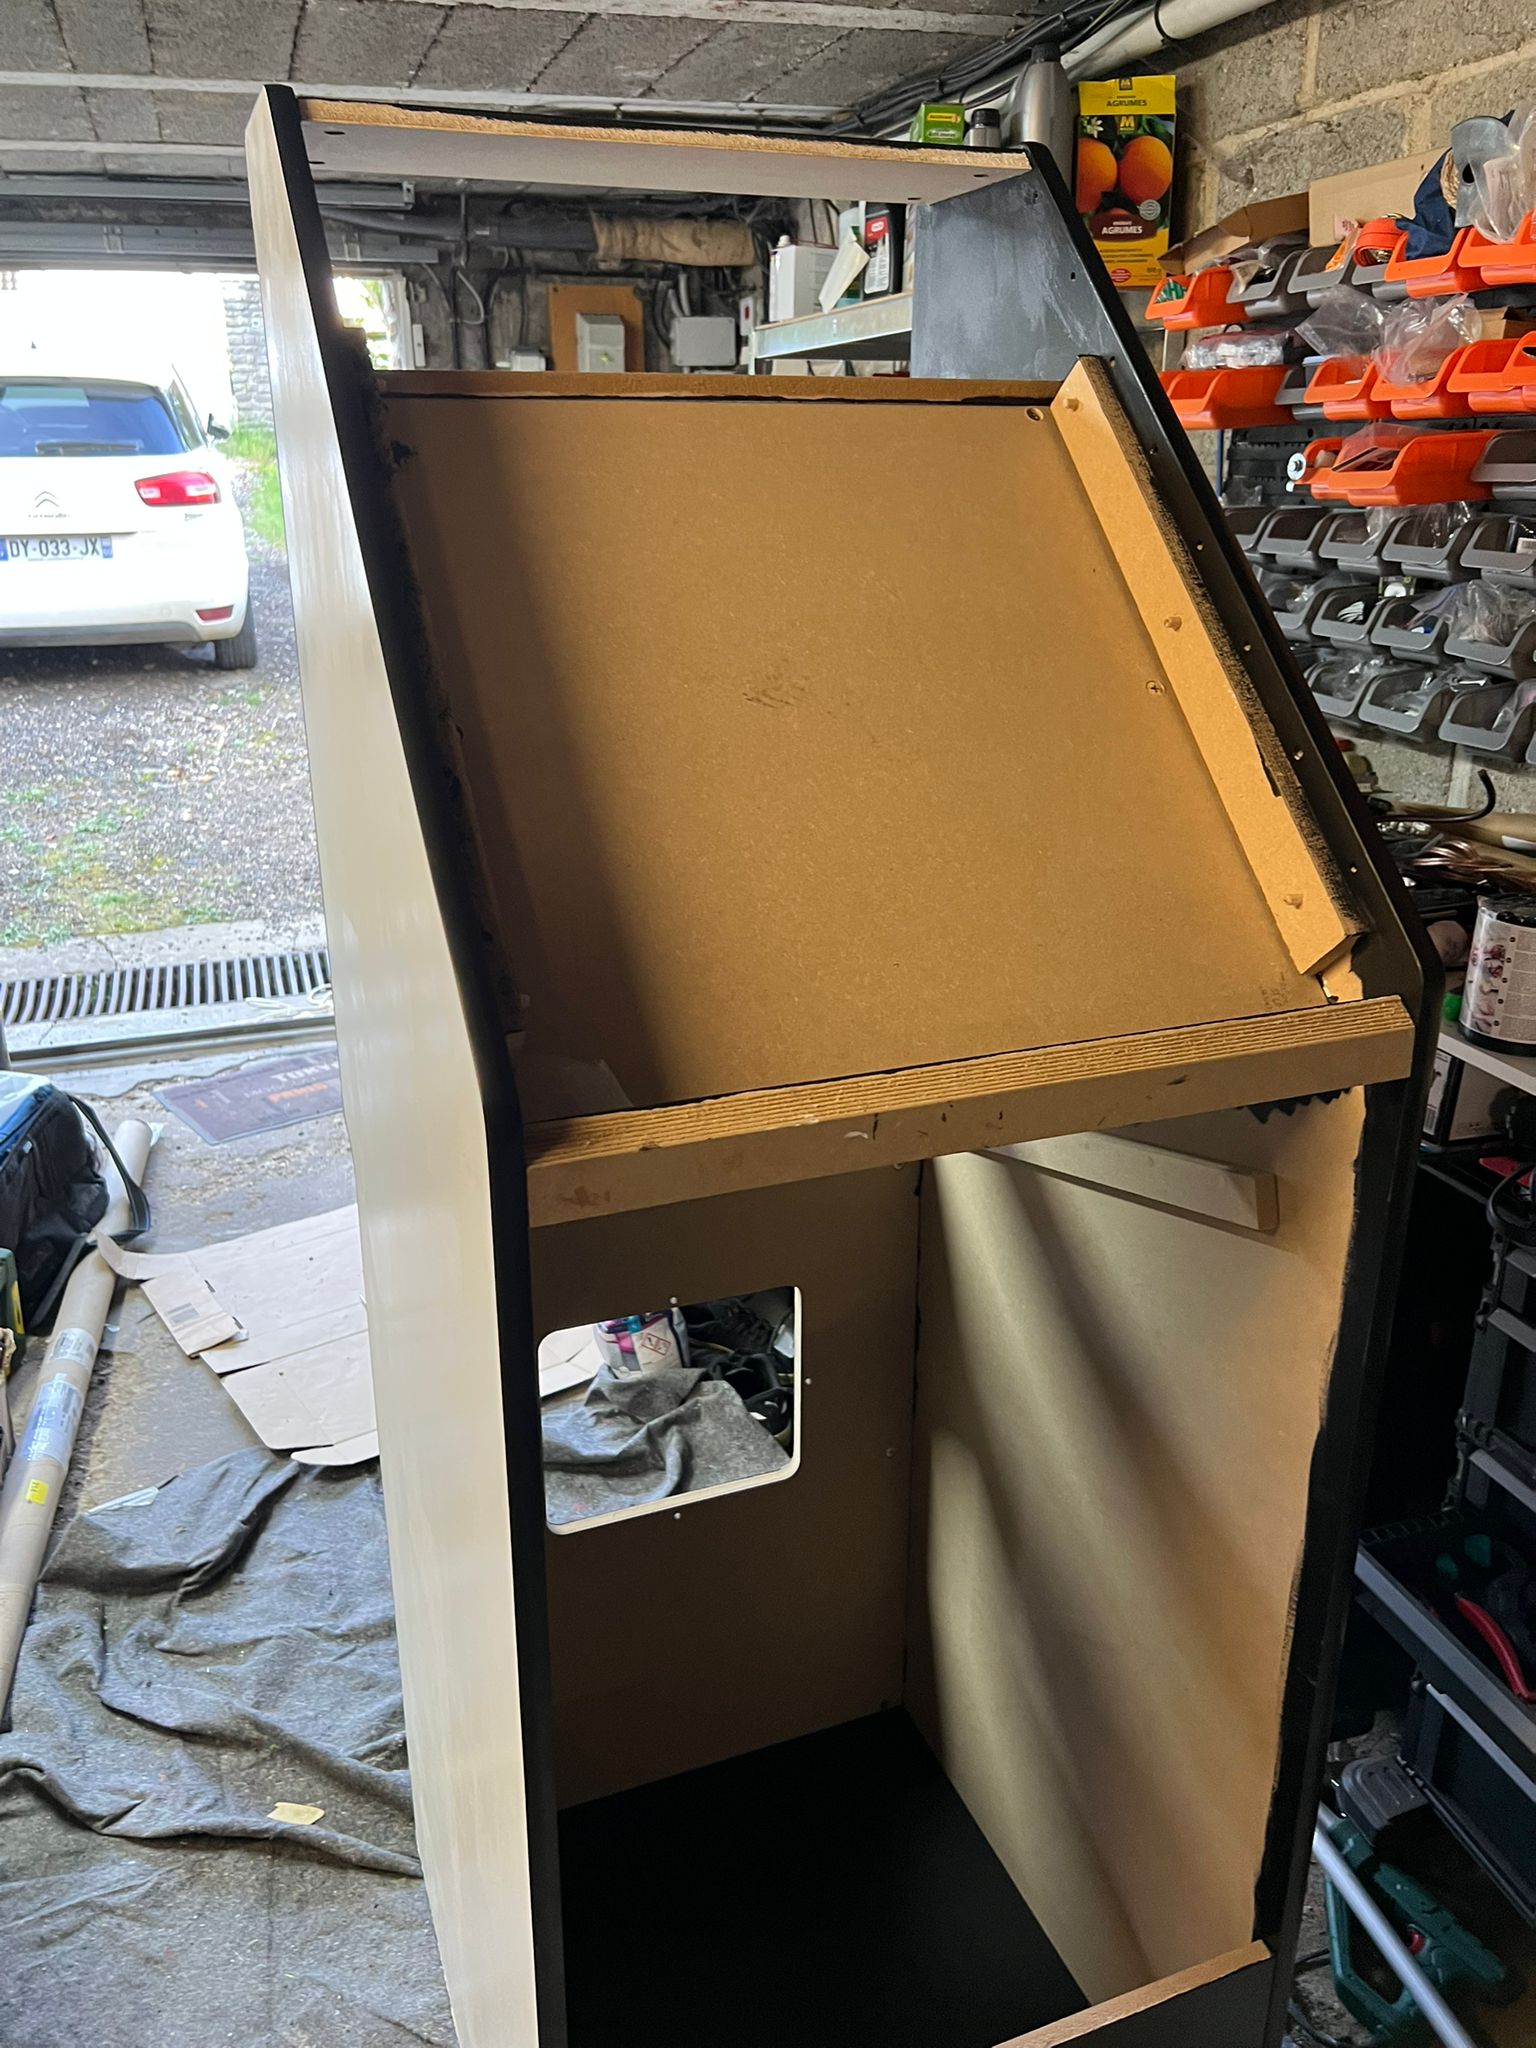
Assemble, glue-up and fasten with screws…

And then just spend half of your weekend drilling various holes (making a few mistakes and starting from the wong side for a few of them, of course…)
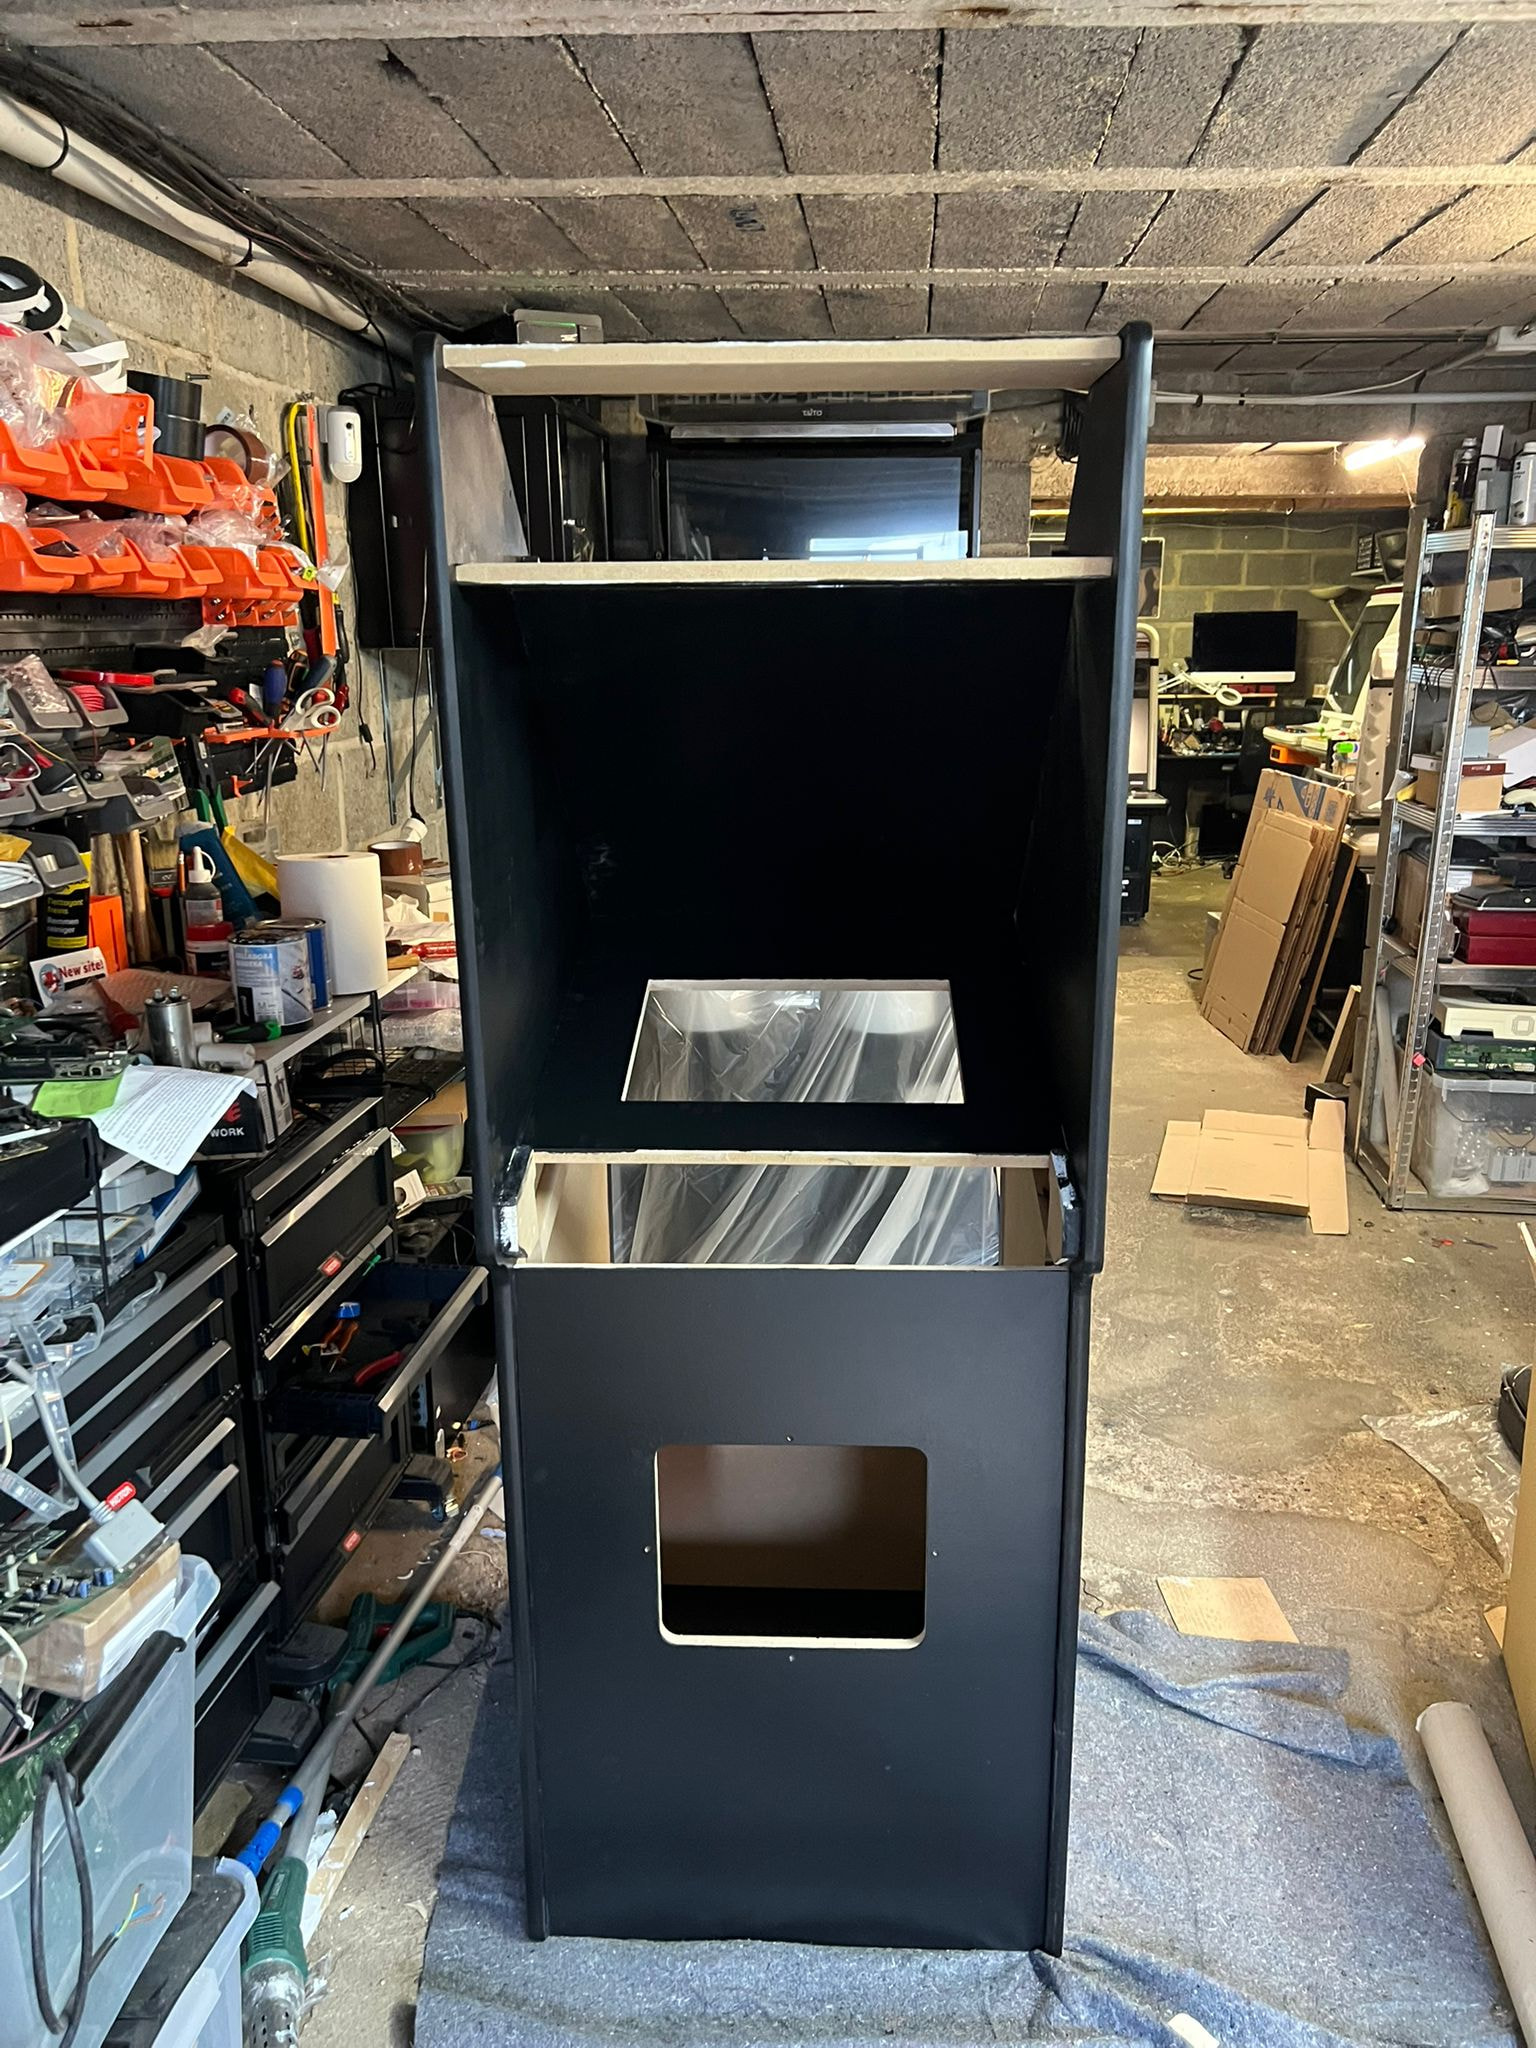
All done

Time to start the assembly
Note: too many dowels… really… >_<


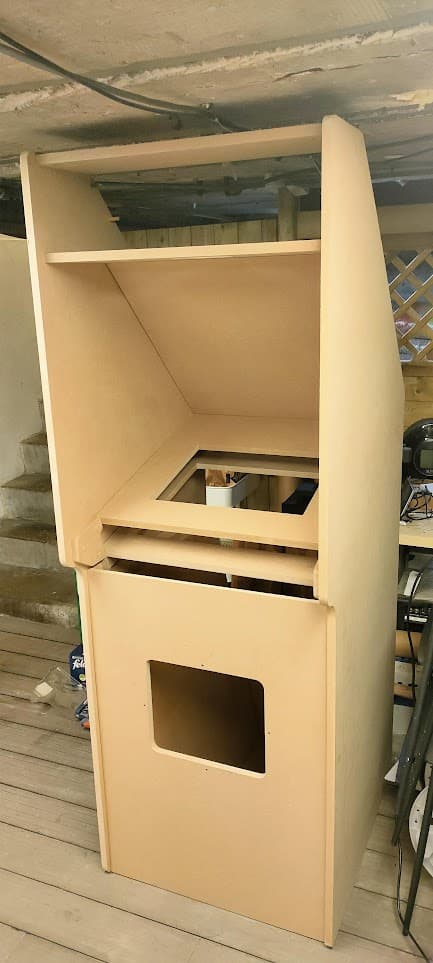
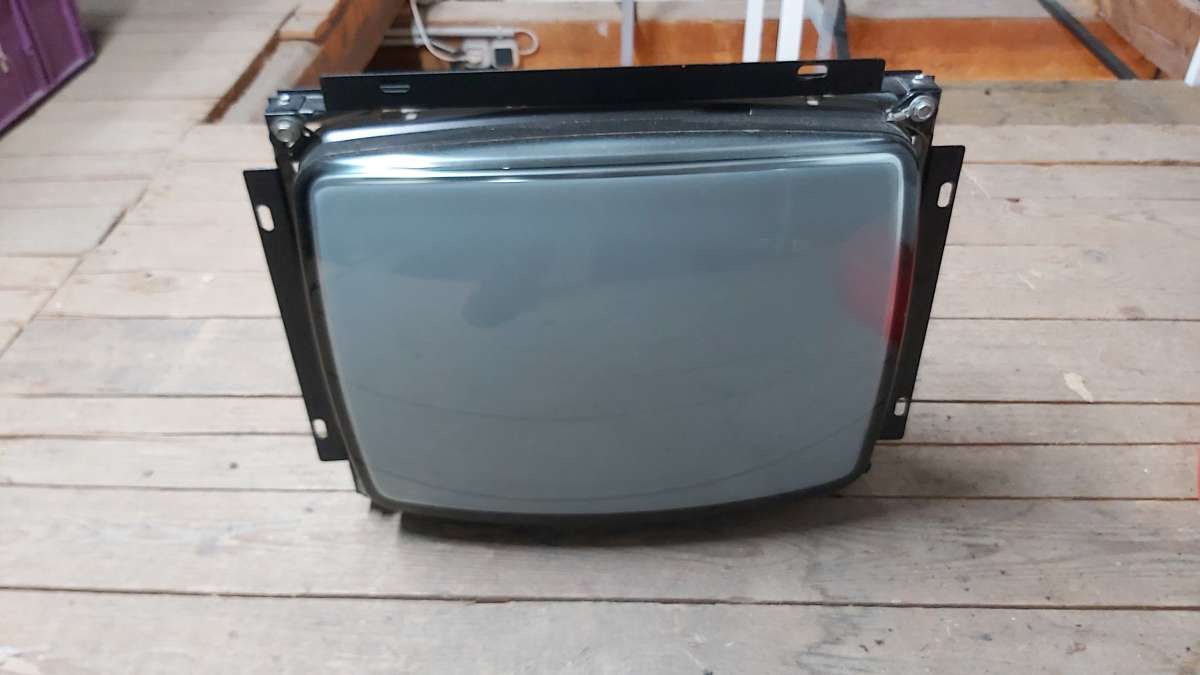
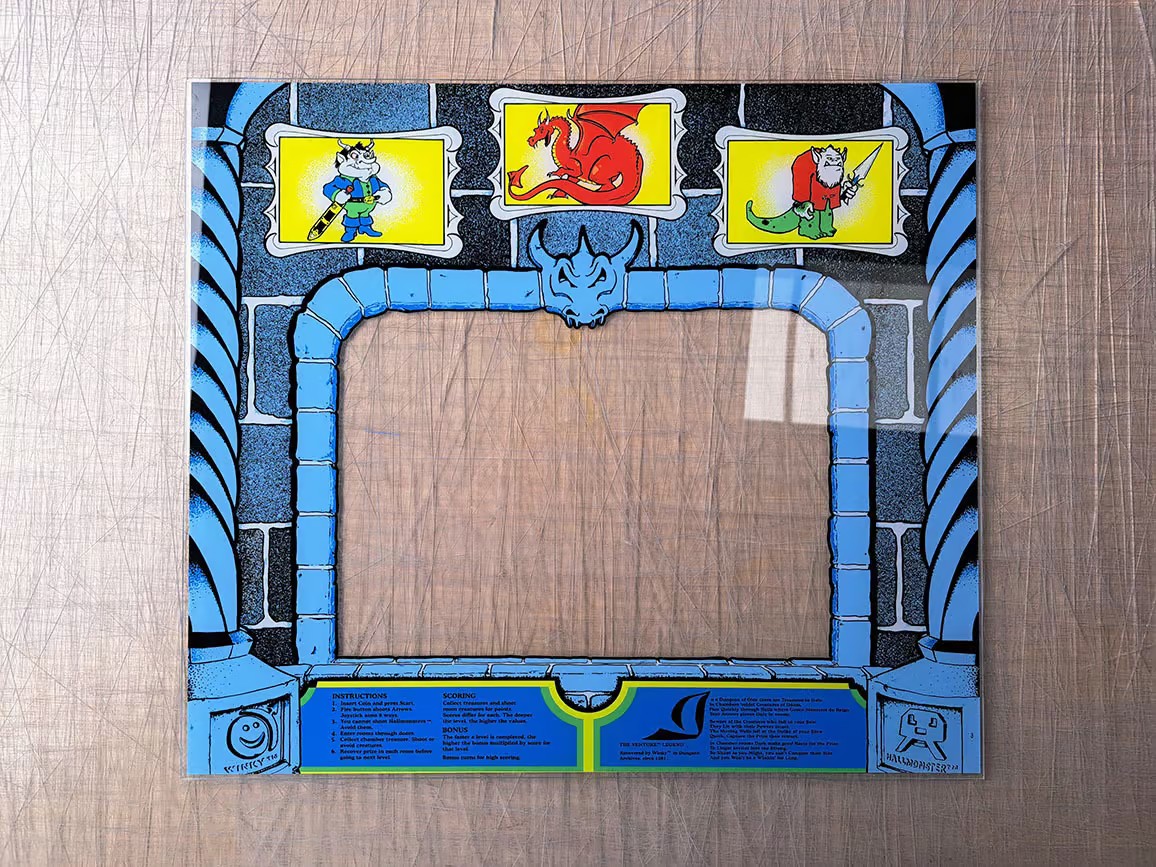
Now the cabinet has been delivered to the association for installing the electronics, painting and adding trims and vinyls
I’ll add some follow-up picture when/if I get some ![]()
Looking back at all the work it involved, I said yes just a bit too fast but in the end it was a fun project ![]()
The LowRider definitely shines at cutting large parts like this!