Well she is running!!! I can see the lines but cant feel them when I run my fingers across. Cant wait to see how it looks after putting the ruler marks on it. I’m guessing that would best be done with a fine tip pen vs a normal sharpie. Wonder if the Wife will notice if I steal another of her fine tip sharpies LOL. Will post pics after the ruler marks are there.
Thank you @DougJoseph Wouldn’t be anything without all the amazing help from here!!!
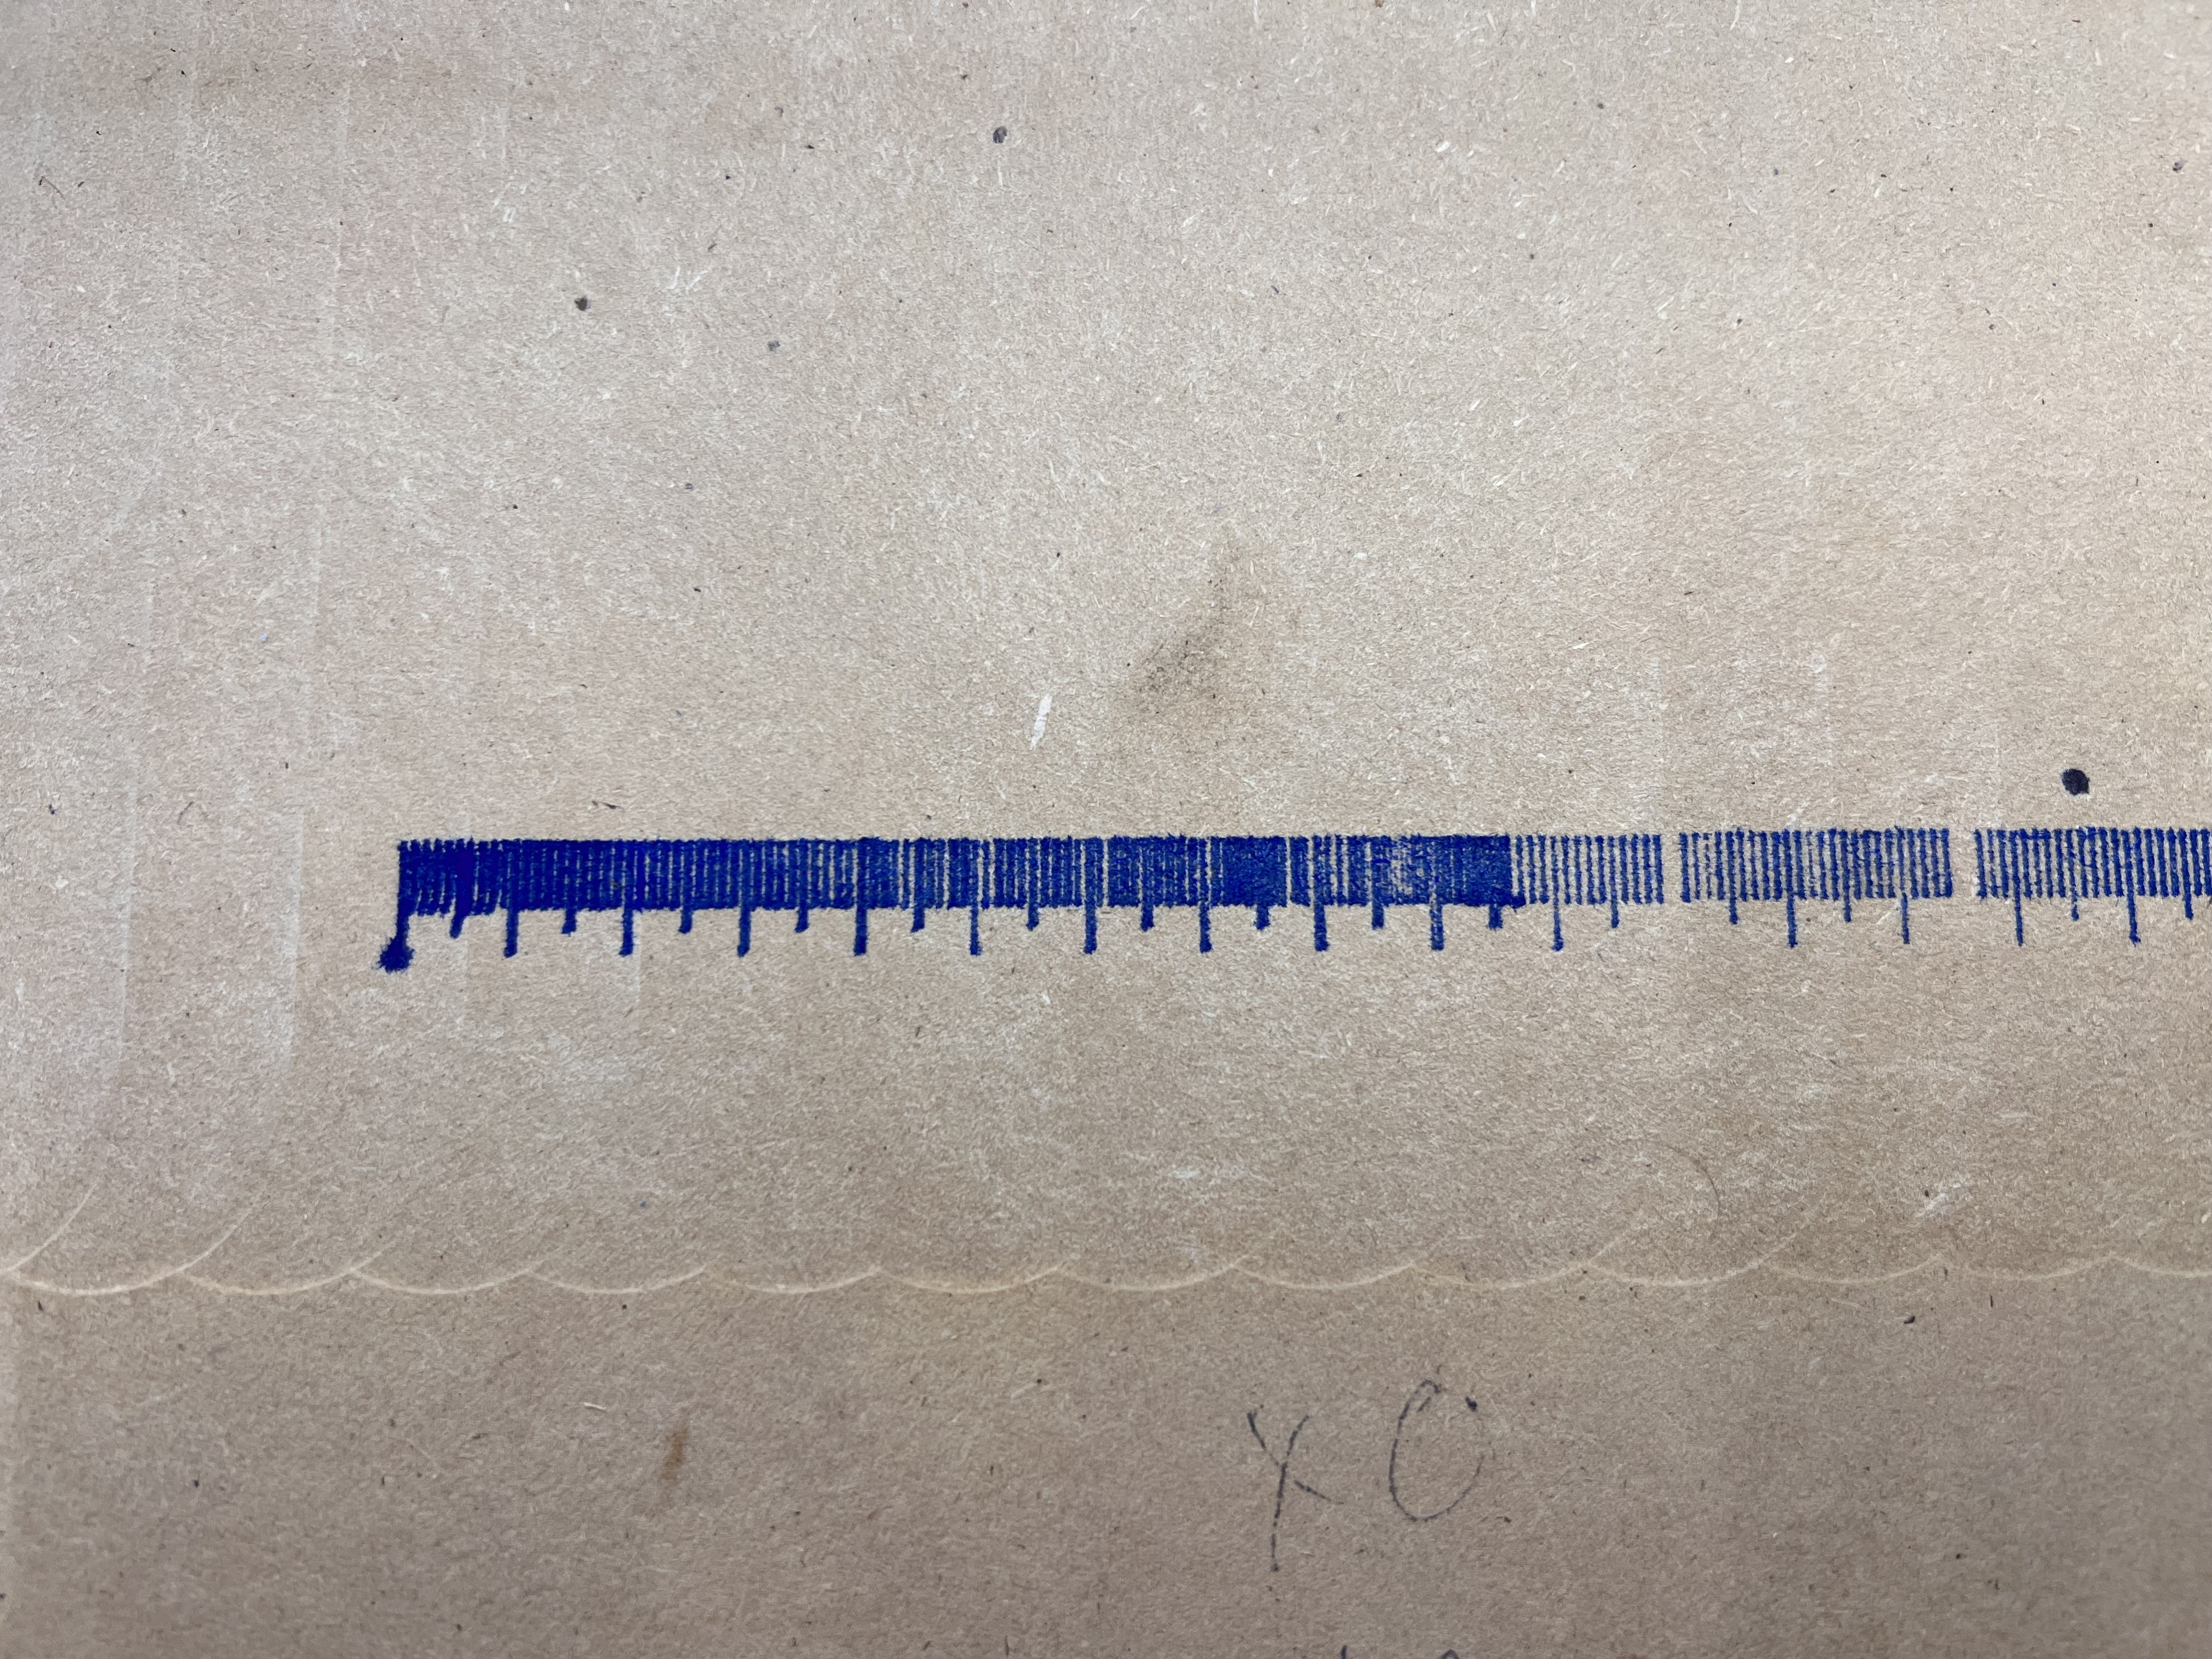
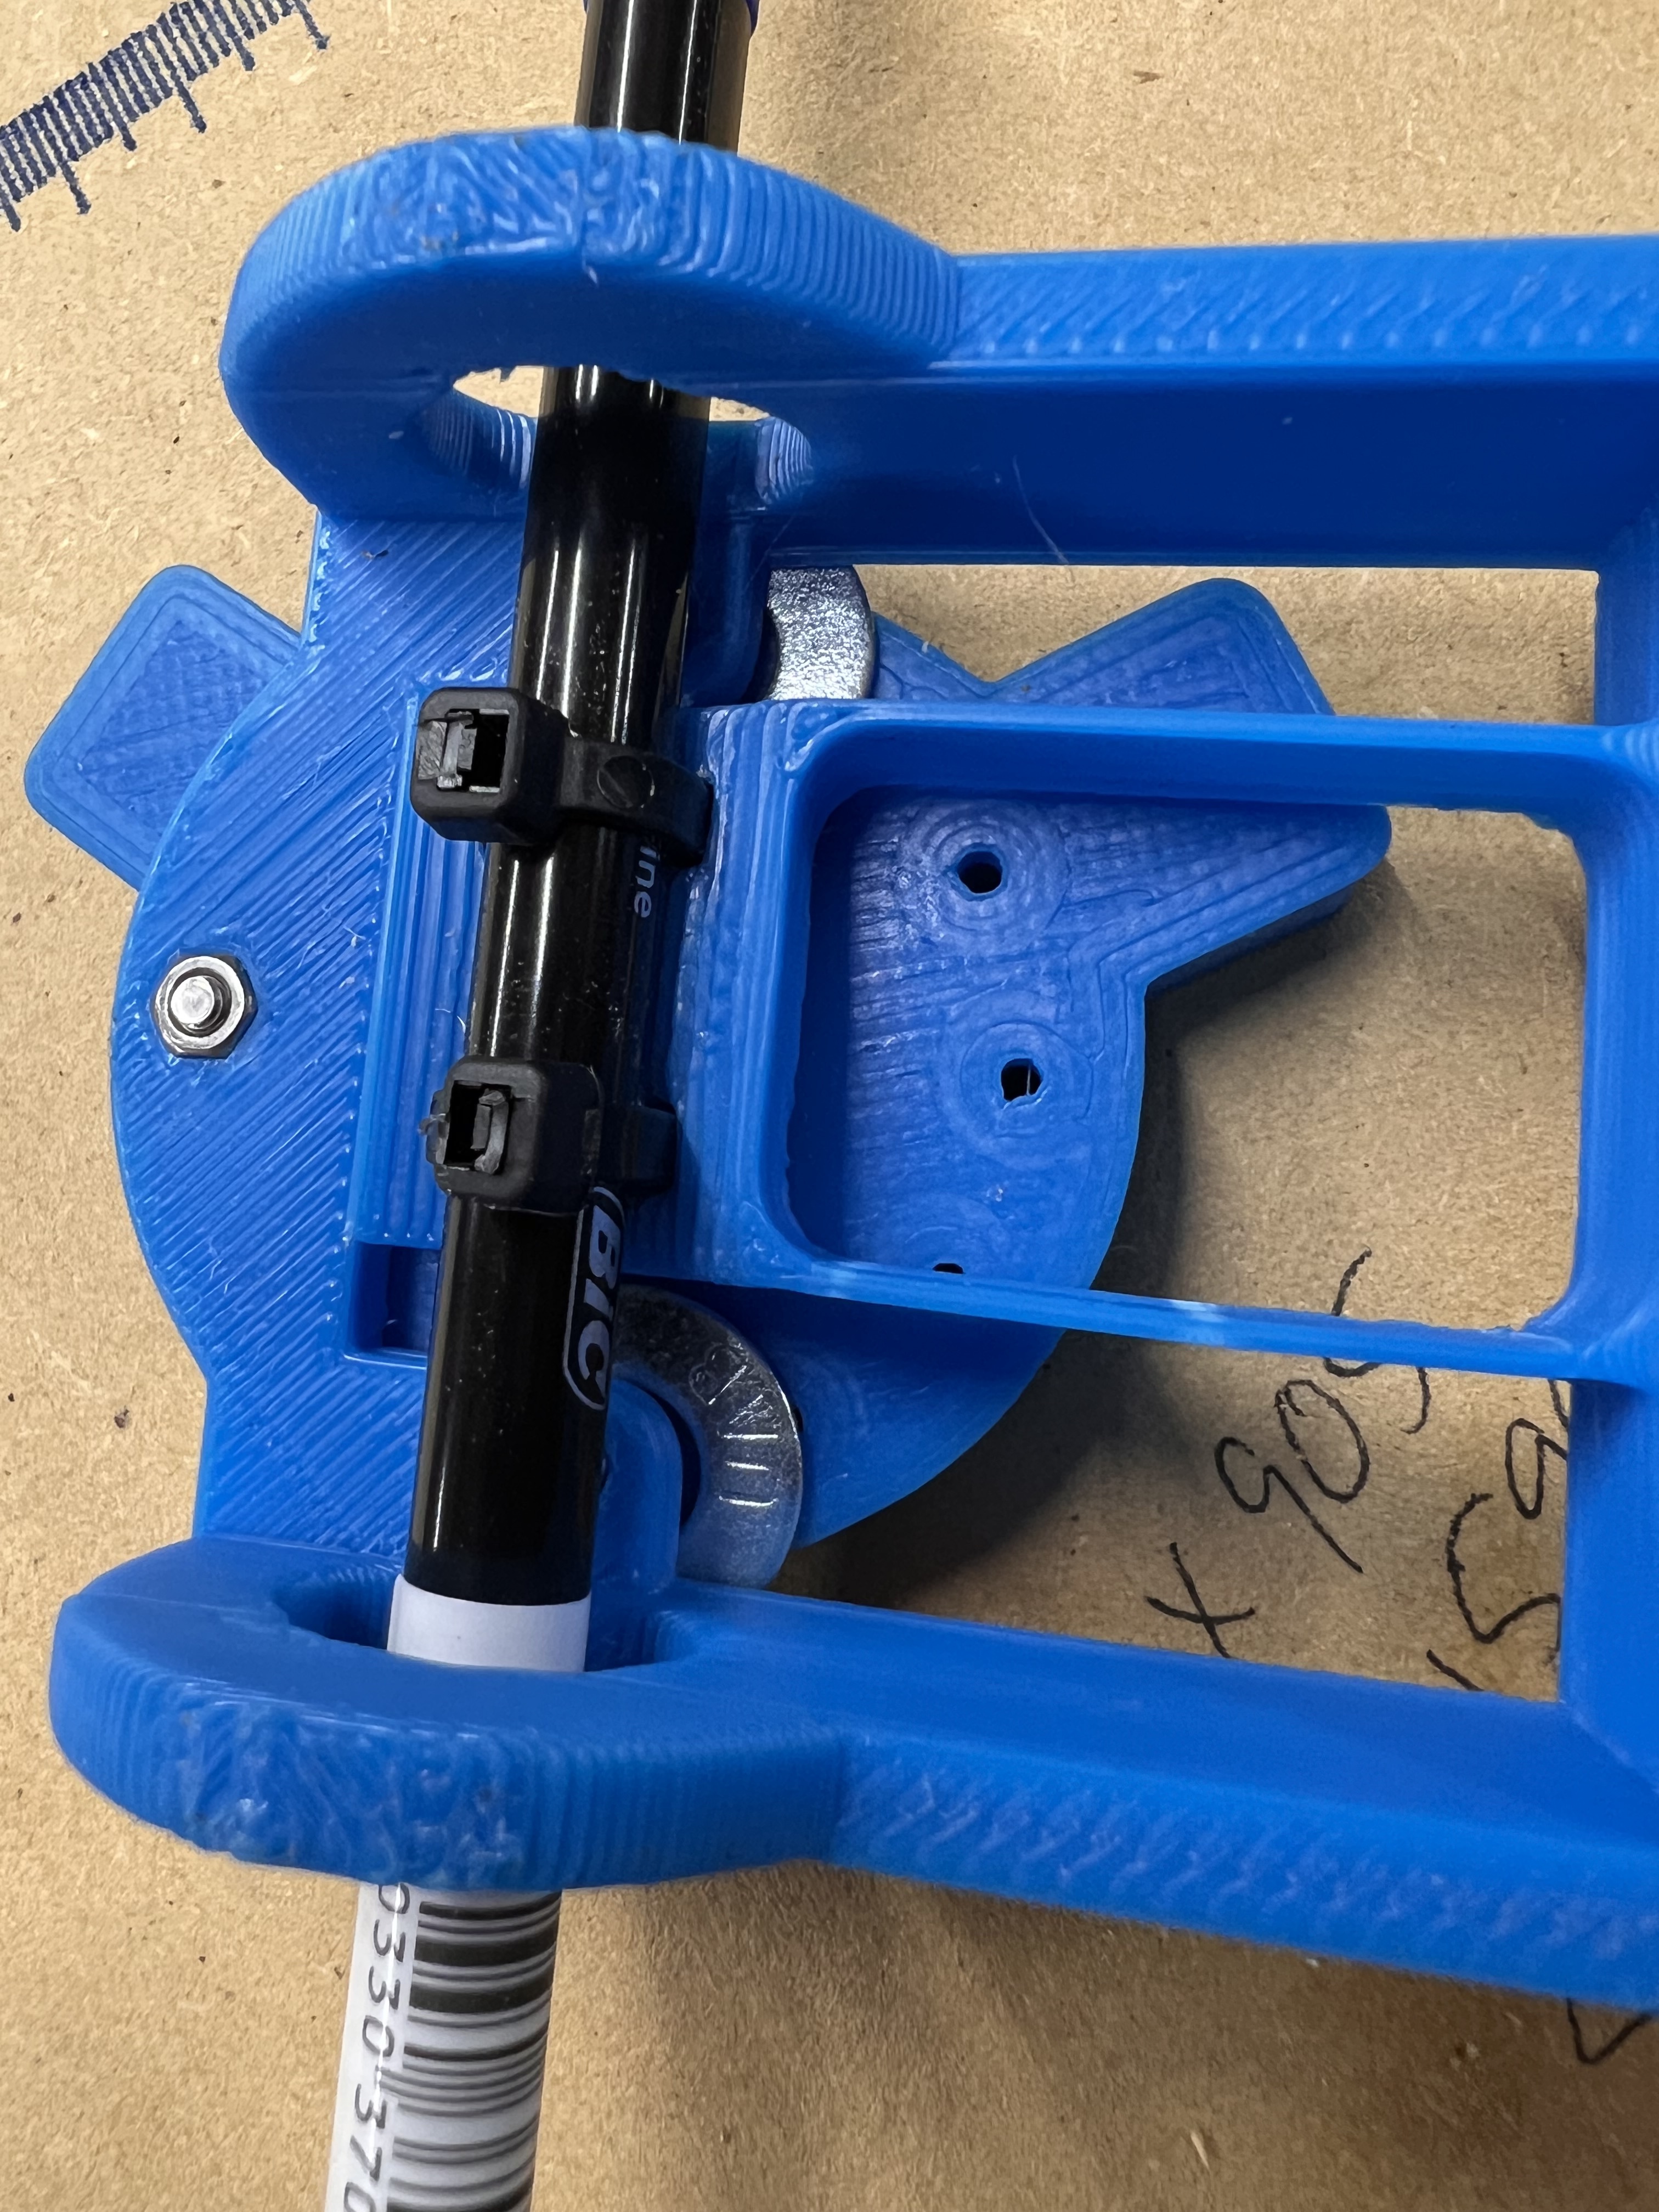
Going to have to back up and punt on the ruler. The pen kept getting hung up on the mount and would mess spots. Stopped it and removed the mount, then put 3 1/4" flat washers behind the pen mount and that freed it up a lot. but that also moved the pen slightly and messed it all up. Going to take a break and cool off for a few. Then going to go through the tramming process again and run a .1 or .2 surface on it to get rid of those marks and then run it again. the washers really freed up the pen movement so i think it will come out great this time around.
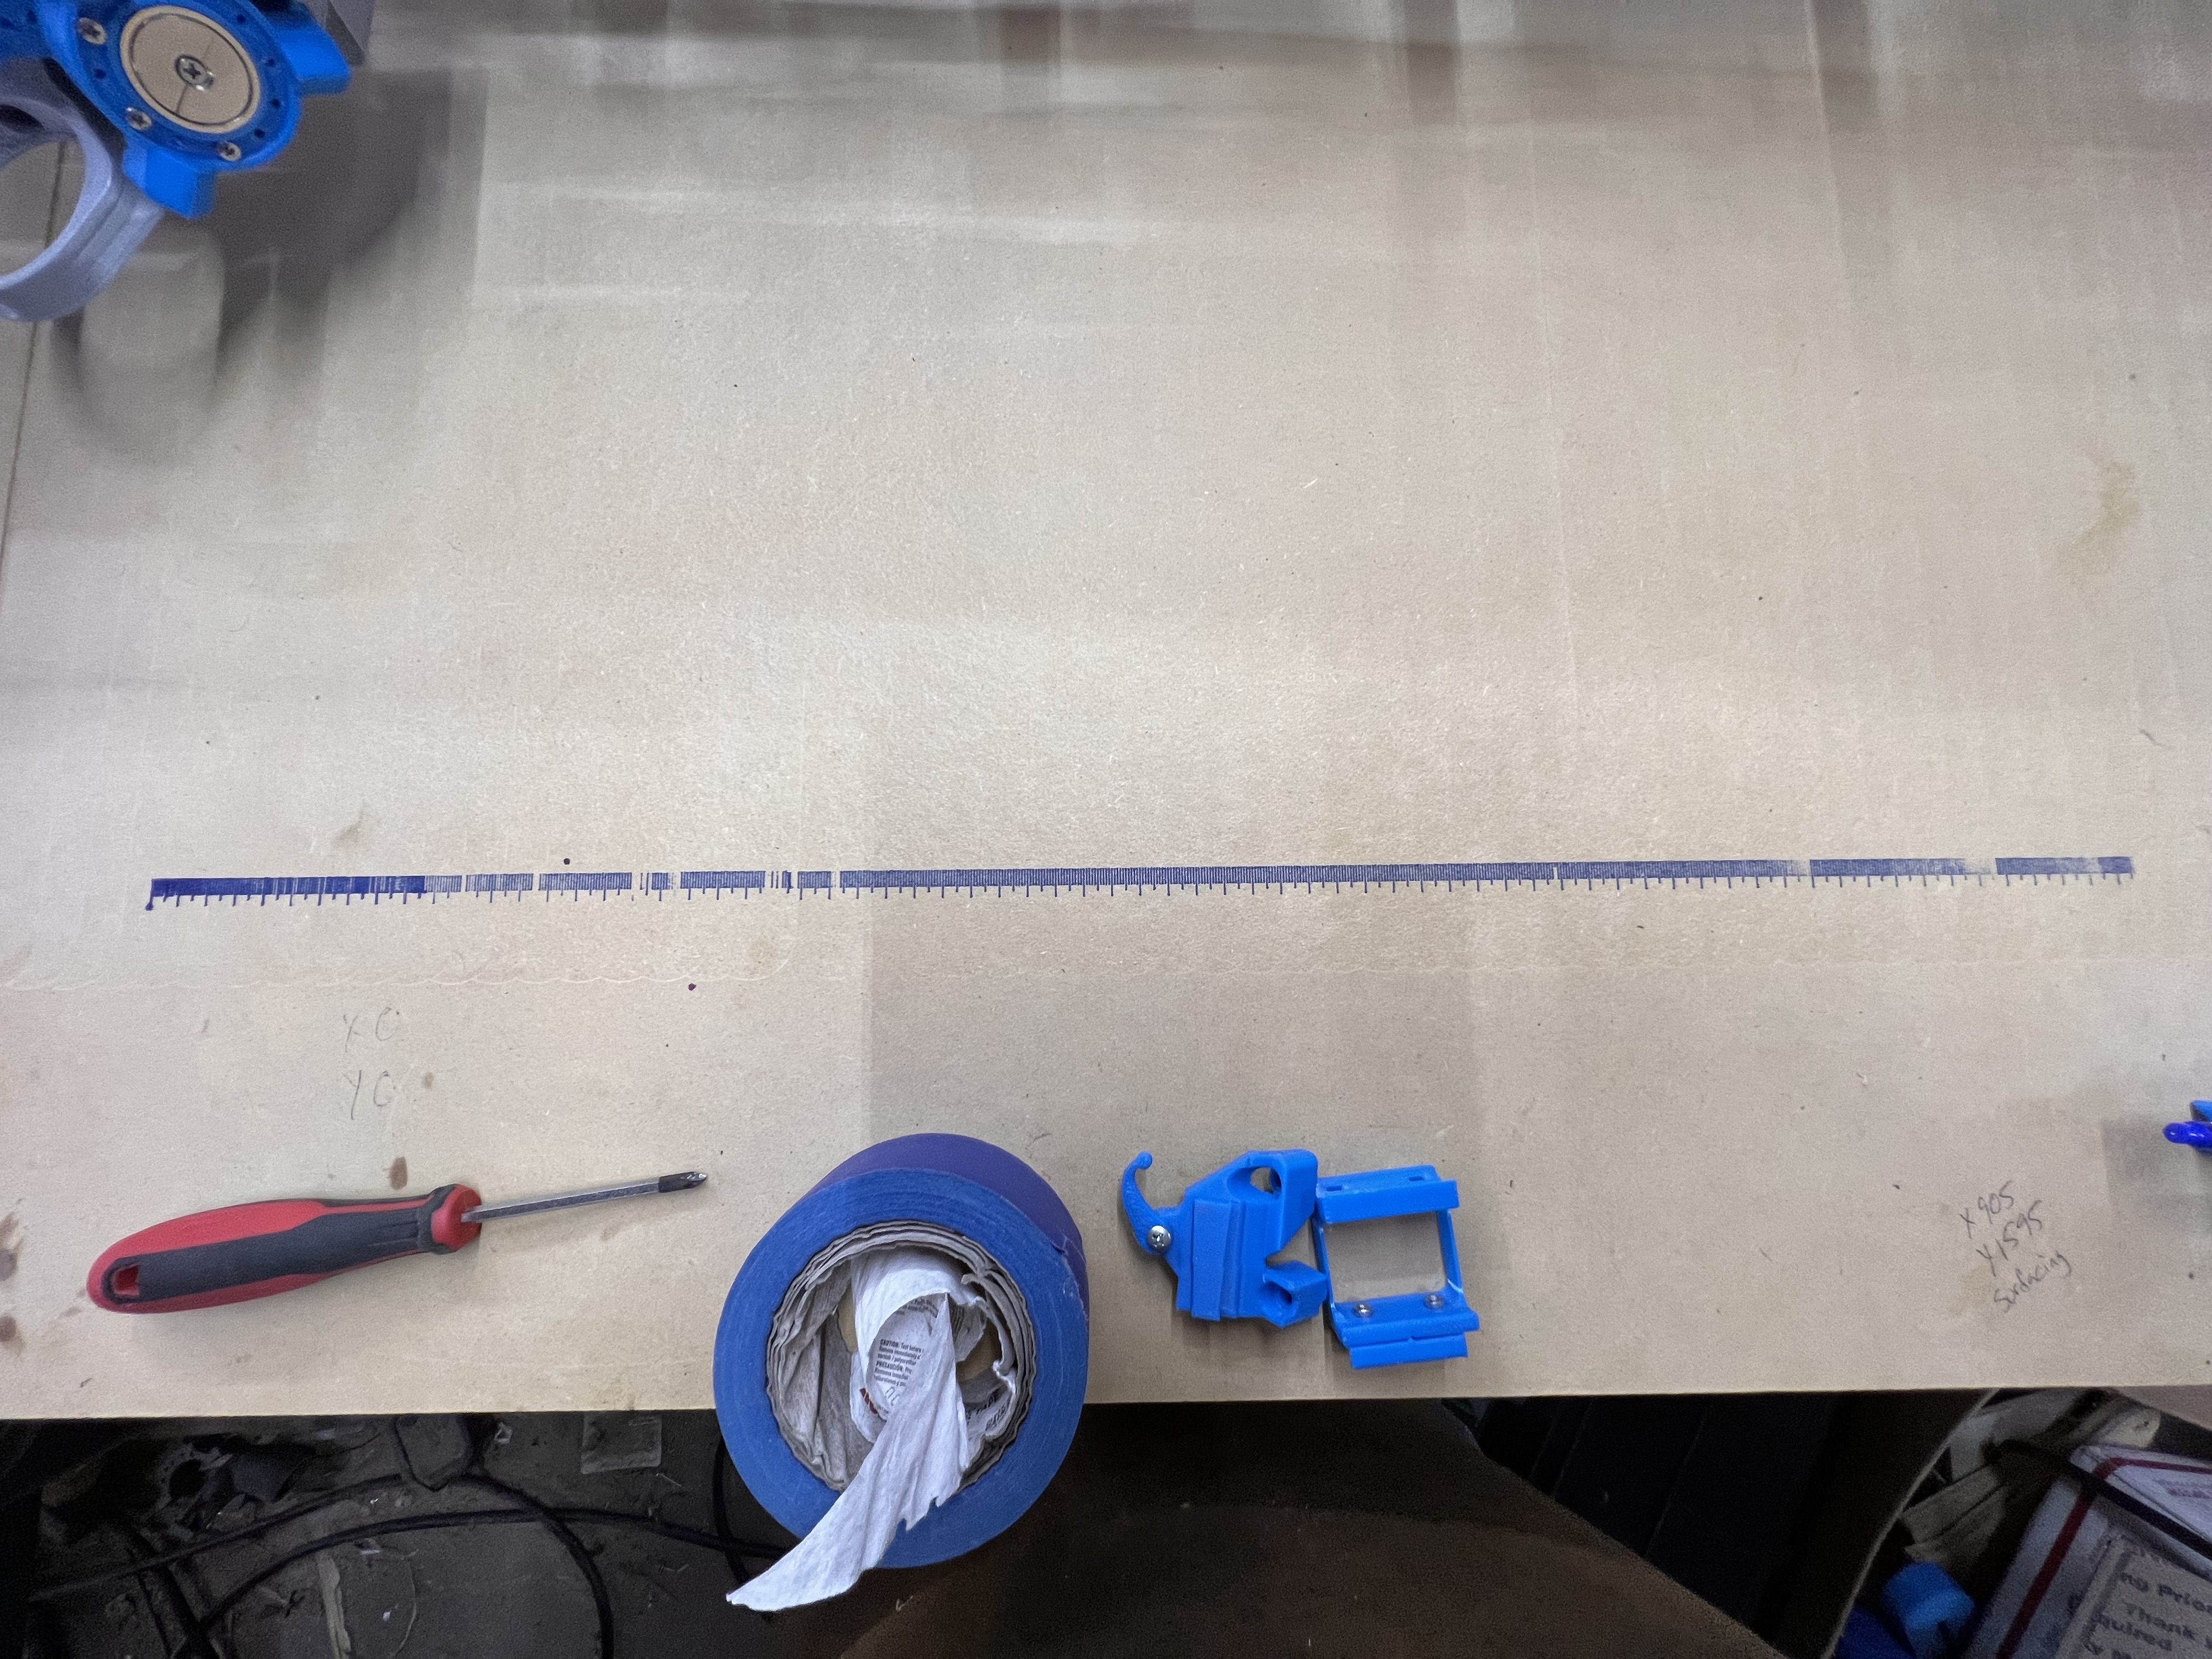
What do y’all usually run for the pen on Z? I set it with a piece of paper then ran -.5 on @jamiek script. Is that normal or should I be doing something different???
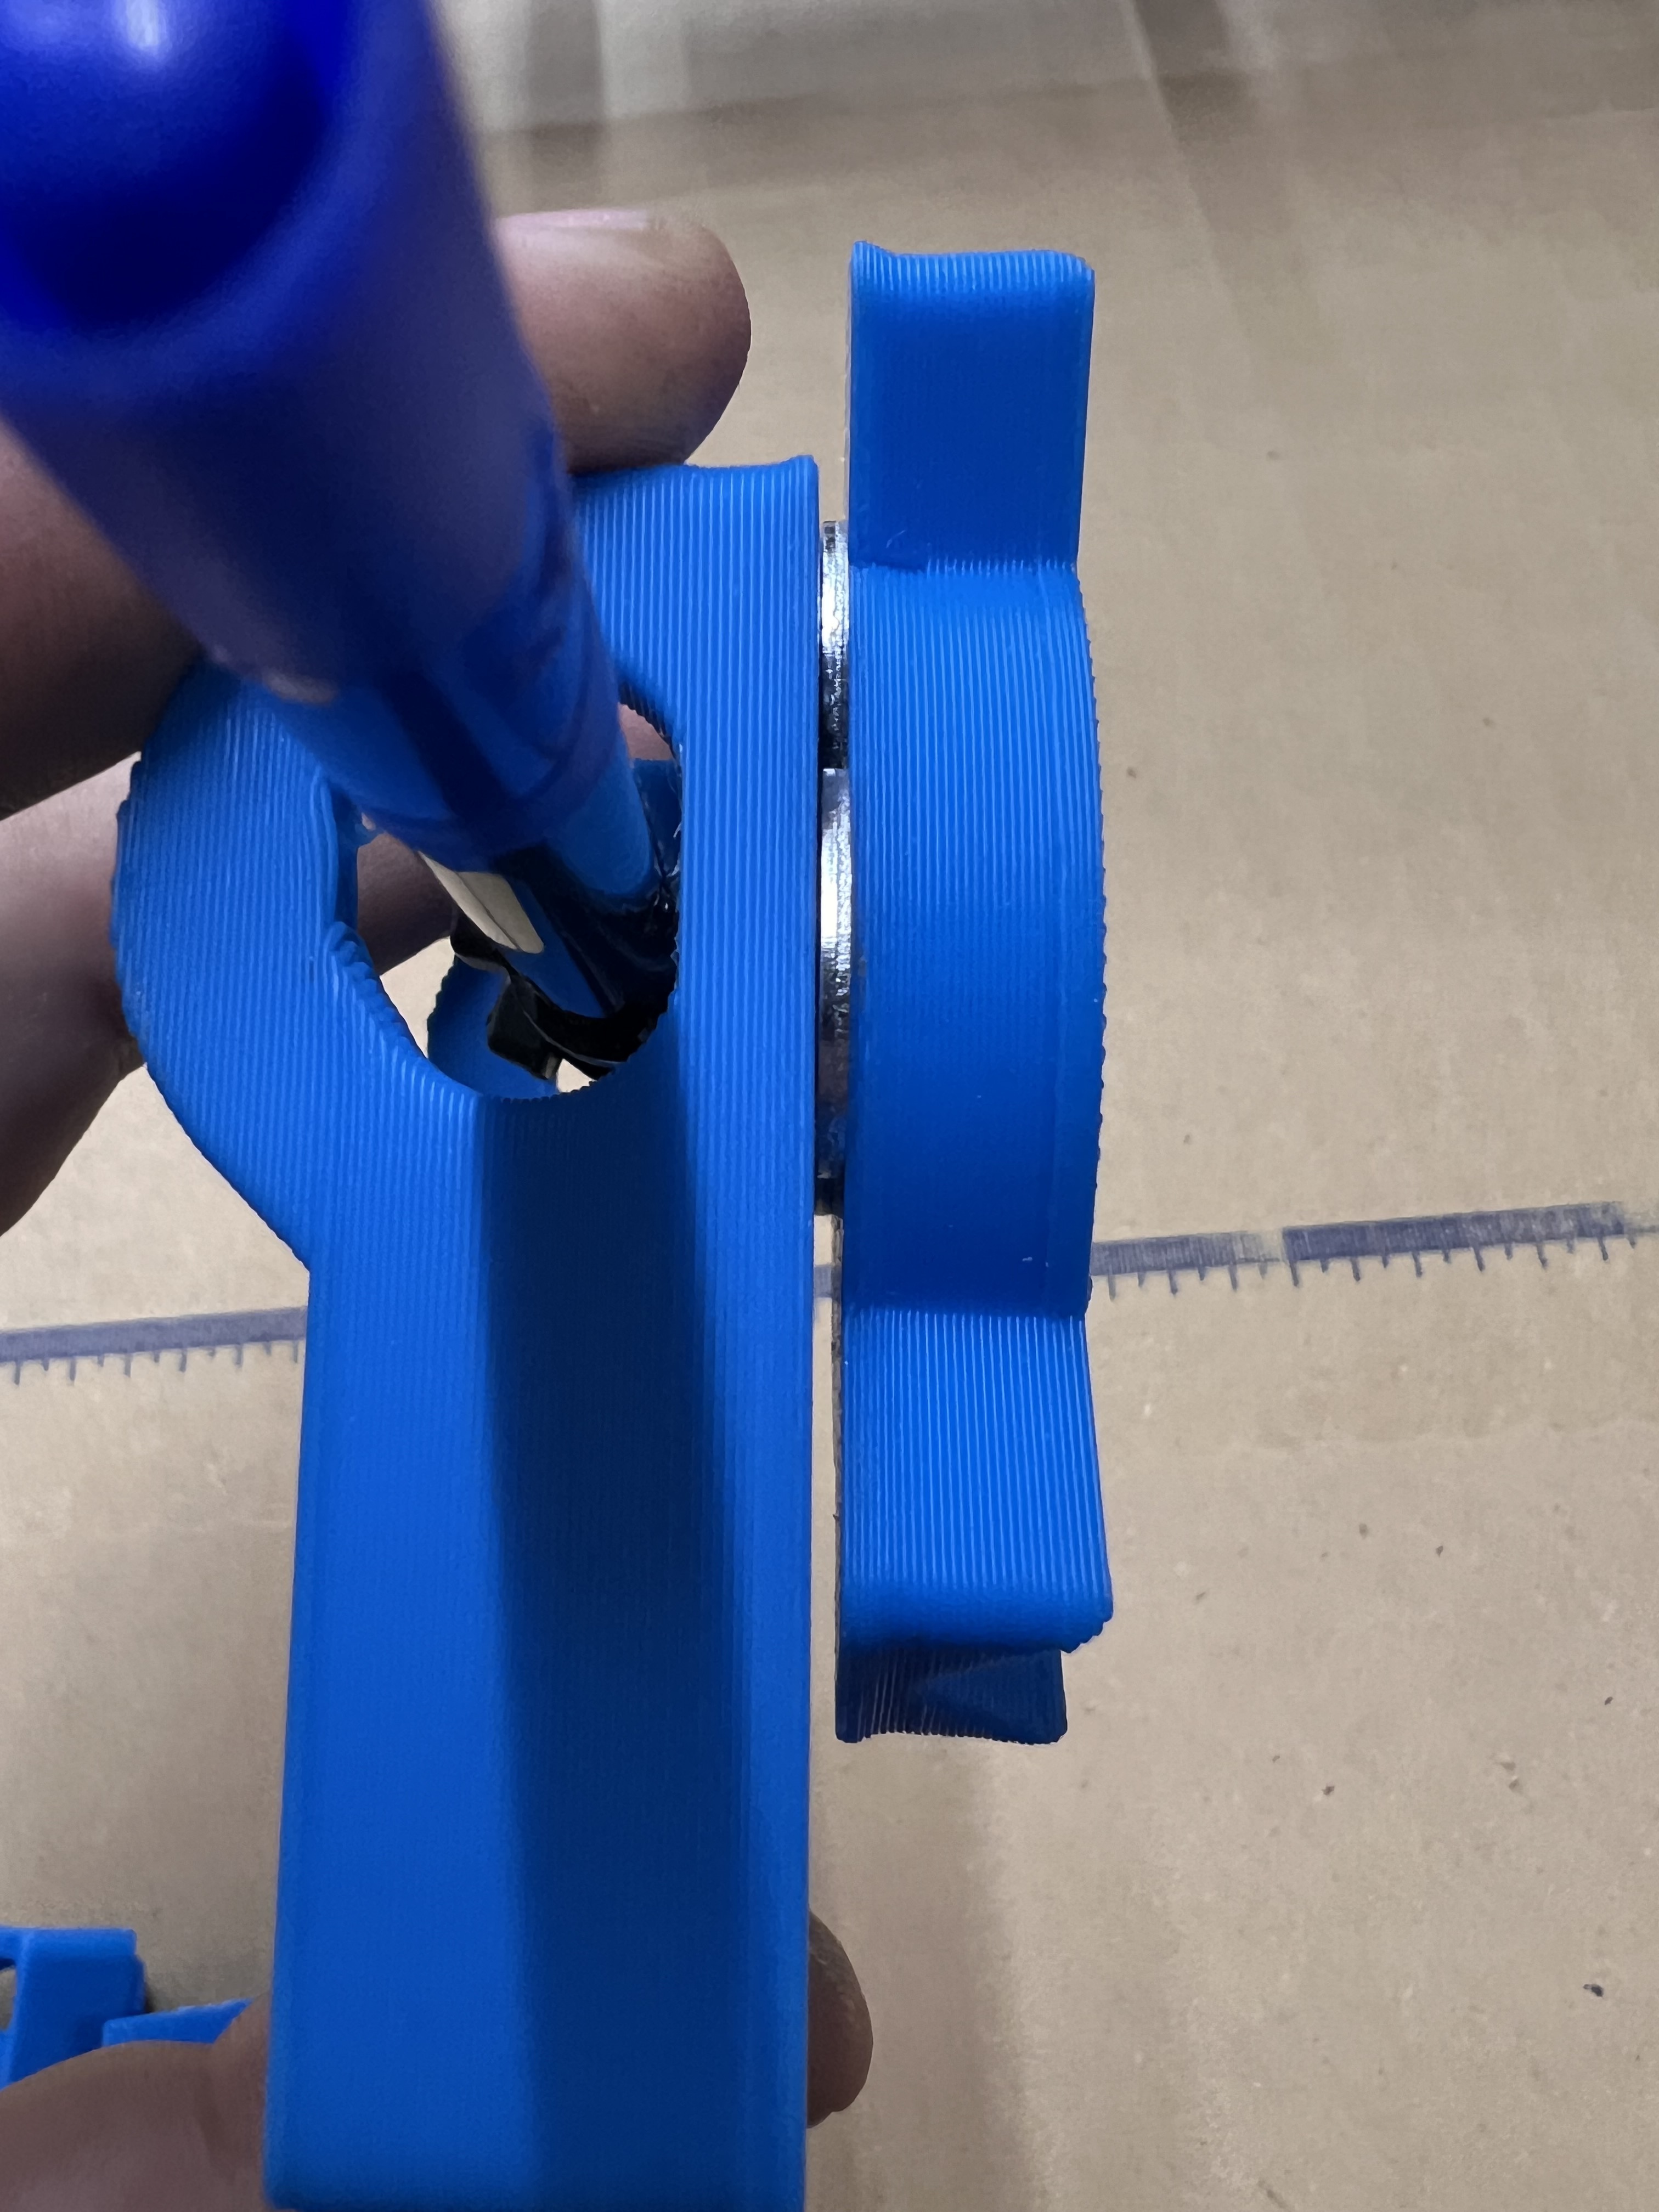
Magnet on the base mount and a 1 1/4" washer on the mobile mount. 2 magnets were too thick and it wouldn’t set right. Almost went back an printed your acorn style mount before I realize (and actually read instead of just looking at the pretty pictures) that he was running a washer. Quick trip to Ace Hardware and I was in business.
I’m really hoping something comes of the Probe and ill get a lot more use out of the mount than just the occasional Pen. Well I’ll get more anyways once I figure out how to do large scale vinyl on it LOL. Son and my Ex-Father-in-Law have a race car that needs more vinyl work than my Wife’s cricut can handle LOL
I was looking at it and there really isn’t any way to add spacing with the way it prints. But the washers was a simple add on. And you adding it to printables then anyone already sourcing the other needed hardware could get that at the same time. It made a big difference for sure.
After changing out the pen mount today I needed to go though traming the spindle again. Figured I would take a pic of my setup. I have no idea if this is right or wrong but so far it seems to be working lol. Took a few more tries tonight and ended up having to put a piece of tape on the top of the x+ side but after doing that it’s even closer than I had it yesterday. .00011 per mm. So total for my 32mm bit is .00368. Can’t complain with that.
Thanks! Now I just have to wait till tomorrow to put the new ruler lines. Somewhere yesterday I ended up reading @vicious1 say something about .3mm pen. Well these will be here tomorrow. The felt tip I had was good but the lines tend to “run” and get fatter than intended. Hoping these pens will do better. Time will tell.
Delivery day for the Beach Sign then will get back to work on the LR3. Little teaser there for what I plan to work on while I’m waiting for the new pens to come in
Thanks for that!! Everyone has been so quiet about it with all my crazy math I was starting to think I really did have it all screwed up. Thankfully you and @Tokoloshe seem to think I did alright lol. Never noticed anyone else post about doing it that way. Just seemed like an easier way than eye balling it. Plus even if you only have a regular trim router you can pick up a 1/8” tig rod that will chuck in and do the same thing that my #12 ground wire did
In other news… beach sign has been delivered and installed. And they LOVED it!!