@Jonathjon asked me to write this up.
First and foremost! I am NOT a professional! There are things in this process that can do massive harm to you!
I am working on building a V5 and have always wanted to do some home anodizing. I spent an inordinate amount of time watching YouTube videos and reading just about everything I could find. I decided to start small but will probably scale this up to the 1.5 gallon range eventually.
Things you need:
Containers. I have used 1 quart wide mount mason jars for this setup. Get the leak proof lids for them as the chemical ones will disintegrate with the lye and acids involved. My source: Walmart
Lye. Pure lye drain opener. Comes in a powder form. Source: Walmart
Sulphuric acid. This is the harder one. Auto parts stores have a product called battery acid that is sulphuric acid. It is really strong stuff so be careful. Source: Autozone
---- A note here. Apparently you can do this with citric acid also. Much more environmentally safe and easily available. My reading says a 1M solution (192g/L) will work and may actually produce better corrosion resistance.
Colors dyes. I picked up two colors of Rit brand dye. Inexpensive and available easily. I also tried using food coloring and quite frankly I like its result much better. The color is more transparent if that makes any sense. Source: Walmart
Distilled water. Get it where you can get it. RO water may work also if you happen to have an RO unit My source: Walmart
Aluminum or titanium wire. I found a roll of small aluminum wire. My experience so far says go ahead and buy the titanium wire. The aluminum wire is a one shot use. It anodizes and if you try to use leftovers it can actually burn through. Titanium does not anodize and is reusable. Source: Rural King for Aluminum, Amazon for Titanium.
Spray bottle. Get a nice one. This is for spraying off parts in between steps. You can totally use plain water to get the most of it off and then spray down with Distilled to rinse befor the next step. Source: Rural King (because Walmart was Out of Stock)
Degreaser. Spray bottle of Simple Green. Source: You guessed it… Walmart.
Hot plates and pots. I went ahead and bough pots and hot plates for my setup. you can do this on your stove also. The dye needs to be at 120-140 degree F and the parts are sealed in boiling water. Two hot plates, 5 qt mainstays brand dutch oven, 4 qt mainstays brand steamer. Source: Walmart.
Power supply. You CAN use a battery charger. Use it on the 2A setting. Ideally you pick up a power supply that does constant current and is adjustable. More on that later. I am using my homebuilt power supply made from an old ATX power supply and a Drok buck converter. See my thread about it for links to Printables where the BOM is.
Wear safety equipment! Safety glasses and gloves at a minimum!
Process
Surface prep. This may be the absolute biggest most important super whammy dyne part of this process. Unlike things like paint and powdercoat the does not hide any issues on your surfaces. I use my brass tumber and loaded it with walnut shells and some hydroton (hydroponic media) balls. I was a little desperate but I expect ceramic media would work best. It resulted in a mice stone washed type surface. If you want a super shiny surface now is the time to get polishing.
Next is wiring the parts up. You want to use a number of connection points so that the current flow is as even as possible. I paired together parts that I could fit in the jar. This is the Z truck parts.
You are going to need a cathode in the anodizing solution. This needs to have more surface area than the parts you are working on. I used a piece of aluminum flashing and cut it to fit in the jar with a tab sticking up to allow easy connection to the power supply. This gives me surface area pretty much all the way around the parts.
Mix the lye solution up. 1tablespoon to 1 liter of distilled water. Label the jar or container.
Mix the Sulphuric acid 1:1 with distilled water. The nice thing about the Mason jars is they are marked for volume so it makes it easy. If you are using Citric mix it to a 1M solution.
Dyes. If you buy specific dyes use the mixing recommendations. For the Rit dyes I used 100ml dye mixed up to 800ml total with distilled water. This may have been too strong. The food coloring was 2 of those little vials to 600ml of water. I still want to experiment with other combinations of food coloring.
Okay… showtime!
Put on your safety equipment! Holding the part by the wires, spray it down with degreaser. Your part should be clean already but this will ensure that it is.
Rinse the part off and then rinse with distilled water from your spray bottle. Do not touch the part again after this.
Submerge the parts into the lye solution. Set a timer for 3 minutes. This etches the surface and makes doubly sure the surface is clean. After 3 minutes pull them out and rinse again. Follow with a spay of distilled water.
Next it is into the anodizing bath. Some notes. The amount of current you use is proportional to the surface area of the part. There are many articles about this. The 720 rule is the one I used. I have built a table for the V5 parts. The table is designed to put a 10micon layer on the parts. We are mainly using it for looks so there is no reason to go much thicker.
MP3DP V5 Annodizing Currents.zip (34.2 KB)
My power supply has some issues with higher currents so be careful and watch to make sure your doesn’t kick off. I believe that adding an air stone to the bath would help a lot with keeping voltages and current more constant.
Do this in a well ventilated area!!! The acid fumes are a killer!
The above table is for a 45 minute process. You can go faster if you can pump more amps through but I also think that can cause some issues too. The solution needs to stay around 70 degrees F. On the bigger parts I ended up putting the jar in a bowl of ice water to keep it colder.
Make sure the part is not touching the cathode plate.
You should see bubble rising from the part and your cathode (aluminum sheet or large piece connected to the negative lead). Don’t breathe in when you go to look. Trust me!
Set a timer for 45 minutes and check up to make sure you are still putting power in at the required rate.
Once your timer goes off, turn off the power supply and disconnect the positive lead. Take the parts out and rinse thoroughly. Spray down with distilled water again.
Your dye should be sitting at 120-140 Degrees at this point. Place your part into the dye and fully submerge. If your anodizing worked you will see the part start changing color near immediately.
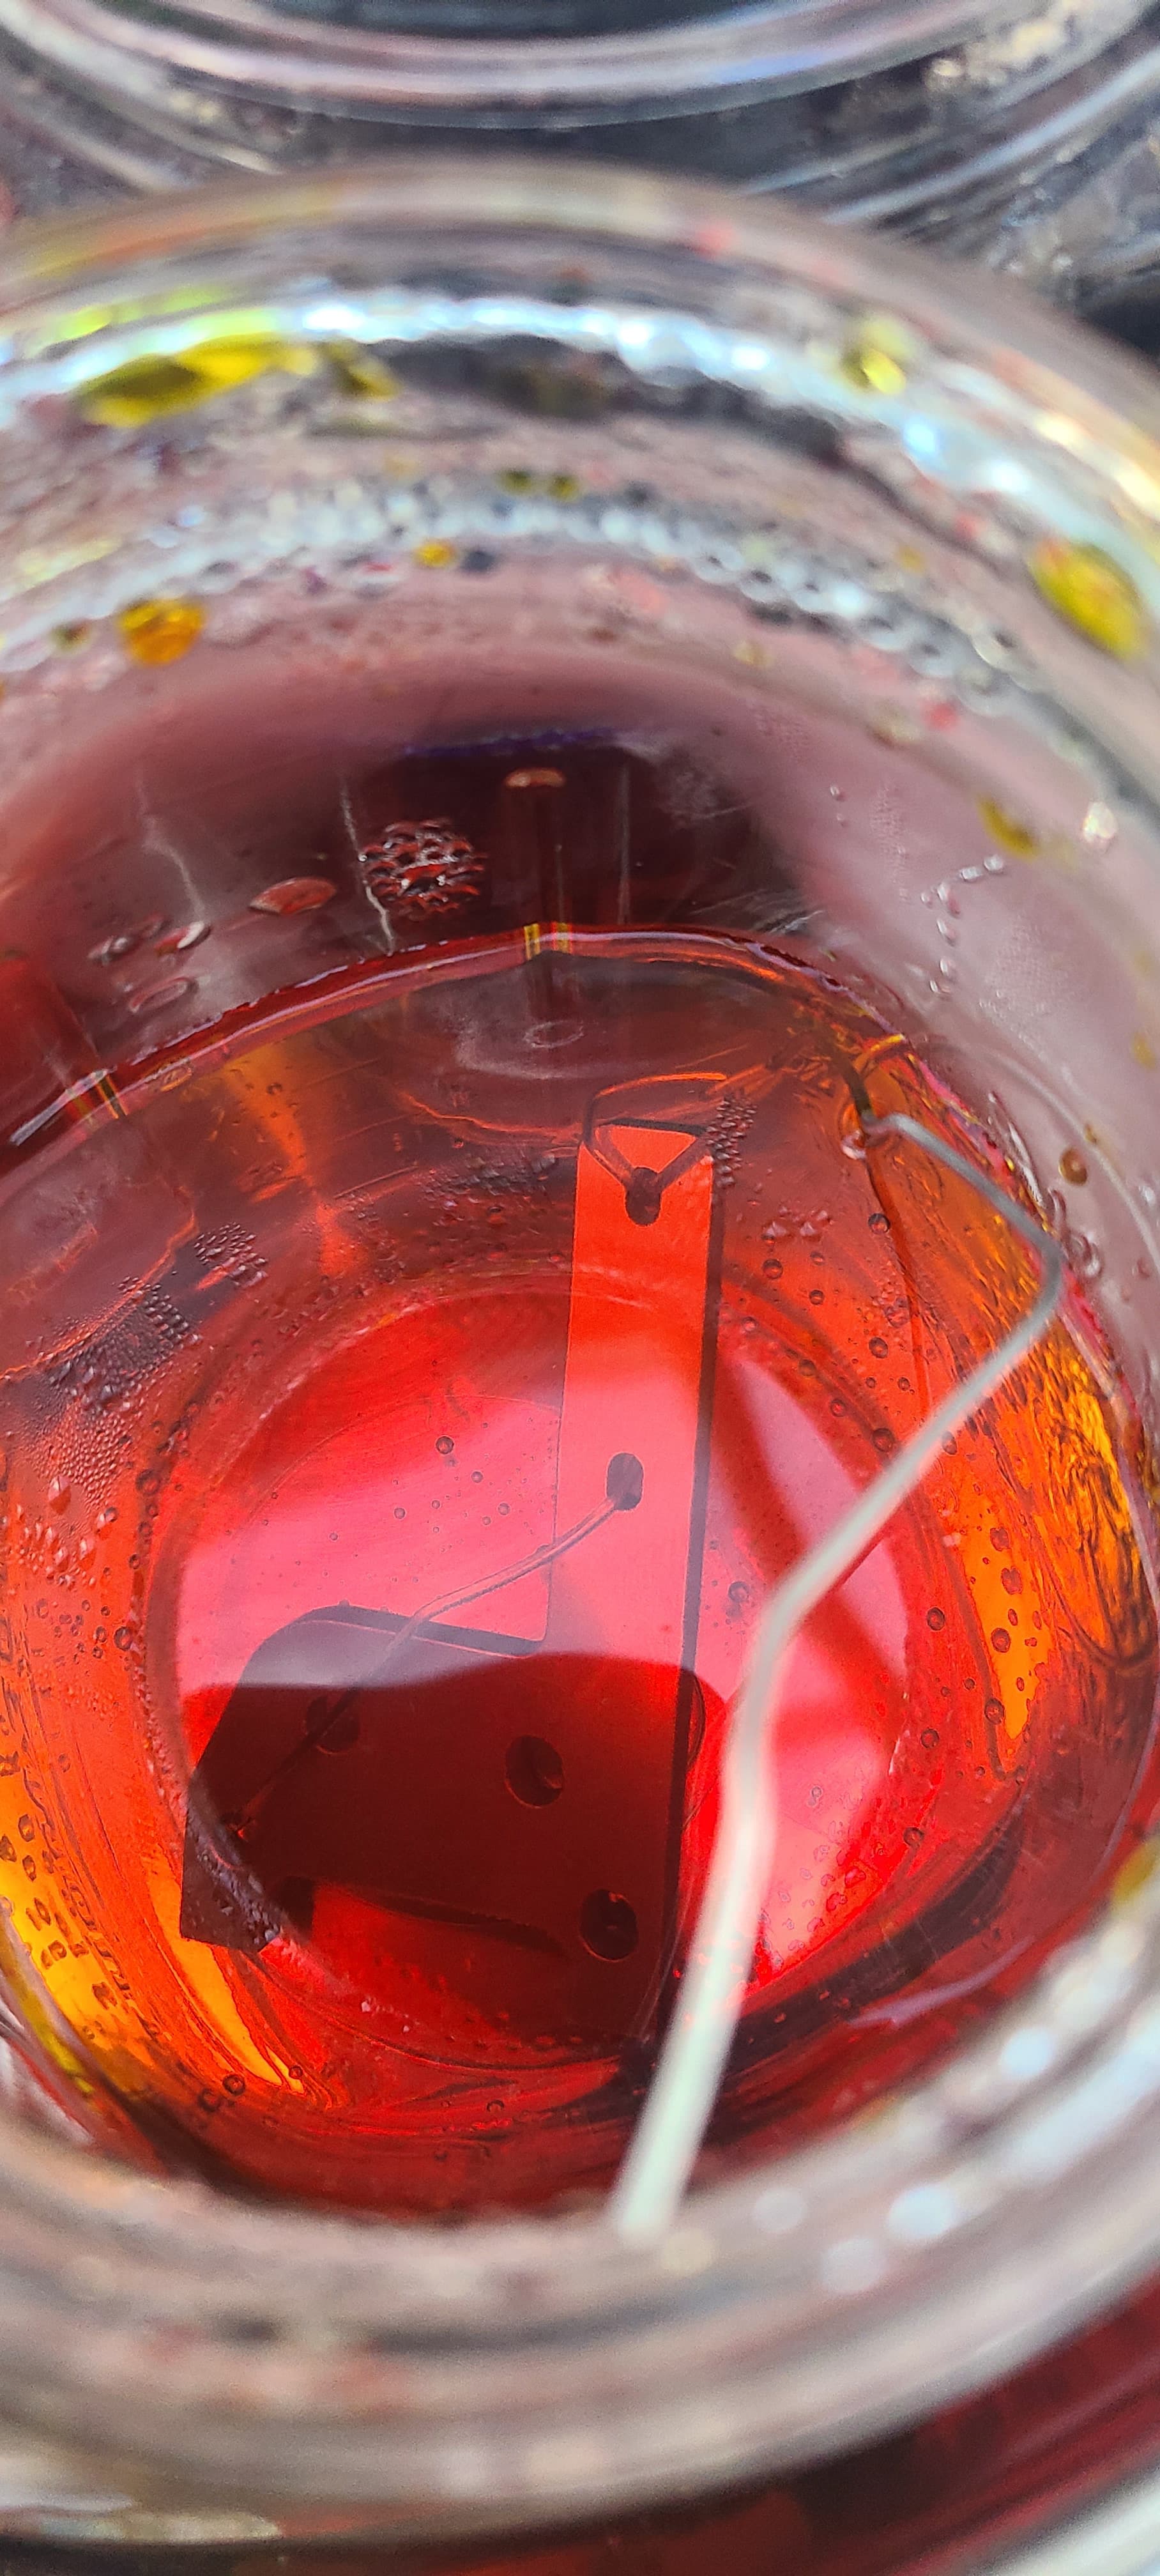
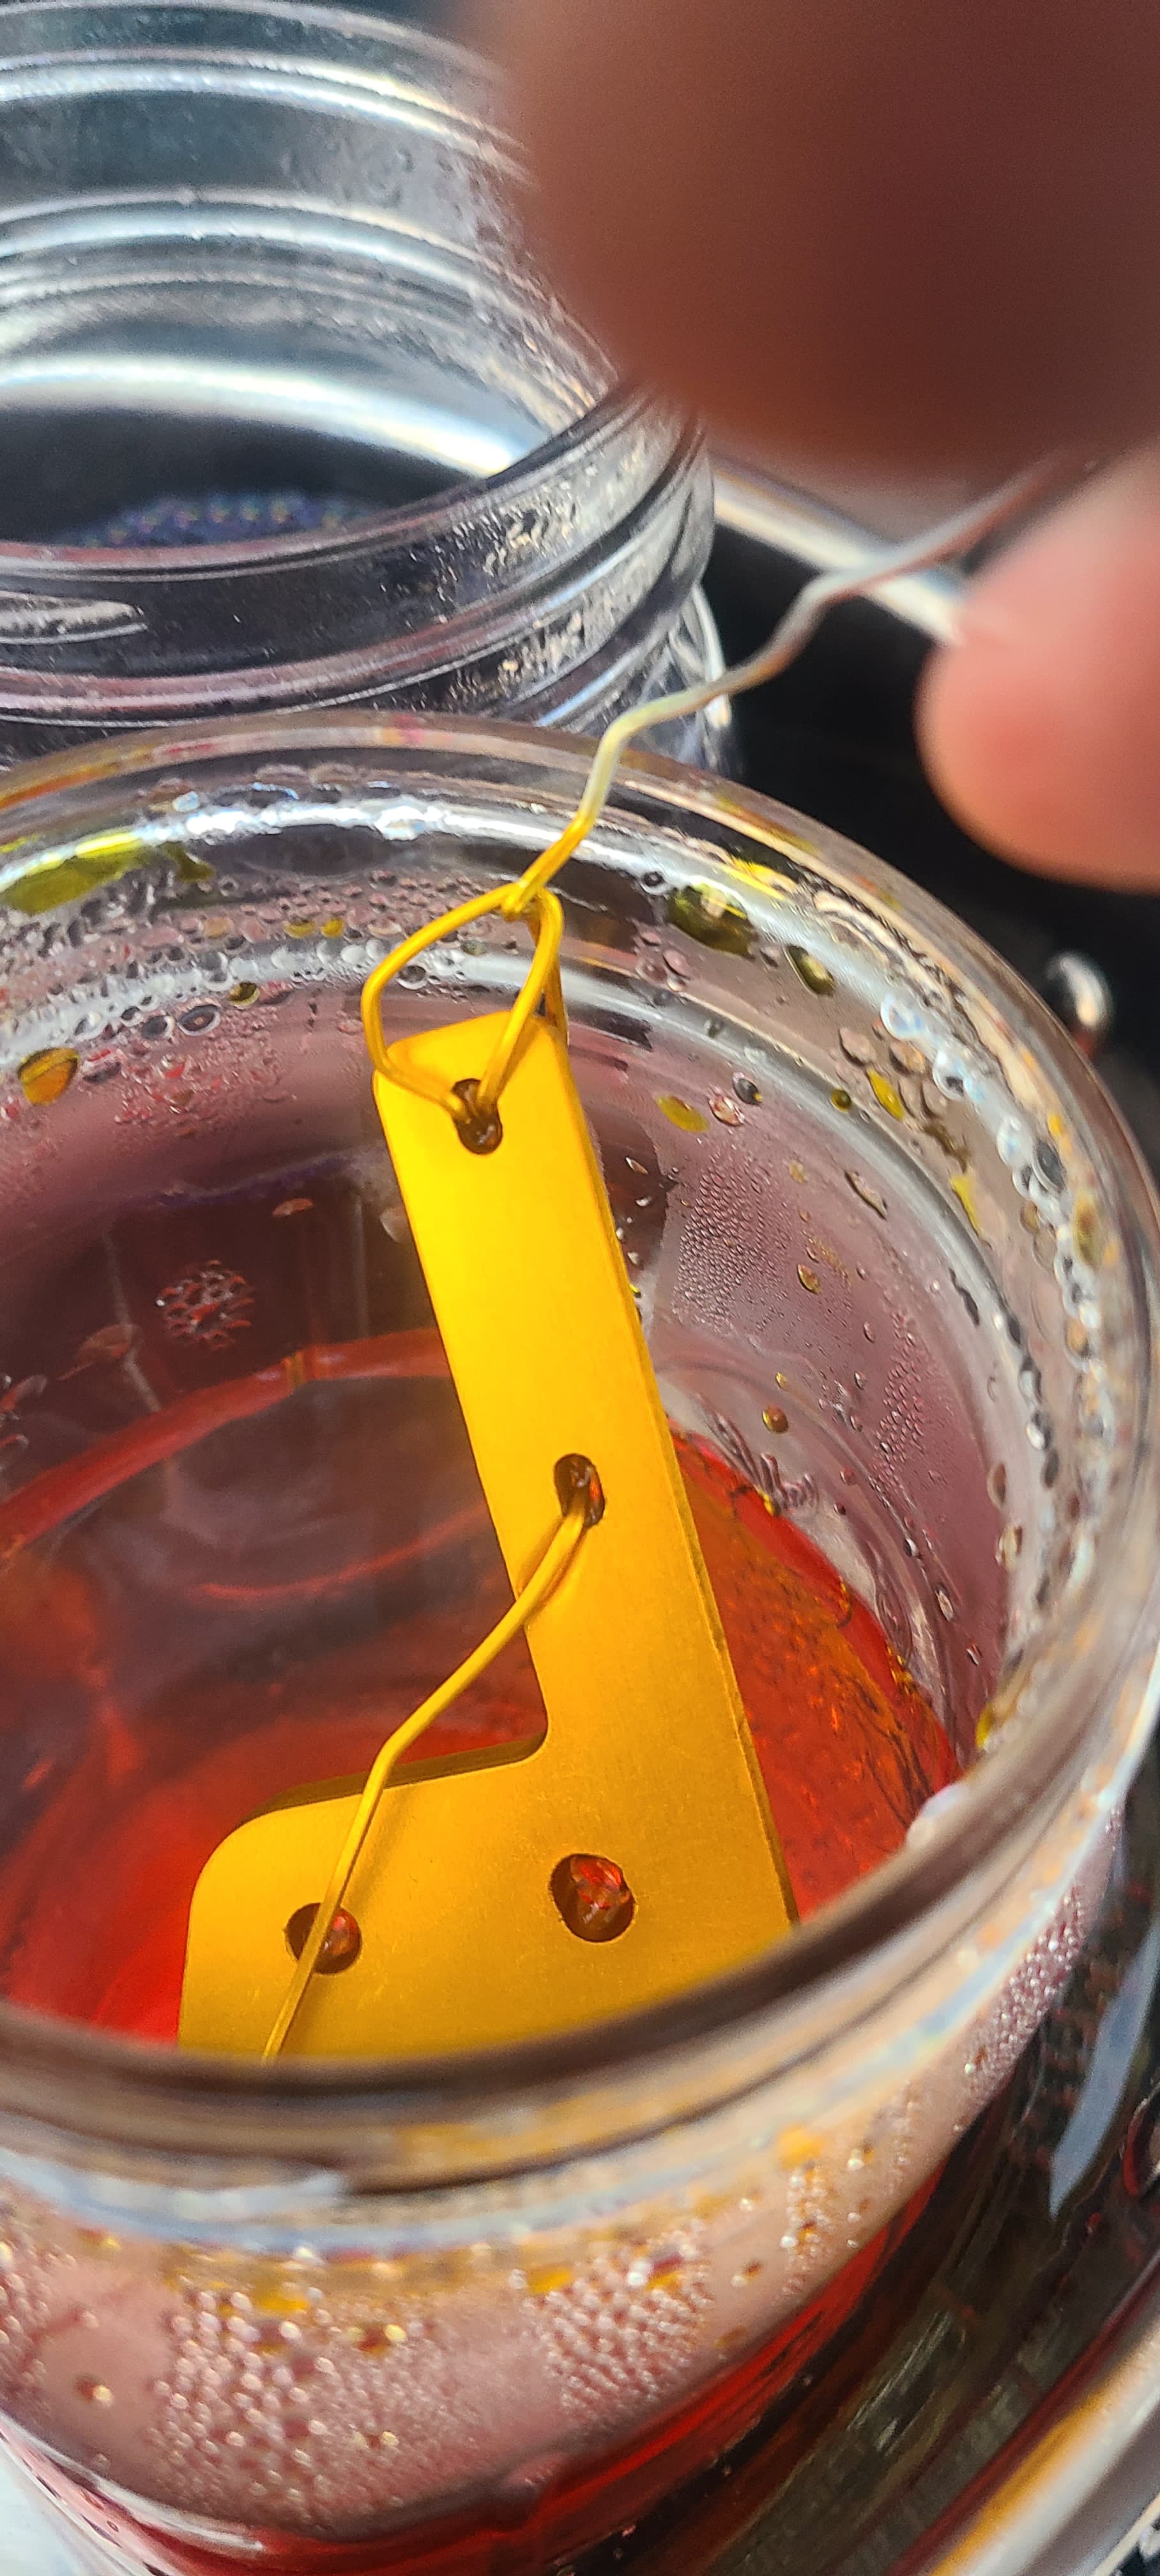
Set a timer for 5 minutes. I am not sure if longer makes any difference on the color or not. The way I understand it the pores are a certain depth and that should control the depth of color.
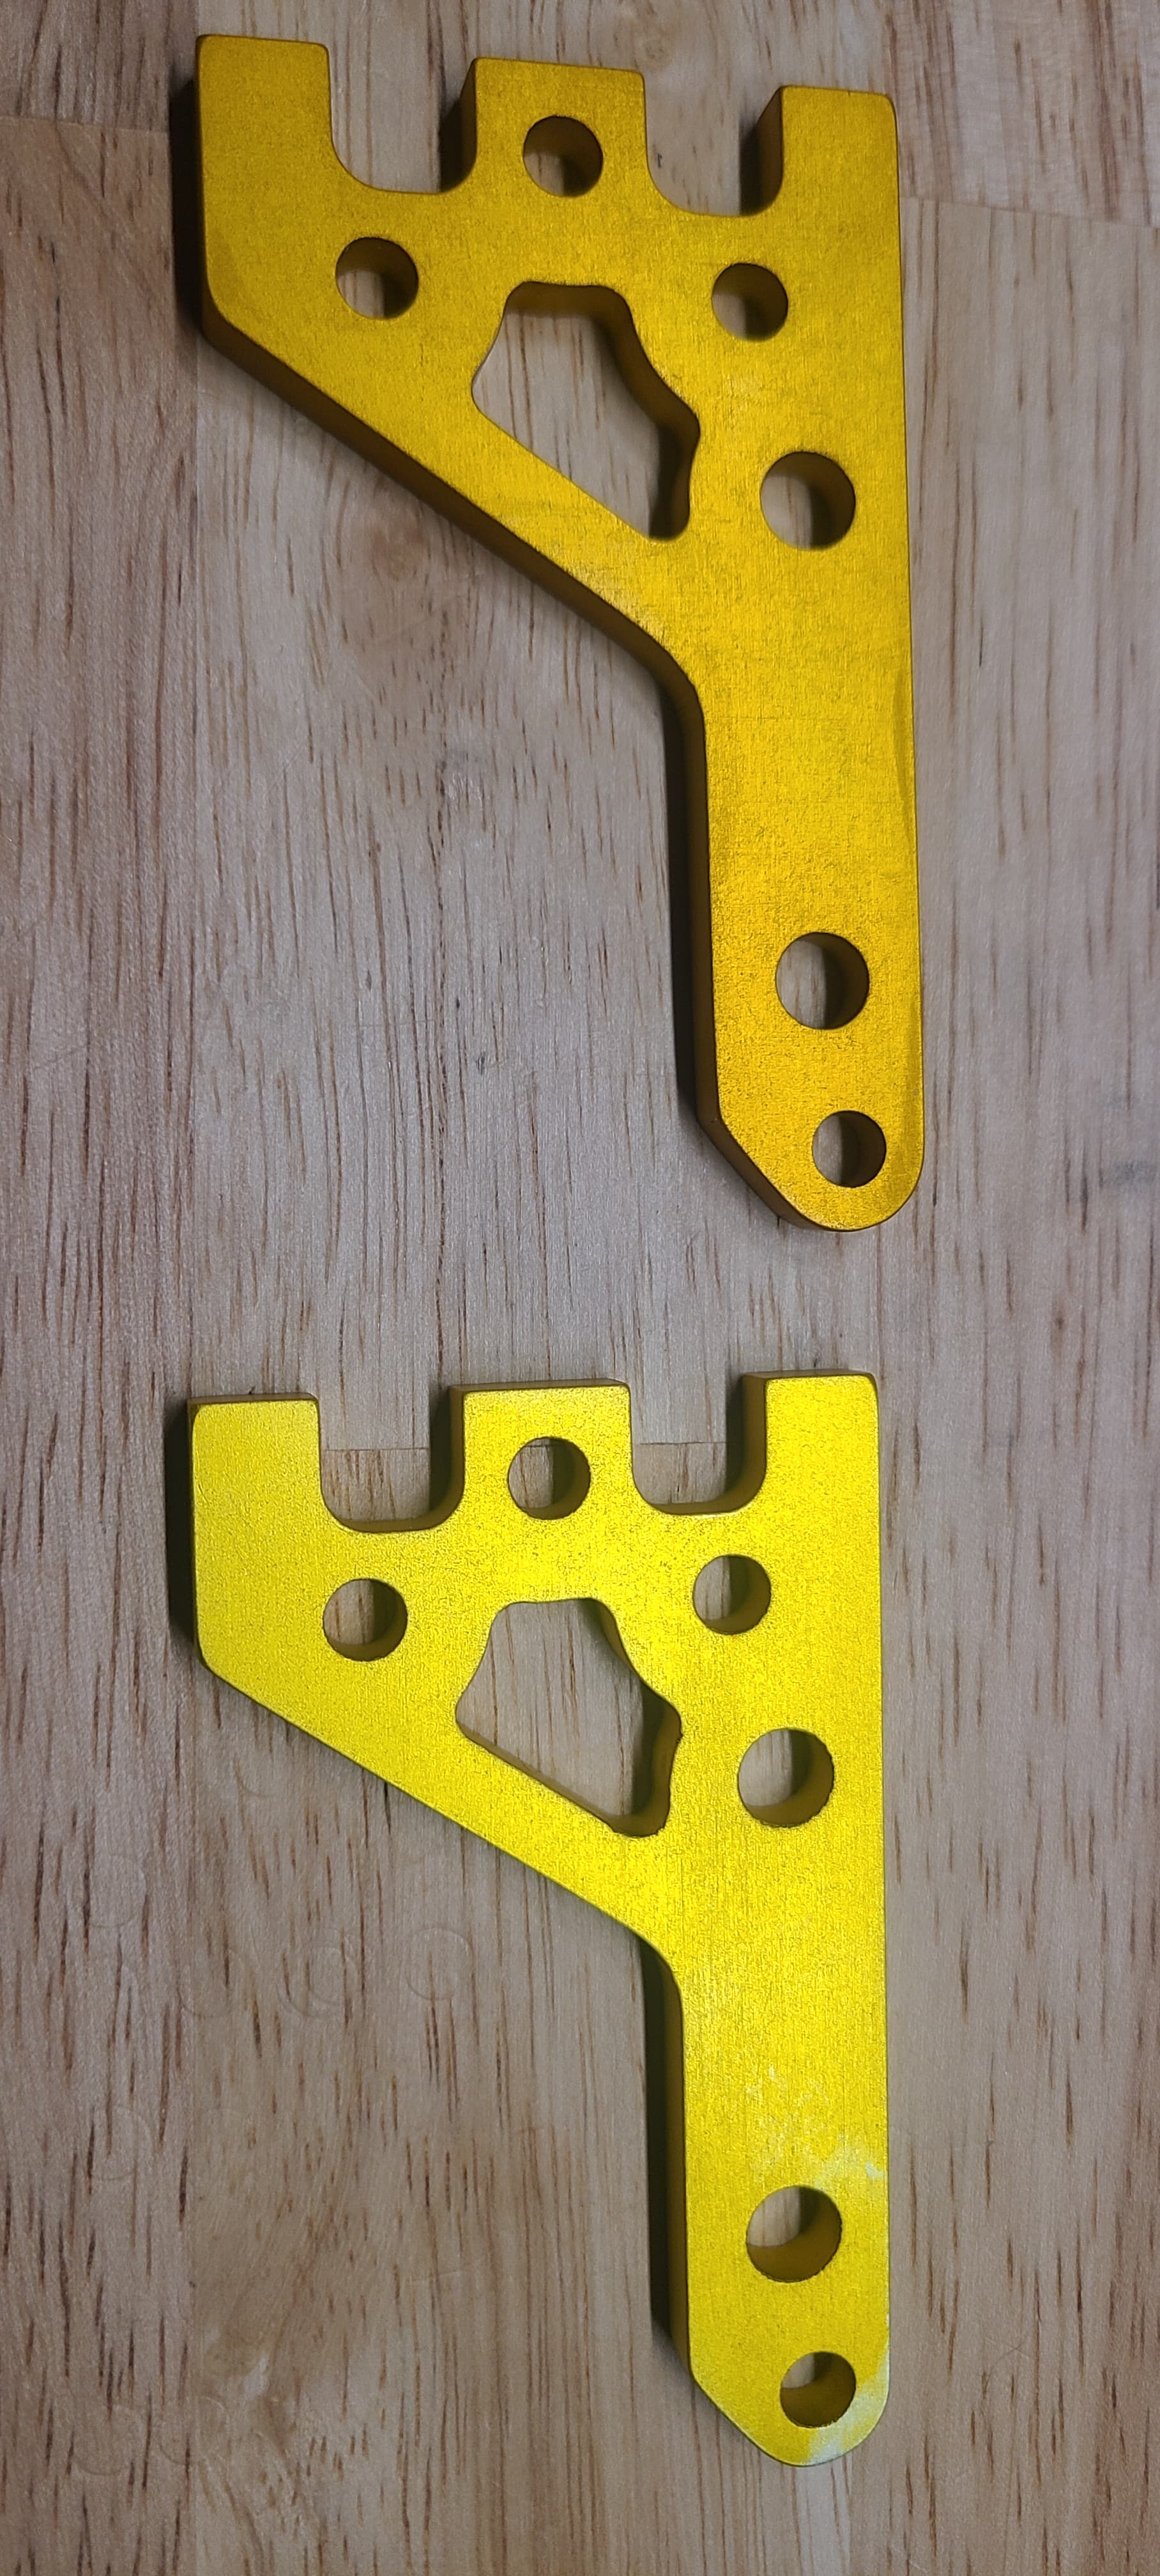
These two parts stayed in the color for the same amount of time but the lighter one was anodized for a shorter time due to the power supply tripping off. This results in a thinner film being formed on the part.
Once the time is up you need to seal the part. Pull it out of the dye and rinse it well again. Spray it down with distilled water. The last step is to boil it for 20 minutes. Once that is done you can dry it off and use it!