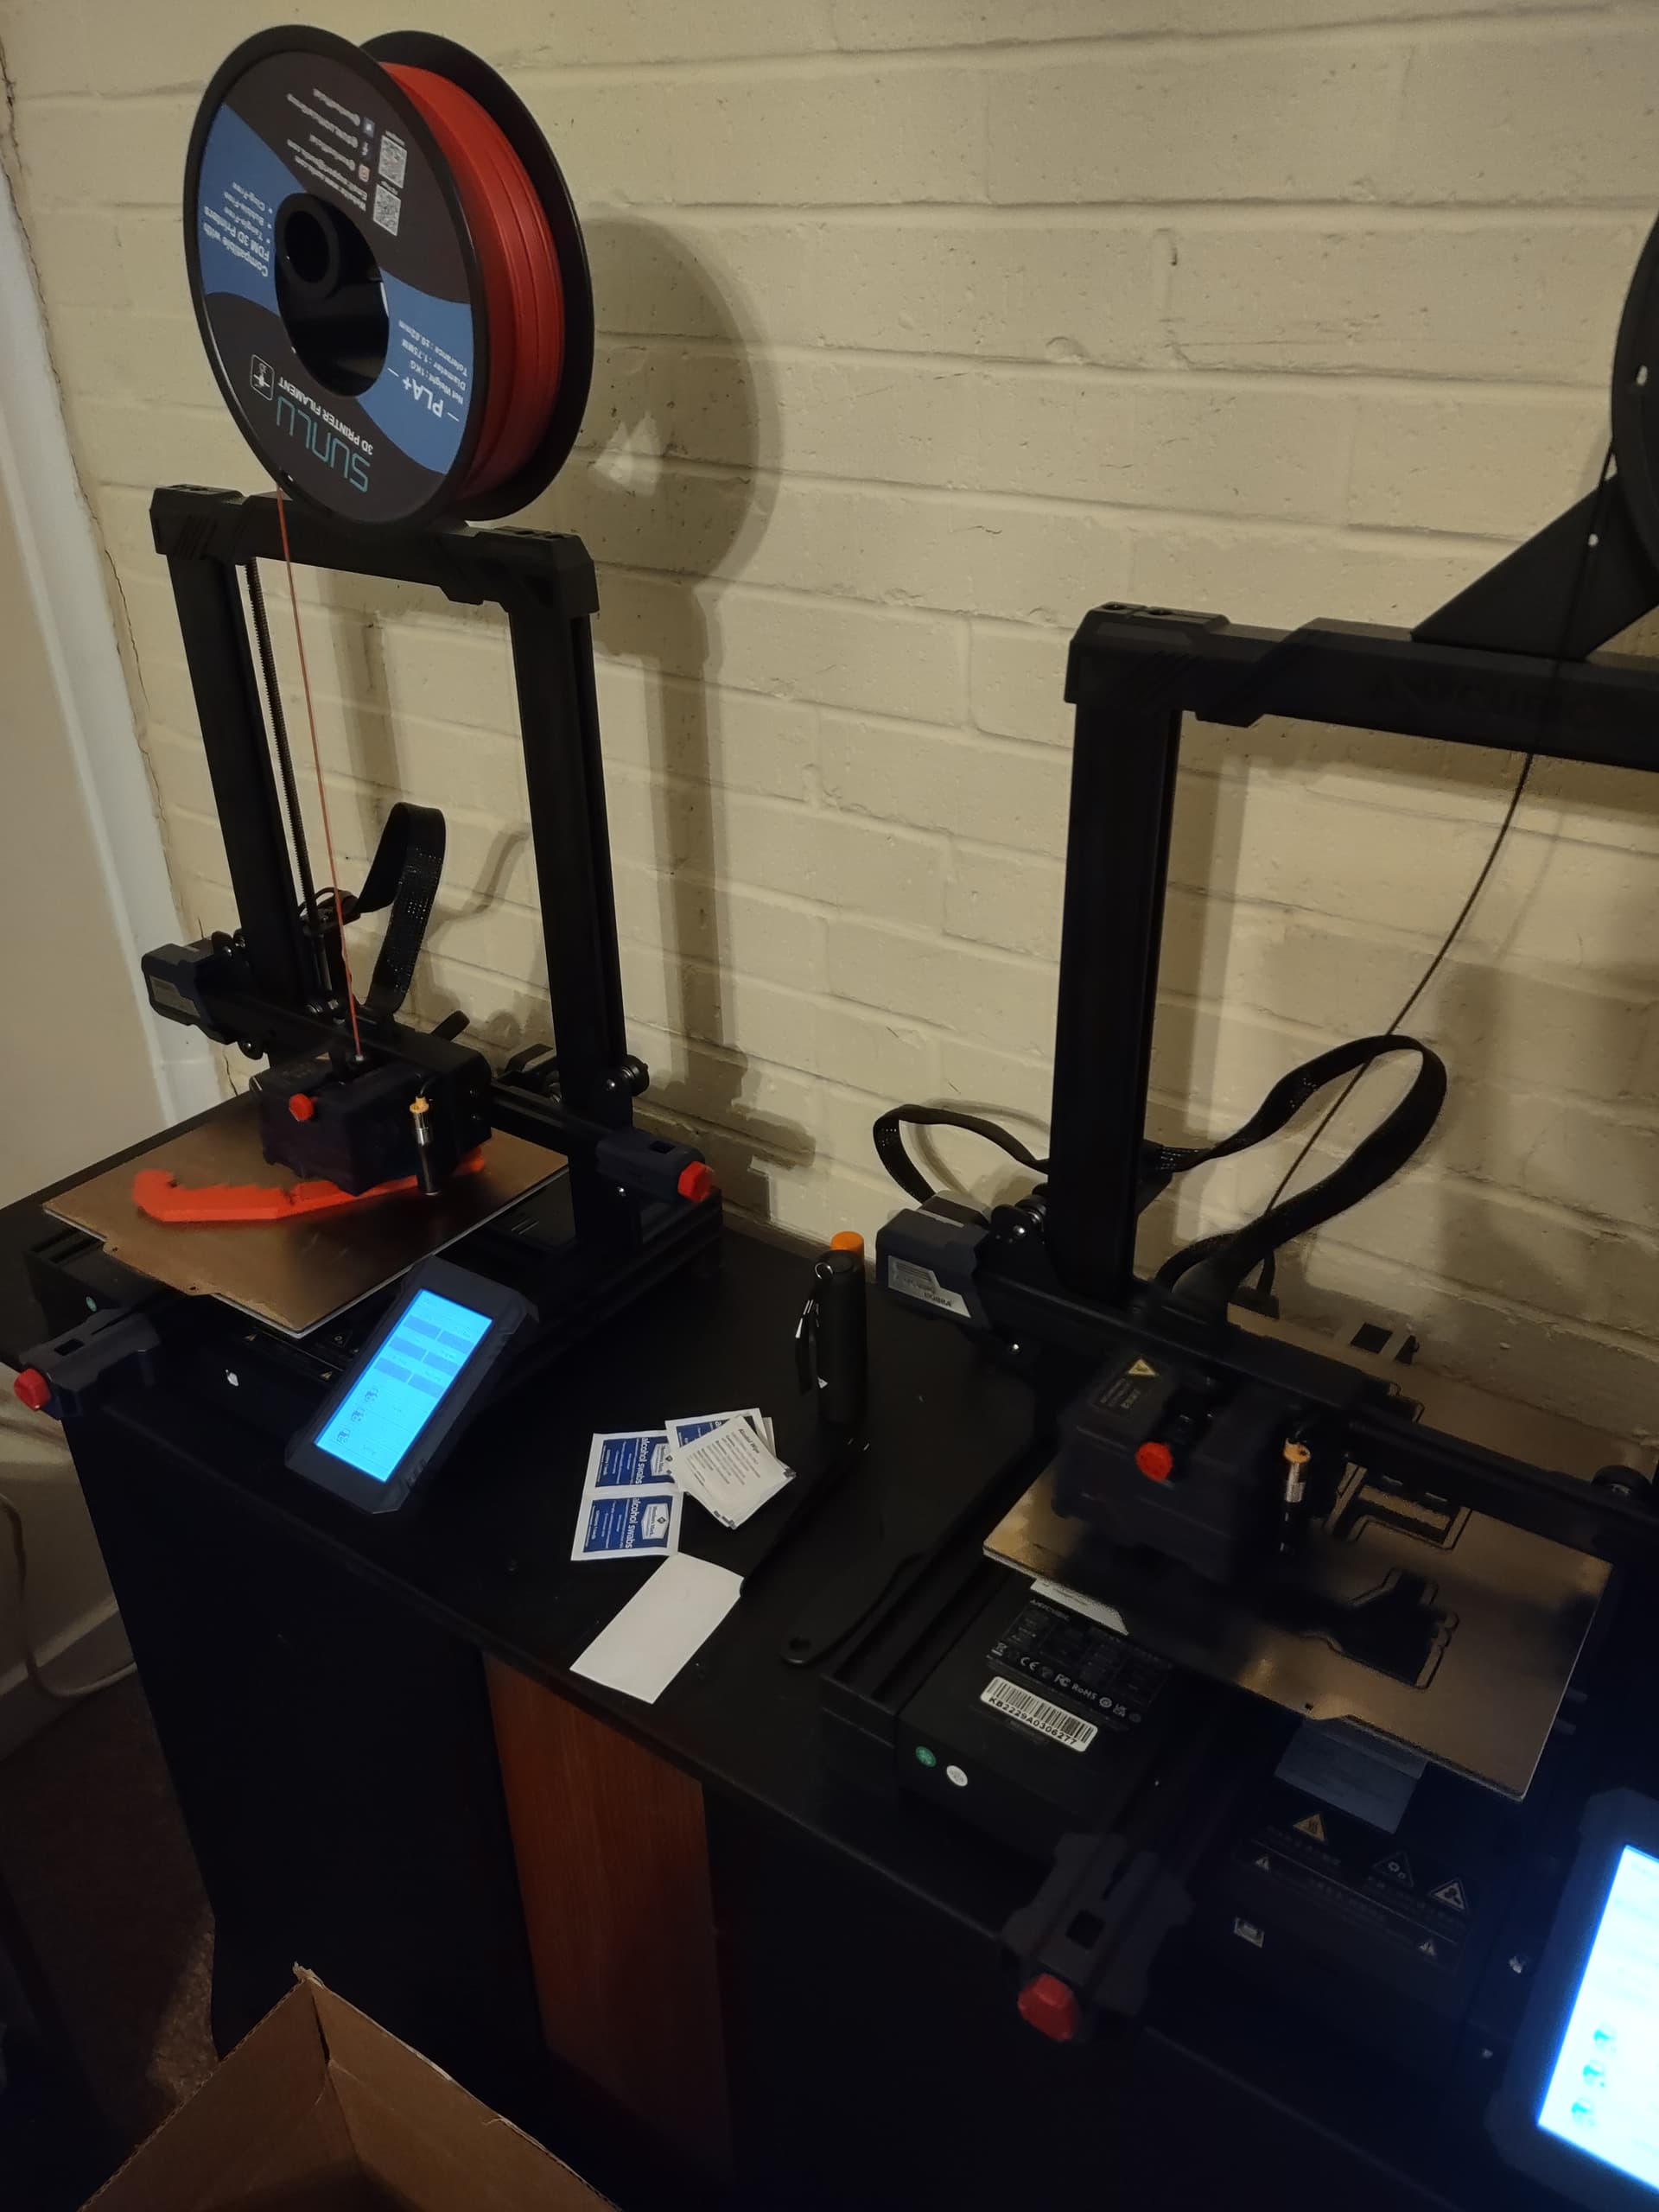
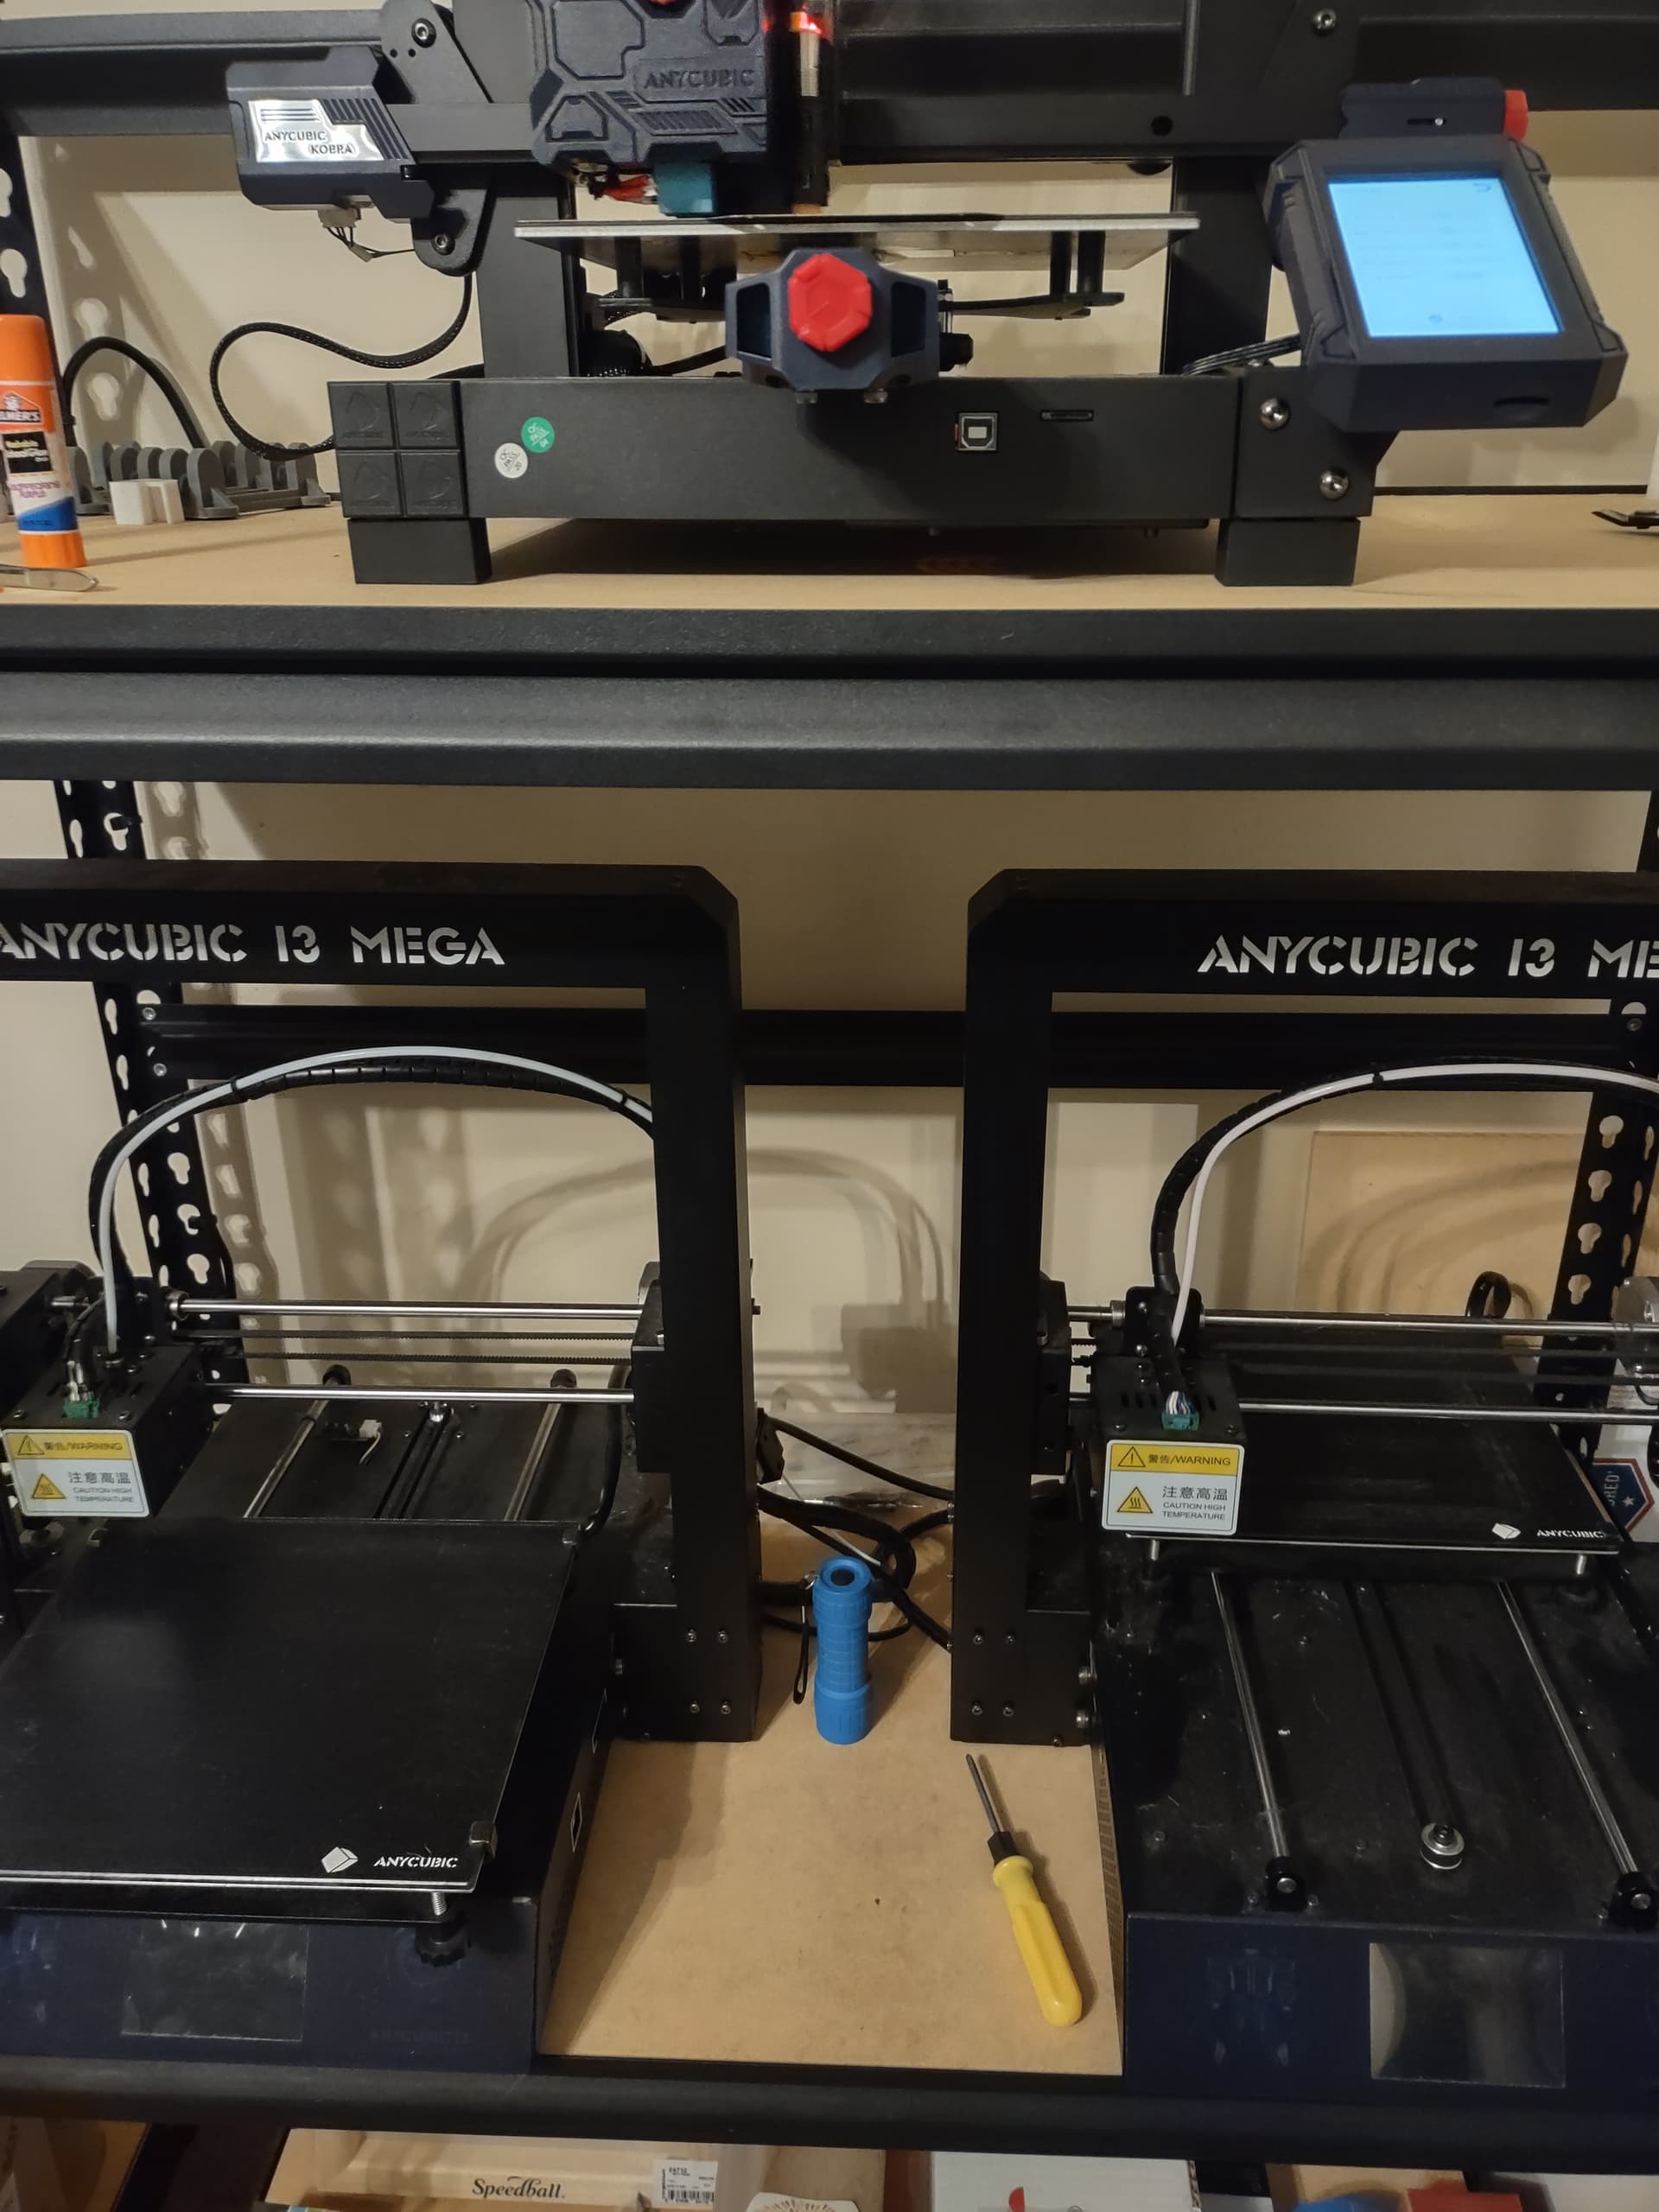
The printing begins! Only running 4 of my printers sadly because 2 rolls of filament didn’t come, and won’t be here til Tuesday. Oh well, gotta love Amazon and USPS. I’m printing them the same color scheme as Ryan’s LR3
Just a lil eye candy, but not alot to look at yet.
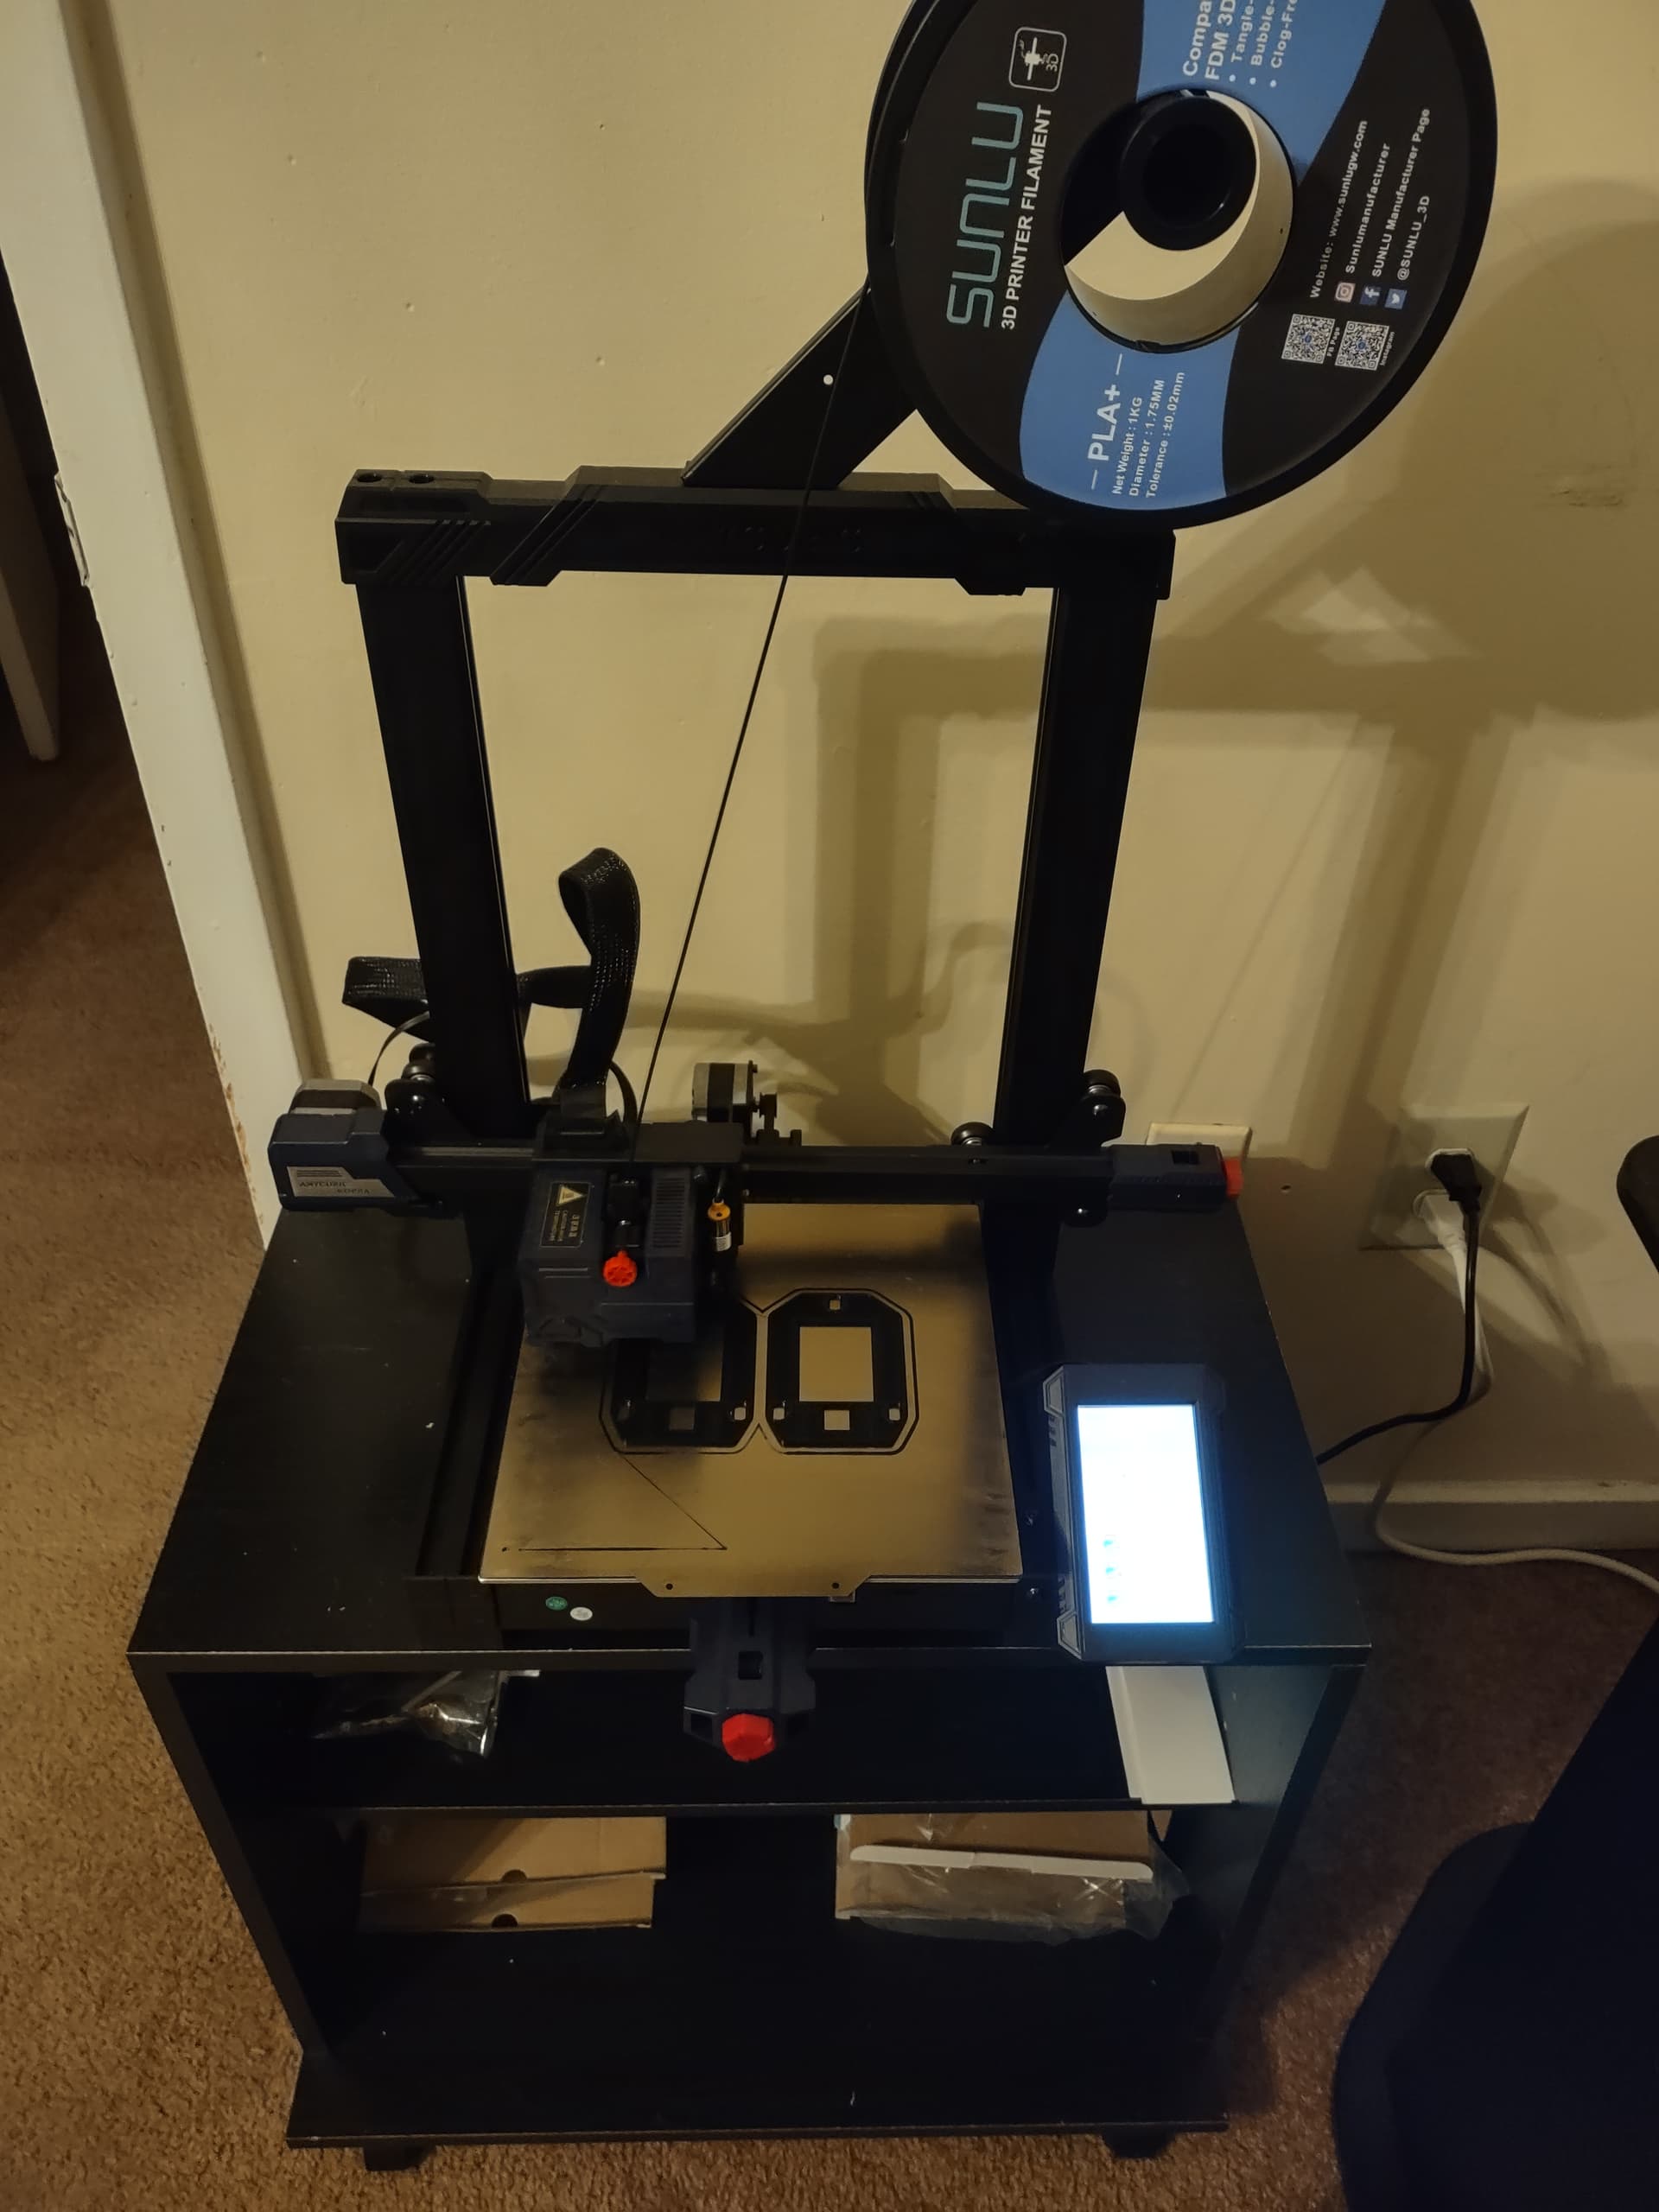
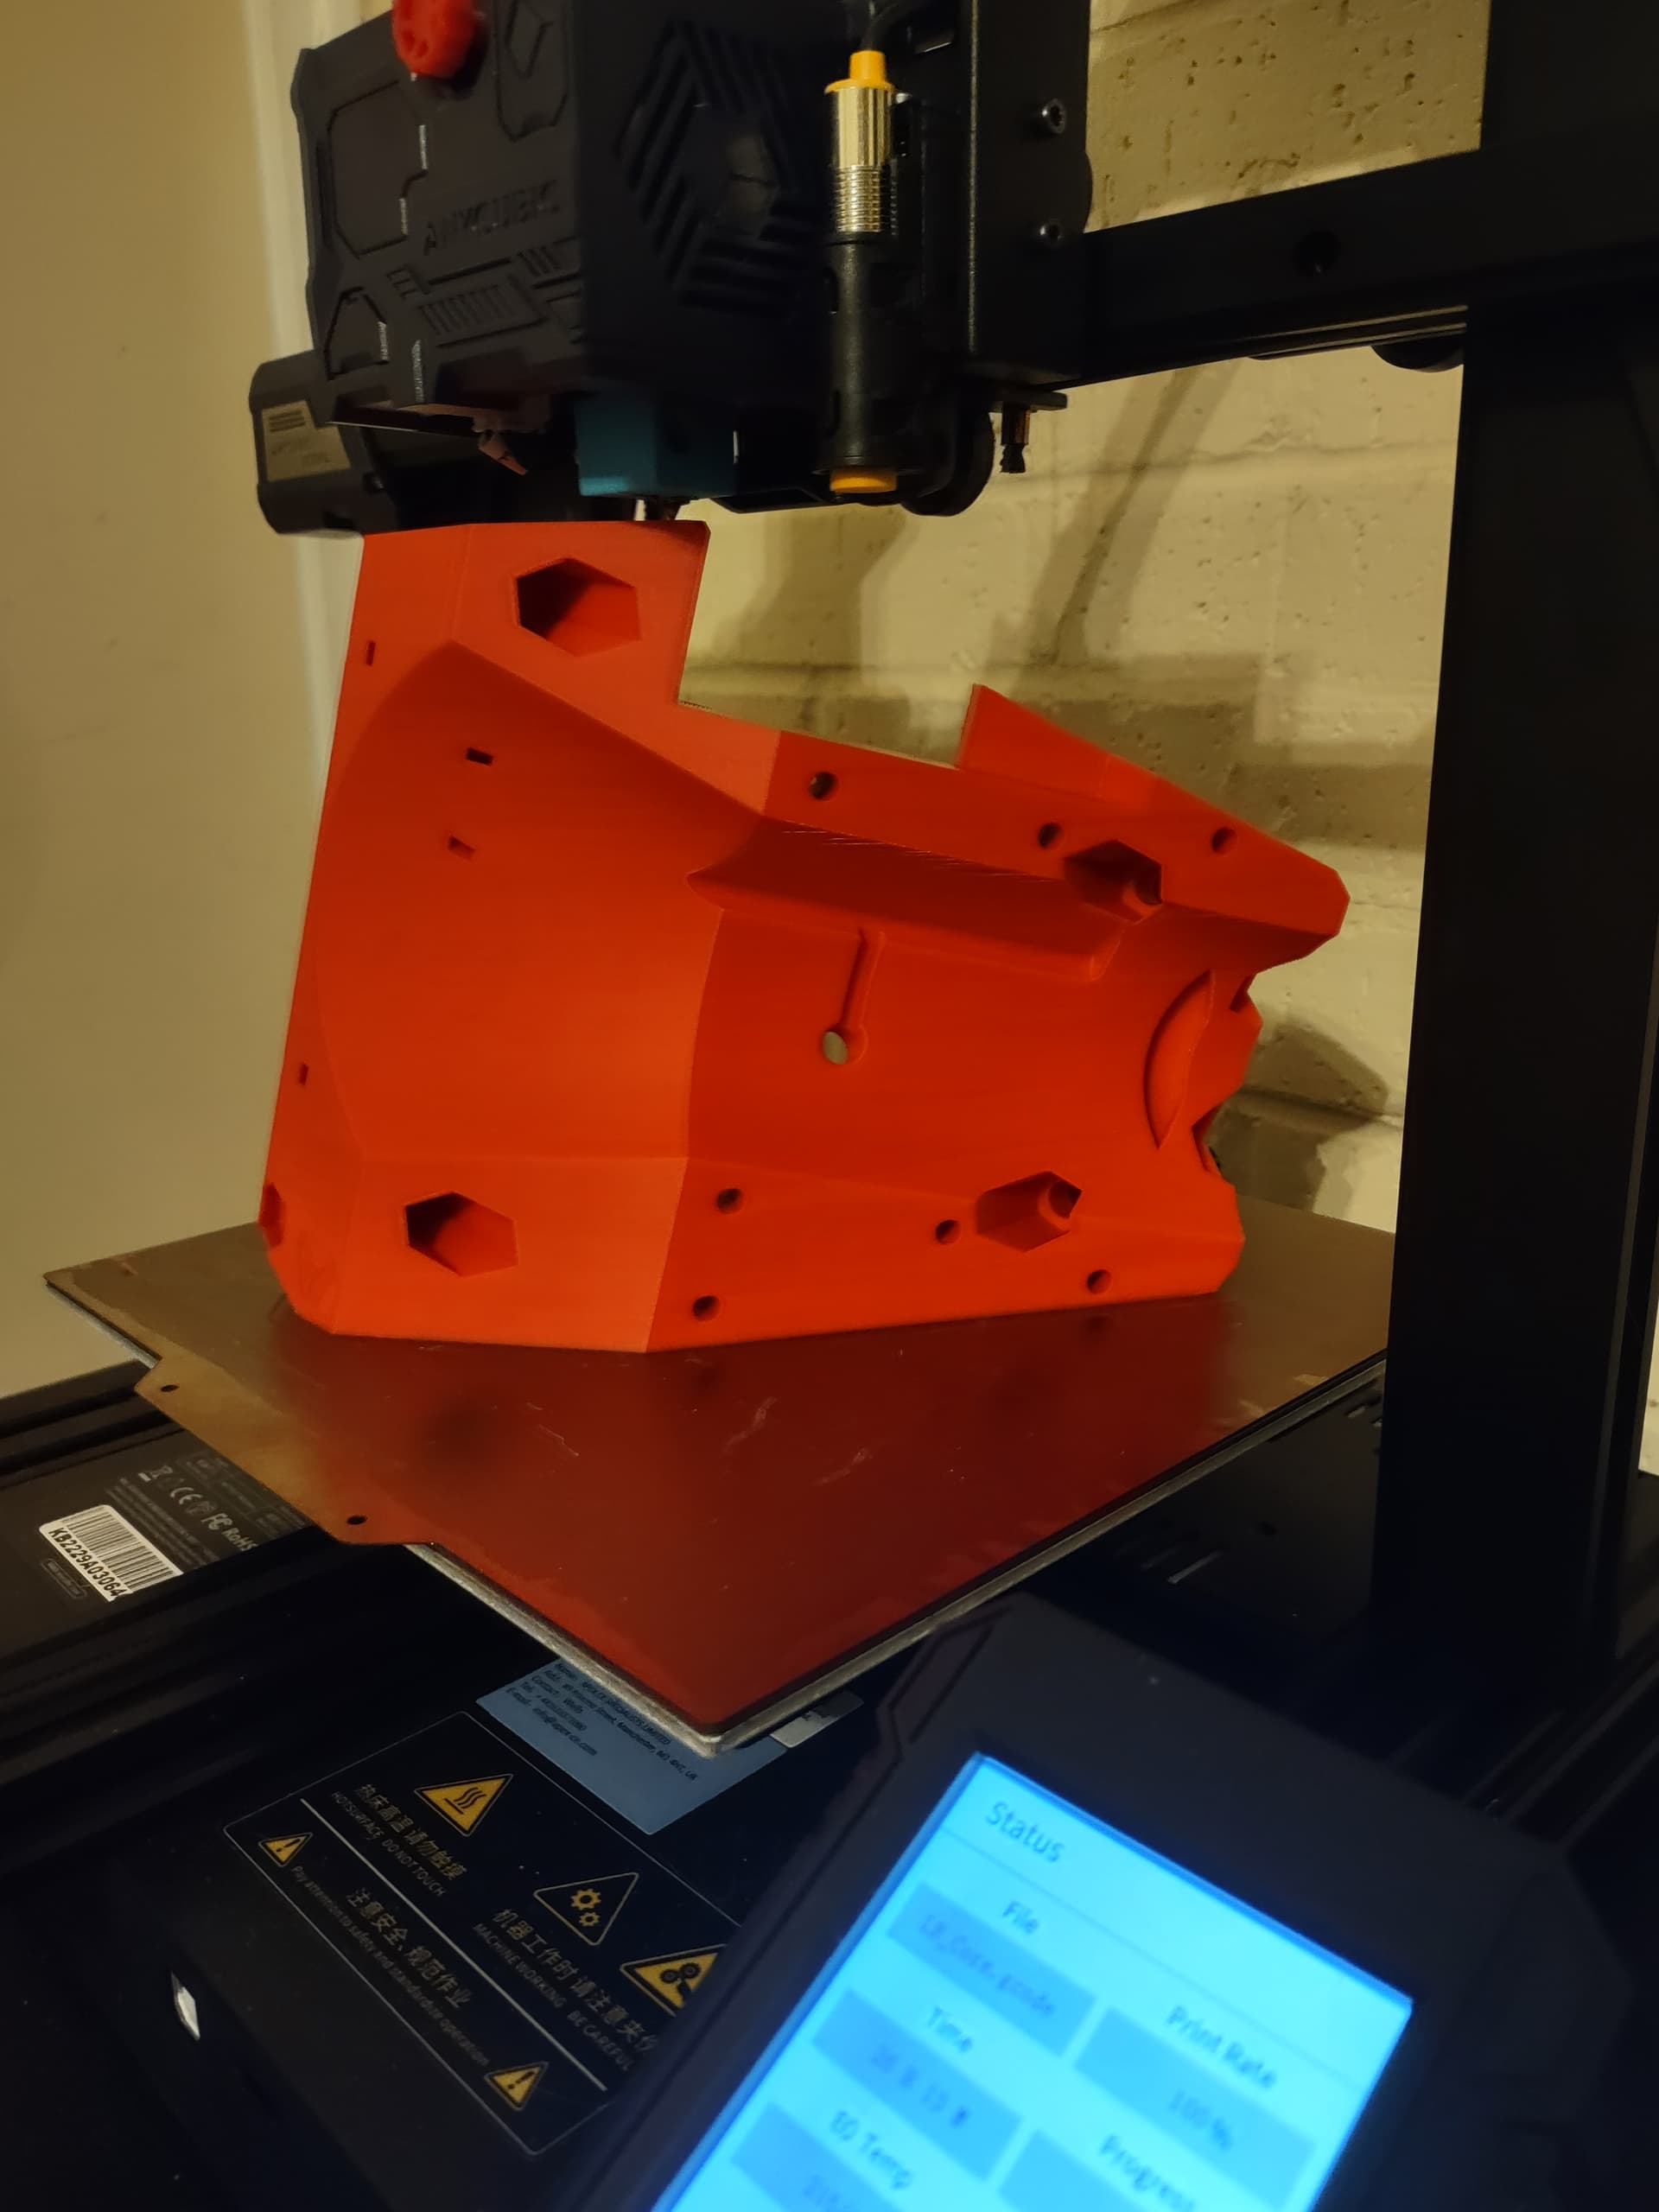
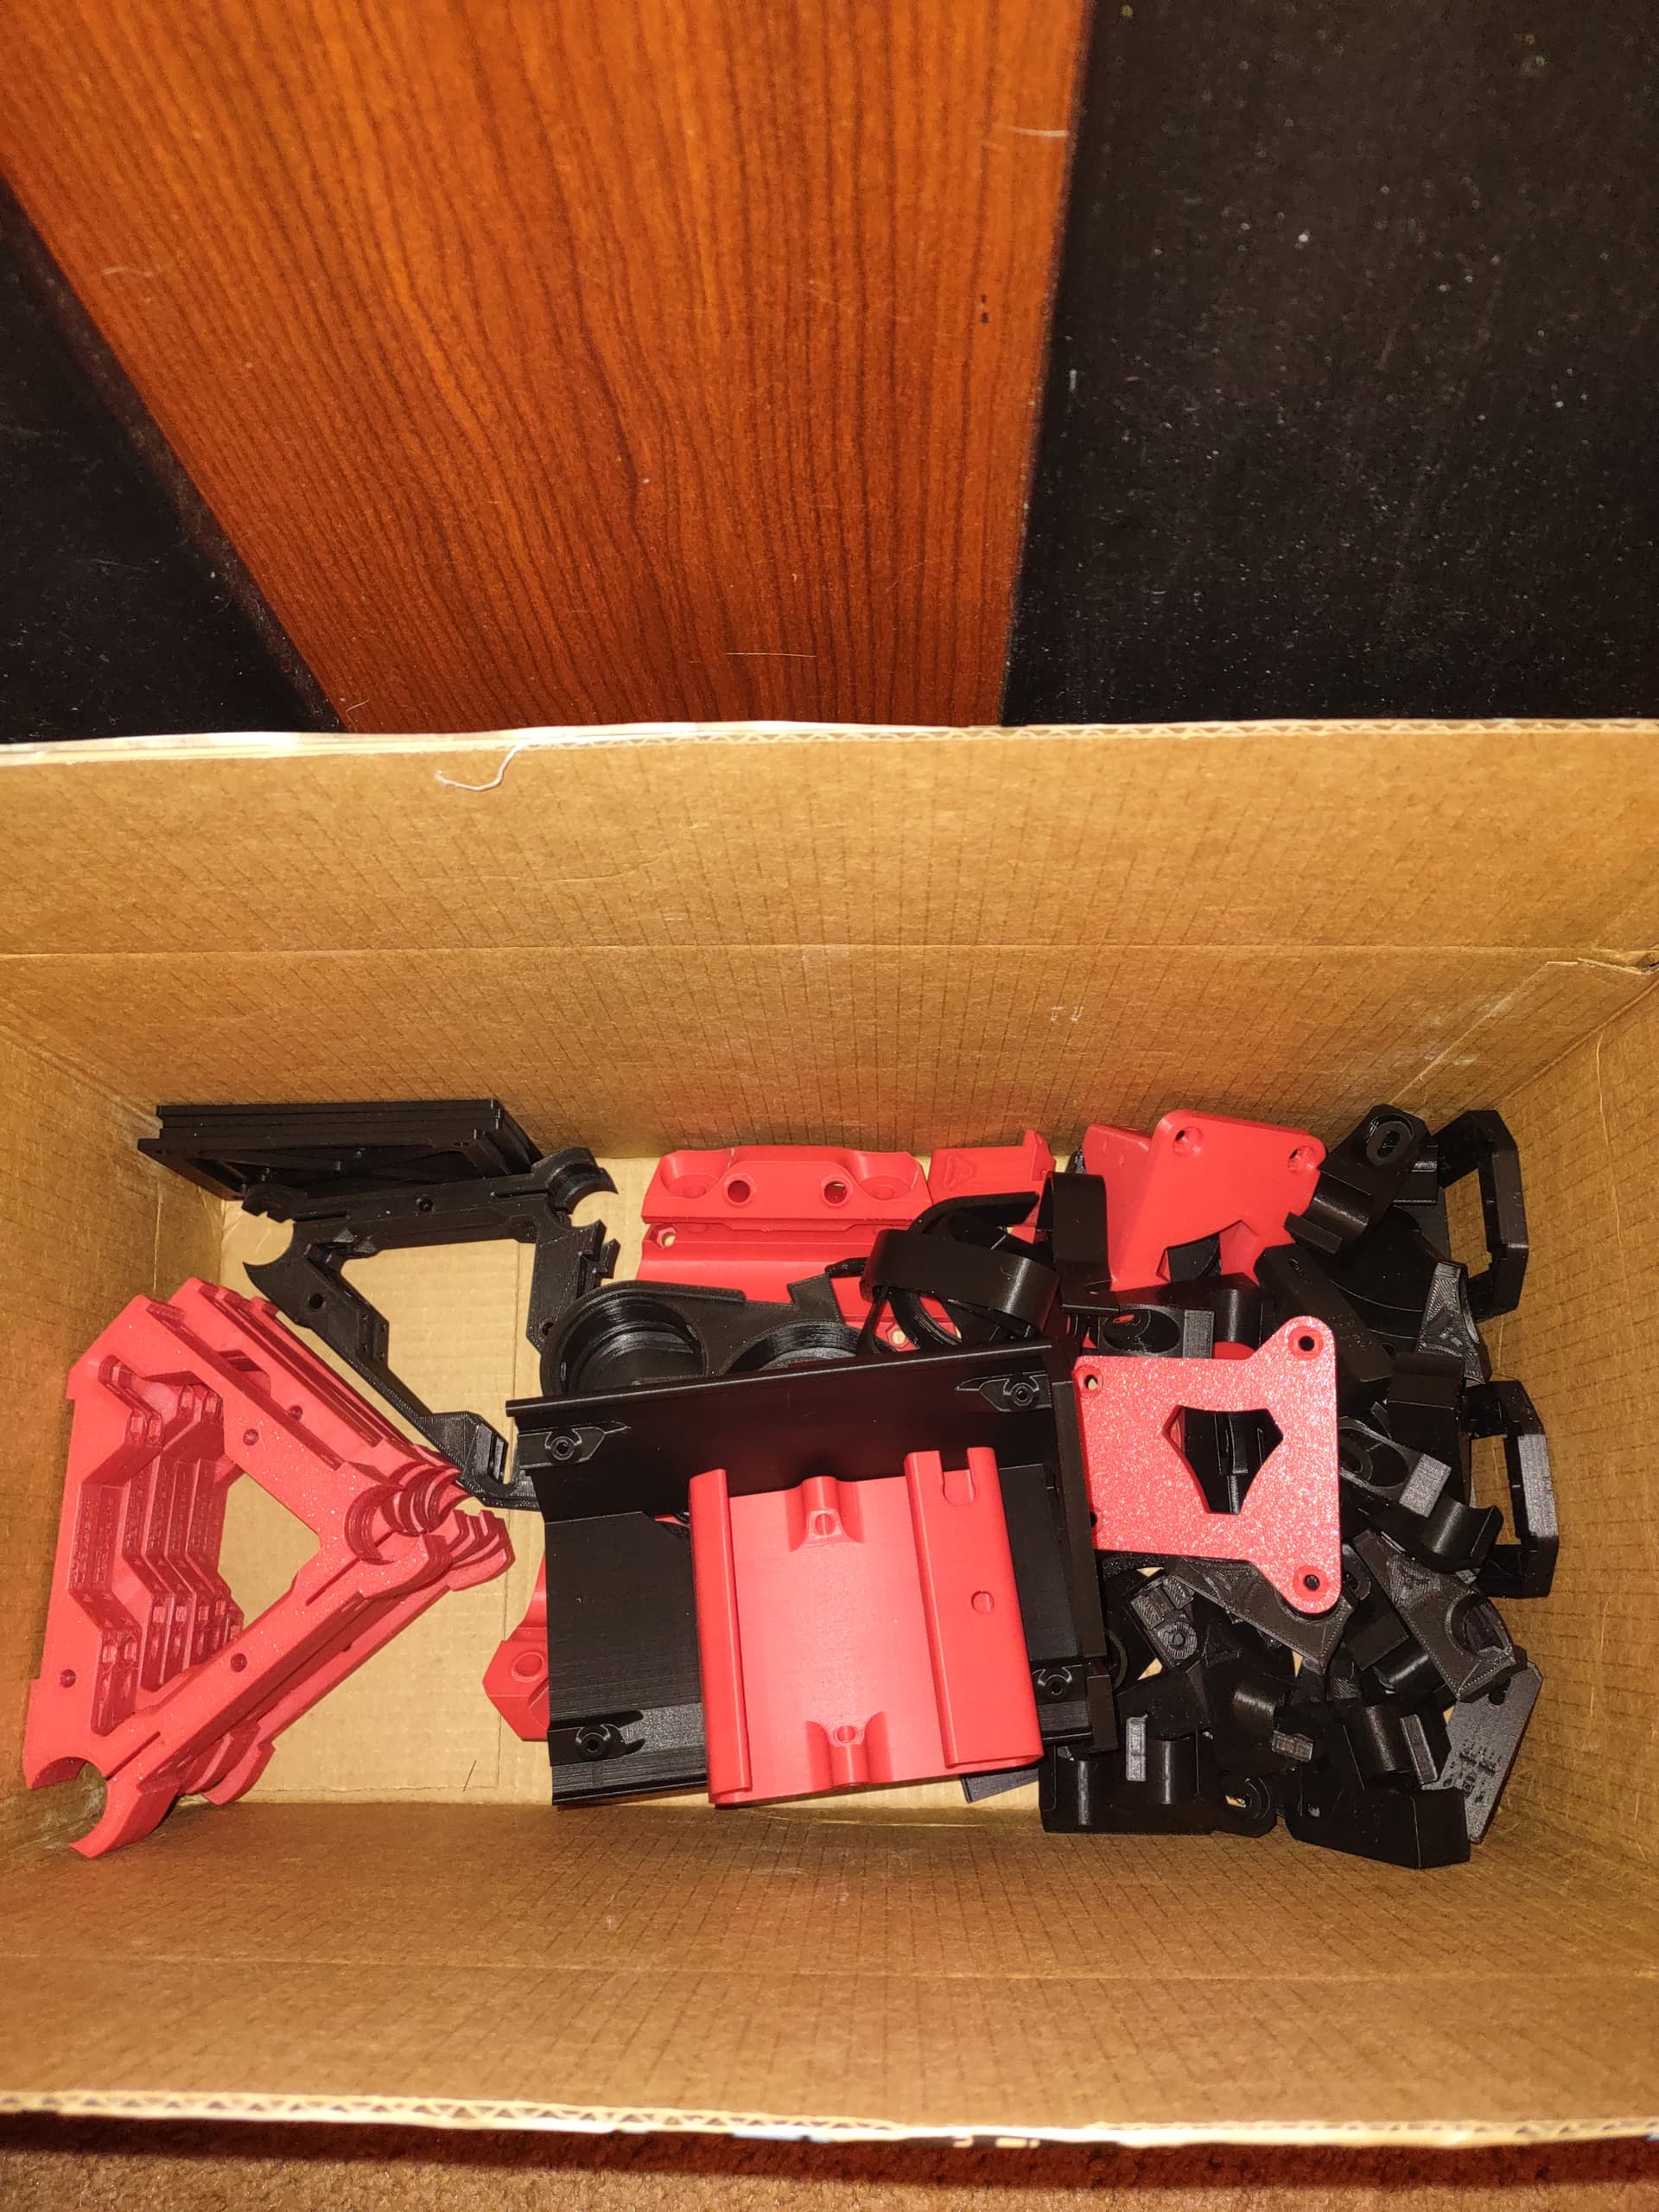
Making Progress. Core is at 94% as of this post. With zero issues. Everything looks beautiful. But then again, I’ve yet to see any of Ryan’s creations that weren’t a work of art. Simplify3D said 28 Hours, and it’s proving to be pretty accurate. Printed at .2, with 50% infill, all prints have 5 walls for added strength.
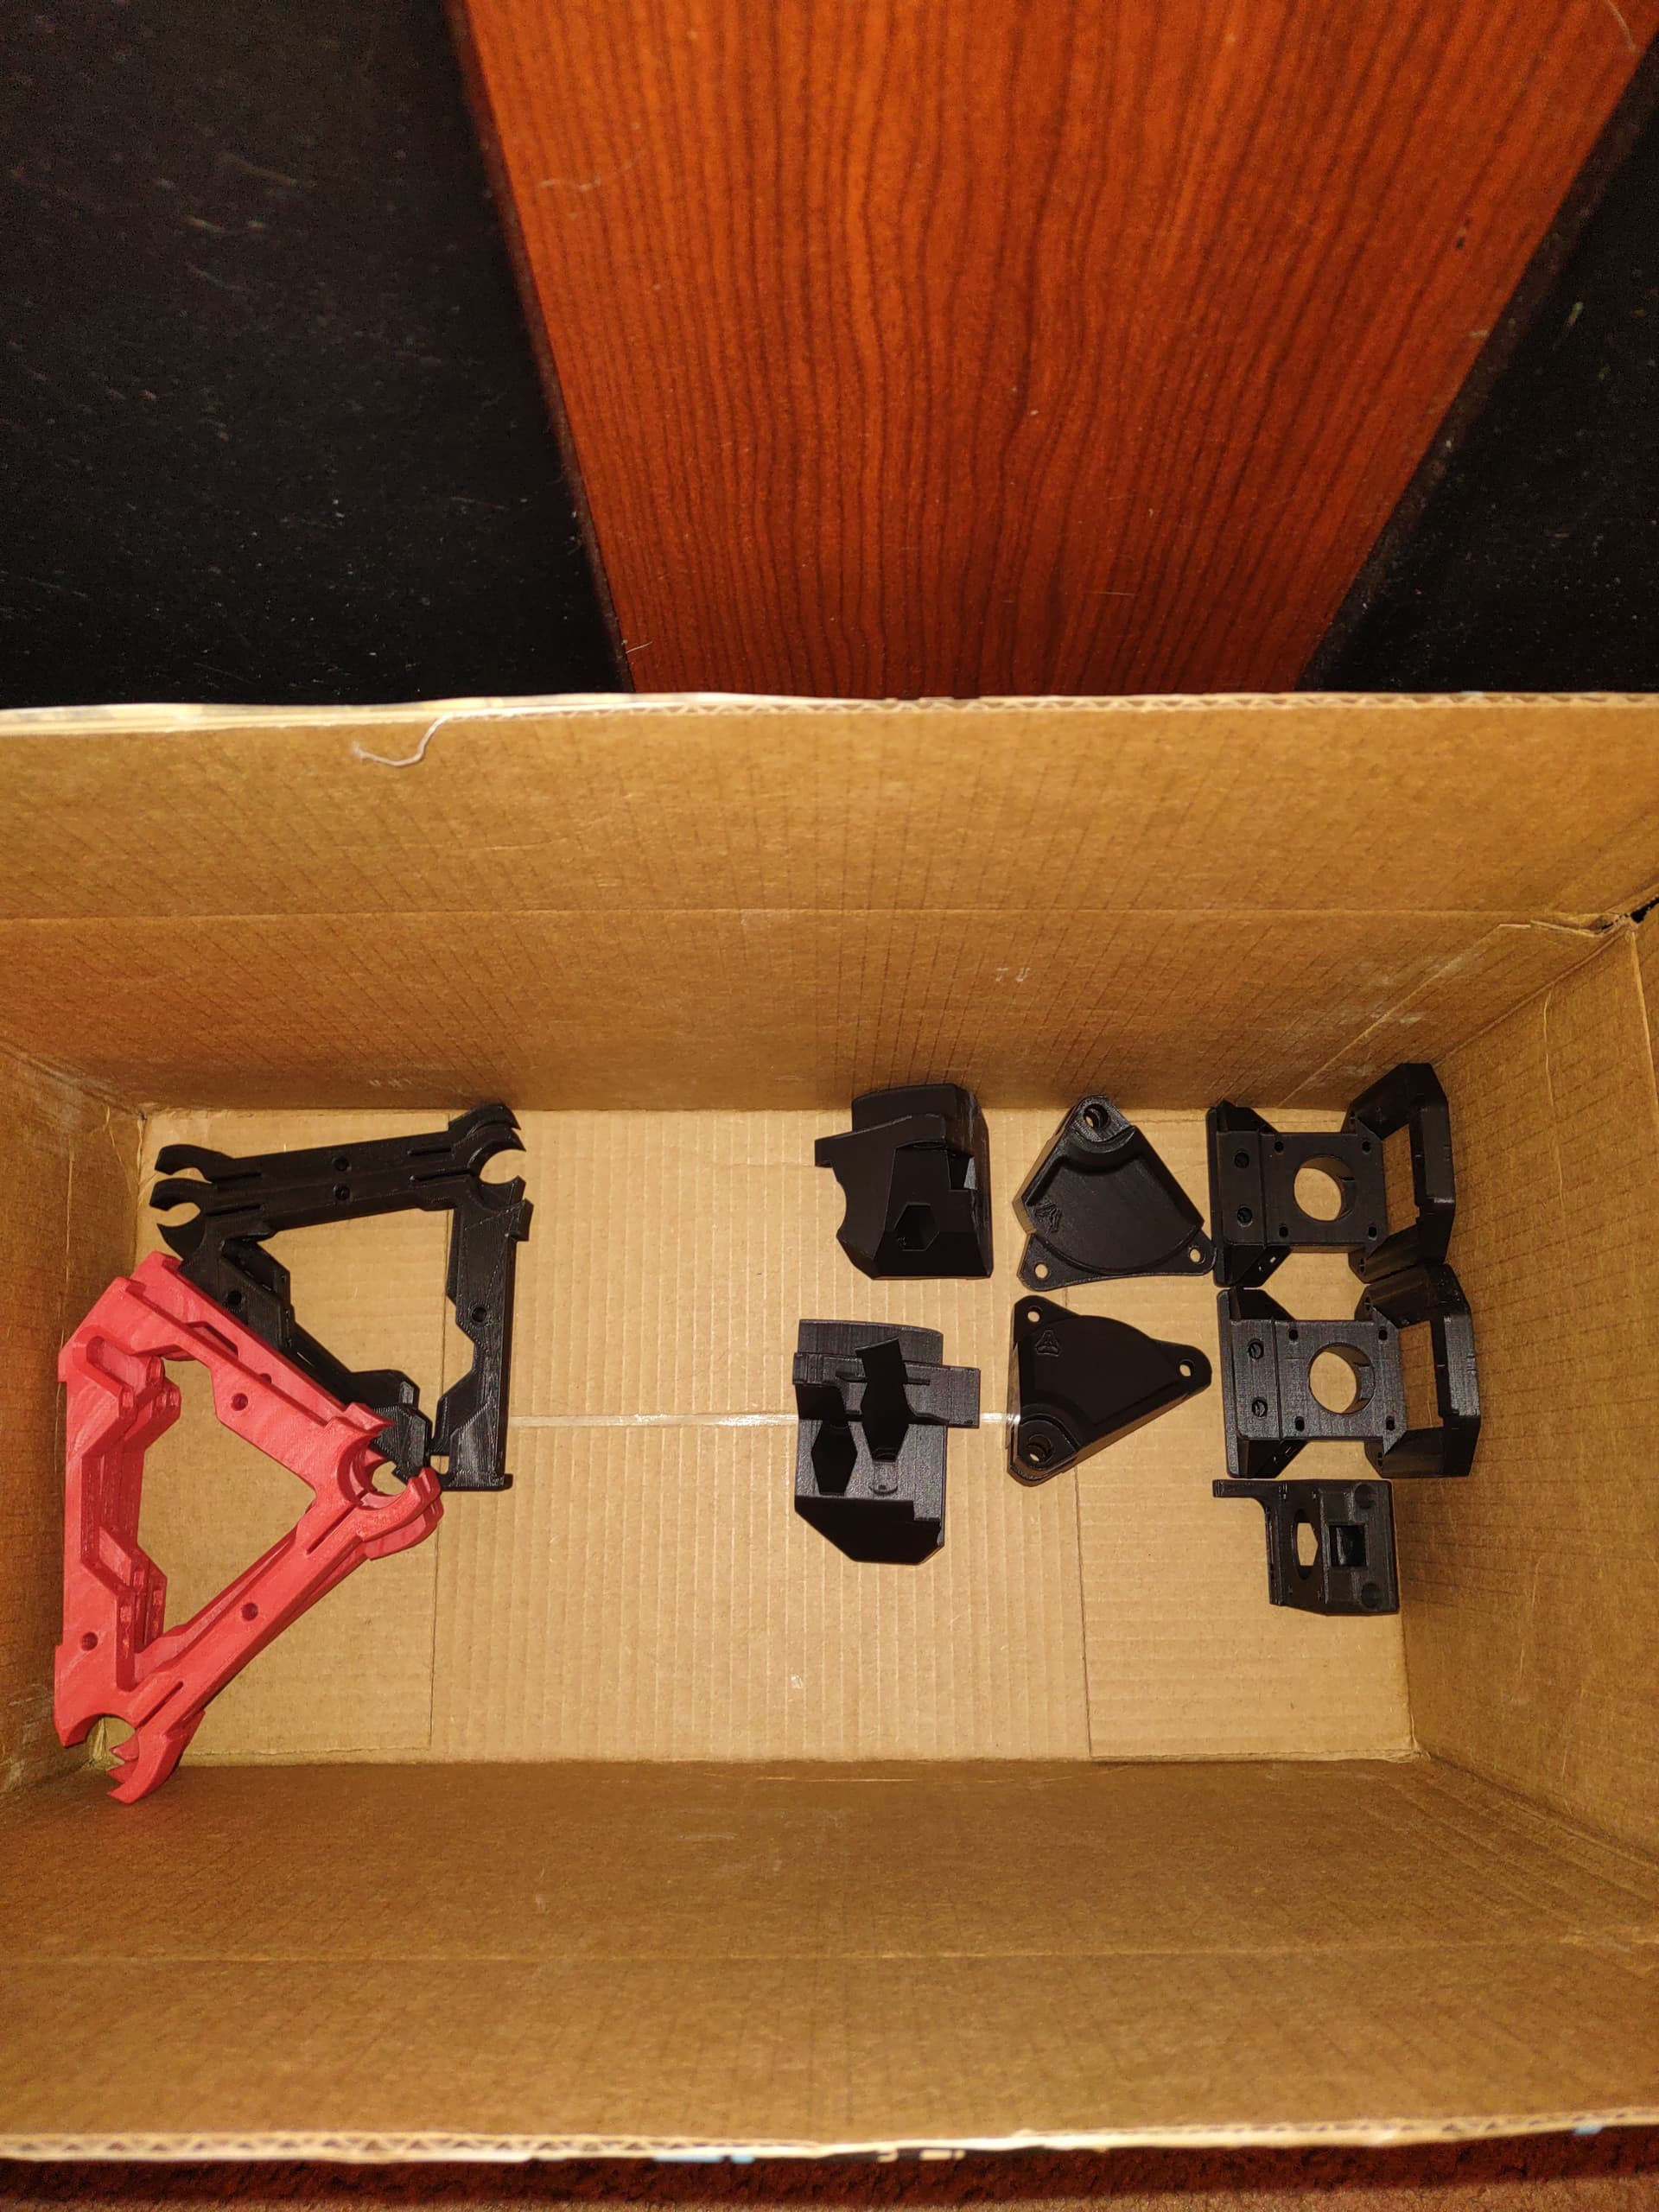
4 of 7 Braces are printed, 2 more are on the printer now, all 4 temp struts are being printed, and just waiting on the core so I can start some more red parts. I think I’m to the point where I’ll be done with the red, until I get to the control case. I haven’t decided which one I plan to print yet, But Doug Joseph’s (hope I got that right) looks really sleek. Sadly, My box would be on the opposite side that he designed for, so the fans would be an issue. Blah. Problem for another day. I’m pretty positive I won’t get into that until tuesday.
While I’m waiting on the parts to print, and the other things I’ve ordered to arrive, I’ve been tinkering with my strut plate, and wanting to do something to pay respects to Ryan & V1, and so that people that visit my shop can see who created this badass machine, in hopes of maybe adding a few more people to the DIY CNC Community here. But mostly because I feel that the logo needs to be on the machines.
So check this out, and tell me whatcha think? It’s cool to be honest, I’m not really a graphic artist by any stretch lol.
My ‘idea’ is, that I’ll keep the strut solid (unless there’s some issue with doing so) and paint it black. Then I’ll come back and screen print the logo in red, over a white underbase to make it pop. I’ll do that on the front 2 struts, and leave the bottom as it is designed originally for easier wiring accessibility.
Yea, true. Thought about that too. Think I will leave the back and bottom open. Hey speaking of that, I saw your earrings videos, you got much skills my friend!
+1 for using stock rear and bottom ‘open hole’ struts. Assembly will be difficult if only 1 strut has holes. Personally like having a custom practical front grill strut too. Good luck with your upgrade journey!
@Tokoloshe Hey man thank you! Those were fun to build! I built 3 total, sold 2 of them. Mine is still in my gameroom, going strong!
@azab2c I’m gonna take that advice definitely. I saw your front Strut Plate, that is a thing of beauty! I also watch alot of your videos too, kinda helped me get my head around a few things on the LR3. Thank for the ‘good luck’ I’m gonna need it I think! haha
Cheers Will! X belt runs across the front strut, something to consider when designing your front strut, mentioning because I almost forgot and would have had numbers masked by the belt, fortunately I thought to reverse them.
I’m glad you mentioned that, I didn’t take that into consideration at all when I was messing around with the design. Whew, you saved me alot of headache, and cuss words, thank you! lol
I did the exact opposite. My bottom plate is solid to keep the stuff the router might chuck around out of the beam and the top 2 struts are open. The solid bottom also keeps anything from falling down into harm’s way. Mind you the only thing inside the beam is the power supply for the control board.
Interesting Idea! I actually kinda like your logic there. And Might just implement that on mine as well. Maybe I’ll make my front closed in the center, with the holes on the left and right so I can screen print the logo on it, otherwise leaving it open for access, solid for the bottom strut, and completely open as designed on the back… That’s really a great idea Dan, thank you!
Well I’m down to the Controller lid. Final piece of the puzzle before I can start cutting my strut plates on the faithful LR2, and prepare my build for the LR3. Got some parts coming from Ryan this week, so once they arrive, I think I’ll start my struts before disassembly of the LR2. Going with 1/8" Hardboard since that’s all I can find locally. Found some 1/4" ply, but not a fan of what was in the stores. I’m not a betting man, but I’d put my money on them being riddled with voids.
Got parts coming from Ryan this week, and then the new chapter begins!
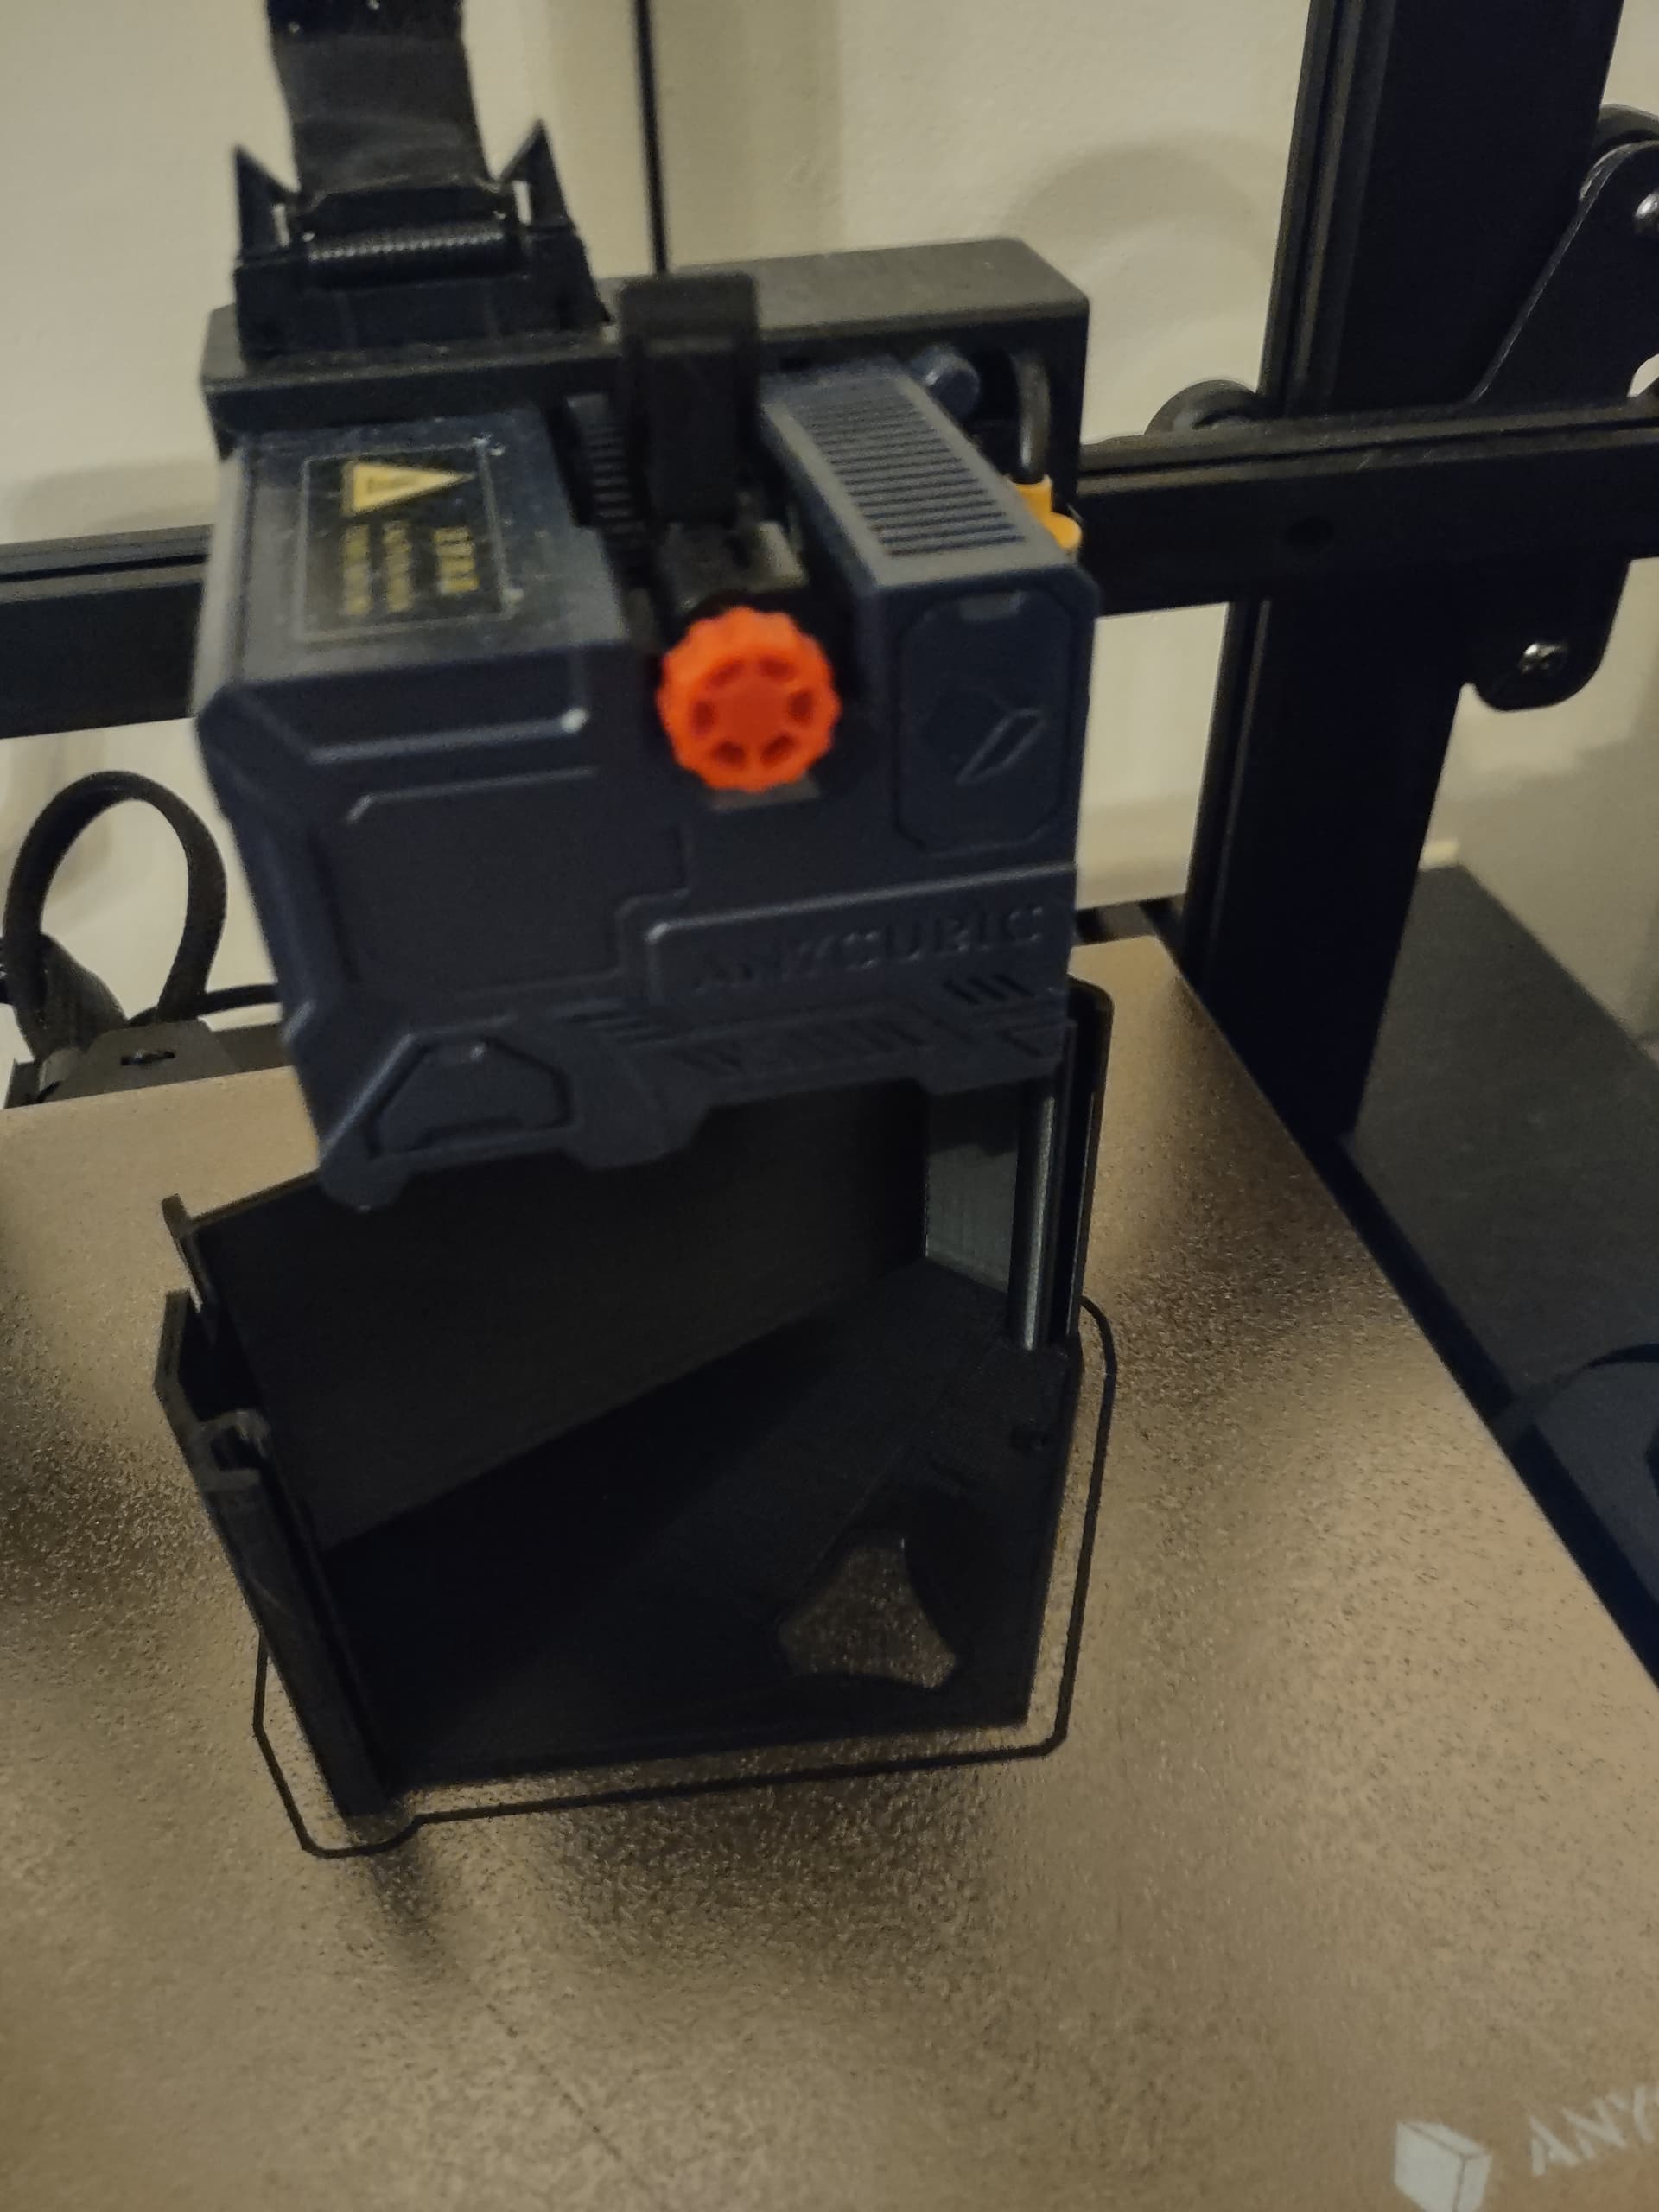
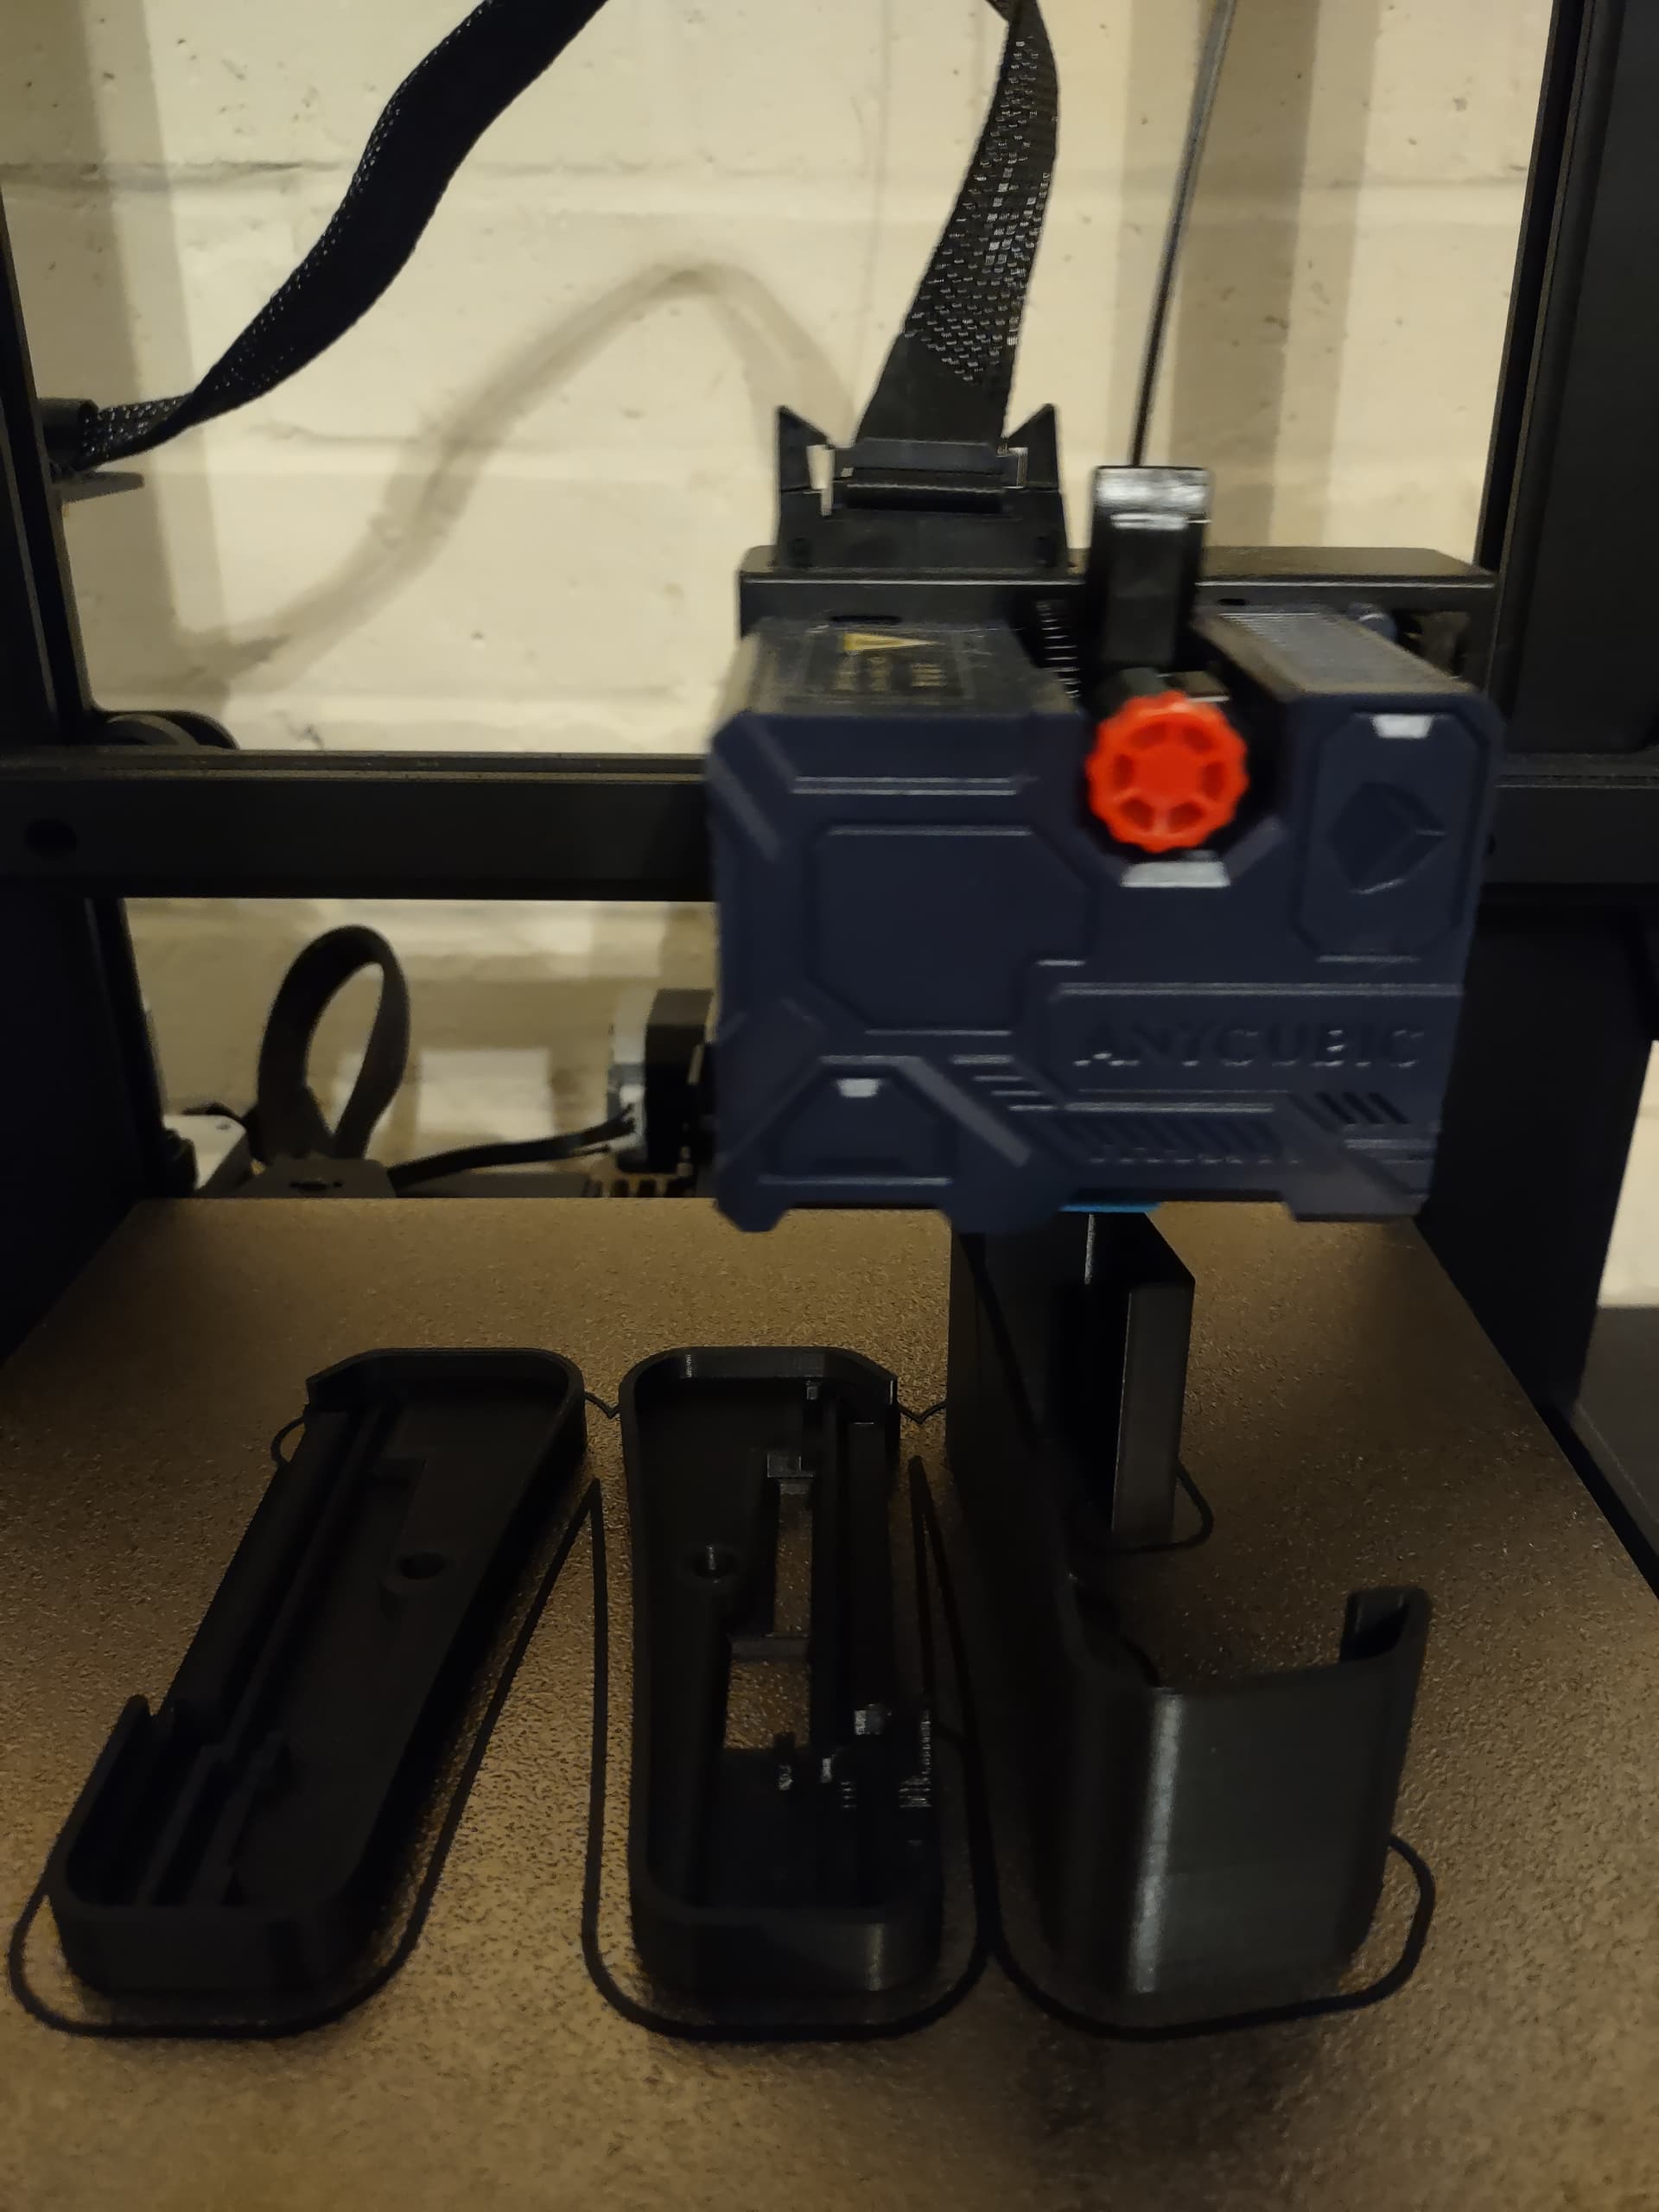
Oh, I forgot, the sides and case for the TFT. I originally printed the case body in red, was intending to put black sides on it, and mount it on the black SKR case, but I’ve changed my mind on that.
And yet another side note, I’m really loving this Anycubic ‘rough’ magetic PEI Coated plate. I hated it at first, but once I read where Ryan said clean it with magic eraser, then IPA, I have not had a single issue out of it. Plus the texture it leaves on the parts is awesome (sometimes). Looks really good on the SKR case ends.