Aluminium Pizza 'Stone'

Talking to @camchaney’s about using patterns with routing aluminium motivated me to get on with an idea I’d wanted to play with of making a pizza ‘stone’ from some spare 6mm aluminium we have around at work. It can be $100-200 for a 6mm steel one and looks like $50-60 just for the steel plate here so I thought I’d give this a rough try first and see how it goes. I’d have preferred bare aluminium rather than anodized as I very much doubt it’s food safe, but the plan is to give it a good pre-heat beforehand with everything well ventilated and see how it goes. If it smells horrendous then we give up. Then I’ll wrap it in tinfoil and give it a try that way.


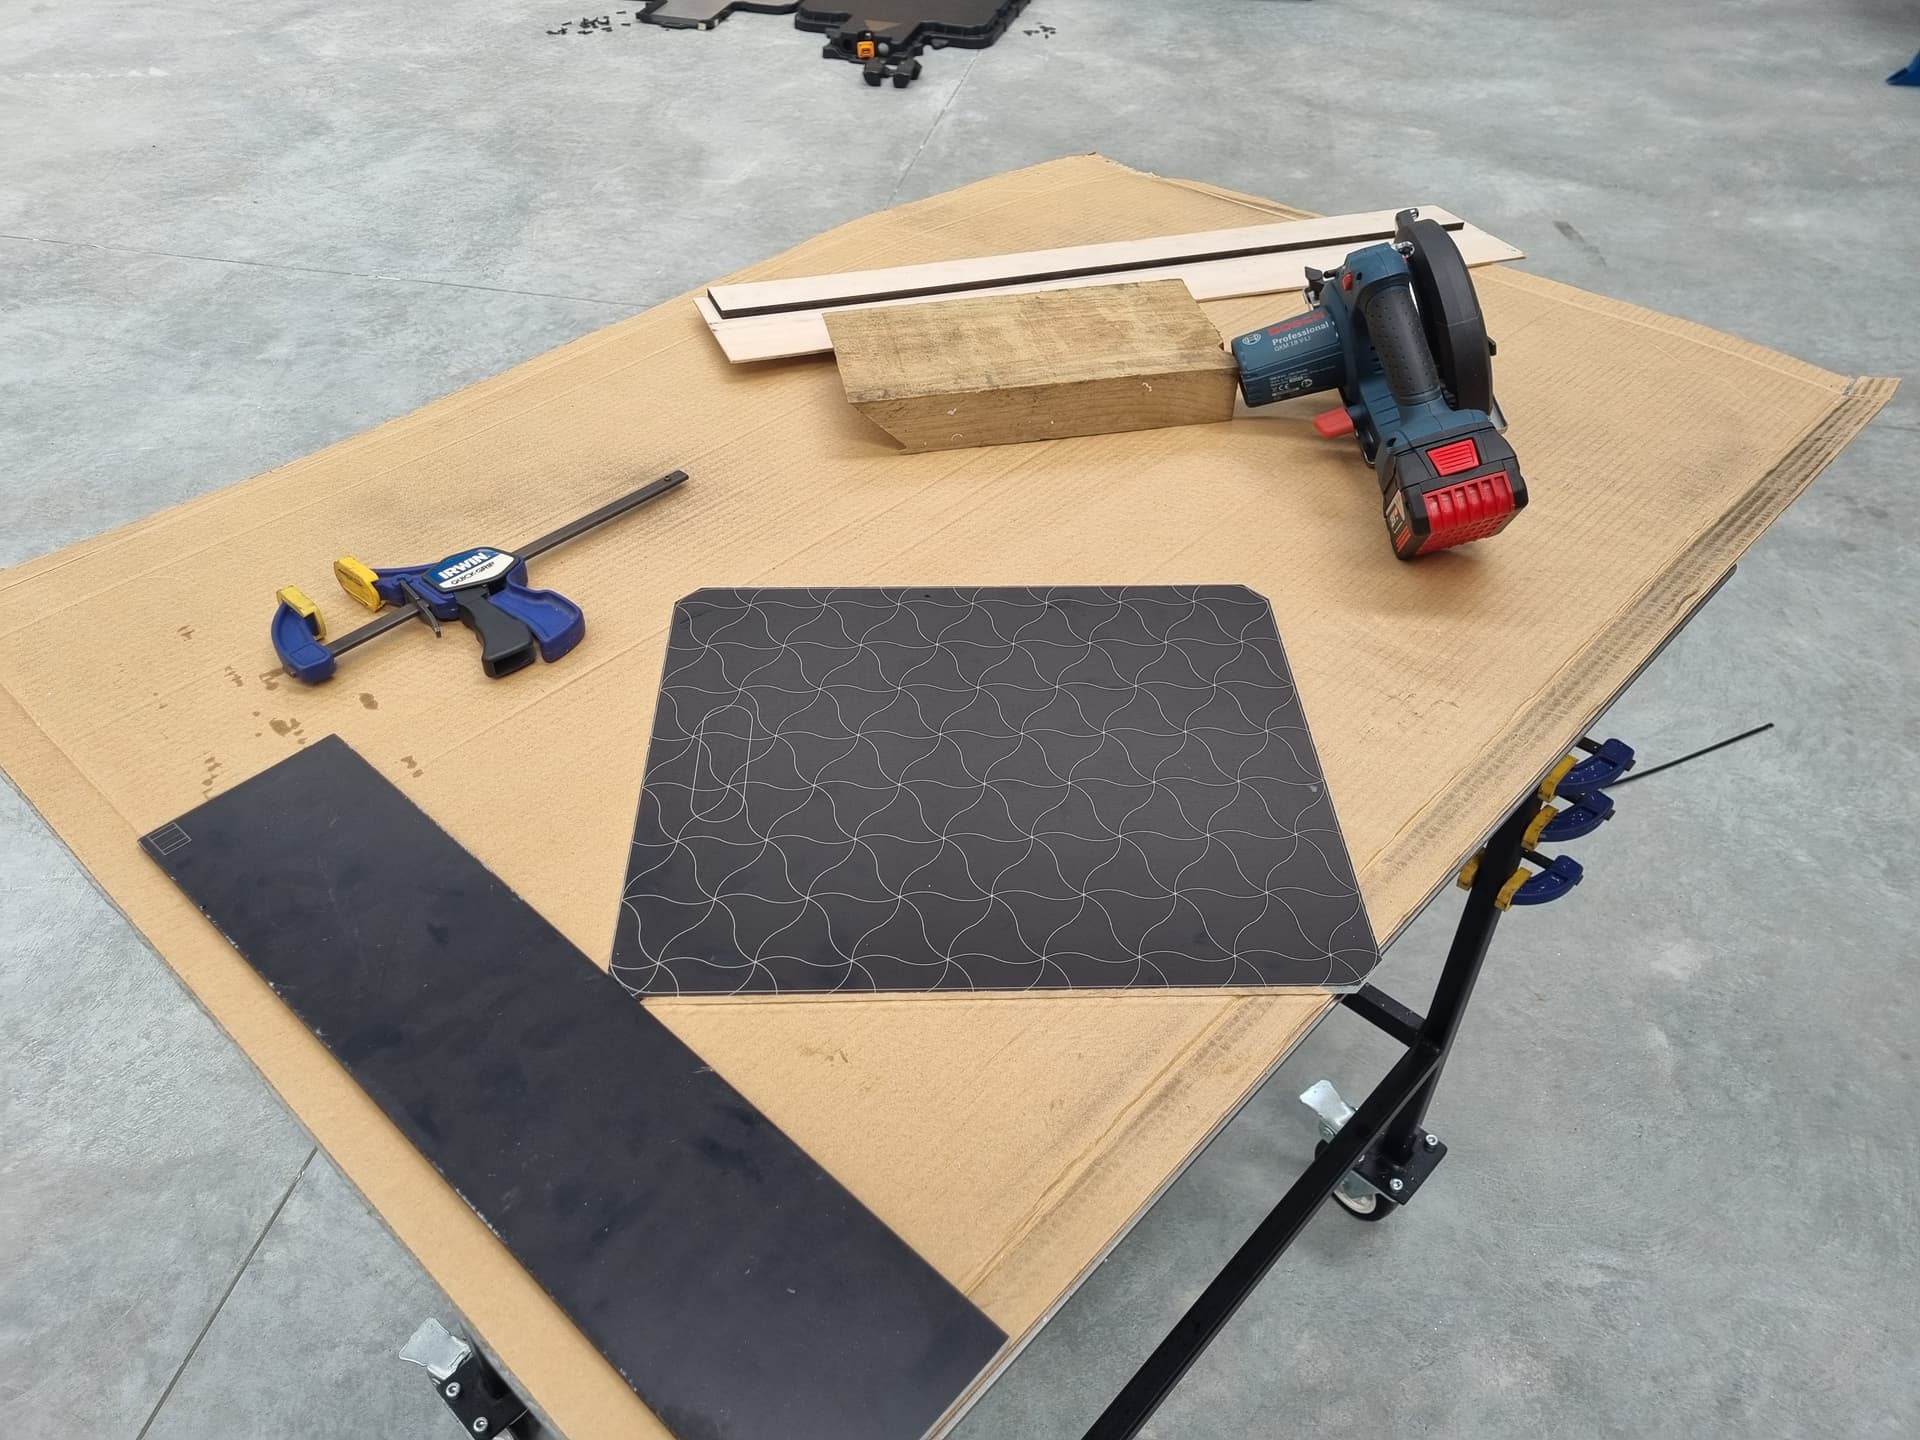
Used the laser cutter to etch the shape onto the anodized aluminium as well as a design on the surface for a laugh. Used our Bosch metal cutting circular saw with my DIY wooden track for it to cut the rough outline. I left around ~5mm to be trimmed off.


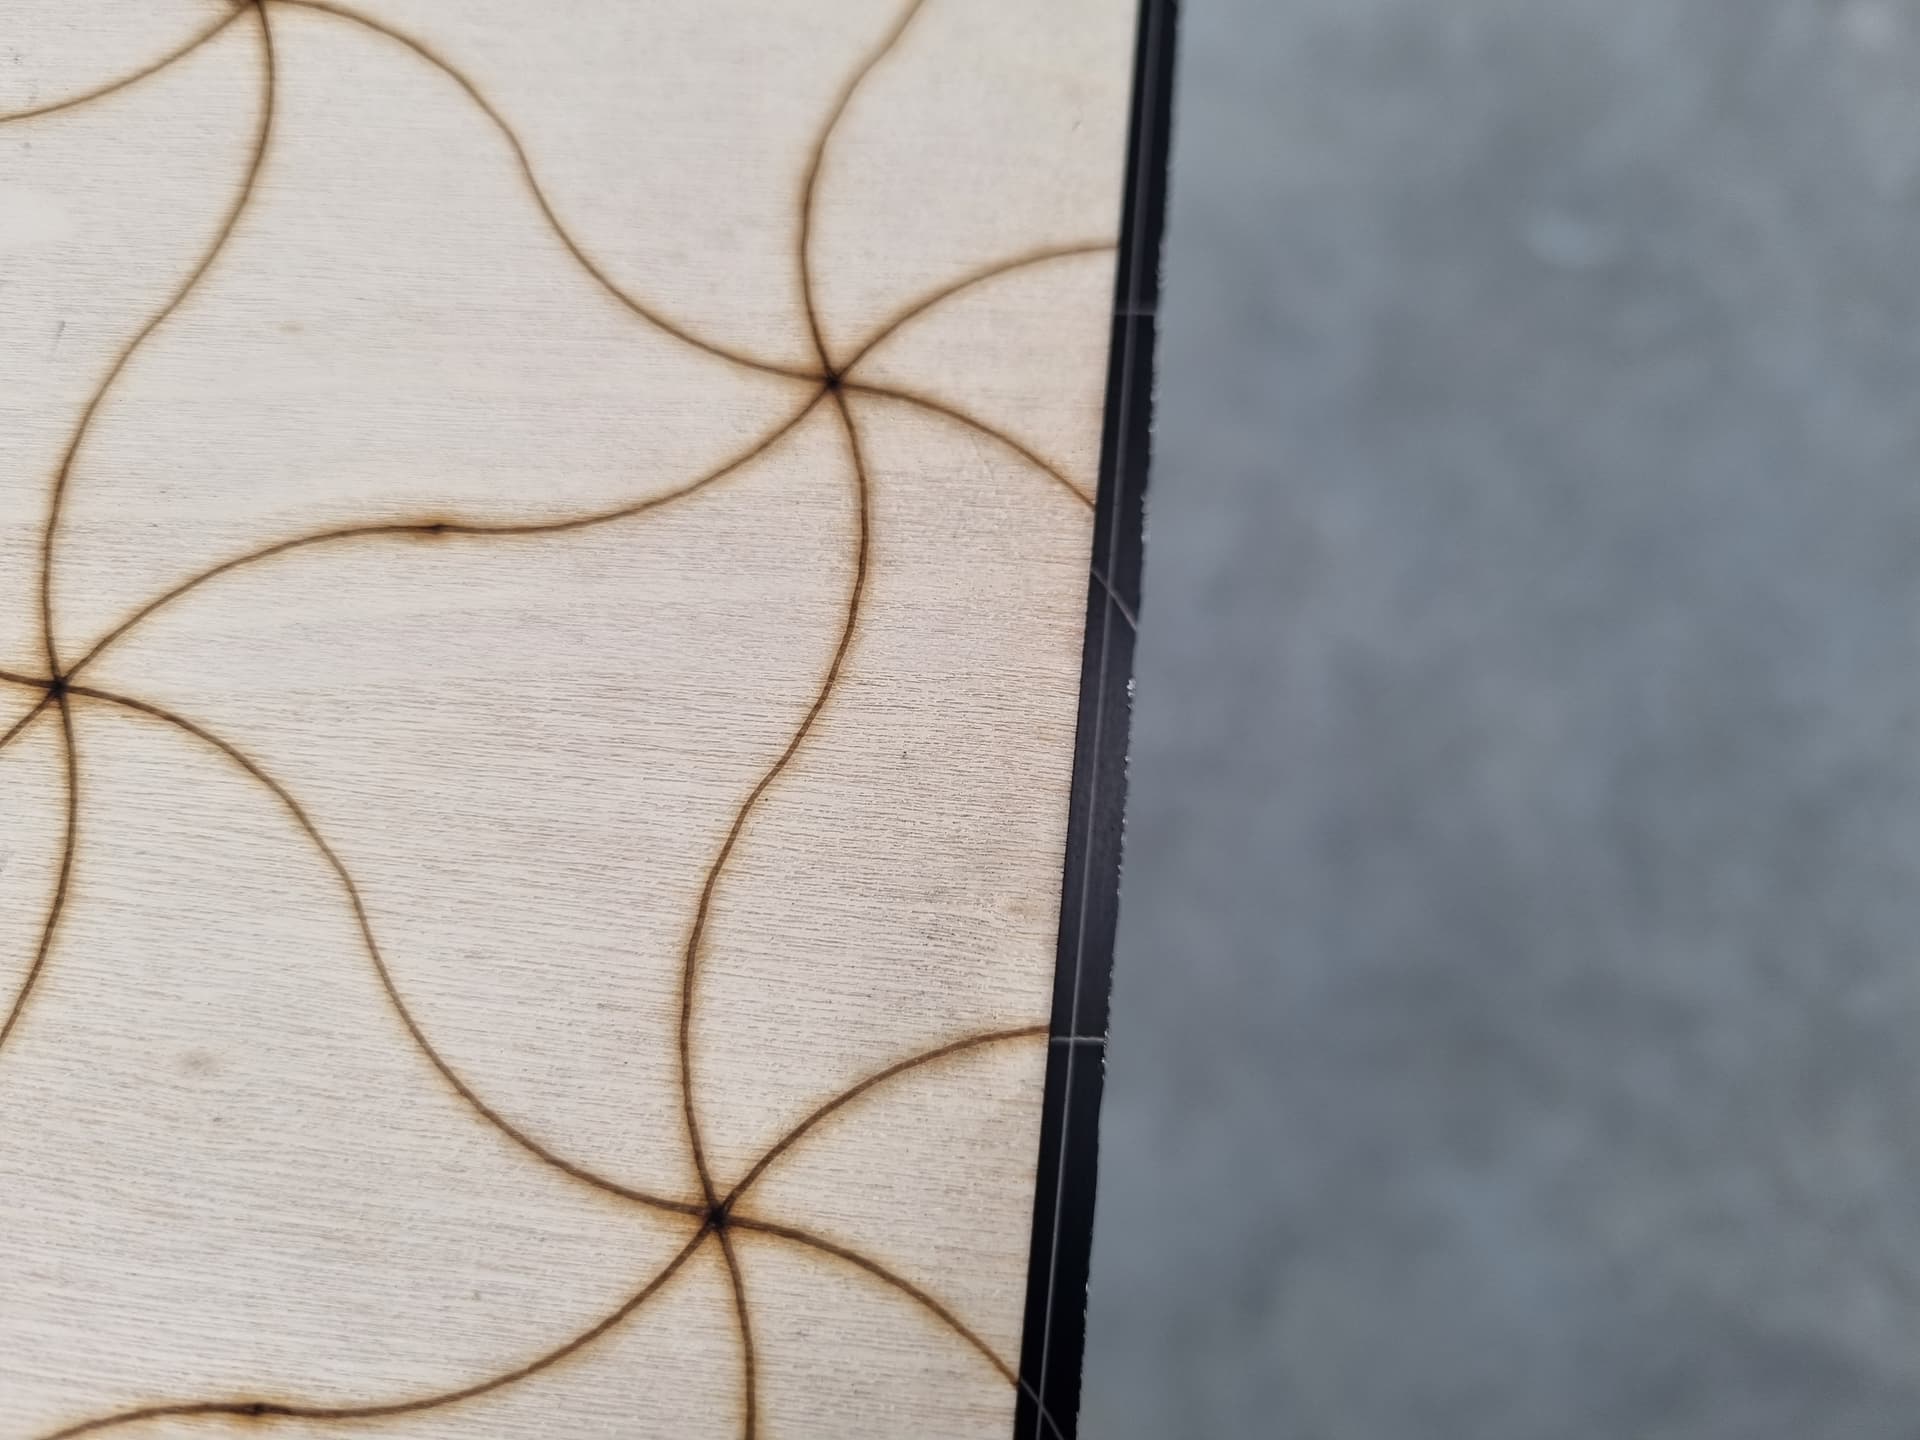
I also laser cut the same design into an offcut of 9mm plywood, with the outline offset by 1/8" and stuck it down with double-sided tape. No good photos of this step, unfortunately.


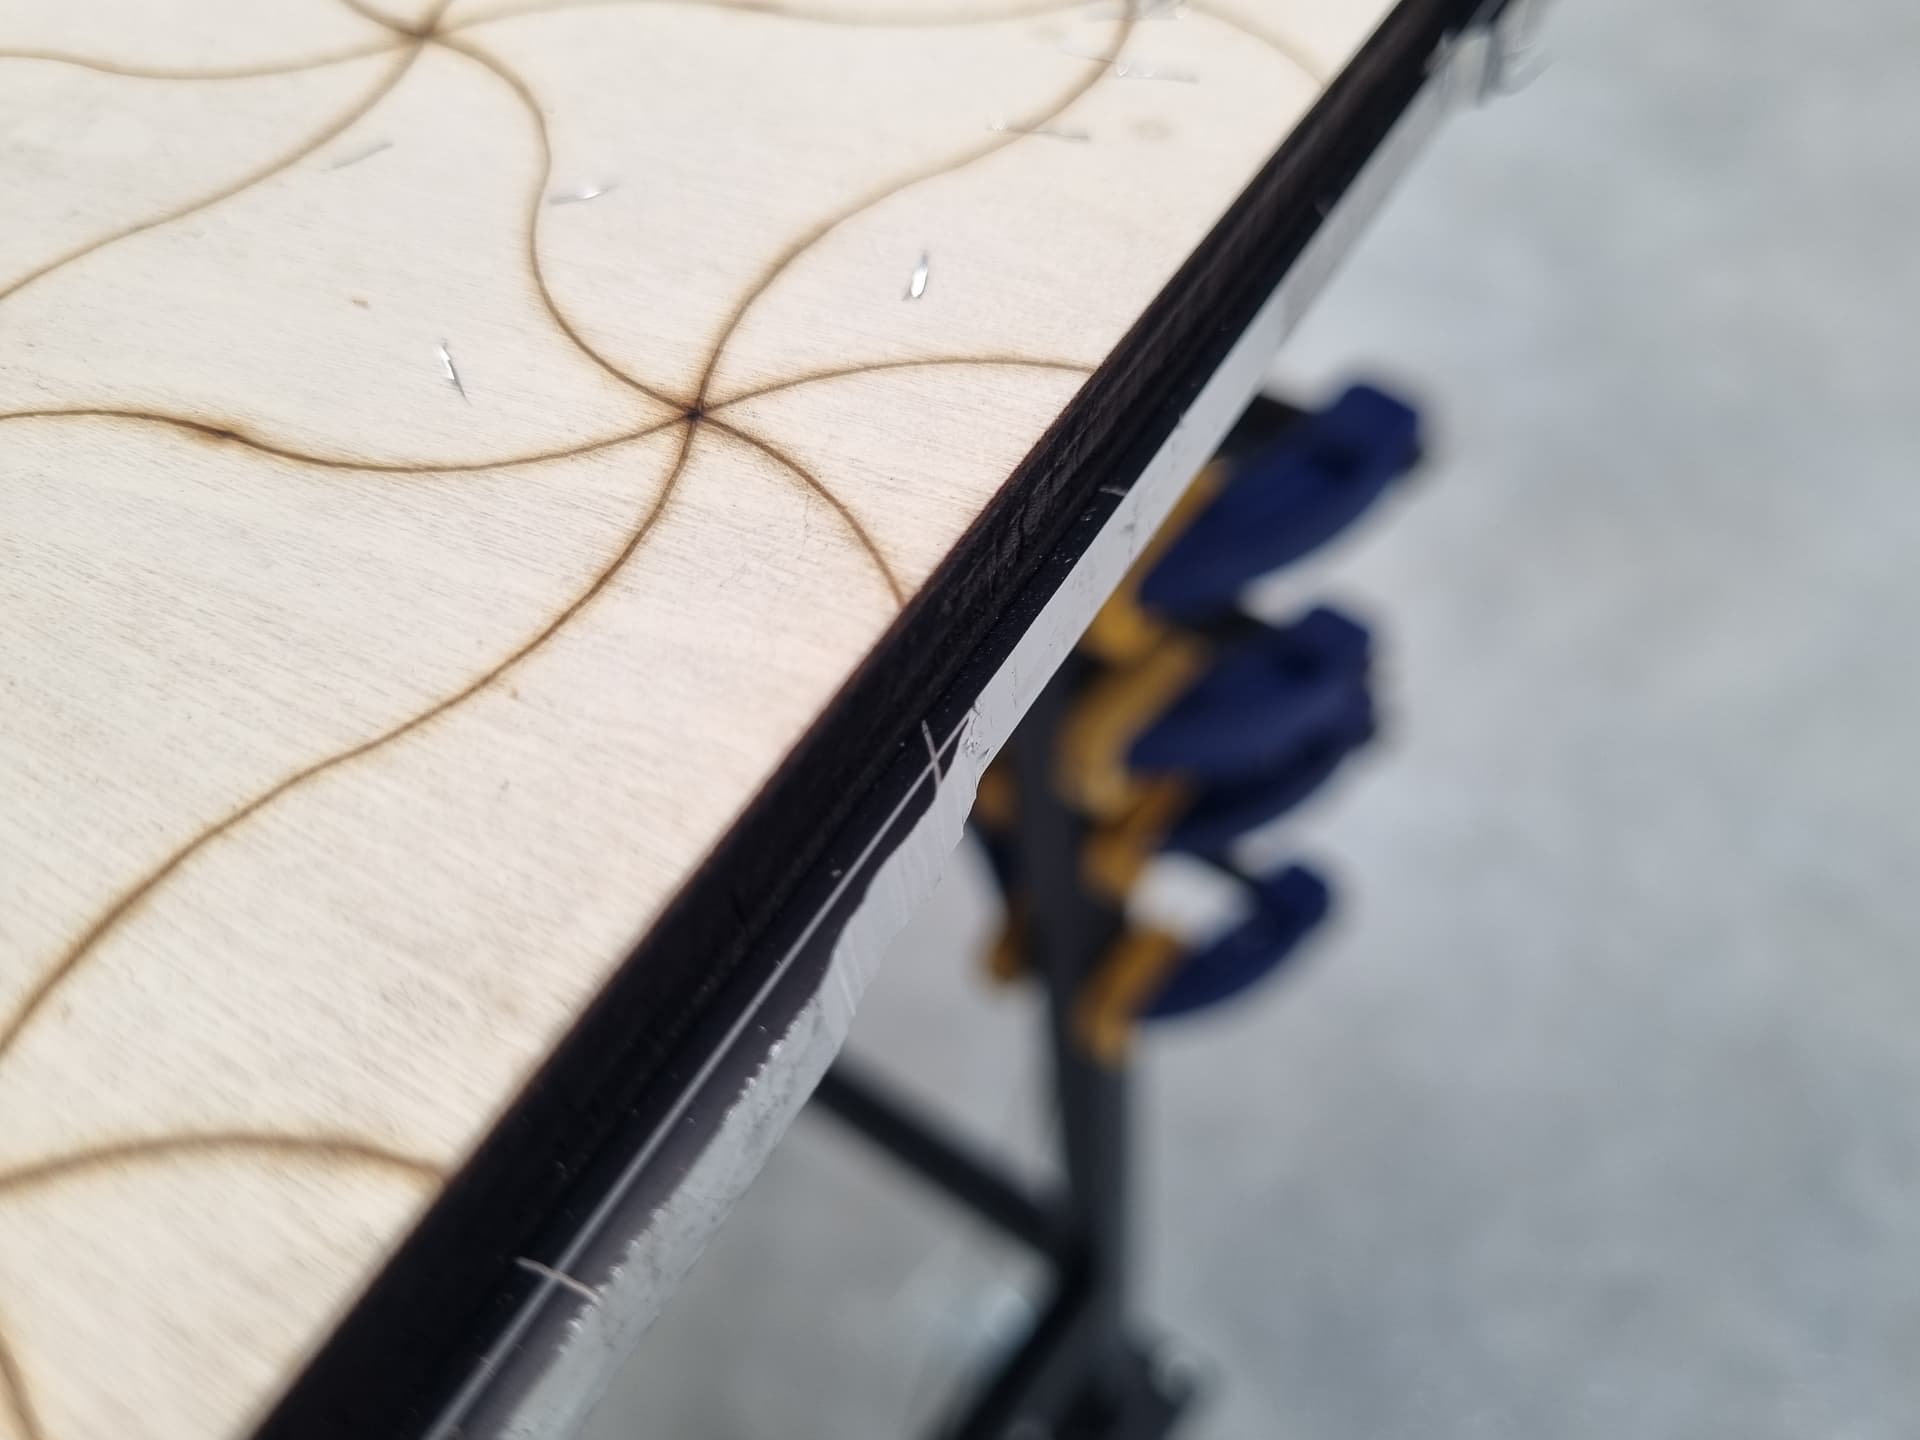
Using a 1/2" pattern bushing and a 1/4" carbide spiral bit I routed around the outside. That’s showing the lead in and how clean the result is. I was doing the cut in a single pass, so 6mm DOC, ~5mm trim at maybe 10mm/s with what felt like probably ~5kg of lateral force (it definitely takes some doing). With the router in the lowest speed setting you can definitely hear it loading up but it doesn’t bog, didn’t get more than slightly warm and was throwing beautiful sliver chips the entire way.

I had a few issues with the pattern bushing rattling loose so ended up with some chatter marks about halfway around so in future I need to remember to tighten it better with the slip-jaw pliers.


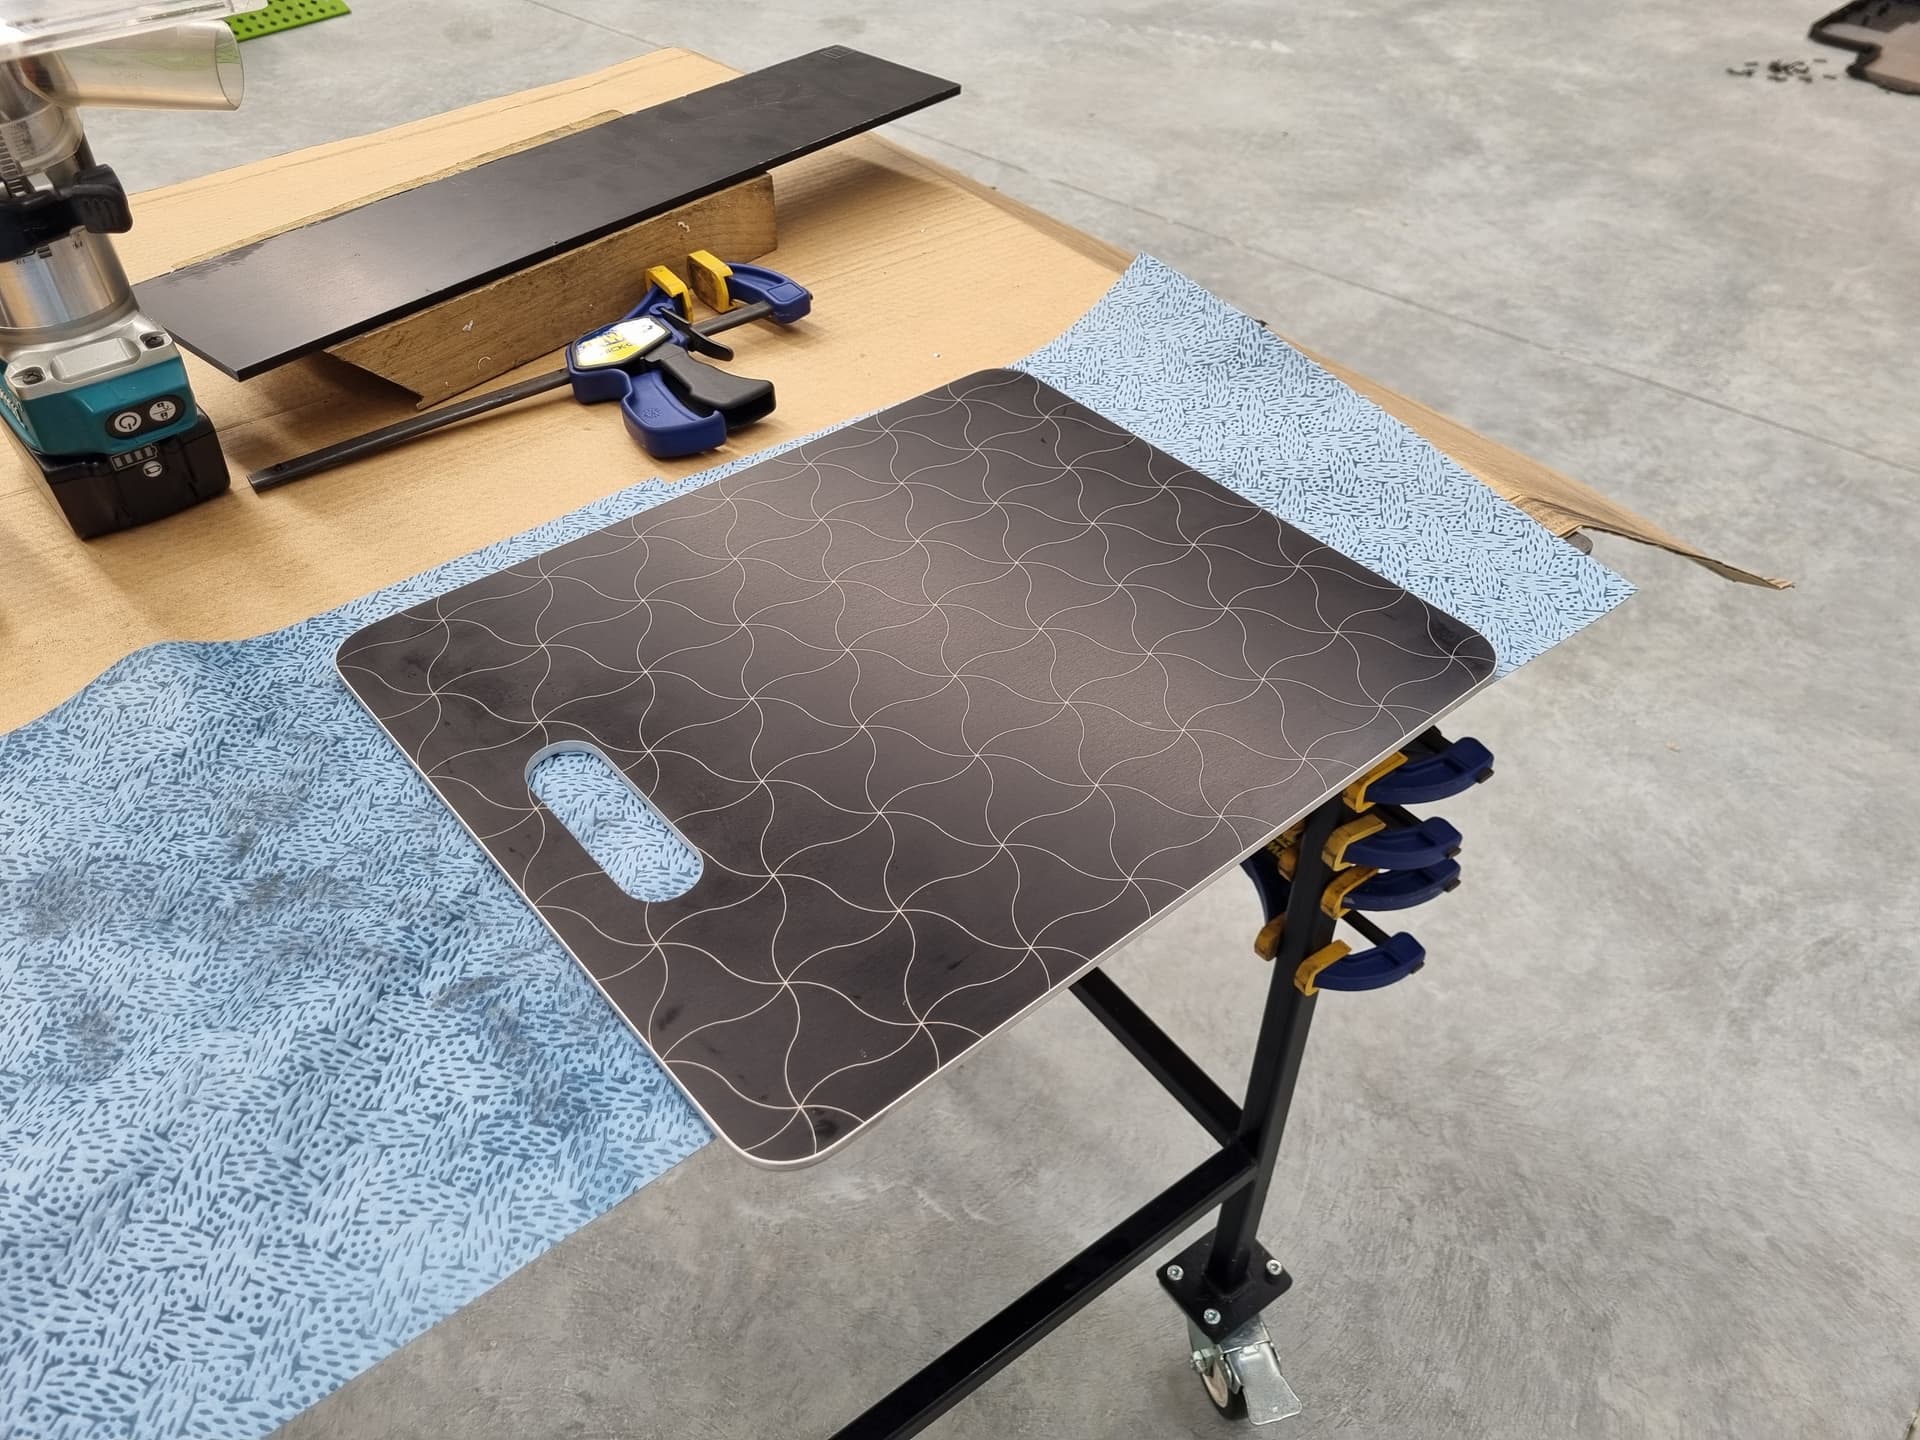
Done, sanded to knock down the sharp edges and cleaned.

All of this is to show that there really are a ton of different ways to approach a topic. This is kinda ‘CNC-adjacent’ because it’s making a pattern with a CNC machine of some kind and then working to the pattern with hand/power tools. This could equally apply to making a pattern on an LR4 and hand routing it. It could be marking out and making the pattern by hand. It could be printing that pattern out, sticking it down and cutting it by hand. It could even be 3D printing that pattern, I guess.

All just many ways to accomplish the same thing. This was maybe 2 hours work, total. I timed how long it took to do the routing portion and it was maybe 20 minutes, with stops and set up time. Used not even half of a single 5Ah battery. I think it took me longer to get the edges broken with the palm sander and then to vacuum up.

10 Likes

I made a few of the First lowrider side plates with templates and a flush cut bit. I eventually went to full CNC but I had to see if it was worth it.

1 Like

Wow looks great! Curious to know how the pizzas turn out

1 Like

image

:grin::man_shrugging:t2:

Pretty cool. Haven’t thought to try cutting aluminum by hand. Need to keep that in mind in the future.

1 Like

I think that’s one of the half dozen pages I ended up on when trying to figure it out.

My current logic is that it’s not going to be in contact with the food, so it’d have to be something gaseous coming off the anodizing and ending up in the food. Our oven ventilates pretty well and the pizza won’t be in there for long so it’d have to be a pretty quick exposure. It’s also specifically the dye used that I’m concerned about, not the actual anodized aluminium, as such. I’m also going to give it a properly righteous pre-fire which will hopefully be a good indicator for if it’s going to go weird.

Worst case, I attack it with a flap disc and take the anodizing off entirely!

Either way, if it ends up being a winner and makes a huge difference compared to the generic ceramic one we’ve used in the past then I’ll either buy a steel one or make another one. There’s a local metal supplier selling a decent sized offcut of 10mm thick 316 stainless that’d be a laugh to hack up into a couple of them.

Yeah, that was the conversation that prompted me to post this. I’ve done it quite a few times now. It helps to have a good sharp bit and to be able to put a bit of force into it to keep things moving. That’s why the template and pre-cutting it mostly to size is a nice way to do it. I’ve free-handed things before but it’s hard to keep it controlled and doesn’t take much to run away on you…

2 Likes

Yeah please update us with the cooking results. I can get bits of 10mm aluminium pretty reasonably so I’m interested to see if it makes a good ‘stone’.

2 Likes

Reminds me of these for cooking steak -

(viewer discretion - Language, Mature topics, etc)

1 Like

Just did a loaf of sourdough and I made a batch of sourdough pizza dough at the same time so tonight might be the first test. I’ve just put the plate it in the oven now while it’s still hot and cranked it to 280degC to see what it does.

All the ones I’ve seen for sale are 6mm steel, which has an almost identical heat capacity to 10mm aluminium so I’d say it’d be pretty much perfect. My theory is that the aluminium might work better even with less heat capacity because the conductivity means that the heat stored in the sections that aren’t in contact with the dough can conduct to that area more effectively. I’m pretty familiar with all this stuff from an electrical/heat-sinking standpoint but I’ve really got no clue if those assumptions hold true when you’re talking about an oven…

It’s so much more complicated having a cold thing you’re trying to heat quickly touching part of a big block of material that needs to have a lot of thermal mass to transfer that into the cold thing, but is also larger than the cold thing so the parts not in contact are still letting the parts that are stay hotter, all while in a box full of air that’s regulated to a certain temperature…

I still have thermal camera at home so I probably just need to figure out a way to actually look at it and see what it’s doing! Maybe I should make something that’s a dough equivalent and just slap it onto the pre-heated plate while it’s not in the oven and observe it…

Anyone have any ideas for how best to evaluate an aluminium pizza plate when you’ve got thermocouples, an instant read thermometer and a thermal camera?

Oh yeah, I remember that project. That and the epic barbeque plate he made. Not quite sure I understand that grilling shapes/lines onto a steak, though. I’m a fan of a nice even dark brown crust, personally!

I have no idea but I love the question. :laughing:

1 Like

Dude, do we have a 3d printer pizza oven???

1 Like

Guys, you are all missing that it’s called pizza STONE… -_-
I have one of those Weber Pizza Ovens they seem to have discontinued…

Hope I’ll never break mine…

1 Like

I’ve seen a few DIY Pizza ovens made using wooden forms and then using fire bricks and castable refractory. A 3D printed form or CNC cut plywood form could be a pretty good start.

I’ve had wood fired pizzas at friends places before and I love the idea, it’s just too much of an occasional use thing for me to want to bother with one, especially as a ‘built in’ type thing. I’m trying to see how well I can do with this plate and my conventional oven. I’d happily try to convince any number of friends of mine that they need a proper pizza oven though, of course.

When you were talking thermistor, etc. Sure sounds like klipper could make a pizza :pizza:

Oh yeah, no doubt at all. SSRs to control a couple of heating elements/fans, couple of thermistor measurements to manage temperature, easily done.

I was actually wondering about this whole approach. If you could separate the base surface temperature, the air temperature and the top surface temperature then that’d give you a lot of stuff to play with and the ability to control differently for different toppings/base types/thicknesses etc.

@Dreyfus As requested!

Preheated the oven to 280C for 10 minutes after it reached temp, the plate was at 250C according to my non-contact thermometer at the time I put the first pizza in.


Sourdough base, passata with dried mixed herbs and garlic infused olive oil as a sauce, mozzarella and parmesan on top.


In for ~10 minutes, the plate was at 230C immediately after removing the pizza. I’d love to know what it dropped to as soon as I put the pizza on, though. Maybe that’s for the next one, I’ll put it on and measure it after 30 seconds or something. May have overdone the cheese a little, it had a real oily patch in the middle.


This is the 2nd one. The first one was still just a touch soft and doughy on top because the dough was still very wet and the sauce was quite liquid but the bottom of the base was super crispy. The 2nd one was a little thinner, I floured the base a lot more before it went in so it wasn’t sticky anymore and it cooked through much more.


Plenty of dark spots on the base. I think it would have been even crispier and more evenly browned without the baking paper due to radiant heat off the plate where the dough wasn’t necessarily touching once it cooked and lifted. That’s a definite advantage for a guaranteed food safe plate…


My half of the 2nd pizza. My partner’s verdict: Nicer than Sal’s, which is an expensive 'New York Style pizza chain around here. About on par with one of the local Italian restaurants, flavour-wise, but nicer because it was perfectly hot and crispy when we ate it, rather than needing to get it home.

So, I’m going to call that a solid success. I’ve really gotta figure out my process for working with the ~80% hydration pizza base, what a pain in the rump, especially trying to pull it out into a pizza base shape with relatively even thickness. The first one was way better than our attempt a couple of weeks ago with the ceramic ‘stone’ in that the base was crispy but it still wasn’t perfectly cooked through. The second one was much better but I’d have still liked to see a few more bubbles and a bit more spring from the base, although I suspect that may have been down to not enough kneading last night and then needing to work the dough too much because I didn’t portion it before putting it in the fridge so had to split it at the last minute before shaping.

Conclusion: It made a pretty big difference and I’ll definitely be using it again. I’d say it was the difference between a solid 75% effort and a 90% effort. With the ceramic is was something I’d be happy to eat myself. With the plate it would be something I’d be happy to have paid good money for or be proud to serve someone else.

Next steps: Figure out how to verify whether the thermal mass of the 6mm aluminium is enough. I have a feeling that’s going to end up being a thermocouple kapton taped to the surface with an uncooked pizza on top of it :expressionless:

Edit: I’ve looked at these photos too much and now I wish I’d made a 3rd pizza…

9 Likes