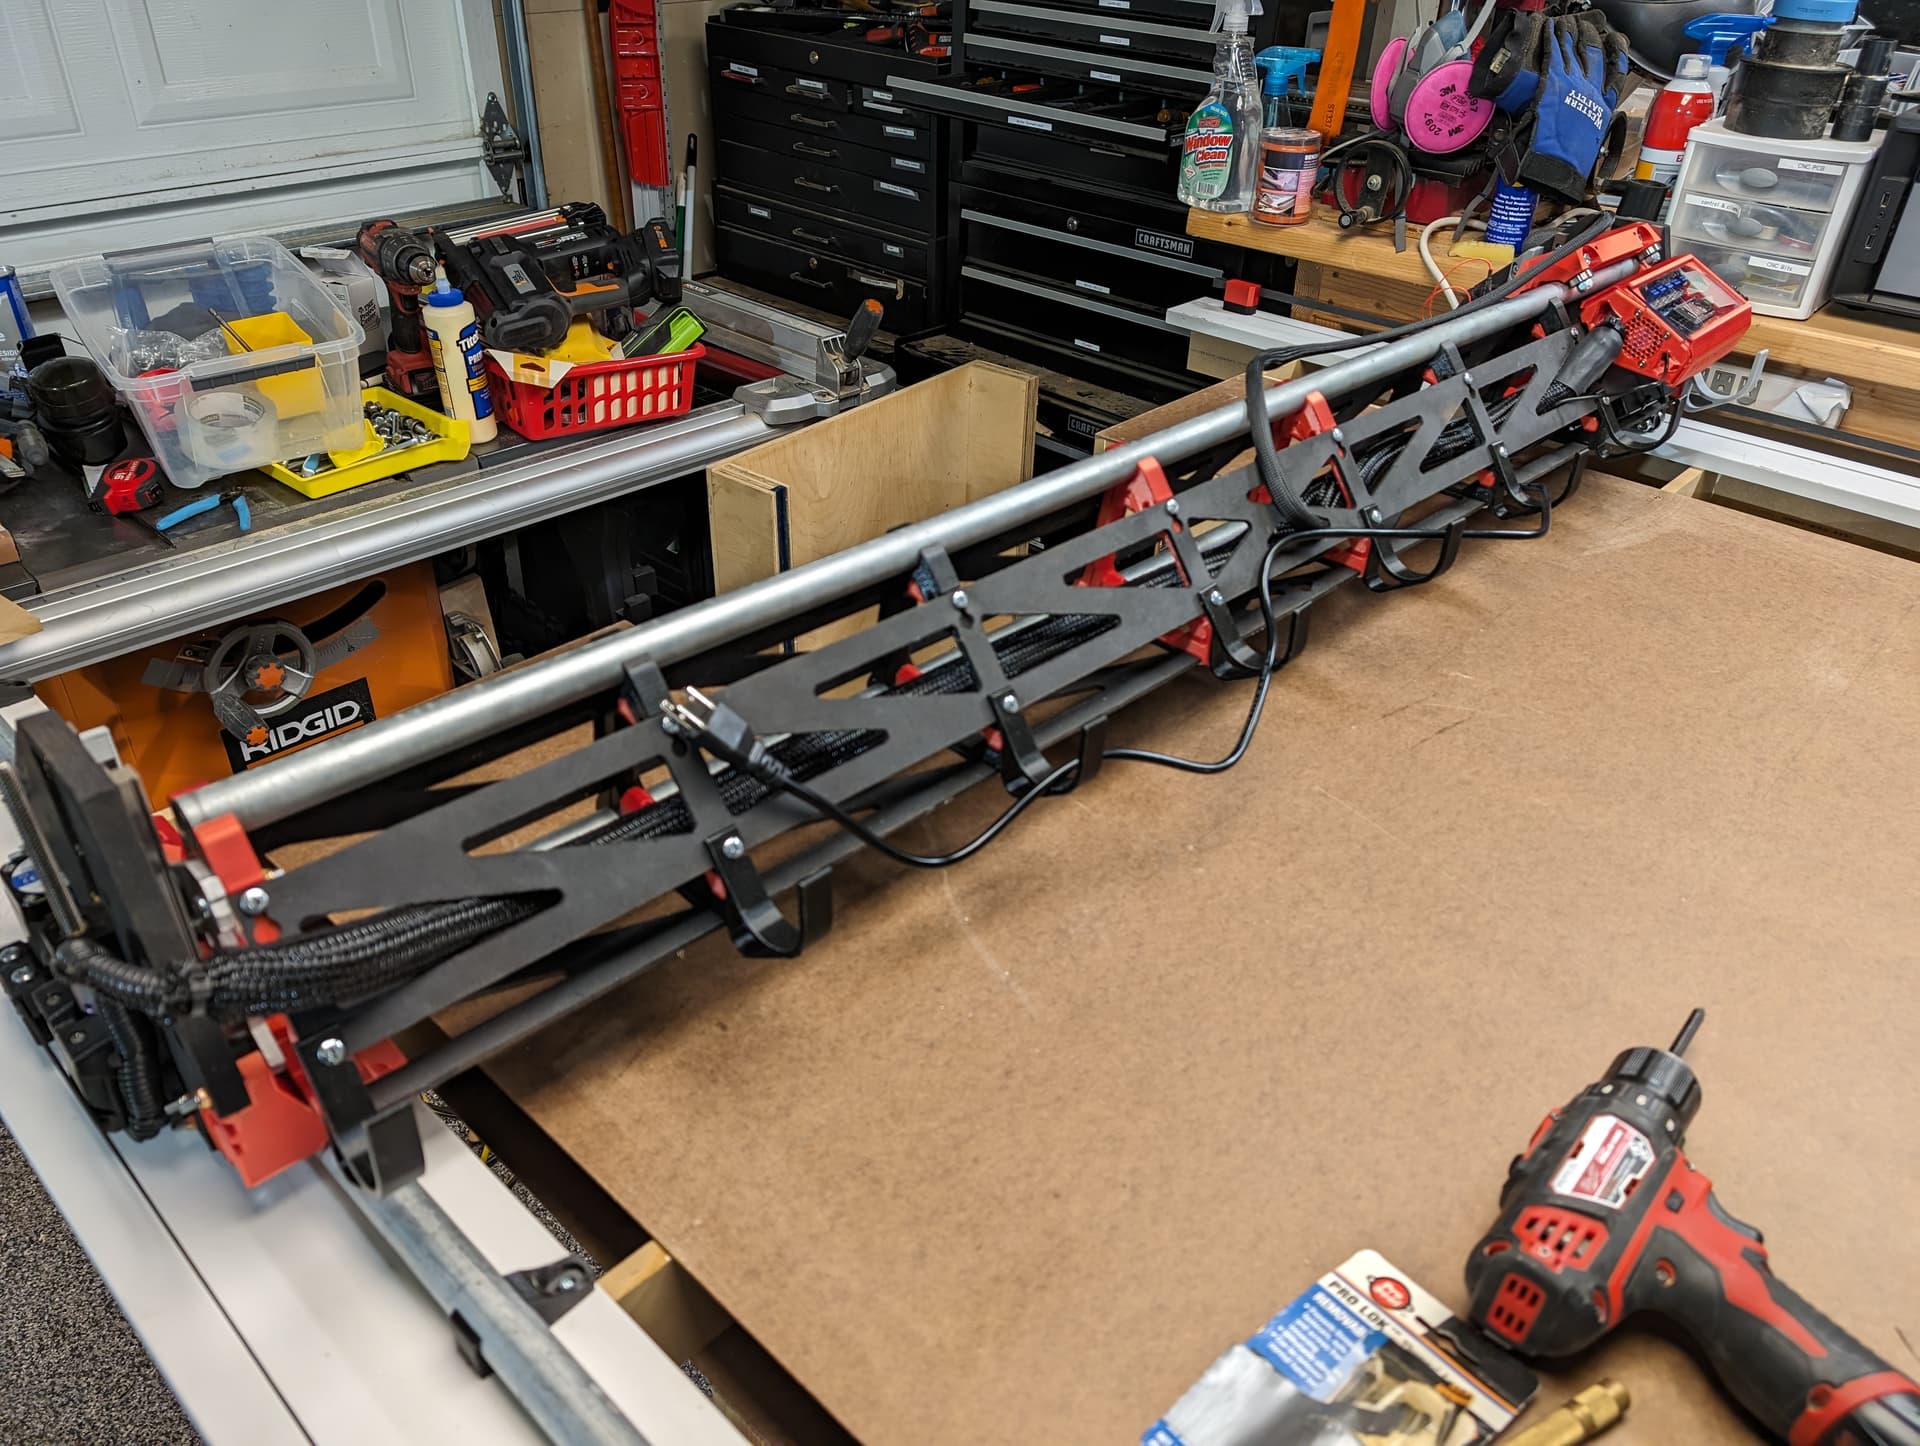
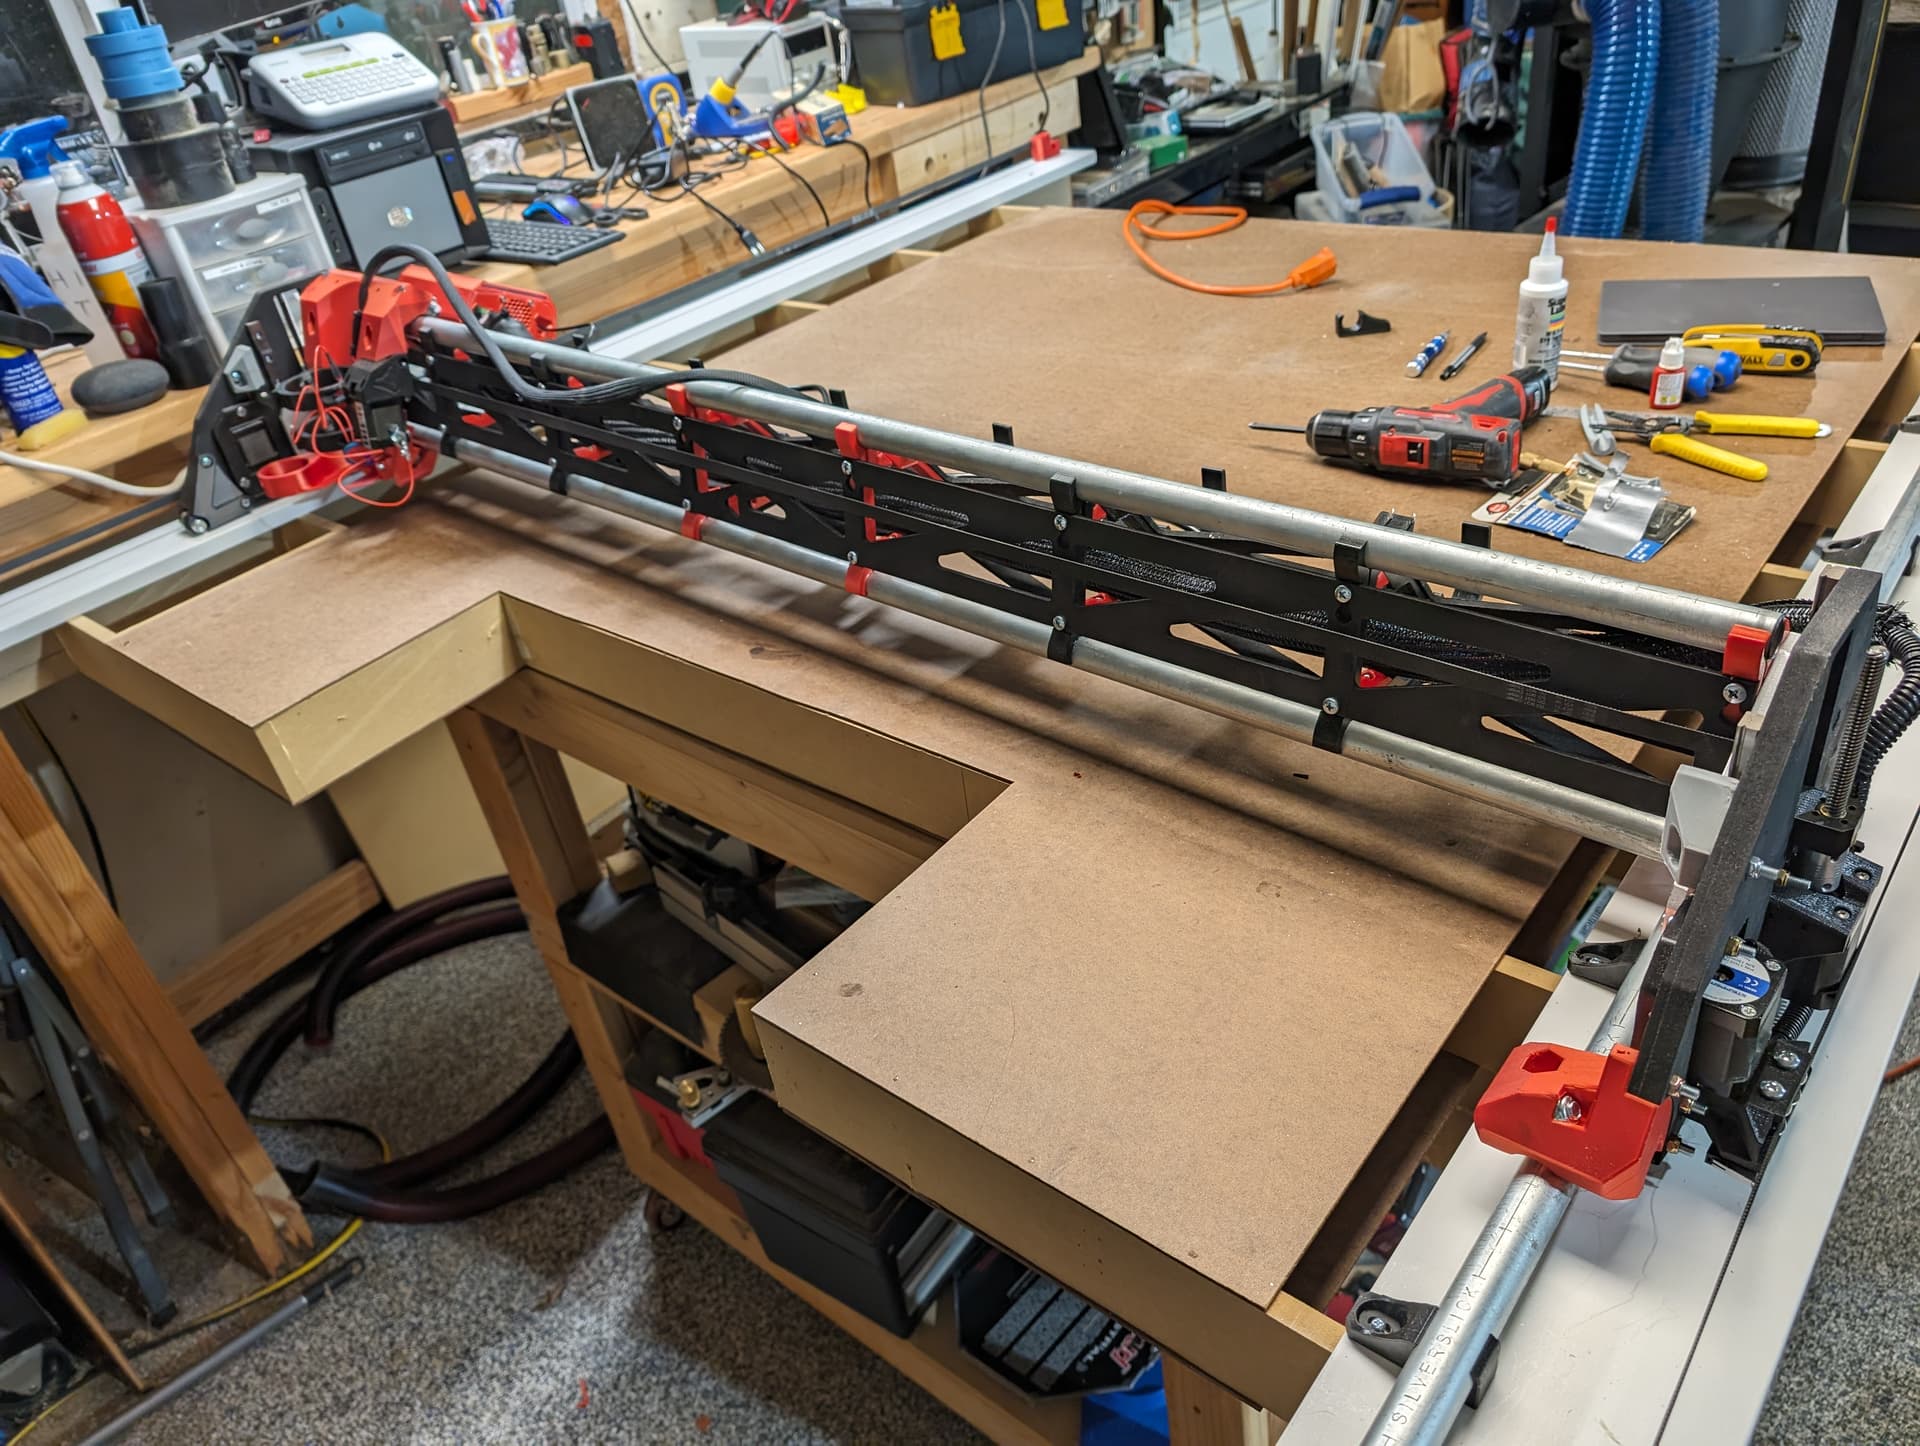
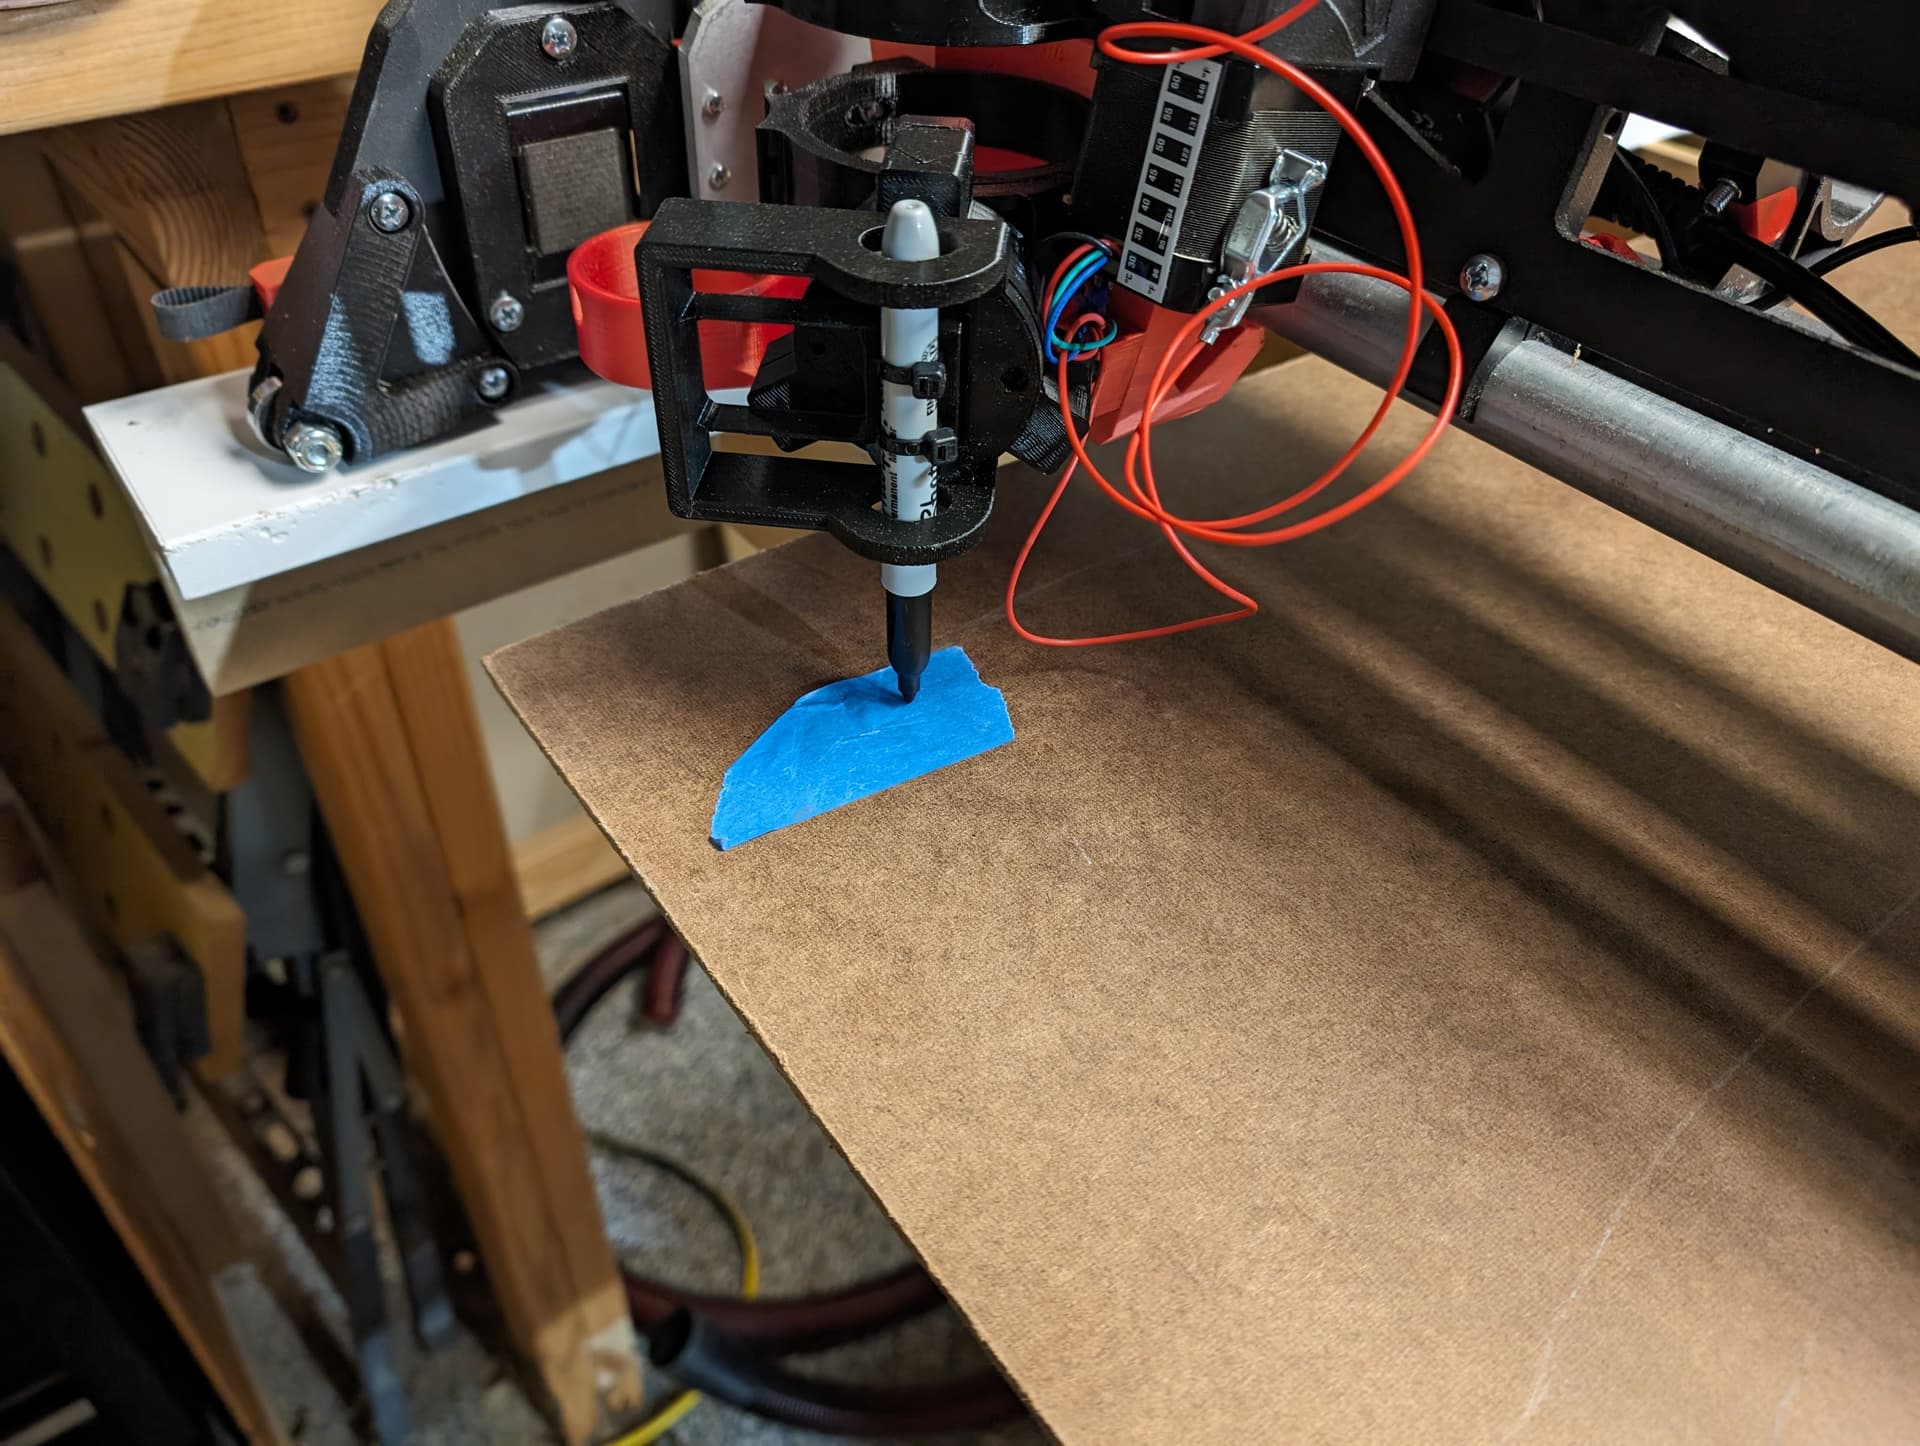
At the finish line with one last hurdle on my LR3!
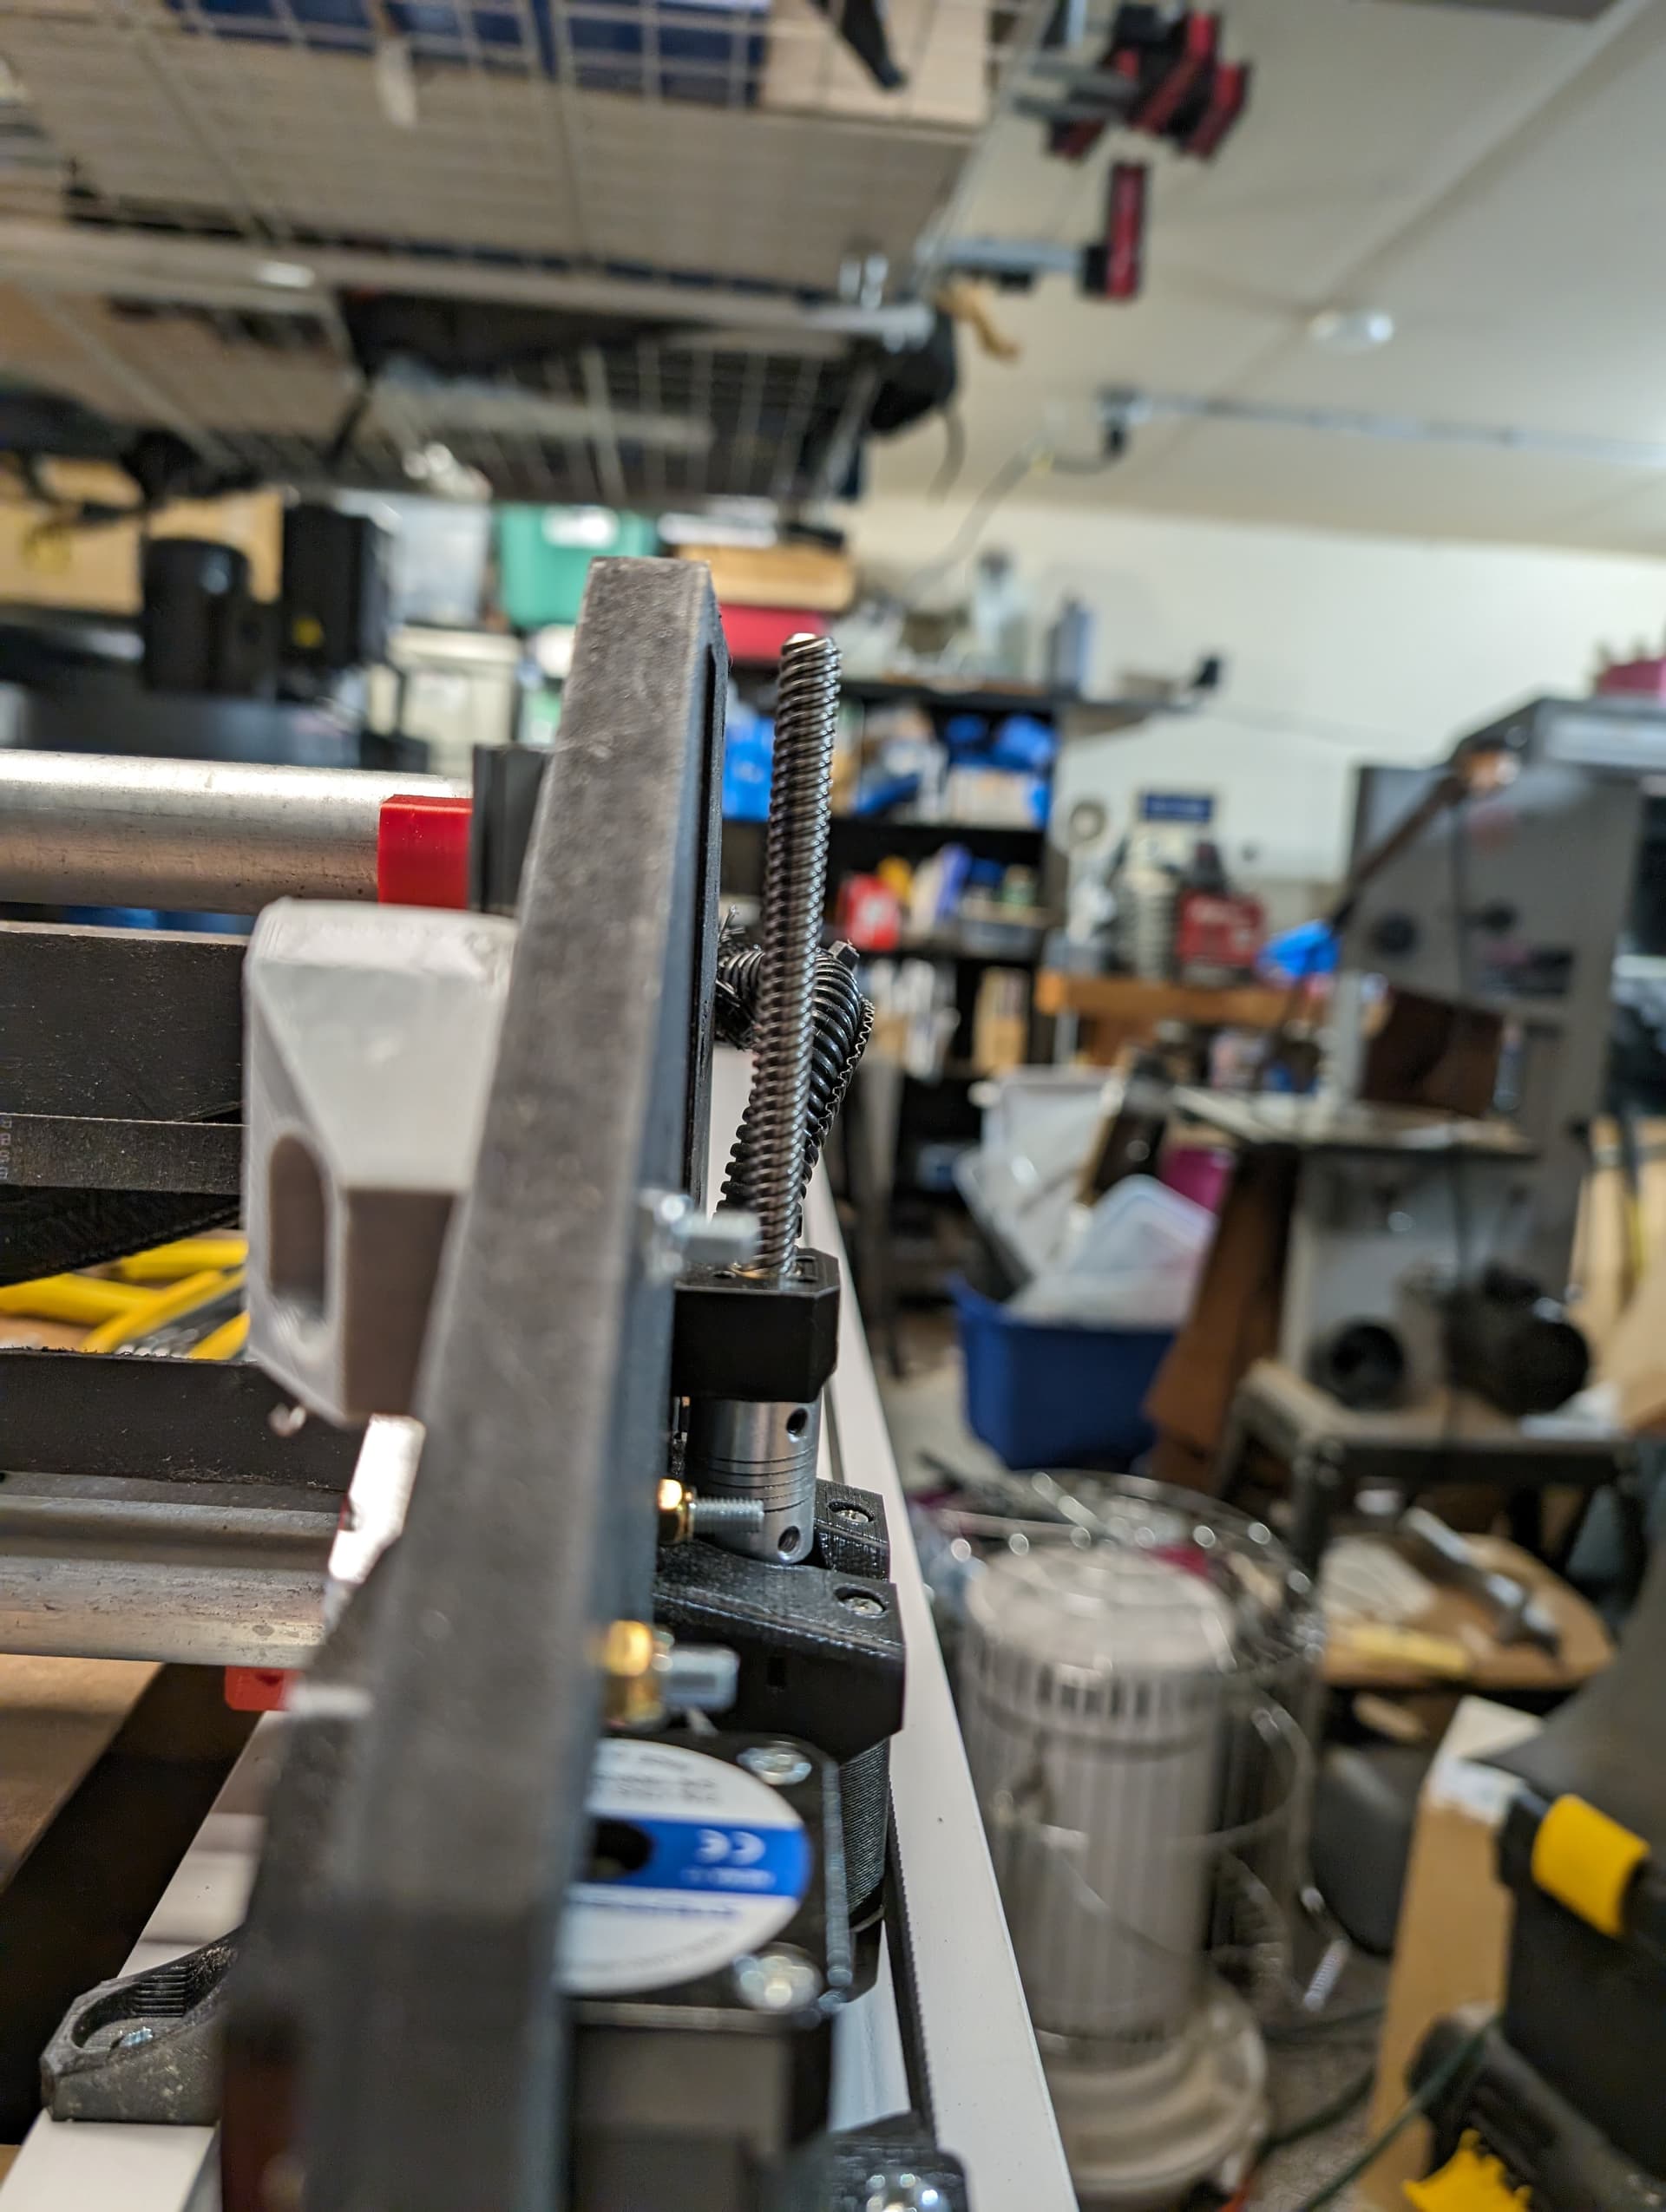
Fired up the jackpot and made sure Z homing is spinning in the right direction.
Linear bearings move up and down smoothly without binding.
I dropped in the leadscrews and super lube (they spin freely in the nuts.) Then carefully pressed them into the couplers, applied loctite to the grub screws and tightened.
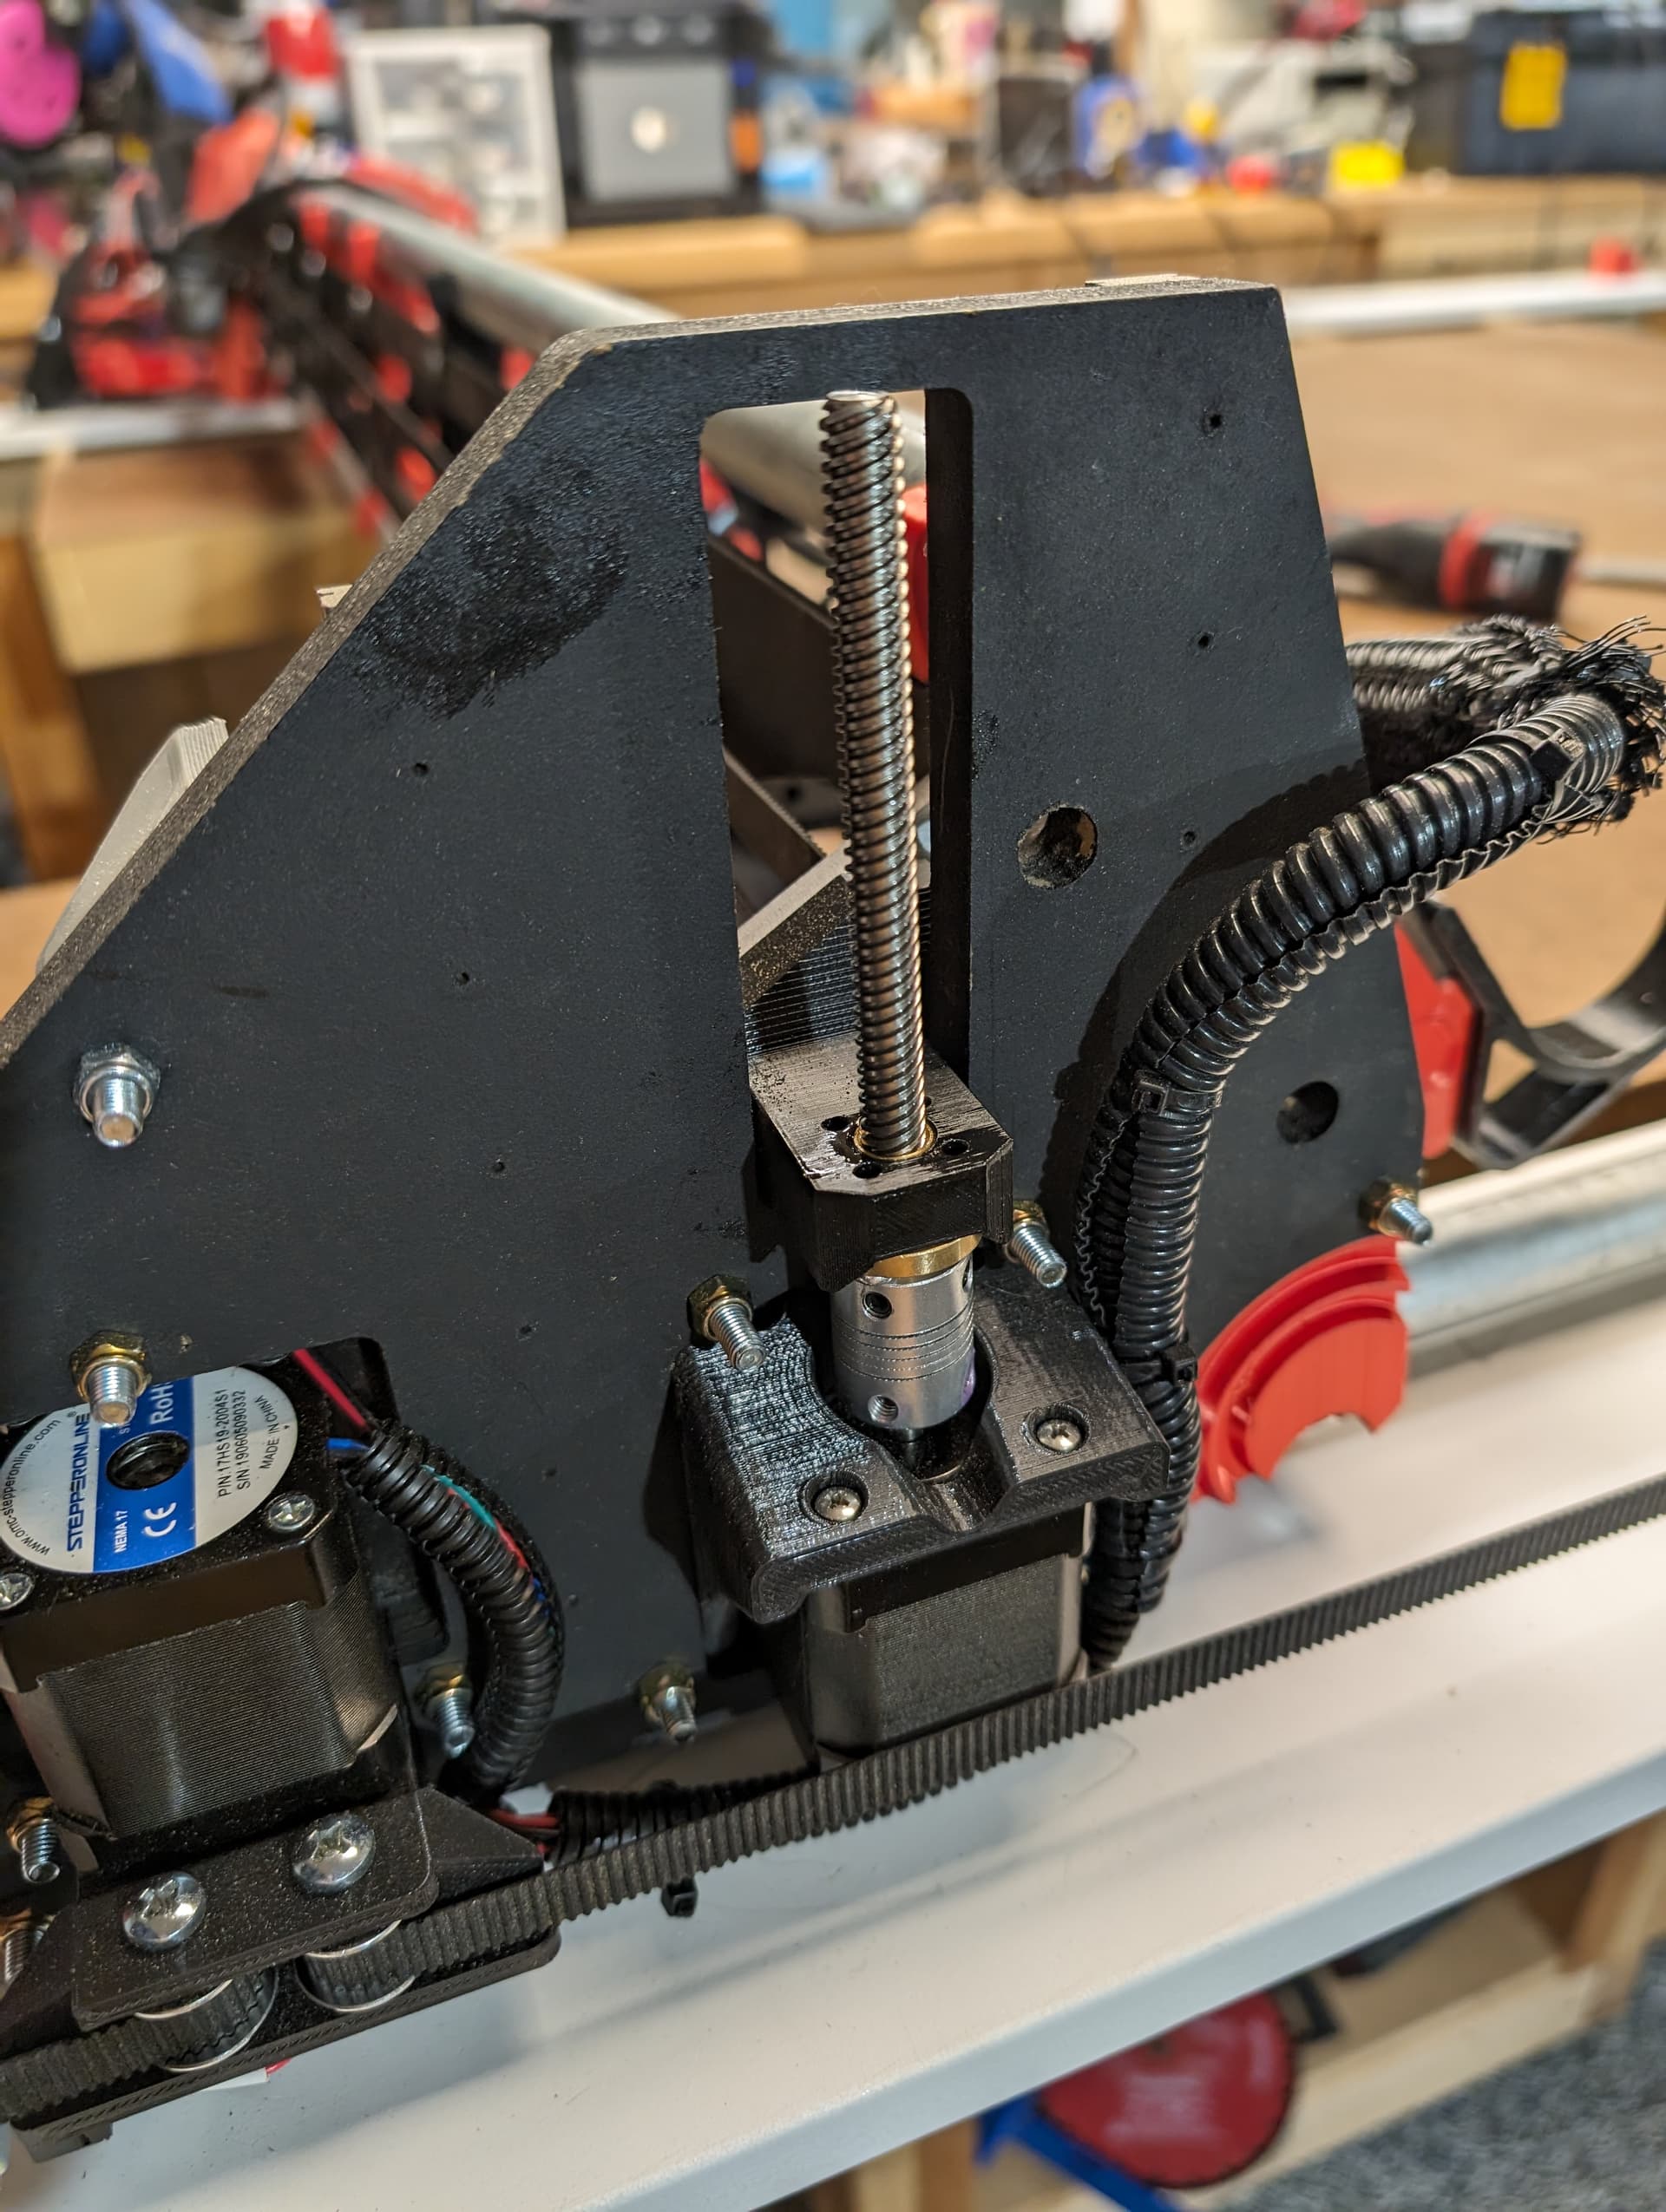
Homing Z, however, seems to bind up (mostly on the right side near the top.) After homing, cutting power, the gantry stays put instead of coming down.
So, I guess I have an alignment issue. Which is surprising, because it must be really subtle.
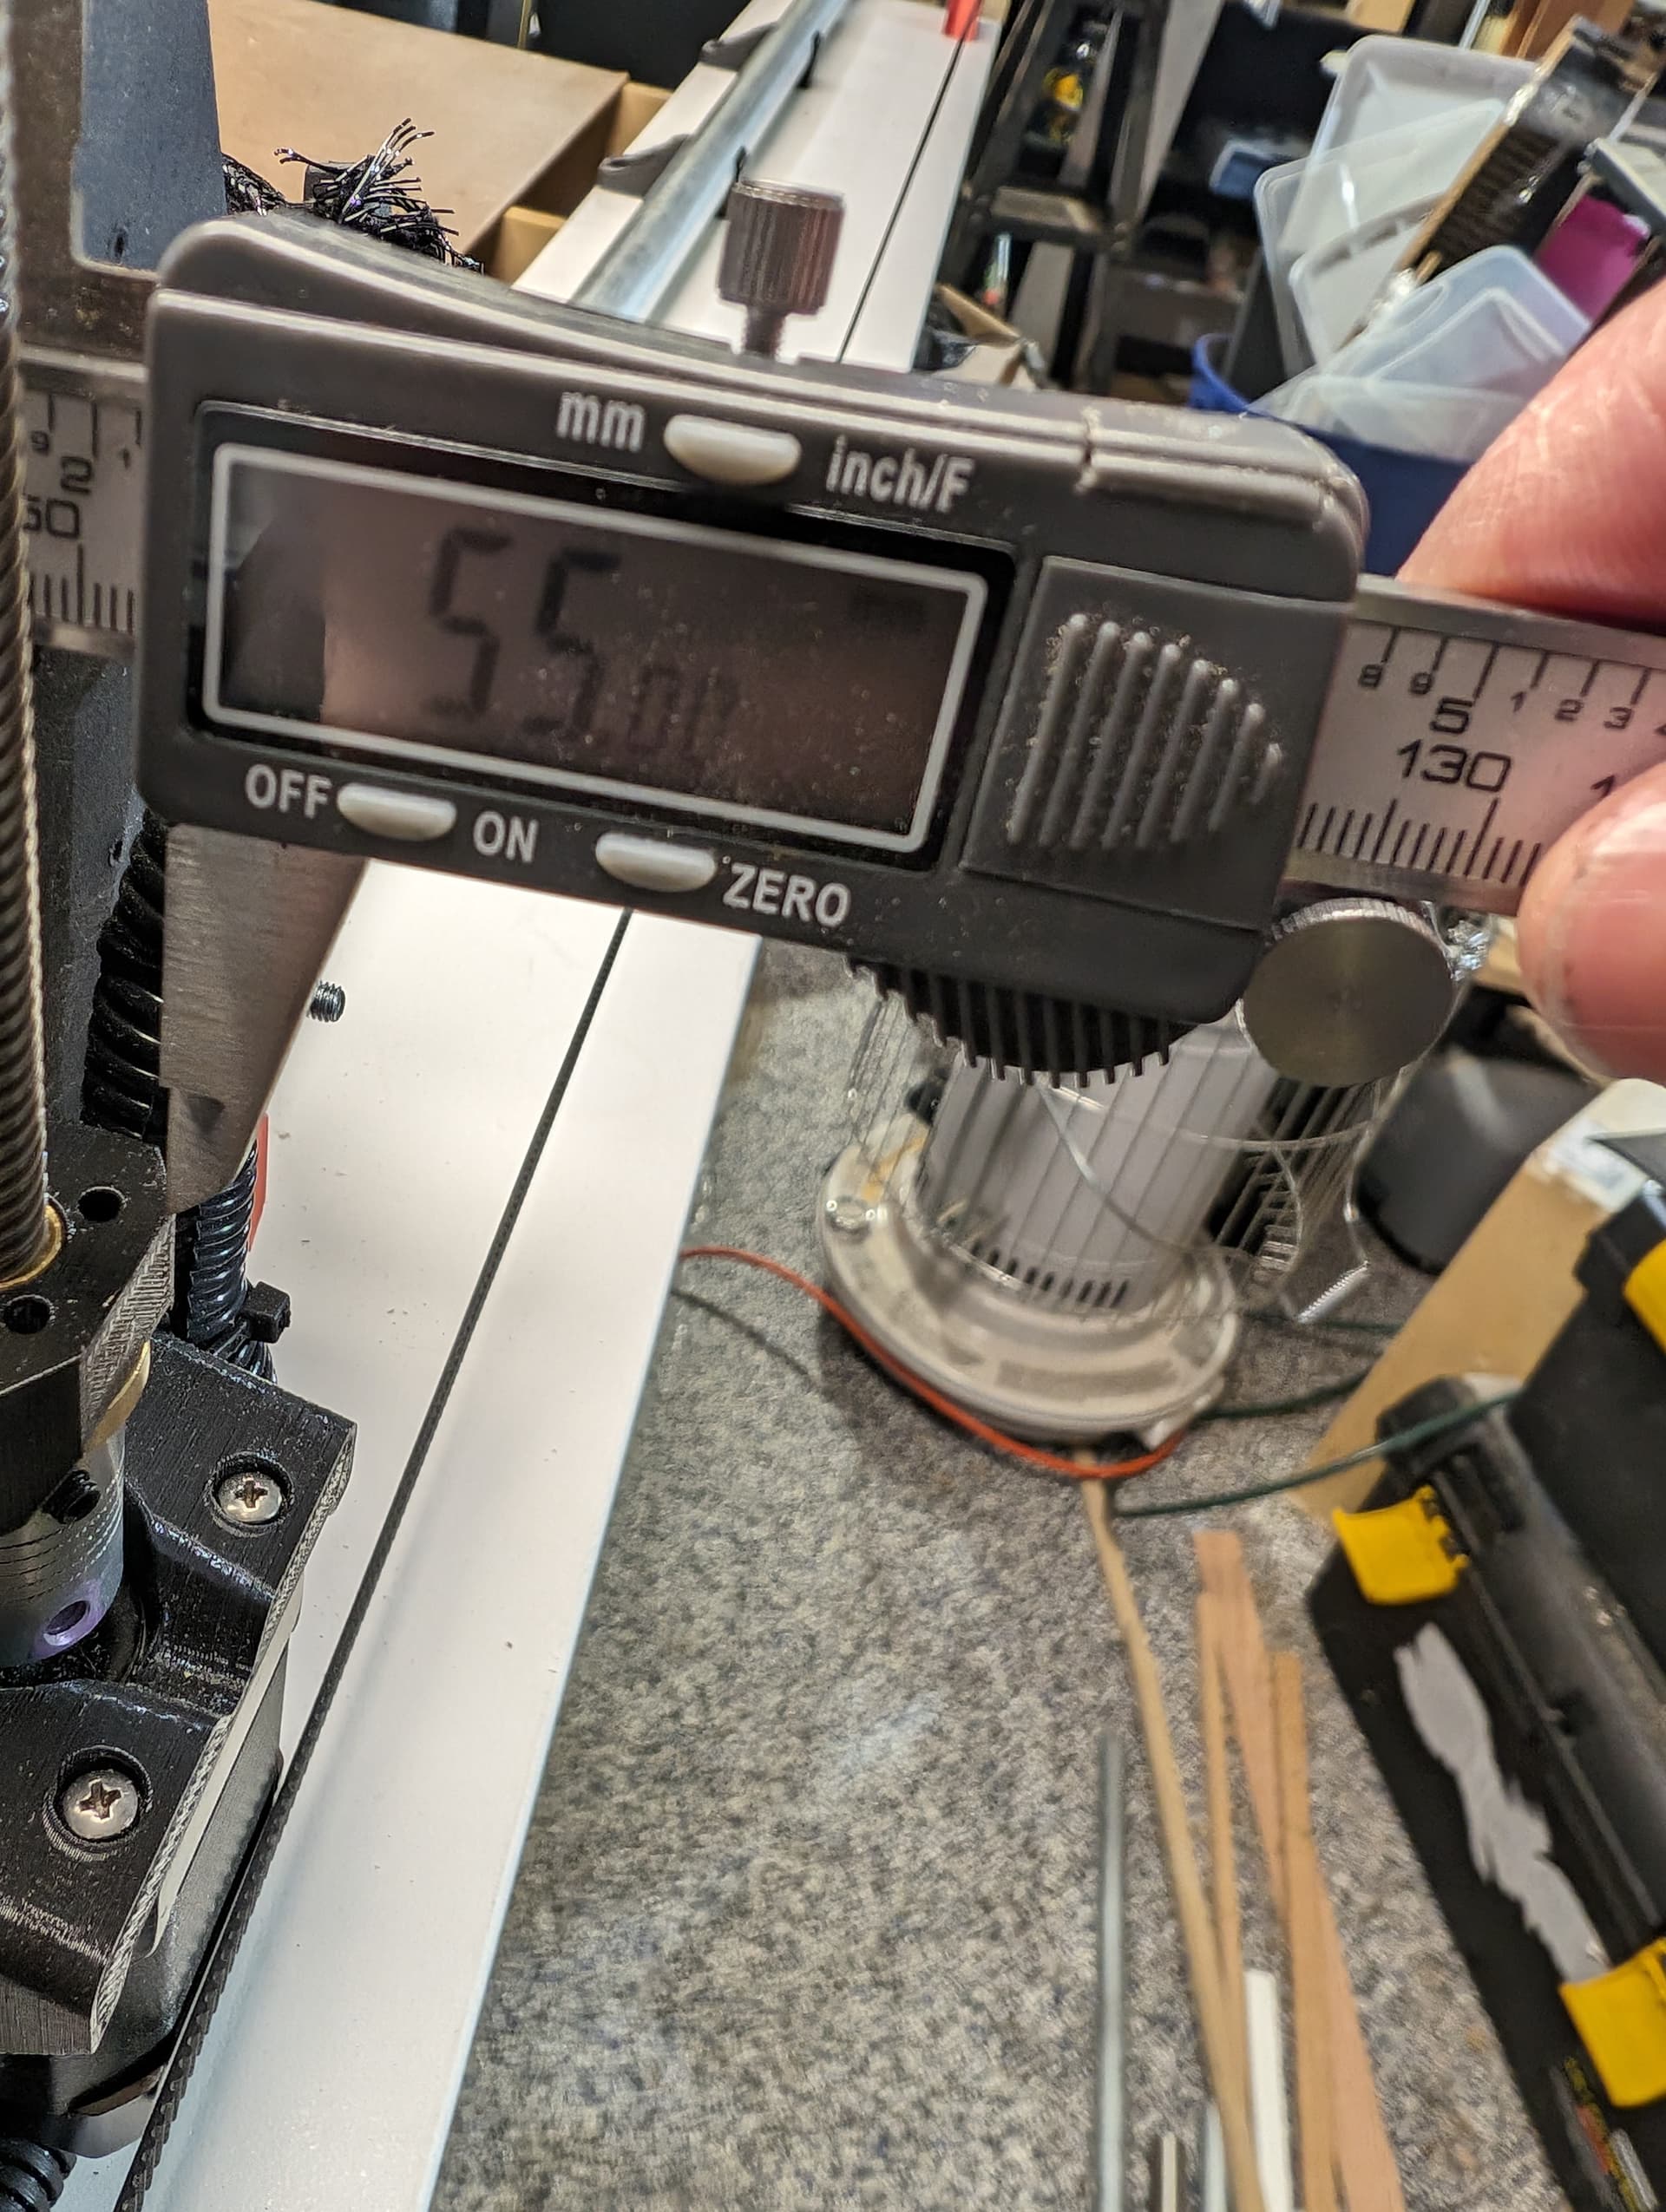
I haven’t verified super precision of my prints so I guess I could do that. But I might just customize the stubs to move them in like .5 mm. Measurement I made including the 6mm aluminum Z plates is 55mm, so appears to be 49mm (although was a bit fiddly to get that measurement.)
I can’t tell by sight if the leadscrew is ever so slightly angled out, but I am guessing that is the issue.
Will investigate more this week but figured I’d drop in some pics to see if anything else jumps out. I’ve reviewed the other threads and checked the obvious stuff.
Can’t wait to get this thing dirty! Then tackle cleaning up the garage, which is a bigger project…
It’s partially because of the camera, but I think you’re right. It is very very subtle though. I couldn’t figure out an easy way to measure that with the calipers, but will take a closer look tonight.
IMO Z screw alignment is more likely to bind at the bottom.
Because of the way the Z nuts work, they do not need to be tightly screwed into the XZ stubs. Use only 2 screws, and they don’t need to be tight.
Try backing off those M3 screws holding the nuts in about a turn. Let the Z nuts wiggle a little. That allows the Z rods to have minor imperfections, like maybe a very slight bend without binding in the nut.
Ah, I will definitely give that a shot tonight! I was hoping there was something I could just loosen, I probably snugged those up a bit and meant to back them off later. I did only use two screws, might drop it down to one.
It’s already so close, that I’m hoping this will fix it. I did look down through the nut with the leadscrew removed and it looked to be very closely aligned with the coupler hole.