I’m having some difficulty aligning the linear rails so they run freely…
I’ve left the rails and bearing blocks loose, then run the assembly to the bottom to tighten the bottom of the rails, then lifted the carriage to the top to tighten the top of the rails, and then slowly tightened each screw in the rails, finally I’ve tightened the last 8 bearing block screws, but the rails seem to go out of alignment/get sticky when I tighten the bearing blocks.
I’ve tried multiple times and nothing seems to work,
I’ve eased off the fixing screws for the rails and motion is a lot smoother, but I am worried the rails may fall out over time.
Should the rails be tightly screwed to the YZ plates, or should I leave them relatively loose, and maybe add some loctite to stop the screws from falling out completely?
Should the motion of the rails be as smooth as the rails are when they are no attached to any plates?
The YZ Plates are 12mm acrylic, and the fixing holes are tapped m3 holes with machine screws.
Encountered similar, loosened off slightly to avoid binding. Mentally made a note to watch for excessive loosening over time.
Seriously considered using the temporary strut as a spacer inbetween the rails while fastening them. Temporary strut printed as-is fits between my rails that came with the kit.
Slight width dimension change to the temporary strut model (in the slicer before printing, or remix of the original model) could make them double up as the perfect spacer, at least for the rails currently shipping in V1E LR3 kits.
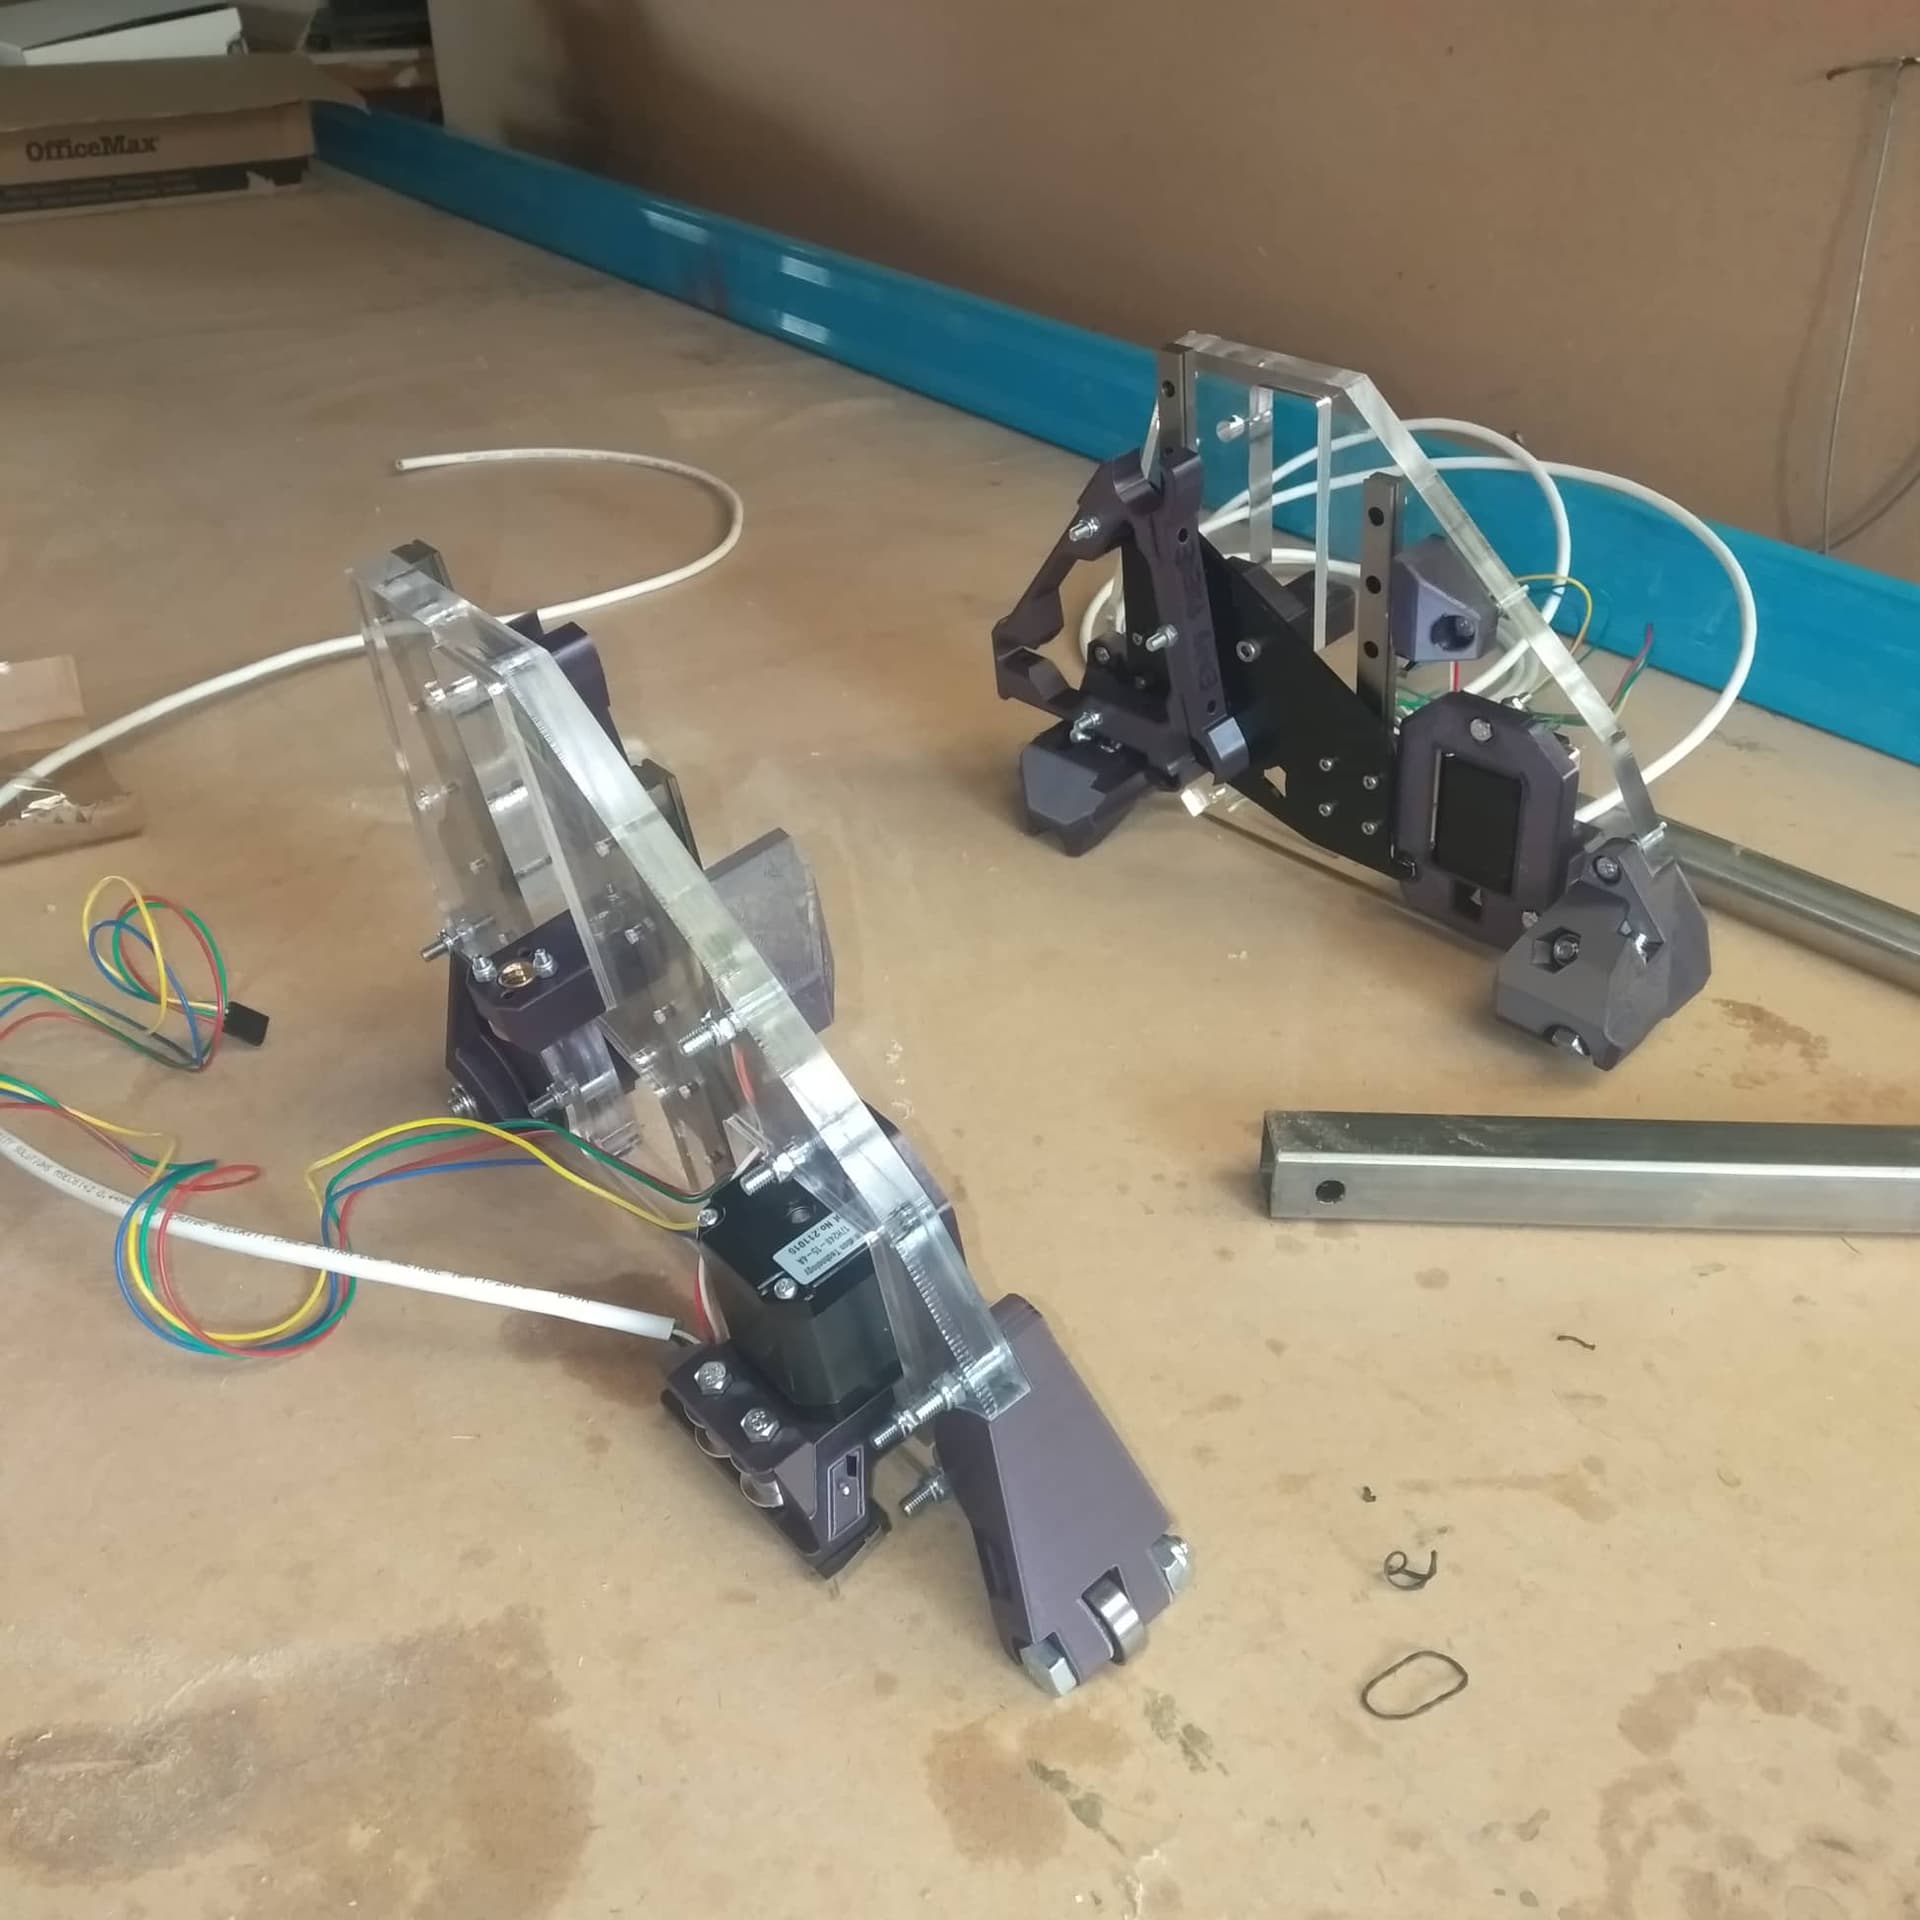
Love the acrylic! Are you using wood screws, or planning on bolts thru to nuts on acrylic YZ’s outer face?
What I found is that it’s not the rails bolted to the Y plate that make it bind, it’s where it bolts to the XZ plate.
If there’s about 0.5mm of a gap between the size of the screws and the holes, that makes for a much larger angle on the 25mm square where the XZ plate bolts to them than along the axis that the rail bolts to the YZ plate. Try loosening that off about a half turn and see what it does for the rails.
In my case, I initially only used one screw in each of the trucks on the linear rail, and the axis was smooth as butter. It was when I put the rest of them in that it started getting rough. The XZ plate wasn’t perfectly flat, either, or at least not flat enough to get away with all 4 screws tight in each one. THis also resulted in a slight misalignment of the YZ plates when it was finally assembled.
@Ryan I think that this problem would be geometrically worse with an XZ plate that has 2 rail trucks on it.
In my case, the metal XZ plates did wonders for fixing this up.
I can loosen the screws where the bearing block attaches to the XZ plate, but it seems to give me a lot more play than loosing the rails on the Y plate…
I’m using 3mm steel XZ plates, and I thought it would be a good idea to spray the plate with paint + clear coat, but I have a suspicion that could be the cause of the issues.
I need to order some new motors and drivers so I might revisit the rails when I install those…
I’ve hand tapped the acrylic with an m3 tap, the holes are 2.6mm and I drilled the first 2-3mm out to 3mm so the tap had a bit of a lead in to stay straight.
I was warned the threads could crack, but it all went very smoothly.
I loosed off the bearing blocks, but the screws eventually jumped out. I tightened everything up again and the Z seemed to work fine, but now it tends to lose power at random. It could be the dodgy steppers I’m using on the z, so I am waiting for replacements.
But I am considering loosening the rails this time and maybe trying to secure the screws with a little locktite
Losing power shouldn’t have anything whatsoever to do with the rails.
That’s drivers (overheating maybe?) or wiring.
A little bit of wiggle room is a good thing, but maybe only on one rail. Leave one as a stationary reference. I had a bit of trouble when I tightened up all of the bearing block screws, it seemed to want to pull the bearing blocks out of true. I got it worked out and now everythign is tight and true.