This is going to be a little hard to explain so I made a little video that you can see here. https://youtu.be/wJUpmhzMi6w
Hopefully this does not seem weird.
The laser is a cheap laser I got of Aliexpress. As you can see it is housed in a housing that was built so it could easily be used in the Shaper by removing the spindle and placing in the laser. Using the same plug style that the spindle uses it gets power from the shaper spindle outlet. The laser is connected to an Arduino board that runs the screen and manages the PWM control to the laser. I would like to be able to pull this laser out and drop it into the Lowrider 3 and run it to use Lightburn. I am not upgrading the Lowrider 2. I plan to keep it in tact and have ordered the parts to build a Lowrider3 with the new SKR Pro board.
After lurking on the forums for clues how to do this I decided it would be best to just throw it out there. As you can see from the video that the diameter of the laser base is virtually the same as the Dewalt base and surprising the height is virtually the same as well. With only slight modification I could easily get the Laser to drop in the Dewalt fixed base. I noticed however that in the new build Ryan no longer uses the fixed base and has parts that now house the dewalt or makita. Not sure how this will play out. I always pulled the router to change tools. Is this still the same on Version 3?
My other question is how to simply wire the laser on the Lowrider for quick installation. Any hints will be much appreciated.
Thanks,
For the most part lasers just need the three wires. You can add a plug to those anywhere. On your current system it looks like you do not actually use laser control. Do you just manually tun it on and off when needed?
If you want lightburn and the LR to do that you need to add a control wire and ground.
Thanks for the reply Ryan. The current system uses an arduino with a photosensor. I activate the laser with the switch on the front but it will not turn on until the photosensor senses a change in state. . When the spindle drops to the predetermined height above the board, the photosensor drops in front of a piece of aluminum foil tape. A change of state is thus detected and it turns the laser on. We have programmed a short delay before the laser actually engages so that you can start moving the shaper in the direction of the burn. Does this make sense? What I would like to do is bypass the arduino when on the lowrider and pull the wiring for control and power from the skr board. Just don’t know which terminals to connect to.
It makes sense but all that is built into Marlin / fluidnc. So much easier now, direct laser connection.
You need to tie the grounds together, be mindfull of your voltage and current usage depending on your power supply. The laser pin is in the instructions. Main - V1 Engineering Documentation
You have a really inventive way of managing the laser on the Shaper. Very cool. Here are some thoughts (some reiterating what Ryan has already posted).
You want to update your Lowrider to the latest V1 maintained firmware. The latest version has improved laser control.
You need to make sure your laser accepts a “true” PWM signal, or that the voltage of the PWM pin on the control board matches the voltage your laser is expecting. Given your use of an Arduino, I’m guessing you are currently using 5V PWM from the Arduino to drive the laser. The assigned laser pin on the SKR Pro board (PC9) is a 3.3V pin, and you will need to look at your docs for your laser to figure out if you need additional work. Most recent laser modules are driven digitally and will accept a range of PWM voltages, but it sounds like you’ve had this module for some time.
You will get much better laser results if you use inline commands in Lightburn. Note that this setting is hidden in the dialog on many computer displays and requires resizing the dialog to be seen. Also, the g-code command, “M03 I” must be inserted at the beginning of the g-code file to enable inline commands in Marlin.
The voltage of your SKR Pro board needs to match the voltage your laser is expecting, and the power supply needs to provide enough current for both your CNC and for your laser module. If the voltage does not match, you will need a separate power supply, and you must tie the grounds of the two power supplies together. I would pull the power at or before it enters the SKR Pro board.
An interesting hack occurred to me. If your laser expects a 5V PWM signal, you could use your Arduino as an intermediary. Have the Arduino read the PWM signal from the SKR Pro board, and then write the PWM signal to a pin connected to the laser.
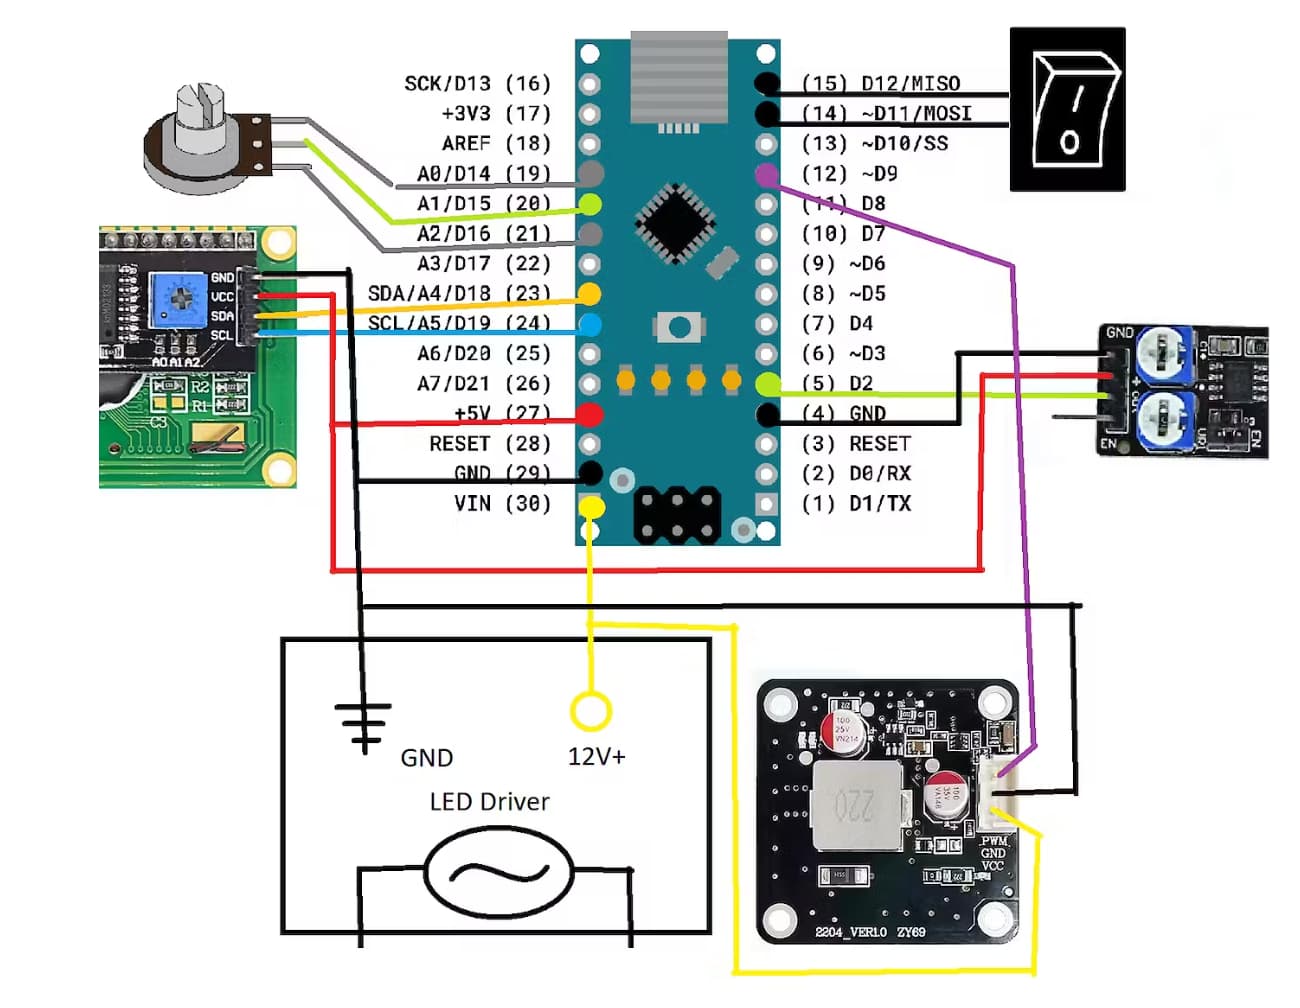
Hi everyone. Thanks for that. I can’t take credit for this project. I worked with a friend on it and mainly helped to refine it. It was his idea. The laser is a fairly new laser. Bought about 4 months ago. Here is the schematic for how we hooked it to the Arduino. The Arduino does not supply power to the laser. As you can see the laser gets power from the LED Driver.
The PWM at this point simply goes to terminal 12. So based on this I would only have to connect the PWM to the pin with the pin with the PWM signal on the SKR board? Would I still have to tie the grounds together?
Robert, that would be an interesting hack to do. Not sure I would know the code off hand to make that work. Based on the schematic how would you approach it?
First, it is best if you connect your laser directly to the control board, and not go through your Arduino. The pin with the purple wire on the laser goes to PC9. The black and yellow wires connect to your power supply. Assuming your laser handles a digital PWM signal, you are done. If you end up using a separate power supply, you need to connect the grounds of the two supplies, but that wire can be small. It is only for the PWM signal, which draws very little current.
As for using the Arduino as an intermediary, you connect the PC9 of your control board to any of your available Arduino pins, and use the PluseIn() function to get the timing of the high and low of the pulse. From there, you can calculate the PWM value and use an analogWrite() to set the PWM on pin D9.
One alternate way to accomplish the task would be to connect PC9 to an analog pin, and use an analogRead() and map the result to your PWM value used to do an analogWrite to pin D9. You may need to use a running average to smooth out the noise from the analogRead().
Another alternate is to use interrupts to measure the pulse high/low duration. On the nano you have pictured, pins D2 and D3 support hardware interrupts, but I seem to remember that all the pins support a change state interrupt. This solution would be better if you have other, concurrent work that you need done by the Arduino, but I don’t think you do in this application.
You likely want to add a switch to the Nano to select between Shaper processing code, and Lowrider processing code.
Thanks Robert, That is perfect. For simplicities sake I think I will just go direct from the laser to the SKR board and use the switch to alternate between the different processing codes. I appreciate your time giving me this information. Really helps to be able to visualize everything in advance of doing it.
I remember reading about this laser project in the Shaper Forums when you first started experimenting with this. It must be 1 year or more? Not sure. I even downloaded the files for myself but never did it… But I think that’s just the usual uncut-pile-of-shame-projects that are saved but never cut
Nice to see that there are overlaps between the communities and all kind of clever/new/interesting things people come up with. Best of luck for your Lowrider-Laser-Installation
Hi Patrick, sorry I took so long to respond. I have been away for a week. All the credit for this project should be given to MFSamuel. It was his conception. I just helped to make it accessible to the community. I think the Shaper and Lowrider tend to complement each other but the communities are a bit different in scope. I have been a Lowrider evangelist for several years but it would depend who I was talking to which way I would steer them. For me I like having both. I cut templates and carve with the Lowrider. Detailed inlays and any joinery I tend to go for the Shaper. I like the Shaper’s workflow and if you do something you don’t like you just move over and cut it again. Does this make sense?
I bought the first Origin that was sold within the EU and have been advocating for it A LOT and will now - for hopefully mostly the same synergy considerations as you - build a LR3 to complement it. Tomorrow I will pick up the first package from the customs office, second package still somewhere between V1 and me Can‘t wait
I do like making quick projects with Origin but intent to use the LR3 to take over the part of making multiple cuts so I can maybe start selling some of it - or to cut very repetitive jobs for me so I can do something else. They tend to be annoying with Origin… 1 part is fun, cutting 20 is… tedious
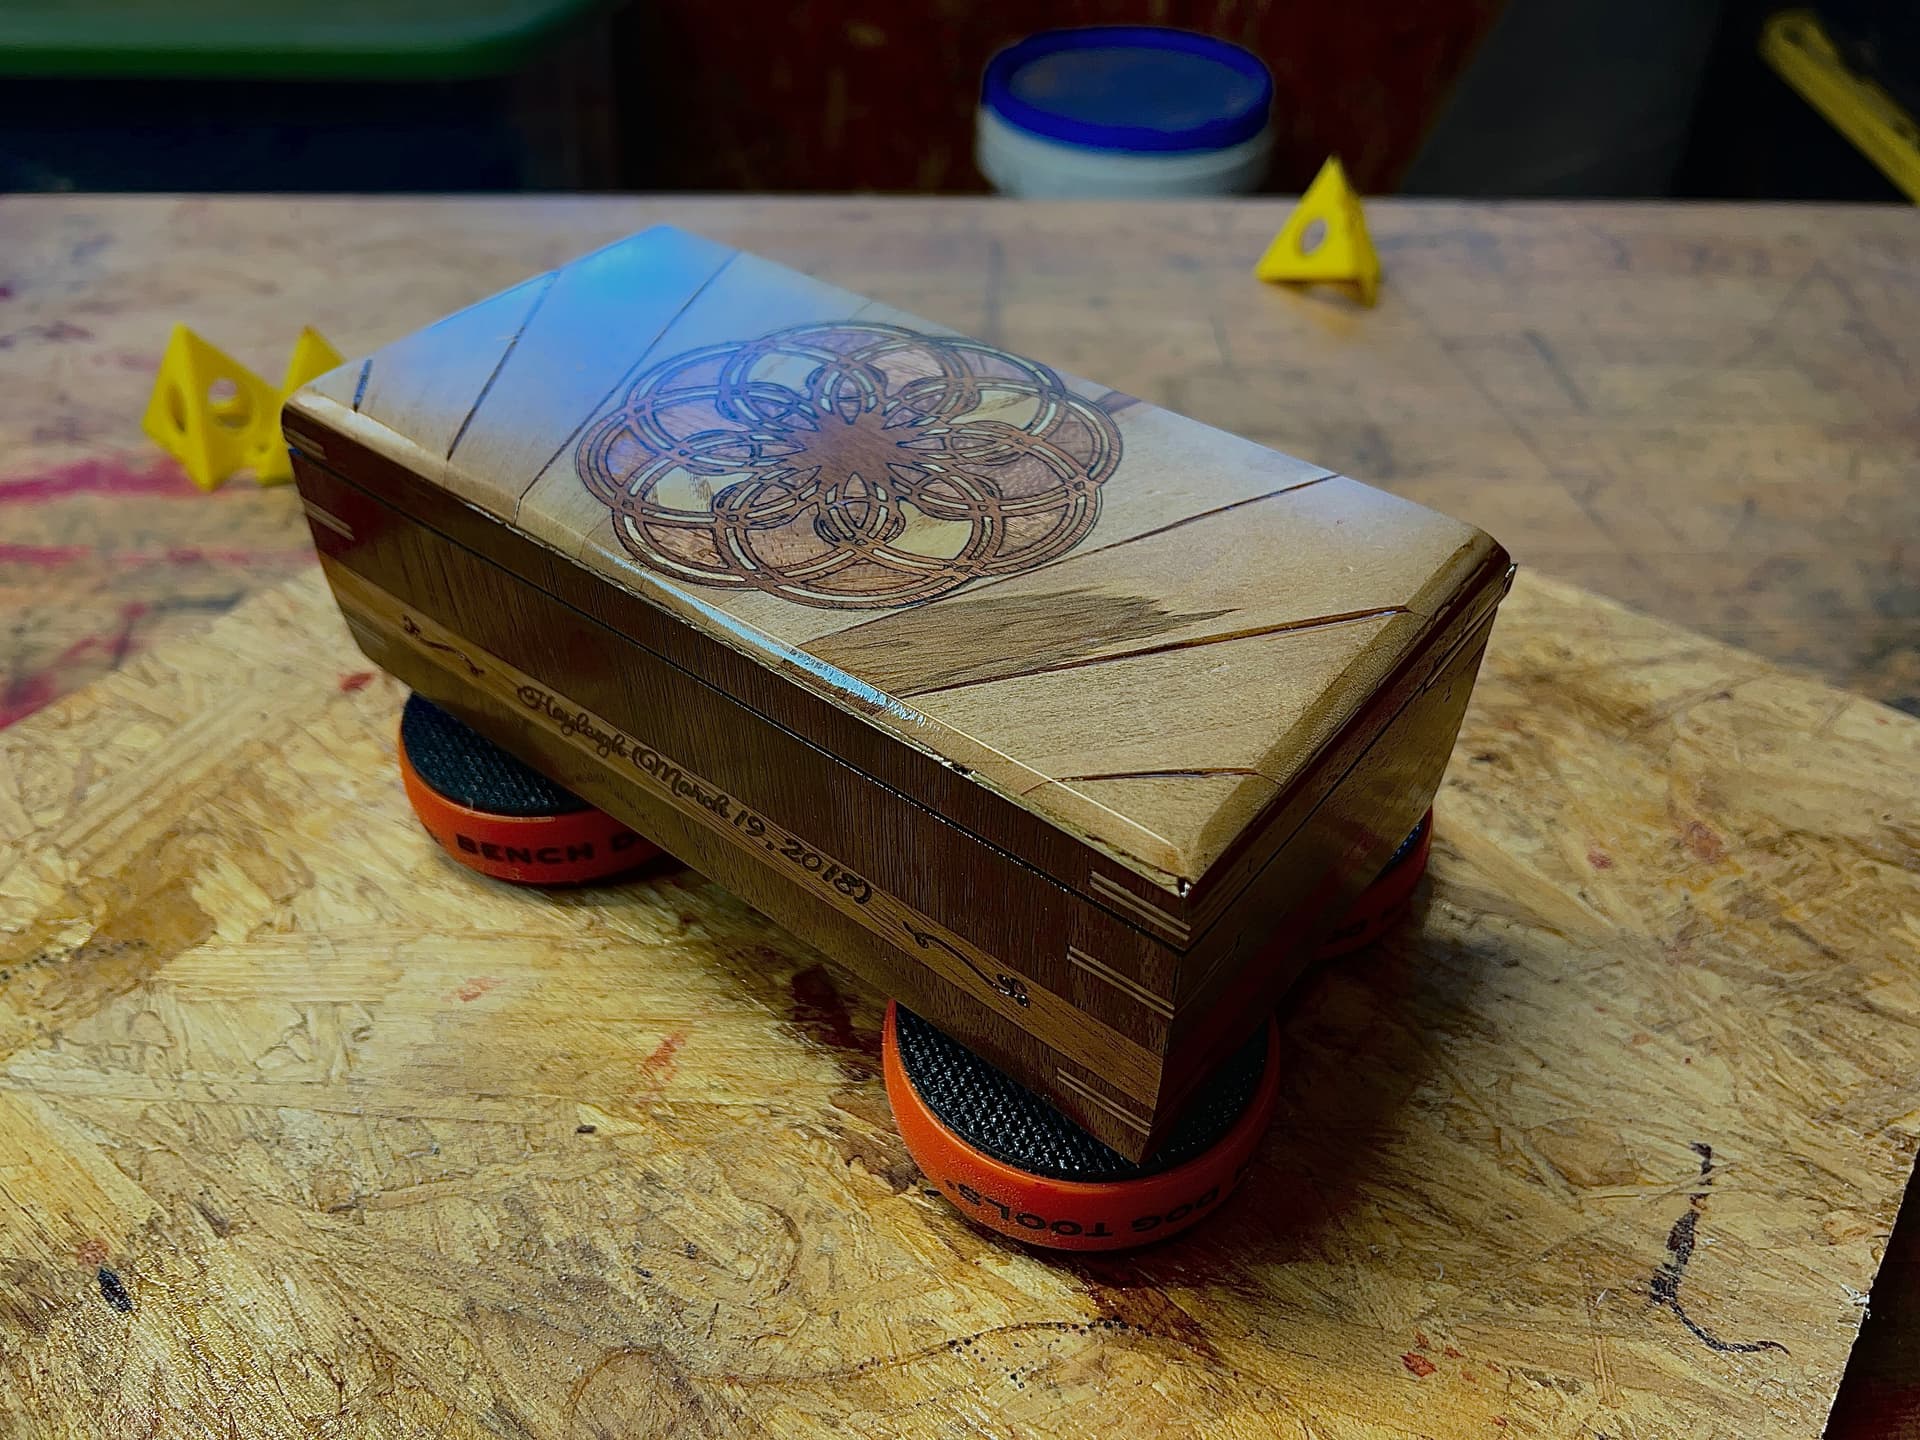
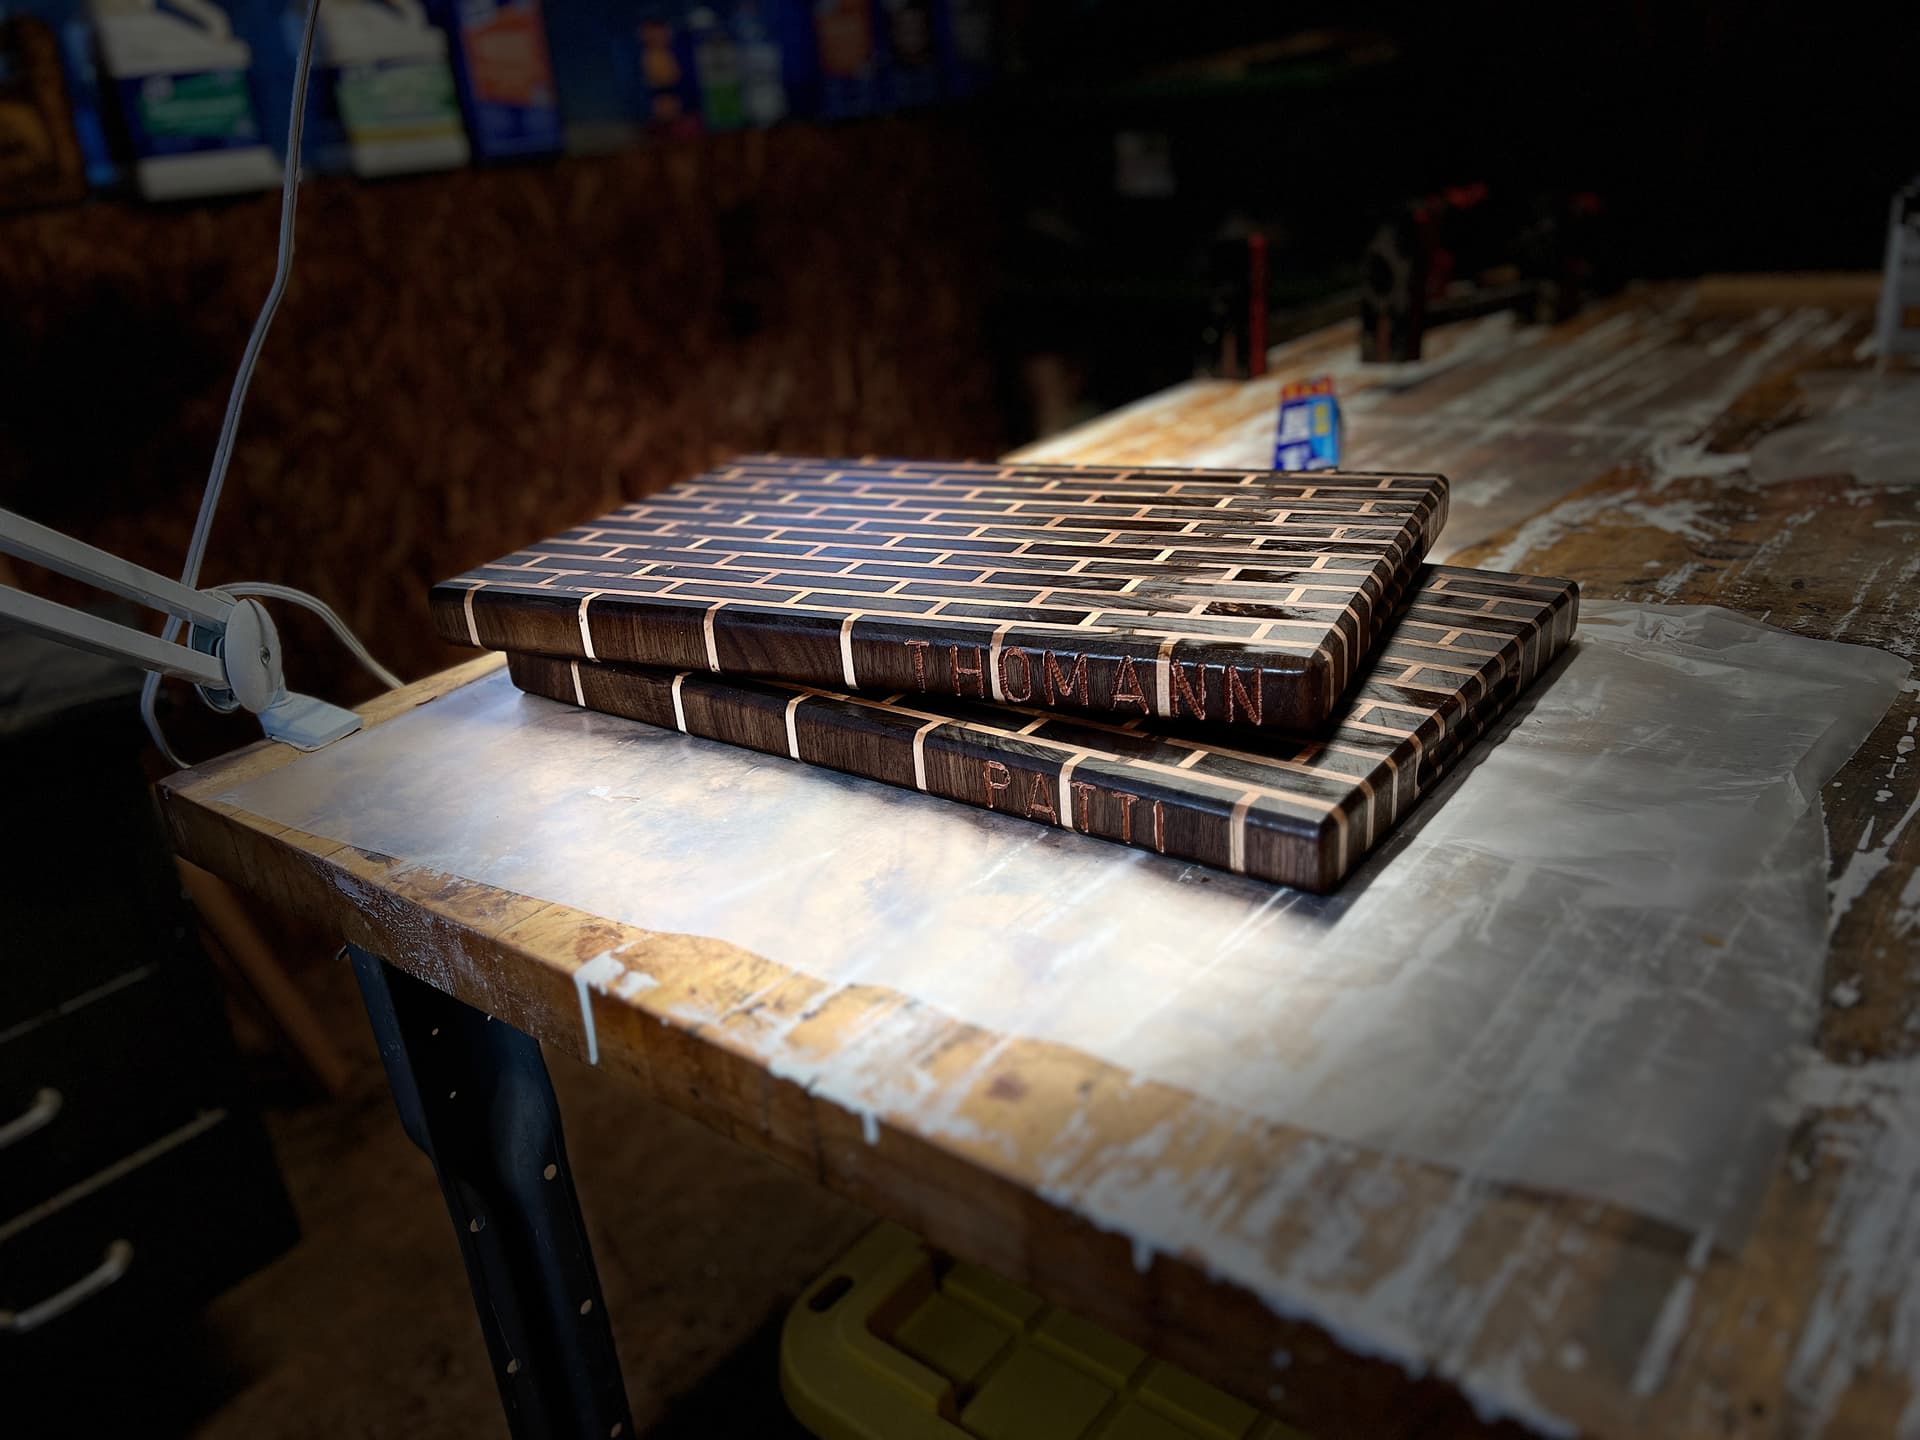
Agreed. For me its about doing detailed inlays. When I carve out the inset using a 1/8, 1/16, and 1/32 bits are fine. The piece holds in place and I can get the depth of cut pretty exact. Yes it takes a long time with the Shaper pocketing all the different pieces but it works. When it comes to cutting the inlay pieces using any kind of router bits, it is only possible to go so small before you start running into issues such as hairs on the edges, adhesion problems and all sorts of other problems. With the laser I glue two pieces of 1/42 inch veneer together and I can cut through cleanly with one pass. Doubling the veneer gives me a little more room for sanding and the results are simply perfect. With the Shaper you can veneer a detail anywhere you want. I just did some cutting boards that I put the family’s name on the side of the board so that when you come into the room you see the board and the family name on the side becomes a focal point. Try that on the Lowrider. But like you said if I am detail inlaying the sides of a box for example then it always occurs to me that I could knock these out faster on the Lowrider and not have to stand and bend over as much.
For me with the Shaper and the Lowrider, their price points help them to be seen as just another tool in the arsenal for a woodworkers shop rather than being the focal point of the shop. I have been to other peoples shops where they have large CNC’s and it seems that they take up the whole shop. The work that they produce tends to look like it was produced on a CNC as well. While I don’t go out of my way to hide the fact that I use a CNC, I tend to use it only to embellish details or cut templates for repeatable things like legs on furniture. Could you cut all the legs with a CNC? Yes. But the workflow of making a template, transferring it to the piece, cutting bulk waste with the bandsaw and then finishing it using the template and a pattern bit on a router is far more satisfying and in my mind less prone to mistakes workflow.