Acrylic on LR2

I am in the middle of doing an Acrylic milling job on the LR2, and although I have “okaj” results I hope someone might help me to raise the bar to get a perfect result. :slight_smile:

I´ve read plenty on the subject, so I started by buying Cast Acrylic 6mm thick.
Next I´ve bought 2 new bits, made in Germany, for the job;

  • 3 mm thick, single flute milling bit
  • 45° spiral chamfering / engraving bit

I configured the follow in Estlcam:

So as one can see I went the “Trochoidal” route to cut the full depth at once, and use the “Conventional Milling” direction. I am not using a finishing pass.
My Katsu/Makita clone is been set on number 2 for the speed setting.

Using Tool 2 and 3 I do get the following results;


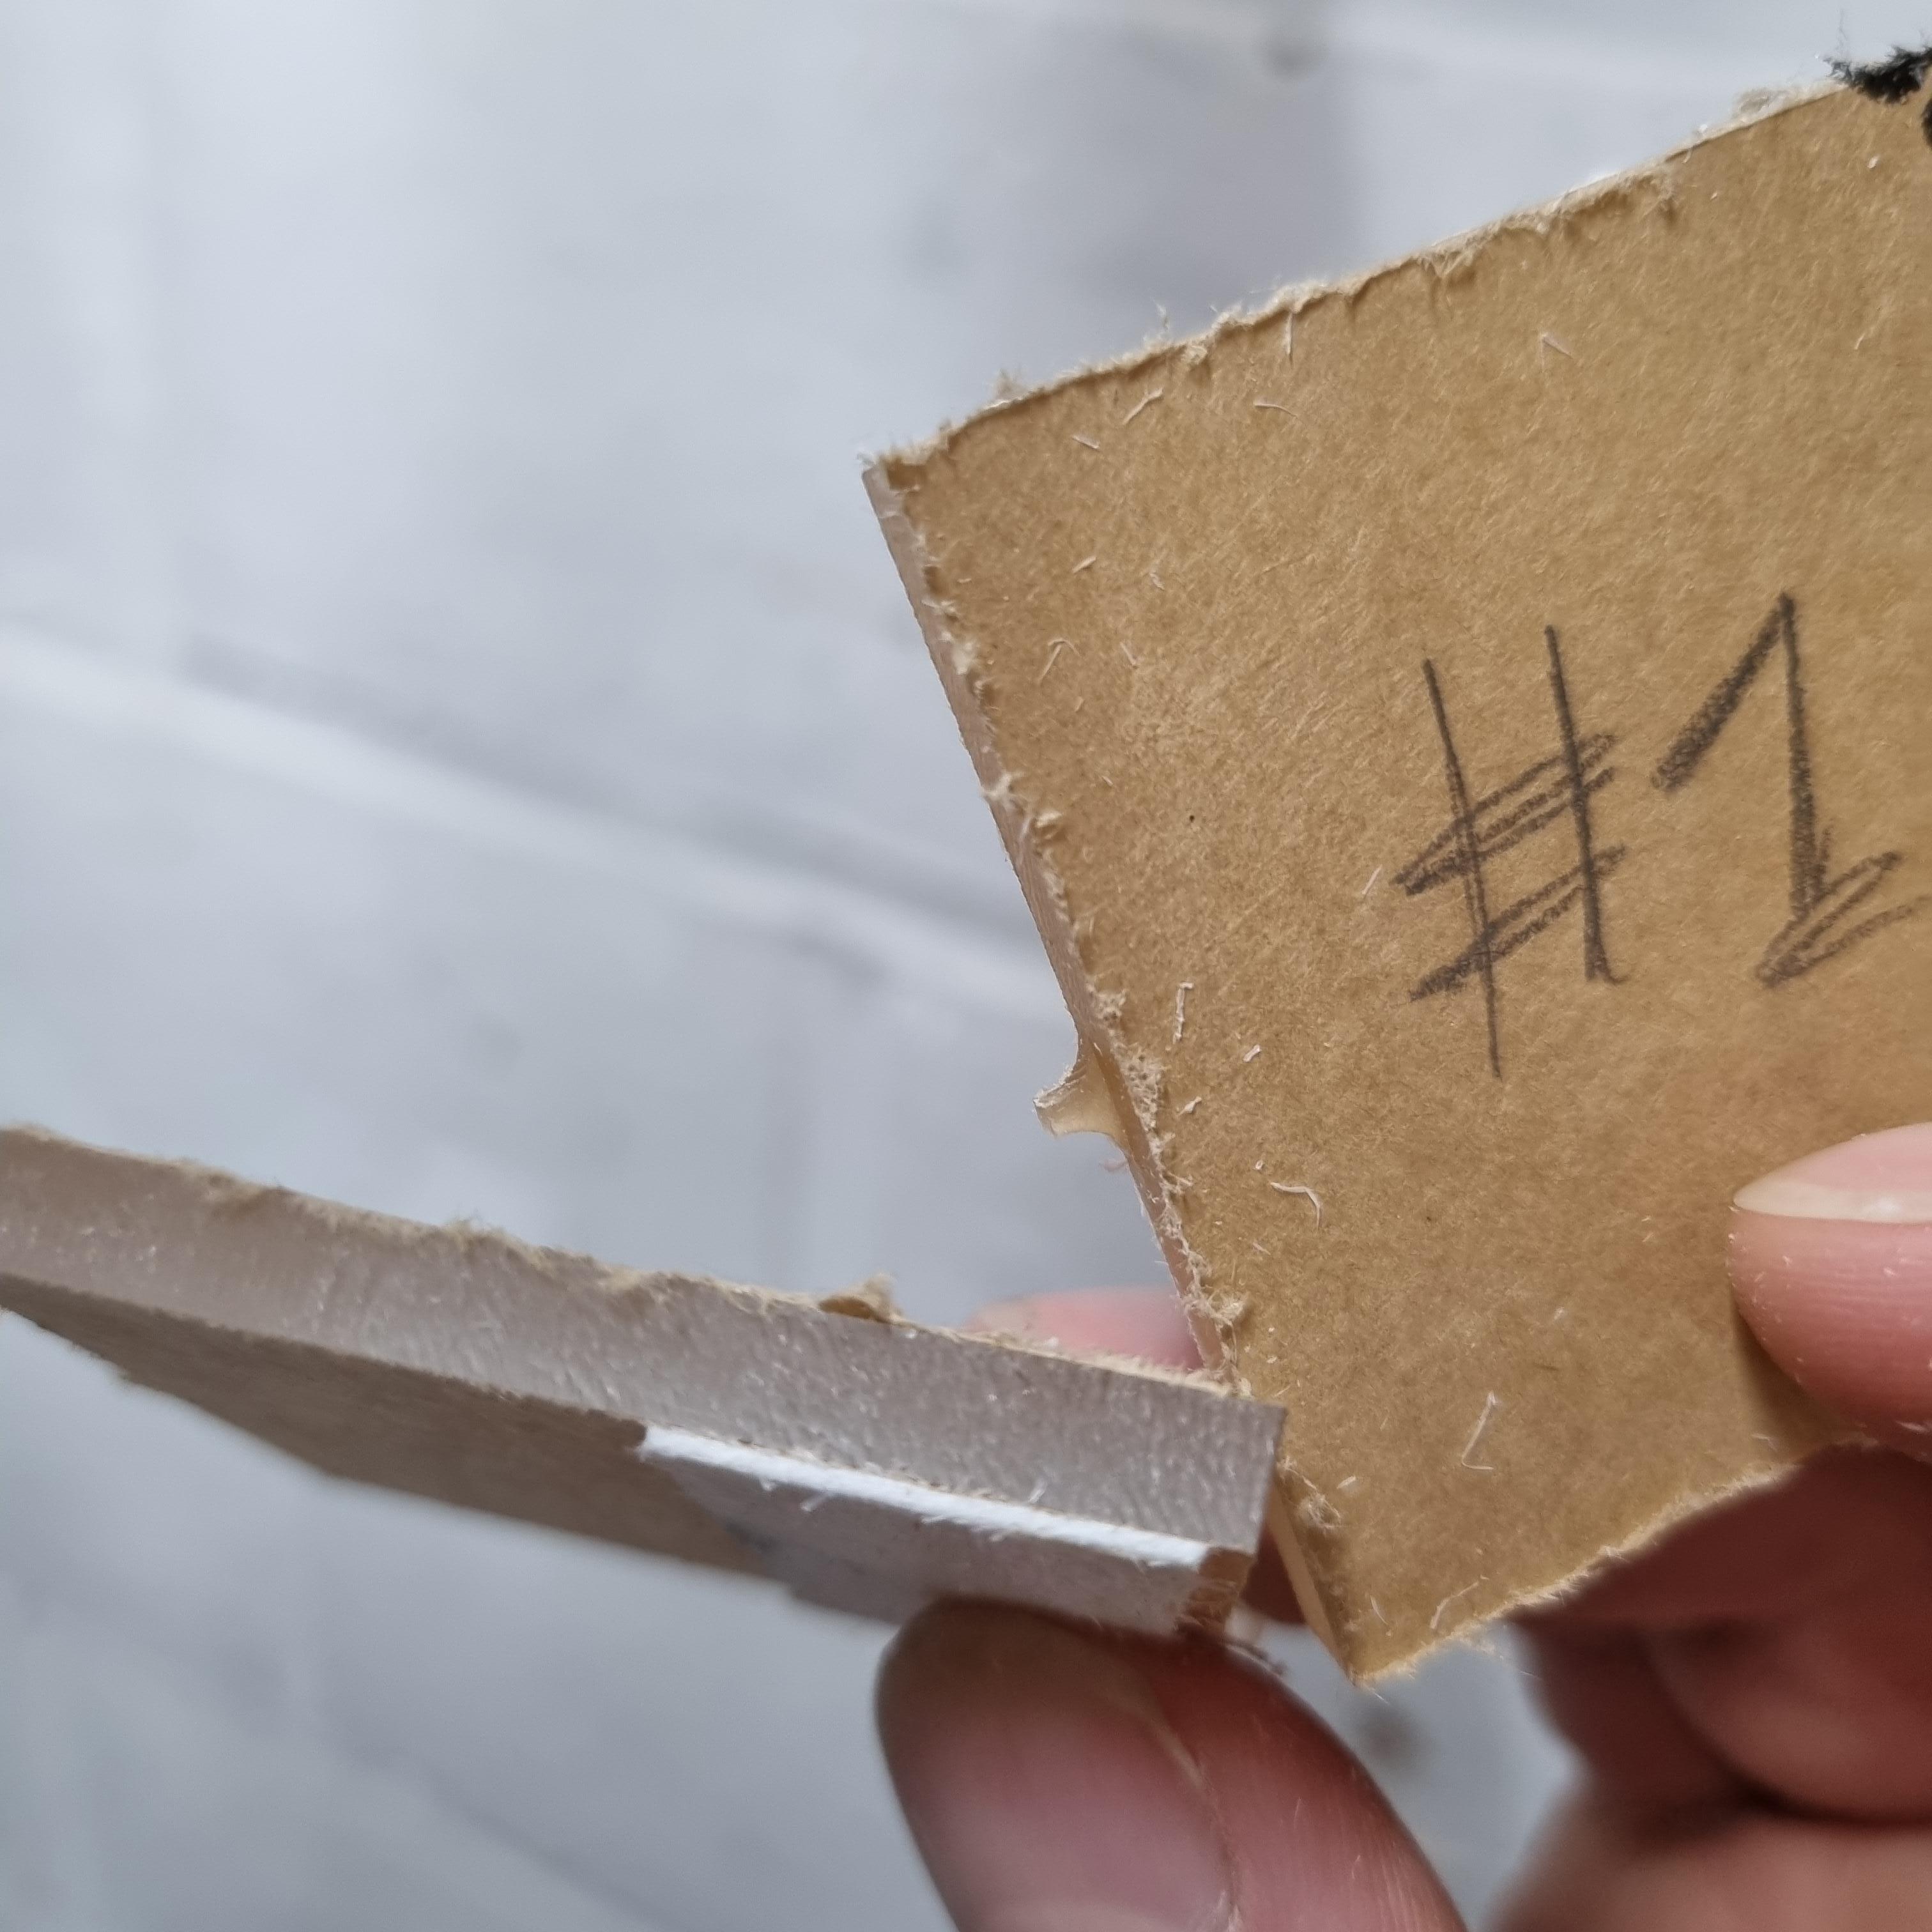
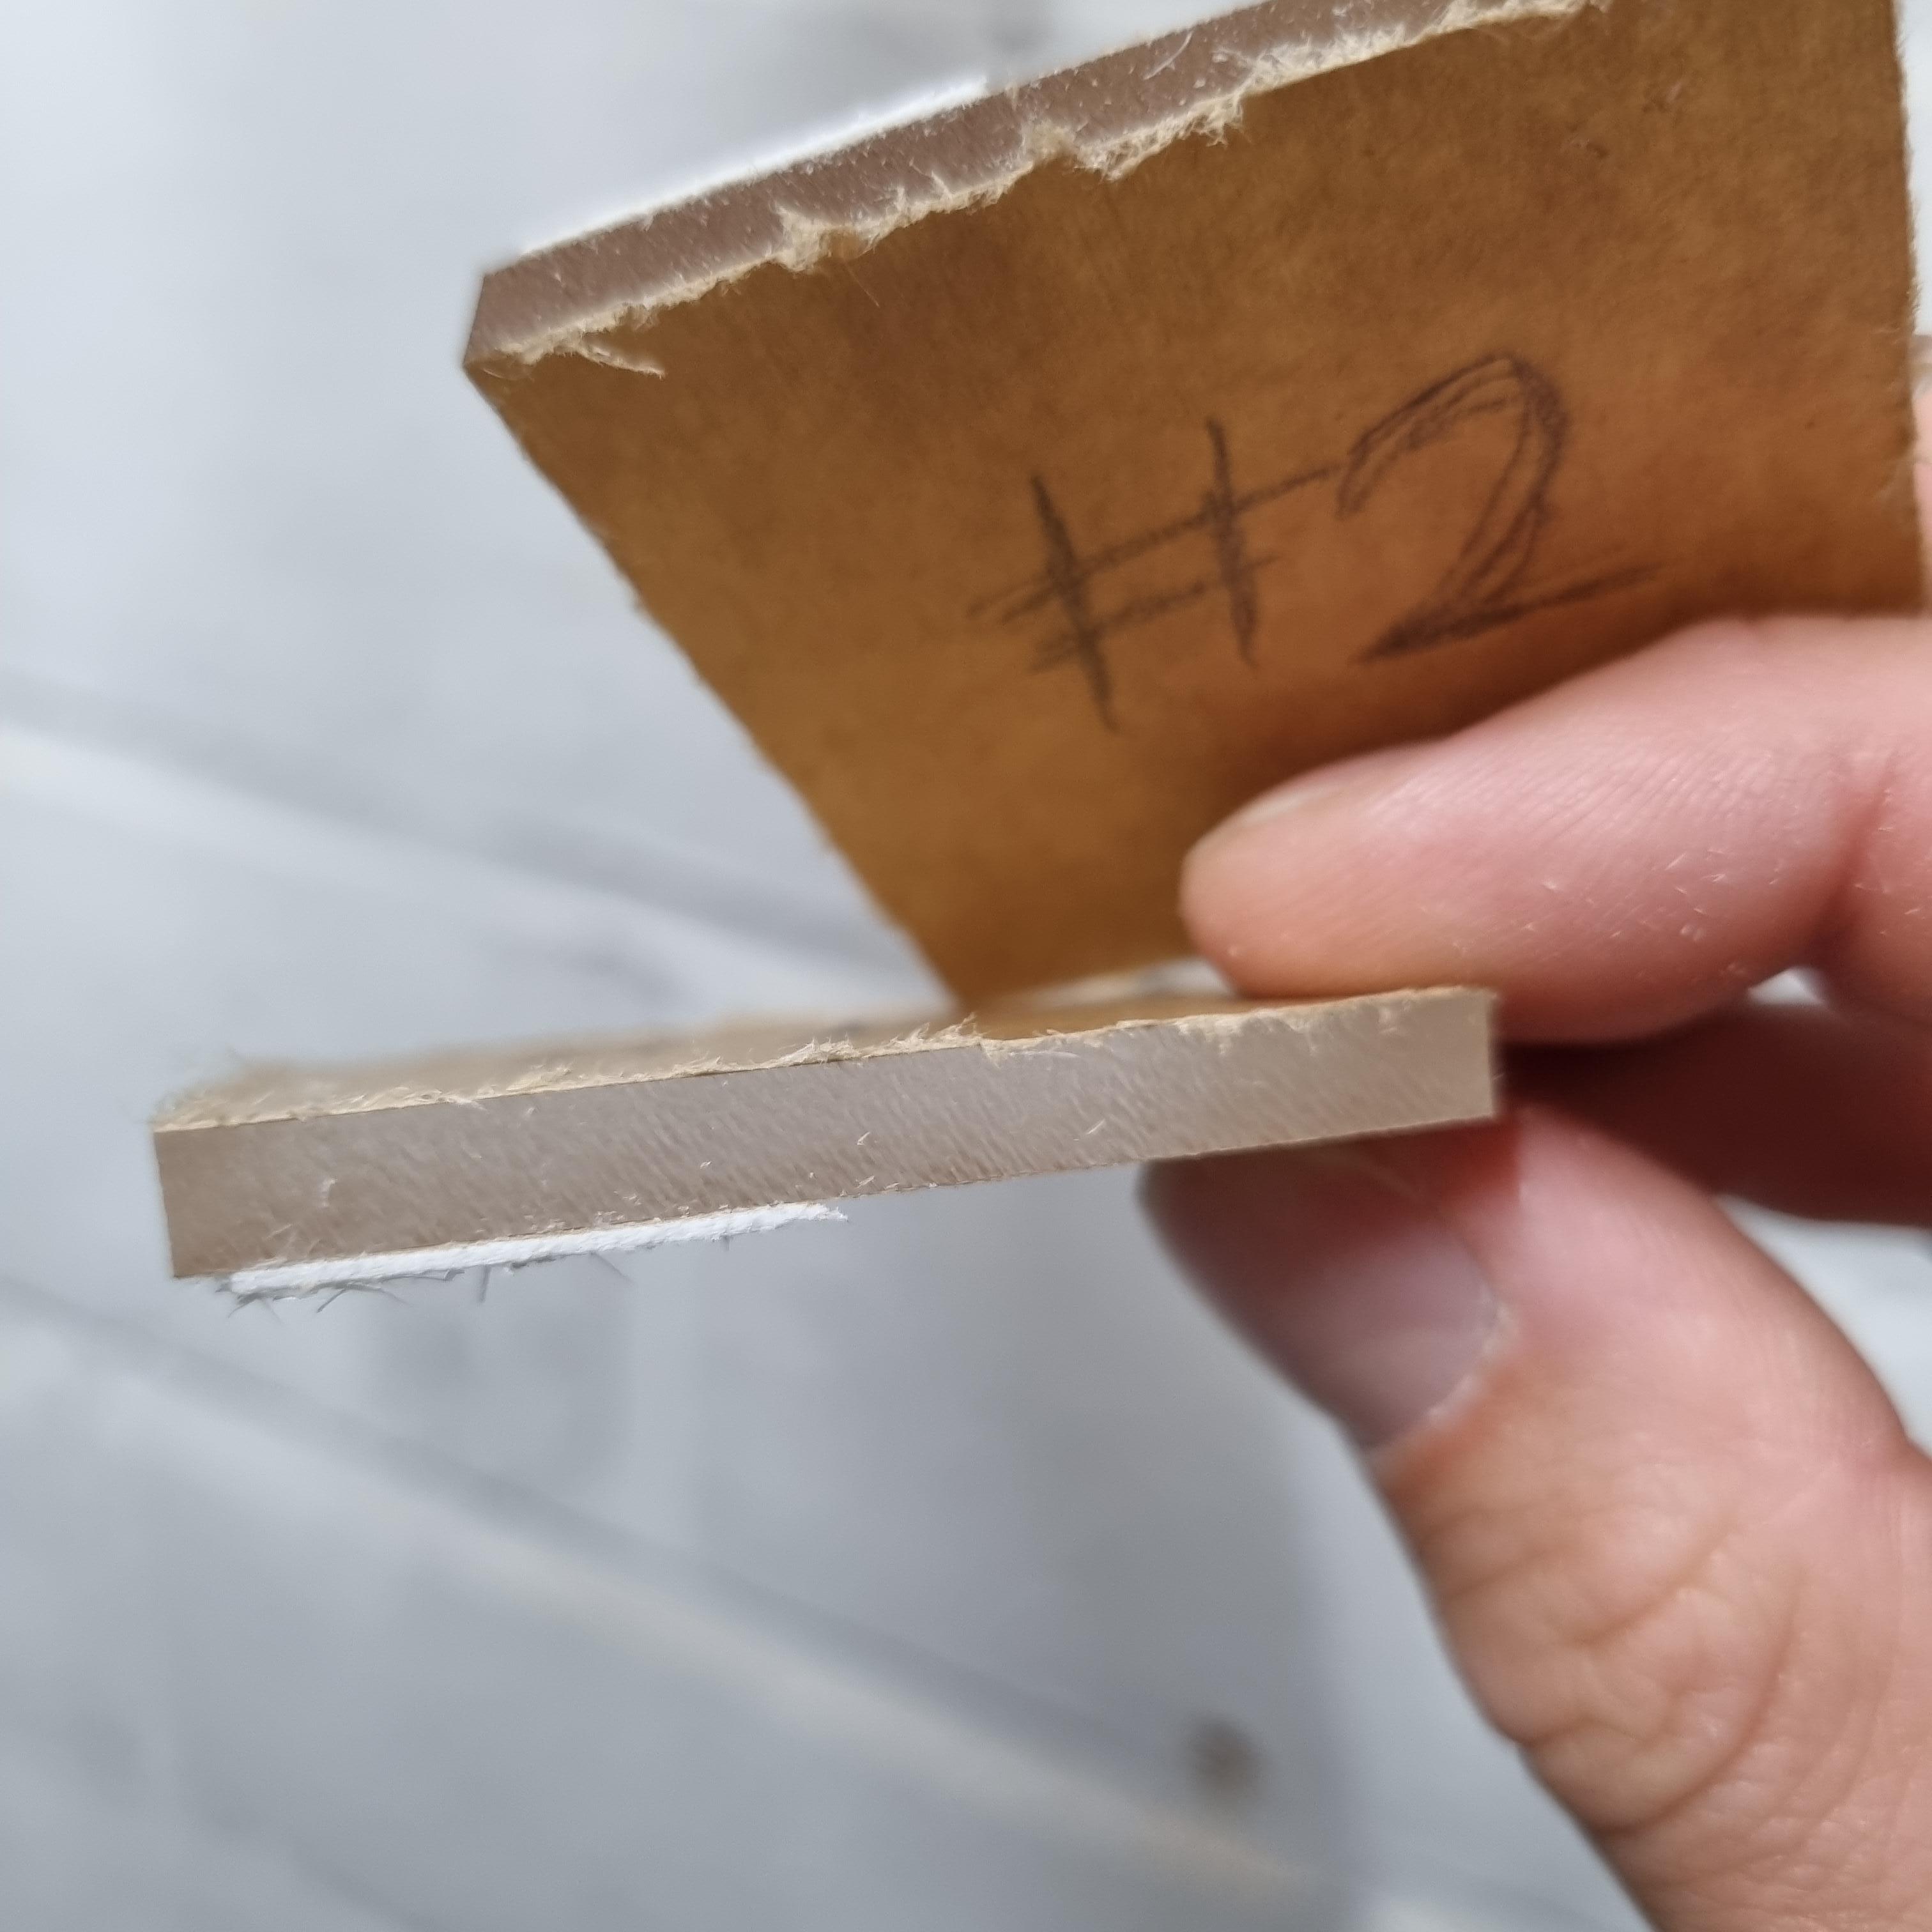
To clarify #1 is tool 2, and #2 is tool 3.

For any one interested; job number 1 ran for 6m42s, and job number 2 ran for 4m25s.

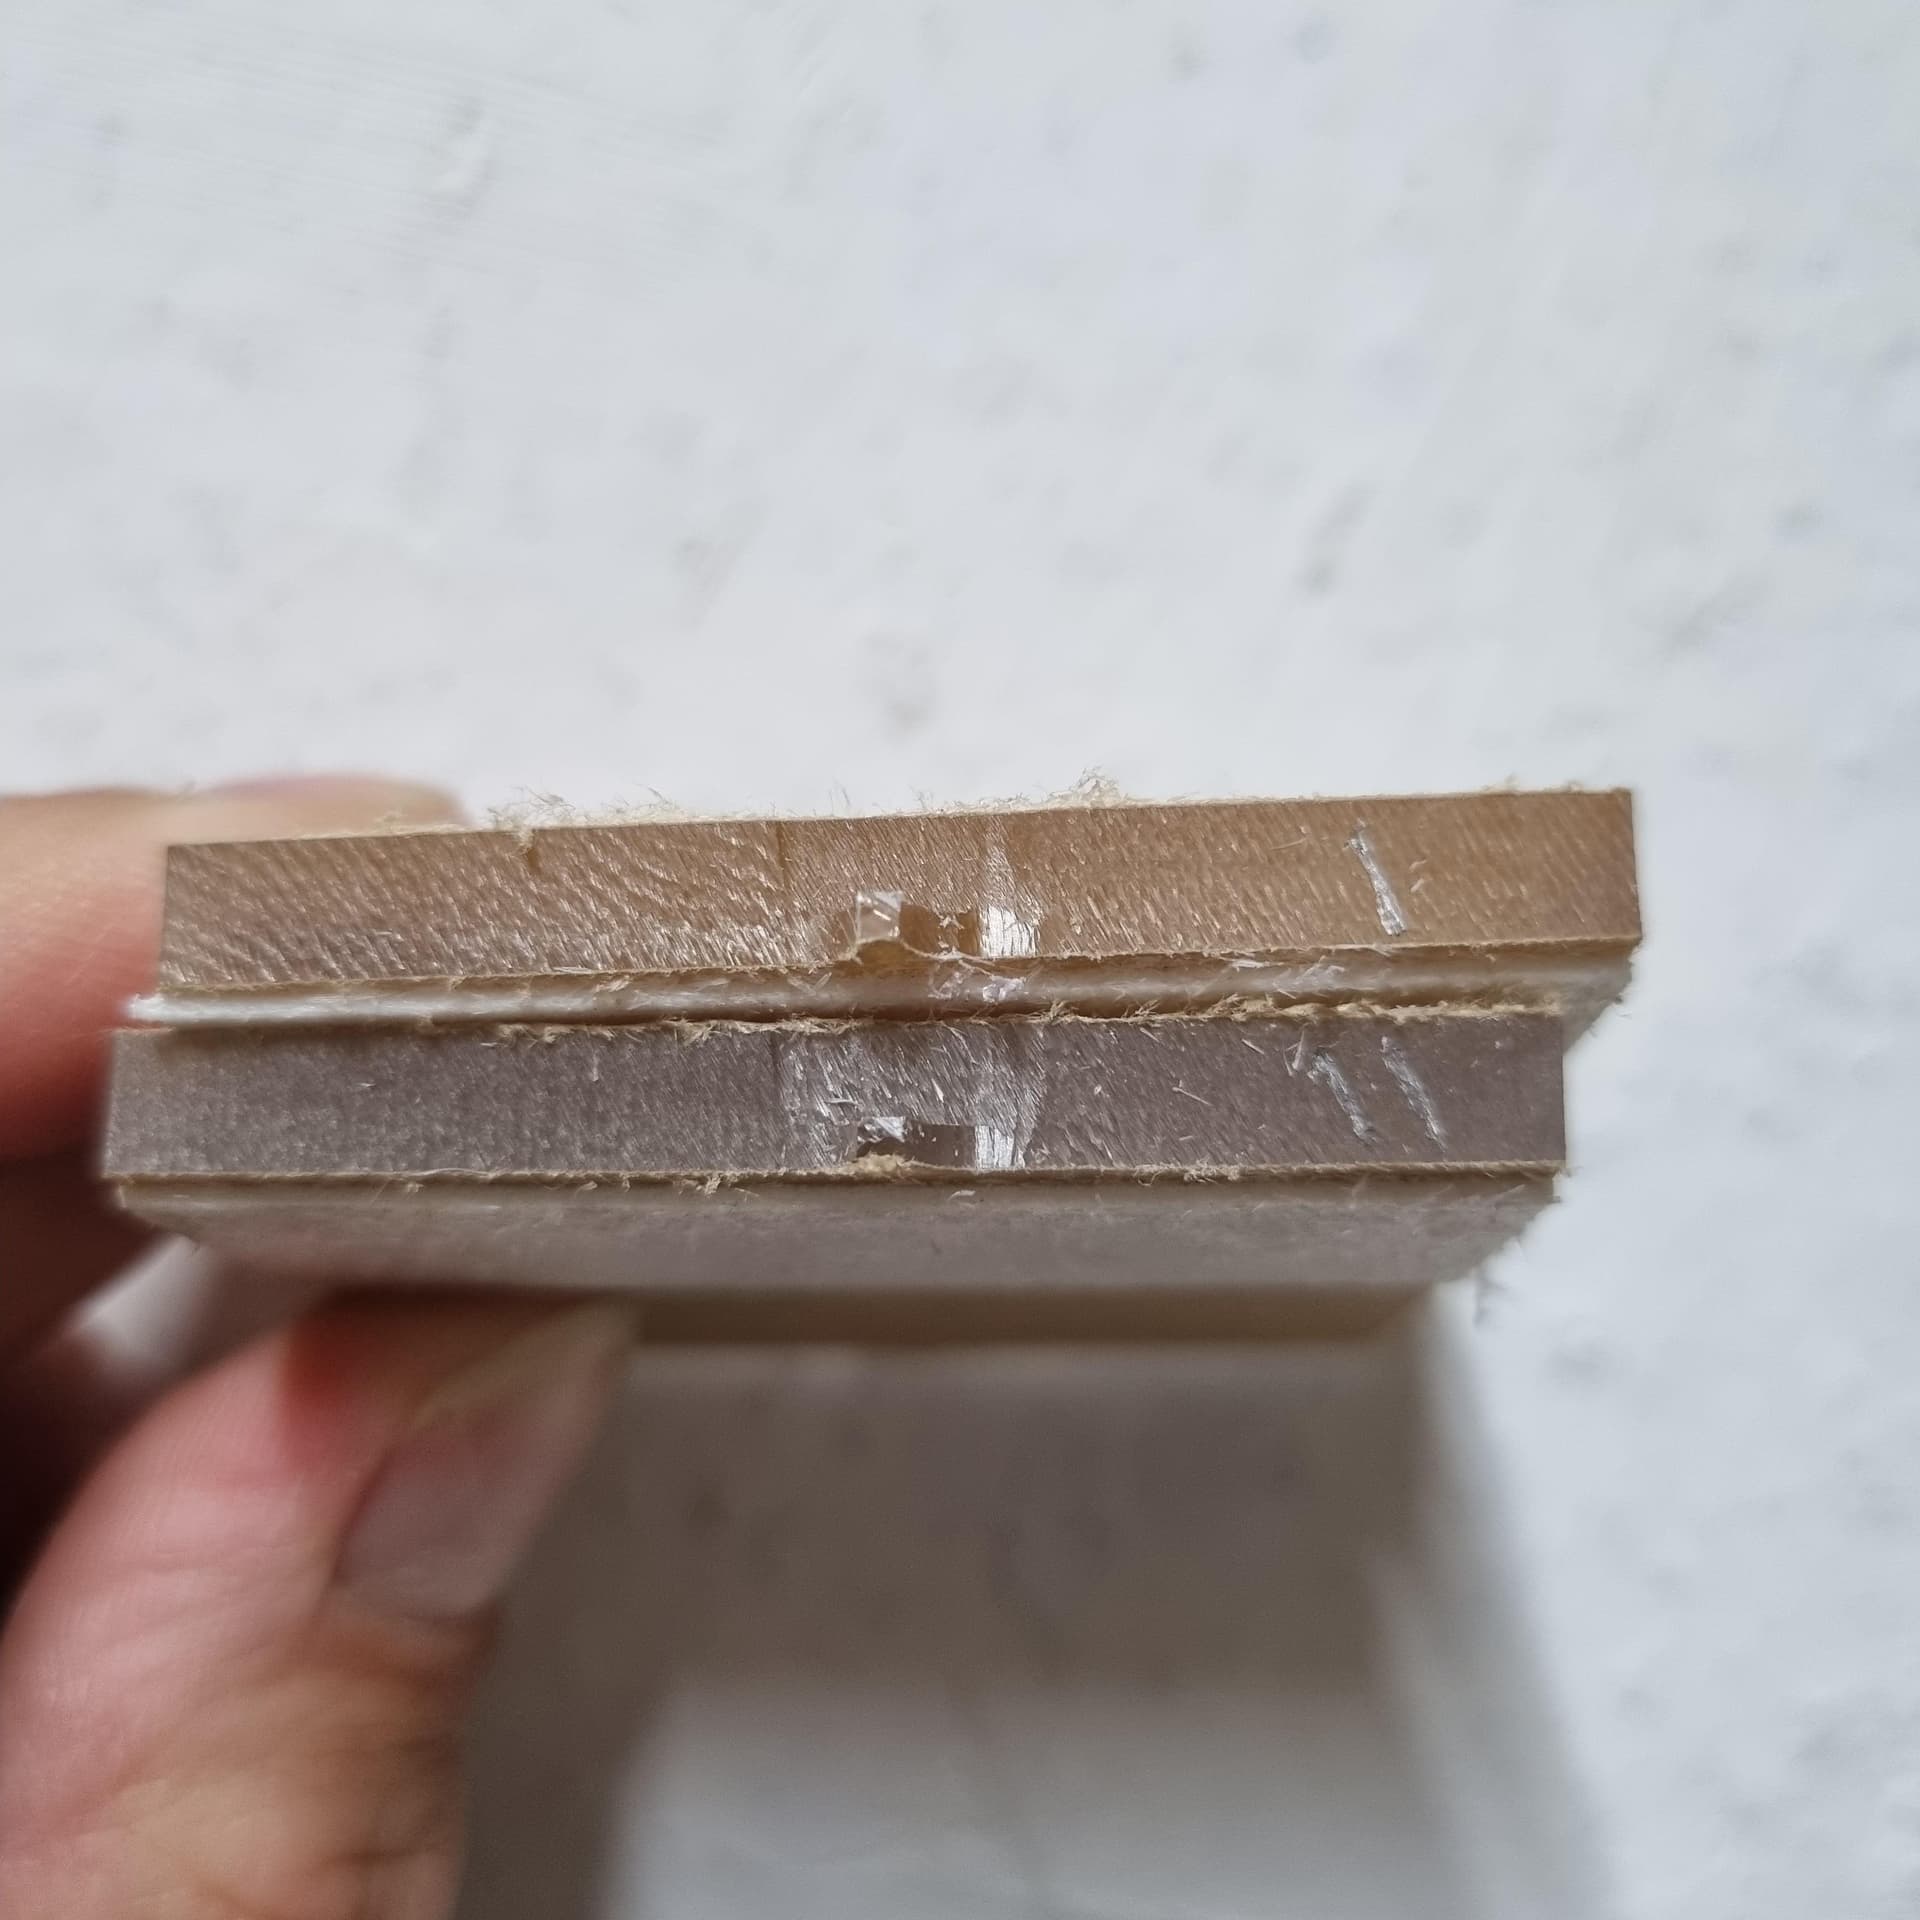
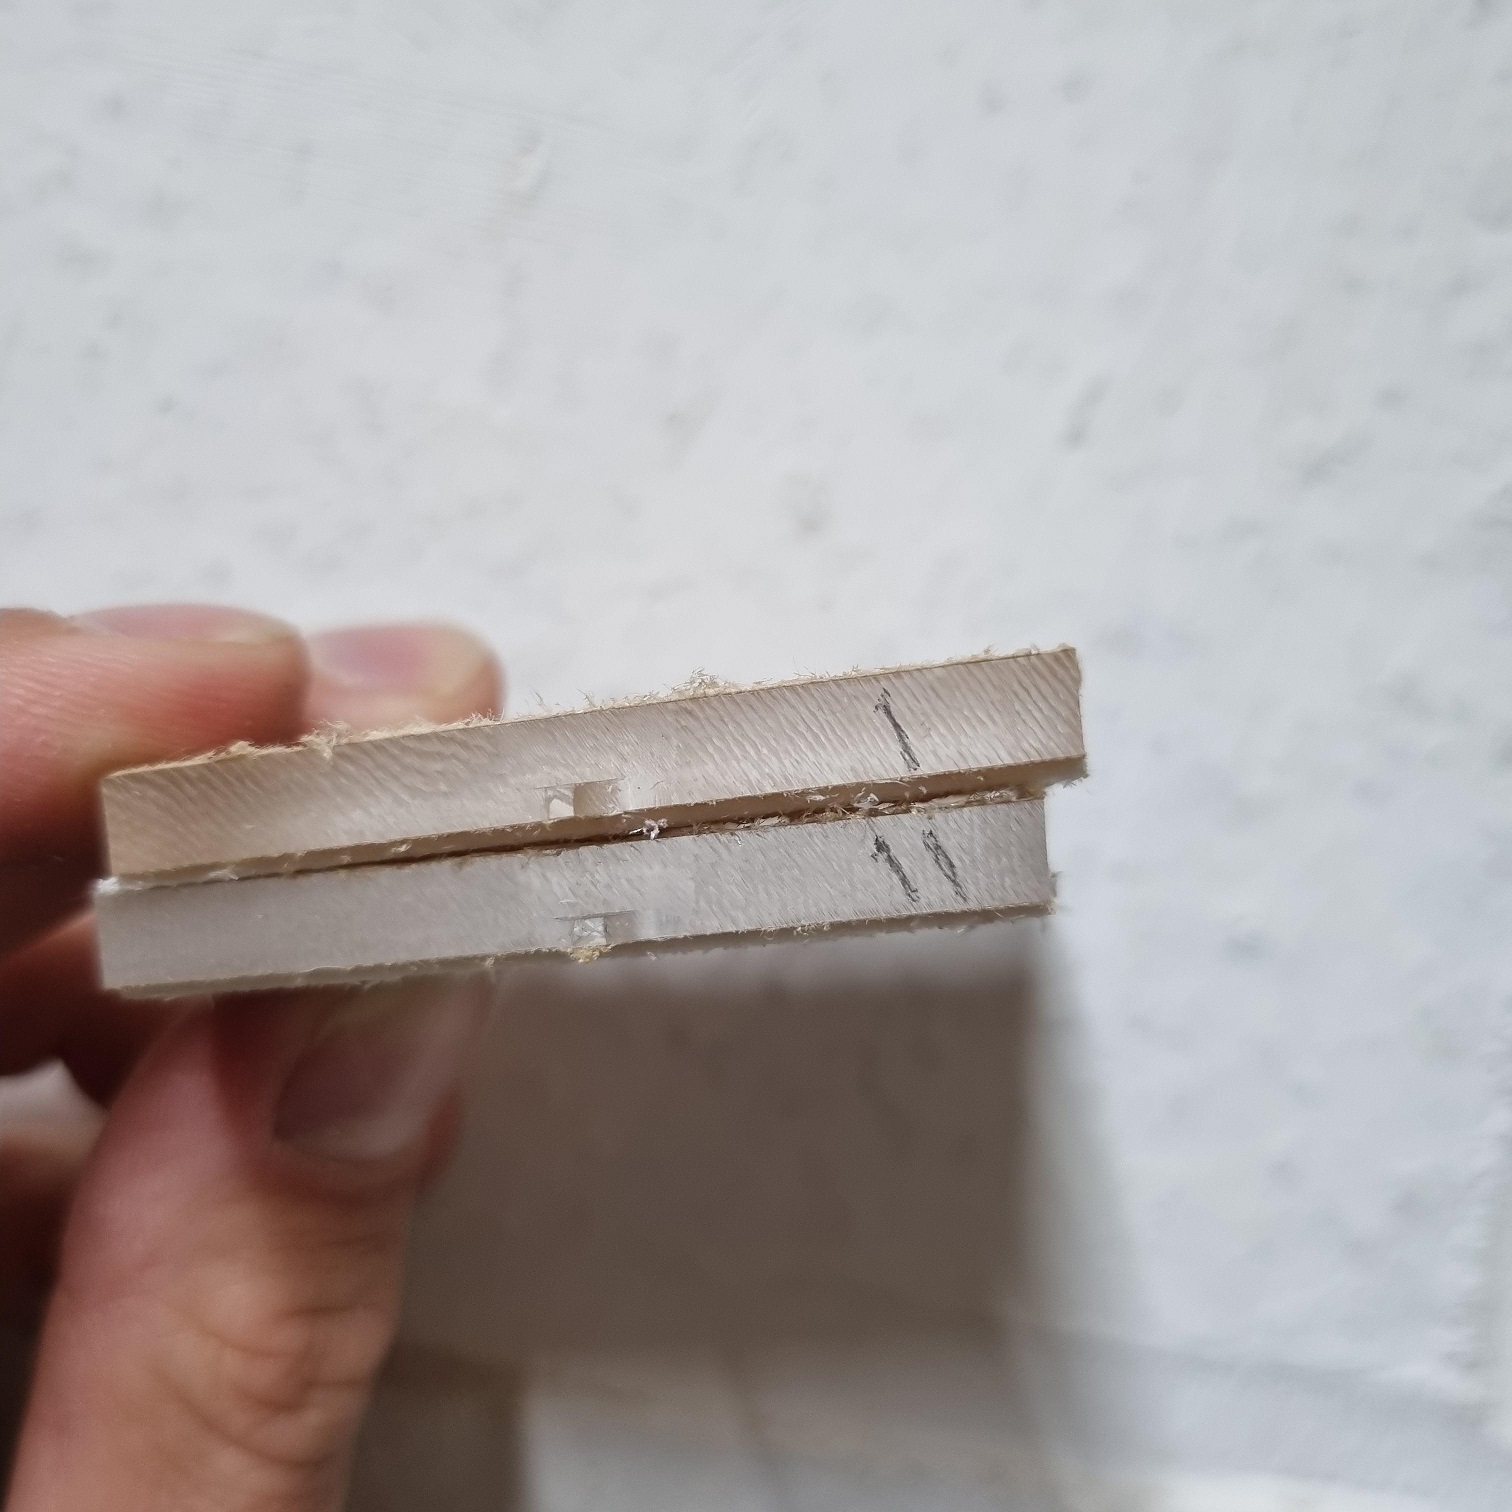
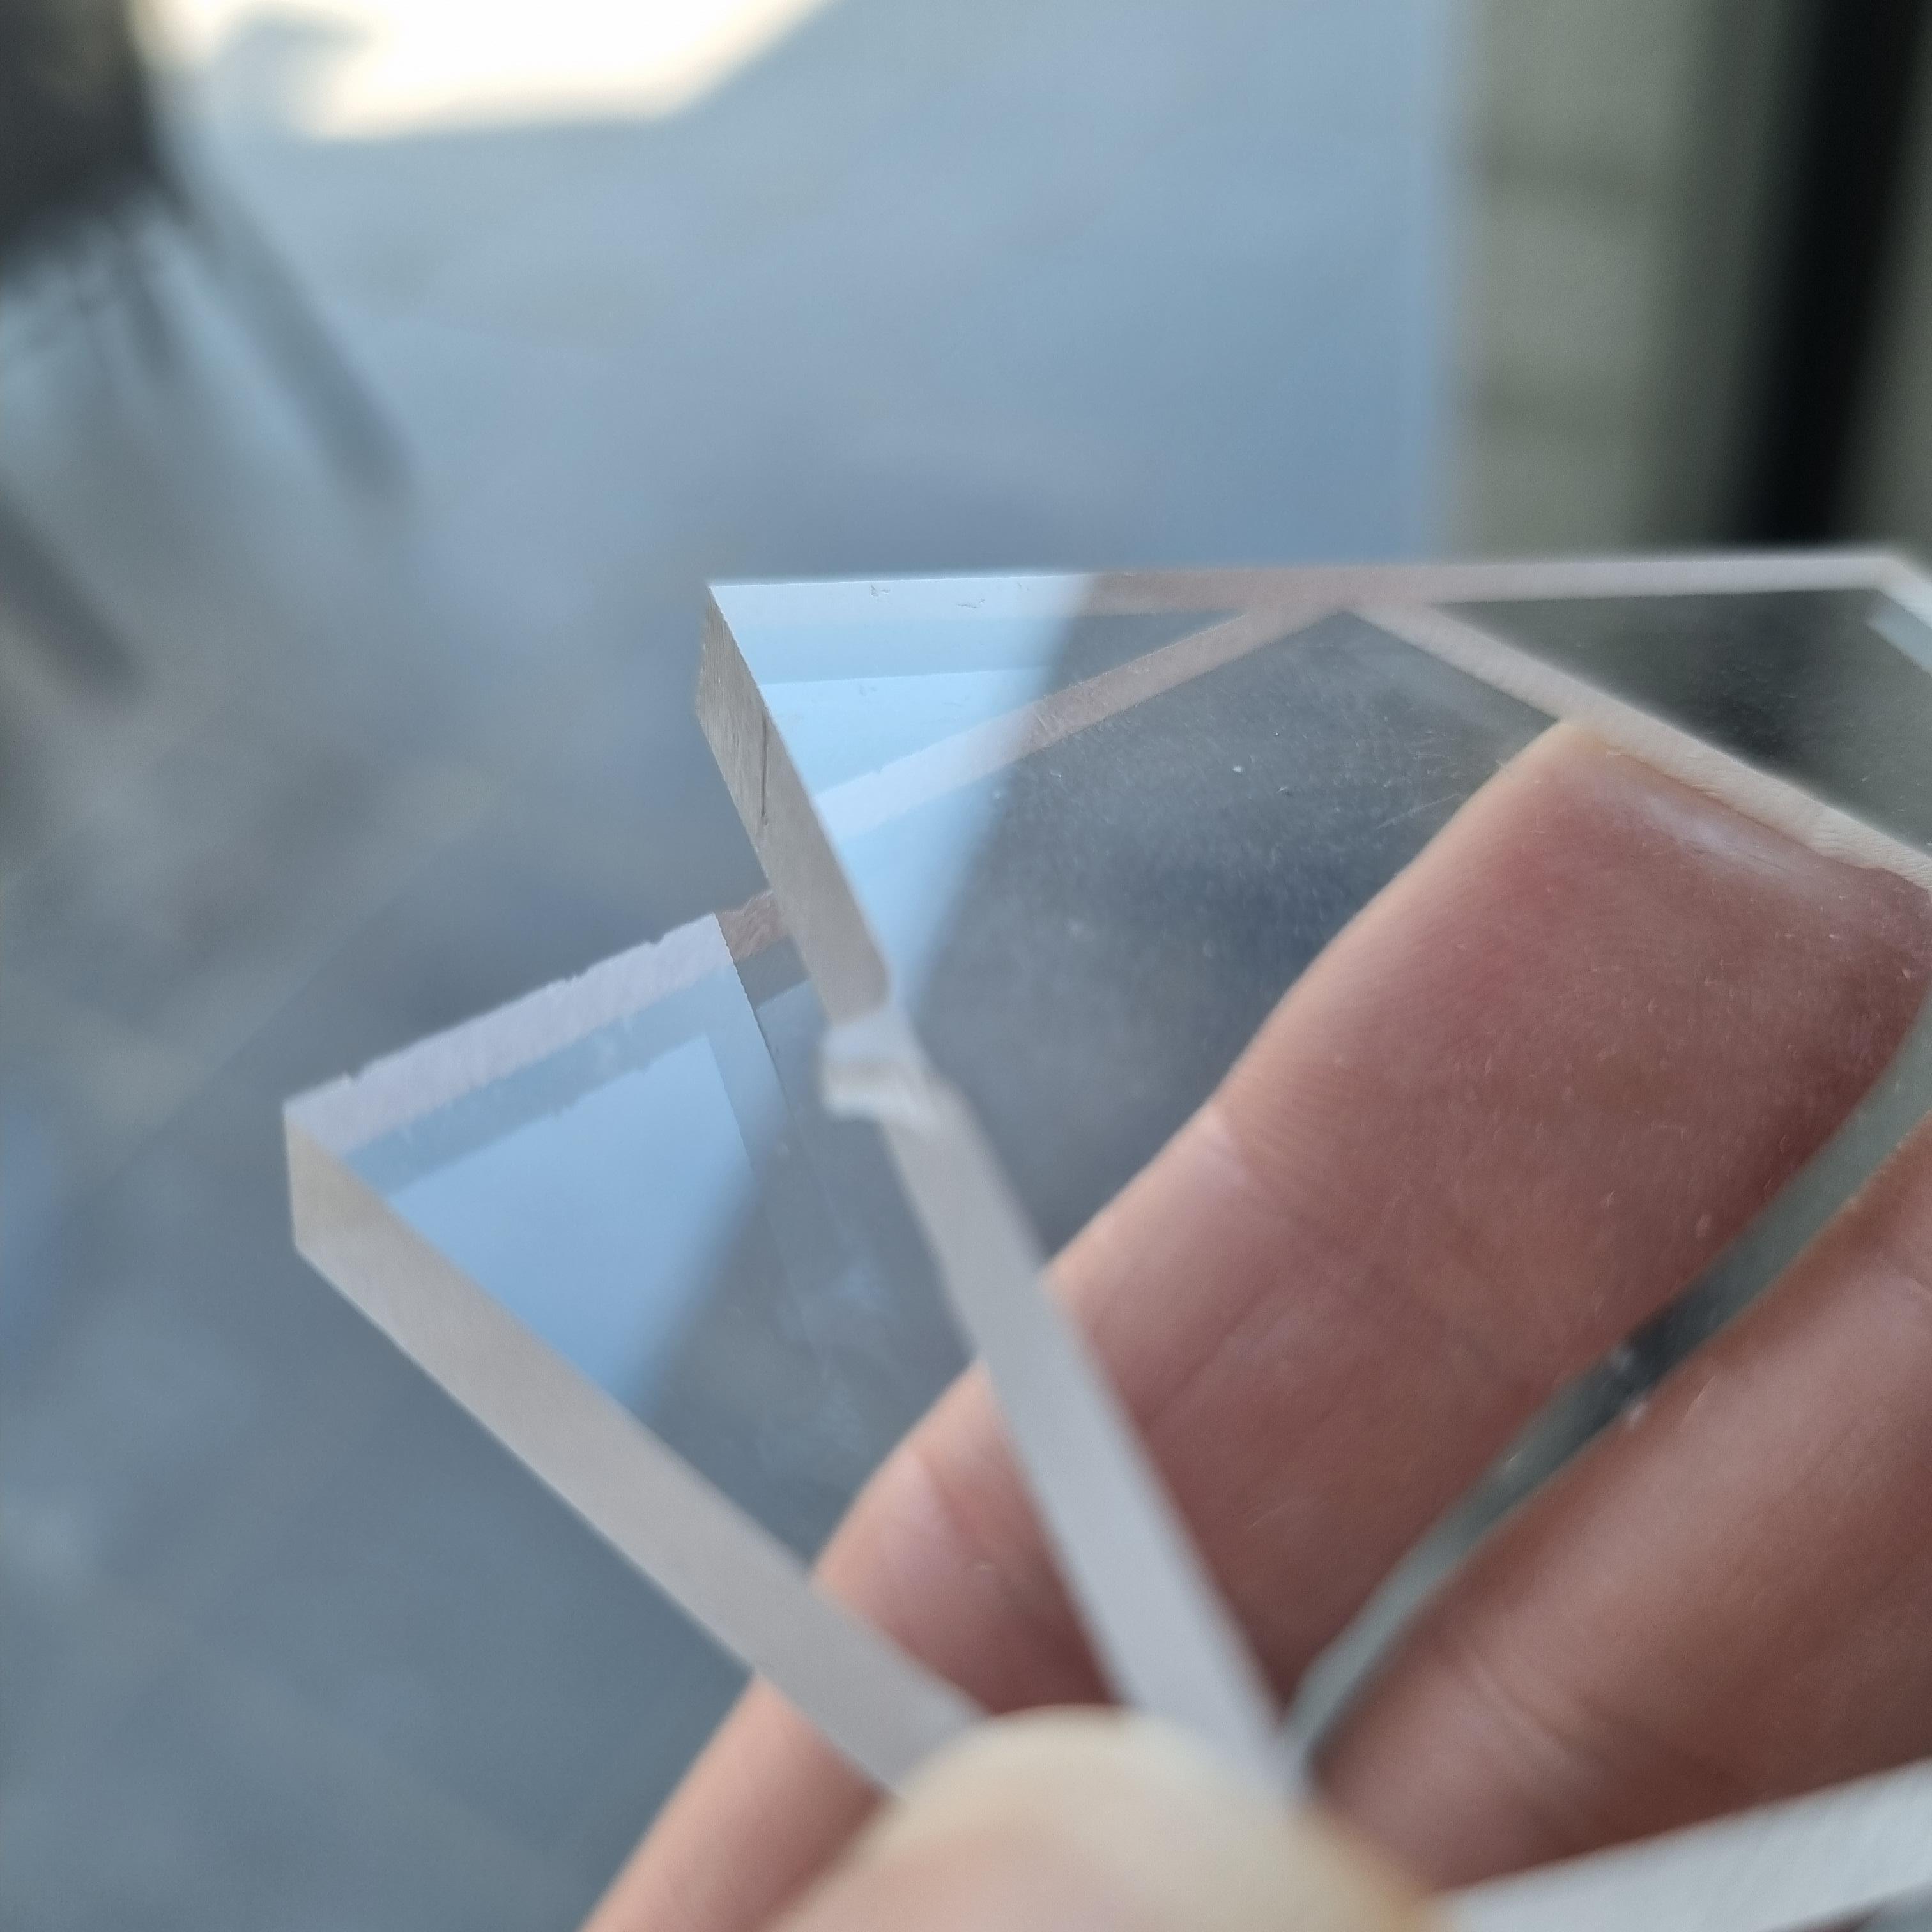
As I need a clean edge, clearly number 2 gives a better result by using some “Trochoidal oscillation”. However it is not a “see through” edge as I needed.
So tried to do some flamepolish using a torch. That gave a little more polished edge, but the sharp edge got lost doing so. So that´s not an option.

=> does anyone have an idea on how to achieve a clean see trough edge?

I found some bits from crown-norge that have impressive results, but those are -to my understanding- for high speed CNC´s.

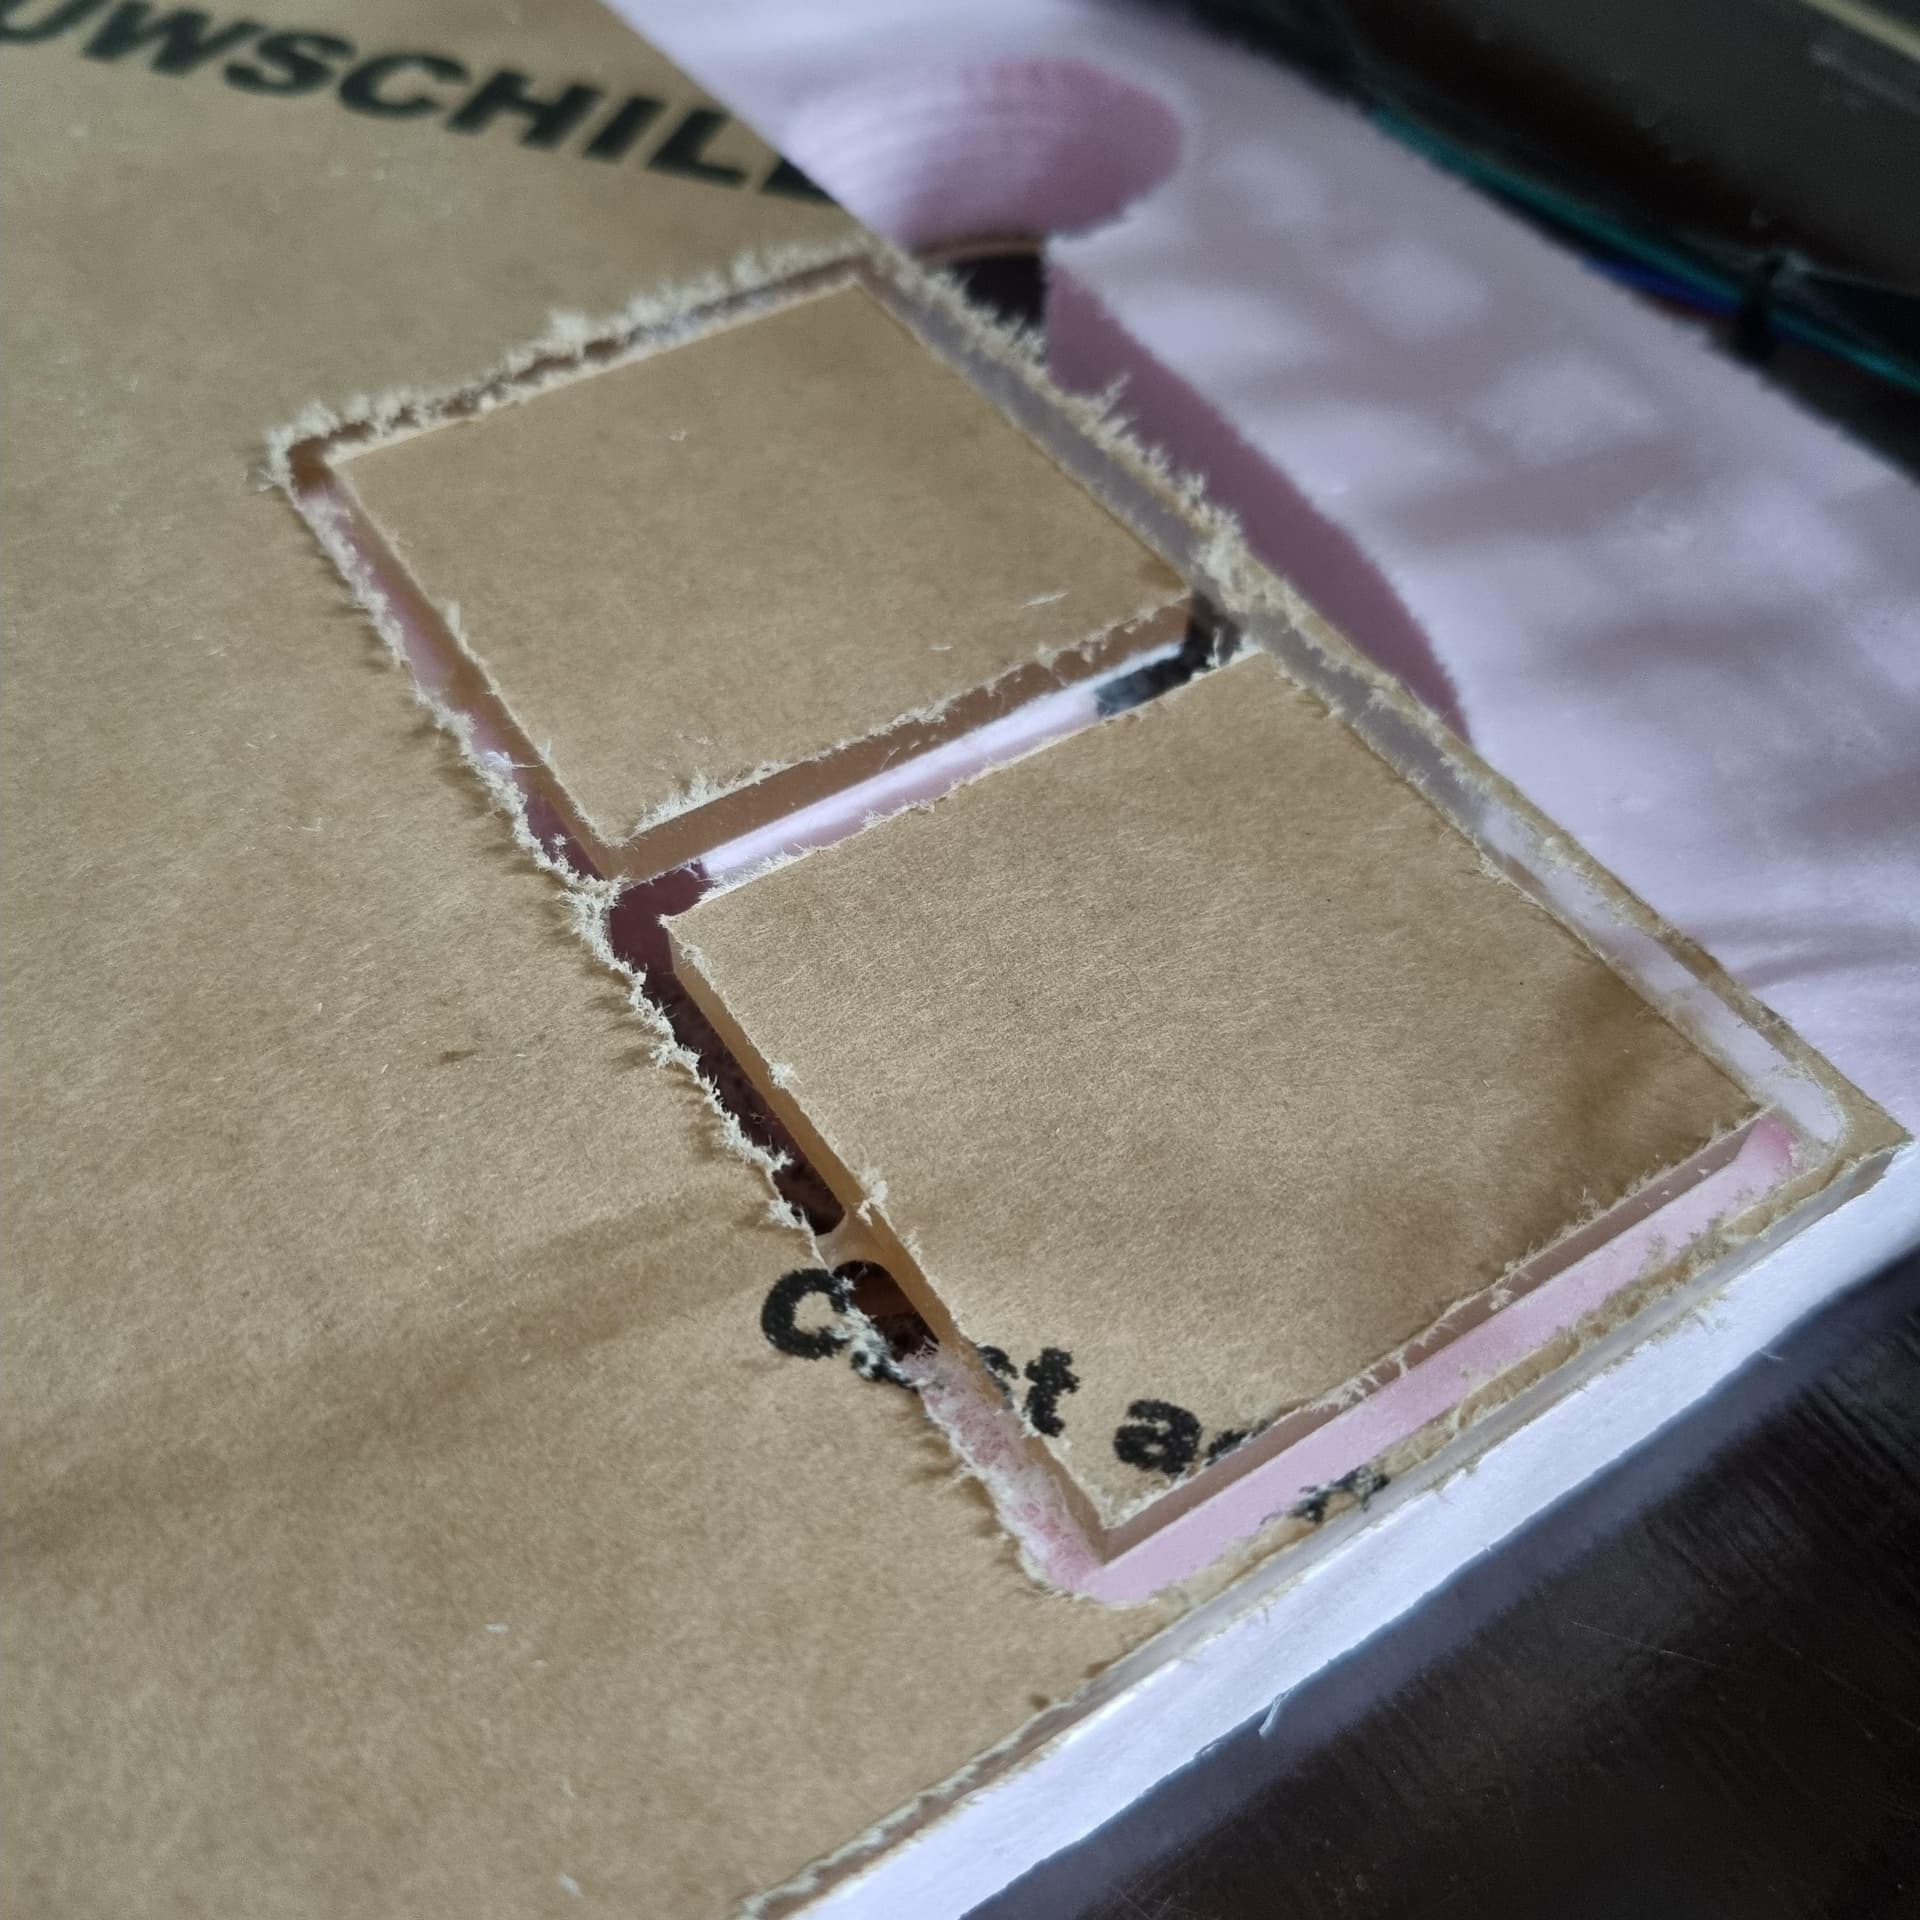
I also noticed that sometimes the edges are a bit damaged. And I can not seem to figure out why this happens as it seems random, even with a new bit in use…
Have a look on this image, left piece, top side:

As I need to put some text on it, I started to experiment engraving with the 45° spiral chamfering / engraving bit, using tool settings 4. Doing a 0.2mm engraving I get the following result. You will notice that the Acrylic seems to melt and stick to the surface.

I manage to get rid of it by running the job twice, however due to the hardness of the acrylic, the two jobs don´t match 100% making the text a bit shifted.


Am I using a “wrong” bit for the engraving? Might be, as it´s my first time doing so and selecting a bit was… difficult with all the options available :smiley:

Next,
I need to mill like 40 pieces of rectangles. Obviously it would be a pain in the but to set up each job. I figured out that the current setting for a 3mm bit, using 50% stepover, creates a tool path of 4.5mm. So was thinking to make 1 design file, and space them 4,5mm in between. But how would one then avoid Estlcam to cut twice, even if one side is already been cut?

This would save me a lot of time, and machining time.

And my final question, I had to make cut too with an “internal” corner of 90°. Found out the hard way that this was not going to work, as a bit is round so you always have some radius. Didn´t think that one through as I am used to let it be made using a laser cutter…
How do you guys work around this?

I was thinking on ordering a 1mm bit so I can minimize the radius, but then I can´t find a bit that has a 5mm cutting edge length :frowning:

1 Like

What rpm are you getting at?

1 Like

https://www.amazon.com/gp/product/B07RBKJ6DD/ref=ppx_yo_dt_b_asin_title_o07_s00?ie=UTF8&th=1

A little bigger diameter than what you’re looking for but the cutting edge is 8.5mm. I’ve been using them on wood with good results and the cost isn’t bad.

1 Like

Might try higher rpm and slower feed rate on a finish/spring pass (not removing much material) to see if that smooths things up. Just leave a little stock on the first run and create a second tool path with the new parakeets at the final size.

I saw a video of a shop using a 3 flute for a polished edge, but I don’t think we can get away with cutting with one of those.

I don’t know estlcam, but other software like fusion let’s you create a toolpath then pattern it out. In two directions to replicate as many as you need.

1 Like

Don’t they always need sanding before polish?

1 Like

So far as I know, no abrasion or cutting tool is going to give you a see-through edge on acrylic. The only time I have seen that is laser cut.

Get the best finish you can. In this case that will mean a finishing pass. A sanding block might also be a good idea to get things even closer, then a very light flame polish should do the trick without dulling the edges.

3 Likes

You can use a fire torch, apply it very quickly on the edges to get a glass effect

1 Like

Are these bits specifically made to mill plastic? The geometry for a bit made for plastic is different than the ones for wood.

2 Likes

I honestly do not know. I’ve set my Katsu to speed setting 2. According to this topic that’s 22k RPM without load. So I expect 19-20k during the milling process.

Thanks for the suggestion! I was already looking to a 1.5mm bit as alternative as the difference in radius will be negligible. These I can order easily with cutting length up to 9mm.
Regarding your suggested bit, have you tried this on on Acrylic too? It seems like a 3 flute bit, and I believe this might make it more difficult?

That’s a good idea, going to try that one!

No, not perse according to what I’ve read. However they suggest to use a hydrogen oxide torch, and I am using a regular one. That doesn’t seems to work out. It does it a bit, if doing multiple passes, thus loosing the sharp edge.
Example video:

Yup! I got this one from Germany. It’s rated 4 out of 5 for acrylic. I’d like to buy a dedicated Acrylic bit, but can only find them in the USA or UK, making it rather expensive with the import fees. If one has a link to an affordable shop in Europe I’d love to hear it!

I know my CNC knowledge is limited today, but after seeing these I believe it should be doable:

Pretty sure that’s because they just exhaust water vapor. No carbon to accidently get stuck in the melted plastic.

2 Likes

That makes sense! Maybe I should try milling with some other settings before using the torch, but I can try to sand it as suggested.

The video made it seem so easy :slight_smile:

I’ve flame polished stuff in the past, but I cut it on my table saw and sanded smooth first.

1 Like

I think I found out the reason why my torch doesn’t work, I use propane and apparently that’s not hot enough according to this video…

1 Like

Checks out.

I cut a ton of acrylic shelves for a friend. He polishes the edges with mapp gas. I have the same experience as you with propane.

1 Like

No, I haven’t tried them on acrylic, I think I just surprised myself that I haven’t managed to break one cutting wood (yet). :grin:

I think you’re correct, they do look like 3 flutes. They list plastics as one of their applications but I know all too well how different the promise can be from reality.

1 Like

Happy to hear this!
will need to look for mapp gas then. Do you have an idea how sharp the edges remain after this polish?

:smiley: I totally understand, still waiting for that moment to happen too :slight_smile:

yeah, as most posts on the web point to a single flute, I believe that a 3 flute might work but is far from perfect. So will keep looking for dedicated Acrylic bits.

Does anyone have some insights on optimizing jobs in estlcam so I could put multiple squares next to each other in 1 job?

I haven’t delved too deeply into it but doesn’t the ‘tile’ function allow that?

1 Like

I should look into it, but isn´t this just for duplicating the part? I would like to cut the overlapping sides in 1 go, thus saving machine time too.

As I said, I haven’t really looked too deeply but if you’re cutting duplicate parts I’d guess you could adjust the spacing for one pass to cut the sides of two parts? Might be self defeating though if conventional vs. climb milling has a large affect on finish when cutting acrylic.

I get your idea but not sure if estlcam is able to just cut that side once. Because if I select parts, it will try to cut all sides. But will experiment with it.