Kirby Lamp / nightlight
https://www.printables.com/model/342867-kirby-lamp-nightlight
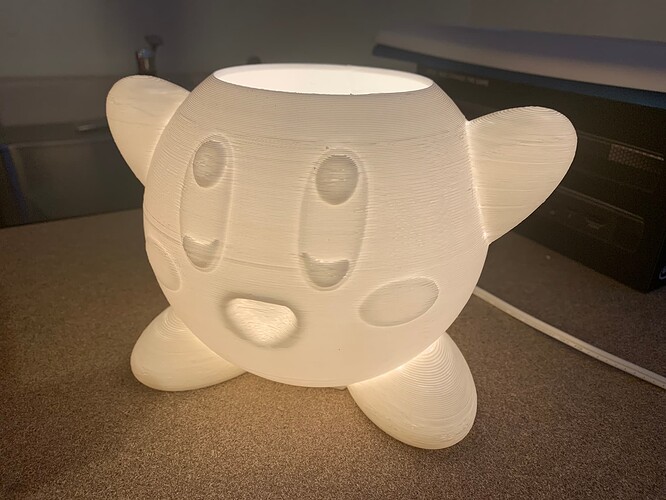
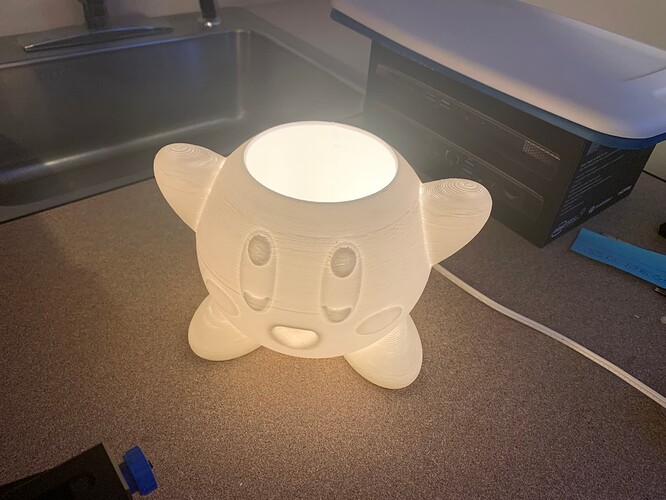
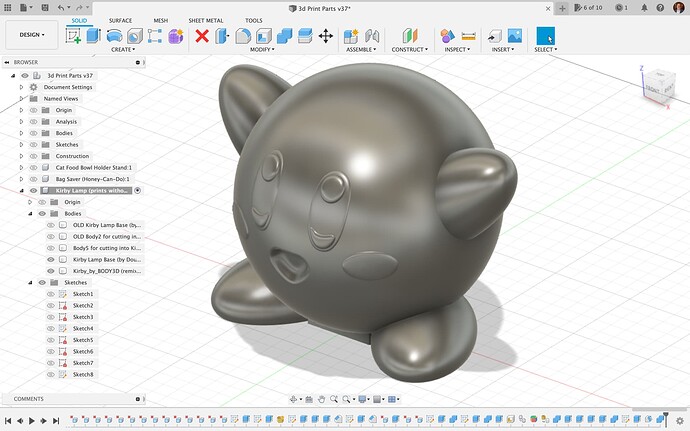
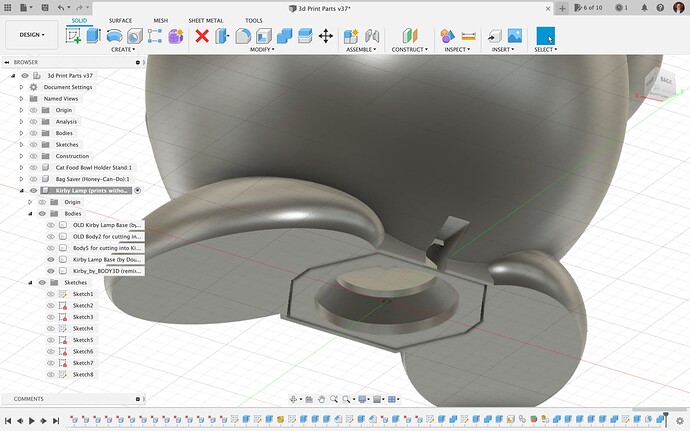
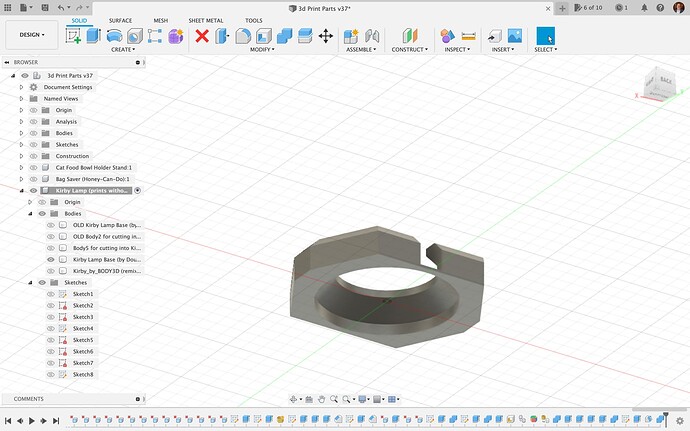
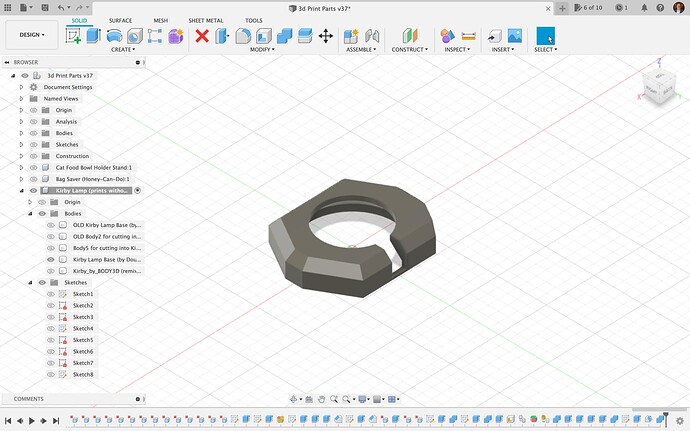
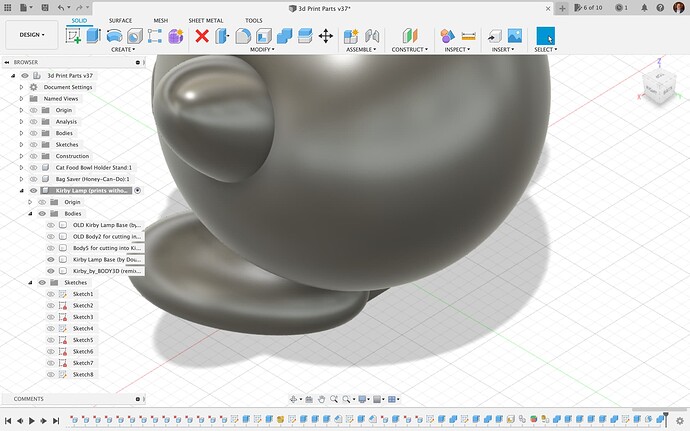
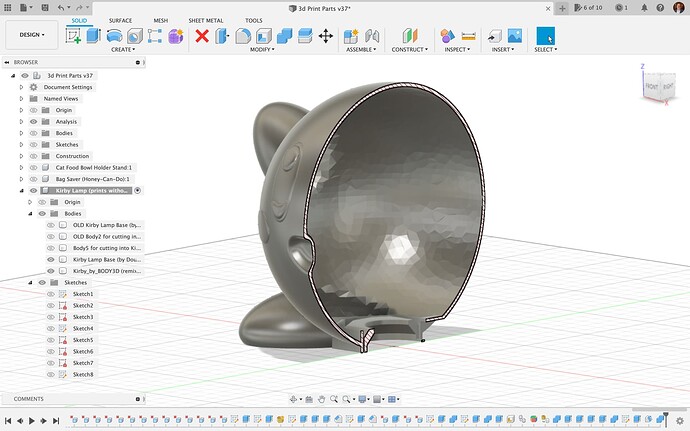
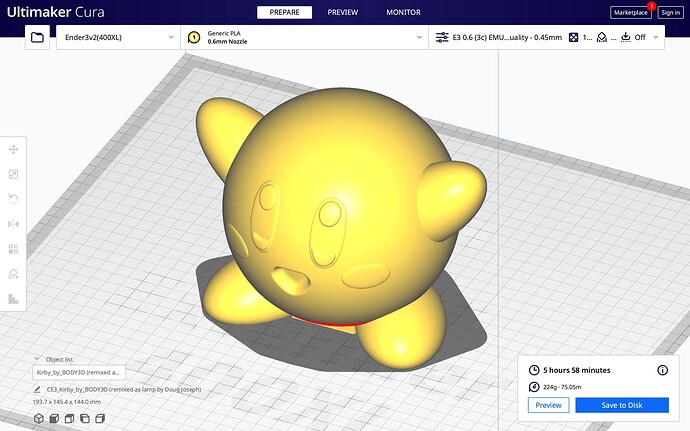
I remixed BODY3D’s Kirby model into a lamp, using Fusion 360 as the modeling app.
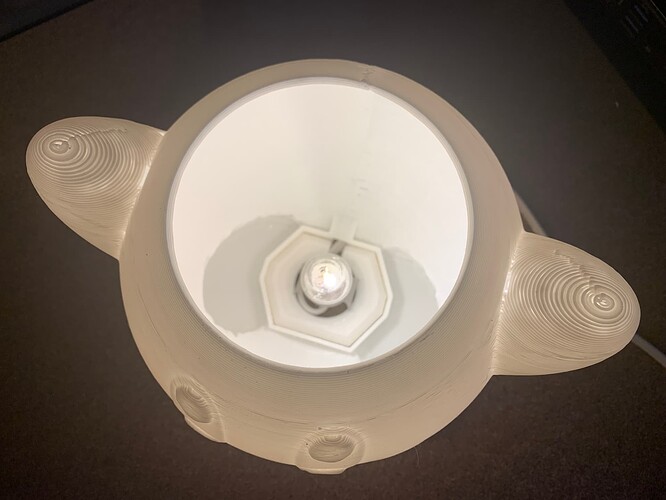
Q: What lamp bulb, cord, and switch are used for this?
A: It uses this nice, cool-burning LED lamp bulb and accessory cord with switch (affiliate link):
- https://amzn.to/3hGaHtn — “Accessory Cord with One LED Light Bulb - 6 Feet UL-Listed White Cord with On/Off Switch Plugs - Perfect for Holiday Decorations and Craft Projects, 2 Pack”
Q: What type of filament?
A: PLA — I used TouZ White PLA
Q: How much infill?
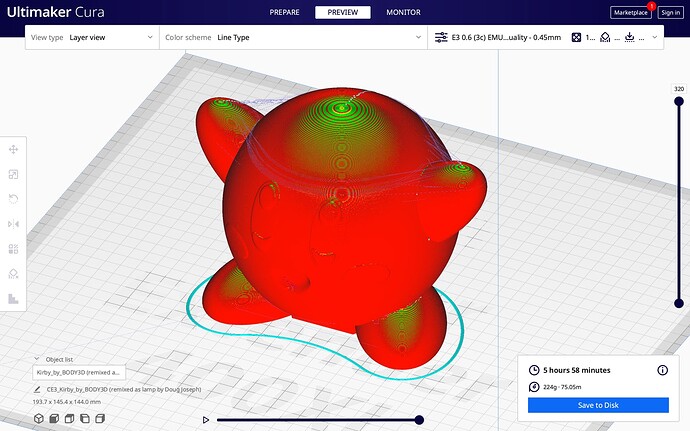
A: Recommend 100% infill, so the light transmitted through the plastic won’t show infill pattern lines.
Q: Are supports needed for print?
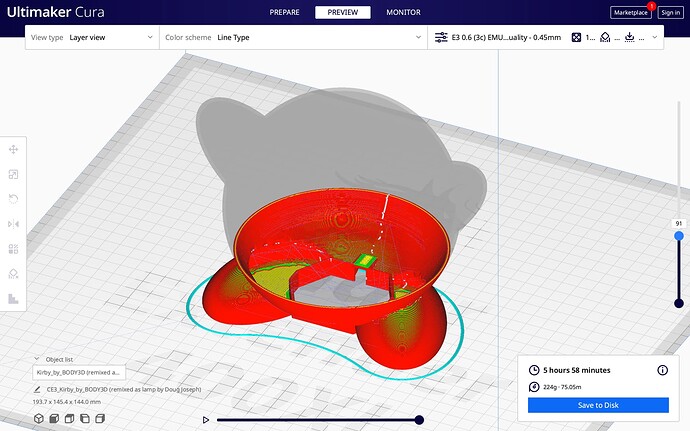
A: That depends.  The original file is listed as printable with no supports. However, that assumes infill inside a solid body. For a lamp, we need the inside hollow, while the “skin” gets to have infill (100% recommended). This changes the dynamic regarding supports. In my case, I tried printing the lamp without supports, and the print struggled at the very top of both of Kriby’s arms and the top of Kirby’s head. The arms were tolerable, but the head issues were not. So, since the very top of the lamp did not print well without supports, I decided to let the lamp go with a hole in the top which lets light out better anyway. I sawed the flawed top off, and the lamp looks great. See pics.
My print notes:
Because I needed to churn out quite a lot of Christmas gifts with my printers, I opted to print with 0.6mm nozzle and extra thick walls (0.9mm) and extra thick layers (0.45mm), which shortens print times tremendously. It’s possible this contributed to my lack of success without supports at the top of the head. However, I am pleased with the result!
This was printed on a heavily modified Ender 3v2 (modified with Ender Extender 400 XL, board and touch screen replaced with BTT items, and the extruder and hotend replaced with MicroSwiss direct drive extruder and all-metal hotend).
To BODY3D: Thanks for the great model!
Change log:
- December 18, 2022, 4:35 am (EST): initial posting of v1.0.
My PayPal tip jar: https://paypal.me/design8studio
Various LowRider 3 CNC remixes:
View all my models and remixes on Printables:
