Am attempting to make a mostly clear polycarbonate CNC’d clam shell enclosure with variety of 3D Printed fixtures/fittings. Need the corners to be rounded/chamfered so they can withstand some knocks and drops (by typical baggage handling).
Am happy with how well the solvent welded panels of my v4 printer lid turned out, but the corners are sharp and would shatter on heavy impact.
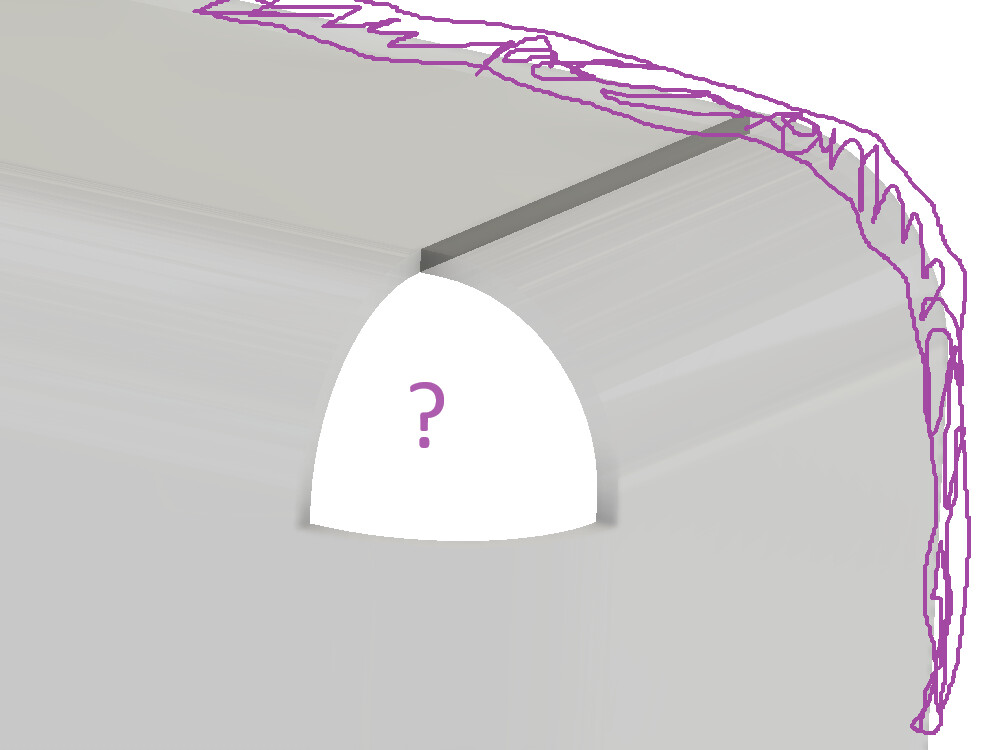
So, for this build will attempt to have a panel weld to itself (dark gray internal line). An opportunity for me to try heat bending/forming Polycarbonate for the radius bends. Planning to reinforce with trim pieced around the edge (purple scribble).
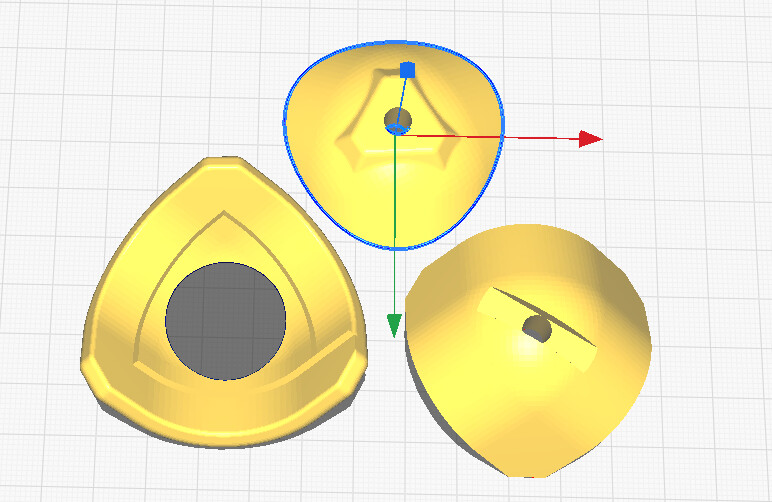
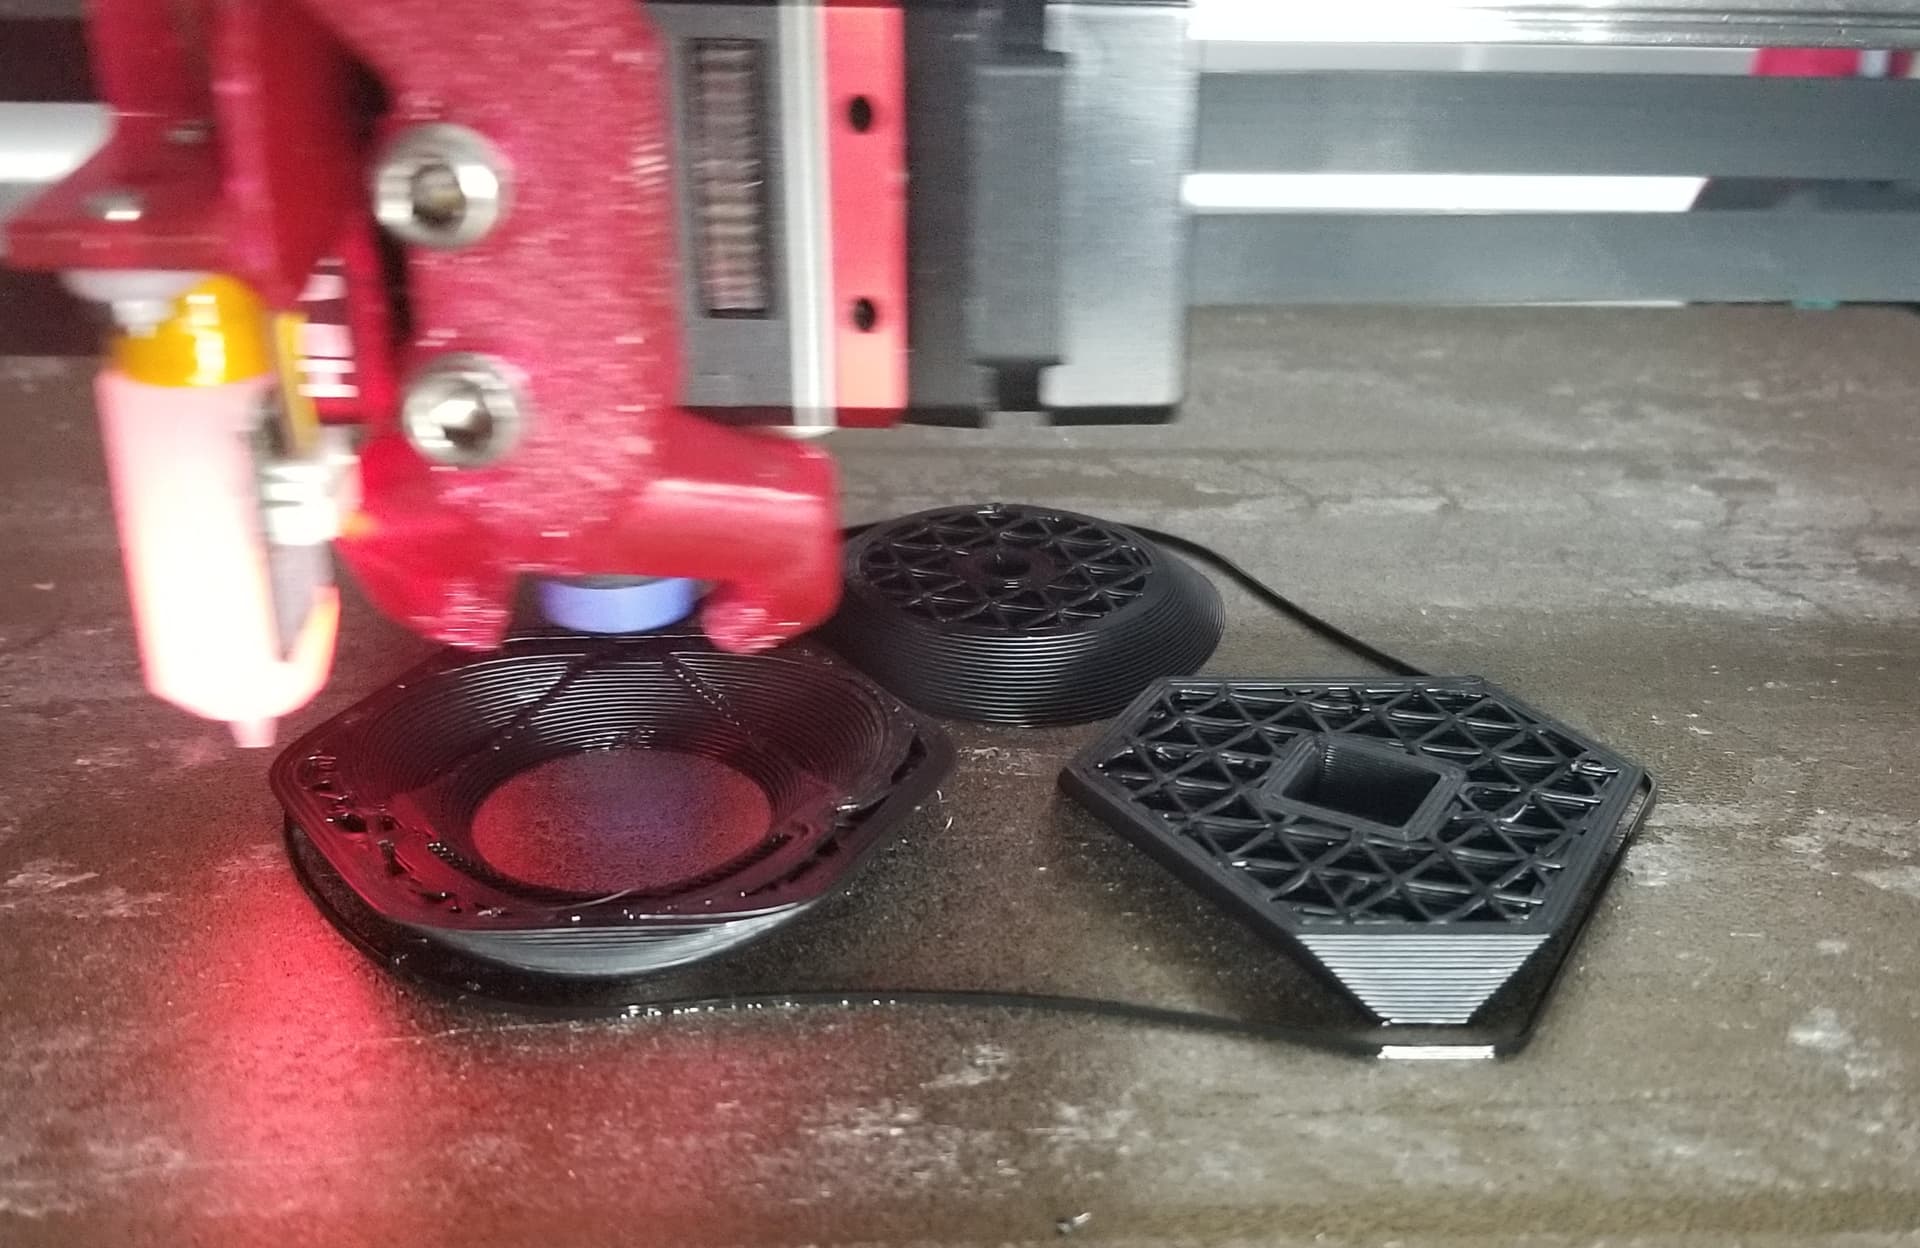
Curious what people would do for the corner? Currently planning to 3D print 2 TPU parts that bolt together. An internal part, and an external part, each part has a flange/lip that grips the polycarbonate edge. External part would be mostly Chamfer 45 deg, rounded edges.
Button head bolts at the corner would take, and transfer, brunt of force from corner impact. Maybe there’s 3 parts… PETG internal flanged part, PETG external flanged part, and a TPU/foam external bumper.
Probably flying to RMRRF, so want to bring project small enough for carry on. Cheers!
That is tricky. I have gotten a few good bends with a strip heater but that was small radius and I would not call it accurate enough to get three bends to line up like that.
I have learnt some
Fun things recently about acrylic.
Having to find a new bed for the shops tanning machine. And talking to our bubble window manufacturer.
Some acrylic has uv filters in it. And some does not, hence why he couldn’t form my tanning bed as it would block all the or some of the uv rays.
They have some neat ways of forming aircraft wind screens but from what I have gathered is take your time slowly heating it.
I posted a manual a bit ago on here for bending and building heat rooms etc. but I have found some more neat info here that may help.
I have built some niochrome frames for slicing my surf board foam.
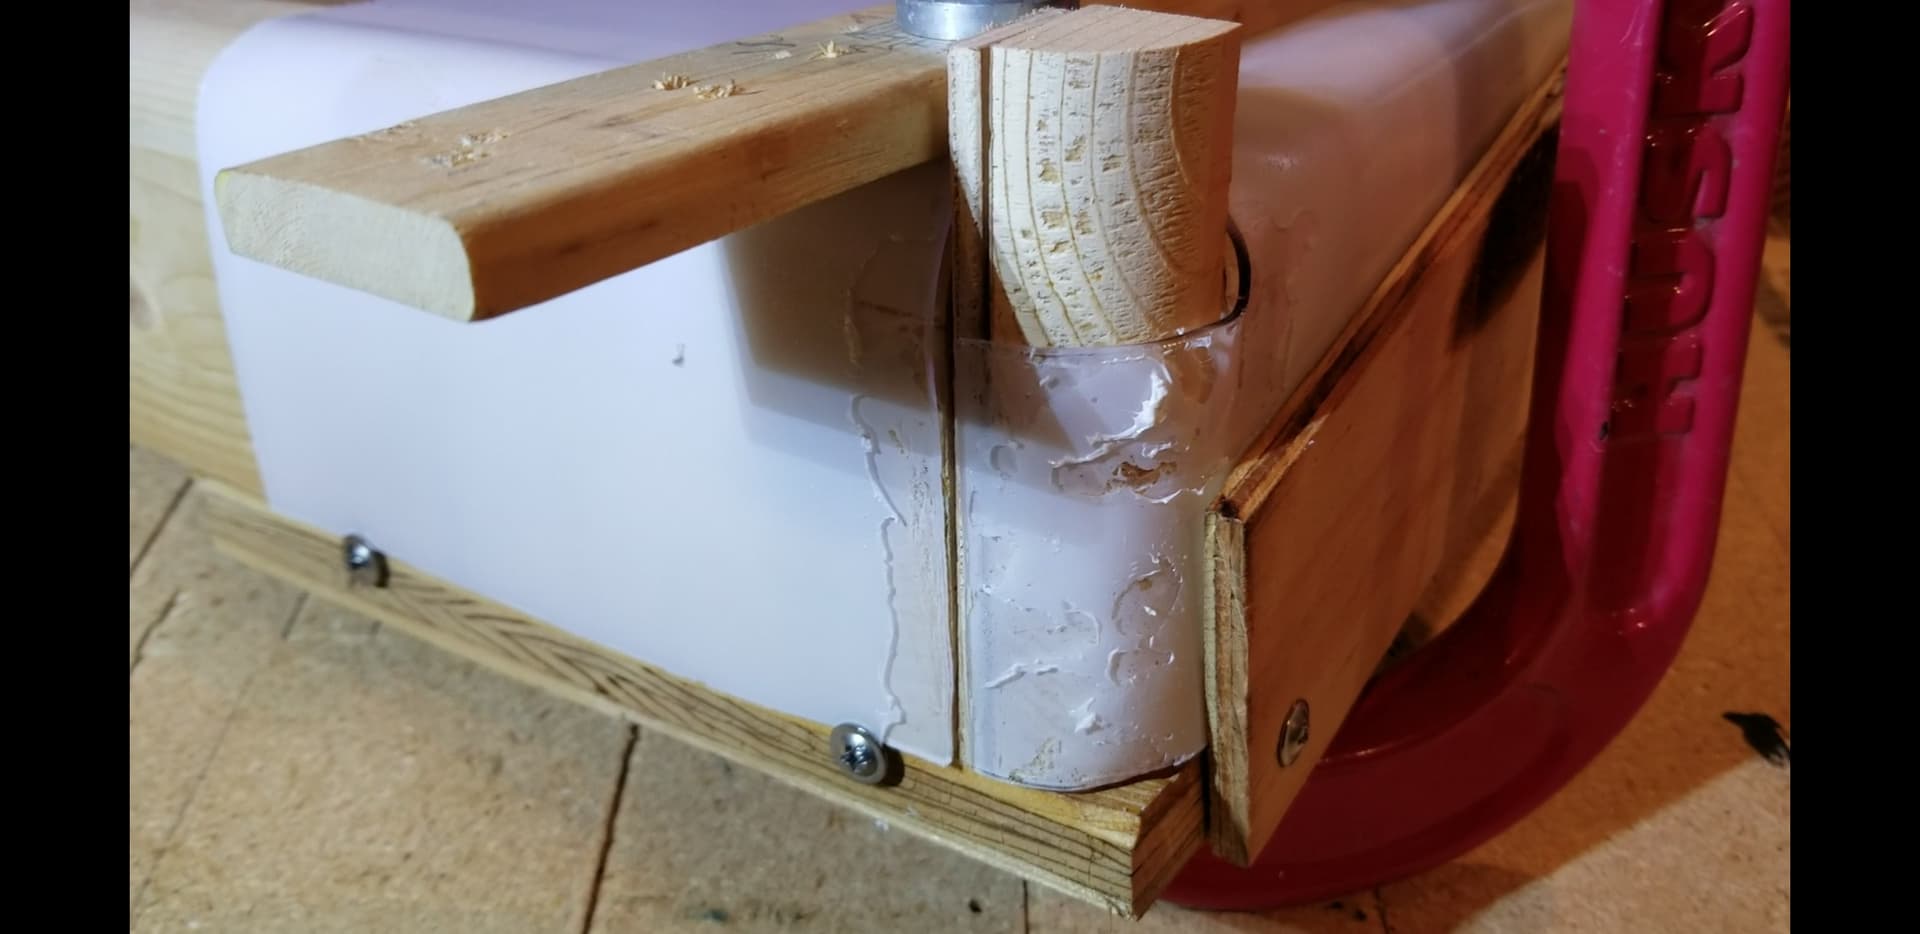
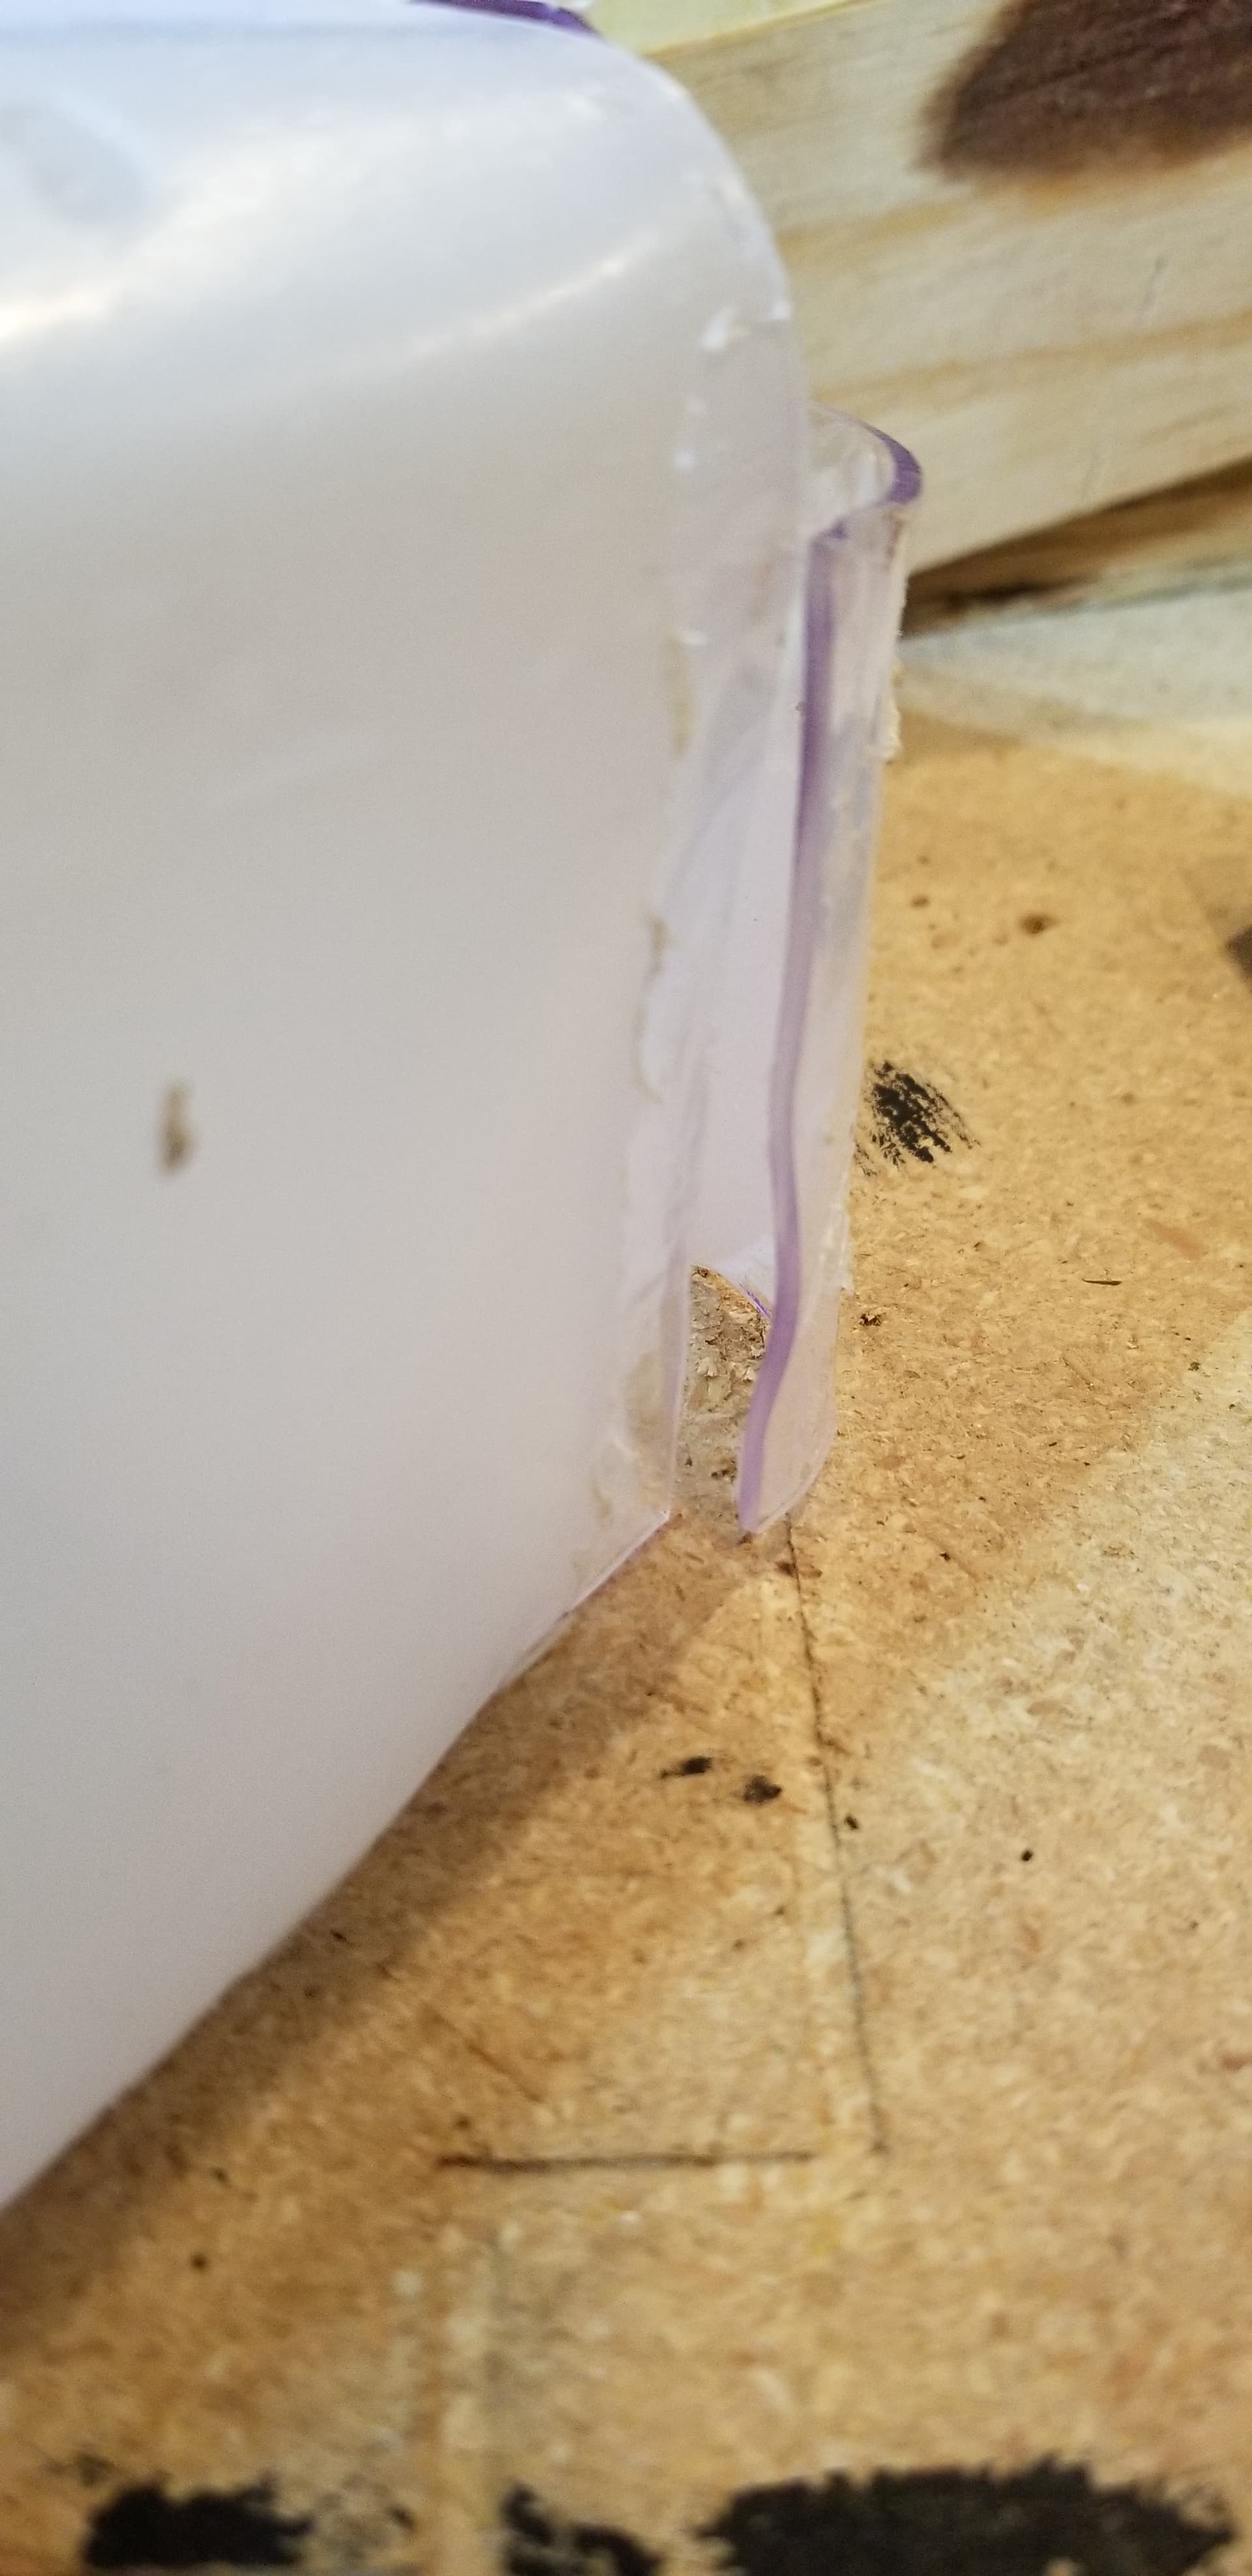
Cheers for the line bending info! I read and learnt a bunch, chatted with helpful folks at Tap plastics even. Despite that, my first 3 bend corner attempt is laughably bad…
I feel like that is not all that bad for a first couple tries. It takes lot to get the temps just right. I bet you can 3D print an outer form and just line it with a towel or something to heat shield it. Should not take long to harden it in place.
That’s great dude there is so many things with that heat forming to consider. I think it looks good from what I remember trying I always heated my parts way too fast and it made it white and bubbly and nasty.
I bet there is a rebound to it like maybe you have to go a bit over bend then it might work. And I bet that’s fun finding how much is too much and how much is not enough.
I am just north of you used to go test engines at lake stevens down that way. I have a couple buddies down that way that might know some plastic ppl.
I wonder if like a heat blanket or like a oil pan heater could work and a bag of shot for weight or something.
We have a neat fixture for doing our bubble windows it’s actually done by very controlled heat and it uses air and a micro switch to stop expansion.
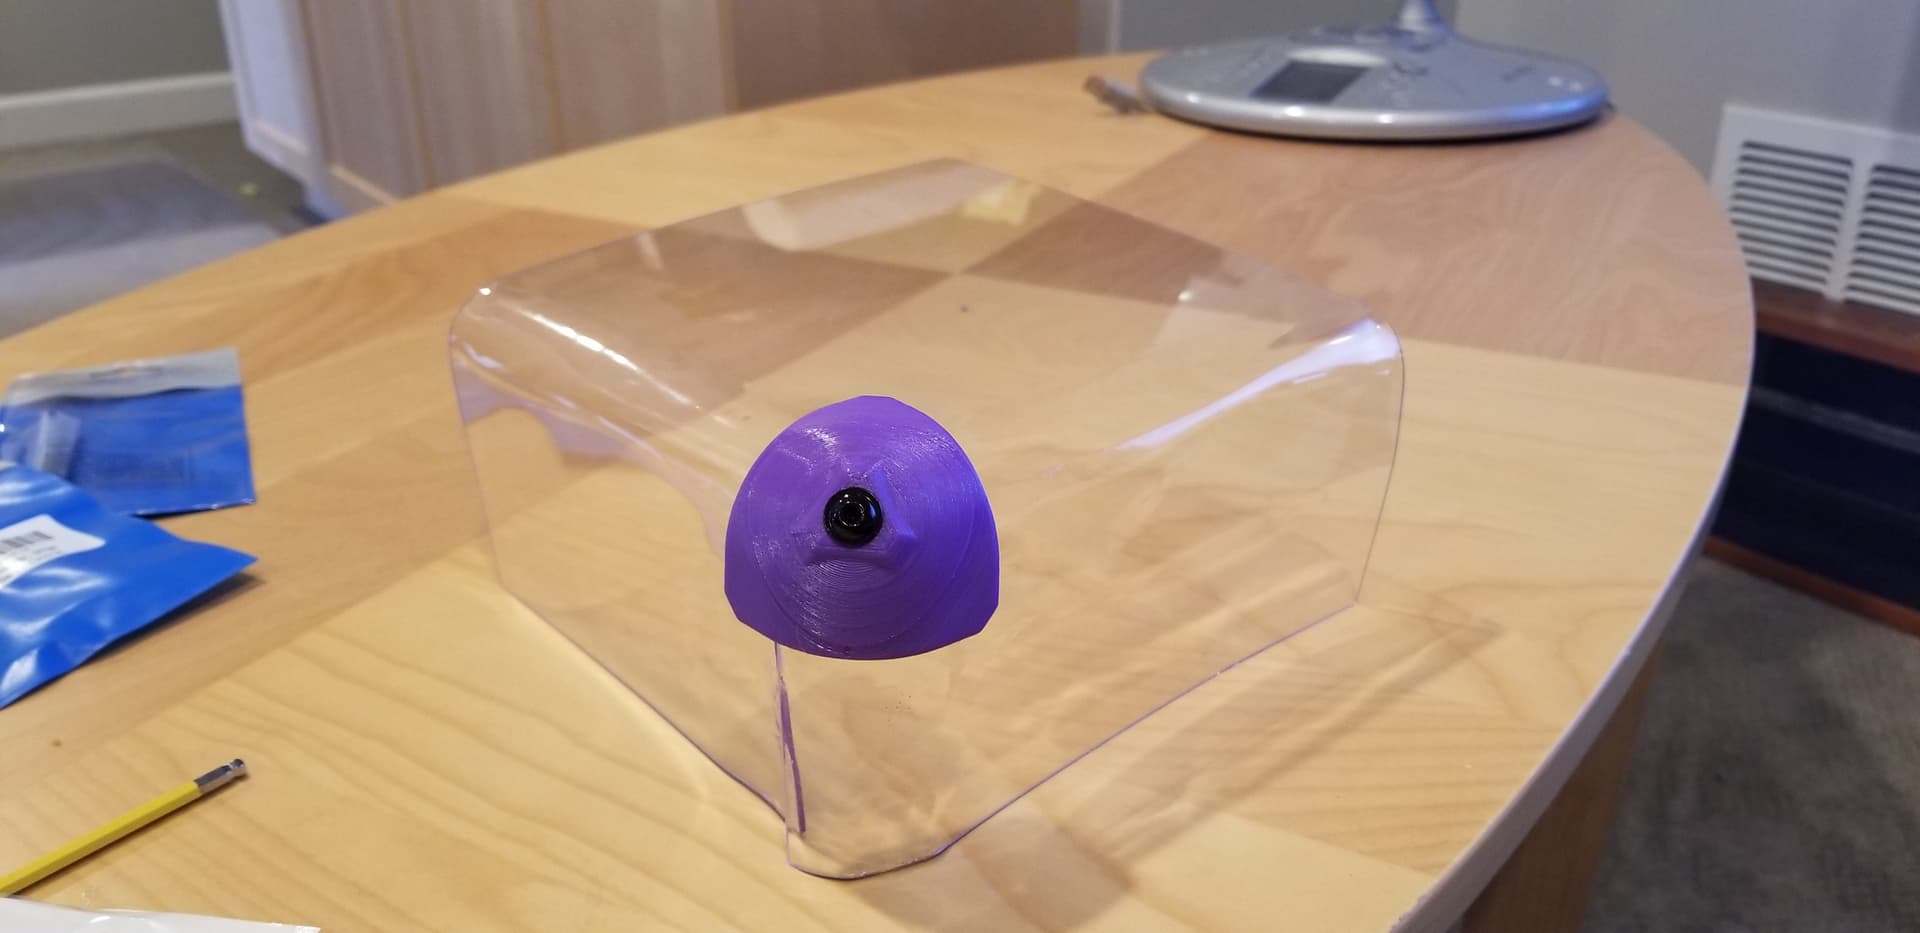
Thank you @Waspjr! Patiently slow heating to avoid overheating and moisture bubbling seems to have helped. Protective wrap wrinkling/peeling seemed to be helpful cue for when to bend. Polycarbonate is just 1.6mm thick, so hopefully the 3D printed parts will make up for over/under bending.
Repurposing temperature controlled outdoor grills seem popular for these projects. Or, an otherwise unused oven (BPA/toxic stuff, etc…).
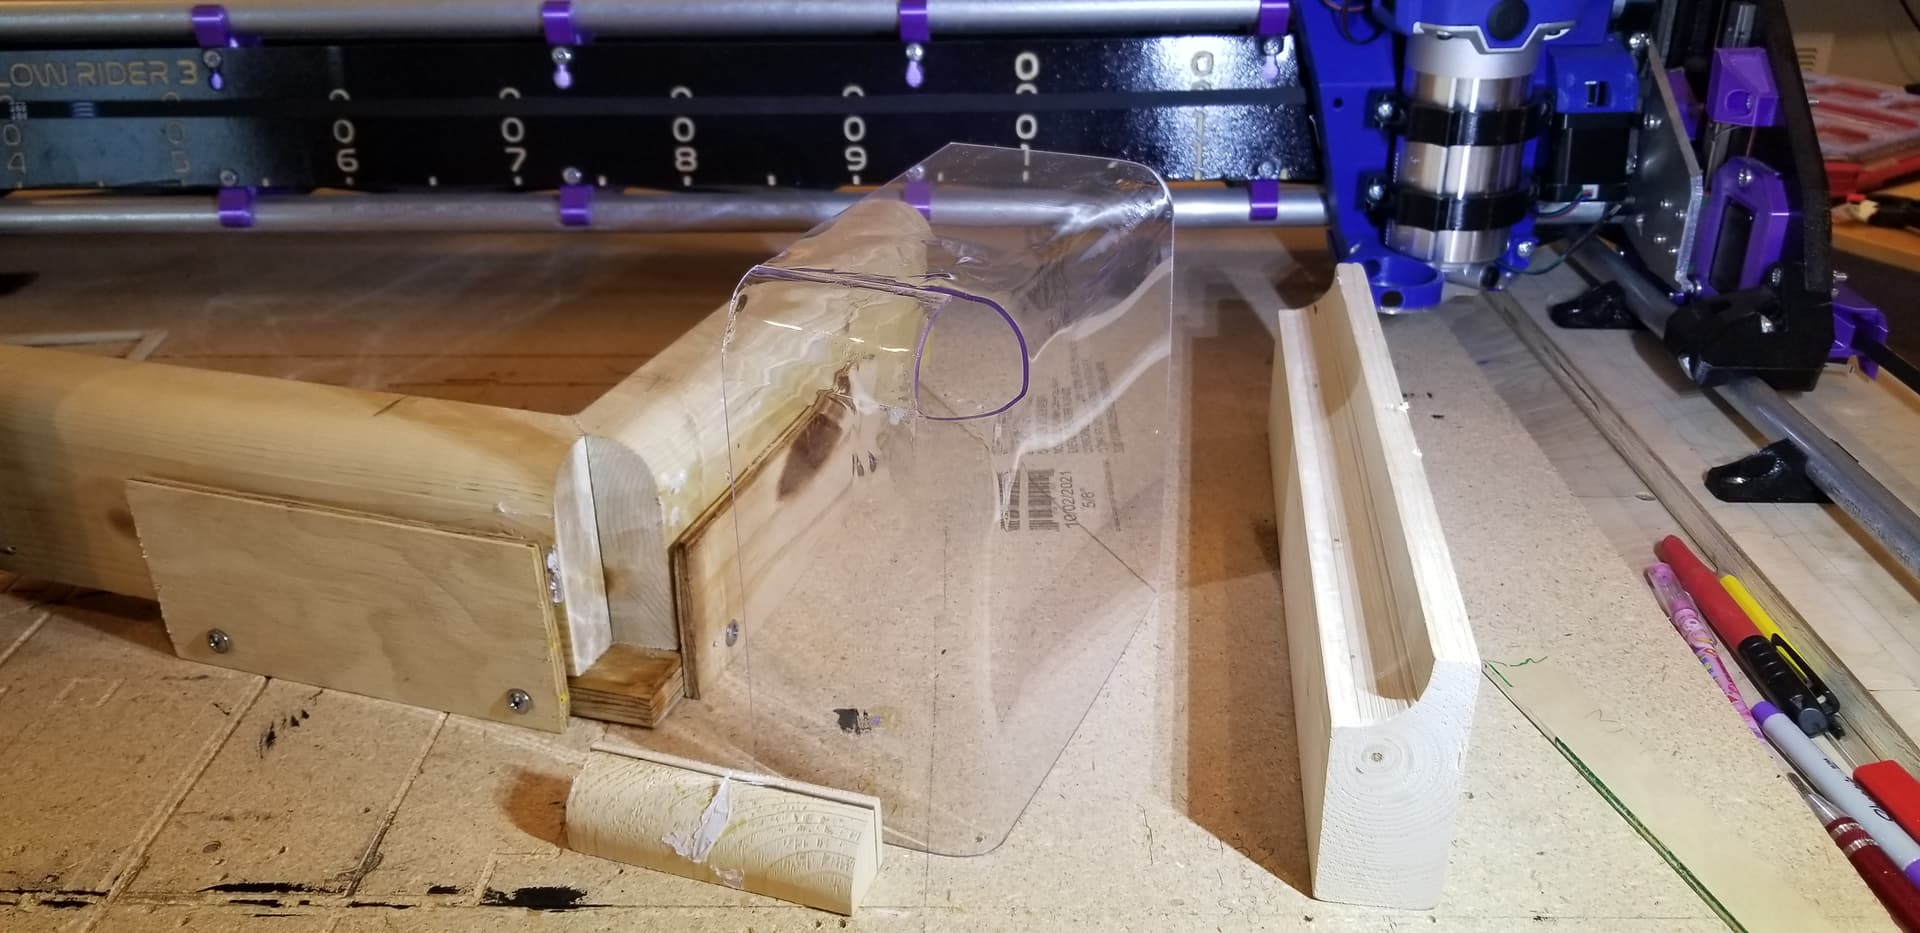
Results are less precise/clean than I wanted, but good enough to try out on larger scale… CNC’d external mold with 1" radius helped to use as forming hand tool. Cutting 1" radius pushed the depth limit of the 1.5" long upcut bit I normally use. Have ordered longer 2.5" bit for deeper cuts/carves like this. A 2" long single flute 1/8" shank, 1" cutting length would be nice, but not stumbled across yet…