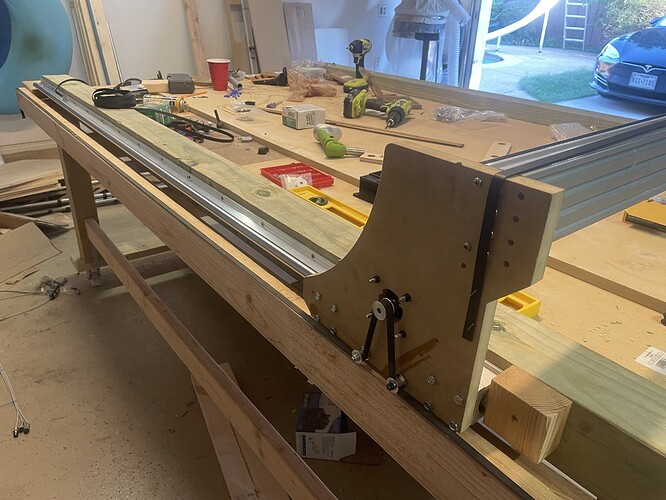
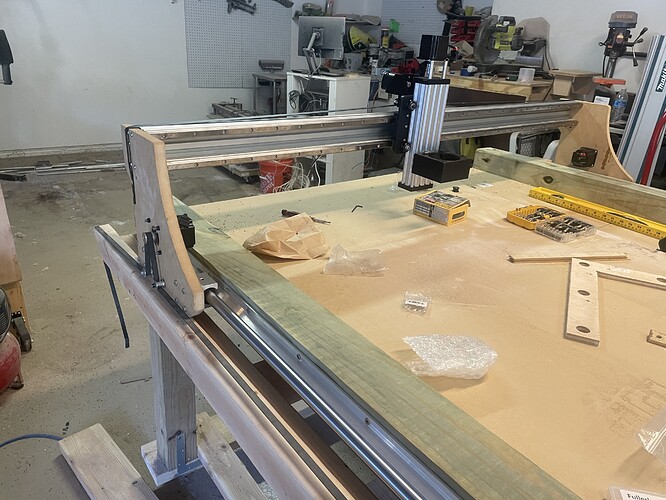
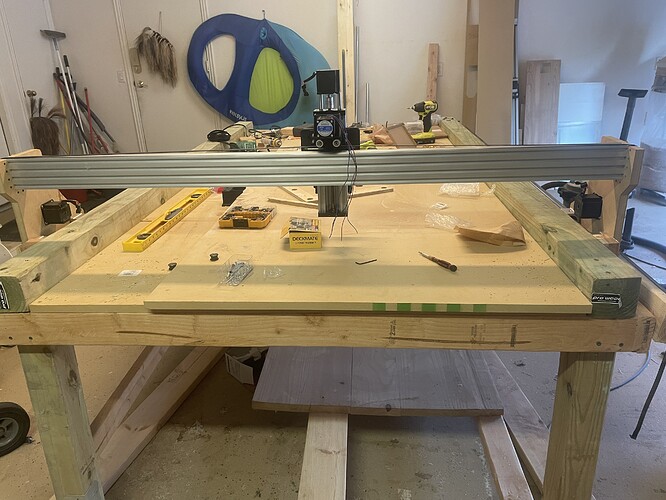
I know that feeling!!
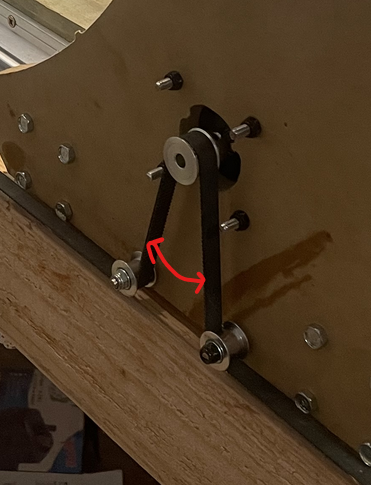
Can I ask why you chose that specific angle?
Didn’t really have a particular reason for it. My goal was to get the belt as close as possible to the bottom and with the angle i feel like its a bit easier to tension. Since im running the nema 23 if also been experimenting with different teeth pulleys so it was also a side effect from that
I also have to print a proper belt tensioning system for both the y and the x and align the x belt properly since its at a wonky angle. Im going to try and wire it today before work and see how everything moves and go from there might take a video of everything in motion and post it somewhere and share the link on here
Make a loop on the belt and mount a block of wood on the ends. Then thread a ziptie through the loop and around/through the block - makes an easy and robust tensioning system.
I only asked because I thought you might have had something behind the idlers. The closer the idlers are the more the teeth engage the pulley the more power you can transmit. That is the most important. With 23’s even more so. There should be a spec sheet with minimum engagement per torque.
Ill try something like that right now for testing i just have some staples holding it in place it seems to he fine for now but not a good long term solution
Ill have to take a look at that sheet honestly i had no clue and would probably be a head scratcher if it didn’t work properly. After the round of testing i see how the torque is and see any adjustments that need to be made. I’ll definitely be taking a look at that sheet. Right now it looks like 50% of the teeth are engaged so hopefully thats enough for now. I also have some extra pulleys with 120 teeth so that might work better as well
Me coming back to check the forums a couple months late… Sorry I didn’t give any info about the 3 tube X axis but looks like you went another direction already.
I don’t mind, but I got really confused if somehow 2 threads got mashed into 1 or what.
Nah, your thread got hijacked halfway through. ![]()
Meds must be wearing off, my immediate thought was: “At least it didn’t end up in Cuba or Uganda…”, at which point I also wondered when the last time a plane was actually hijacked (aside from 9/11), and realized (yet again) that I’m old.
edit: Yes, kids, hijacking was common enough in the before times that it was a common TV/movie gag to have someone pull a gun on a plane and demand to be taken to Havana.
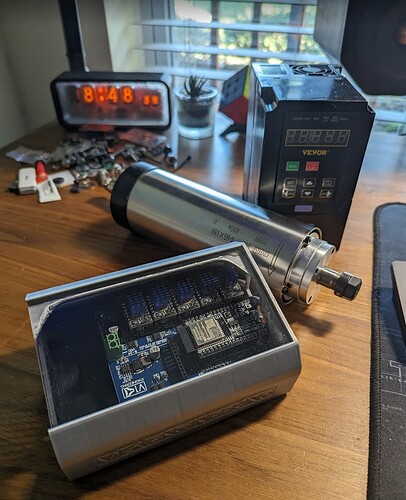
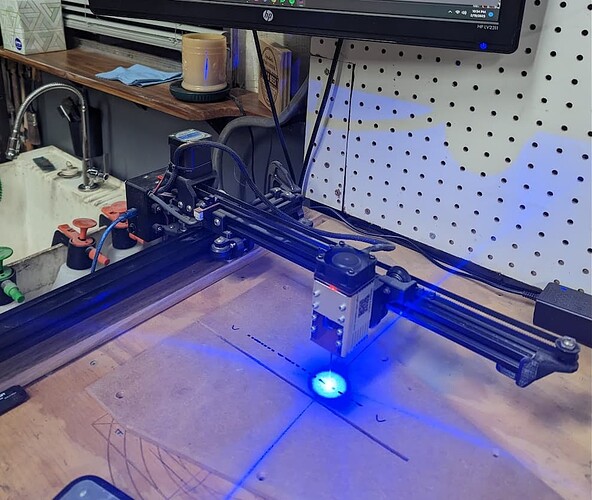
Back on the rails with the LR3, got some changes to make. Found a 800w spindle for cheap, I have easy access to 240v in my shop. Idk why the 110v stuff is so much more expensive.
Also, new shiny Jackpot! I believe I’ll need a 0-10v hat for it to control the spindle? I’ll probably get everything setup the way it was with the new controller and manual spindle control from the vfd before I dive into controlling it. My old controller worked fine, but do like GRBL (I have another FluidNc project for a plasma table I’m working on). I think this will allow me to combine my diode laser (NEJE module) with the LR3.
Hopefully get rid of this little guy and expand the size of stuff I can laser.
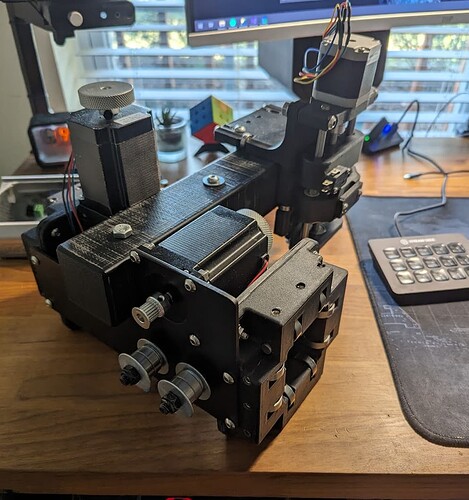
And just because I mentioned it, my JD Garage derived Crossfire clone I’ve been working on. Will be like a 25x28" cantilevered plasma table. Designed my own z axis and reoriented the belt direction for the X to get the stepper weight off the carriage.
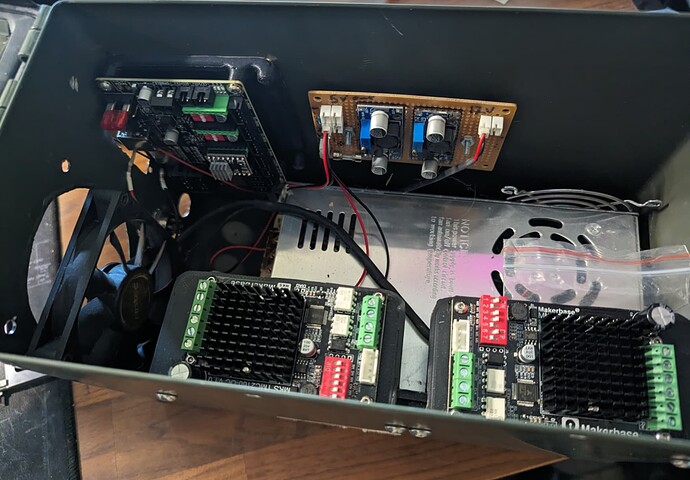
Ammo can control box ![]()
Be careful with the Vevor, we have had reports of it interfering. Loosing Z Steps, but only with aluminium - #30 by Frontline
So you’re saying the cheapest possible vfd may be noisy? lol… crap. I’ll keep that in mind when I get to that point. I’ll try to find some decent shielded cable for the lead from the get go then. And here I was thinking the plasma was the only thing I was going to have to mitigate emf. I just upgraded my lathe vfd to a nice invertek because the cheap Huanyang vfd I had sucked.
Shielded and grounded.
I liked that kind lays flat
Clayton, what did you finally find out about adding the third rail? is this structurally more rigid, was it worth the design changes you made? Being a newbie to all this, I have so many of people’s various design changes and improvements in my head, I’m just getting overwhelmed while still trying to figure out if a PRIMO MPCNC or LR3 is going to be my first build.
I ended up accidentally cutting 3 pipes too, and thought of this thread and laughed.
Reminder to future LR3 builders: you need 3 strut plates, but only 2 pipes. I nearly only cut one strut plate before dismantling my lr2, which would have been tragic!
Maybe I’ll make a clothing hanger rack with the extra pipe…
man so much to take in, digest, and interpret into my own build… I’ll be coming back to this one for sure
