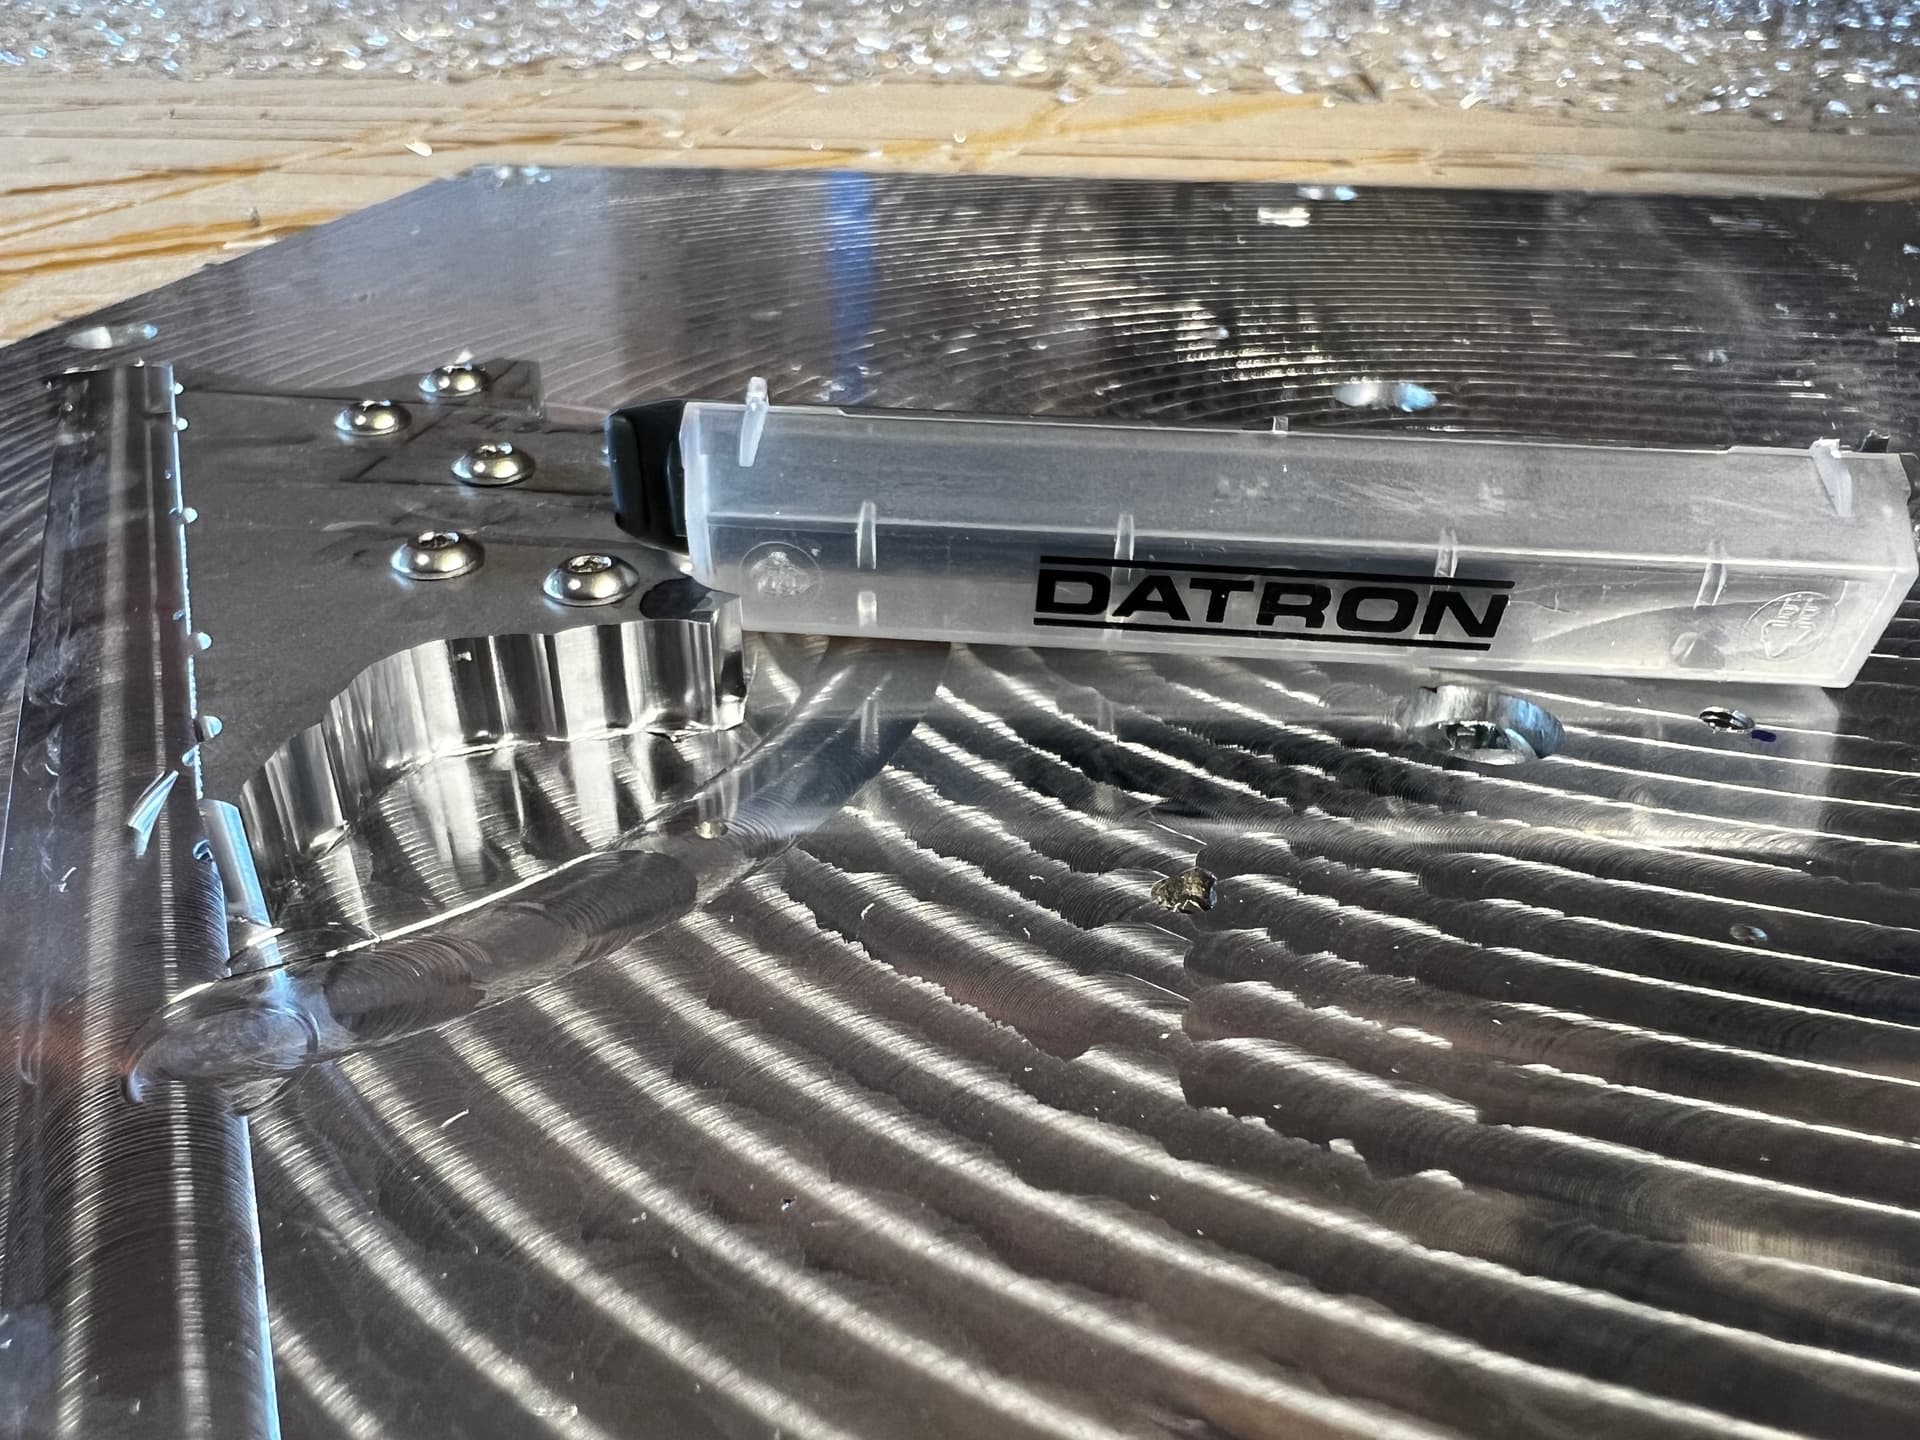
Had a couple aluminum plates laying around. Thought I’d try the LR3 in some aluminum. Armed with a very poor source of compressed air and several chip weld problems later, everything was dialed in and the rest was(is)LR3 Aluminum Chips just clean up… for months I will be cleaning up.

16 Likes
Looks mighty fine! 
Super impressed! I want to start working with aluminum again.
3 Likes
Ugh, I’ve really been wanting to switch my MPCNC Primo to a LR3 setup and I’ve been putting it off. This REALLY makes me want to pull the trigger and start printing the parts.
Those results look really nice. Thanks for posting!
3 Likes
Just get a big, honking magn… oh, right… I’ll see myself out…

Who says it’s not aluminum?

7 Likes
I don’t know about you guys, but I’m staring at what’s inside that 5gallon bucket with jealousy. Those are some really nice looking chips! Also impressive seeing it handled a full depth pocket like that. Mind sharing feed/speed you used for the 3 adaptive cleared pockets?
edit: Also what’s up with the dust spray… you weren’t chasing the bit with that the whole time were you?
1 Like
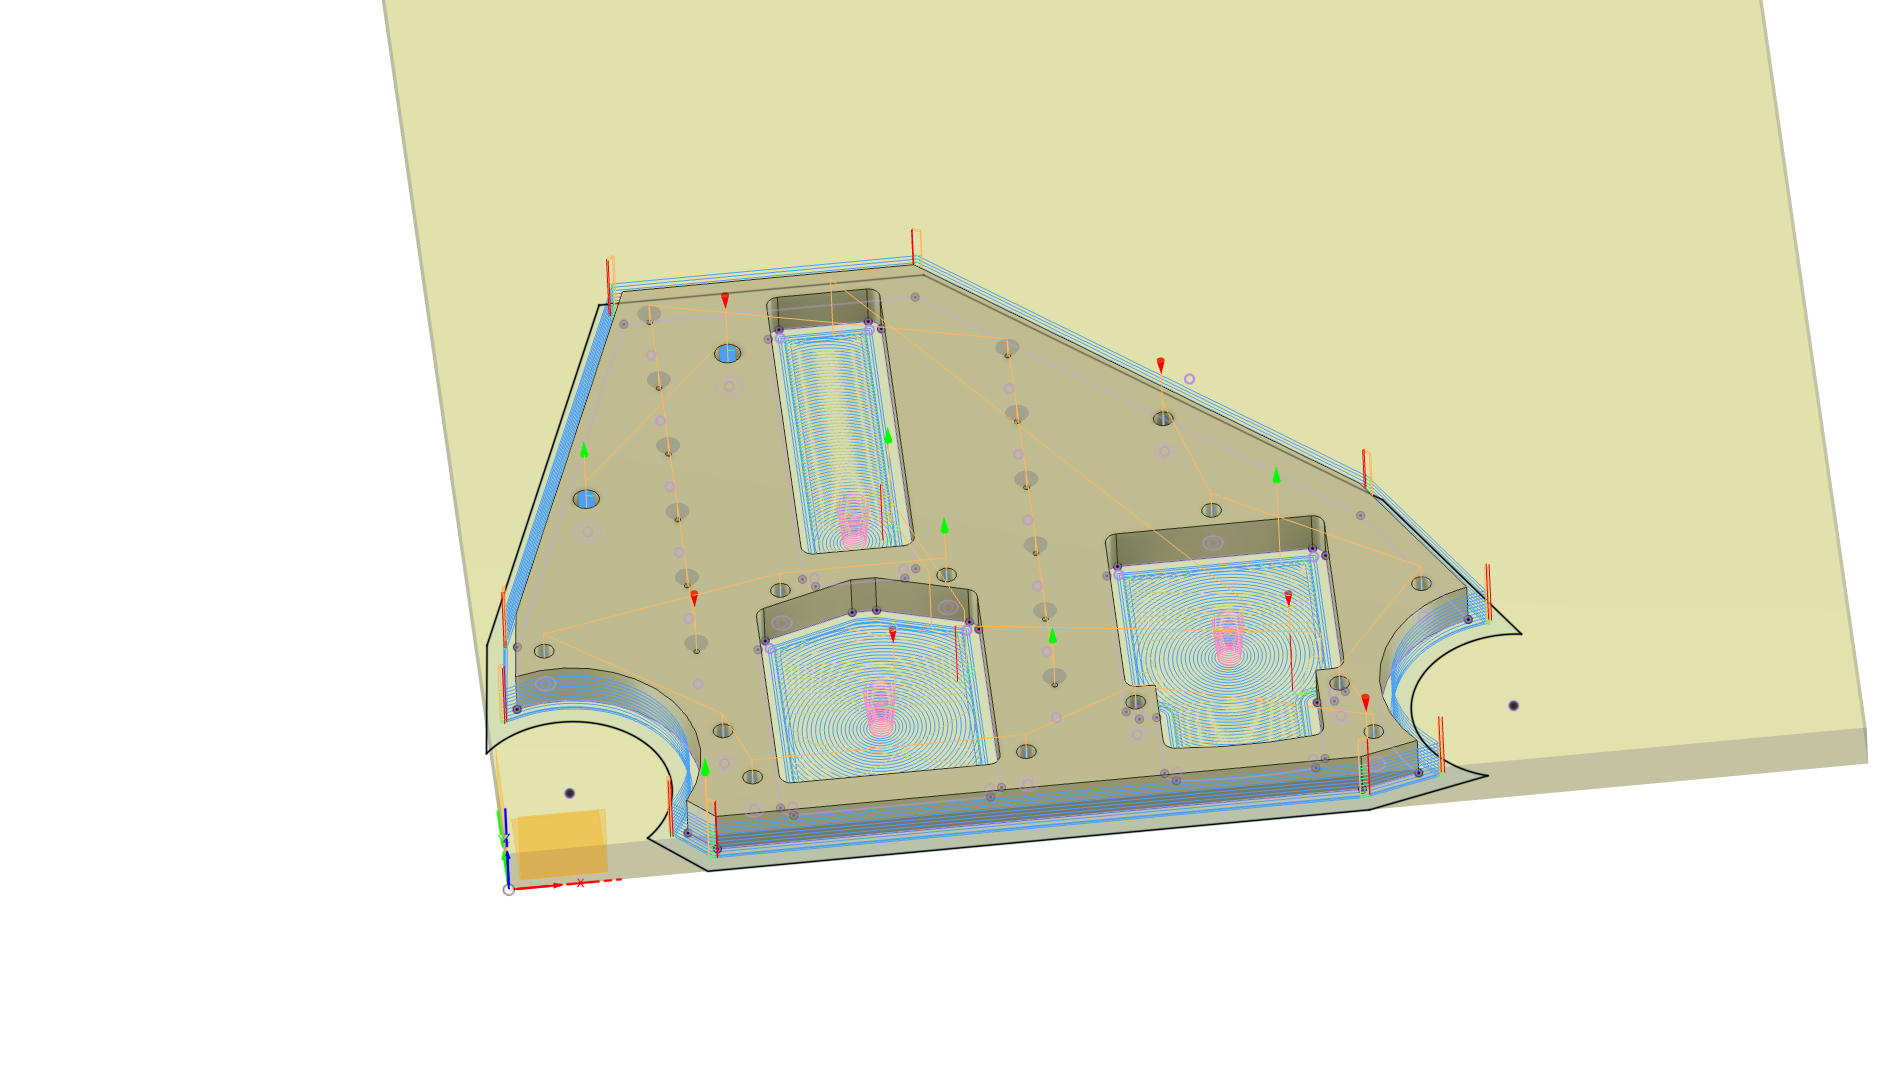
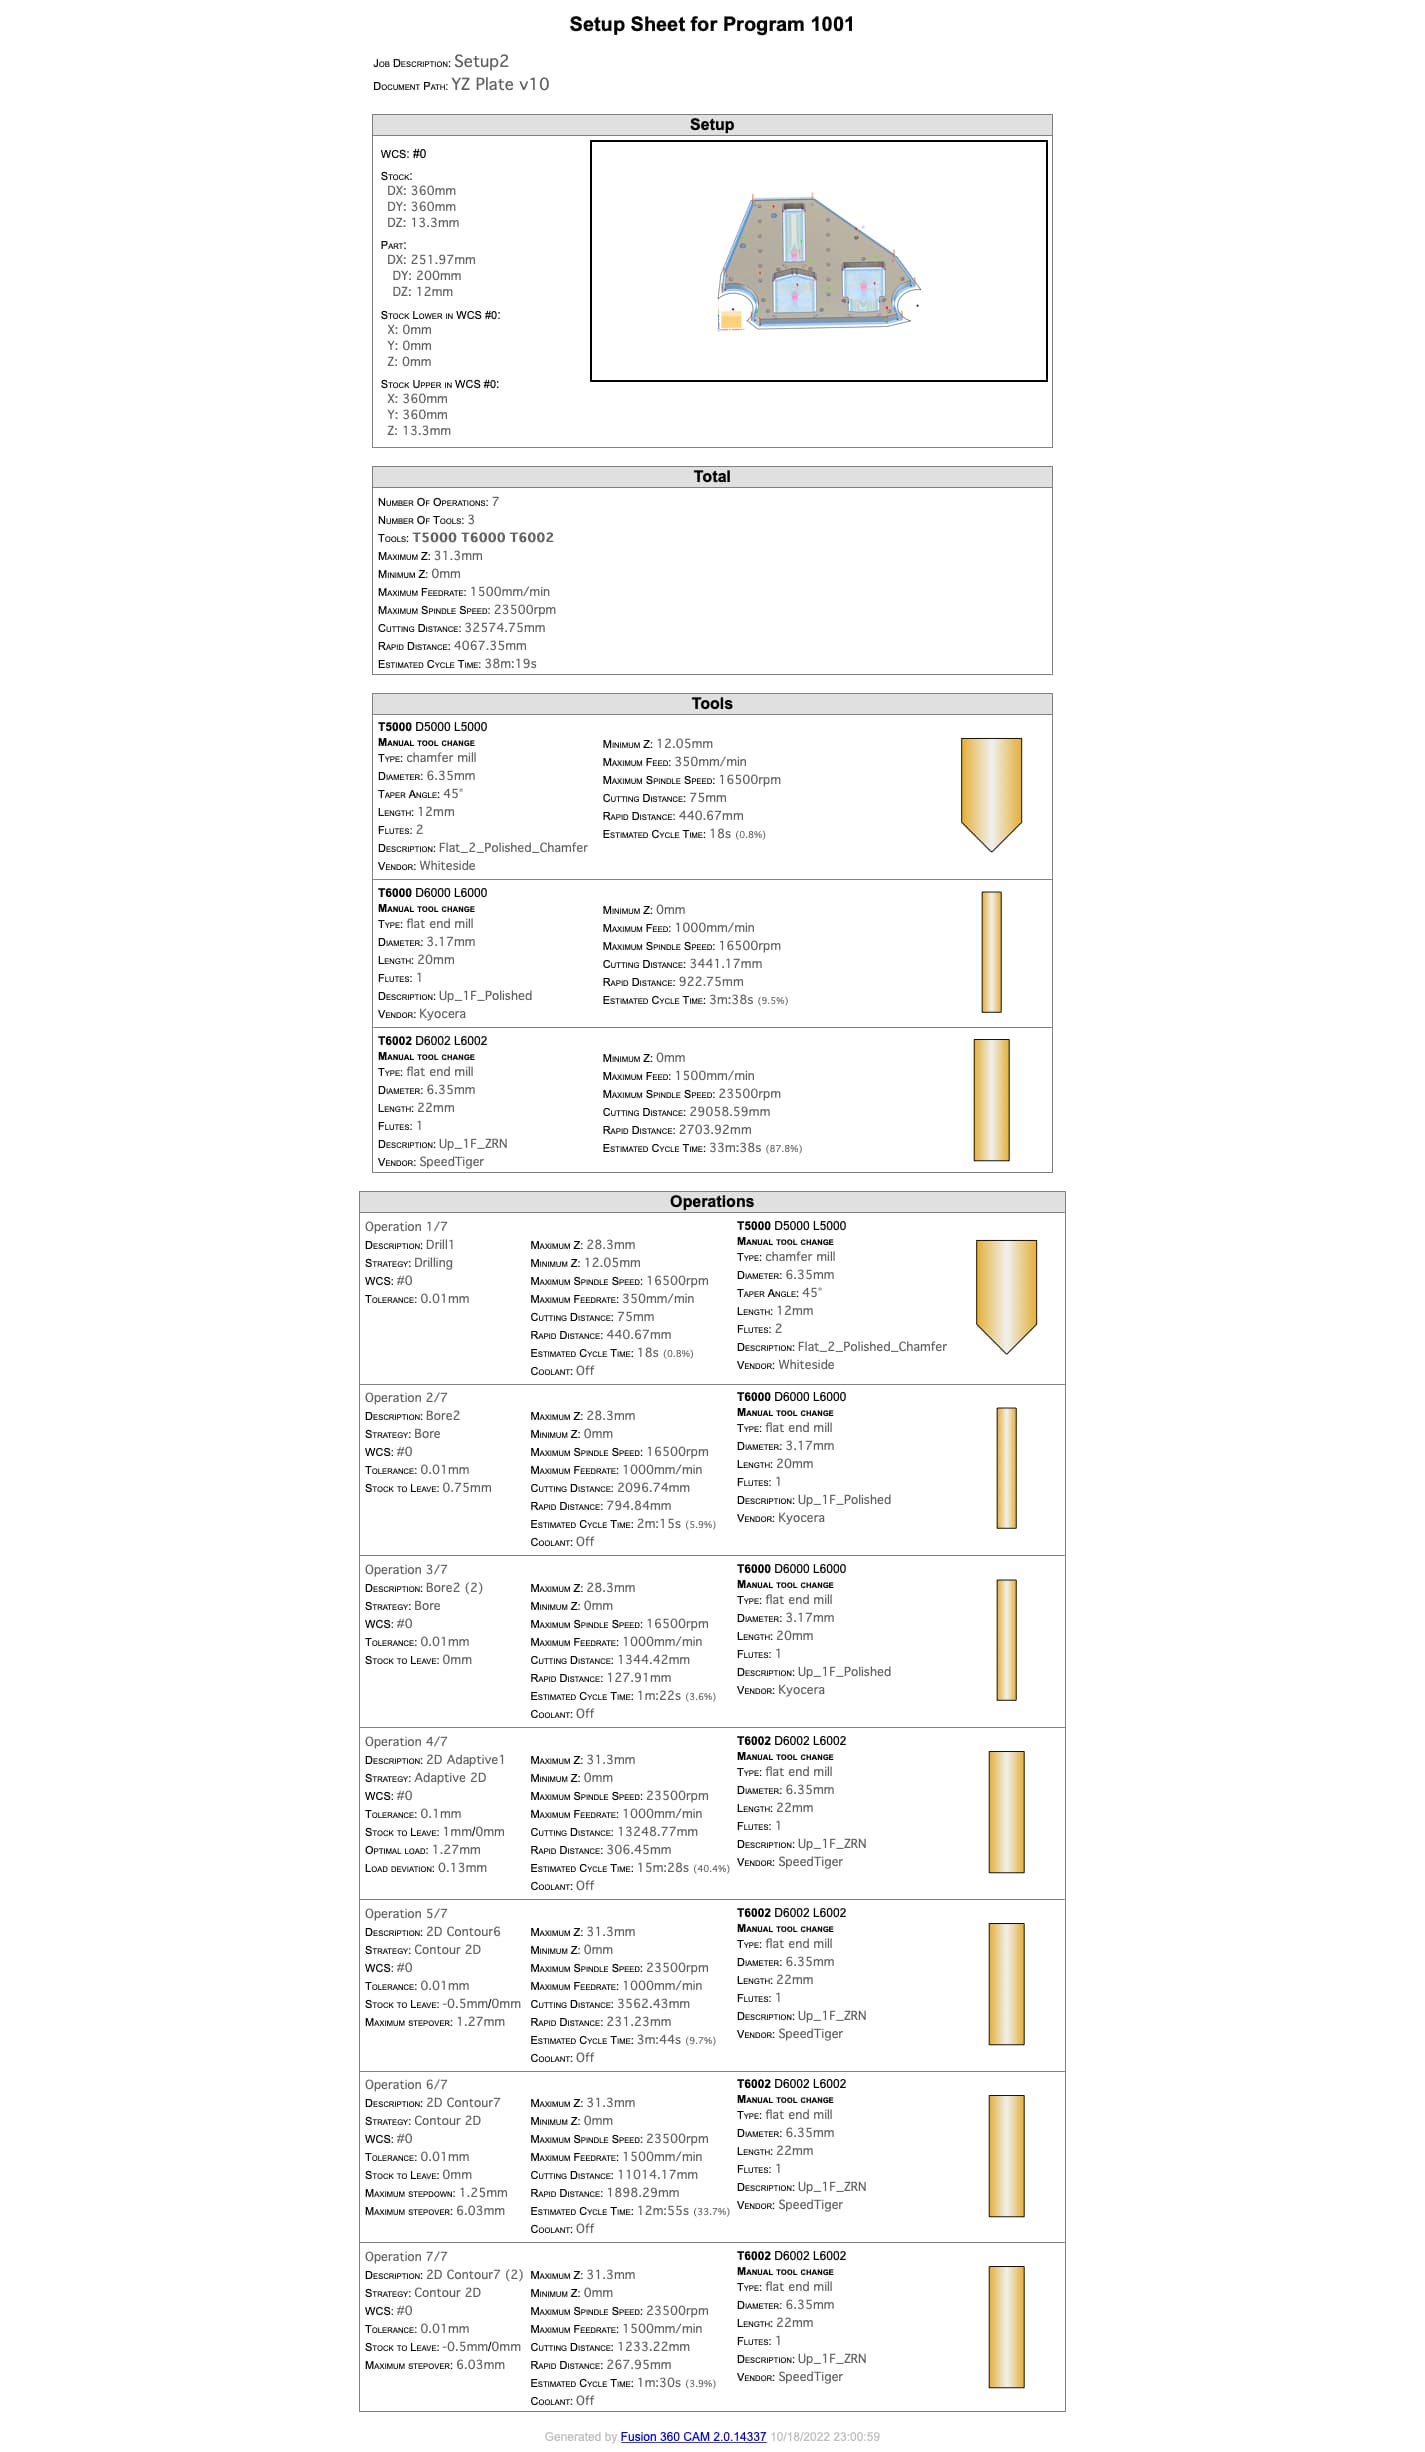
I have done aluminium as well, albeit only a cm deep. The description has got the values I used (holes at 250mm/min, straight cuts trochoidal milling, 900mm/min, 10mm DOC):

You can see there is a bit of flex, I was trying to push the limits without cooling. Interestingly, the cooling is not needed at all, the limiting factor is the machine.
4 Likes
Dewalt 611 @ 4.5 or 23500rpm
Endmill: 1 Flute Speed Tiger ZRN 1/4" Diameter (See amazon)
Adaptive Cut Specs: Cutting Federate 1000mm/min, Optimal Load 20% of tool diameter, Climb Cut, Ramp Helix Angle 2 Deg, Ramp Taper Angle 5 Deg
Slot Cut Specs: Cutting Federate 1500mm/min, DOC 1.25mm, Keep corner sharp w/ loop (no roll around corner!) arcs enabled (shooting in Fusion360)
All other specs in Fusion are very specific to my machine and preferences. I think the LR3 could have handled a faster feed rate but after I broke two 1/8 bits (chip weld) I decided to take it easy on the chip load and feed rate.
As I learn more about milling I’m beginning to wonder if machine harmonics can be manipulated via minor changes such as spindle speed, bit types, a different hold down, different table, bolts in place of screws, metal in place of plastic parts, belt tension changes, etc. All of this induces minor outcomes such as chatter and surface finish. Just my observations while tinkering.
4 Likes
Something else to add. The temperature of the stock should be monitored. I tend to have most of my chip welds begin when the aluminum begins to get hot. This is in addition to all other recs for cutting aluminum, with chip clearing being a significant determinant for success/failure.
Another note: The full depth of cut adaptive worked better than taking the pocket cuts in two adaptive passes. My guess is the full depth of cut was faster (time wise) and therefore spent less time imparting heat into the stock. The chips were smoking hot, but the stock still got hot so… less time cutting or letting the stock cool between cuts helps impart success. This would all be negated with some form of coolant, but as you can see from the pic all I had was a can of compressed air and I had to ration.
3 Likes
Yep, just when the chips piled up in a corner. Which didn’t happen too often, most of the chips ejected cleanly off the table. Hence the cleanup problem!
2 Likes
Thanks for sharing the info; I also use f360 so it translates directly for me. Next time I do alum I’ll have to try a deeper cut and shallower stepover next time, as well as a much higher chip load.
At 23500/1000 w/ 2 flute, your chiploads were around 19 thou… that is huge! I’m used to ~3-4 thou on alum with 1/8", maybe up to 6 with 1/4". No wonder your chips are all lunkers. IMHO this attests to the rigidity of the LR3 design and your skill operating it.
I’m guessing you probably can’t do much better than that at removing heat with chips… outside of flood/mist, maybe aim a small fan at the stock or something (mill cooling fins in stock to start? hehe). If you don’t have an air compressor you could use to power flood/mist, one of those small aquarium pumps ppl use for laser flood might be a good substitute. That’s what I often prefer to use if I don’t need mist and can’t use a vacuum. I also have a solenoid valve and compressor, but the noise from that can get tiresome on longer operations.
2 Likes
Chips on the floor… between toes… under our dinner plate… the things we deal with for this hobby! ![]()
edit: At least it isn’t steel chips… those hurt a lot more!
2 Likes
Absolutely, I am not sure if there has ever been reports of higher loads. I am very impressed and really want to try and replicate that myself. I would be very happy to see that.
2 Likes
Correction… 21thou for the record. I had 900 feedrate in my spreadsheet before, not 1000.
These look awesome.
I’m a newbie considering getting some YZ plates in metal for my first lowrider build.
Do you think they need to be 1/2" thick? or would 1/4" thick in aluminum/steel be more than enough?
Thanks
1/4" would be plenty.
2 Likes
I agree with the 1/4" being enough. However, be sure to cost compare if you’re having someone make them.
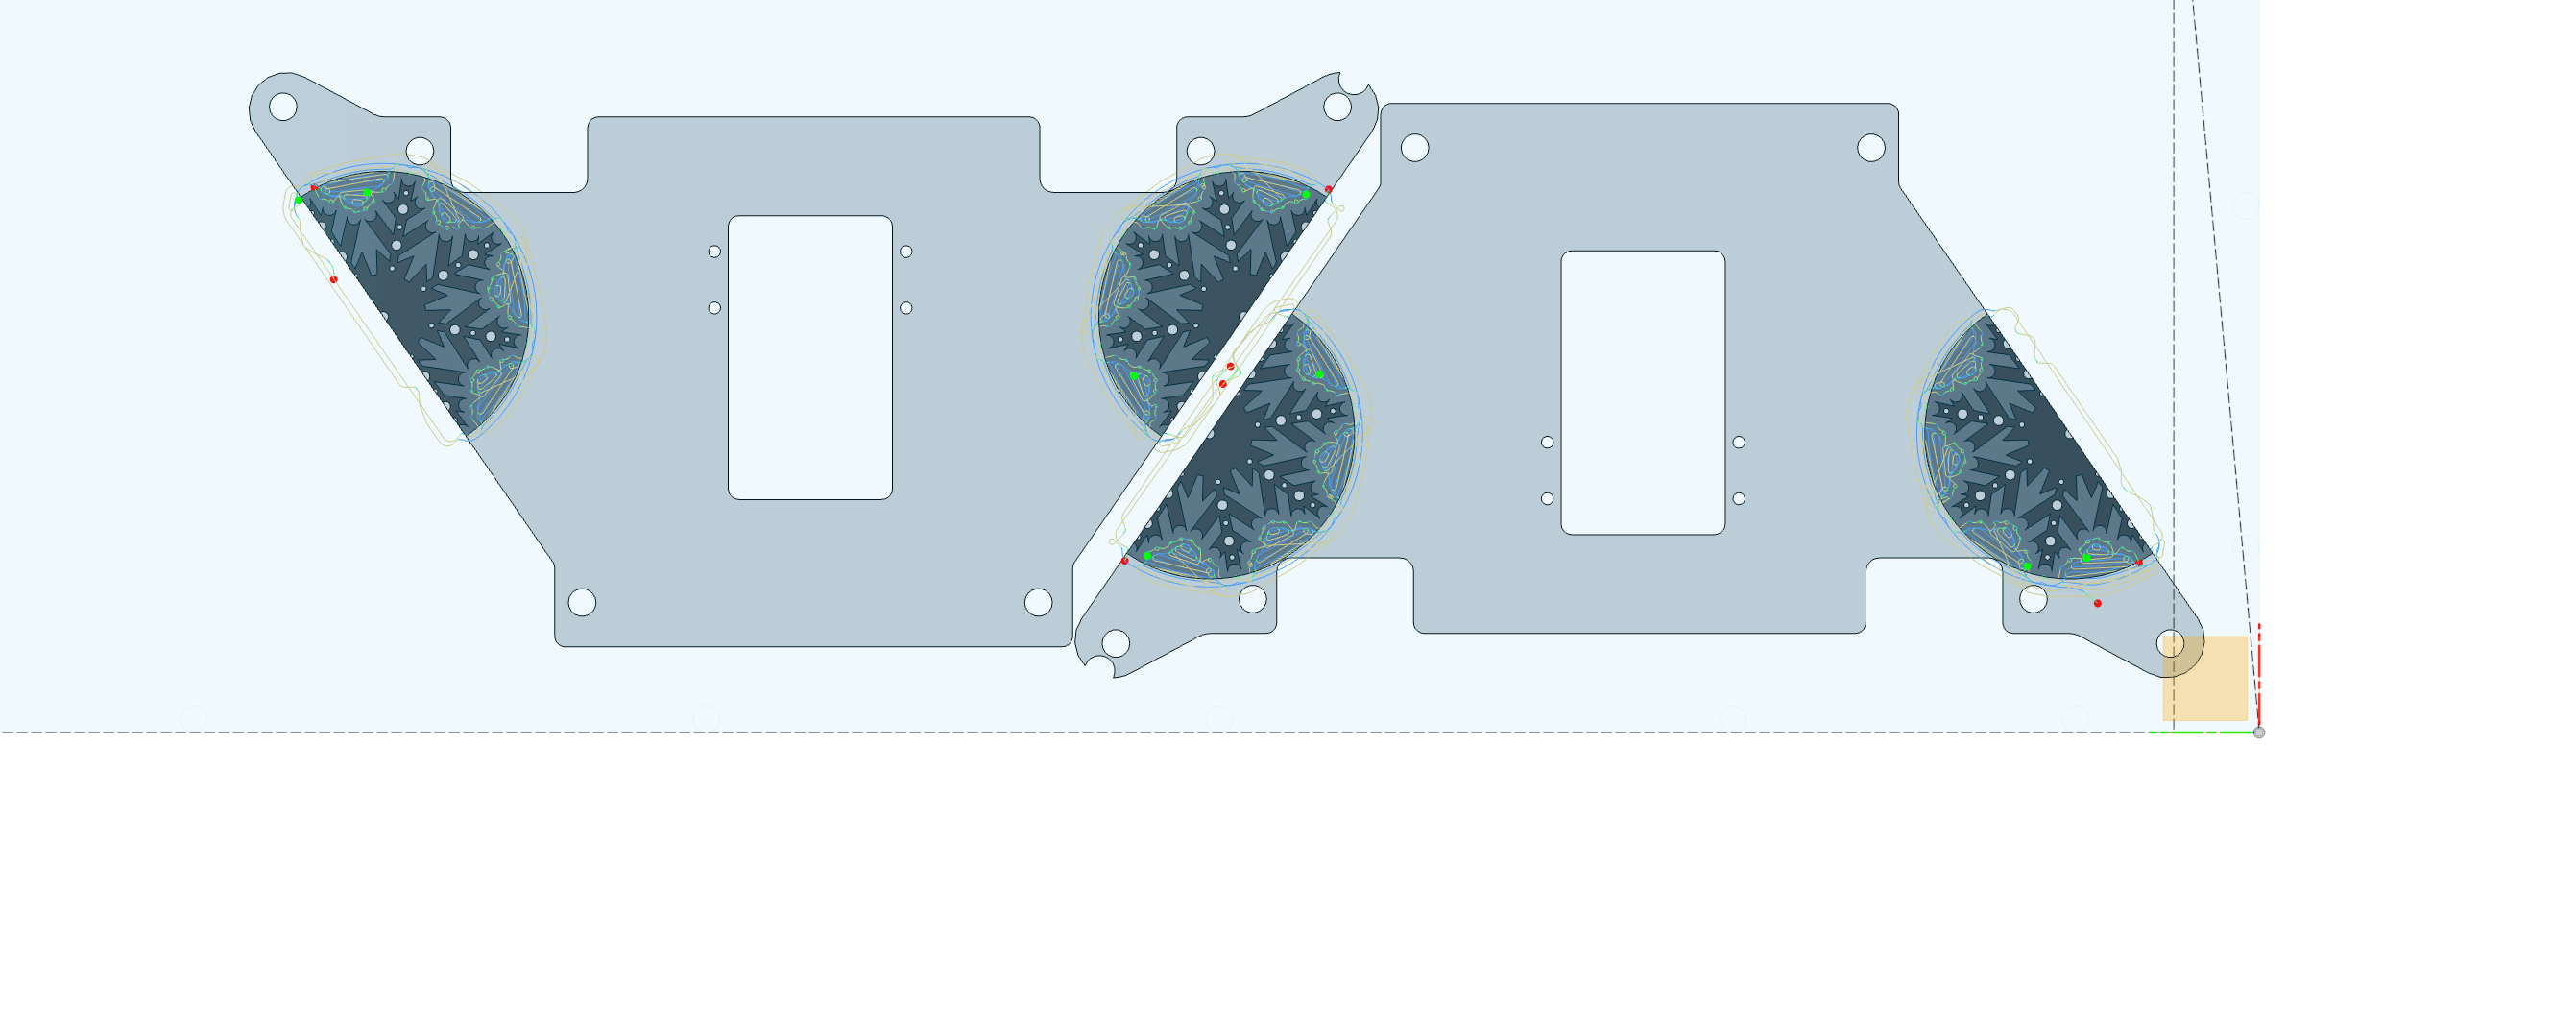
I purchased three Datron endmills before the pandemic and never got around to using them until now. LR2 Y-Plates as the stock. Time to get festive with snowflakes! In the video you’ll see me adjust the the camera angle suddenly… The chips were so hot that I couldn’t stay there.
Datron FTW!
3 Likes