Today’s progress: Laid down the pipes, then put the original plate on again. Did suck a little through it, but not enough. Sealed the table with wood sealer. Hope that helps. If it does not I am planning to use some window-insulation strips to put on the outer edges to stop the air from escaping through the sides at least. I might also add three layers of paint or put some foil below the table to seal it. Not sure yet. The general idea does work though.
I guess another problem is the spoilboard itself, because it is a lot bigger than the actual cutting surface, I might have to paint it as well to not have air escape through the sides there OR cut out the cutting area and put some airproof insulation around the cutting area. That might be better actually in the long run. Or I just exchange the whole top with plywood and just cut out the area for the spoilboard. That might be the best but most expensive solution that I don’t want to try as of yet. Now, pictures:
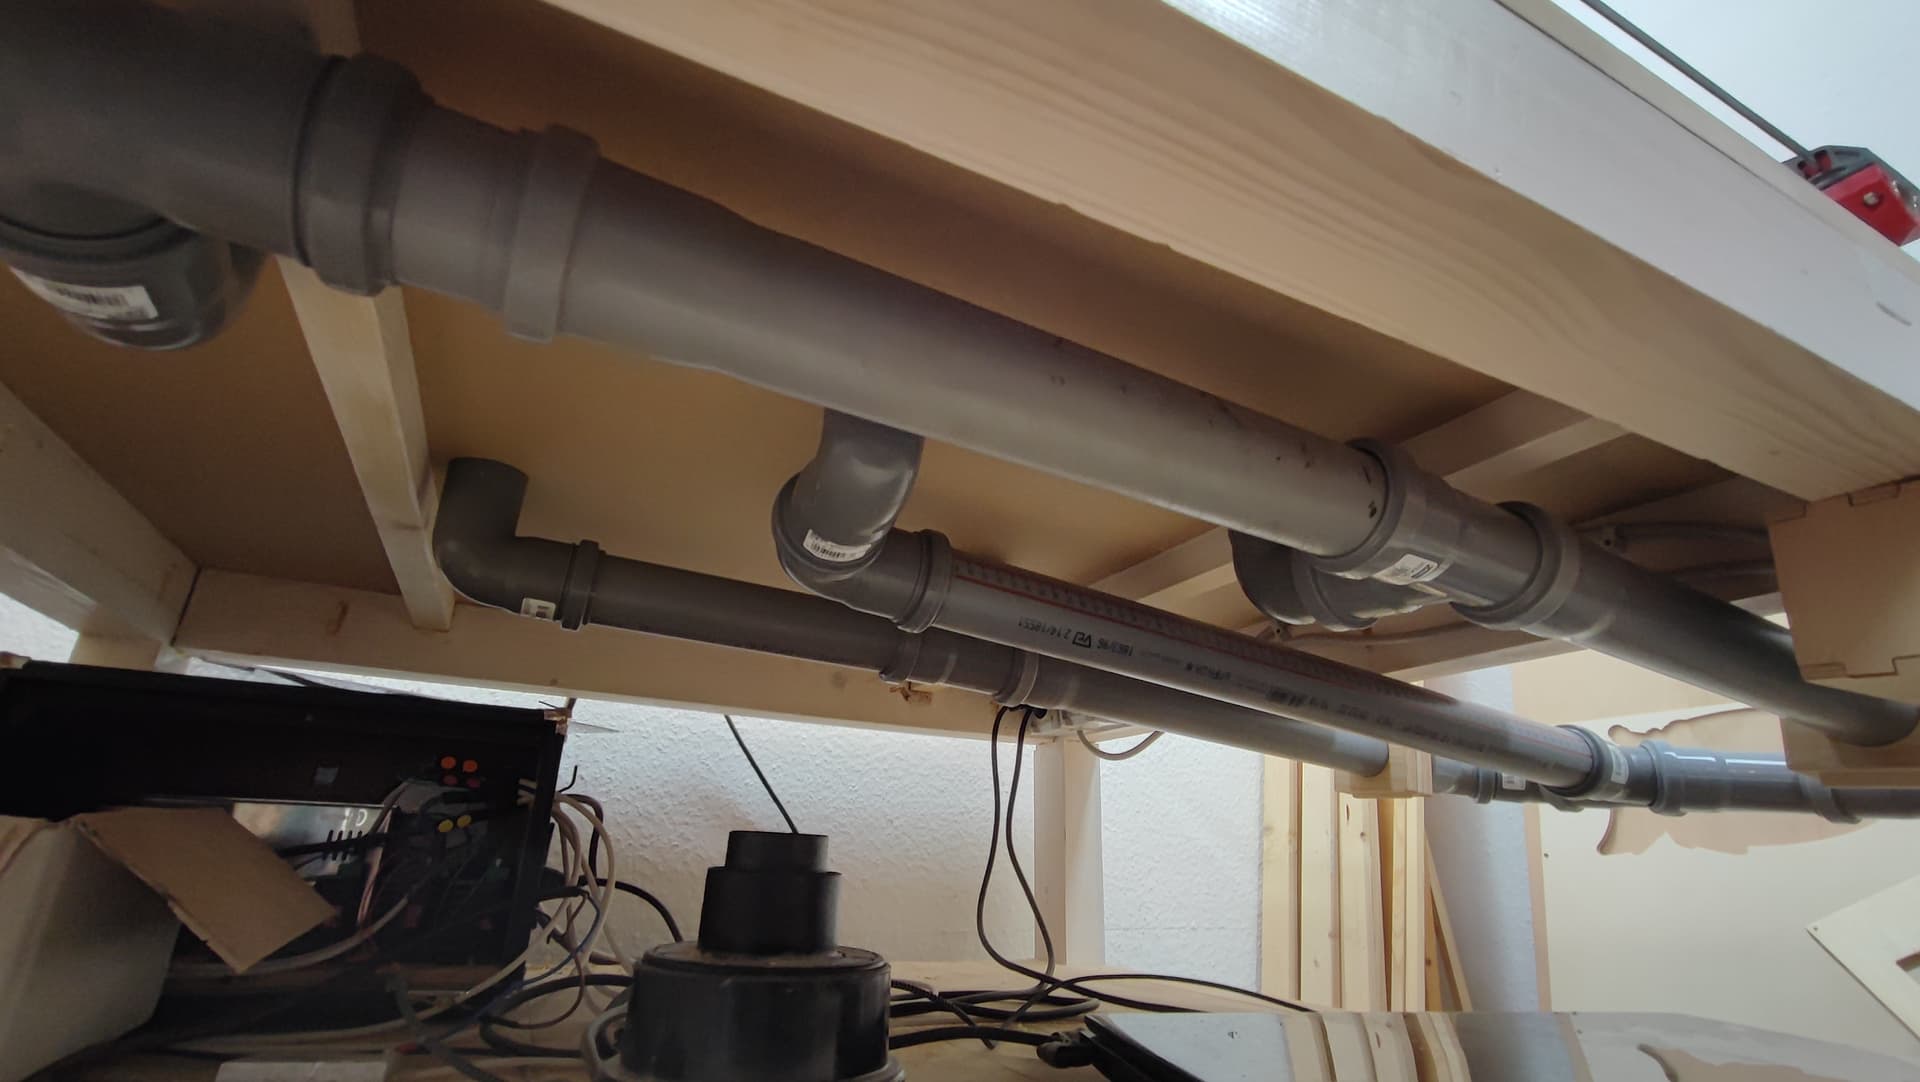
Below the table:
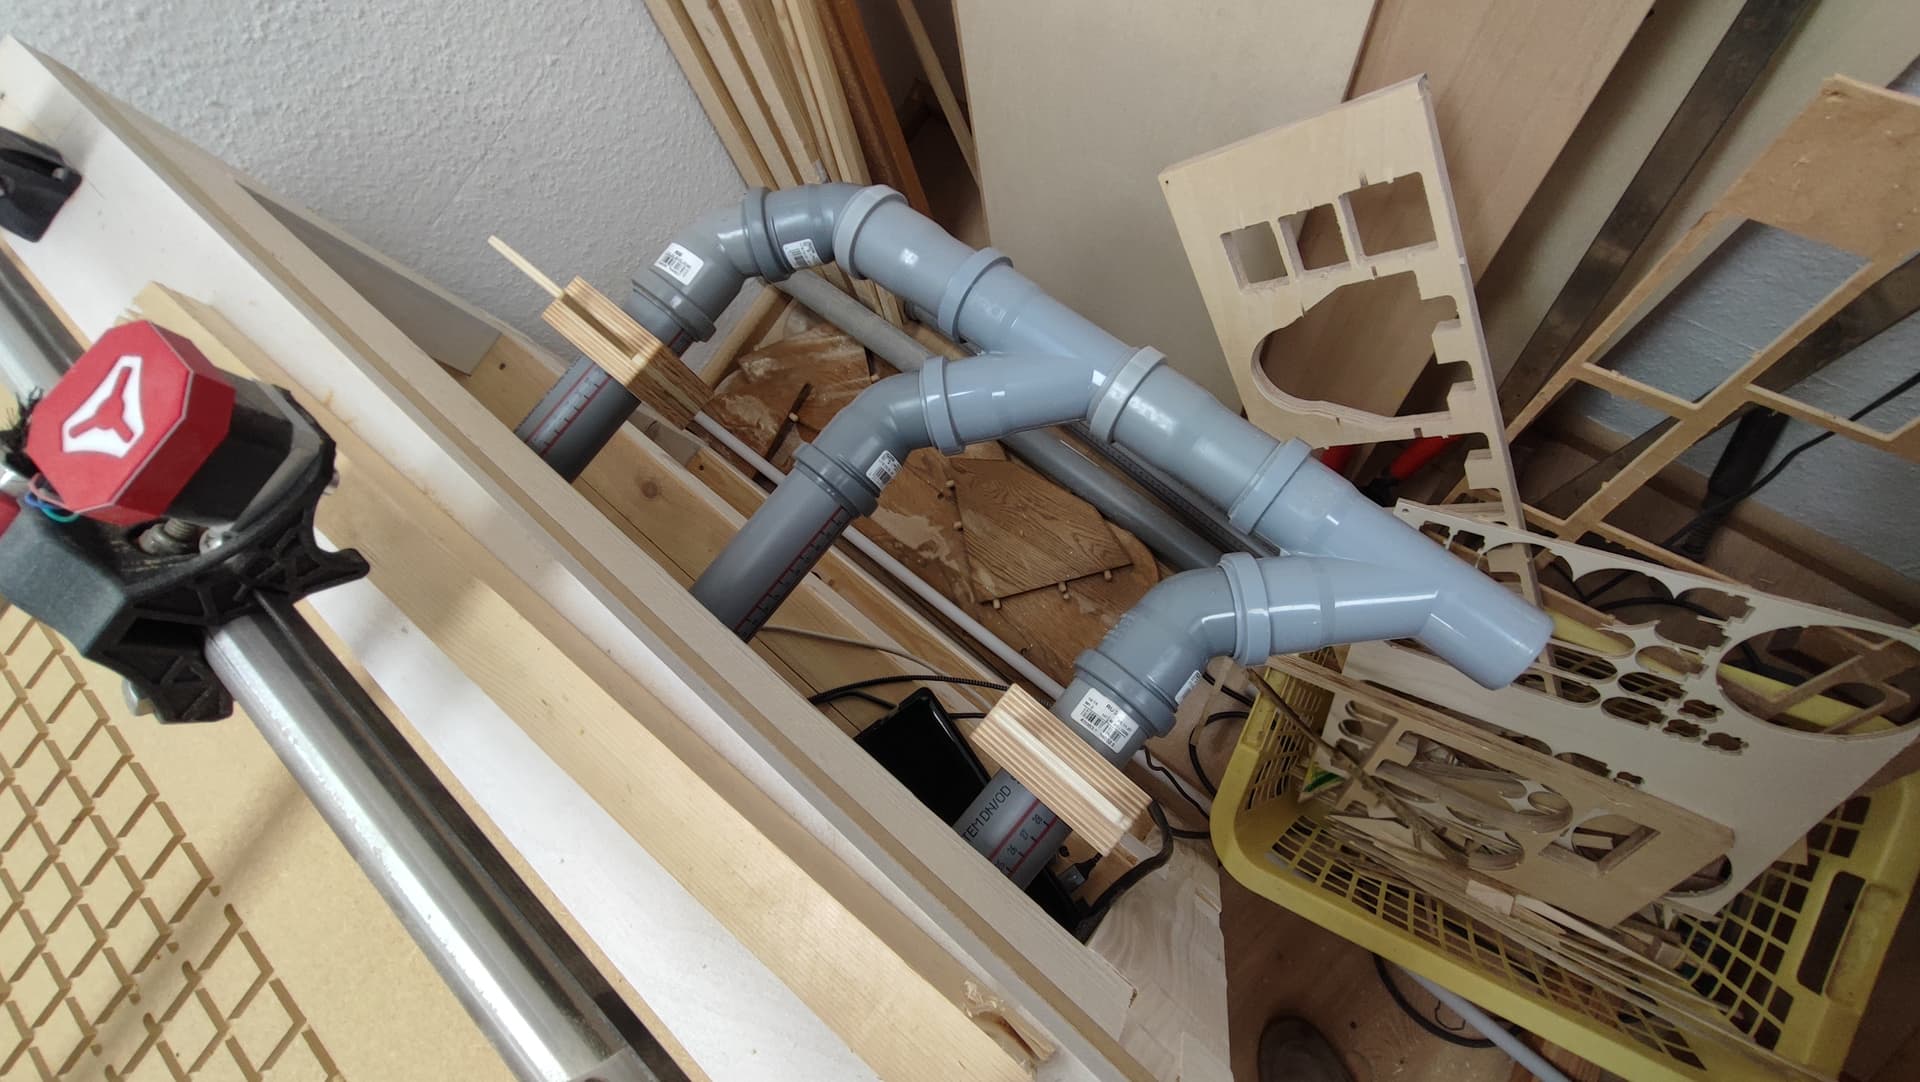
Side of the table with two blast gates for the big areas:
All painted with the sealer:
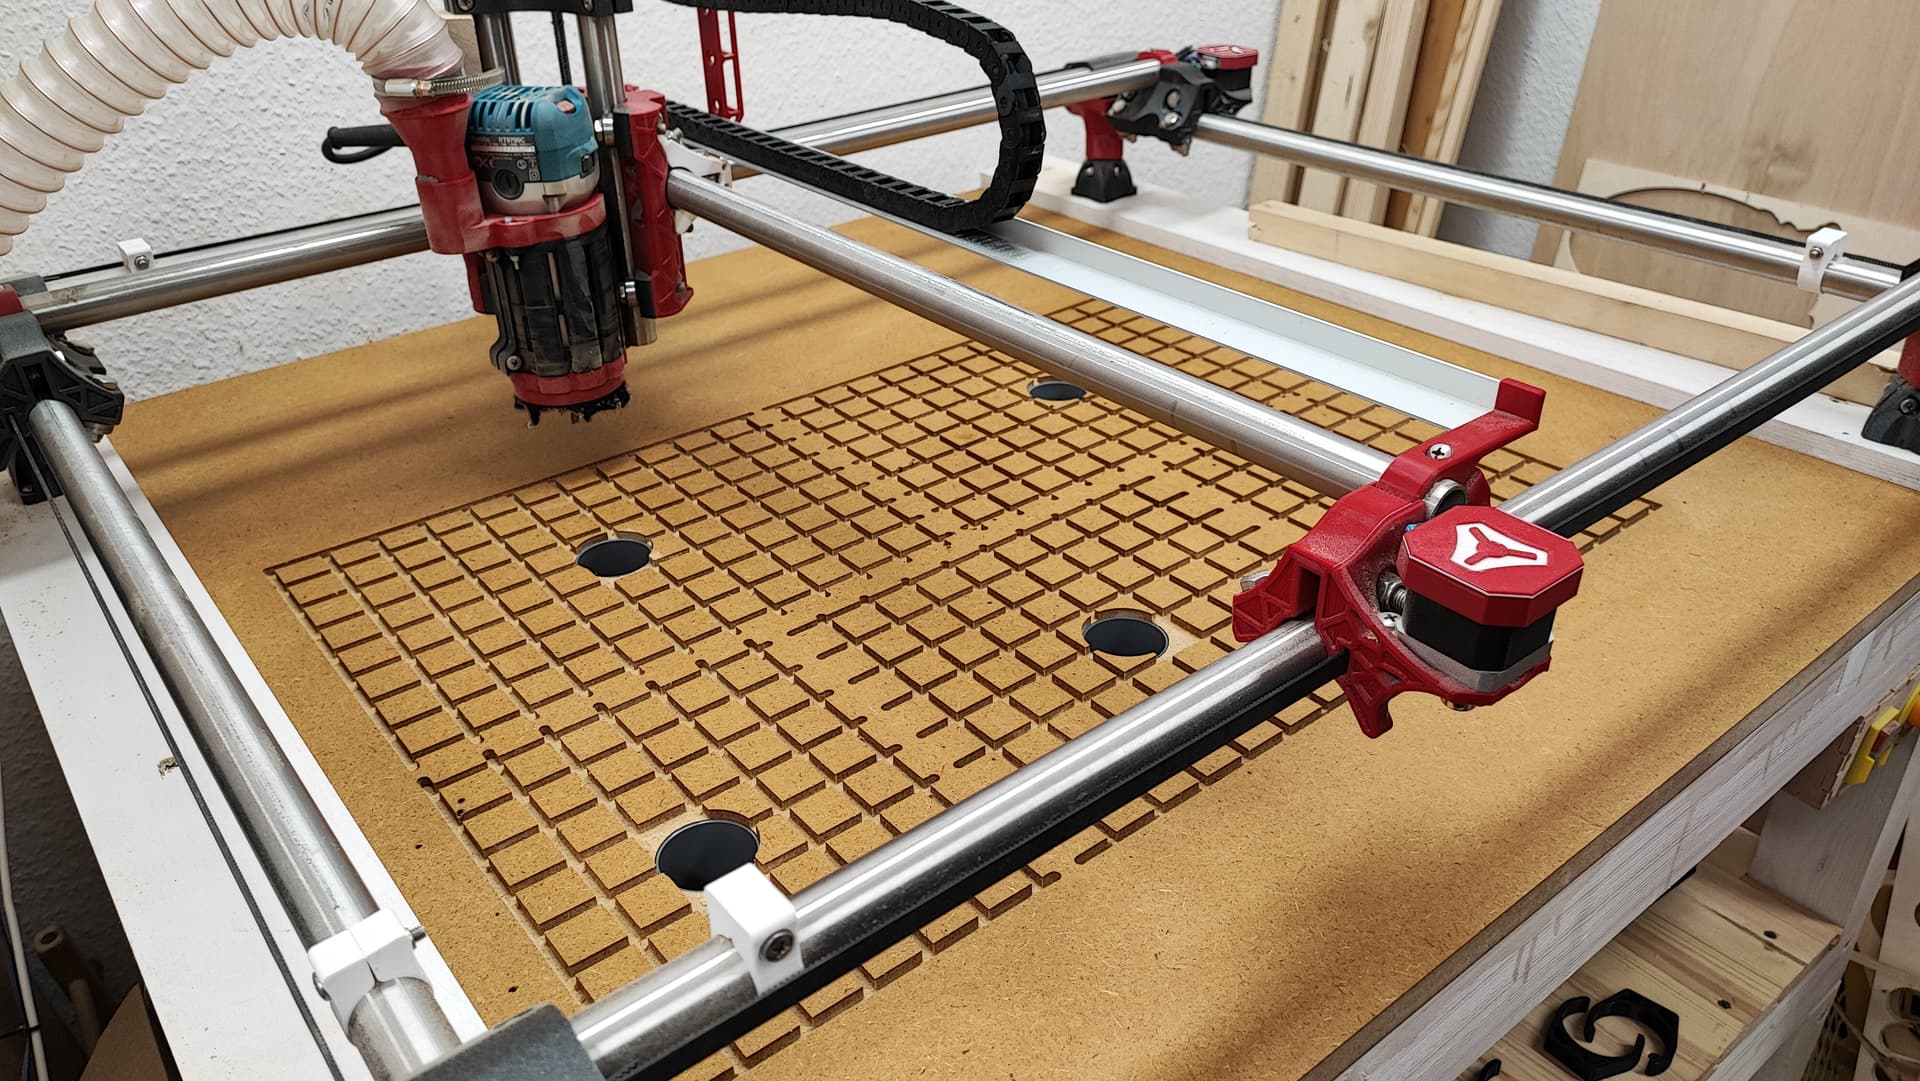
edit: I just had an idea: I am going to cut out the spoilboard with my planing bit (16mm) so it’s wider than the actual size that I usually use, then I can build a plywood frame that is ~8mm around the actual spoilboard made of MDF. Most cost effective I guess. 