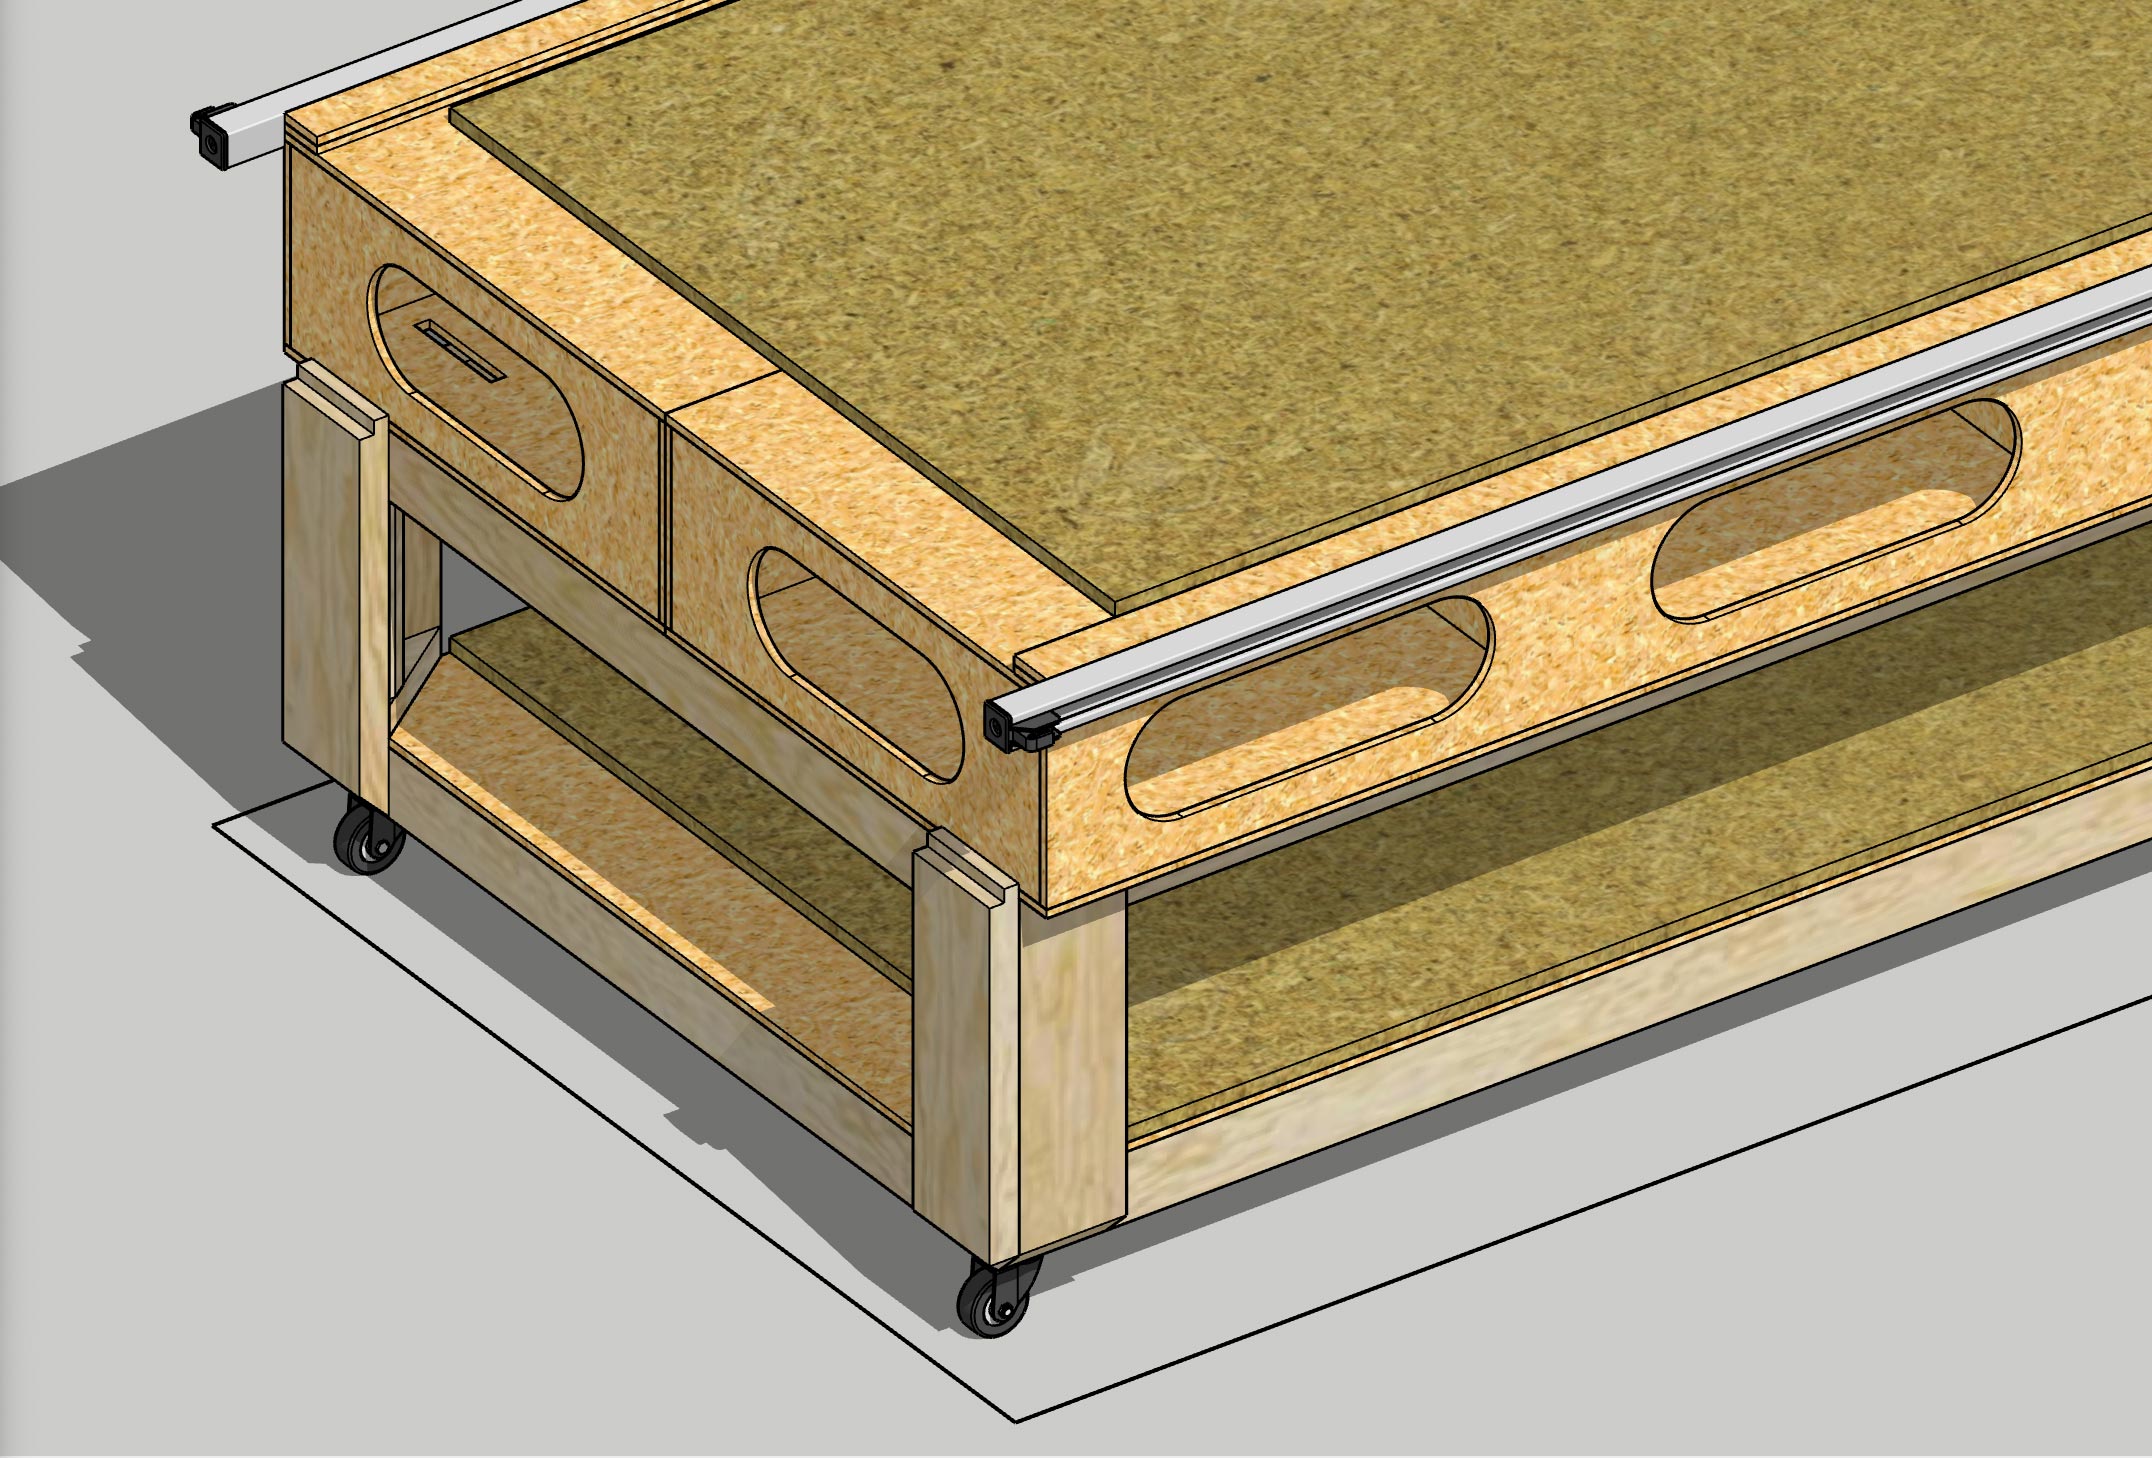
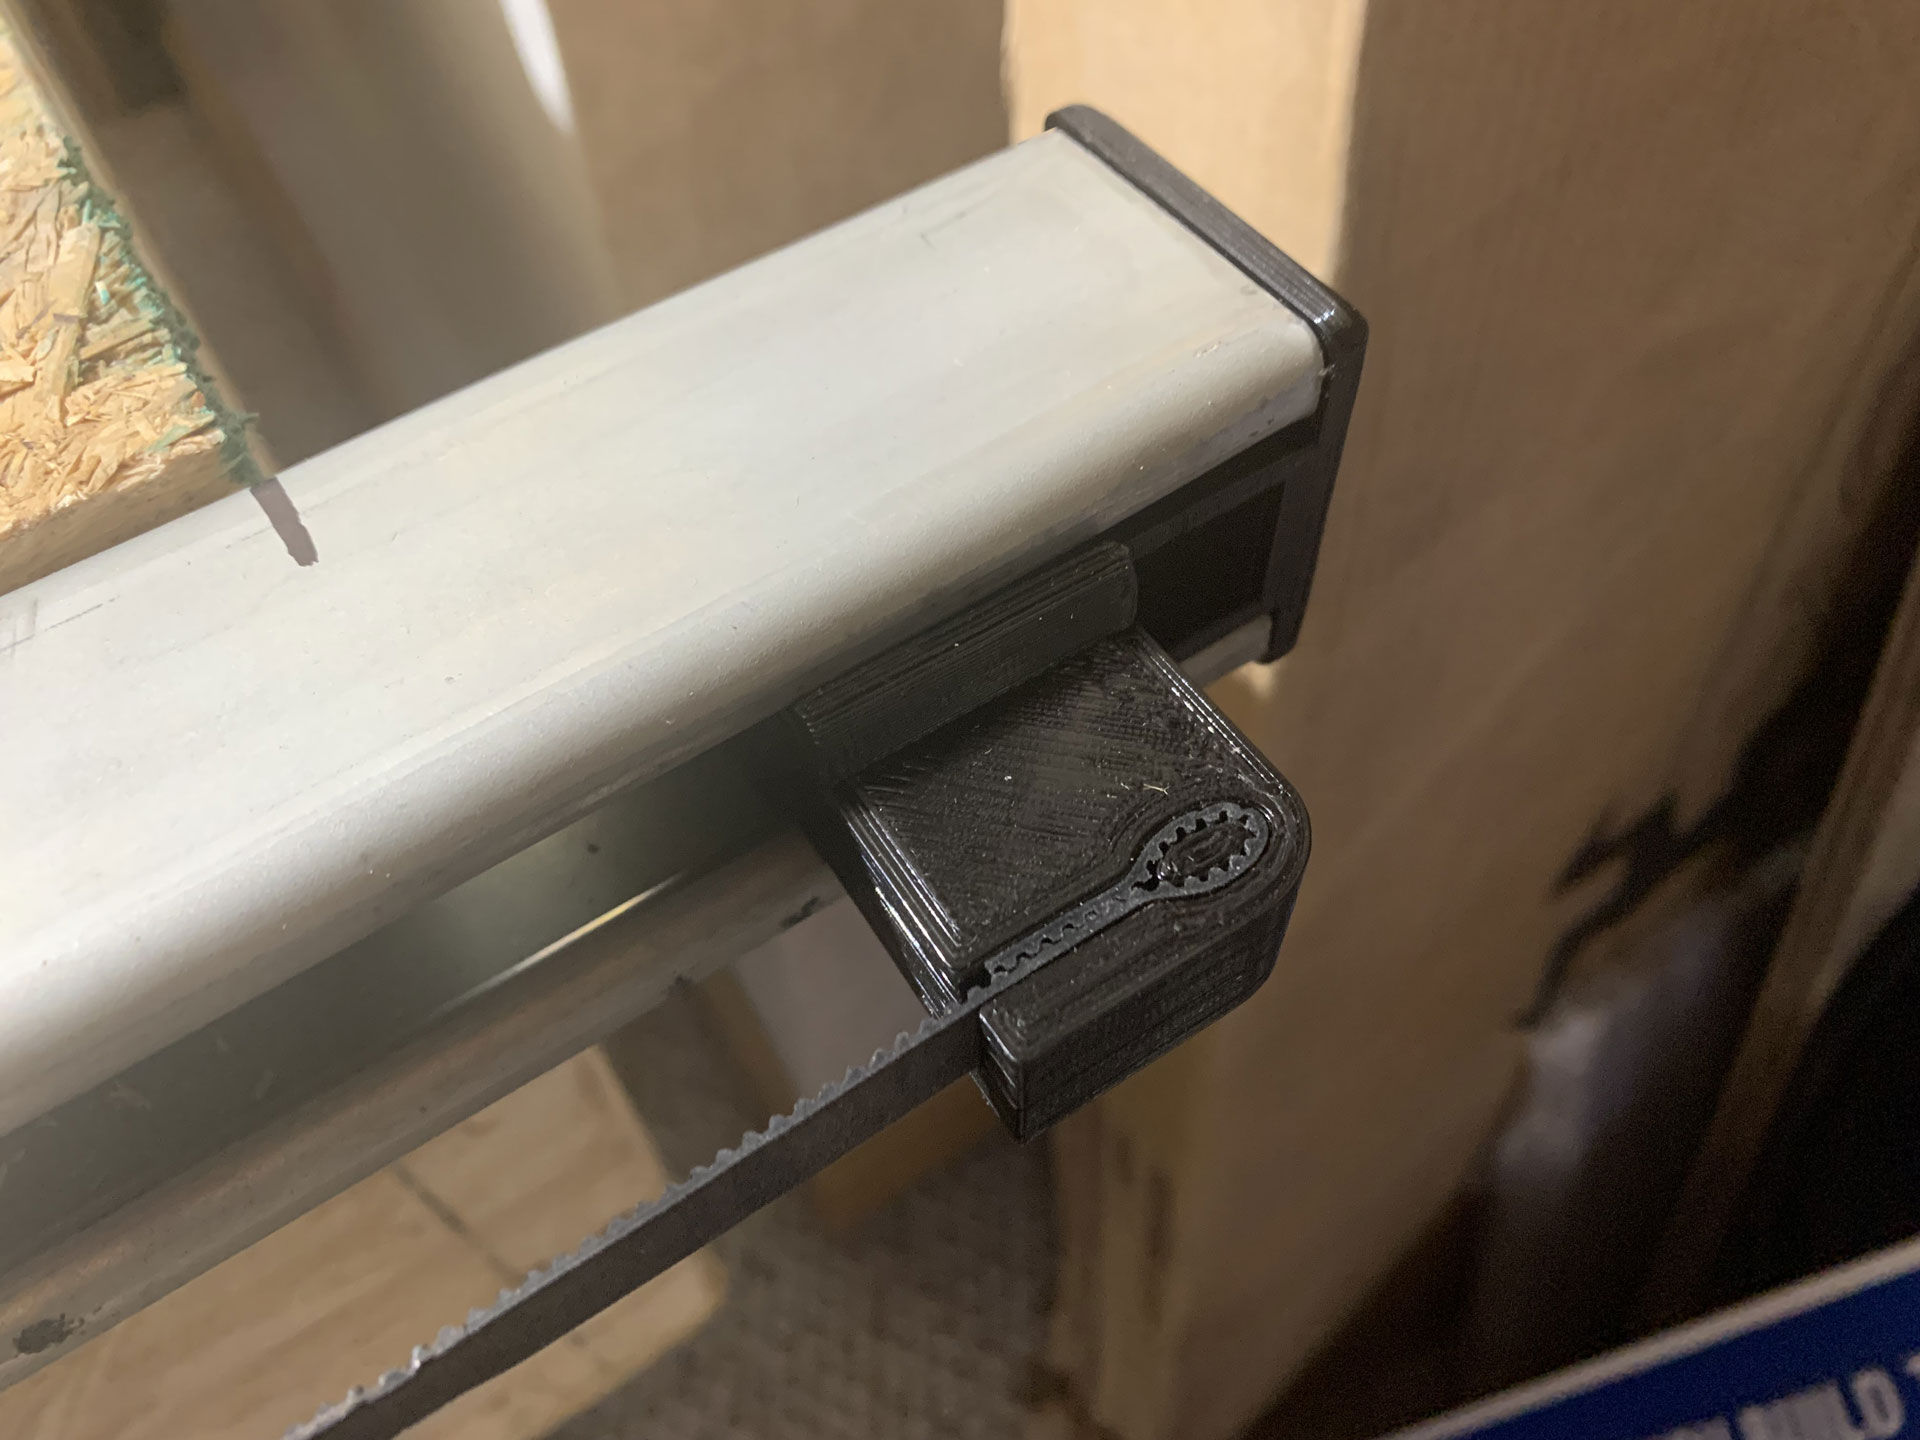
OK! I finally upgraded my LowRider 2 MPCNC from wooden side rails to the Superstrut metal rails I have had laying here for the longest time.
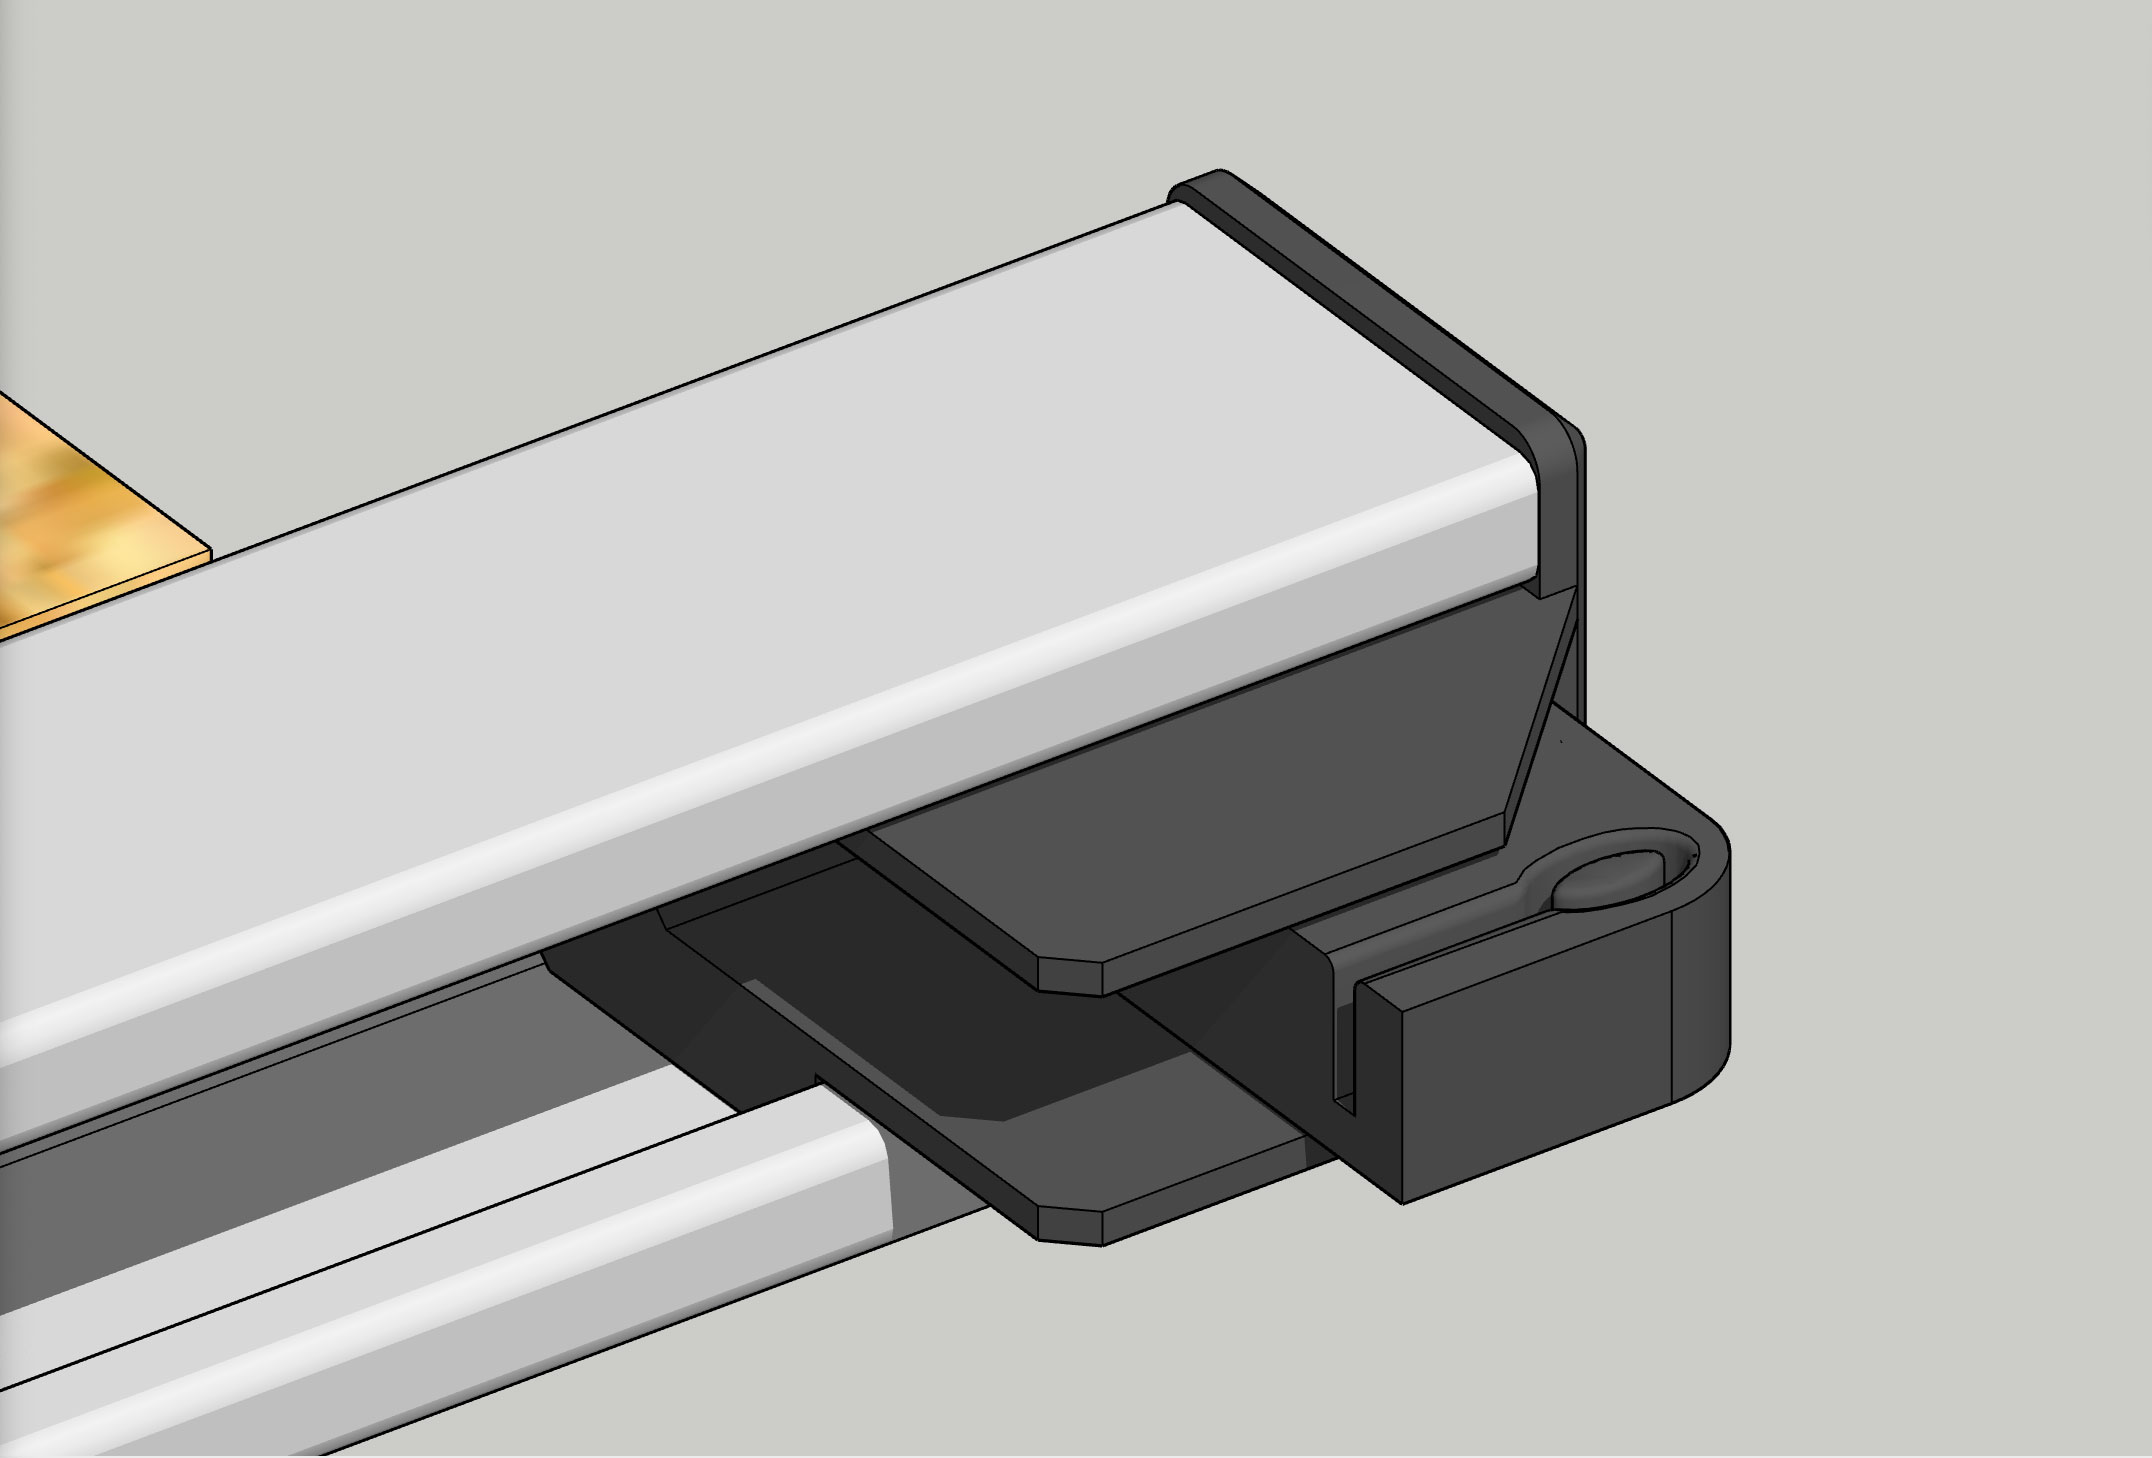
Through the V1 Engineering Forum I had found some awesome “endcap + belt tensioners” by pilotkip, however, I also wanted the “Primo” CNC style method of attaching the belts.
So I remixed “LowRider2 CNC ‘Primo’ Style Belt Stops” by cows2computers July 26, 2020 together with “LowRider2 Superstrut Belt Holders” by pilotkip October 30, 2021, along with some design innovation of my own.
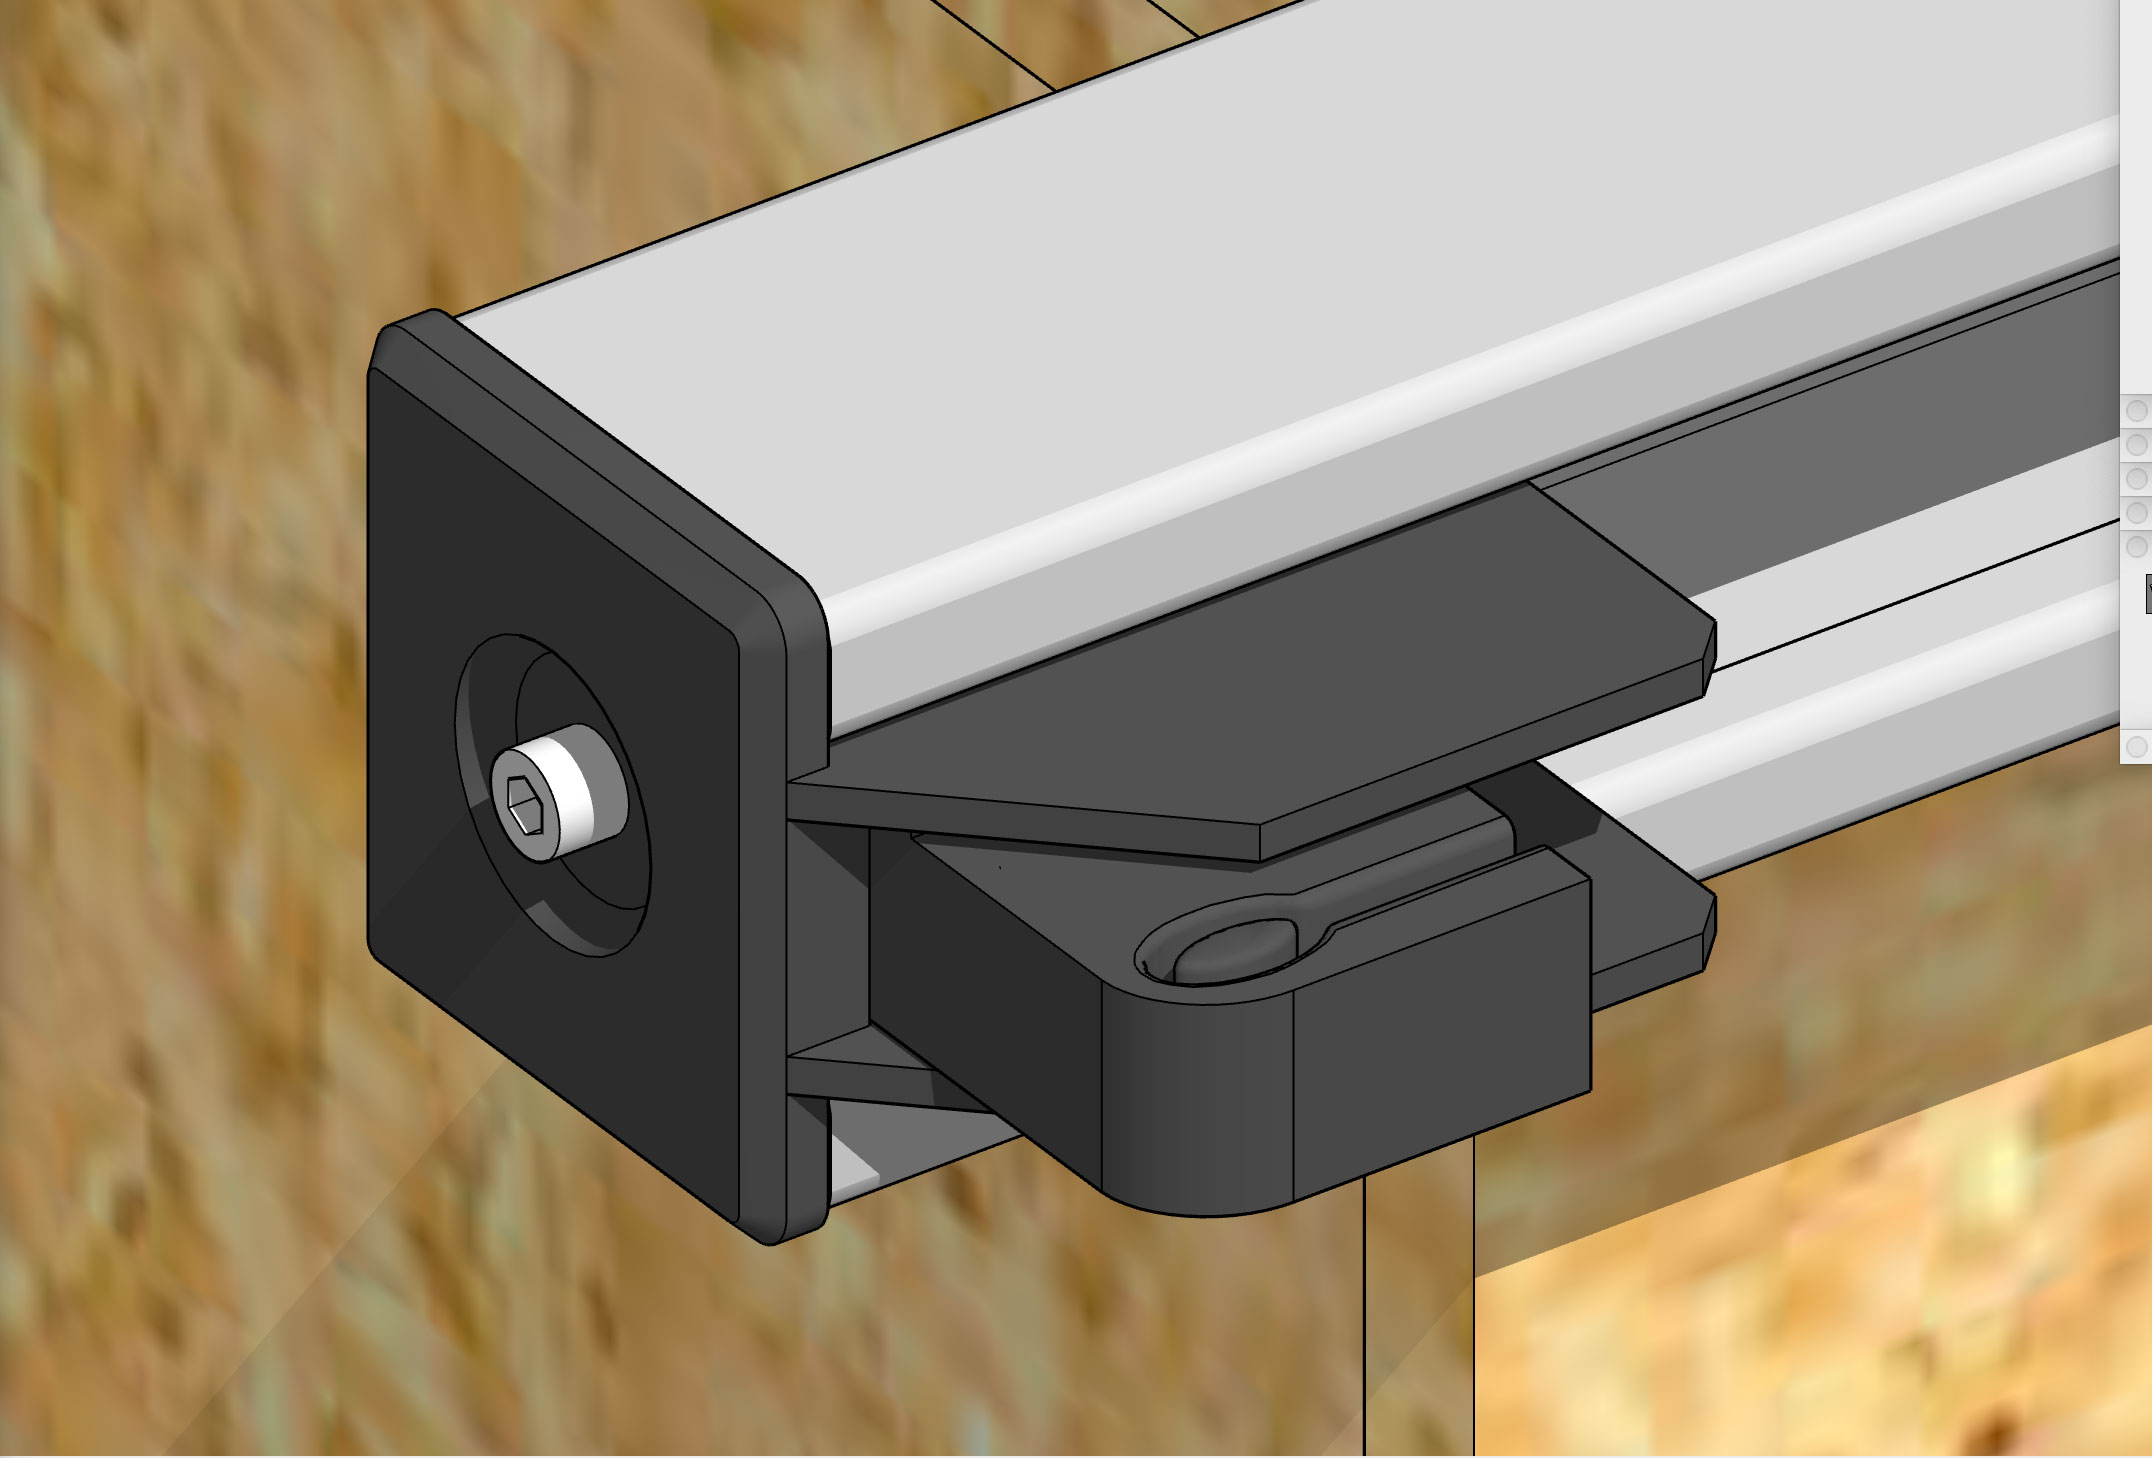
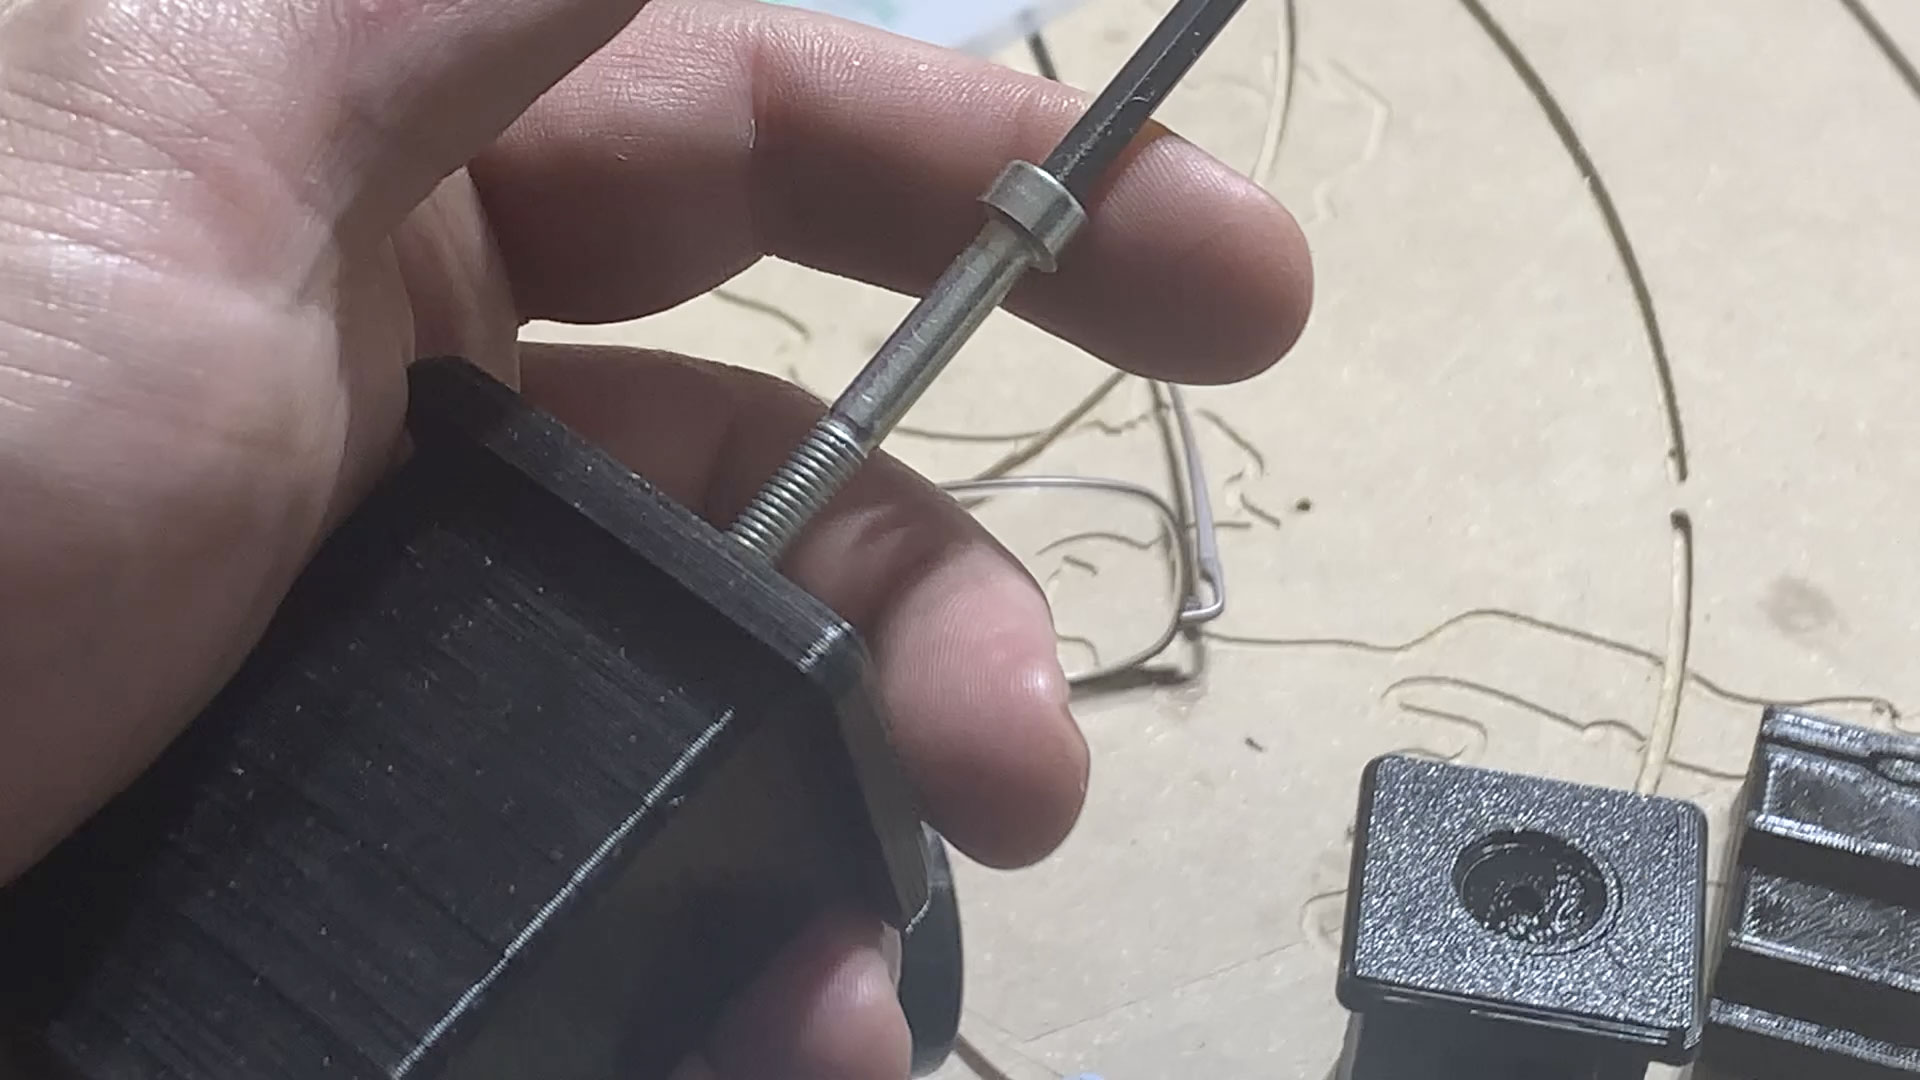
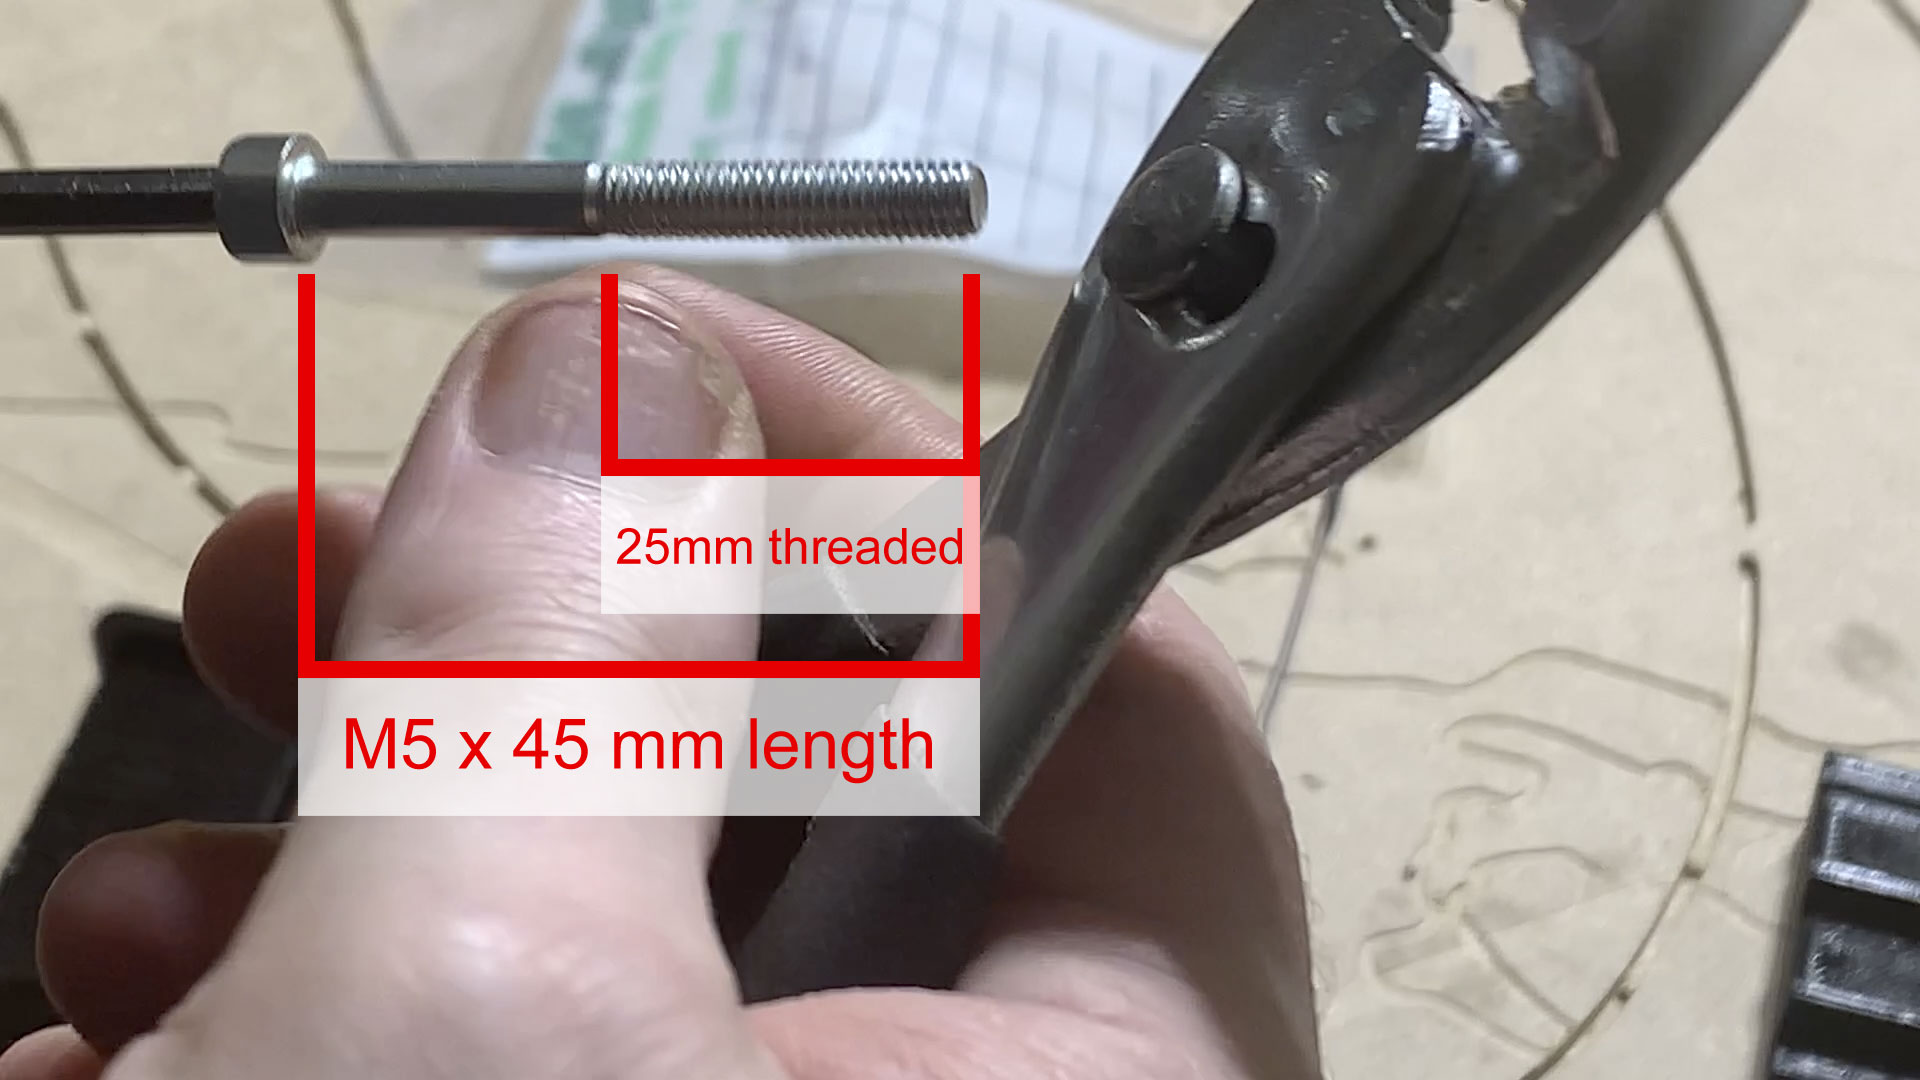
These are made for M5 x 45mm screws and M5 locknuts. The screws should have at least 25 mm worth of threads. When they do, you gain the max of 2cm of adjustment range on either side, for a total of 4cm worth of tensioning available.
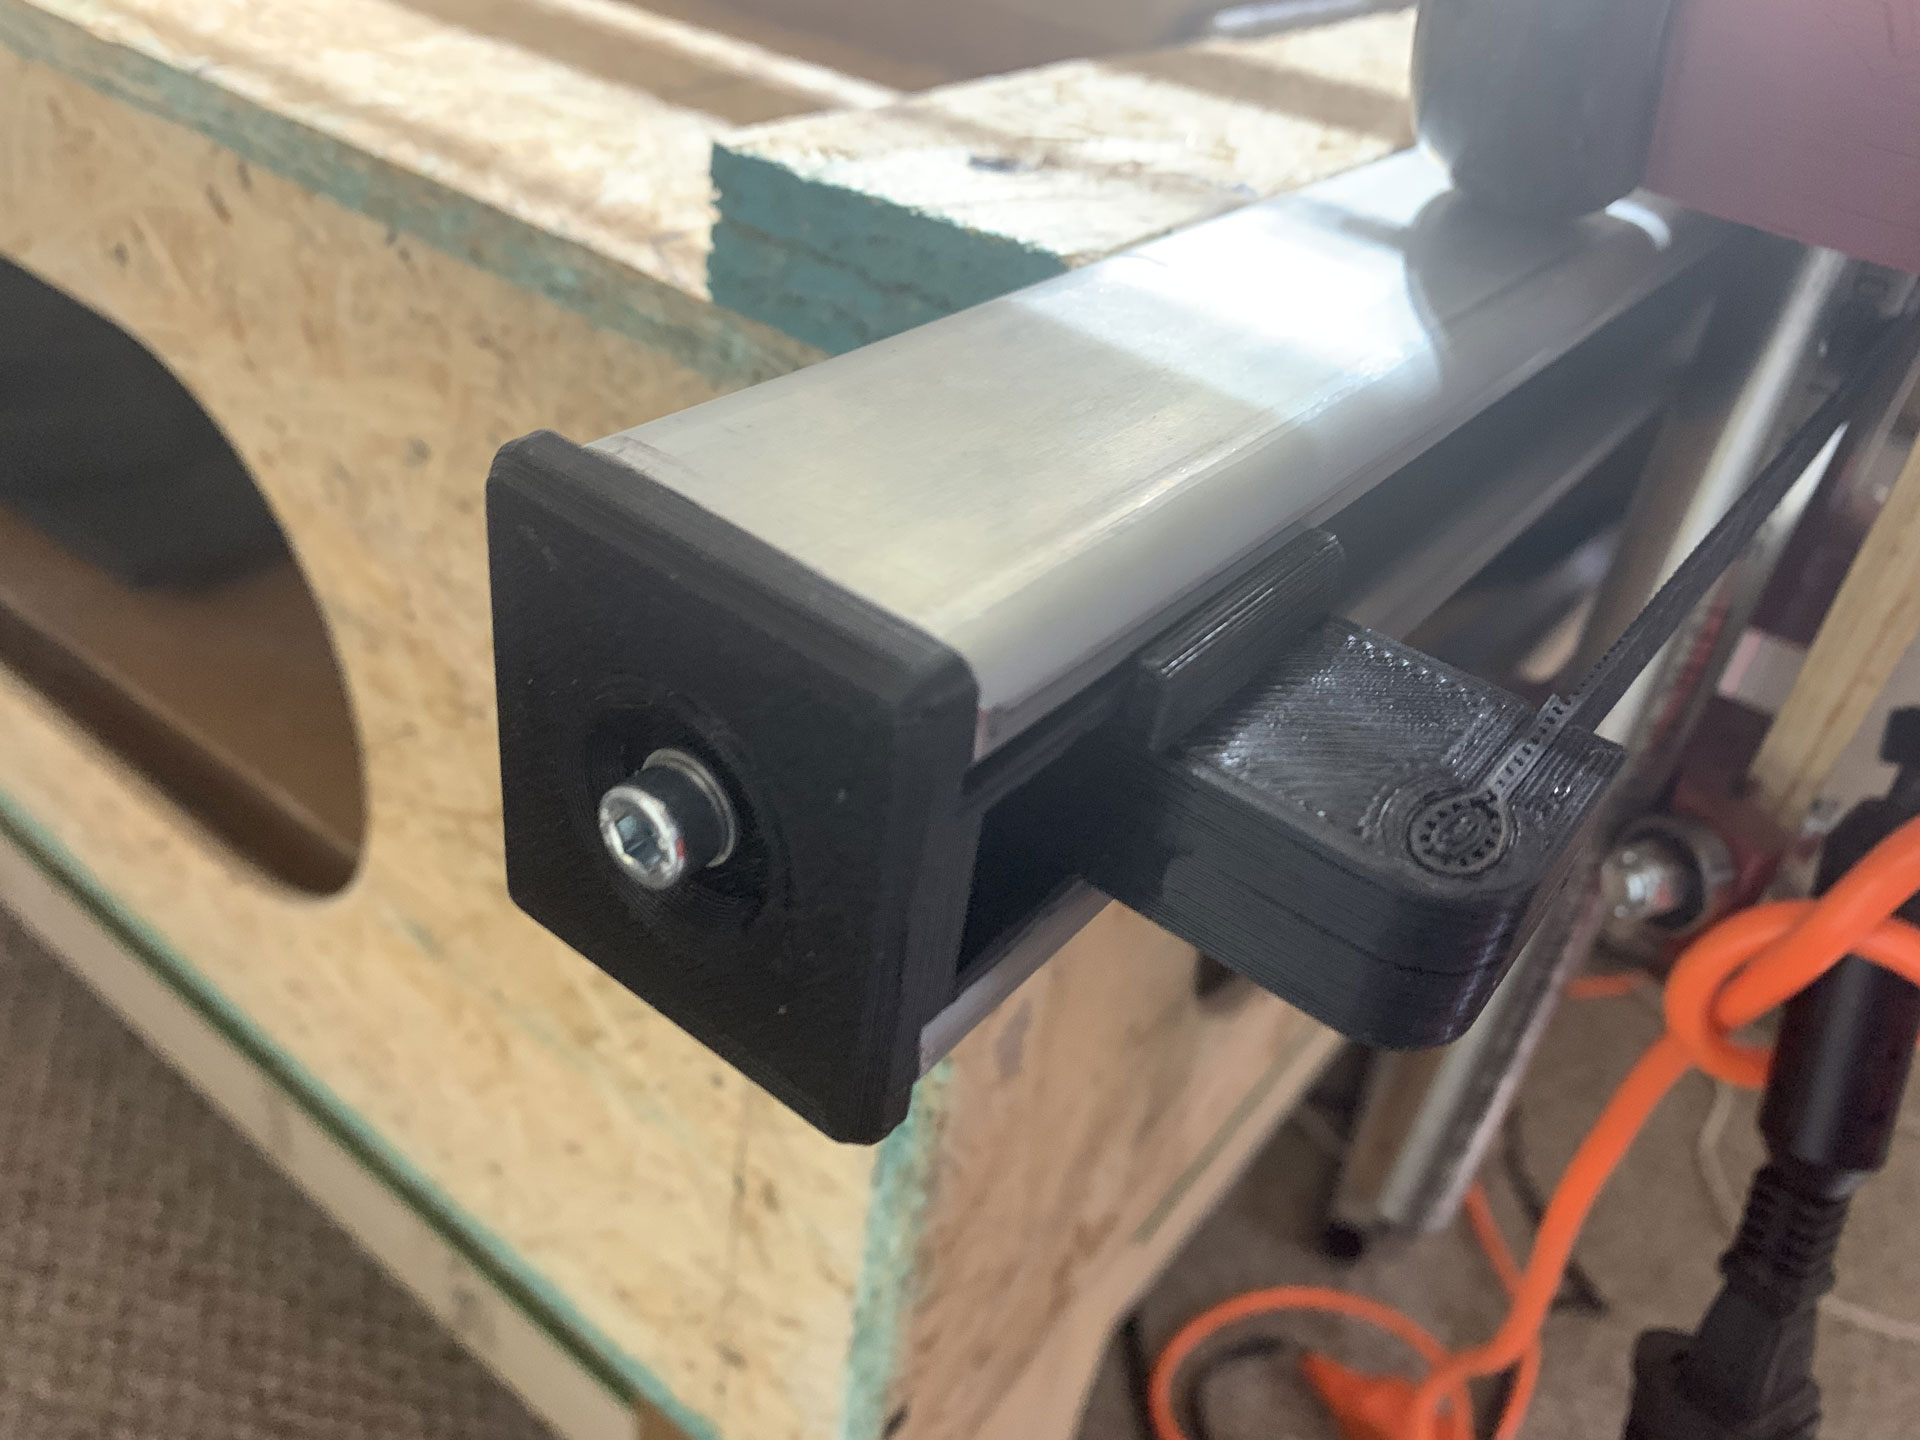
I have my printers setup so my 0.4 nozzles emulate 0.6 nozzles in output, so when I printed these with 3 (extra thick) walls (and at 30% infill) it was really like printing with 4.5 walls. These are good and solid.
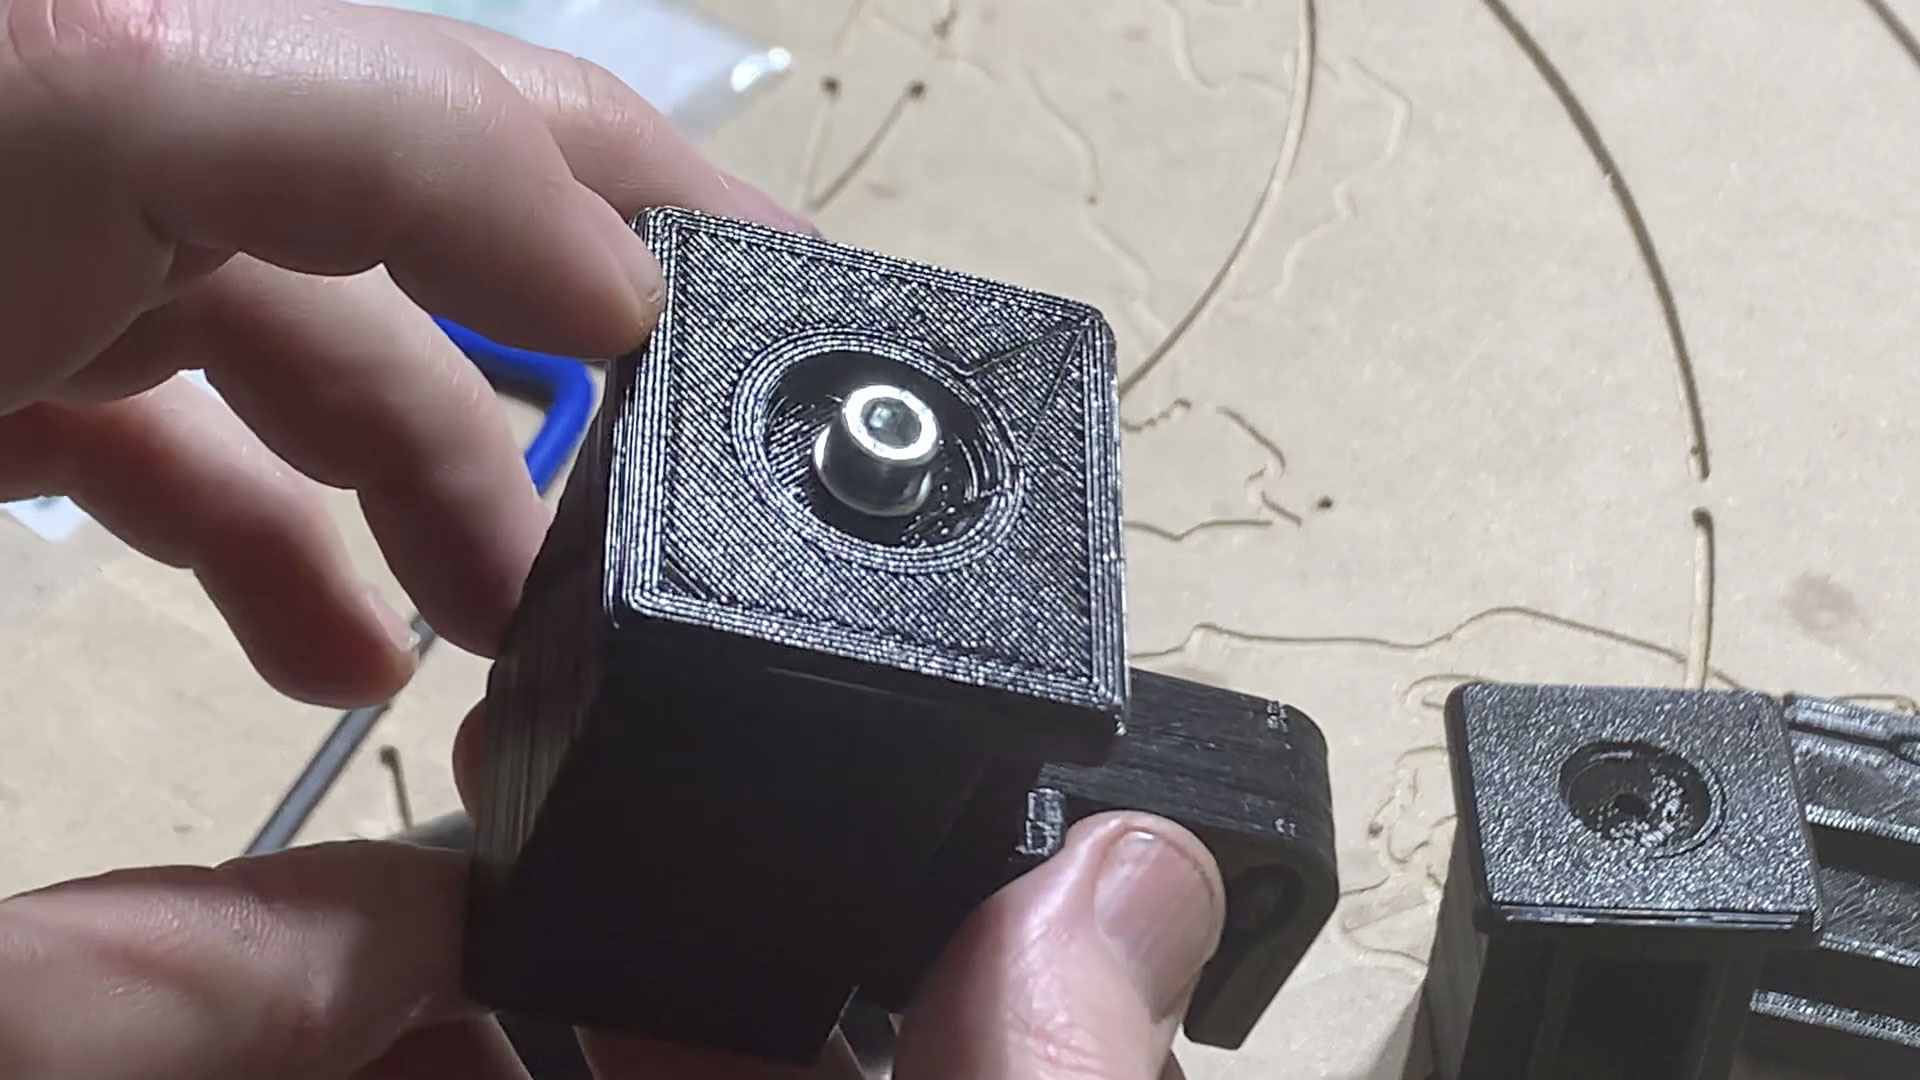
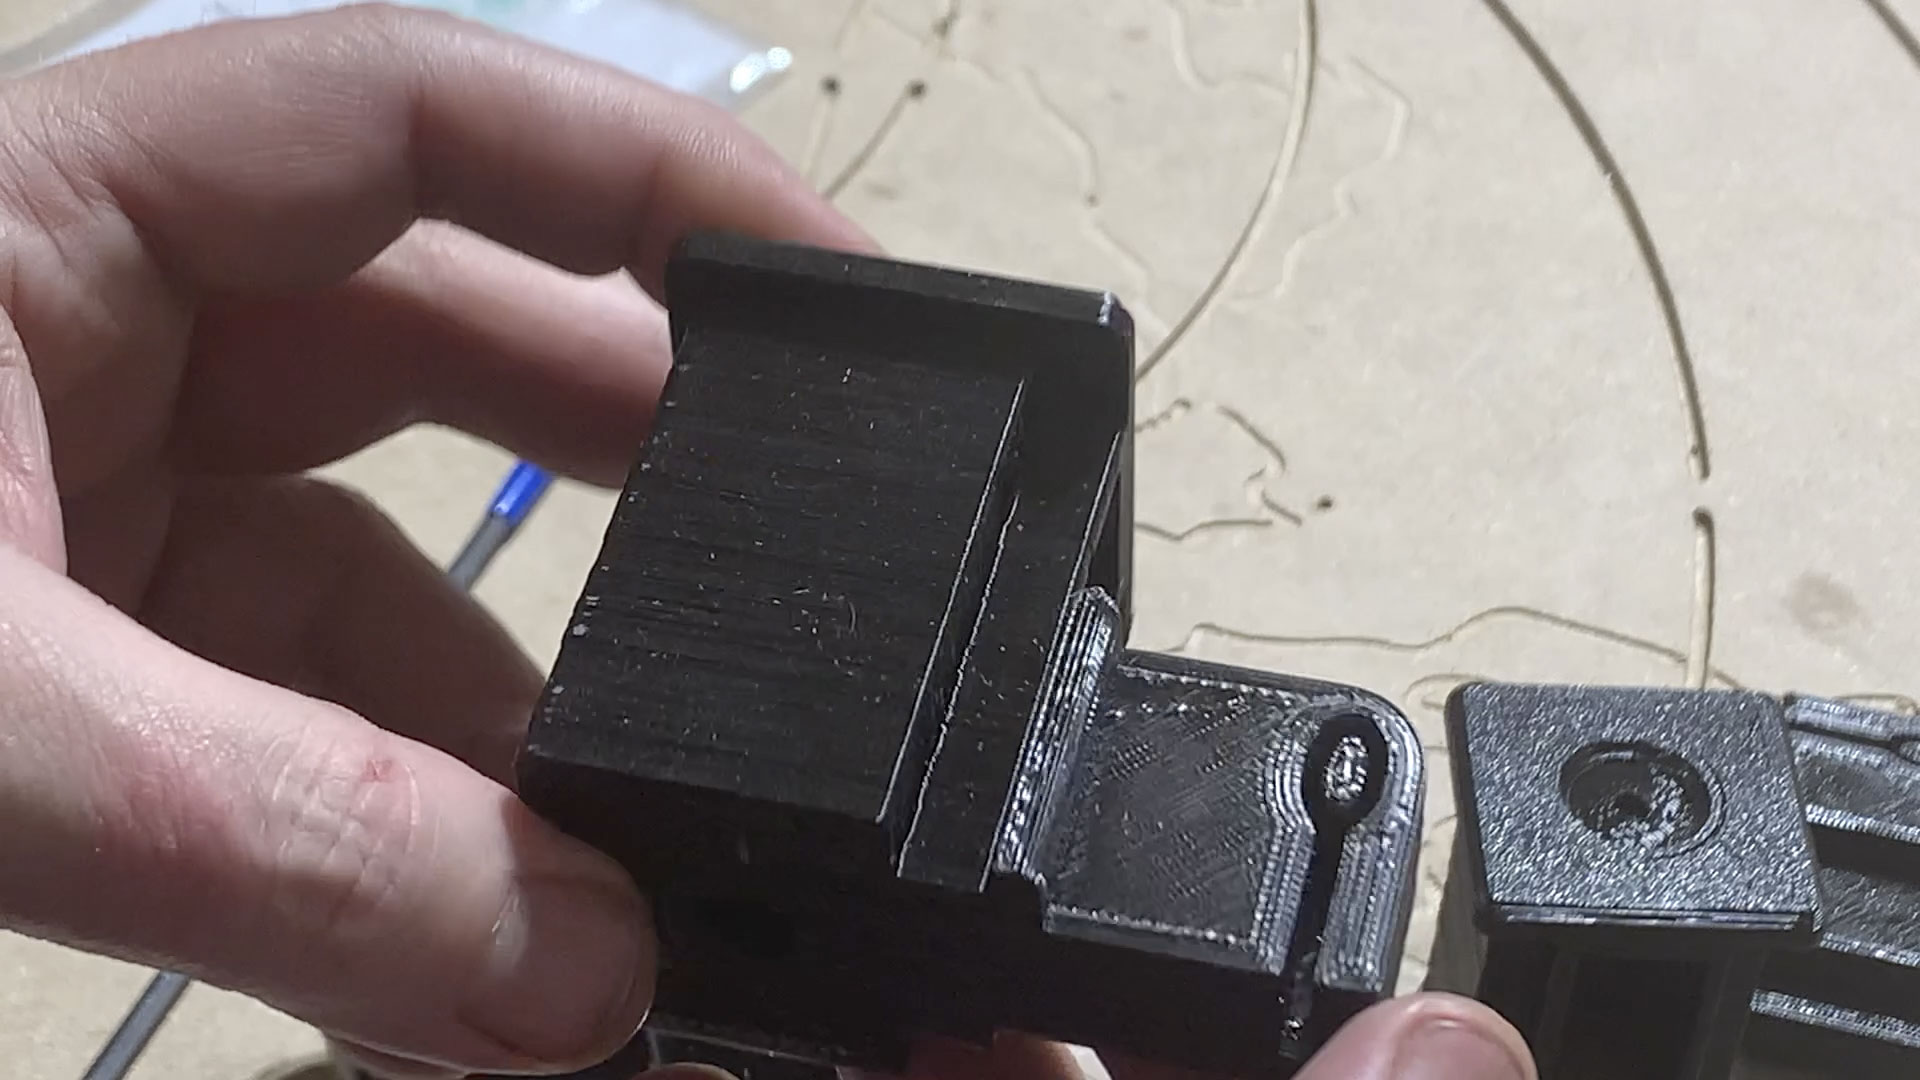
These are designed to print without supports. Please note that the one screw hole on each “end cap” has a single-layer thick “sacrifice layer” across it to help the print go smoothly. You should be able to easily clear out that hole either with an Xacto knife, or by burning the hole open with a soldering iron, or even by using a drill & bit, though I recommend either of the first two methods over the latter.
STL files are published on Thingiverse:
Change log:
2022-03-14: tweaked an angle to make supportless printing work better. All four parts are affected (both parts and both mirrored versions).
2022-03-16 revised all four parts to allow the “end stop” feature to be fixed in place (not dependent on tensioner position). This is so that adjustments to amount of tension would not unintentionally change where the end stop happened.
Note: some of the installation pics were taken of a work-in-progress version that does match the latest improvements of the design. The 3D illustrations do match the latest improvements.