I finished my custom wiring harnesses.

It took a while to solder all the wires to the different barrel connectors and wire splices.
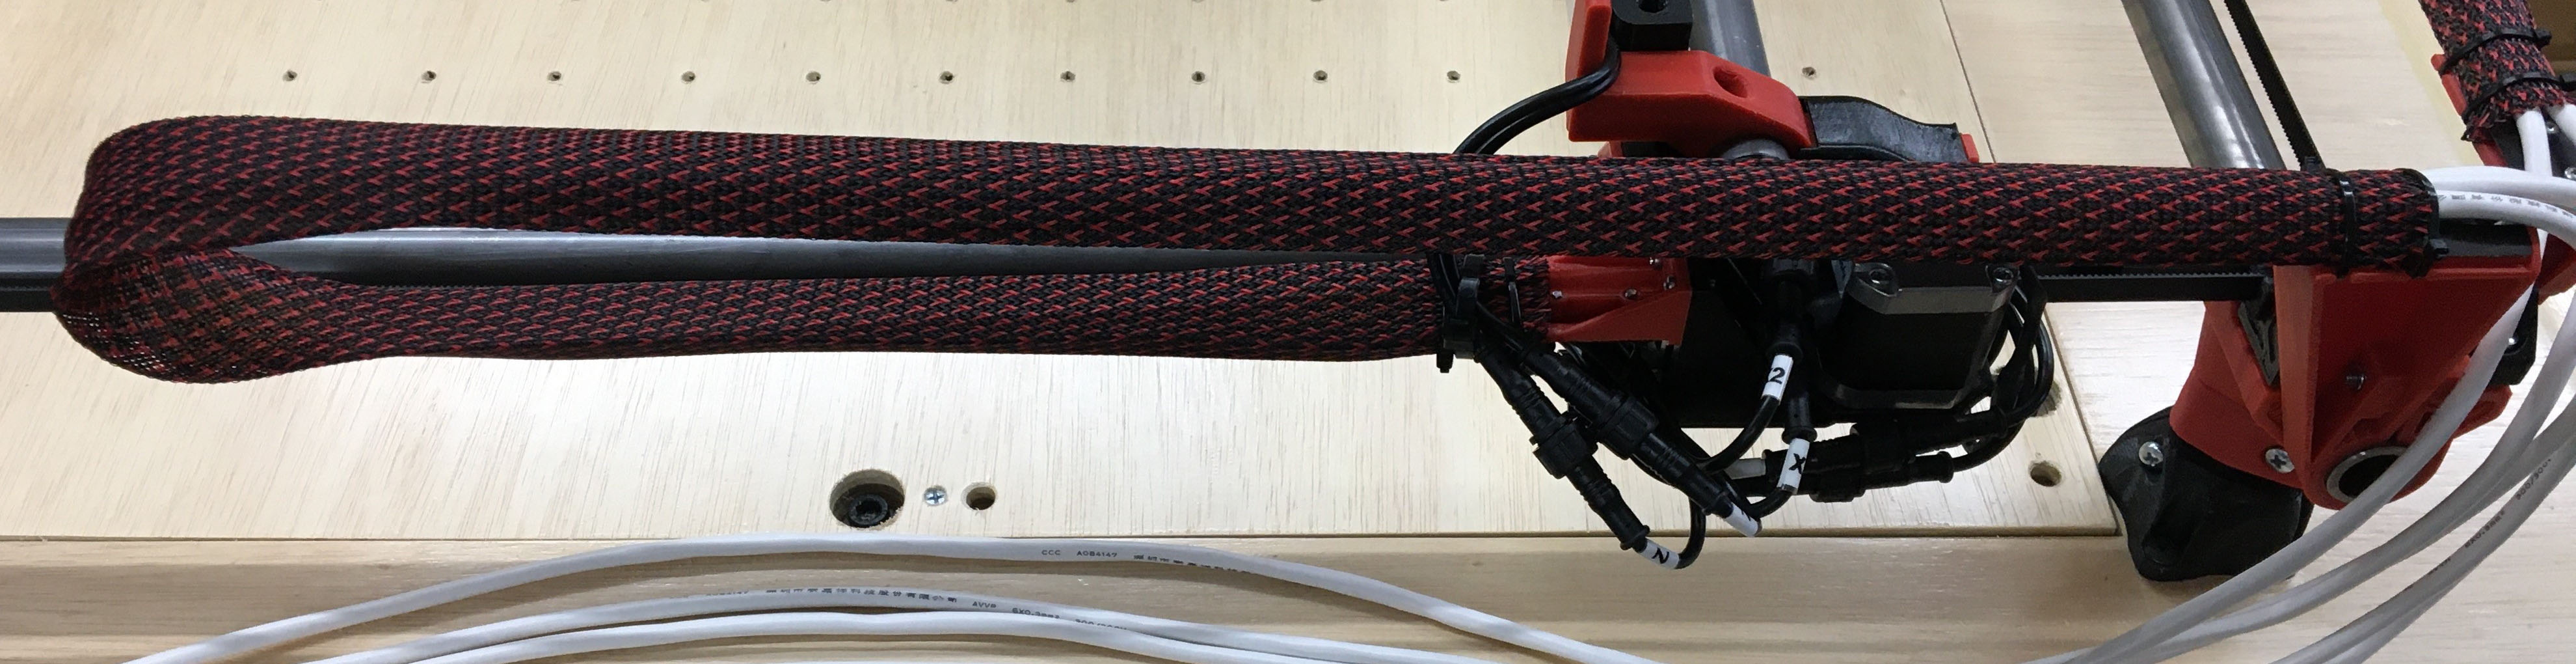
Here’s my X and Z tape run.
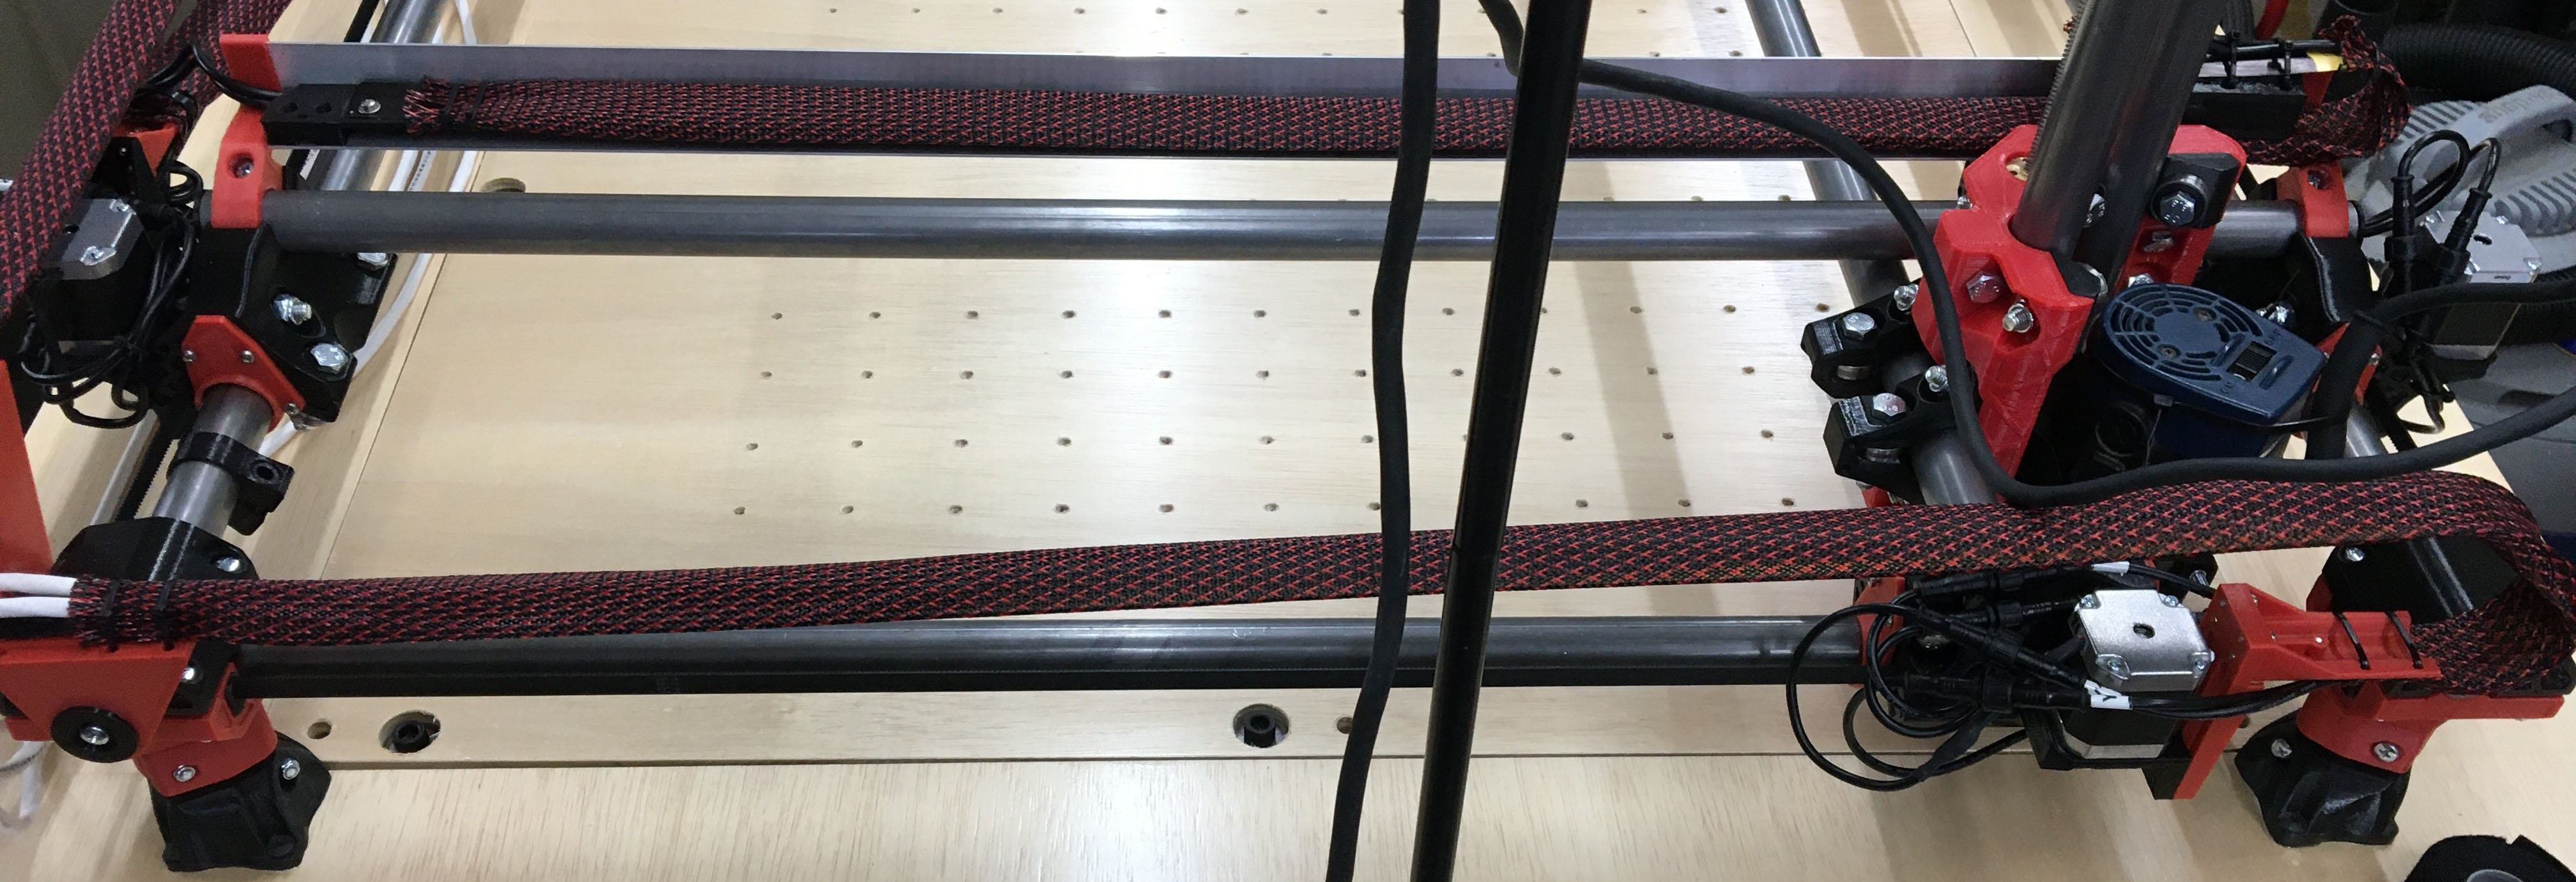
Here’s my Y & Z runs. Foreground shows the Y and background shows the Z across the aluminum angle.
Here’s a view of my Z assembly.
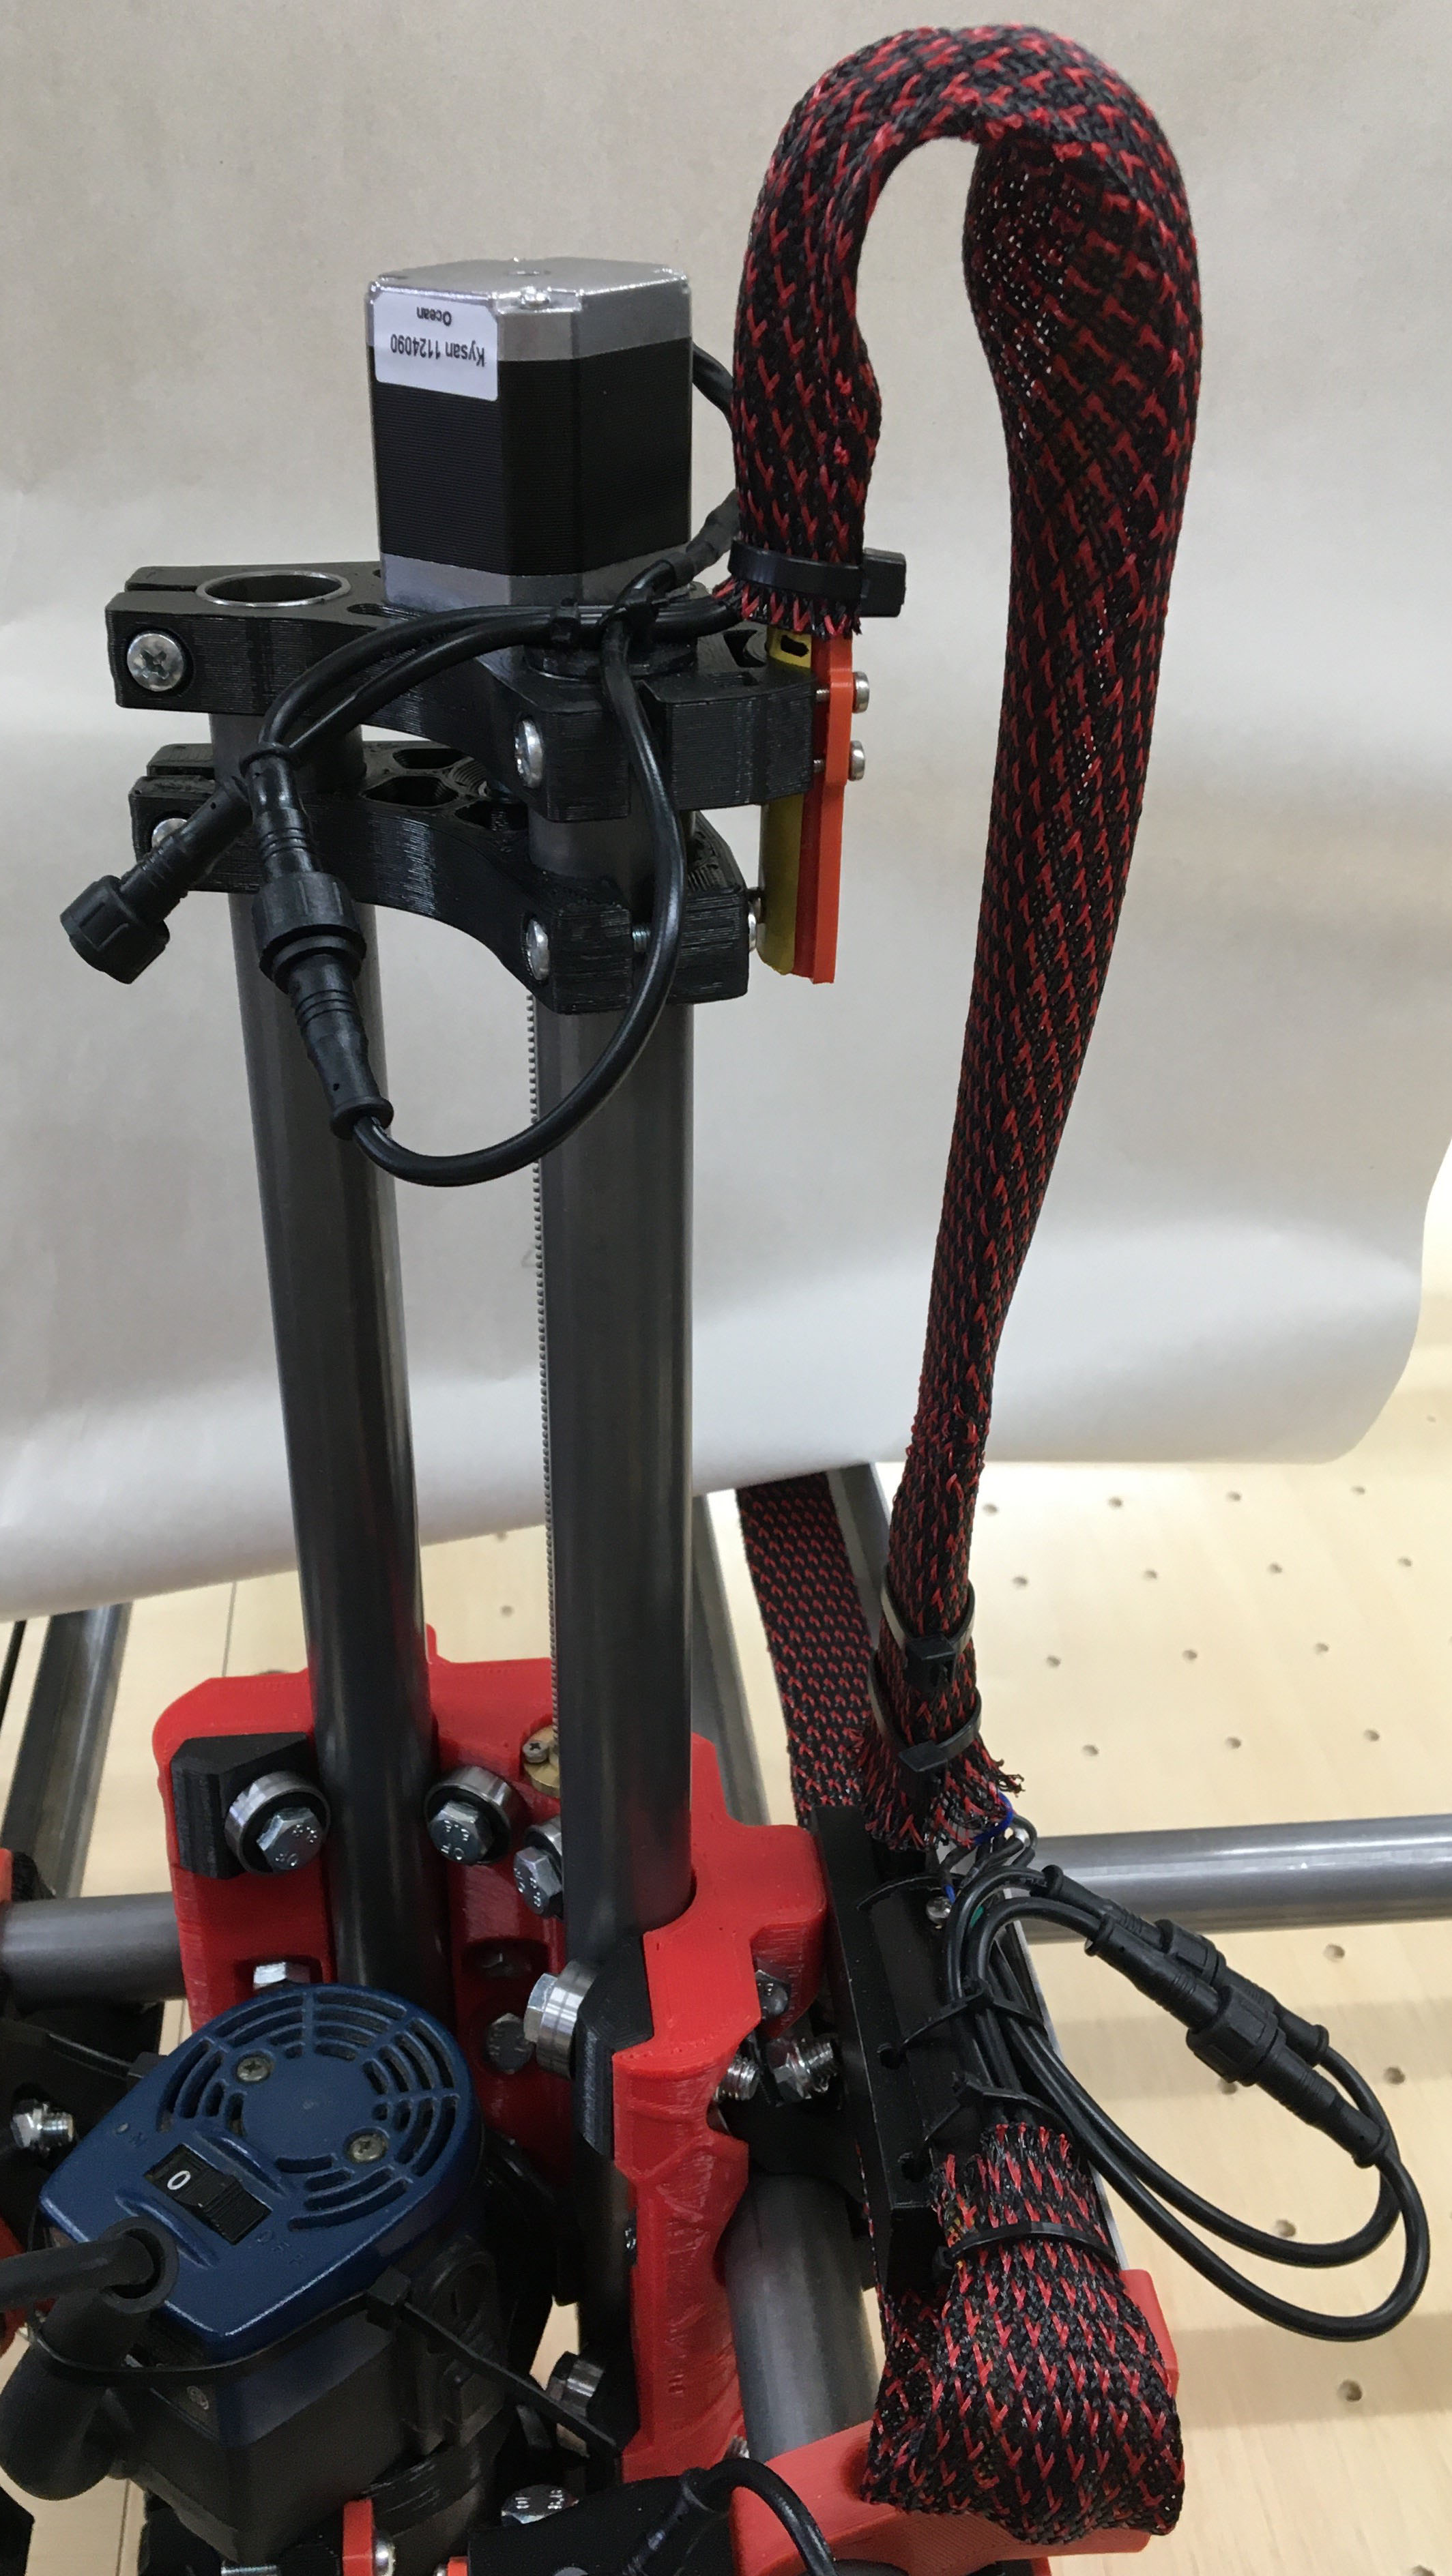
I verified function at each stage of wiring and have broken it up into individual sections to hopefully make it easier to diagnose and replace any future wiring issues.
The braided sleeve material was stiffer than I expected. I wish it was more flexible because it seems to impact the tape measure motion. The ends also frayed a bit. I hit them with a lighter but it would have been better if I had cut them with a hot knife.
I still need to make an enclosure to finalize my electronics but I couldn’t wait to make some chips. So I thought I would start by cutting the table threaded insert holes. You can see them in the background of the wiring photos. I originally ran my router cable adjacent to the braided sleeves but it jammed up during my initial cutting operation and pulled my z-axis out of position for a couple rows (until I noticed the issue). Further proof of the amplification effect when things are pulling on the Z tubes. So I’m going to have to recut the holes after I confirm that I didn’t mess anything else up. Fortunately I started with a spot drilling operation so they are not through holes.
Next steps: Print an enclosure and complete the wiring/electronics placement