Here’s what I would do to handle your example assuming you’re using Fusion 360
Set the material size 2" longer and 2" wider than your board and set the material thickness to roughly the thickest portion of your board (probably a little thicker).
set the offsets on the material so that your part is in the bottom left corner of the material.
Set the 0,0 point of the bit to the top right corner of the material, at the spoil board height
This allows your Z0 point to always be the spoil board, and it allows Fusion360 to know what the height of your part/material is. I chose the top right corner of the material to allow for any overhang of the Z axis on the machine to make sure the tubes don’t hit the material when going down to Zero.
I think Fusion 360 will probably complain about a collision, but the gcode generates anyways.
Alternatively, and I’ve done this before…
Take a scrap cut off the same height as your board. Use double-sided tape to stick it to your work surface. Put the corner of your board a fixed distance from the scrap both in the X and Y (say 1"). Add that distance to your material length and width. Then set the 0,0 point to be the bottom left corner of the material, which should be in the middle of the piece of scrap. You now have a fixed Z height for setting Z on new bits during a swap. This requires accurately measuring the height of the scrap so that you know your true height off the spoilboard.
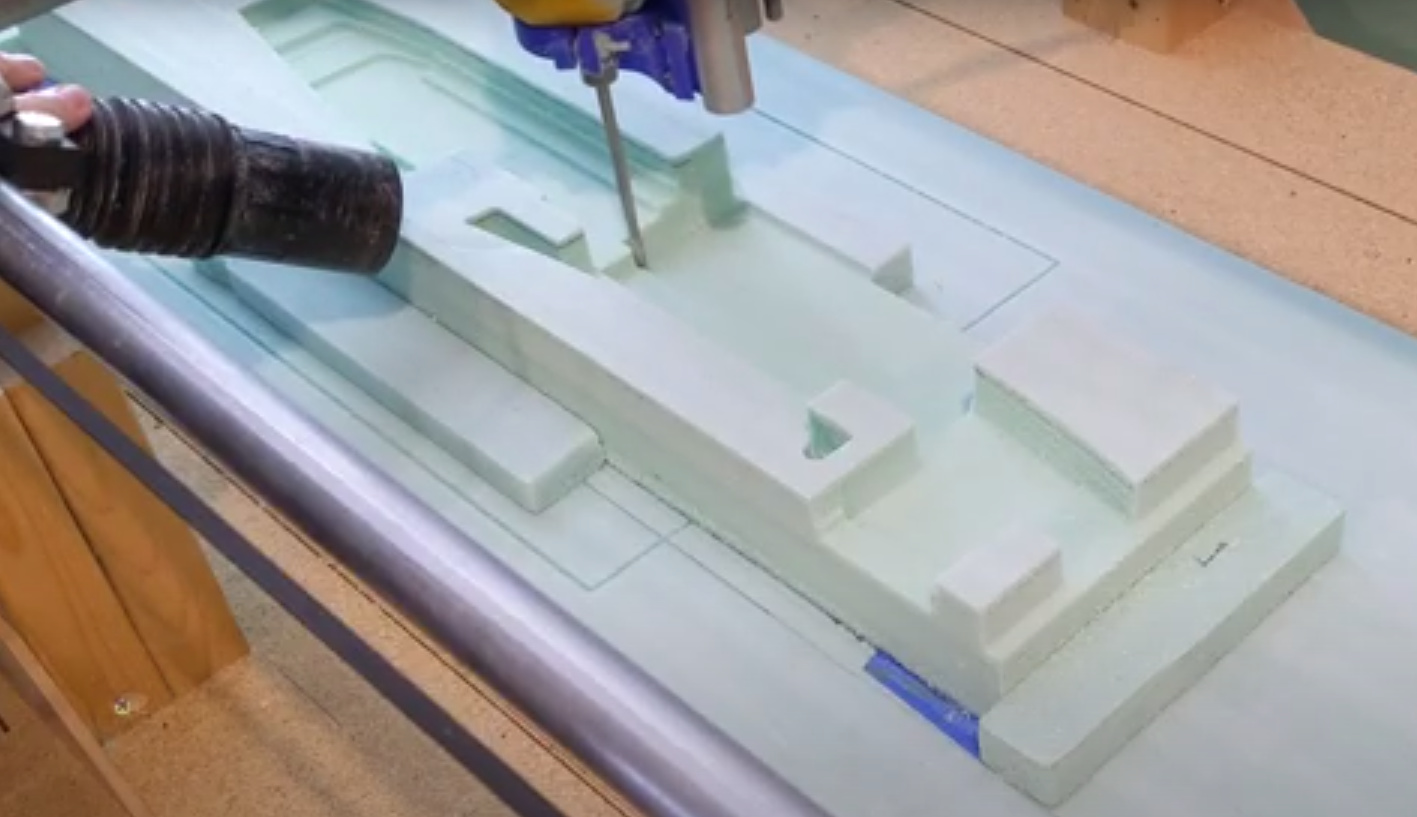
OK, so I have been making successful cuts with correct size stock.
the next issue I’m running into is foam melting on the mill; the tip get clogged.
I’m running the mill at 3500mm/min. The spindle speed is tough to know. It is the DW660 which claims to be 30,000 rpm, but I’m using an AC speed controller set at the lowest speed; I’m not sure what that is.
So the question is do I increase feed rate or spindle speed, or both?
My guess is I need to increase my feed rate. Maybe 4000mm/min.
Any chance you could rig an air blower to help cool the bit and move the foam dust away from the cut?
I know it’s tough to tell with foam, but are you getting “dust” or “chips”? Chips are good, dust means more heat is getting generated. Moving faster on the same RPM should get you into chip mode, as I understand things?
So I ran the mill at 4000mm/mm and did a lot better. the chipping was significantly larger and minimal melting after about an hour of cutting.
What speed controller are you using?
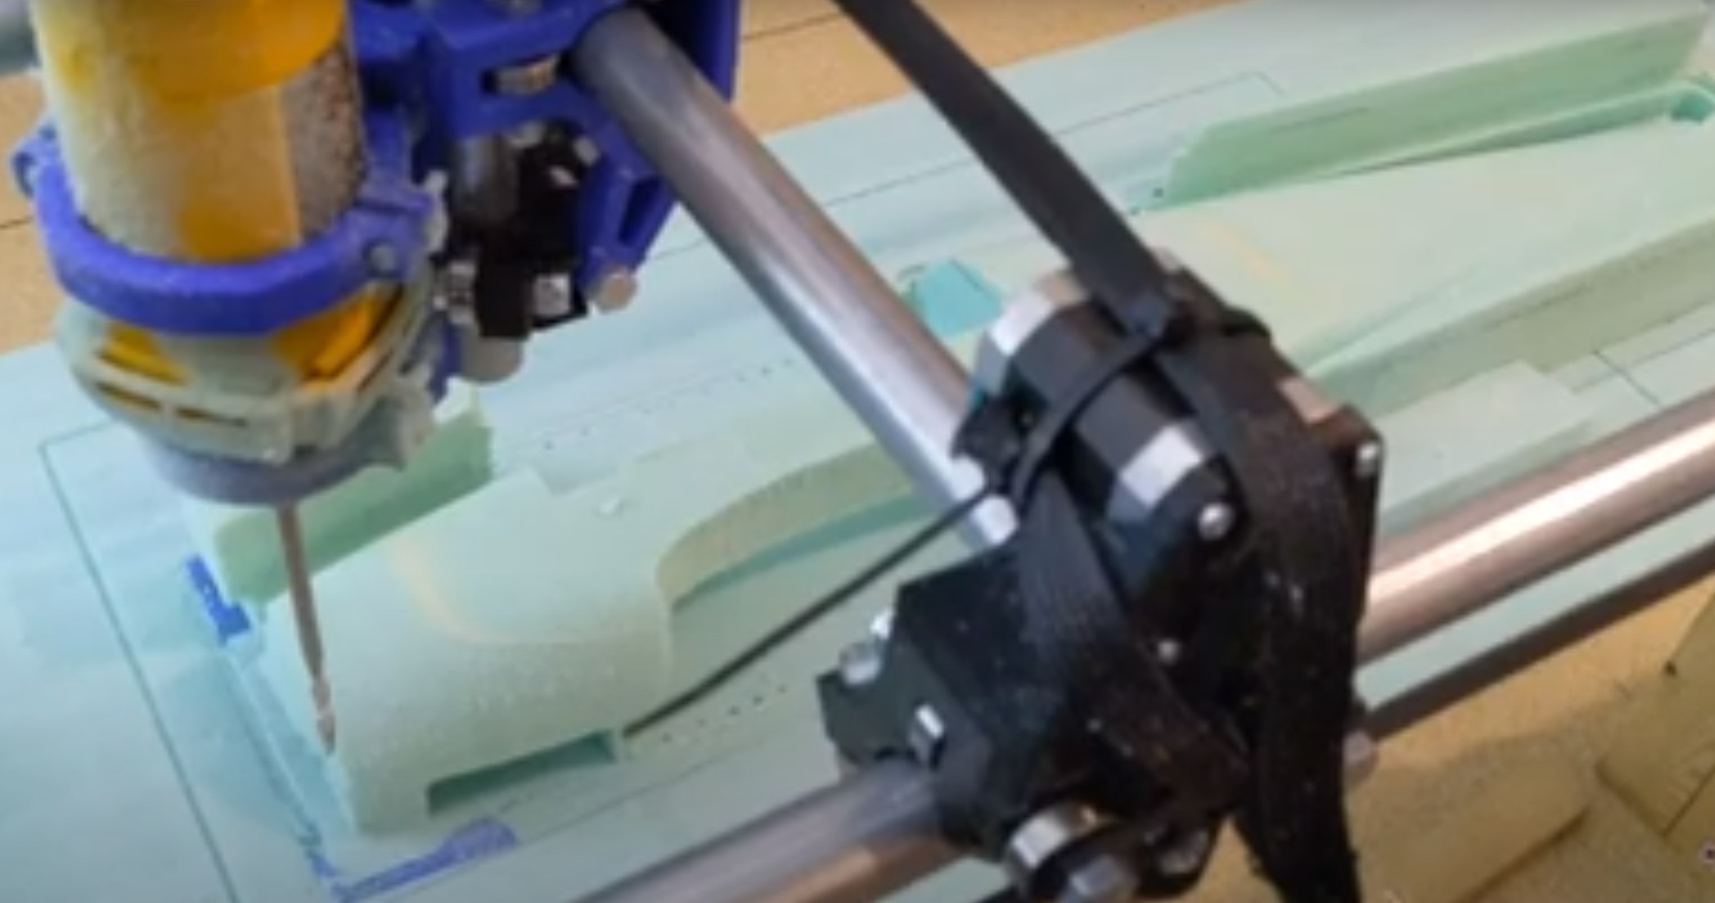
and now I ran into yet another issue. My Y axis has chatter in it when milling. When I move it in Y using the movement function on the LCD it does not appear to chatter; only when milling. I thought it was just having a harder time where I have glue laminating the two sheets of foam, but it does it where it is cutting through only one of the sheets.
I have seen posts that mention checking to make sure connections are secure. The only one I can get at is at the board and it feels tight. Is there anything else I can look at before I start taking my wiring apart?
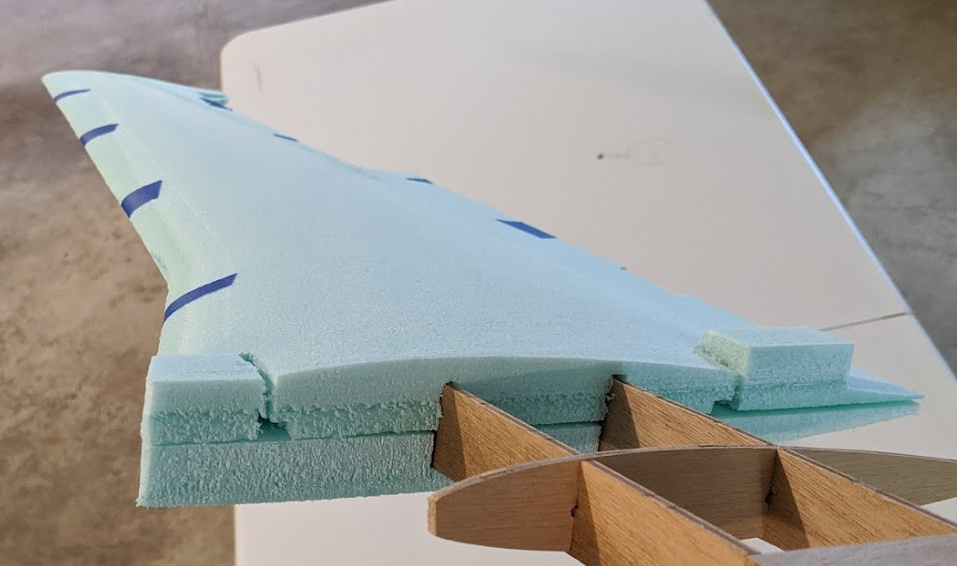
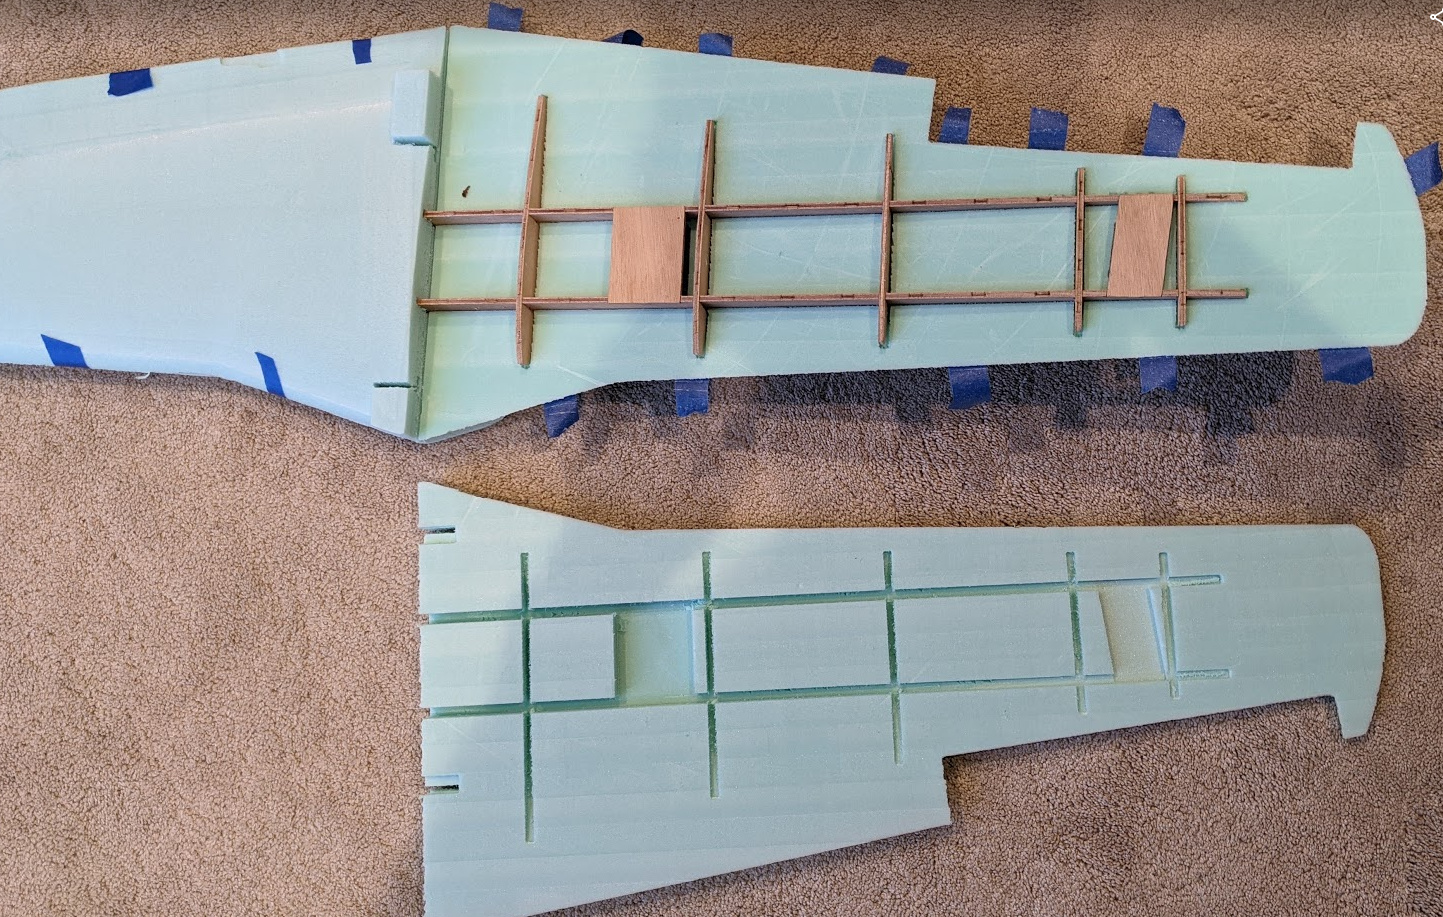
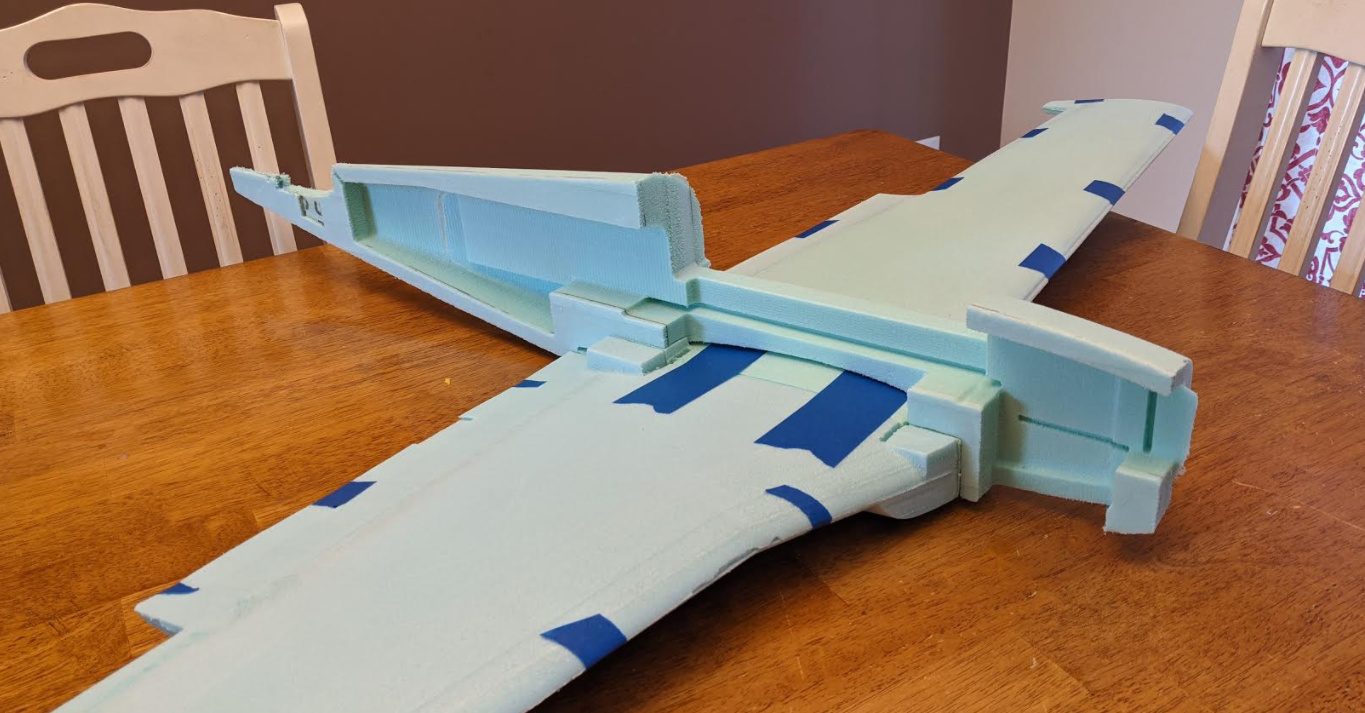
and here are some screen shots of the wing I’ve been cutting.
top and bottom half of the right wing and two sided cut on each. between the two halves is about 1mm out of alingnment.
I would say that is pretty good for my first parts cut.
That is what I do. I have a separate top and bottom half. Both are 1" thick at the thickest part and since the foam is not perfectly even I need to laminate a 1/2" piece to a 1" and then face mill it on both sides to the proper size.
In the main gantry part no, but I did notice that two bolts for the DW660 mounts are loose (lower mount), though I’m assuming that is a result of the chatter in the Y axis.
I’ll tighten those up, maybe add some locktight, and run a test.
Update - I double checked the gantry. There is some play when I wiggle it in the Y direction, but none in the X direction.
So I probably need to tighten some bolts. just need to figure out which ones.
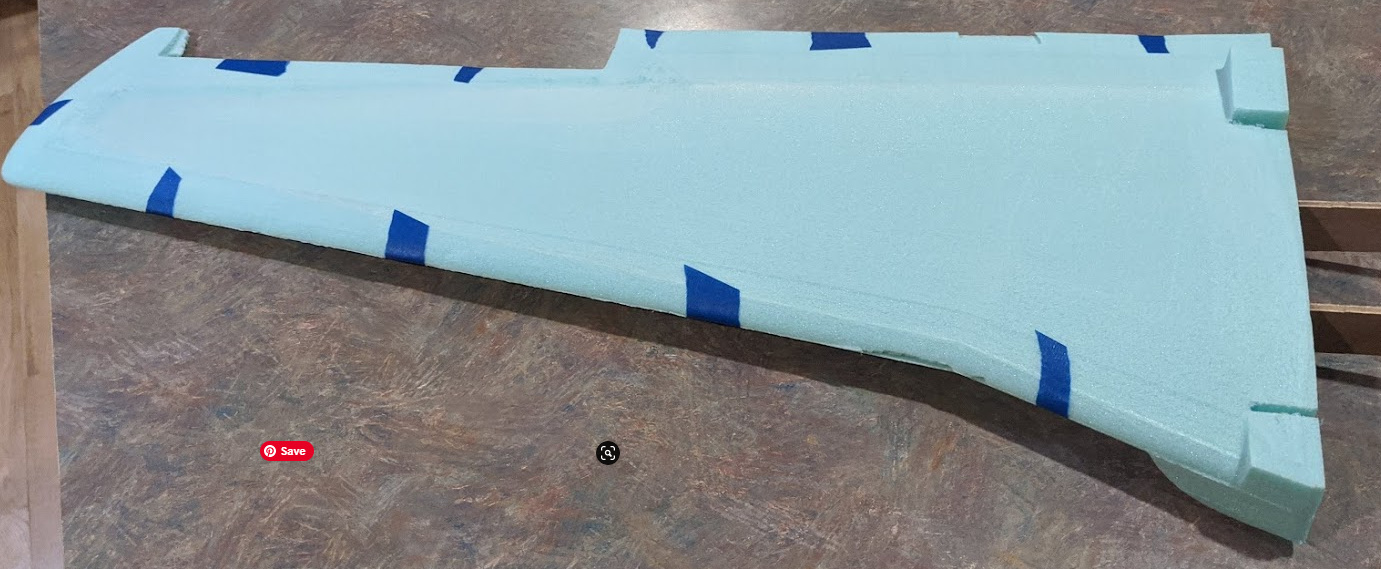
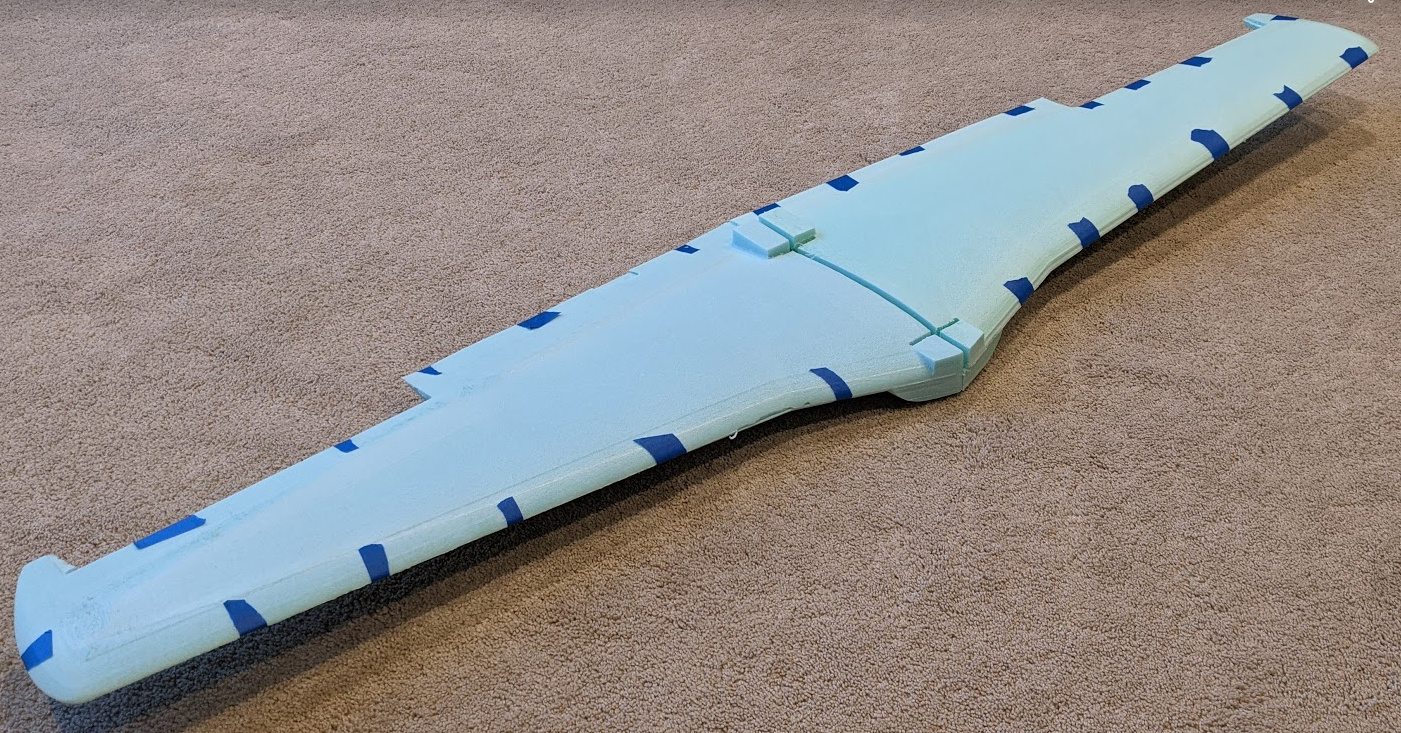
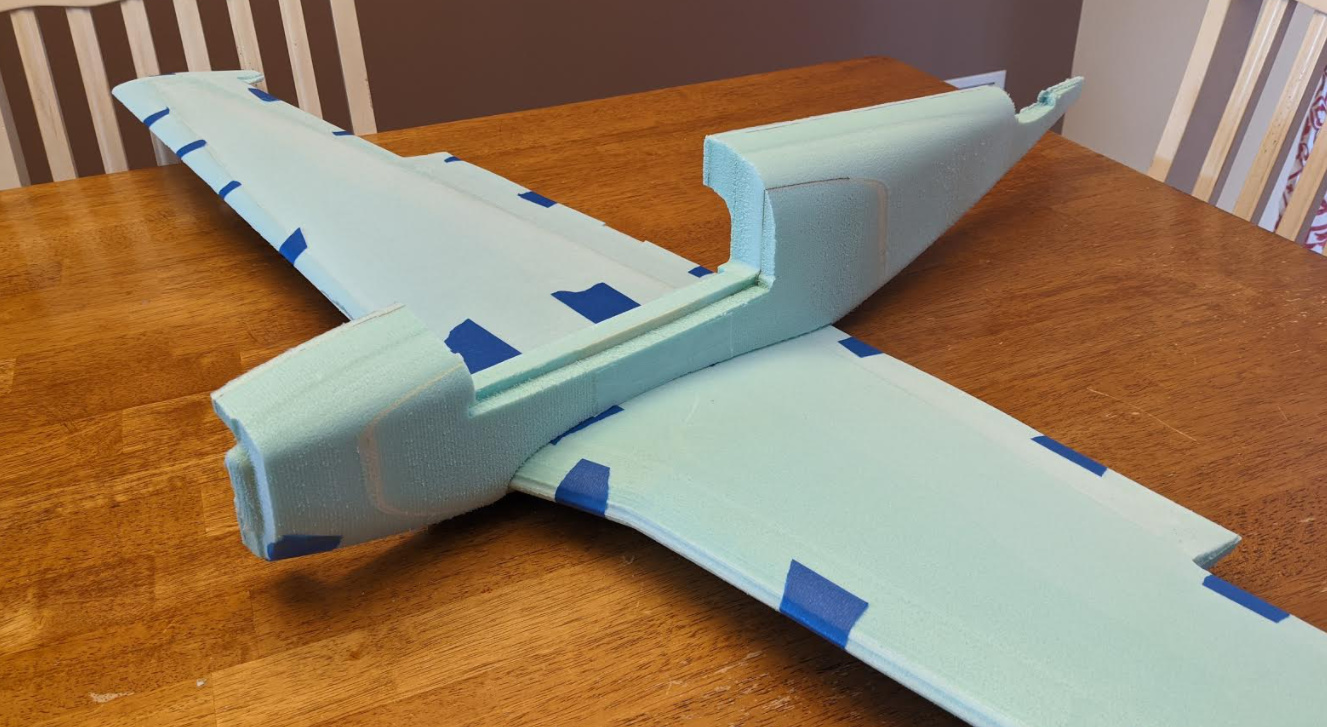
So I finally finished cutting the main wing for my CNC RC plane.
Overall went very well. learned some stuff, particularly that I should have used loctite when I first assembled the MPCNC. had a few screws fall out. 5 to be exact.
The wing was cut in four panels, left and right, top and bottom and each panel was cut on both sides. for some reason the last panel I cut was a few mm off and is leaving a gap in the middle. fortunately foam is pretty forgiving and I think I can adjust it by sanding the inside areas where the wood structure is set; allowing that panel to shift over.
@timonjkl man I’m glad to hear you say that. I didn’t post anything before but I didn’t want to be that newbie guy.
1 from each tool clamp. 2 from the tool mount. And one from the z axis motor.
found another bolt that is loose. need to get the loctite out.
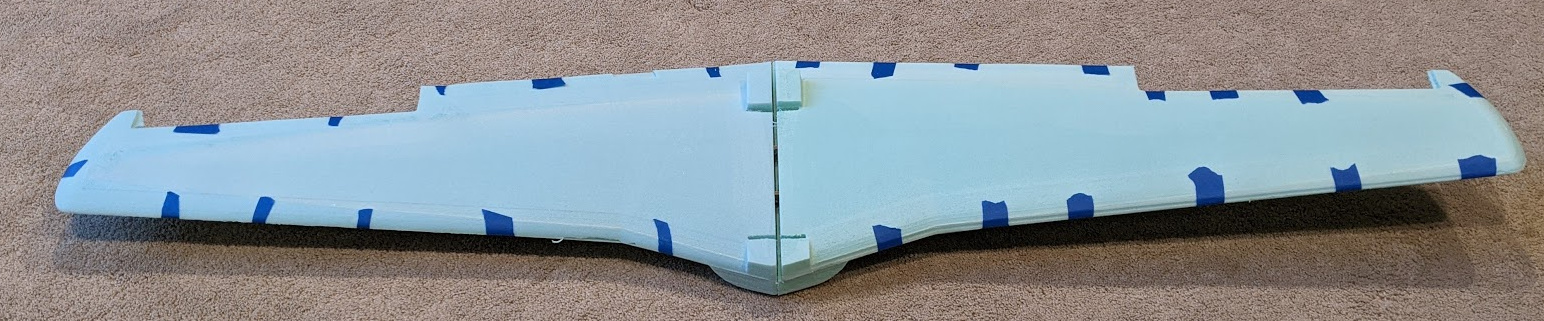
and more progress on my plane.
Not trying to make this a build log, but kinda turning into that.