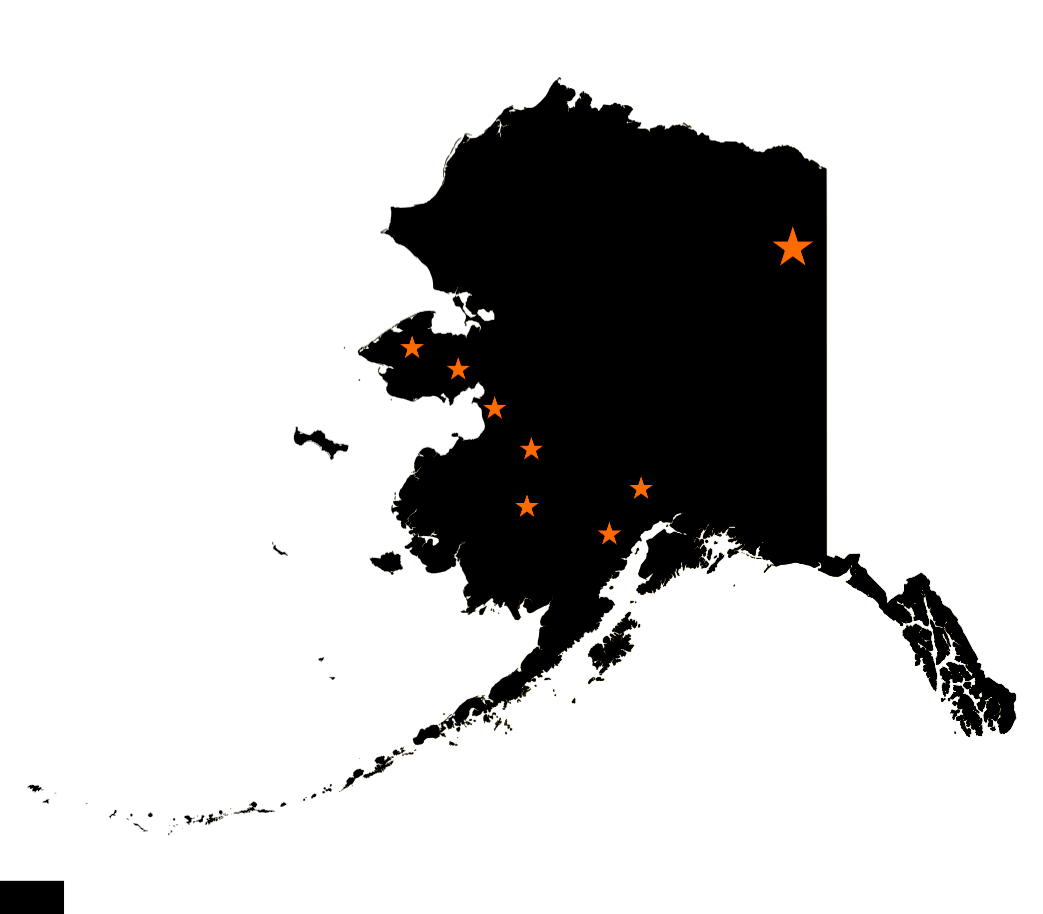
I am trying to figure out how I can use a 1/4" end mill to mill down 6mm of the inside of the state without removing the stars. I want the stars to remain at full height. I then want to carve the state and stars with a 1/2" 90 degree vbit. I can’t figure out how to leave the stars when it mill using the 1/4" end mill.
What program are you using?
On a practical note, you might find more success starting with the v bit, then profiling around the stars before moving on to hogging out the pocket. I’ve had some strategies that left similar islands sticking up (but I only needed the bottom millimeter or so) and they broke off very easily.
I’m using ESTLCam. I tried using the vbit first, but that didn’t work. I need to exclude the stars from the 1/4” bit path.
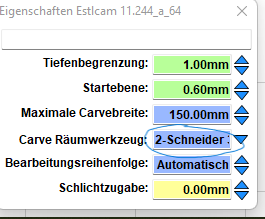
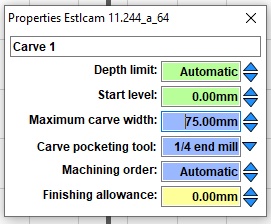
You have to use the carve tool with your V-bit, set the clearing tool to your 1/4, then set the carve width to something incredibly high (it will take ages to calculate), then it will clean everything it can reach with the 1/4 and will leave your stars standing.
So I was thinking of it backward. I want to Vcarve first and then use the 1/4 as the finishing tool?
Thanks Philipp, I really didn’t want to have a 5 hour carve project. Hopefully it shortens the time a lot.
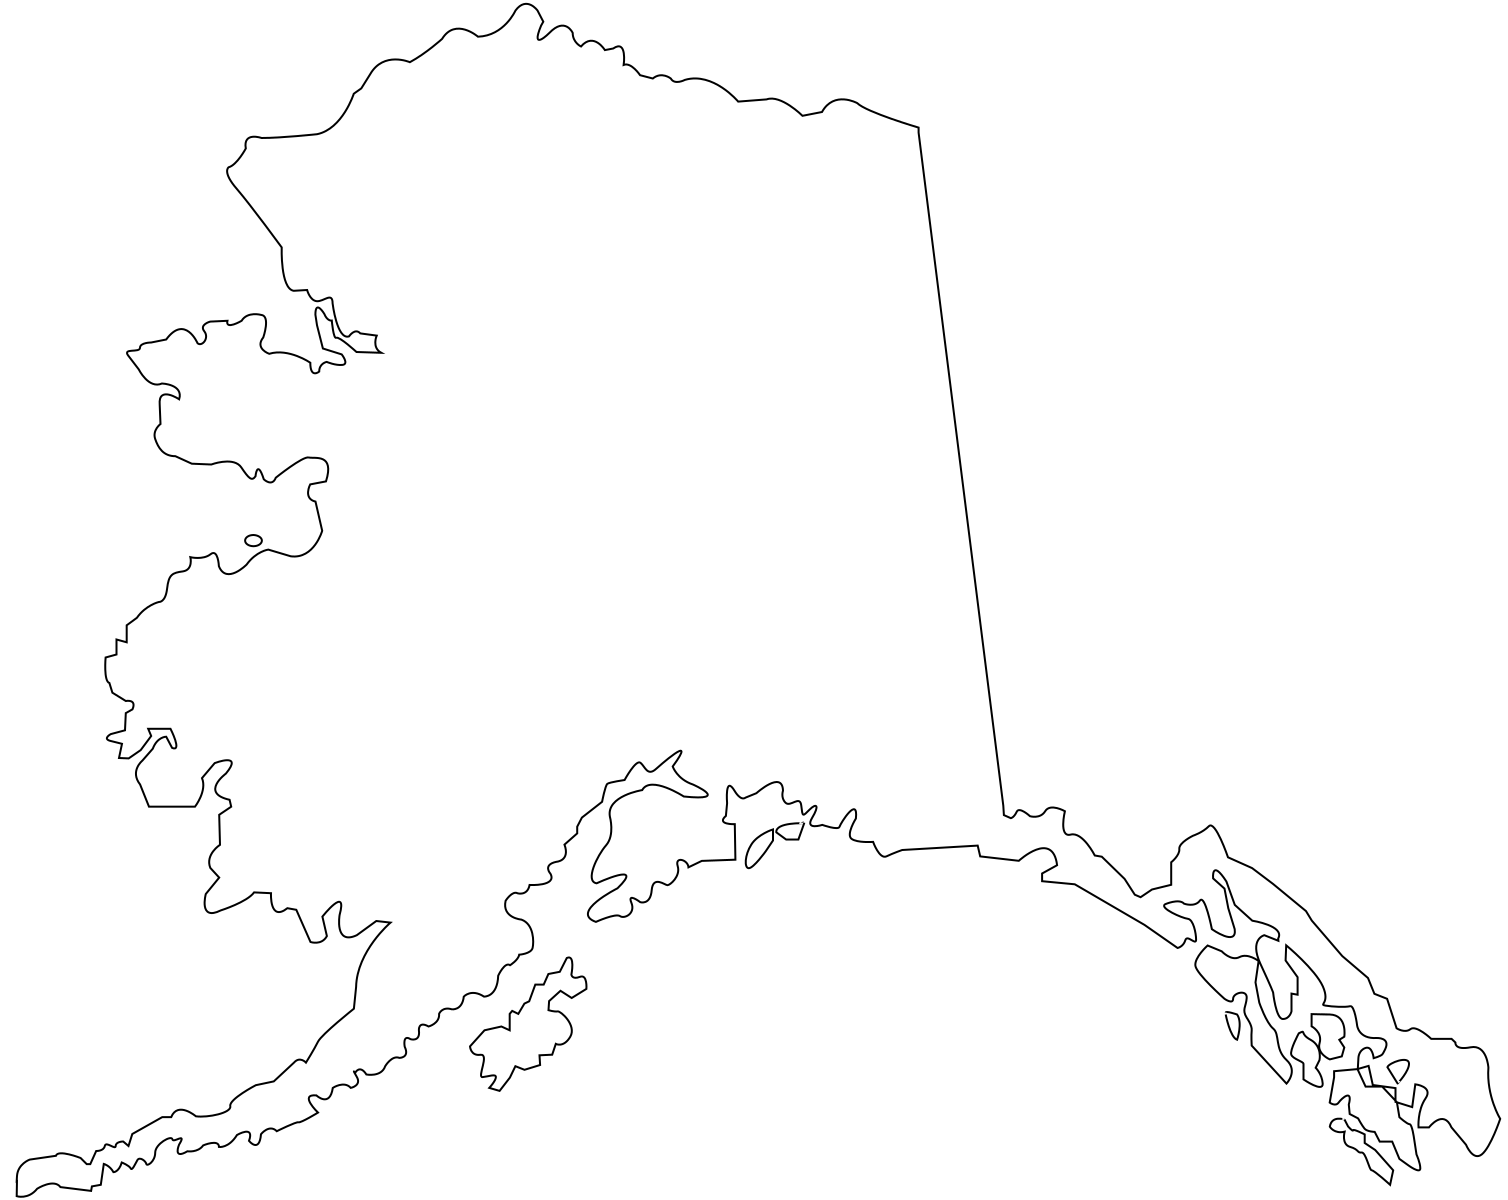
The Estlcam raster image options are limited. I would probably use Inkscape to add the stars to a vector drawing (e.g. the svg from Alaska Map silhouette - Free Vector Silhouettes | Creazilla). With a vector drawing you would do a carve pocket, set carve paths around the stars/perimeter and add a flat bit pocketing tool (+ as Philip said).
No, you specify the 1/4 as the clearung tool in the lower right corner after having calculazed the carve. I even found the screenshot from the last time this was asked. ![]()
2 Likes
Dave Ldalrun
Thank you Dave. I am using a vector svg file and carving.
PhilippTokoloshe
Thank you Philipp, It worked great. My estimated run time is less than half!
Thank you everyone for help.

2 Likes
Be sure to check out the gcode preview. It doesn’t end up making those circles.
I’d select all paths (Ctl-A) and Edit : Group them to insure all path properties are the same (and to allow future single click edits). Also rotate the Preview and use the measuring tool to see how deep it’s going to cut, you might save time by setting a Depth limit. See Dave Lers : Workshop : CNC : Estlcam : Carving for more… I think Jeff is talking about those two? blue circles in a western bay.
Thanks Dave,
I added a 7mm Depth Limit to all the cuts. I saw in the Preview that the 1/4 bit actually cuts horizontally, not circular.
Estlcam only tells you what bit will go first in the preview when it shows the pocket will go first and then the carve will occur. I just asked a similar question last week but my carve had 50 pieces to it so it spent more time moving than cutting. It is not an intuitive configuration, but super helpful when it works.
For pocketing around the stars, had you tried using the island option? you put “part” around each star and then a Hole on the state outline and while the state is selected choose the island option and it should cut around the parts you had selected previously, though it won’t likely leave enough of a finish edge for a good v carve around it.
I couldn’t get the same detail using hole, part and island. It was reassuring to see the 1/4 bit cut out first and then tool change to the vbit for the rest of the carve. I’m going to try and cut this out tomorrow.
1 Like
It’s absolutely a pleasure to watch it coming all together. ![]()