As I understand things, if the rest of the mechanics work smooth and easy, the belt only needs to be tight enough to prevent jumping a tooth. Longer belts need a bit more tension to prevent sagging, but there shouldn’t be so much tension that things don’t move easily any more. There should be a pretty wide range of “tight enough but not too tight.”
Thank you all for the input. I have adjusted my belts, I think they were too tight actually. I then found that my grub screw on the Y-axis has came loose which was causing my major headache yesterday. Anyways, I corrected all of that and reset everything in the slicer back to default (except for esteps).
Using 0.2mm layers I then ran the following tests:
speed test:

I thought 15-40mm/s looked pretty good. The default for external perimeters is 30mm/s, so I just left it as is.
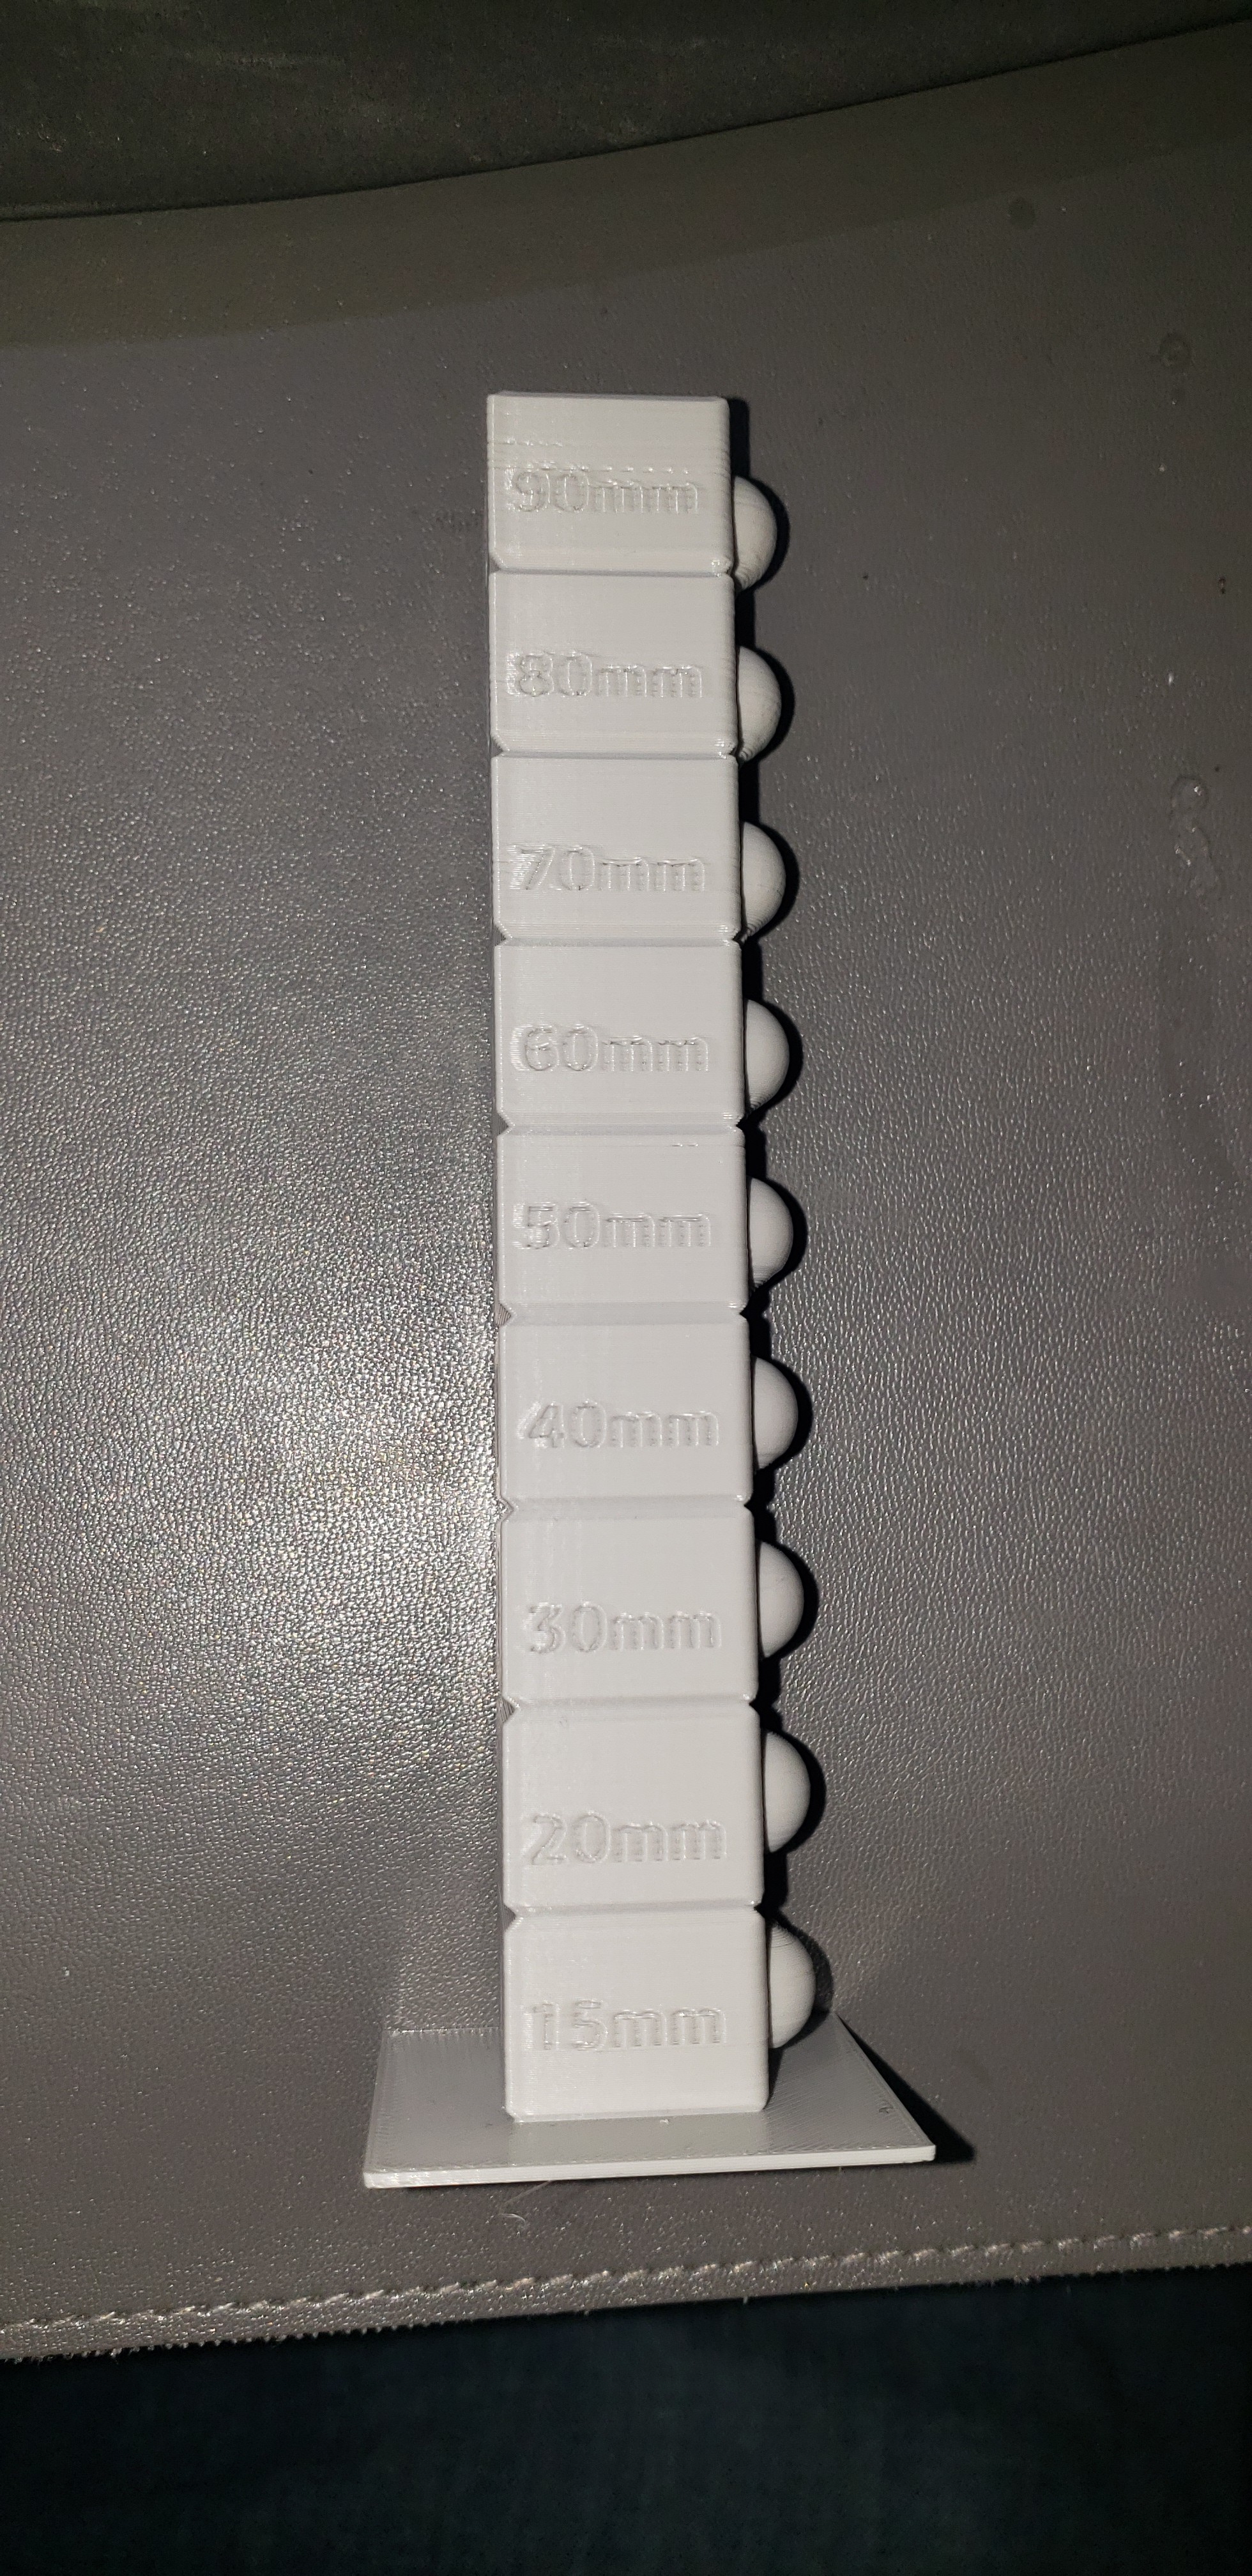
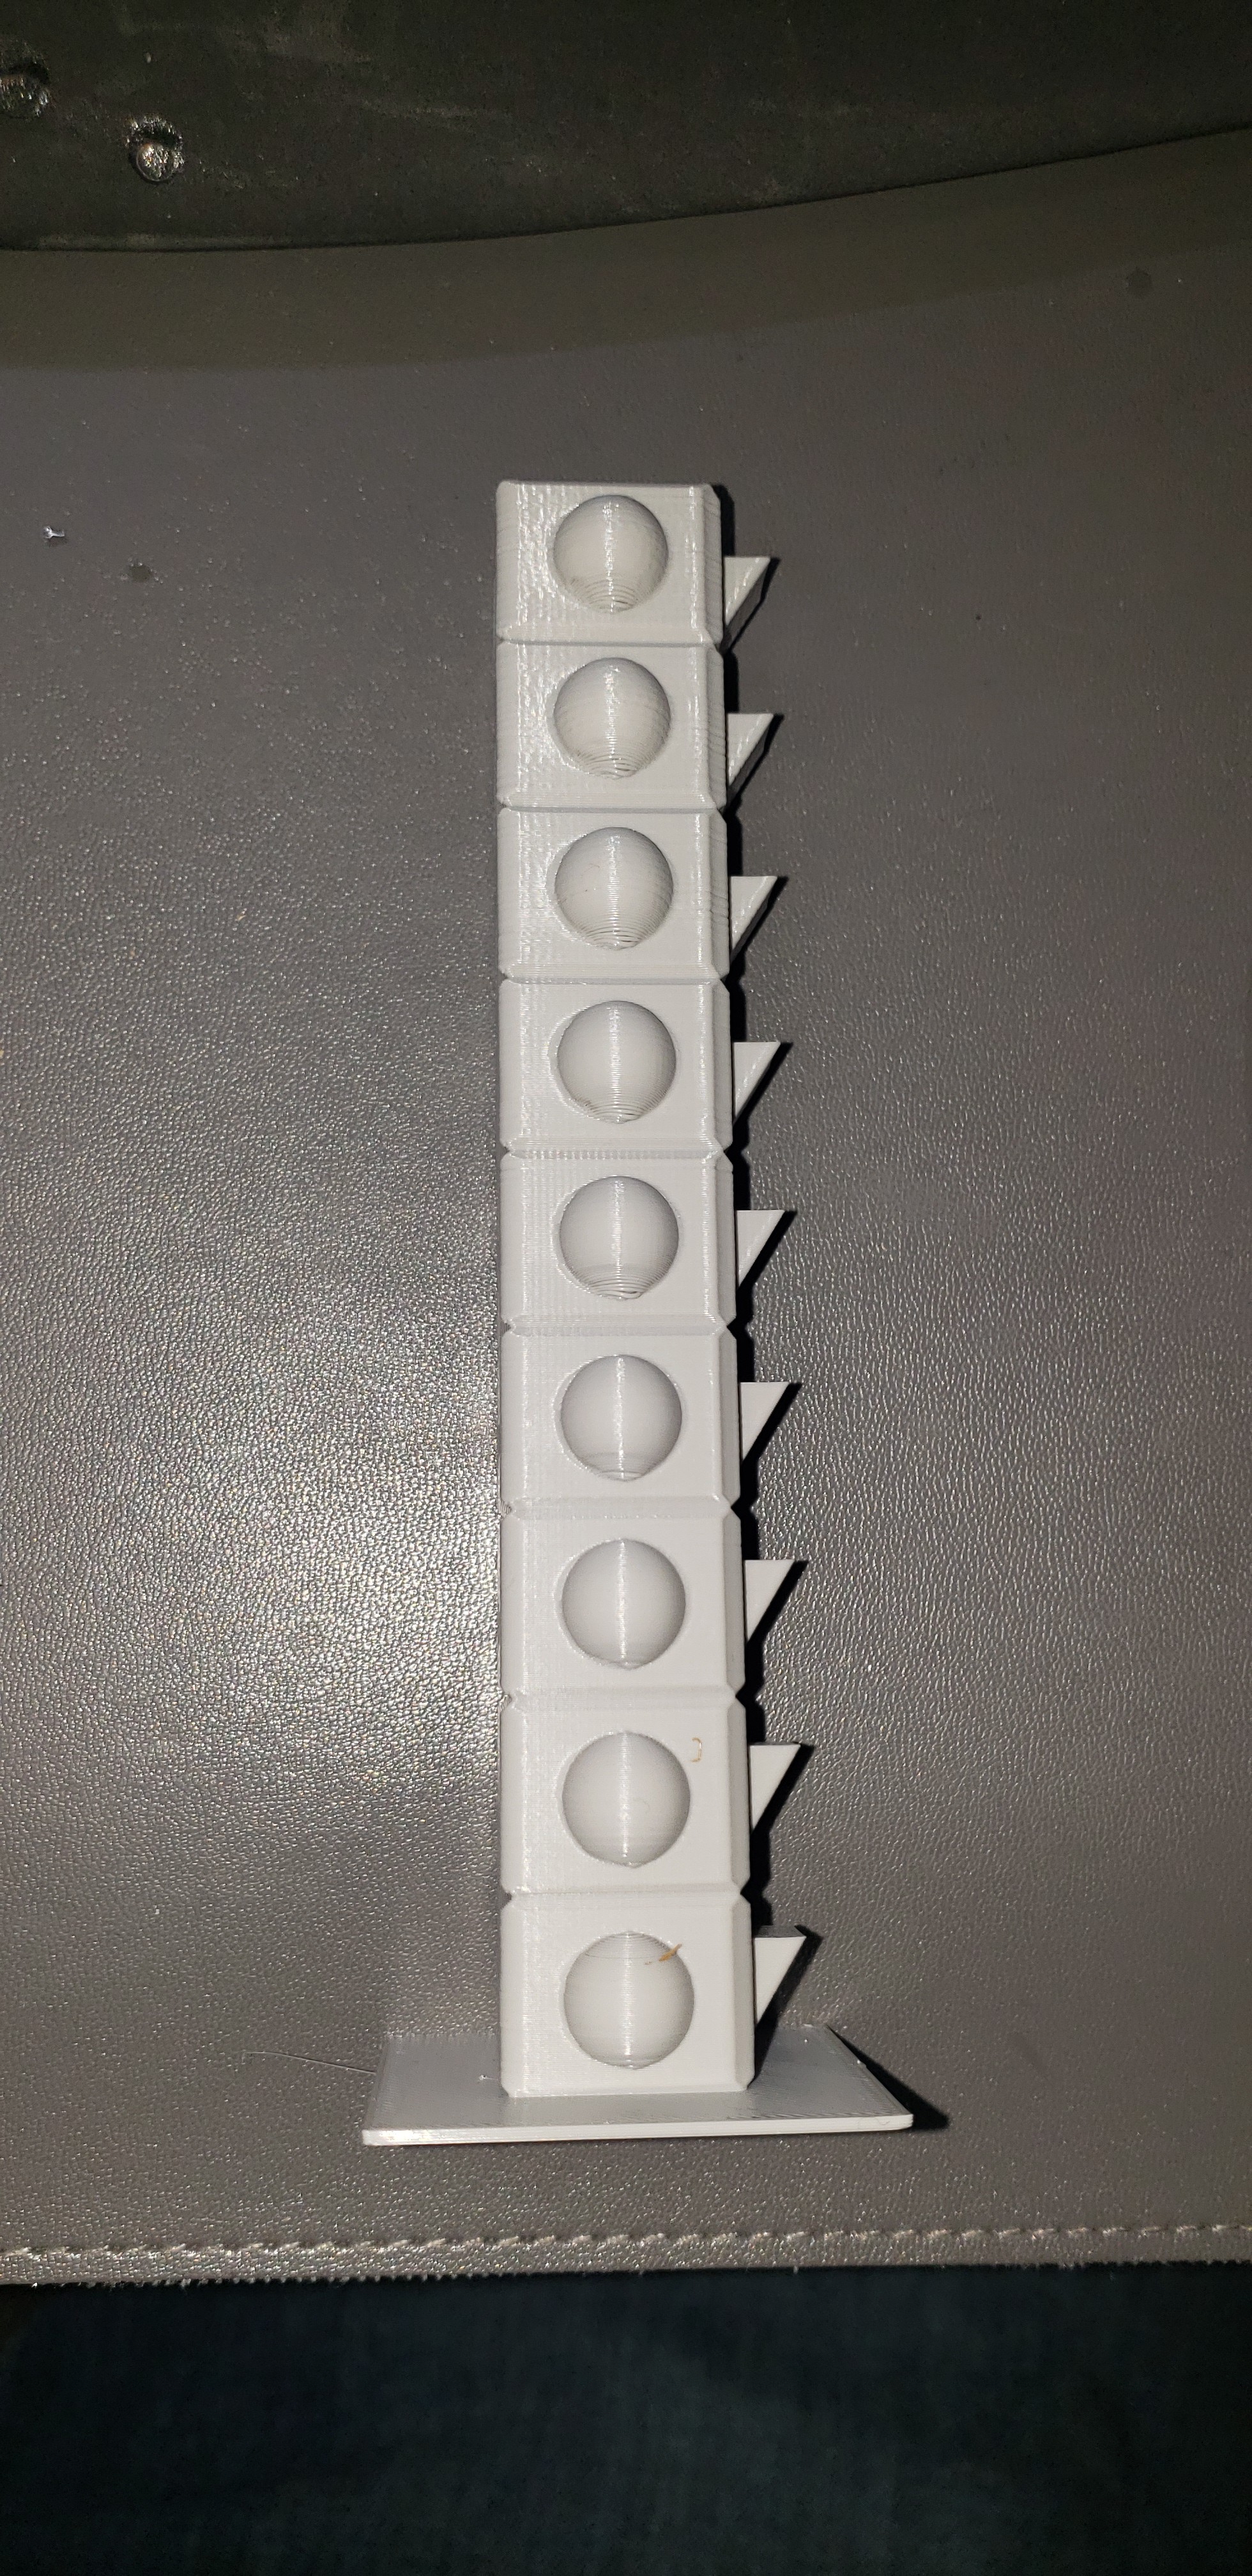
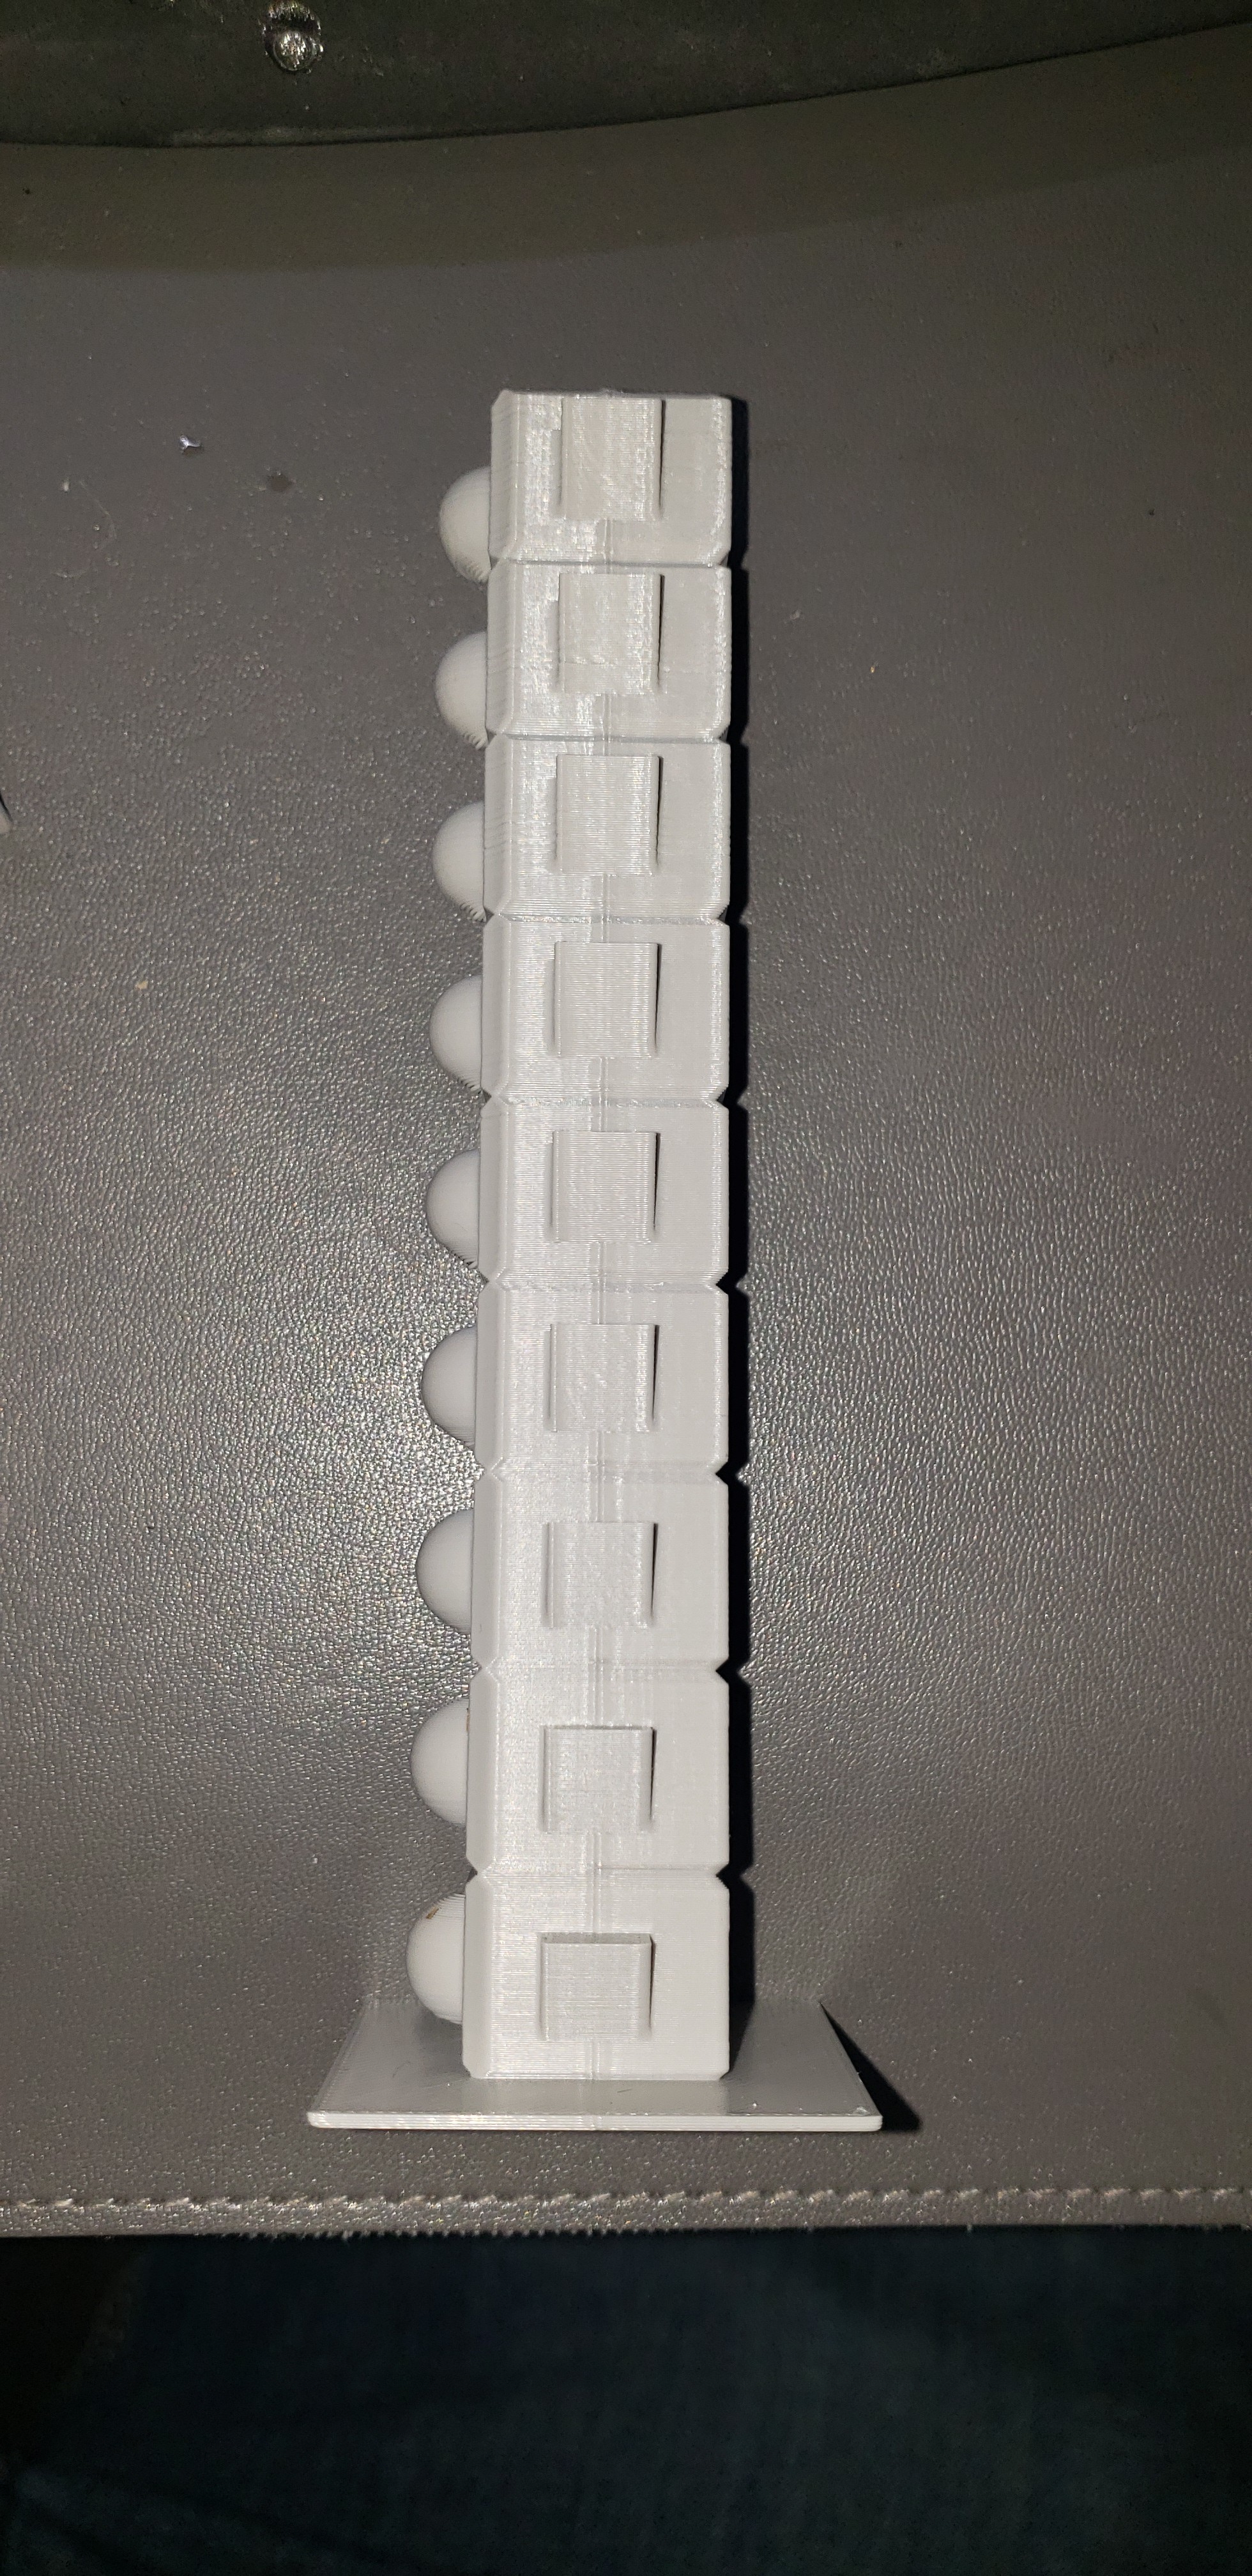
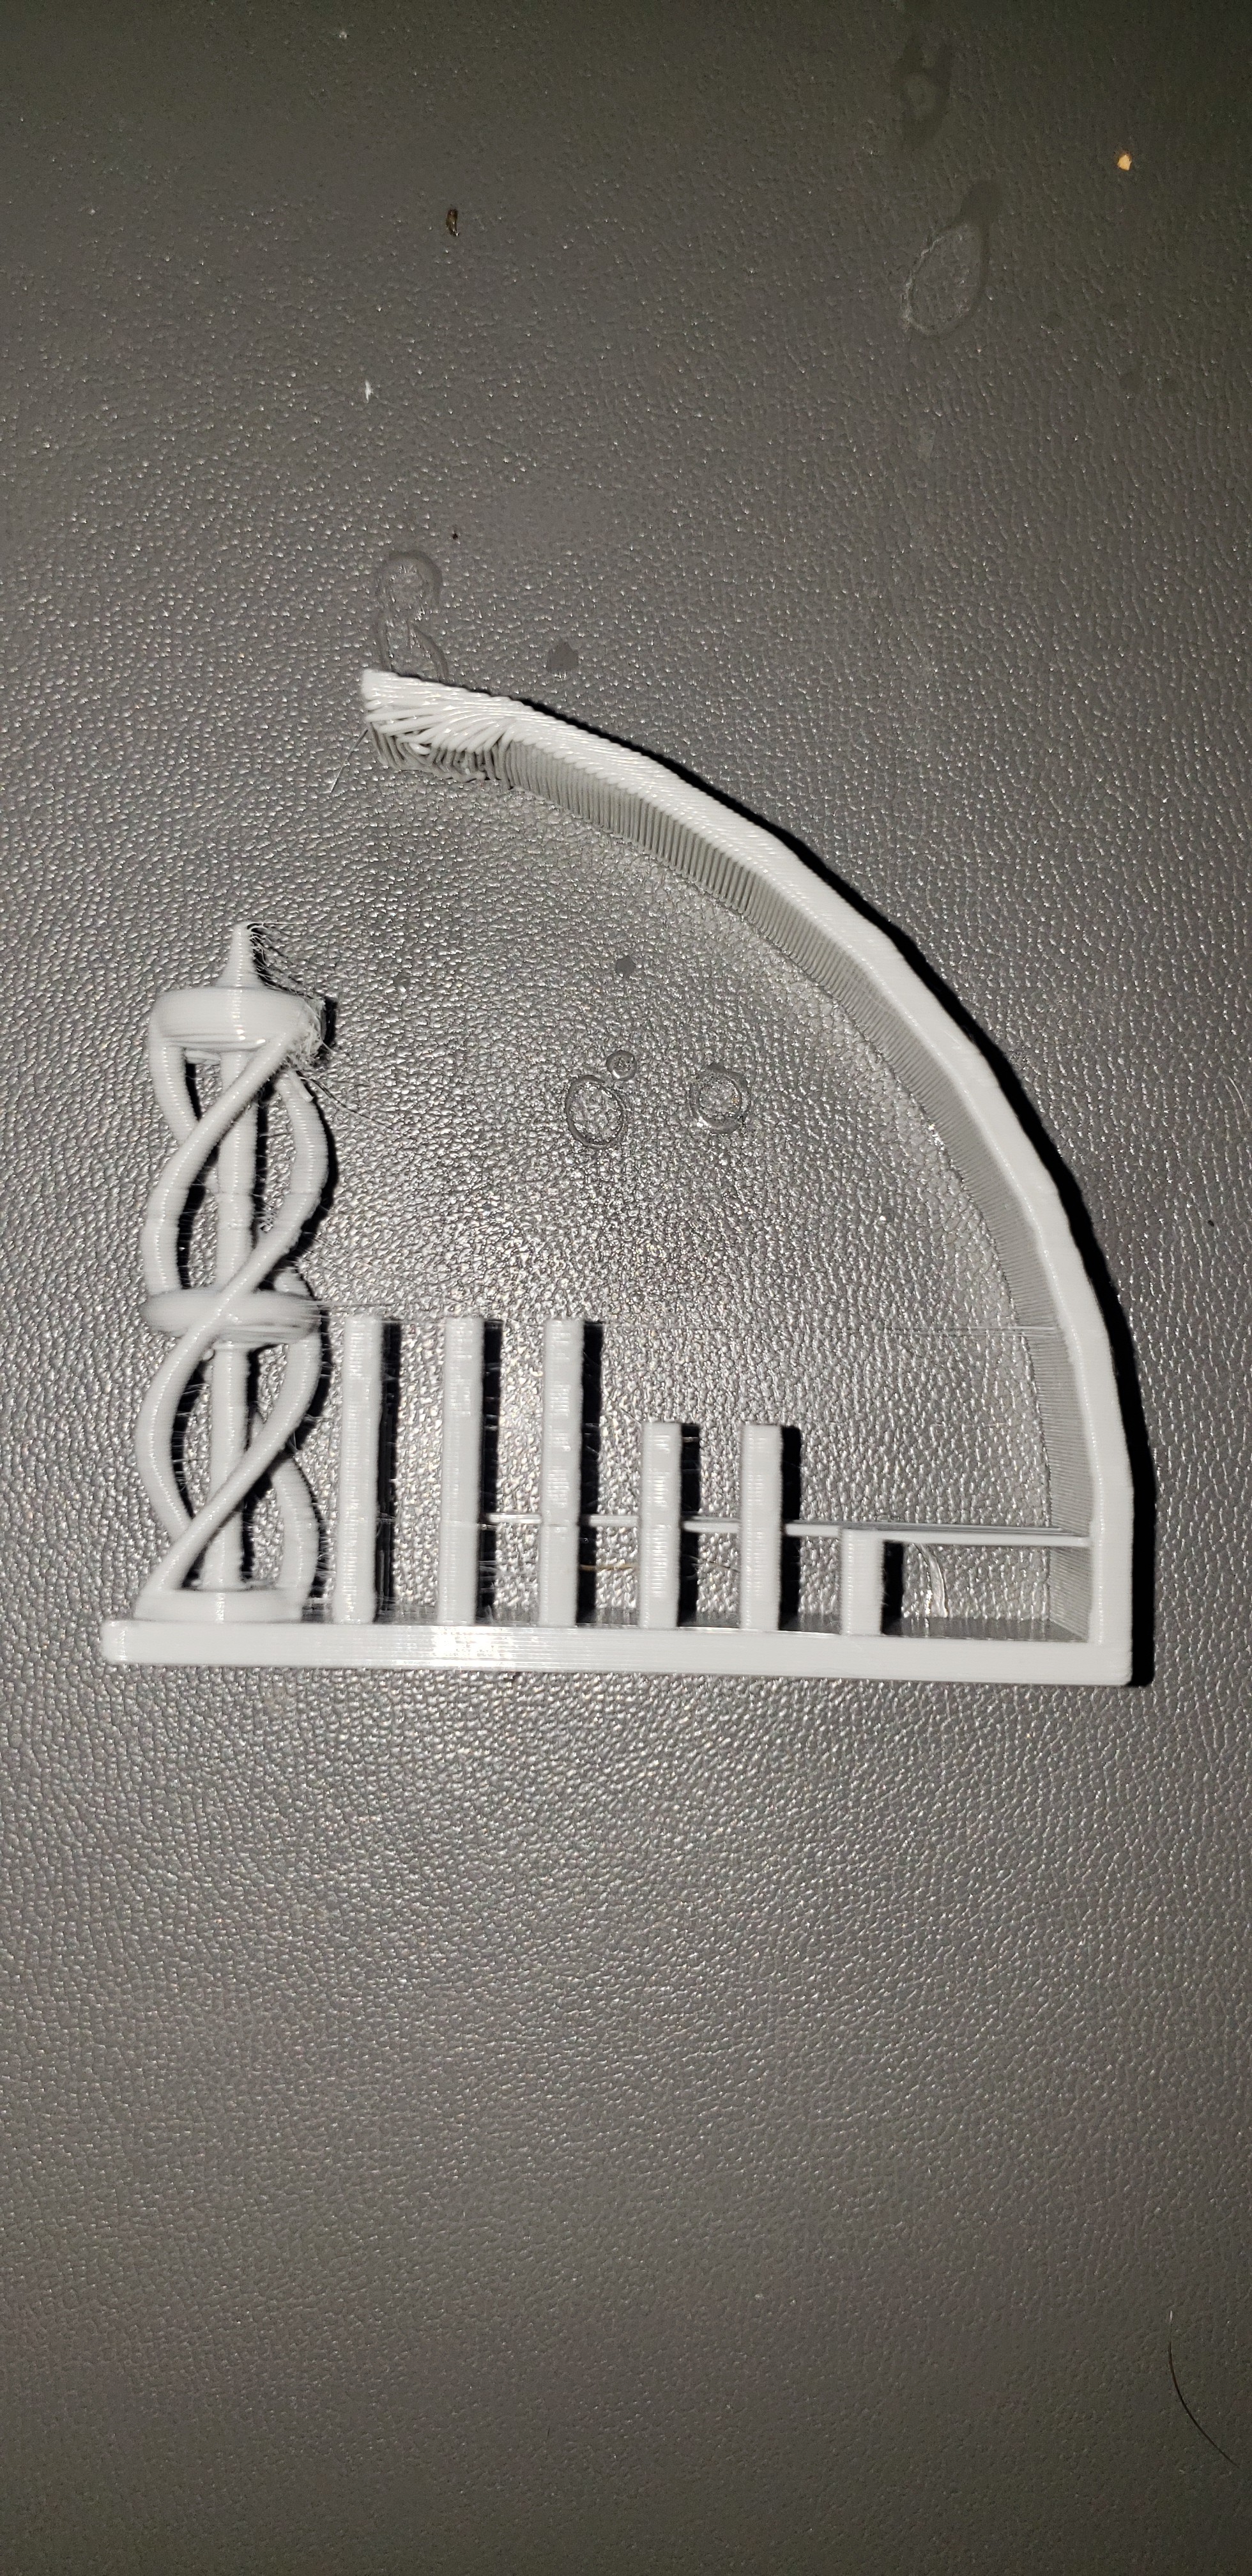
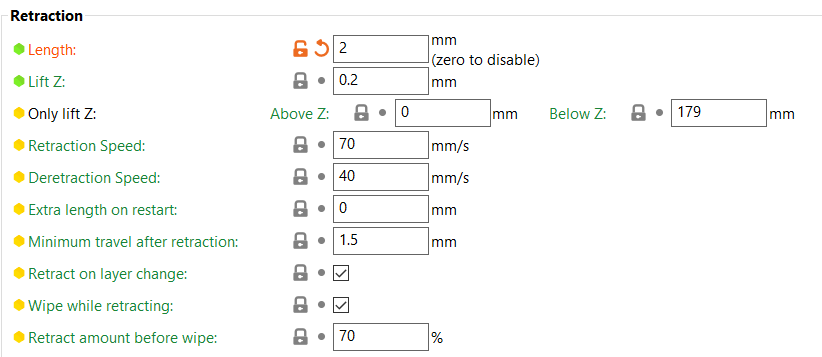
Retraction test:

The only thing I adjusted here is my retraction length. I can maybe dial it in even better, but would definitely need some advice as there are so many retraction settings. I would prefer to be able to reduce my retraction length as this seems to have a big impact on external perimeter layer issues such as gaps.
From top to bottom here I have 0mm, 1mm, 2mm, and 2.5mm. The mini’s default is actual 3.5mm, but I was seeing the surface defects mentioned above. I settled on 2mm. It still has some slight stringing, but at 2.5mm you can definitely see some layer defects on the posts.
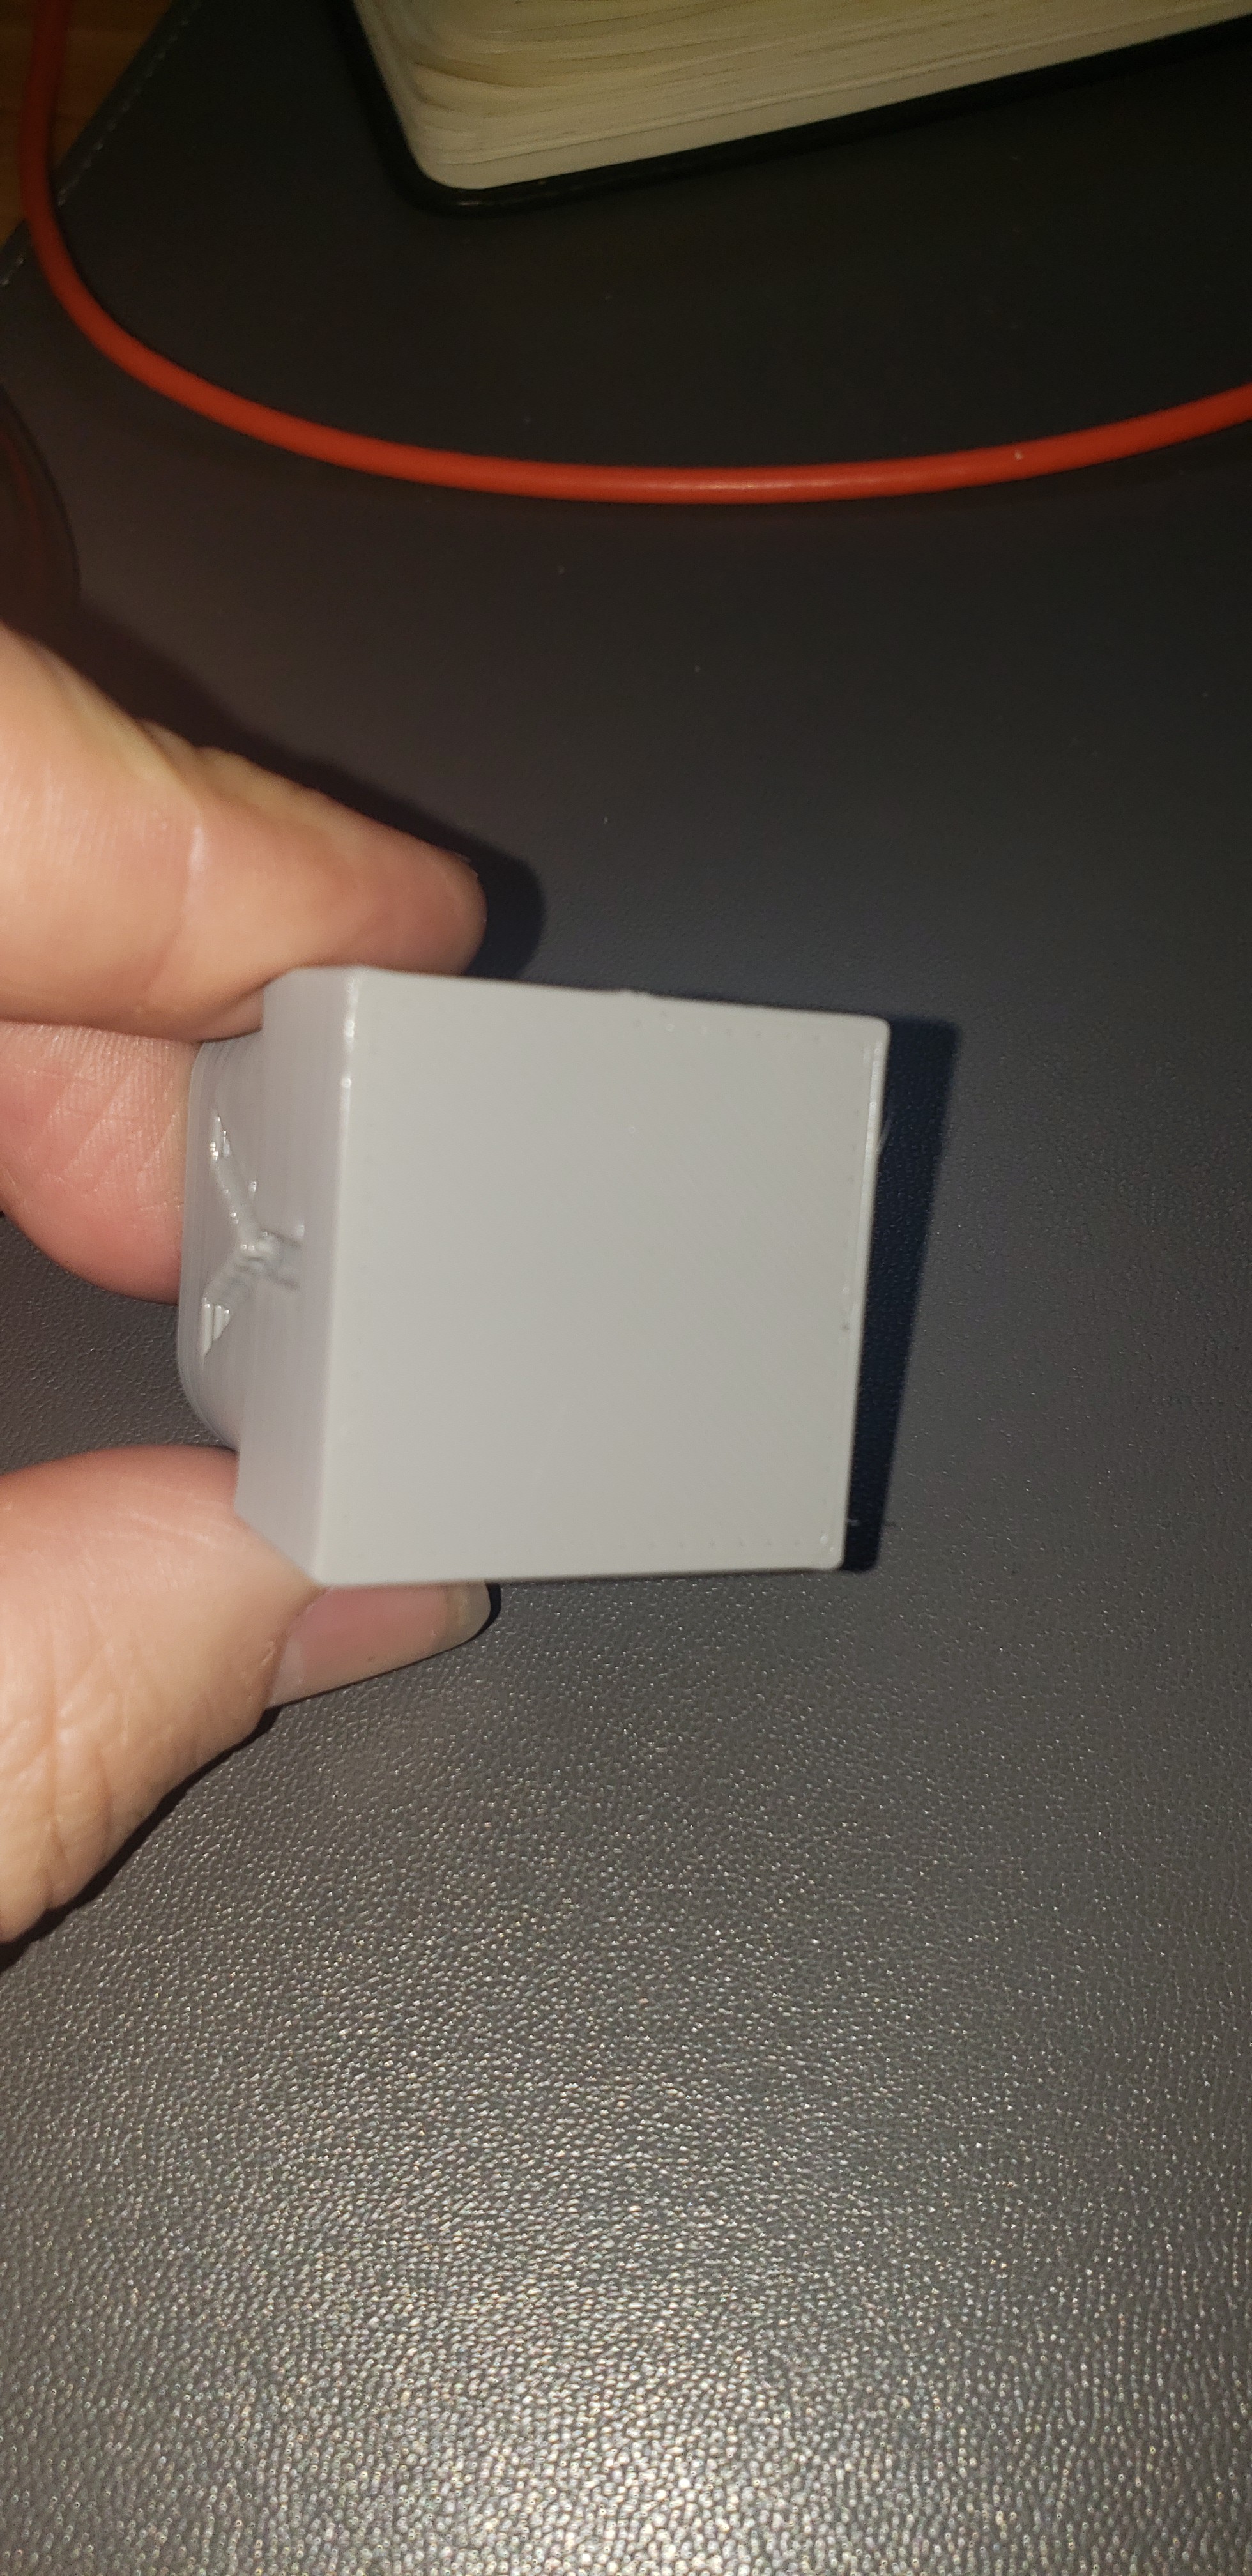
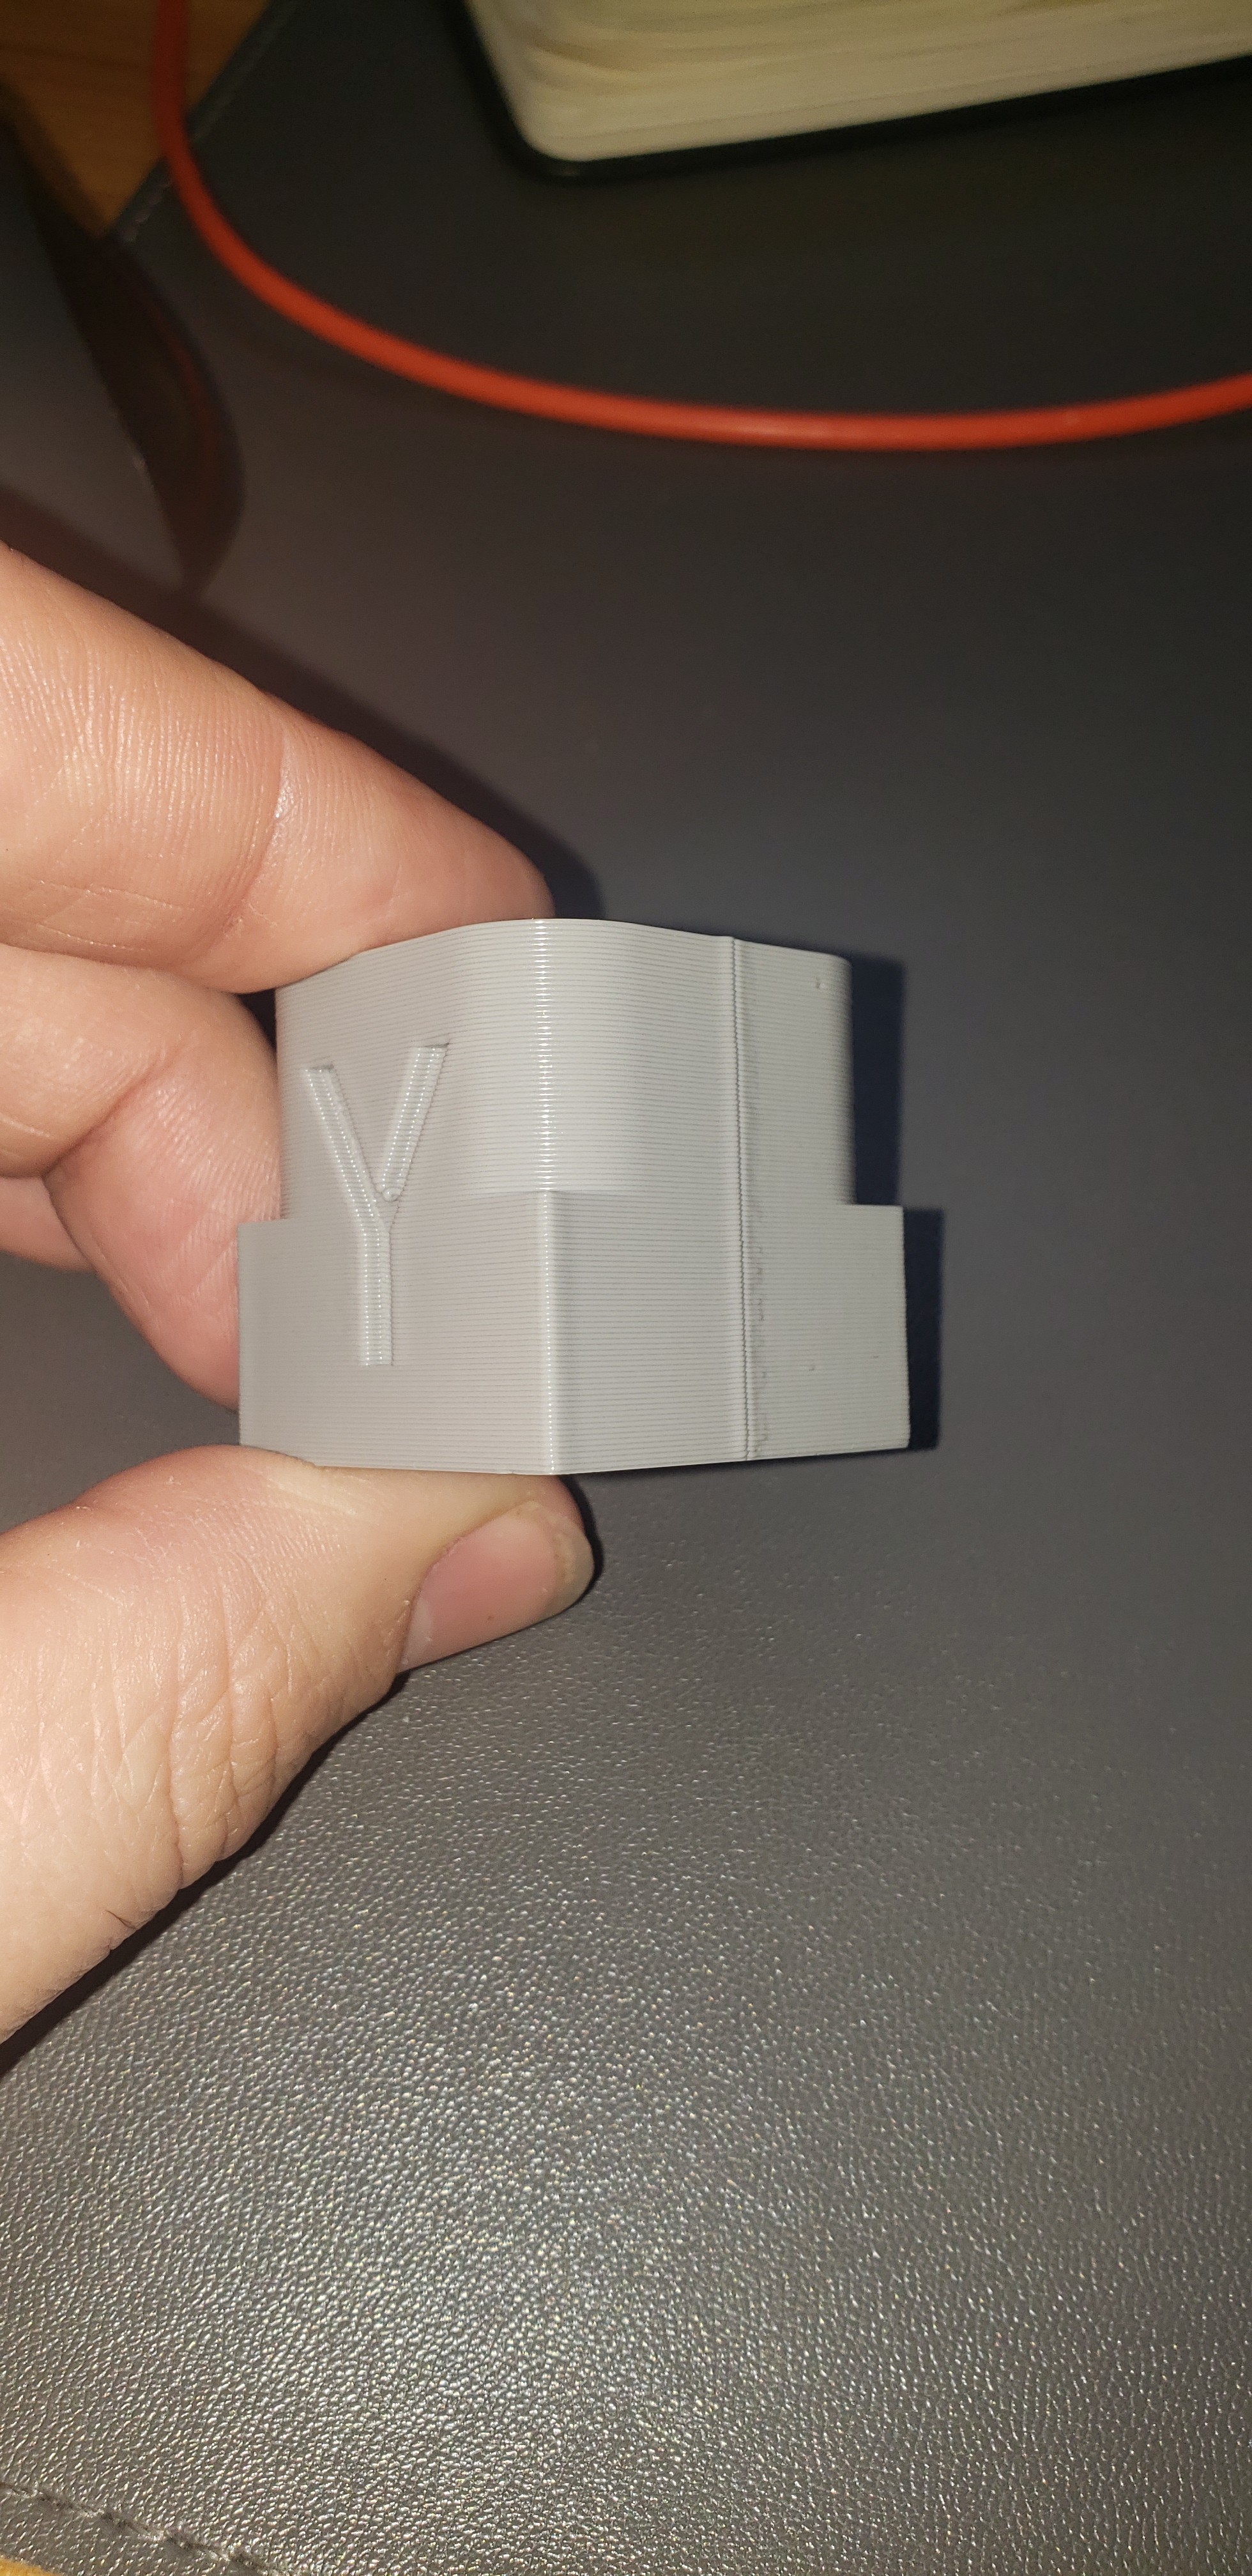
Calibration cube:
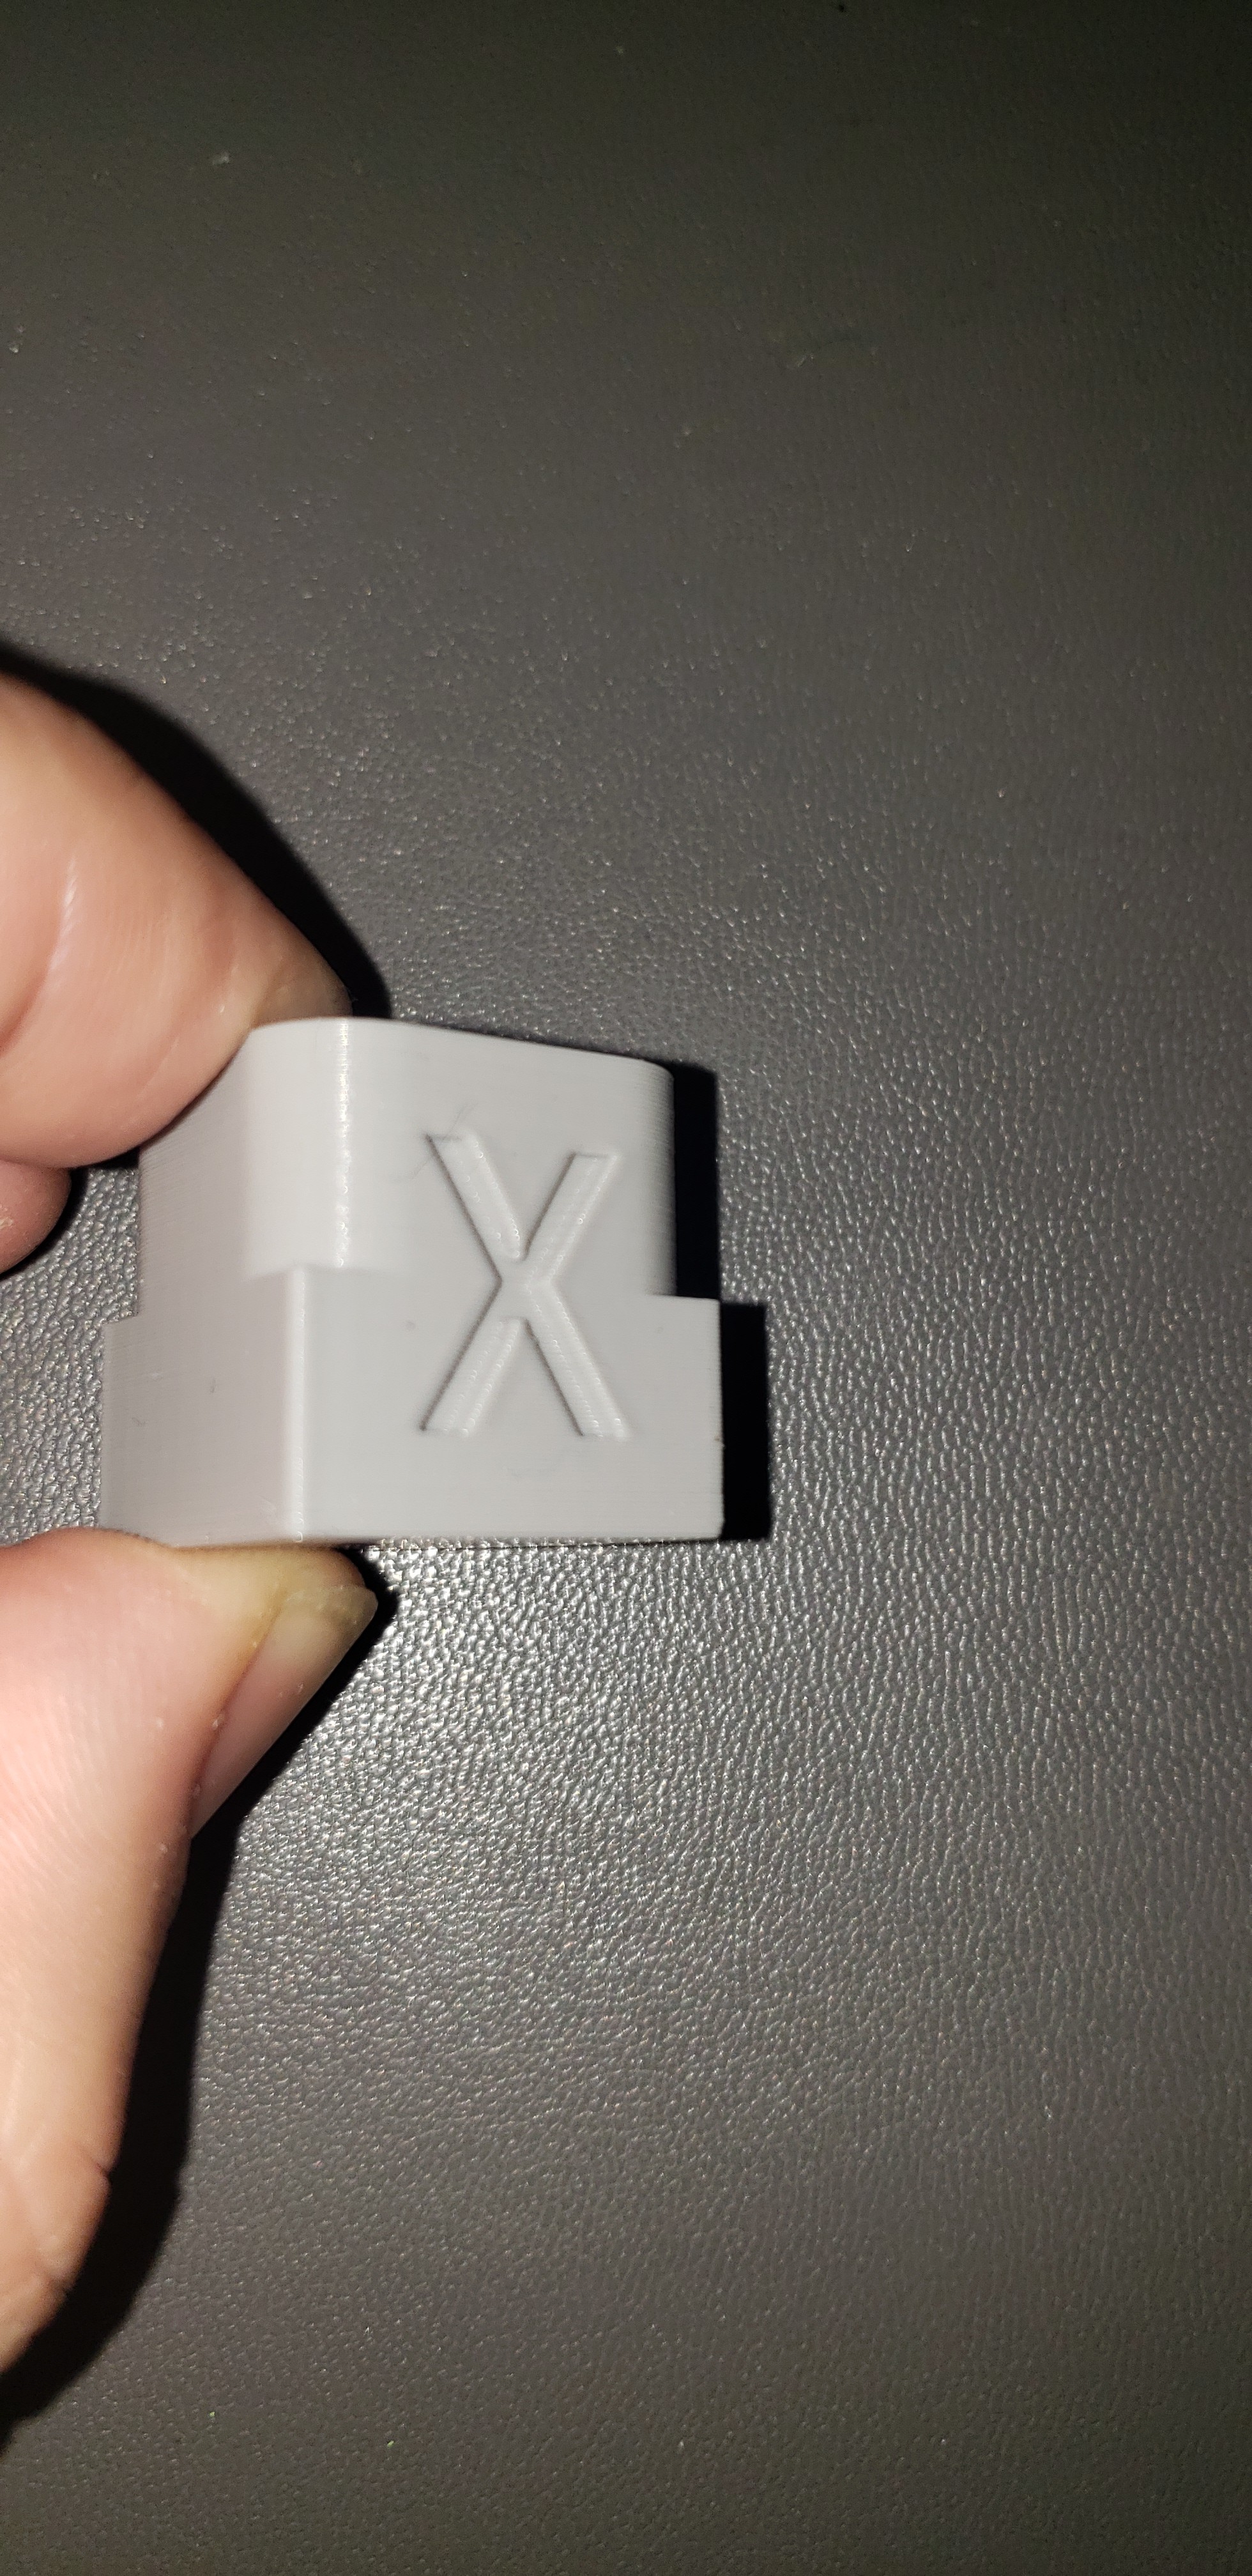
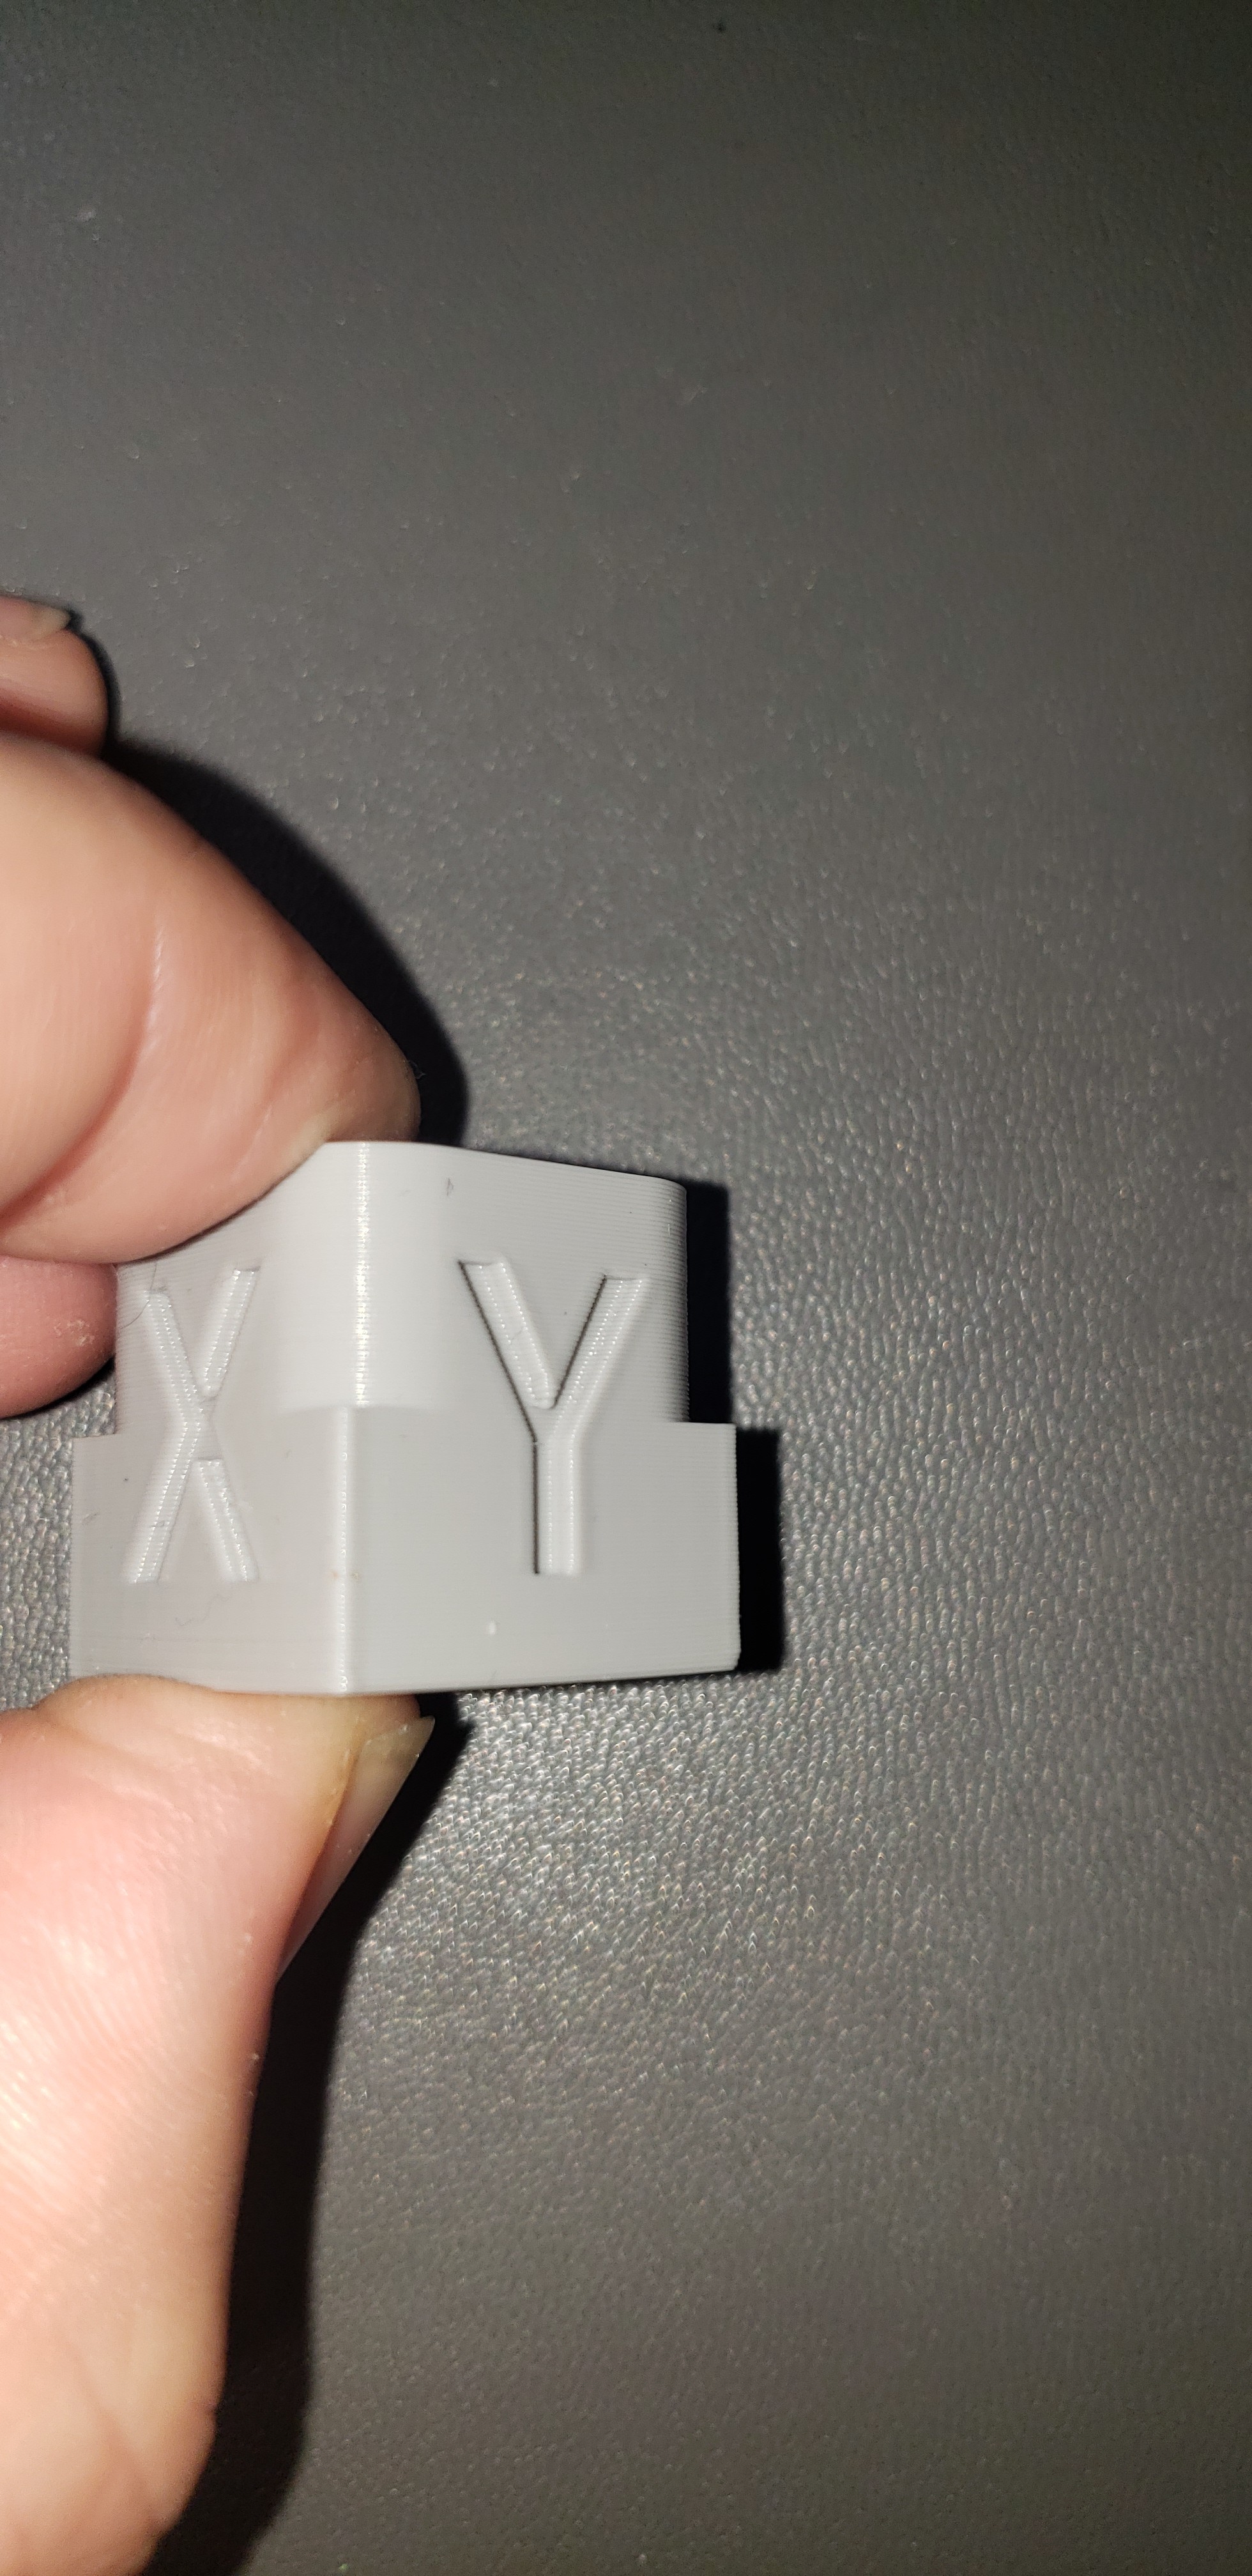

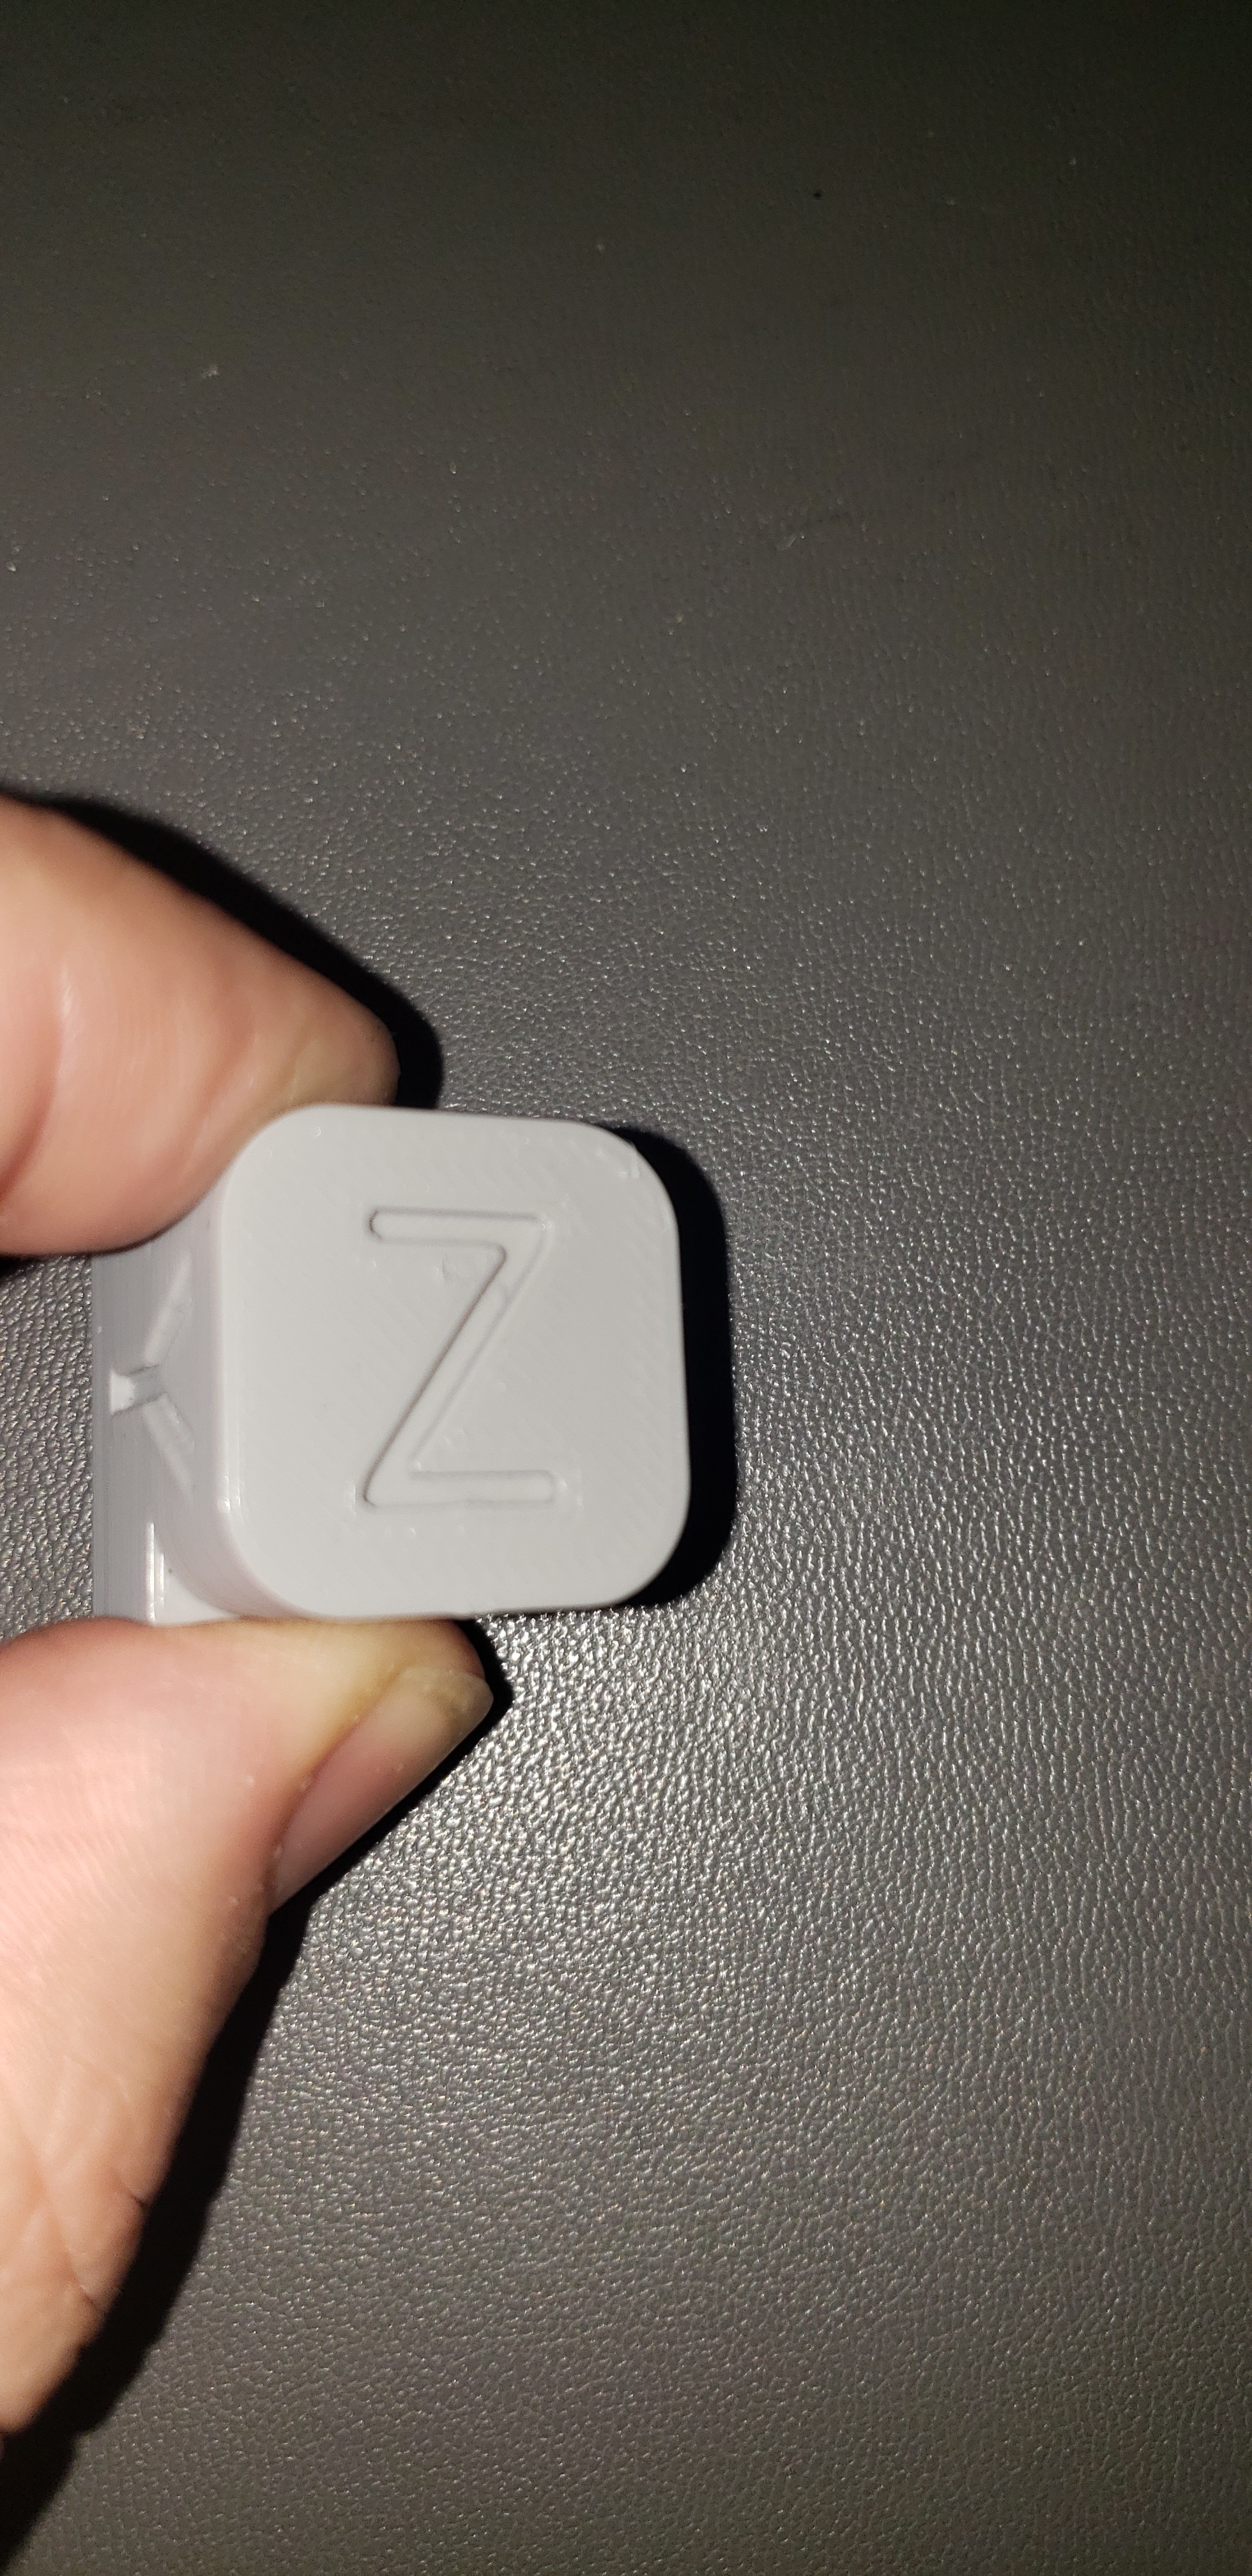
Looks pretty good to me. Let me know if there are some issues I am missing still. I did adjust seam to rear for this print.
X=19.94mm, Y=19.98mm, Z=19.97mm (20x20x20mm cube)
And finally just a test print:


My comments on this is that the print didn’t fail. Looks decent. It does have some slight stringing and some layer inconsistencies. The print is only 50Lx10Wx50H though so it is probably better suited for a .15mm layer height.
I think I can successful print the MPCNC at this point though. I have ordered a 0.6mm nozzle, so I might play around with it some if it comes in before the tubing. I also will do a couple tests at 0.25mm or 0.3mm layer heights with my 0.4mm nozzle to make sure it is dialed it at those layers before printing the components.
That said, I would love to hear if you have any ideas how I can improve my prints, especially pertaining to speed and retraction (and temperature). I know they are all related, but the challenge for me is not knowing which setting to change that has the best chance for improving the quality. For instance, on retraction, there are all these options to choose from and as mentioned above, I would like to be able to reduce stringing further while preventing the layer defects in the external perimeter.
2 Likes
I think it looks great now!!!
70mm/s retraction speed is very fast, if you have a geared extruder make sure that is actually possible. If it is set too high, it will basically just not retract. Although it looks like it is working pretty well.
Thanks.
70mm/s is default for the mini. Granted, I have replaced the stock extruder with a slightly different one. The main difference is the new extruder has teeth on both sides of the filament where the stock one only had teeth on one side and this cause slippage.
How can I tell if I am actually achieving 70mm/s? I know it is retracting as I can see the difference in prints when changing retraction length.
The extruder you bought should have specs for what those settings should be.
You can kinda do dirty figuring by how much the e-steps have changed. If you went up in steps 400s/mm to 800s/mm cut the speed. So in that example it has to move twice as far, so half as fast.
Okay good point. I don’t see any of that information. The specs just showed the gear reduction and what esteps to use.
They both have a 3:1 gear reduction, but the Mini used 325s/mm and the Bondtech uses 415s/mm. So speed should be closer to 55mm/s.
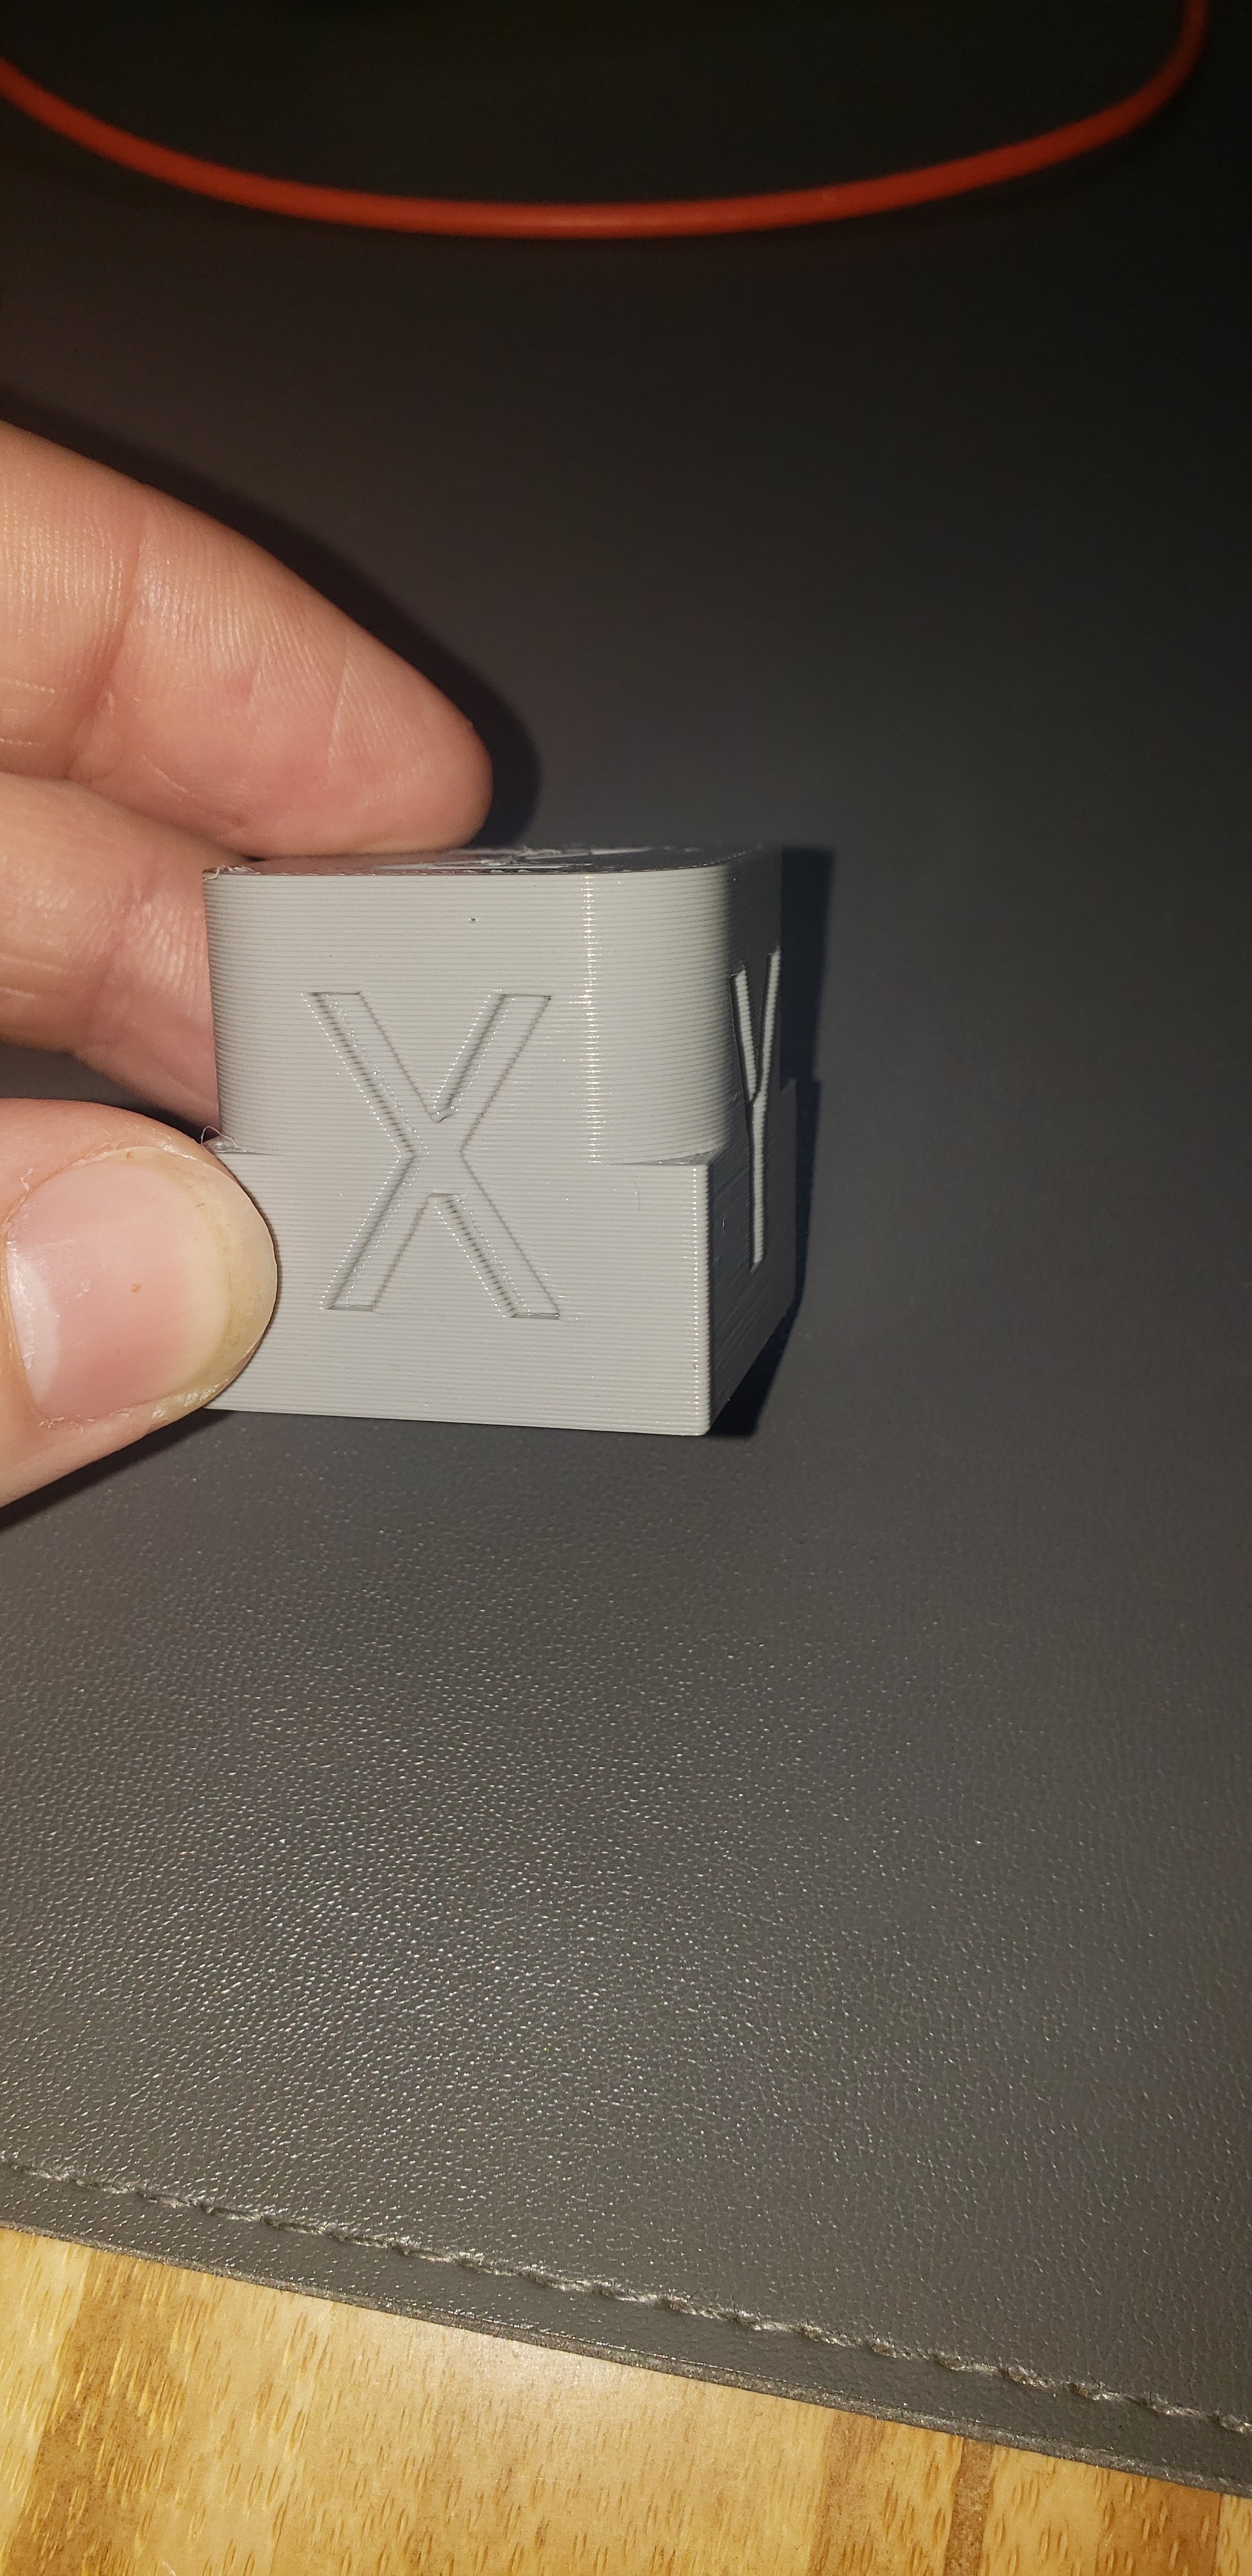
Just an update since my 0.6mm nozzle arrived today.
Pretty standard prusa settings
Nozzle temp :215C
Layer height : 0.3mm
Extrusion width : 0.65mm
Print speed : external perimeters 35mm/s
30x30x30mm cube. Turned out decent for one of the first prints except for a couple little holes in the top layer.

1 Like
Nice work there. The small holes in the the top layer are neglegtable but you can ajust the percentege of top layer and perimeter to completely cover that.
The Z ring effect that you have on your layers… It gets worse as the print gets taller right? Although the mini has a different structure with a single Led screw it’s not imune to z wobling. Actually makes prety Hard to kill that. But it’s more a aestetics problem then a estructural problem so thats ok.
For bed adhesion I always print a brim/skirt of about 5 to 6 perimeter and a distance of 0.4 to 0.5mm. This helps to prevent curling and lifting outer borders from the part specially on thin or places with filetes. My first layer is very slow (tipically at 5 to 10mm/s) to ensure it stocks right. I always clean My glass with a window cleaning product that remove also any fat residue. I don’t use glues or adhesives on the glass. After cleaning NEVER touch the glass with your finger.
For the problem of the sliping fillament… Well as I told you… I bought one bmg clone and went back to my custom design again… Never thought again in swaping the extruder. I have hundreds of hours on this extruder and I probably will never use other besides this one (unless I decide to print flexibles of course). It’s capable of pulling the spool of the support so strenght is not a problem. Here is a picture of it and you can print it and assemble it yourself.

Thanks for all the information!
Are these the parameters you are talking about to adjust the top and bottom layers to prevent gaps (especially when printing fatter layers)? Would you suggest increasing or decreasing them? My intuition says decrease.

I would not say the z-ringing gets worse as the height increases, but rather it is random or inconsistent throughout height. With the mini, I think there maybe several factors contributing to this (especially since I consider what I am seeing now to be minor).
- Z-screw – The z-screw may have some slight debris that is inconsistent. I really should clean it really good. The Z-axis runs on two smooth rods with a floating screw so this should minimize ringing from this; however, if the rods aren’t perfectly parallel, smooth, or straight I imagine it could contribute to this.
- Cantilever X-axis – I really am not a fan of this design. It requires some attention to ensure the X-axis is parallel to the build plate. I think I am really close now, but I don’t have a great way to measure it perfectly. Also, since this is a bowden tube design, I am now wondering if the bowden tube is pulling the x-axis up as it moves further away from the extruder. I need to check into this.
- Extruder and hotend - Obviously, if my extruder is not consistently pushing filament or my hotend is not consistently heating it, this could affect layer volume and cause inconsistency.
Here is a nice write-up I found on Z-ringing if interested.
I have just sliced one of the Primo parts and found some inconsistencies I am not a huge fan of (0.3mm layer height, 0.65mm extrusion width). I believe I can help the top and bottom layers, but what about the areas around holes shown below?


Did you happen to share your extruder design? I would like to take a look at it. With the better prints I am having at the moment, I probably won’t replace mine, but possibly in the future.
No the paramater I’m talking about is just below those

I don’t now exacly your settings but I just set the nozzle diameter. I don’t mess with the extrusion width and let the slicer calc that up. Setting that may cause the extruder to force more fillament to meet the desired width. I actually did not touch any of those.
My layer height is 0.34mm and my first layer height is 0.306mm to press the plastic on the glass without over squashing it and having to do much of after treatment to the part.
Yes I did. Here it is again. This is the NSTT extruder. There are other variations of my desing like the drakon or the piton extruder on Thingiverse. Check them out. It works really well. Also take a look at some of the comments on my design on Thingiverse.
All the possible issues that you might come across are answered there.
1 Like
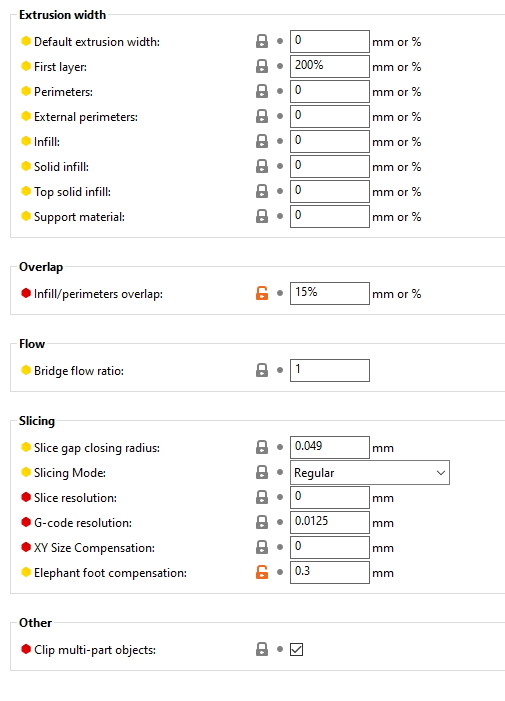
Thanks. I actually ended up changing the infill/perimeters overlap. It was default at 25% and I bumped it slightly to 30%. I didn’t end up adjusting any of the extrusion width options. I notice you have elephant foot compensation on. I actually turned that off due to the parts already being chamfered. We shall see if I regret that.
Did you pick .34mm based on your specific steppers? I have read about selecting layer height based on full steps, but haven’t looked much into it.
Thanks for sharing again. I scanned through the conversation and must of missed it. I will definitely look into it.
Yes I did. All my distances are based on steppers and rods pitch. Just Google for prusa step calculador and you Will find several.
There is an other feature that prusa has that is called ironing. It makes an extra pass with the Hot nozzle over the last layer and extrudes a tiny amount of fillament. It gives a bottom layer “kind of” look. But again. It’s pure astetics.
1 Like
So the saga continues. I do think my extruder is having some issues. I looked at @Paciente8159 NSST design as well as the Piton and Drakon. They all look like an improvement; however, I think they will require some significant modifications to mount to the Prusa Mini.
I also think there is something strange with my E3D V6 full metal hotend. I push the PTFE tube fully into the hotend and have the genuine E3D nozzle installed, but their seems to be a step between the two. When I push filament through the tube into the nozzle it is catching at first and requires a little persuasion for it to go down into the nozzle. I am not sure if this is normal or how to fix it as none of these components are printed parts and the E3D V6 is one piece.
I have printed about half the MPCNC parts when I started having issues again. Z-banding progressively worsened and then I was having some top and bottom layer extrusion issues. The extruder is likely the culprit, but the hotend issues is concerning as well. I will have to find an extruder mod that works with the mini and get my printer back to working condition before I can print the mods…
1 Like
Not really…you just need to redesign one part. It’s the NSTT_stepper_base_adapter.stl. A Sketchup file of this part is available on the NSTT thingiverse page. This part sits between the motor and the printed geared extruder. it can be modified to be mounted in many configurations (including for use with a nema 14 stepper for example). In your case a side wall to allow the motor and geared extruder to be mounted in a 90deg angle (sideways) should do the trick.
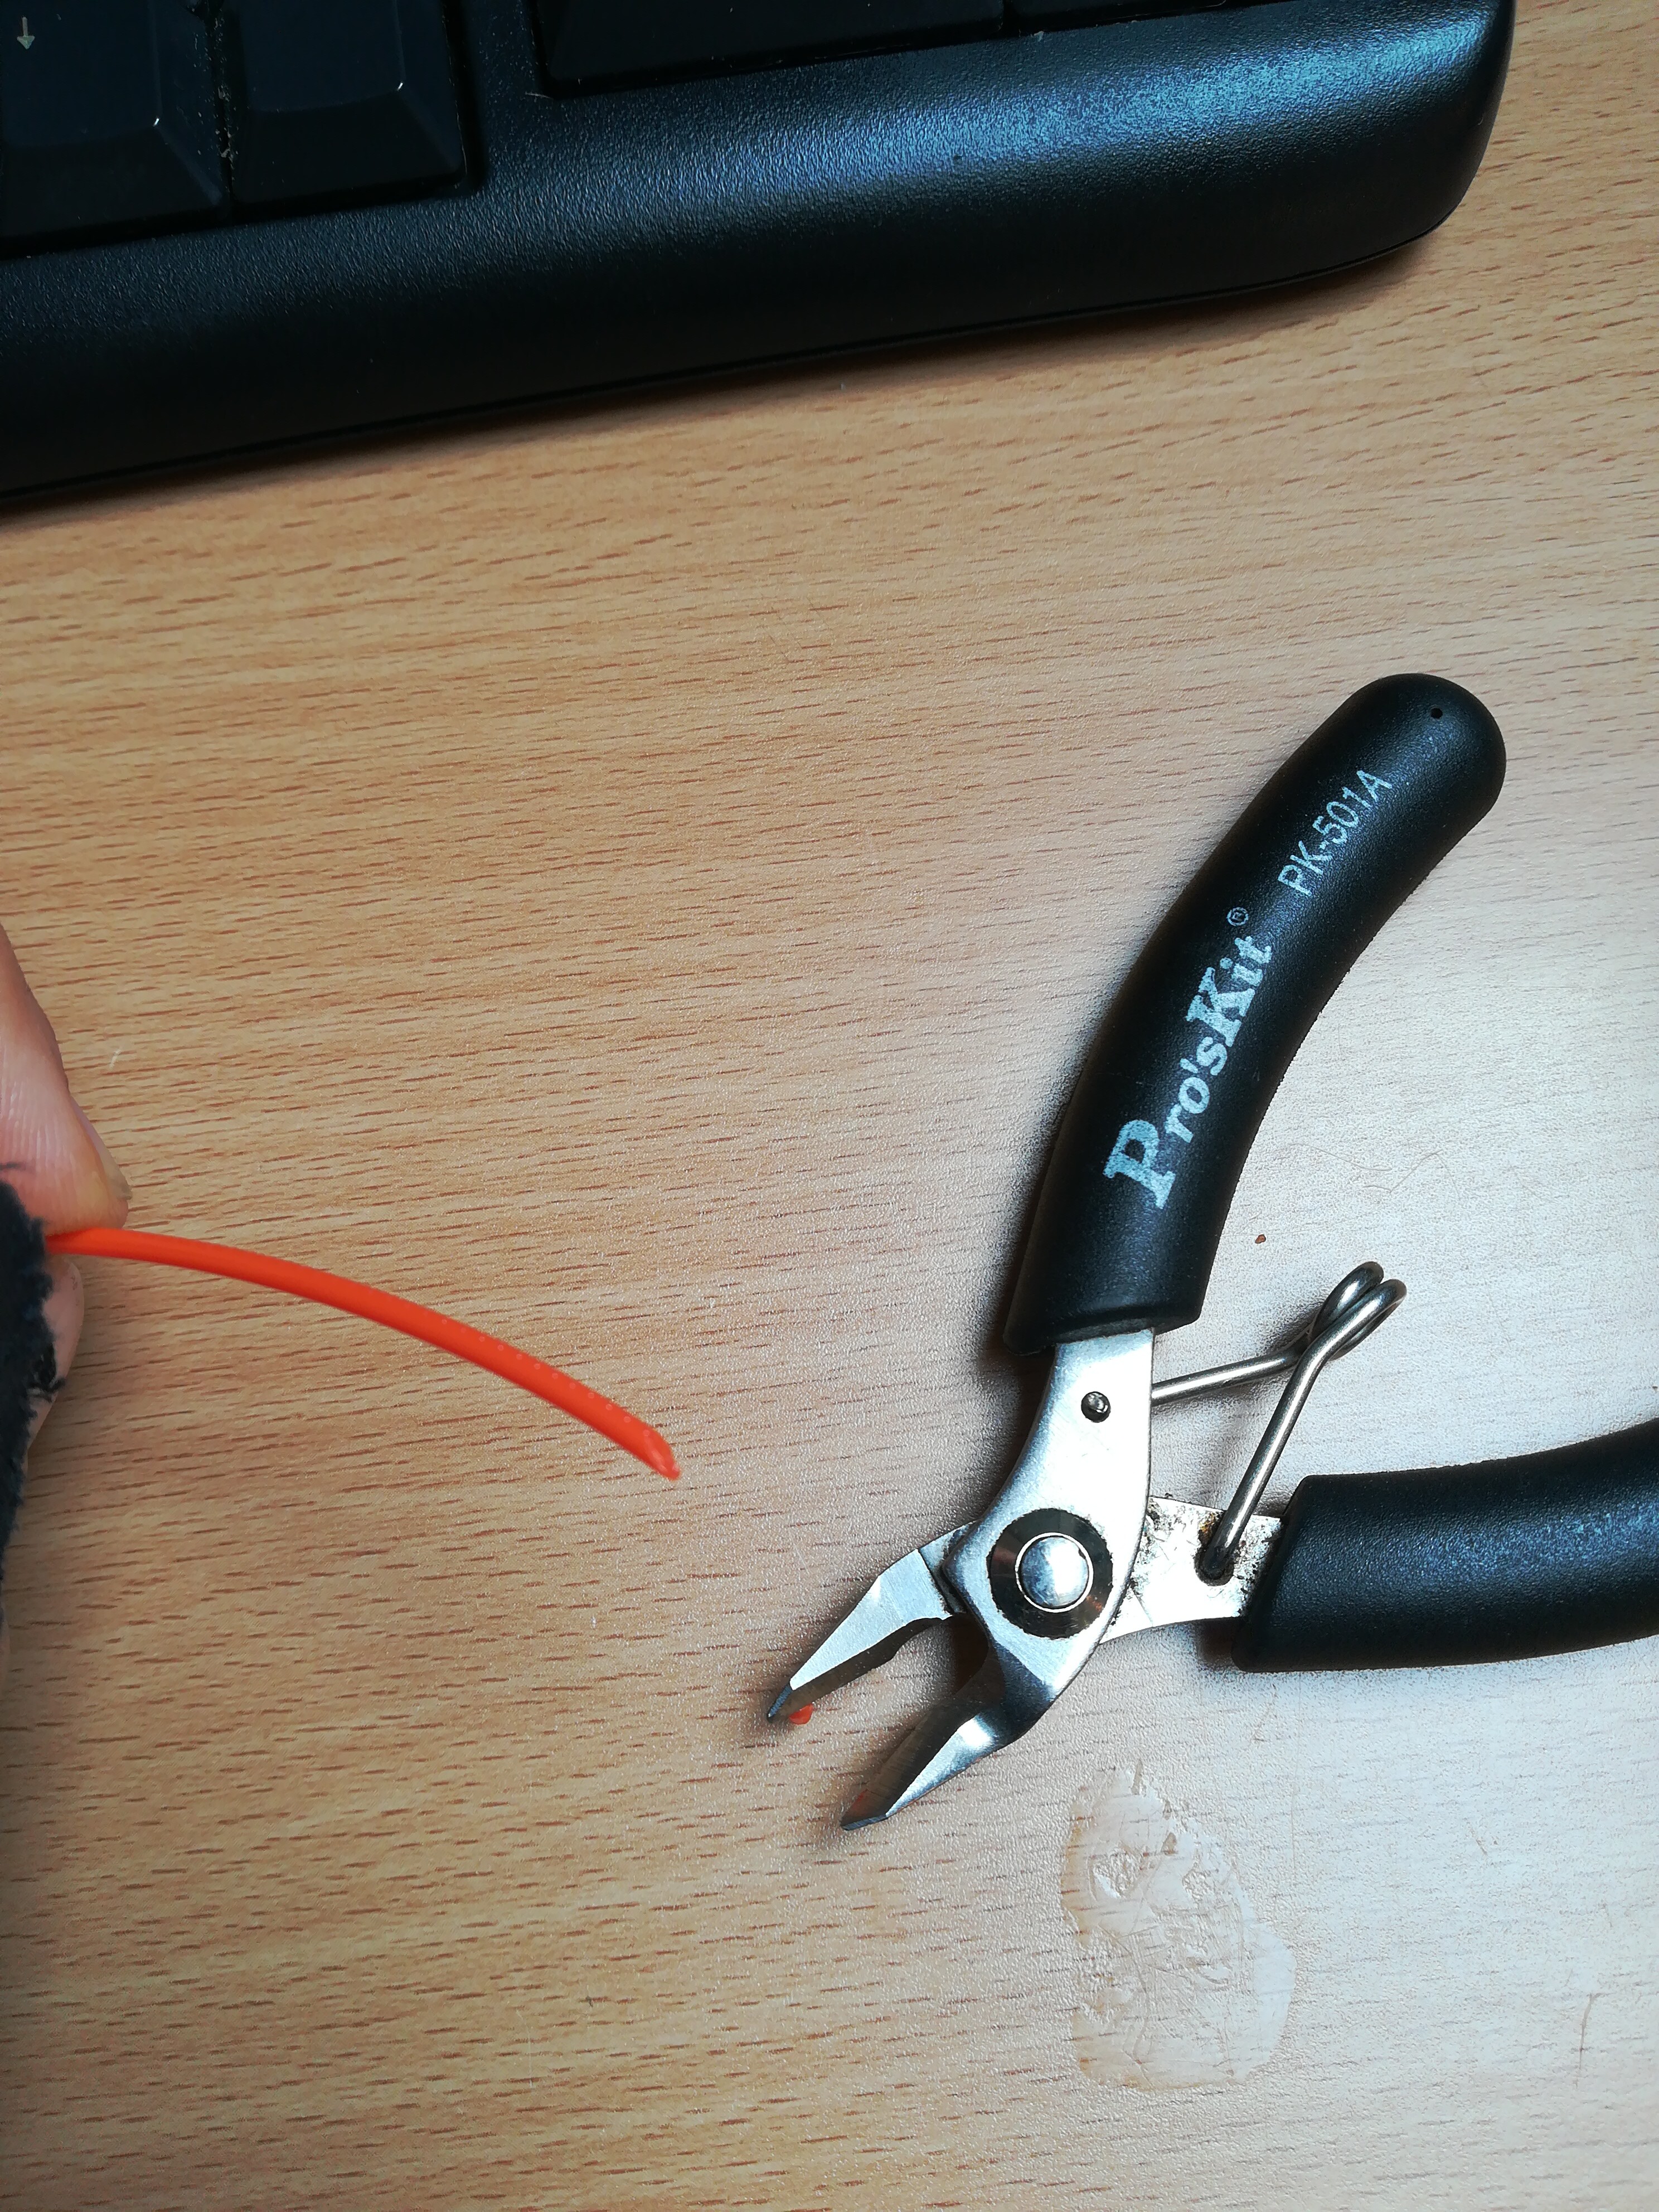
This happens also on my E3D clone. To minimize this I always clip the tip of the filament in a 45deg angle like this:
Also do some cold pulls should unclog your nozzle. I actually have that programed in the end code of my slicer. Cool the extruder to about 100º and retract the filament slowly after the print is done. This does the job for you. ![]()
1 Like
Thanks. At first I was thinking the Z-axis bearing mount was part of the Prusa extruder setup. I am not sure why I thought this. You are right. It should be a simple modification. I will look at it in more detail when I get some time to mess around in F360.
Not that anyone cares, but for completeness of this thread, I went ahead and disassembled my extruder. One of the plastic holders for a bearing had failed and was allowing the bearing to wobble. (I guess that is the quality that should be expected from a knock-off of a knock-off haha). Anyways, luckily I kept my stock extruder so I fiddled around with it, cleaned it up and installed it. Everything seems to be working good now and most of the Z-banding is gone. Hopefully I can get through all the MPCNC parts now before I need to do any printer modifications.
Turns out my nozzle wasn’t clogged, that step was just concerning as I was trying to troubleshoot. Like you said, once the filament is installed it shouldn’t be an issue as the retraction length isn’t near long enough to pull past this location. I am curious of your cold pull though. Are you meaning to say you unload your filament after every print? Otherwise, I am not sure how the cold pull works if you are not clipping off the end afterwards.
So first the cold pull. It’s really easy to do with PLA and almost 90% of the times fixes my clogged nozzle. The manual way to do this is:
- Heat up your nozzle to the PLA printing temp
- Insert a piece filament in to the hot zone by hand
- Set the nozzle temp to about 100ºC. While it reaches that temp, every once in a while feed a bit more of filament by hand.
- When the nozzle it’s 100ºC start pulling the filament out very slowly. The filament will be soft and elastic. You will feel resistance. To pull too hard or it will break at a thinner section. Just keep pulling it slowly out.
If you do this well enough even the plastic inside the 0.4/0.6mm exit will be pulled off.
Sometimes to clean the outside of the nozzle and heating block I do the same. Heat up. stick a piece of filament and set it to 100% and slowly pull it off. It cleans leaves the heat block clean and shinny. No metal brush needed.
Now about your question… Yes. Usually when a finish a print I unload the filament. Since the nozzle is already heated and the filament is there I just make the printer do the cleaning in the end for me.
I set the exit code of the slicer to print something like this:
;set extruder to 100ºC and wait
M109 S100
;zero the extruder position
G92 E0
;retract 300mm in 1 min
G01 E-300 F300
; turn off extruder
M104 S0
I then remove the filament from the bowden completly and clip of the waste.
1 Like