Thanks for chiming in! Your instructable is really impressive. Thorough and covers all sides to the process.
You are right that the 45 degree taper may limit some details. It’s also quite close call with the collet nut. I’m going to let the v bit drop a little before I tighten it, so that I have a little more room to play with. I have some flat 30degree v bits, but they are very short and would make it difficult to get proper clearance from the collet nut.
I actually ended up with this spesific mountain(Tromsdalstinden) because it didn’t have any areas that were too tight or steep.
The ball end end mills are obviously the best option for finishing, but I really want those crisp details in the mountain. You can see the small crevices and patches of snow. The Norwegian geodata is amazing, down to 1m resolution and even less. You can easily point out boulders in the terrain. The DOMs are even more impressive, showing building details and trees. They are too cluttered for mountain carvings though.
Dom Riccobenes mountain carvings are my number one inspiration for this project. They are so crisp! I wonder what kind of finishing tool he uses?
Genmitsu 4pcs 2-Flute Tapered Ball Nose End Mills Tungsten Carbide Cutter with Nano Blue Coat, R0.25-1.0, 1/8” Shank, TB04A
On Amazon, set of 4 sizes
Inexpensive, but not cheap. Durable oxide coated carbide. The sharpest one (0.5mm diam ball) could reveal all those Norwegian boulders, but then you need a really fine stepover not to have raster lines. Very lengthy finishing passes.
My first mountain! Instead of carving larger areas, I wanted to carve a mountain, trying to get it as detailed as possible. The mountain is not one of those alpine pikes, but a rather “soft” mountain that is famous in Tromsø, Tromsdalstinden. Steeper mountains wouldn’t work with my setup. This 11x11x4cm carve took four hours. Not too bad, if you ask me. It was actually super nice to spend so much time in my little shed, now it’s more tidy than in years!
The carve had quite a lot of “fuzz”, mostly because of the basswood. Stepover was 3% (estlcam wise) Regular 1/8" single flute for roughing and 45 degrees vbit for finishing. The nut and the rest of the z-axis was just a feew milimetres away from the piece. I didn’t foolproof this aspect, but did some eyeballing from the try-piece and when switching to the v bit.
Perhaps I should look into some longer mills, so that I can carve steeper terrain?
That is perfect. So much detail! Try a harder wood next time - much less fuzz to remove. I like bamboo and maple these days.
Is that the actual Z scale? In addition to using a longer bit to carve steeper terrain, you can alter the aspect ratio to make it less steep.
Thanks!
Originally I was thinking that I should increase Z to improve the visual aspect. But when I started working on specific mountains and mountain regions I soon realized that original z is best for accurate representation! (and tool clearance, as I’ve learned now) Here is the actual mountain:
Good idea to actually DECREASE z. Kinda of counter intuitive, but if the mountains are too steep, it might not show much.
Do you have an idea on how to quickly measure angles in the landscape? I’ve tried importing to Tinkercad and adjusting a block to find the different angles, but it seems kinda cumbersome…
My plan was actually to use maple! But there was a confusion with my friend who had the wood, he was thinking lønn (maple), but mixed up and gave me lind (basswood). Not a major mistake, it was a good first run - and it would’ve been annoying to ruin nice maple. I have plenty of ash, which I like very much, but I’m afraid that the pores in the ash wood would be too visible.
Ash is so beautiful, but yeah, the pores might work against you. Maple is great also. I was thinking about carving a T-Rex tooth in maple for my son, but it takes a few hours.
Another very fine grained wood is Jelutong. I have a plank of it that I have been holding on to for over 40 years! It used to be commonly used for pattern maker work.
It’s a beautiful timber to carve - some use it as a pattern making timber. It’s close to 50 years since I used any and I recall I was shaping something for a boat but I can’t remember what it was, although I did make a couple of toys from the offcuts.
I have some poplar wood from old big trees that have been standing in the city center, around the city cathedral. If I made the Tromsø-mountain with this wood, I’m quite certain that people would find it very appealing.
But how does poplar mill? It’s VEERY soft and fast grown. But I can’t not try it out!
Jelutong seems nice, but not exactly shelf products…
I use poplar for many projects. It seems.to mill nicely, not as fuzzy as pine. Its close-grained, so detail is decent, but a little too soft if it’s going to come.in.contact with stuff. My first arcade.PC box was made.with 1/8" poplar, and lasted several years. It was only retired when my CNC made a nicer box possible.
Another nice wood that would have great affectional value is actually birch. It’s the most common tree here, together with spruce and pine. But it’s difficult to find proper birch for woodworking, the firewood you usually get is dried quickly with alot of cracks. The “wild grown” birch is also very twisted and full of inner tension. I guess it should be possible to find birch meant for woodworking, but then it’s probably from the baltics and that kinda defeats the purpose. I sense a new rabbit hole: “felling and drying birch for your own woodworking projects”.
I’ll check it out and let your hear how it behaves when milling terrains!
I can get multiplex as poplar (cheapest), fir, beech or birch. Poplar is by far the easiest to cut, it can easily be cut with very thing endmills because it is really, really soft. So if you do that, I’d paint it with at least 259025 coats of paint or epoxy it in.
I hear you on the gloss - my go-to finish for timber seems to cycle every few years any one of these will work for you.
Currently my favourite general purpose is wipe-on polyurethene, which I’m pretty sure is just another version of Danish oil (tung oil plus mineral turpentine plus polyurethene.
I used matt lacquer sprayed for years as well and sometimes just a sanding sealer.
My “trade secret” for all clear wood finishes, is to fine sand the penultimate coat with 000 or 0000 grade steel wool (yes, I keep it in a sealed jar because it rusts! ) the use a heavy furniture wax coat or two, buffed to a high sheen.
With your terrain model my suggestion would be to buy a coloured furniture wax (normal wax with a dark colour in it), seal it with sanding sealer, then one or two layers of wax hand buffed. This will give the high spots a sheen, and the lower spots will be slightly darker and quite dull which will make the terrain really pop. (maybe you can tell I like what you are doing and am watching with interest ! )
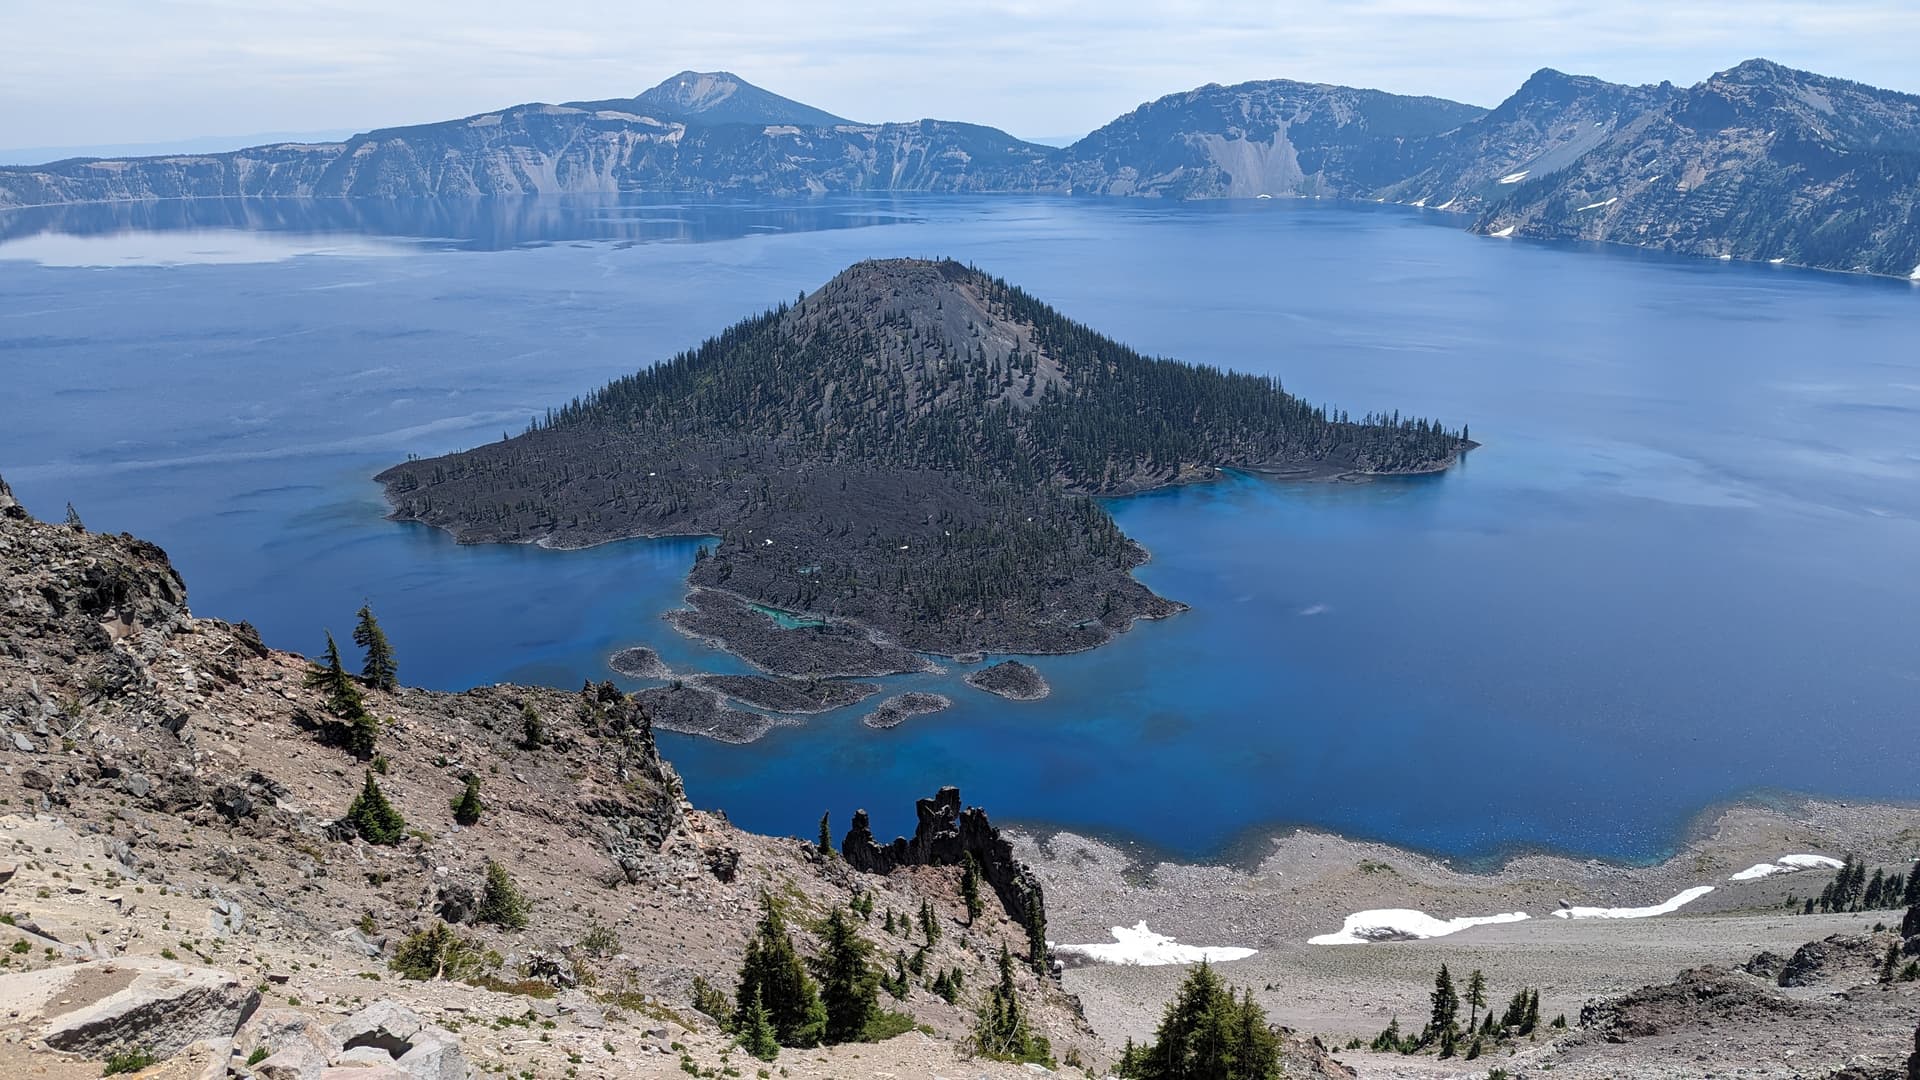
We just got back from a Pacific Northwest vacation and we visited Crater Lake National park and I could not help but want to have a tiny carving of it. It is the deepest lake in the US and it would be cool to have a topo map showing the bottom and the waterline.