Primo Upgrade Log in Maryland

Stainless in the house! Let’s see how much trouble it is for me to work with this steel.

2 Likes

Test fitting the legs. I remember having this issue with Burley where I felt that the fit was just a little looser than I would have liked. With the Burley I ended up adding a layer of electrical tape to help snug up the legs and I think I’ll be doing the same with the stainless.

I had the reverse issue on both of my machines.

1 Like

Yikes, sounds a lot worse then my “problem”

Nah. The pipes were a little tight, but plenty useable.

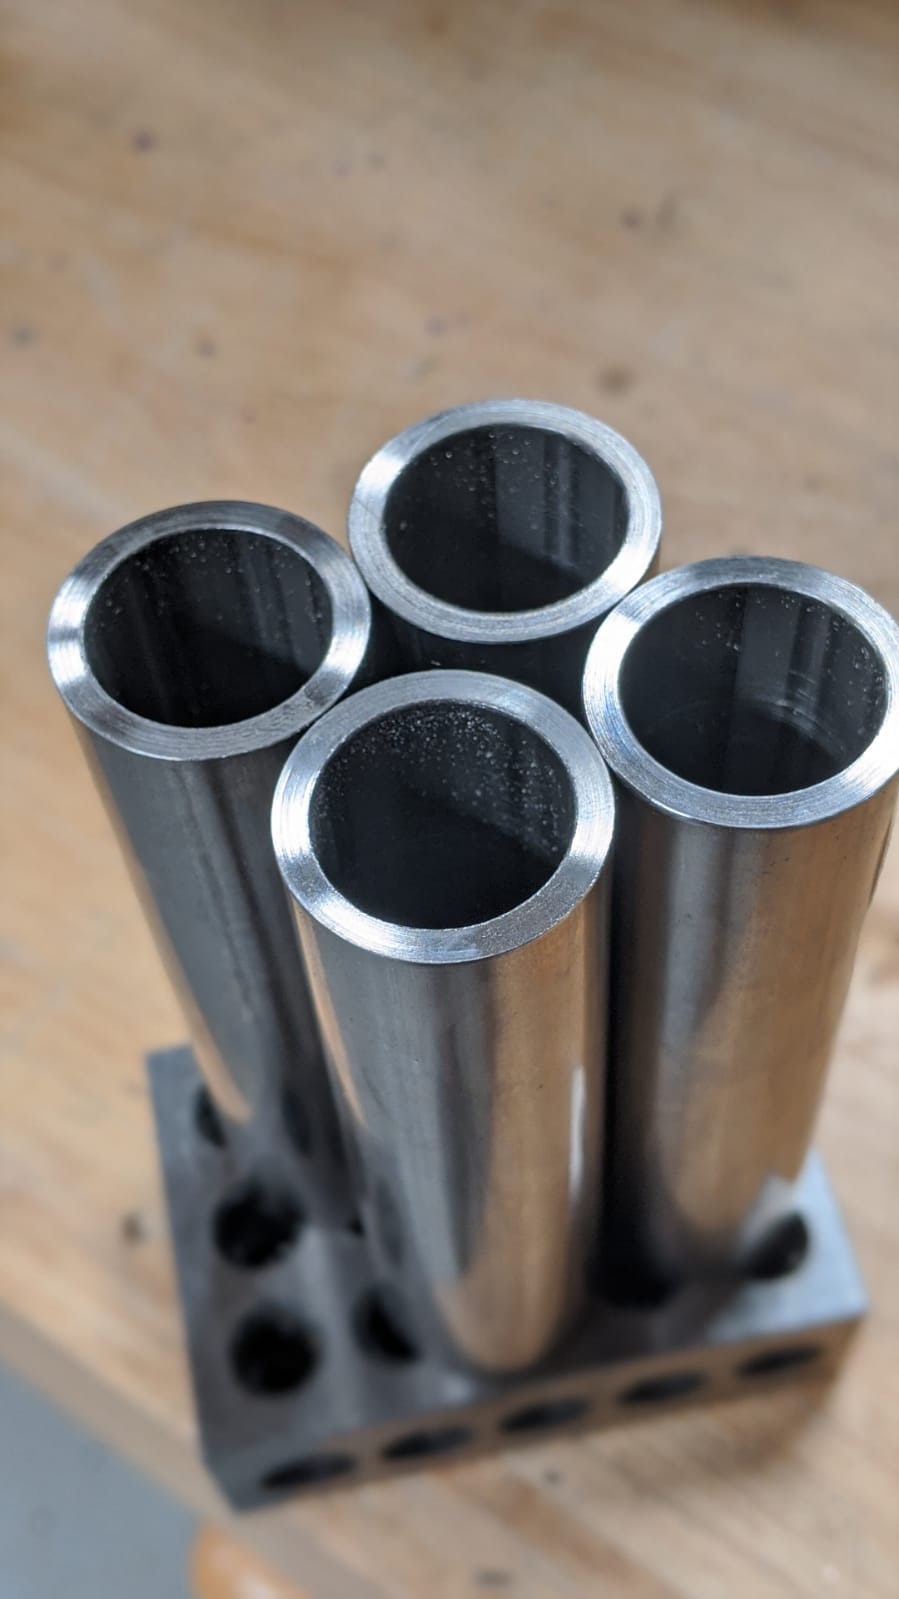
Here is something a builder should consider if you’re using stainless 0.065 tube: cutting the legs to an equal height.

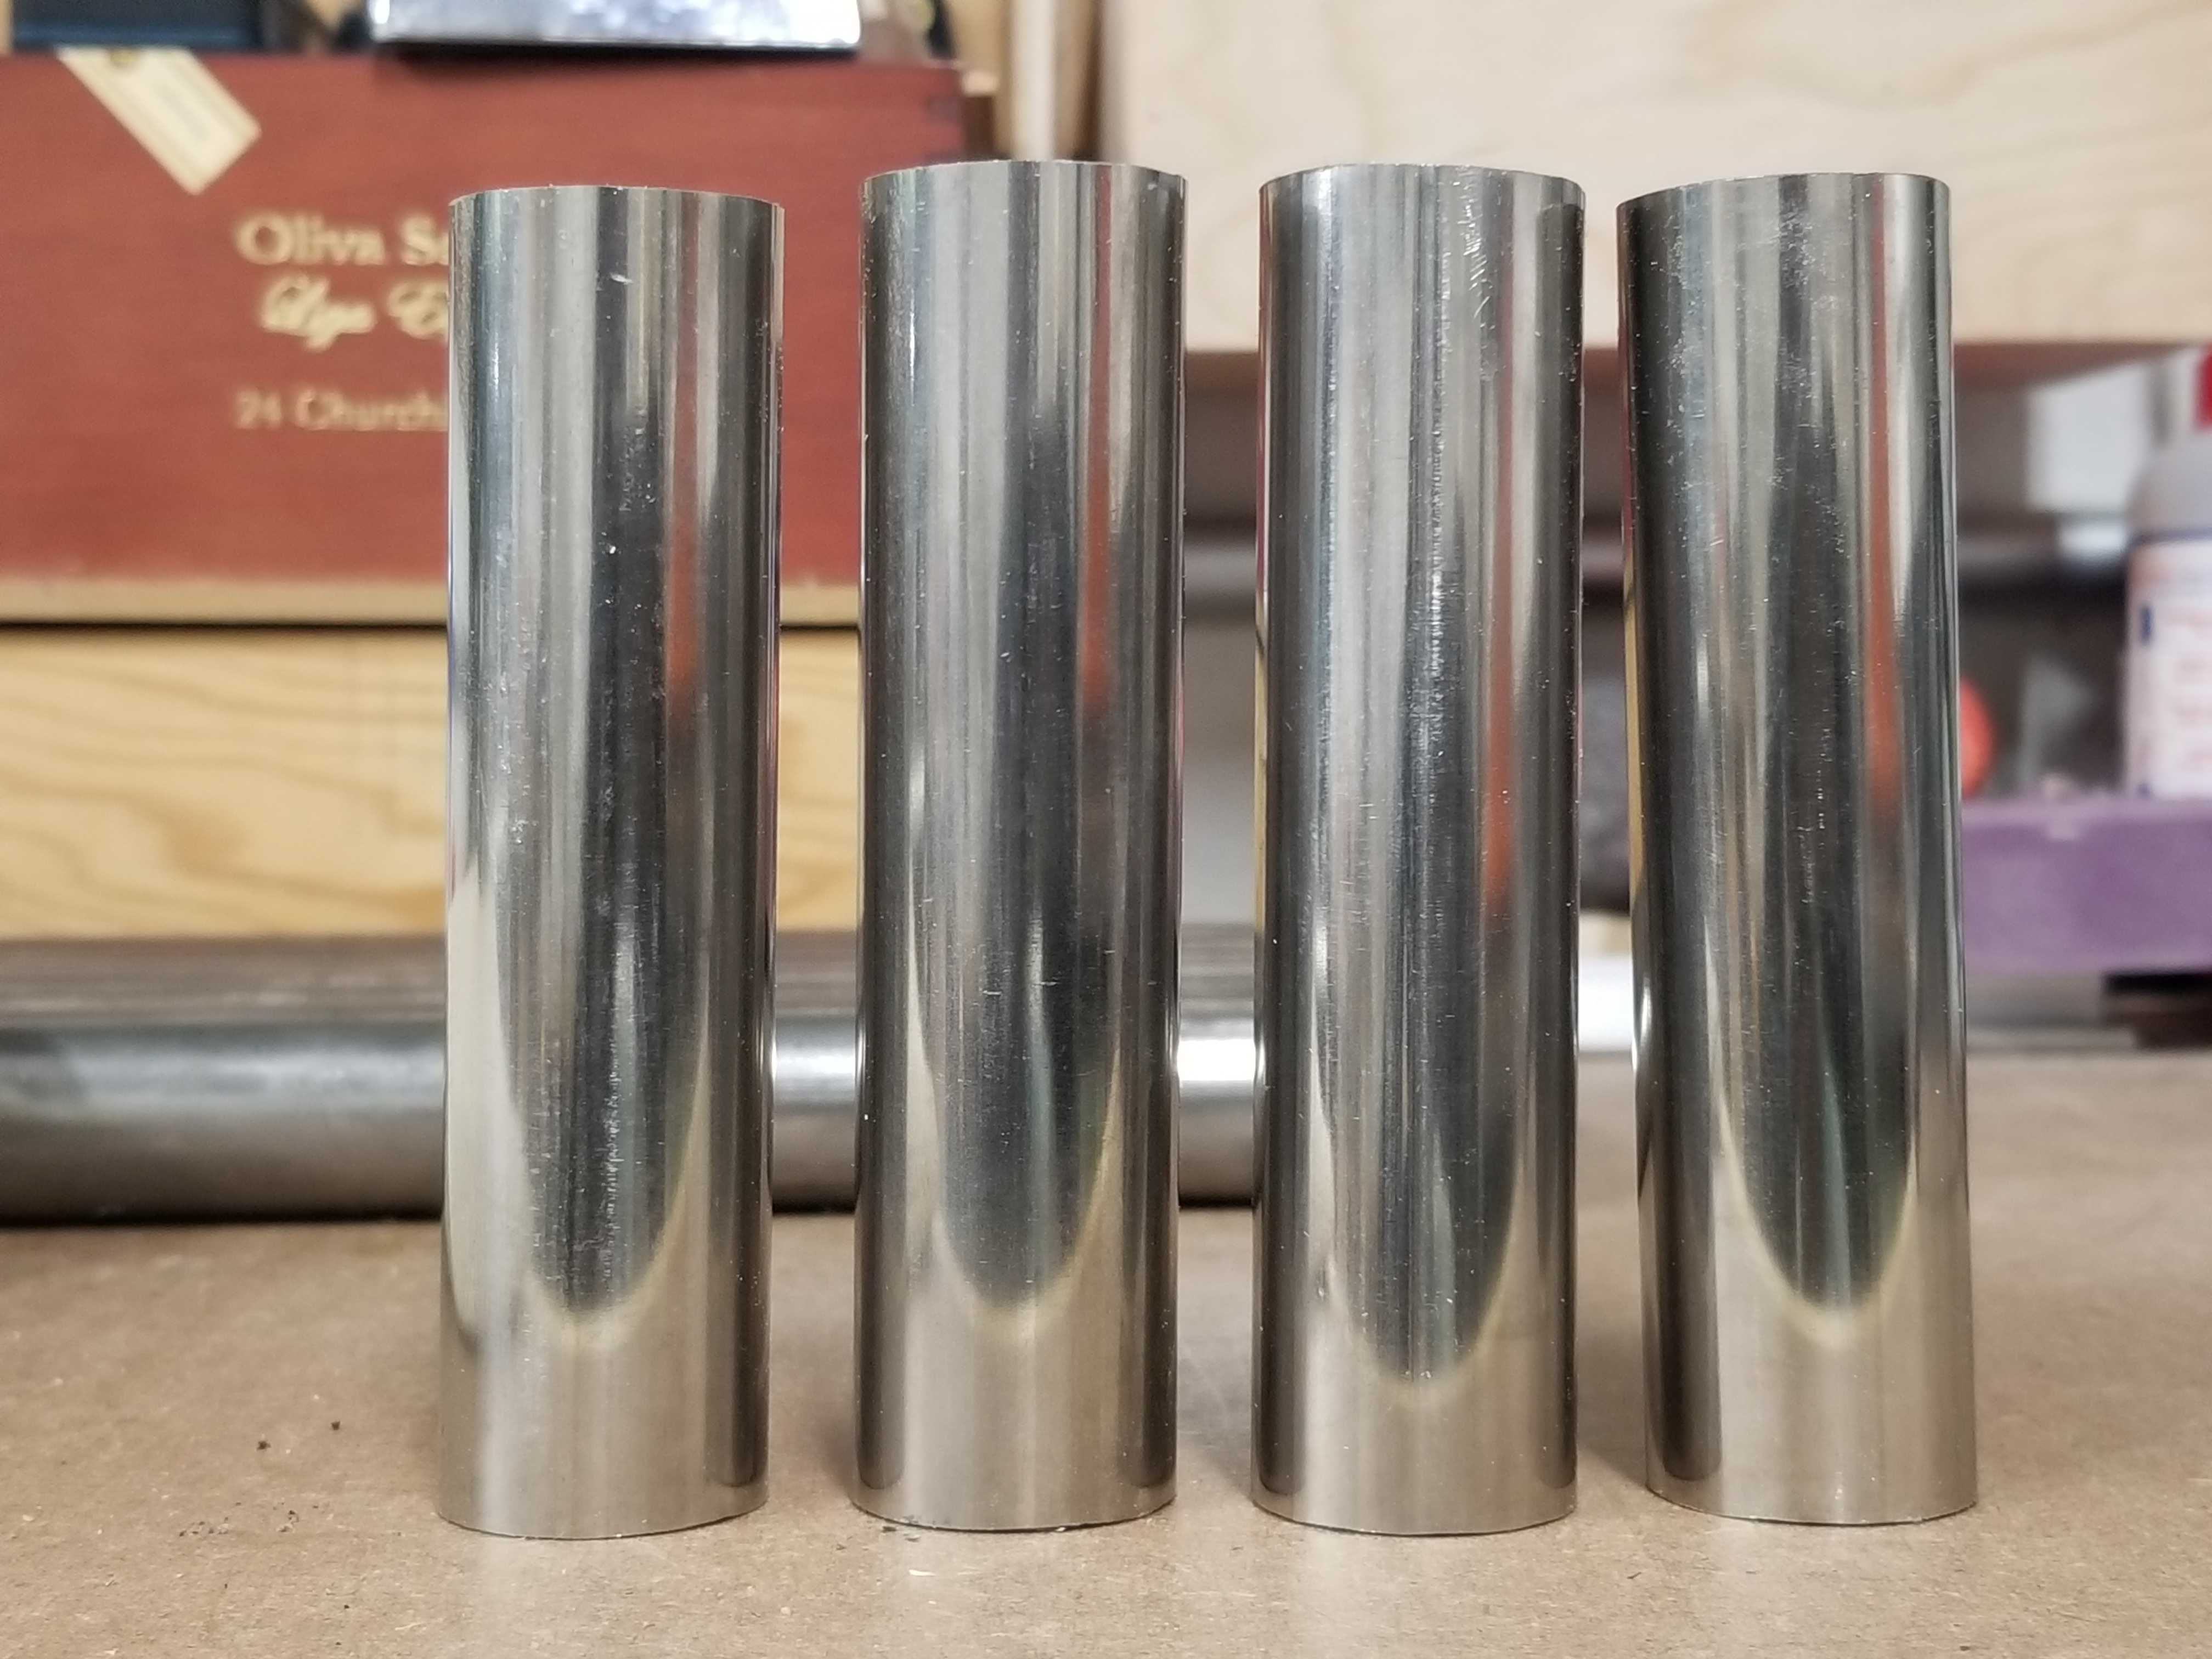
This is how it came from Metal Supermarkets

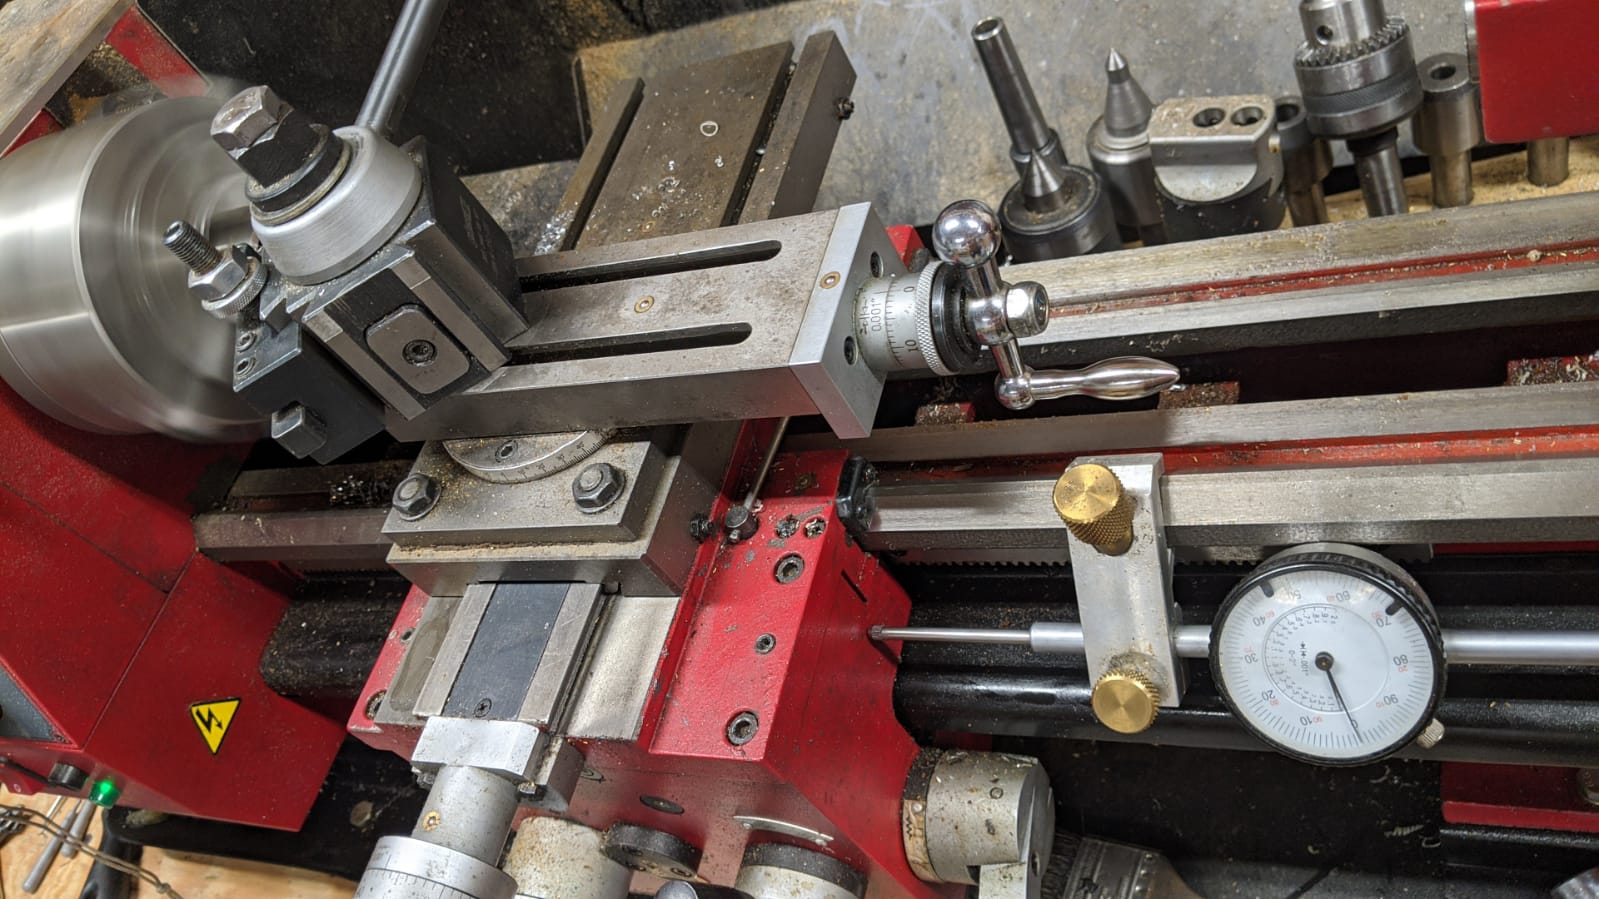
Be prepared to cut these precisely. I own a hacksaw, grinder with cutting wheel, and I was considering getting a portabandsaw as an excuse. But all of these options do not inspire confidence that I’ll have a 4 equal legs. Lucky for me a good friend offered to square the faces and cut them to size for me on his lathe. This is the most important thing to get right otherwise you’ll be shimming to get a level bed. Thanks again FP!

2 Likes

Not sure if this would work on stainless, but I used my 9" disk sander with 60 grit to even up my pipes.

That is way way to far off. There is supposed to be a fairly large gap there. Your printer is doing some wonky things. Would you like a couple suggestions for calibration prints?

I like to think I have a fairly well calibrated machine but it never hurts to audit I suppose. Anything other than a calibration cube, what do you suggest? Either way, I’ll snug it with electrical tape as I did in my first build. And as far as I can tell, everything else prints and fits fine, for example the z gantry connectors fit just fine.

20200711_115755_1

How is tape going to help the Z axis rails and gantry rails?

I suggest at least printing a 100 or 200mm square and checking each side and the diagonals. Bare minimum.

https://www.prusaprinters.org/prints/30279-buildplate-level-test-print-150mmx150mm

Even better, I will try to add more test parts as I think of them.

https://forum.v1e.com/t/printer-tests-and-calibration/19173/2

Well the z axis rails are nice and tight with about 1.5mm space. I don’t know why my feet have this problem but everything else fits nice.

2 Likes

As I am disassembling Burly I just have one thing to say:

The number of loose screws is too damn high!

Loctite this time?

1 Like

Never understood why he always wears gloves.

Very cool build so far! I’ve just got a sorta unrelated question - How has the Makita router been? I’m personally leaning towards getting that for my soon to be Primo.

So far so good. If you’re like me and this is your first cnc, you have to worry more about your gcode more than you worry about the router. I went with it because I like the color :sweat_smile:

Haha true that! It’s gonna be a fun learning experience!
Got any good sources on 1/4 end mills?

I picked up a diablo 1/4” shank up it but at Home Depot. It was a bit pricey, but it can tear through the wood when I need it to.