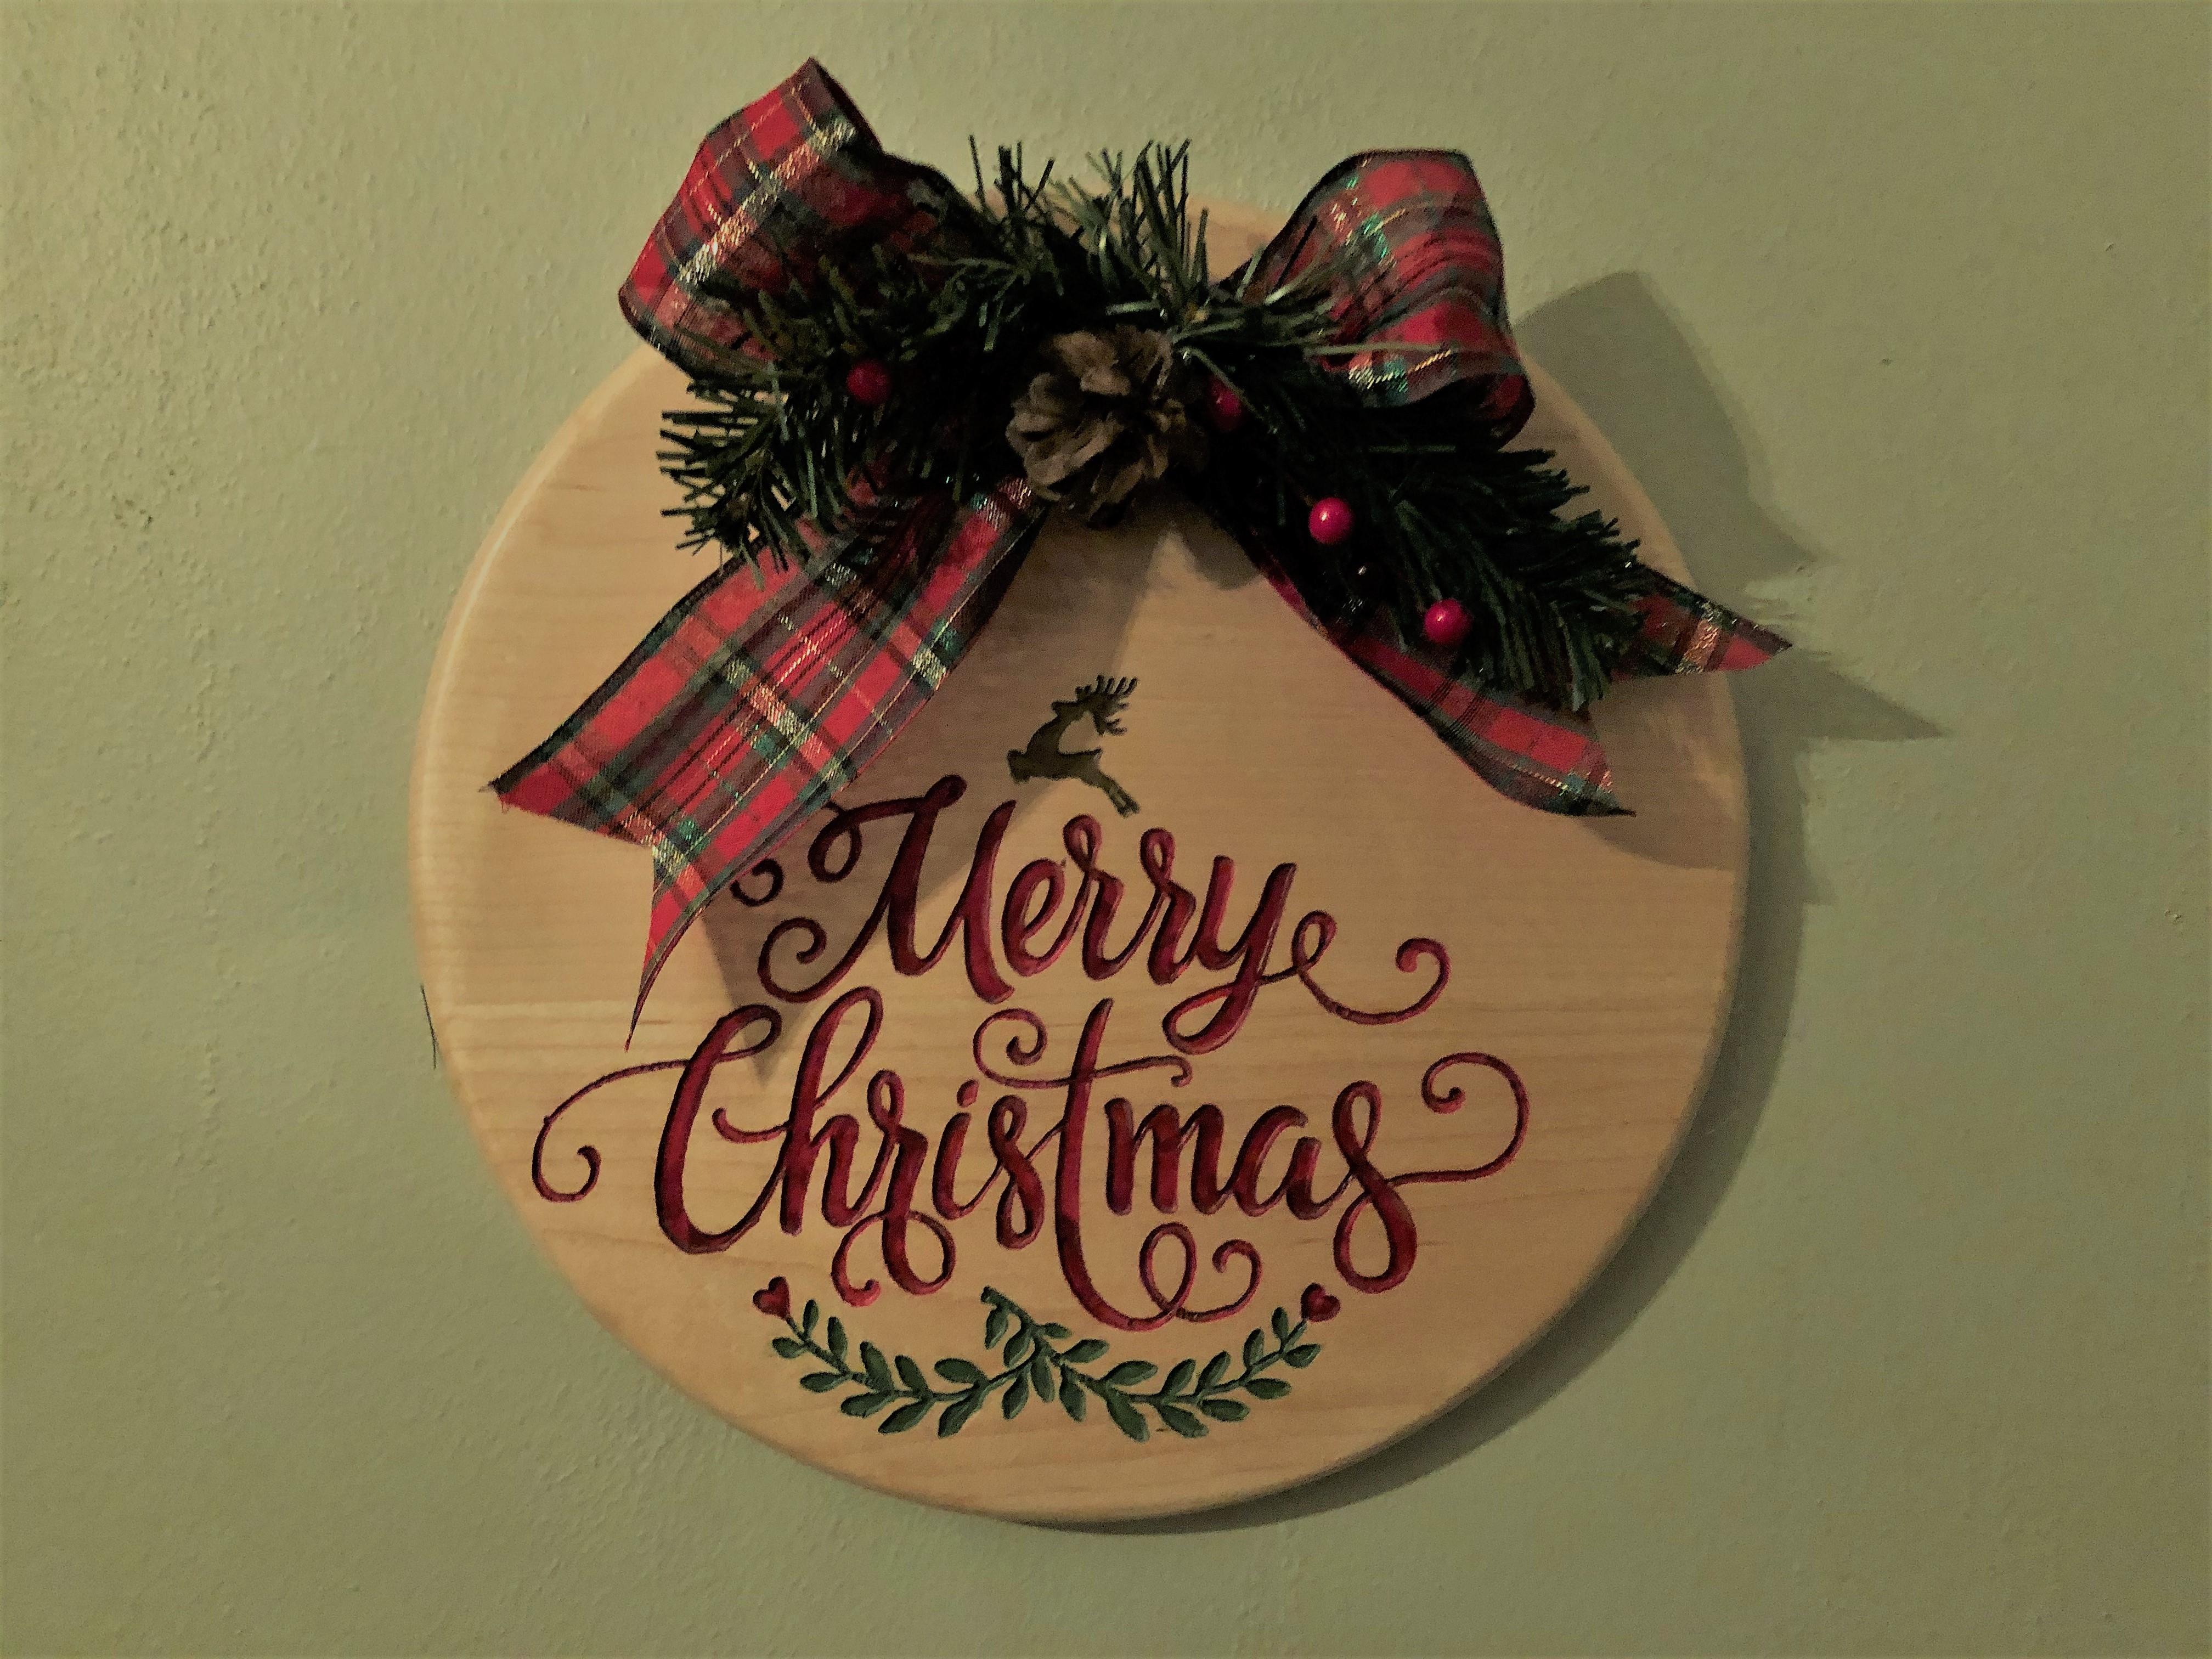
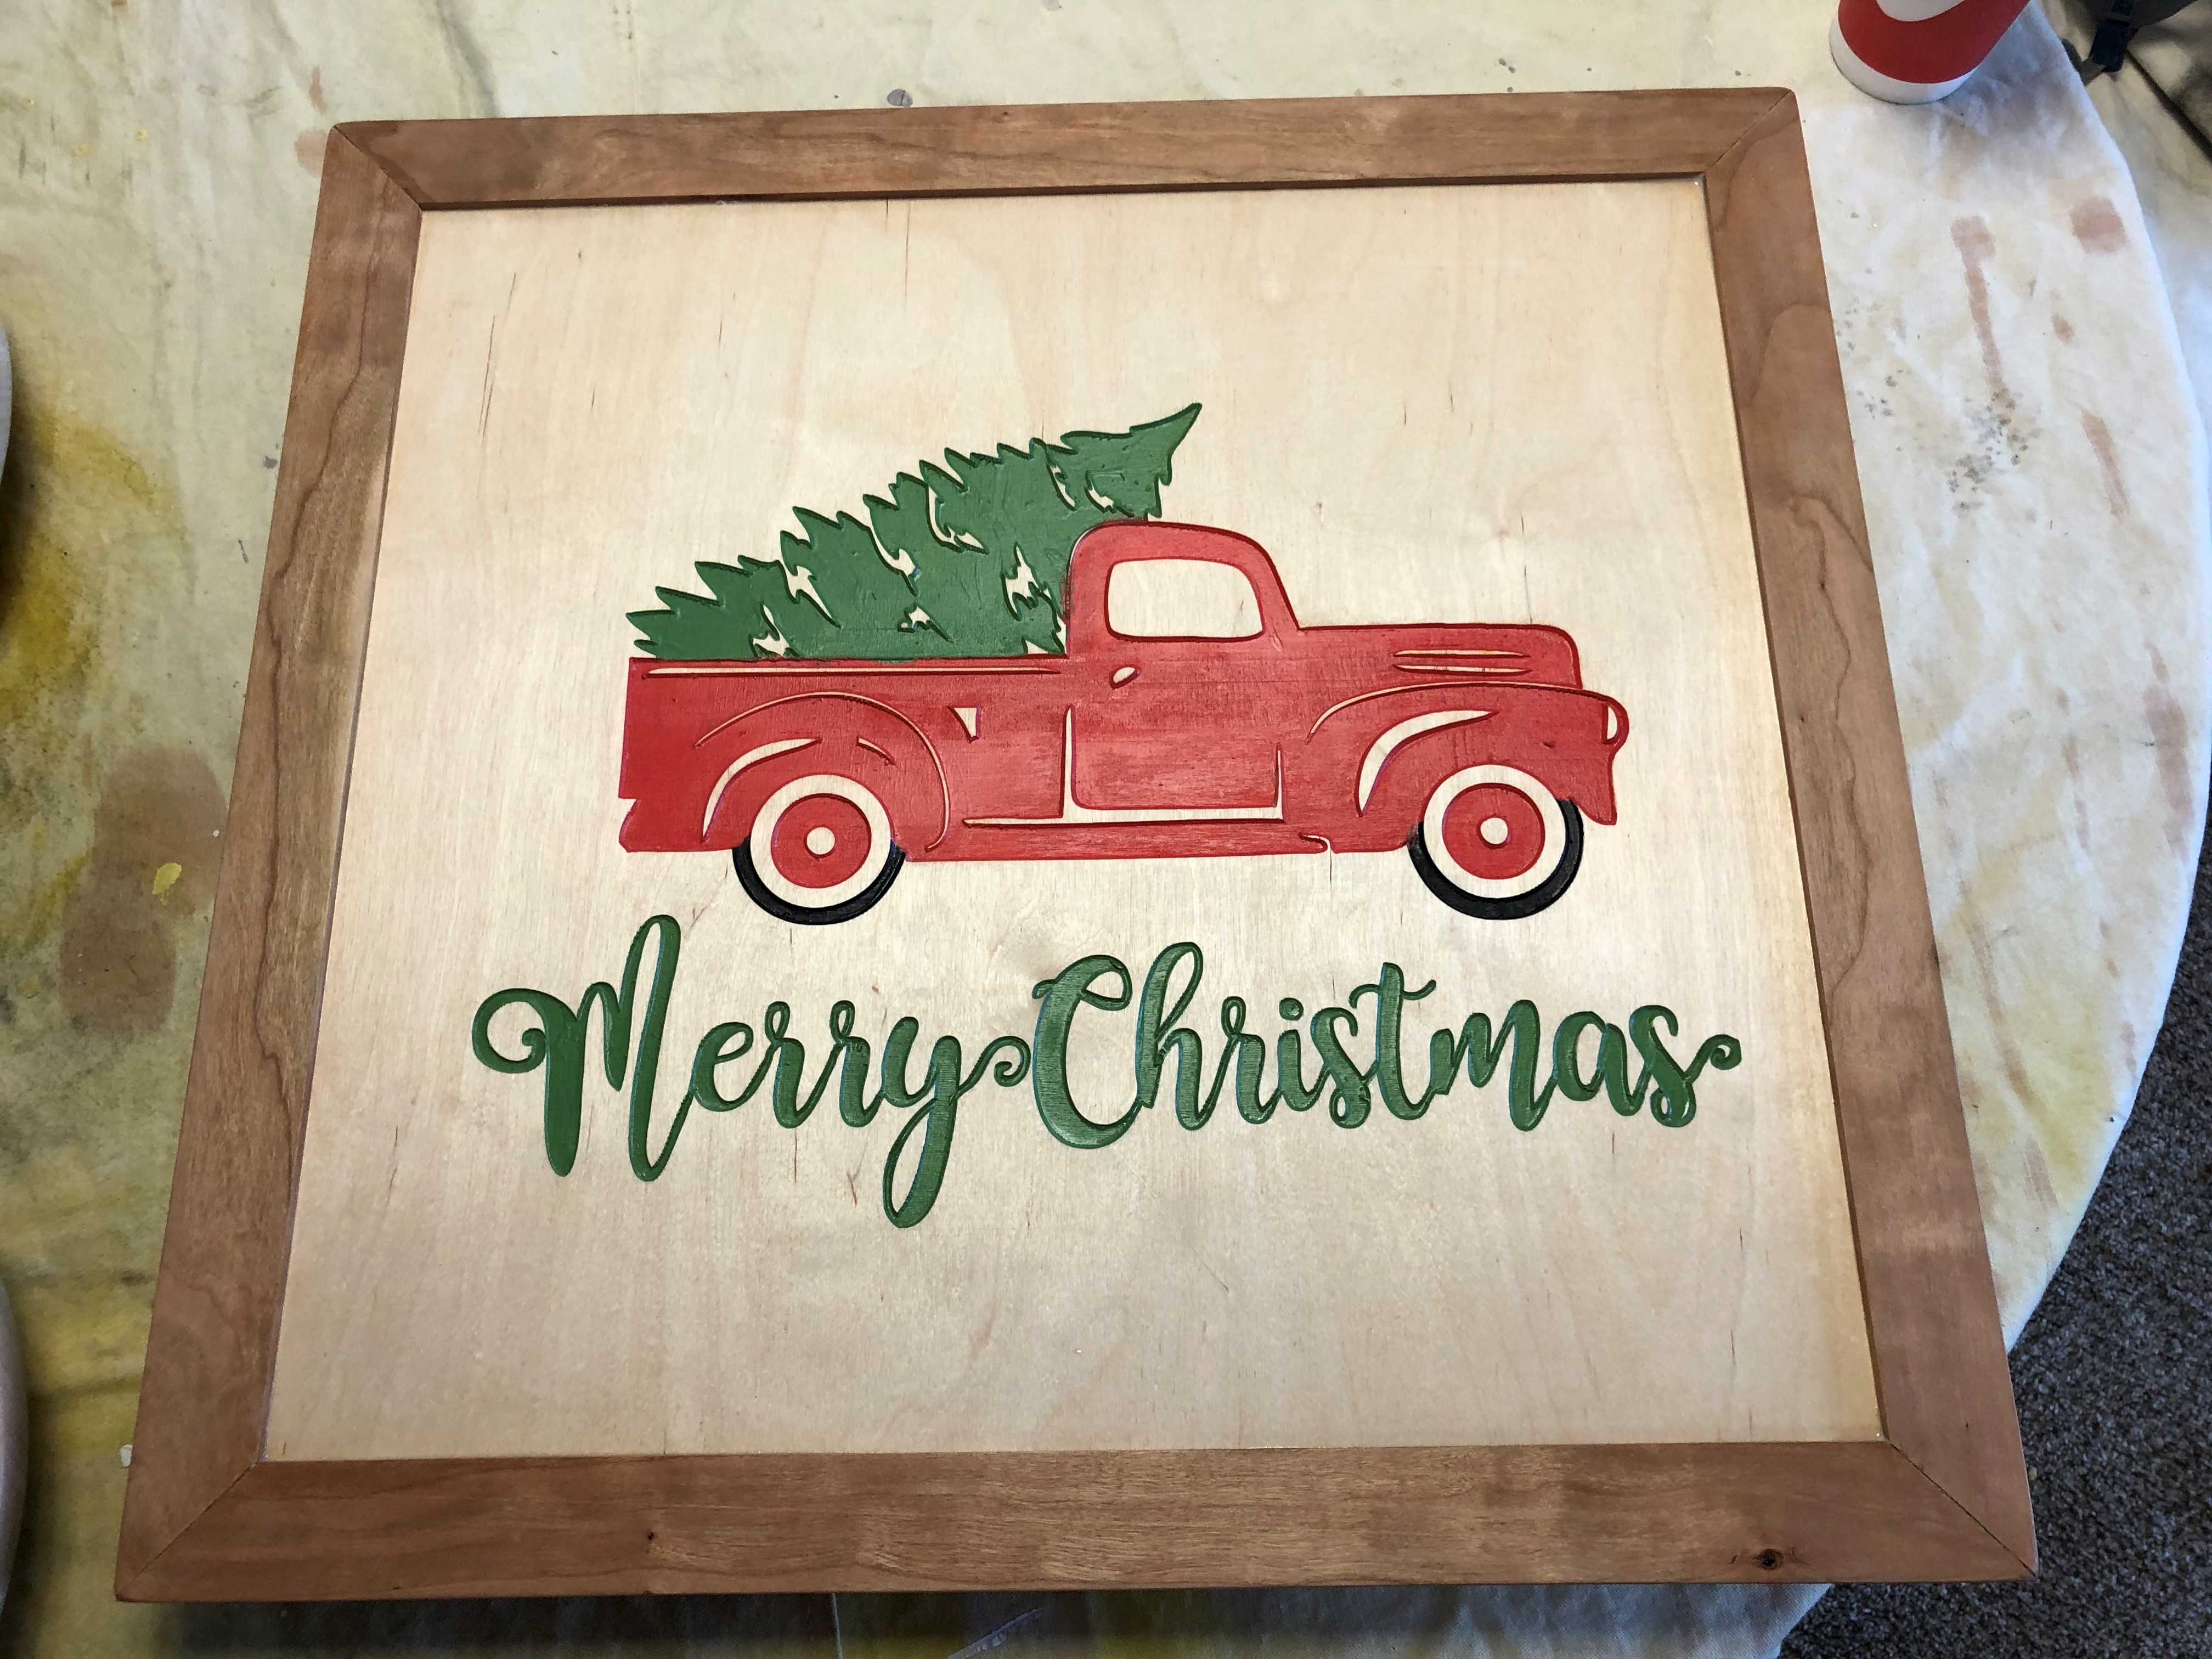
Folks were very happy… I made two Charlie Brown signs, one Sleigh Rides sign (lots of time invested on this one), two Red Truck signs and 13 Christmas ornaments… also made (no cnc required) 3 stand up snowmen and a bunch of painted wood ornaments/package tag from a sliced oak tree branch that fell from the tree in the back yard.
They look great - I love the idea of python ‘maker coins’!
How do you get such neat results when painting? I’ve just started, and other than painting the whole surface and milling through the paint, I’m not sure how to approach it.
After the carve on, let’s say, the Red Truck (which is on baltic birch plywood), you paint the carved area the colors you want. You can be a bit messy, going outside of the carved area. After the paint dries, then sand the surface (not the carved area) with 120 or 220, which removes the areas where you painted outside the lines, leaving crisp, clean lines. Finish with poly.
I did another set of the ornaments in vintage white, where I painted the surface white, then carved, then painted the carve and sanded it down to get the vintage look and remove the over-paint areas.