Small Update.
I’ve been working on the wiring and getting everything running.
I managed to get 2 wires soldered and my 15+ year old soldering iron died.
So quick trip to Bunnings and the new Ryobi one is doing a great job.
Ditched the CAT6 cable after 2 attempts and went with some 4 core.
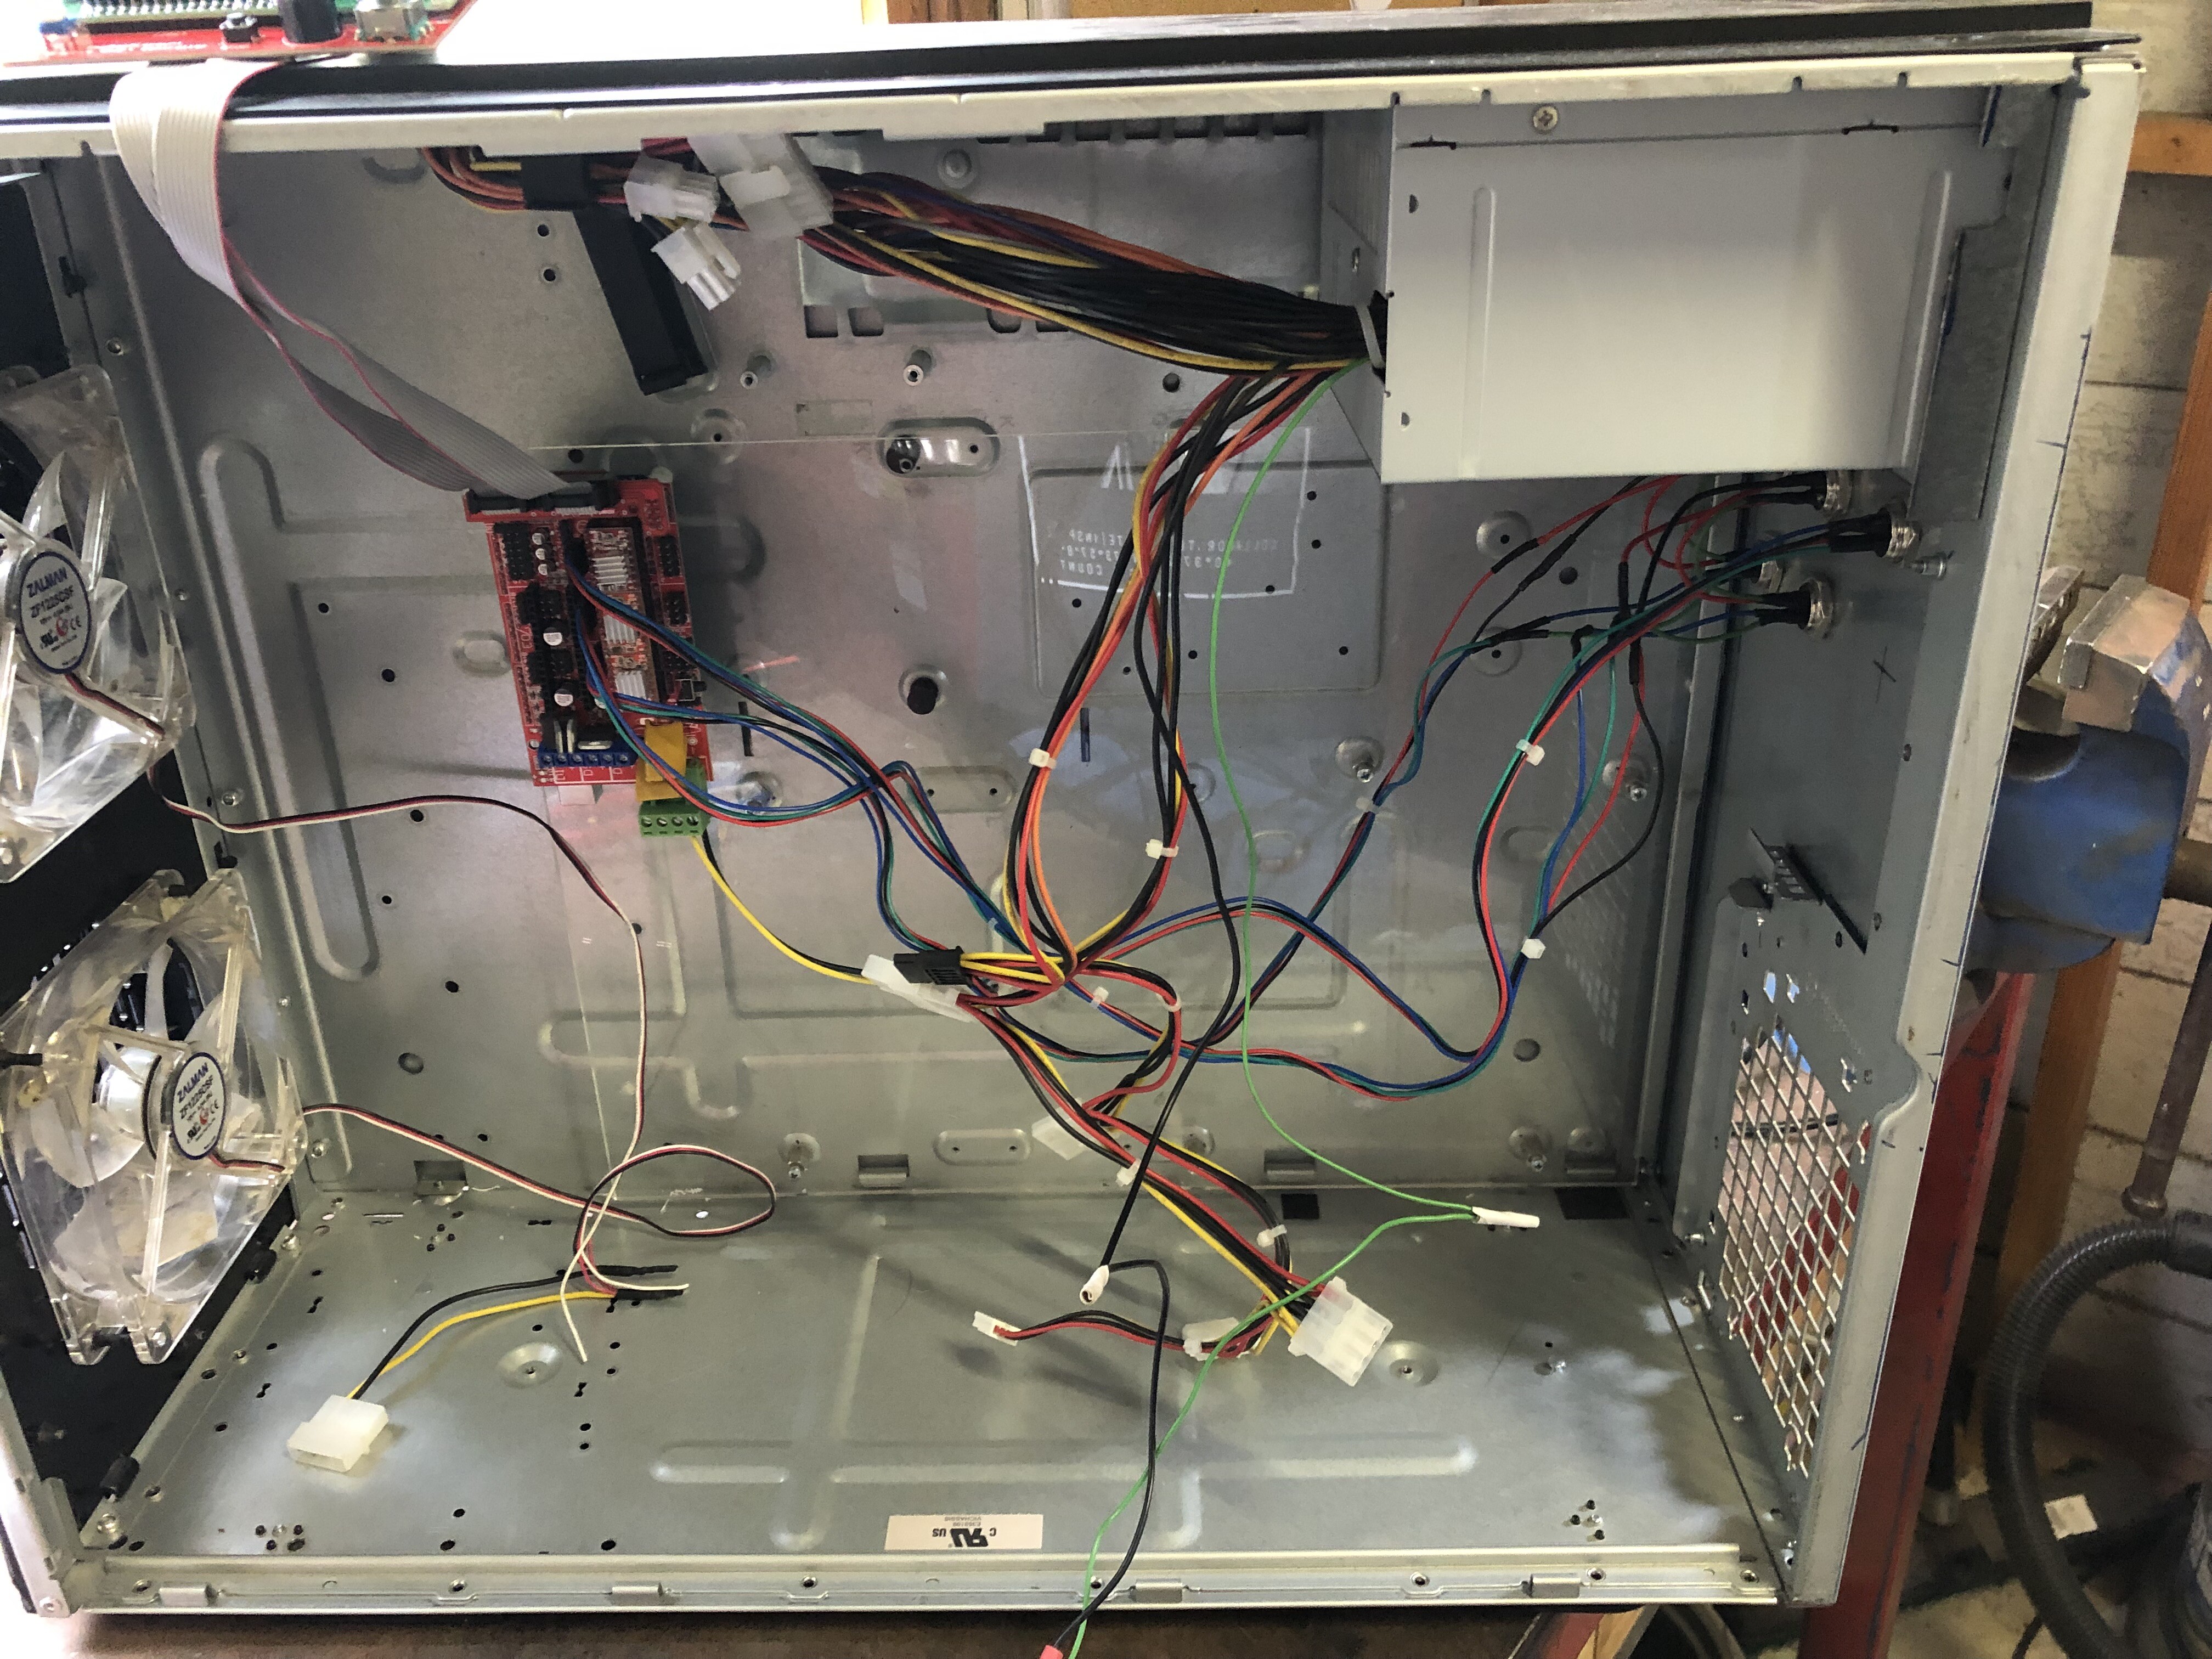
Wiring is a little messy but it will all be tidied up once I know everything is working.
1 Like
Soldering, Soldering and more soldering.
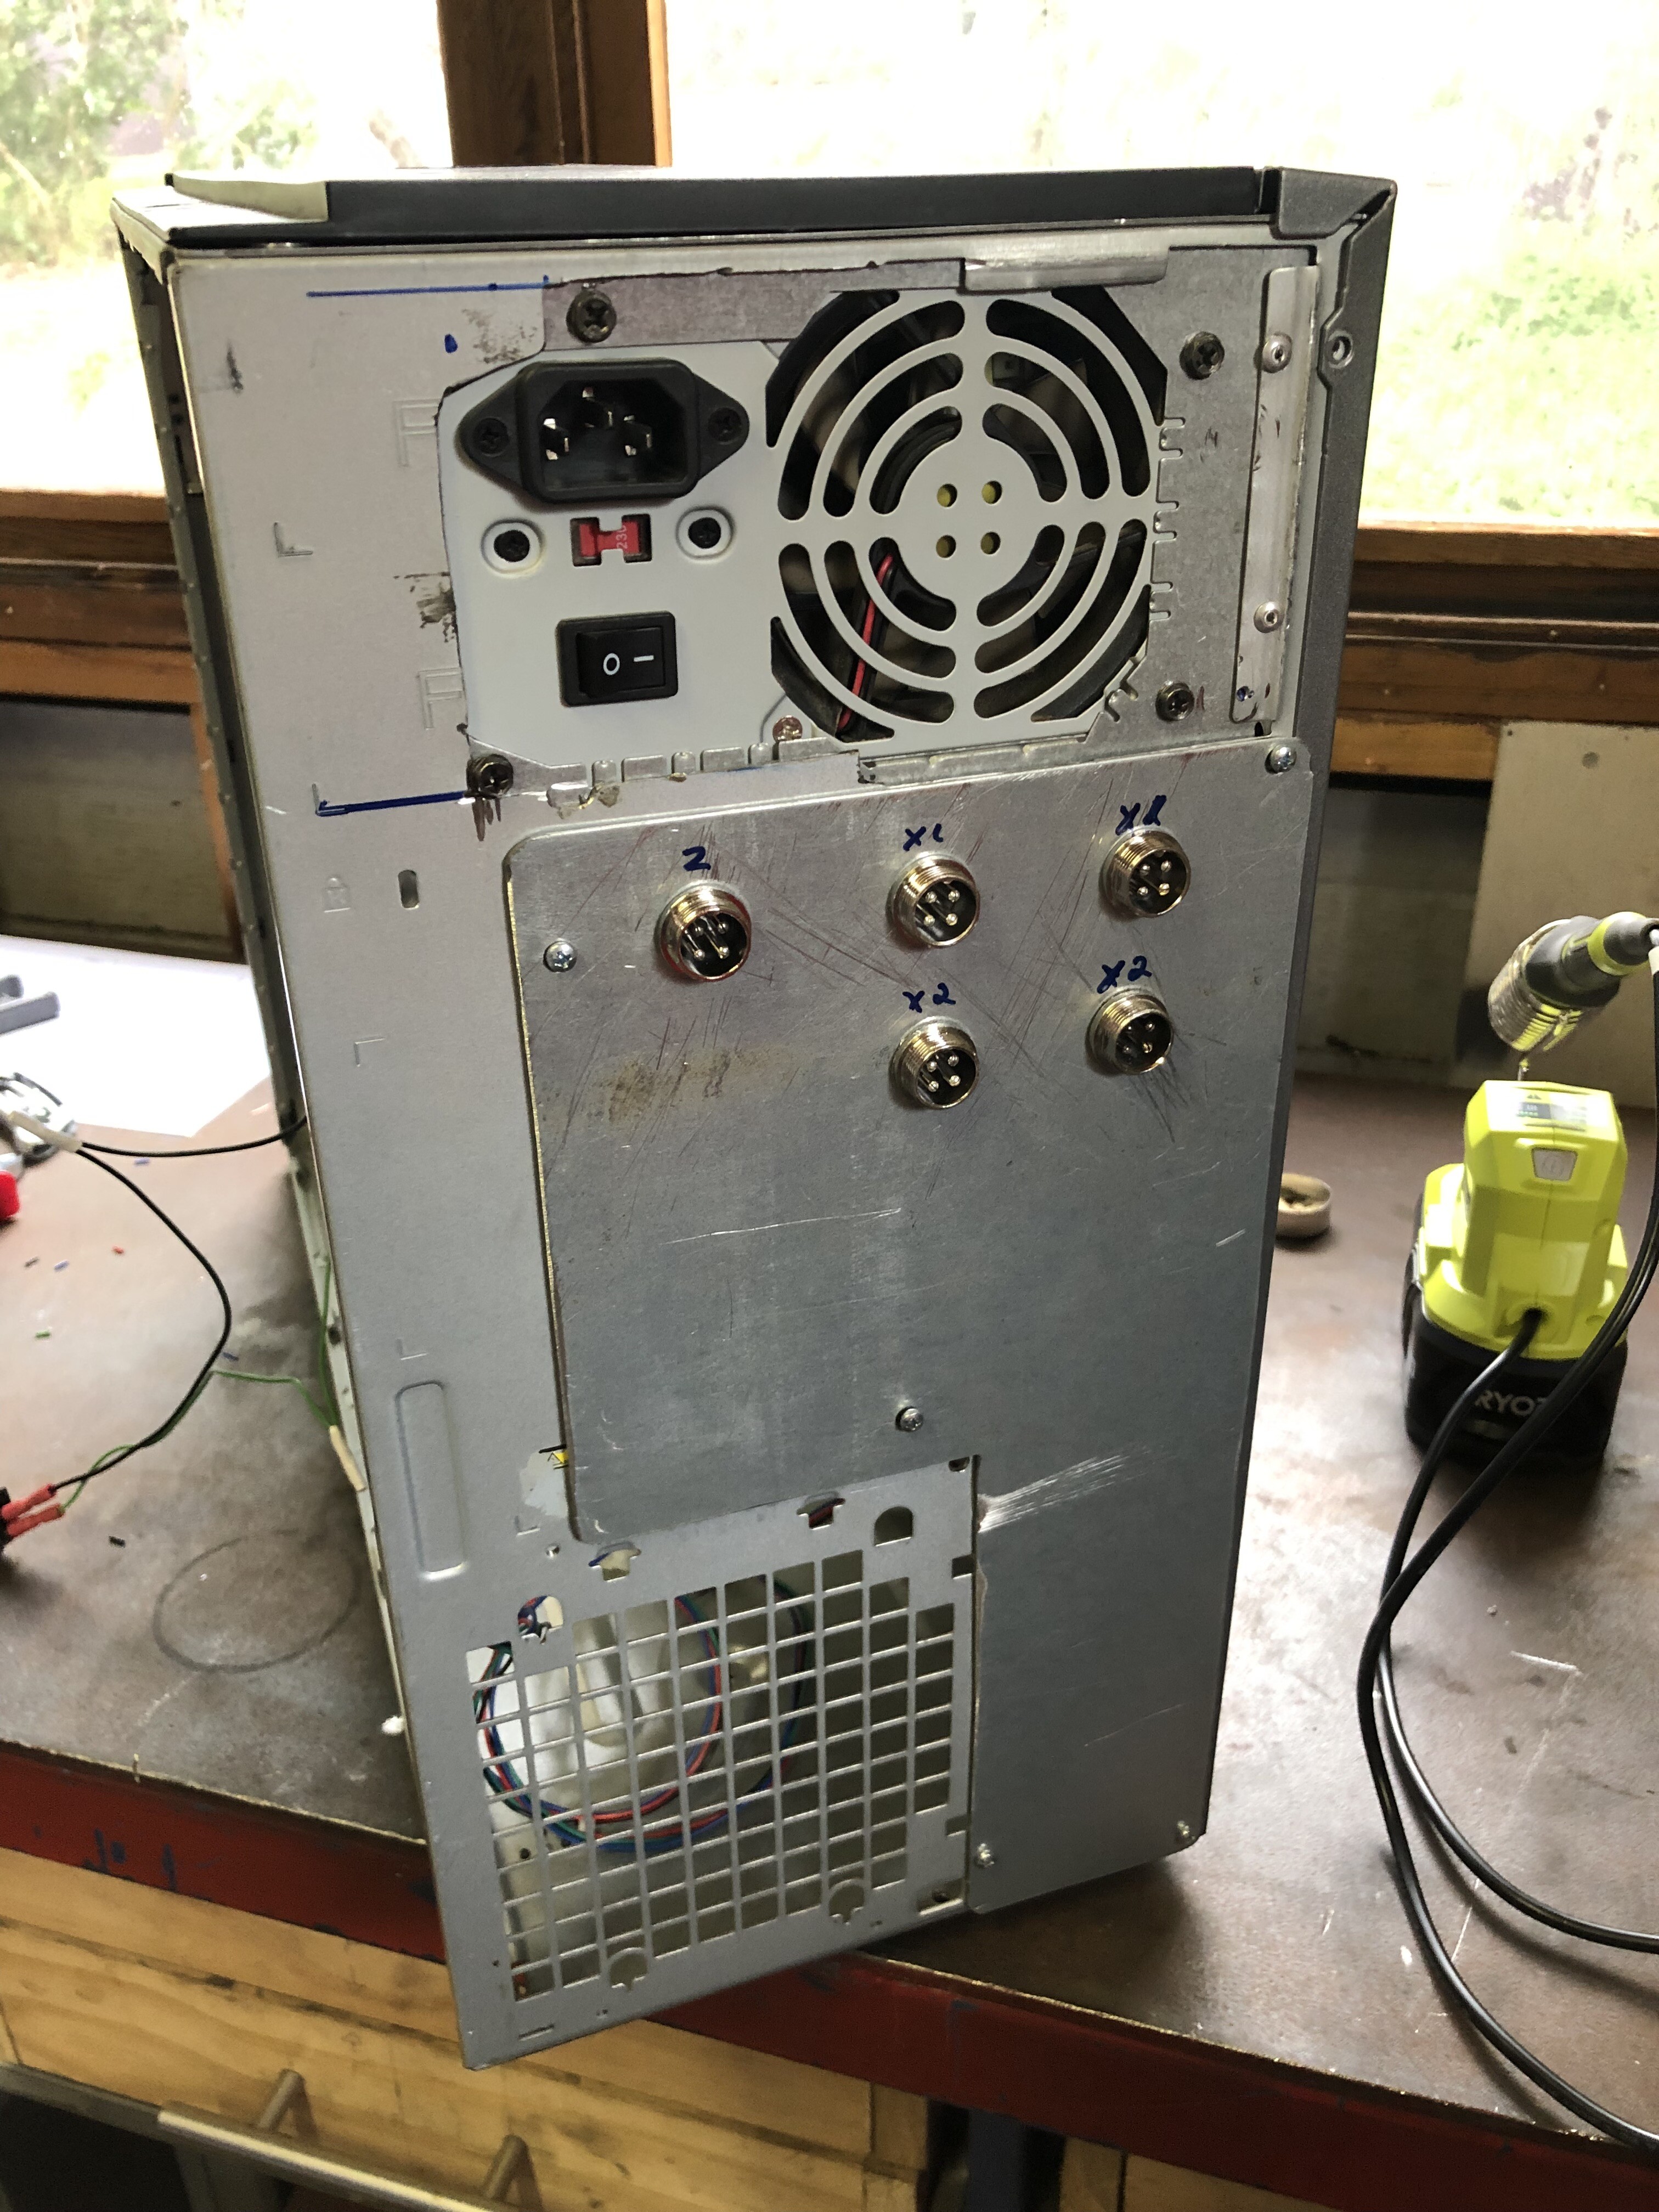
Also realised that the back panel the sockets are going from right to left and is annoying me.
But honestly I just want to make this thing move. The little things can be changed later.
Noted, and after absolutely no other research I think I’ll lash out on the kit. I’ve been looking for something “good enough” - thought maybe a USB version but Ryobi = 5 year warranty which is longer than the warranty on me!
But you have to understand that that case is making me scared.
I purchased the R18SOI-0 model and I’m blown away by it so far.
Heat up time is great. I’m using it with a 5a/h battery and it is lasting well.
I jumped in and committed to RYOBI with a drill last year and then added the angle grinder, I had forgotten they even had the soldering iron and figured it was worth a shot considering I already had the batteries.
Leadscrew and nut arrived today after it was ordered a month ago. Have to love Auspost at the moment. It has sat in Sydney for 90% of that time. Anyway now that is here it is full steam ahead.
I’m itching to get this thing moving.
1 Like
Bizarre - I’m getting stuff from OS quicker. Have a package from Ryan on the way so will see how long it takes.
Only have the 1ah batteries, but use them on the hedge trimmer too so no problems - excited about having a soldering iron that works!
1 Like
Have the wiring completed for 2 steppers.
All joints soldered and heat shrink. Aviation connectors.
3 more to go and then piece it back together. It has been really hot here so haven’t done as much work as I had planned. No AC in the shed.
The bonus of working from home is I can go to the shed at 7am and get some work done on it before it gets hot and before I start work.
2 Likes

Firstly I would like to apologise for scaring everyone. That loud yelling was me celebrating the fact it works.
Well it moves under it’s own power at least.
Now on to the crown test.
4 Likes
Well no crown picture yet unfortunately.
I’ve completed a square which actually turned out square although it did turn out 20.33mm rather than 10mm
So onto troubleshooting that but that can wait until I rebuild my computer.
If anyone has any thoughts please let me know.
Running RAMPS 1.4, A4988 and Ryan’s Marlin Firmware.
V1 firmware for RAMPS assumes DRV8825 drivers. A4988 drivers max out at 16X microstepping with all jumpers installed. DRV8825 drivers go to 32X microstepping.
With 32X microstepping on 1.8° motors, and 16T pulleys, you get 200 steps/mm. With the A4988 drivers, you need to change that to 100 steps/mm. You can do this in the Marlin menu without recompiling the firmware.
You should have got 20mm, instead of 20.33mm. Not sure where that error is creeping in, but change the steps/mm to 100.
For actual scale checking, you’ll want to try something larger than that, but a small test is a place to start.
Dan you legend I’ll give that a try.
The extra .33 I can hopefully dial in a bit more. just wanted to narrow down the extra steps first.
That makes compete sense now.
You were spot on.
Made the adjustments.
Getting a 40mm square coming out at 40.01mm.
That is looking good to me.
Can’t wait to start playing with this and really dialling it in and putting it to use.
3 Likes
Crown pic completed although there are some spots missed, the pen was not all that secure.
What did come out was good.
Will get the pen holder printed and submit my membership picture through the week.
Thank you for the design @Ryan and big thank you to those that helped troubleshooting early on.
I am sure there will be many more questions to come. This is such a great and supportive community.
Cheers.
2 Likes
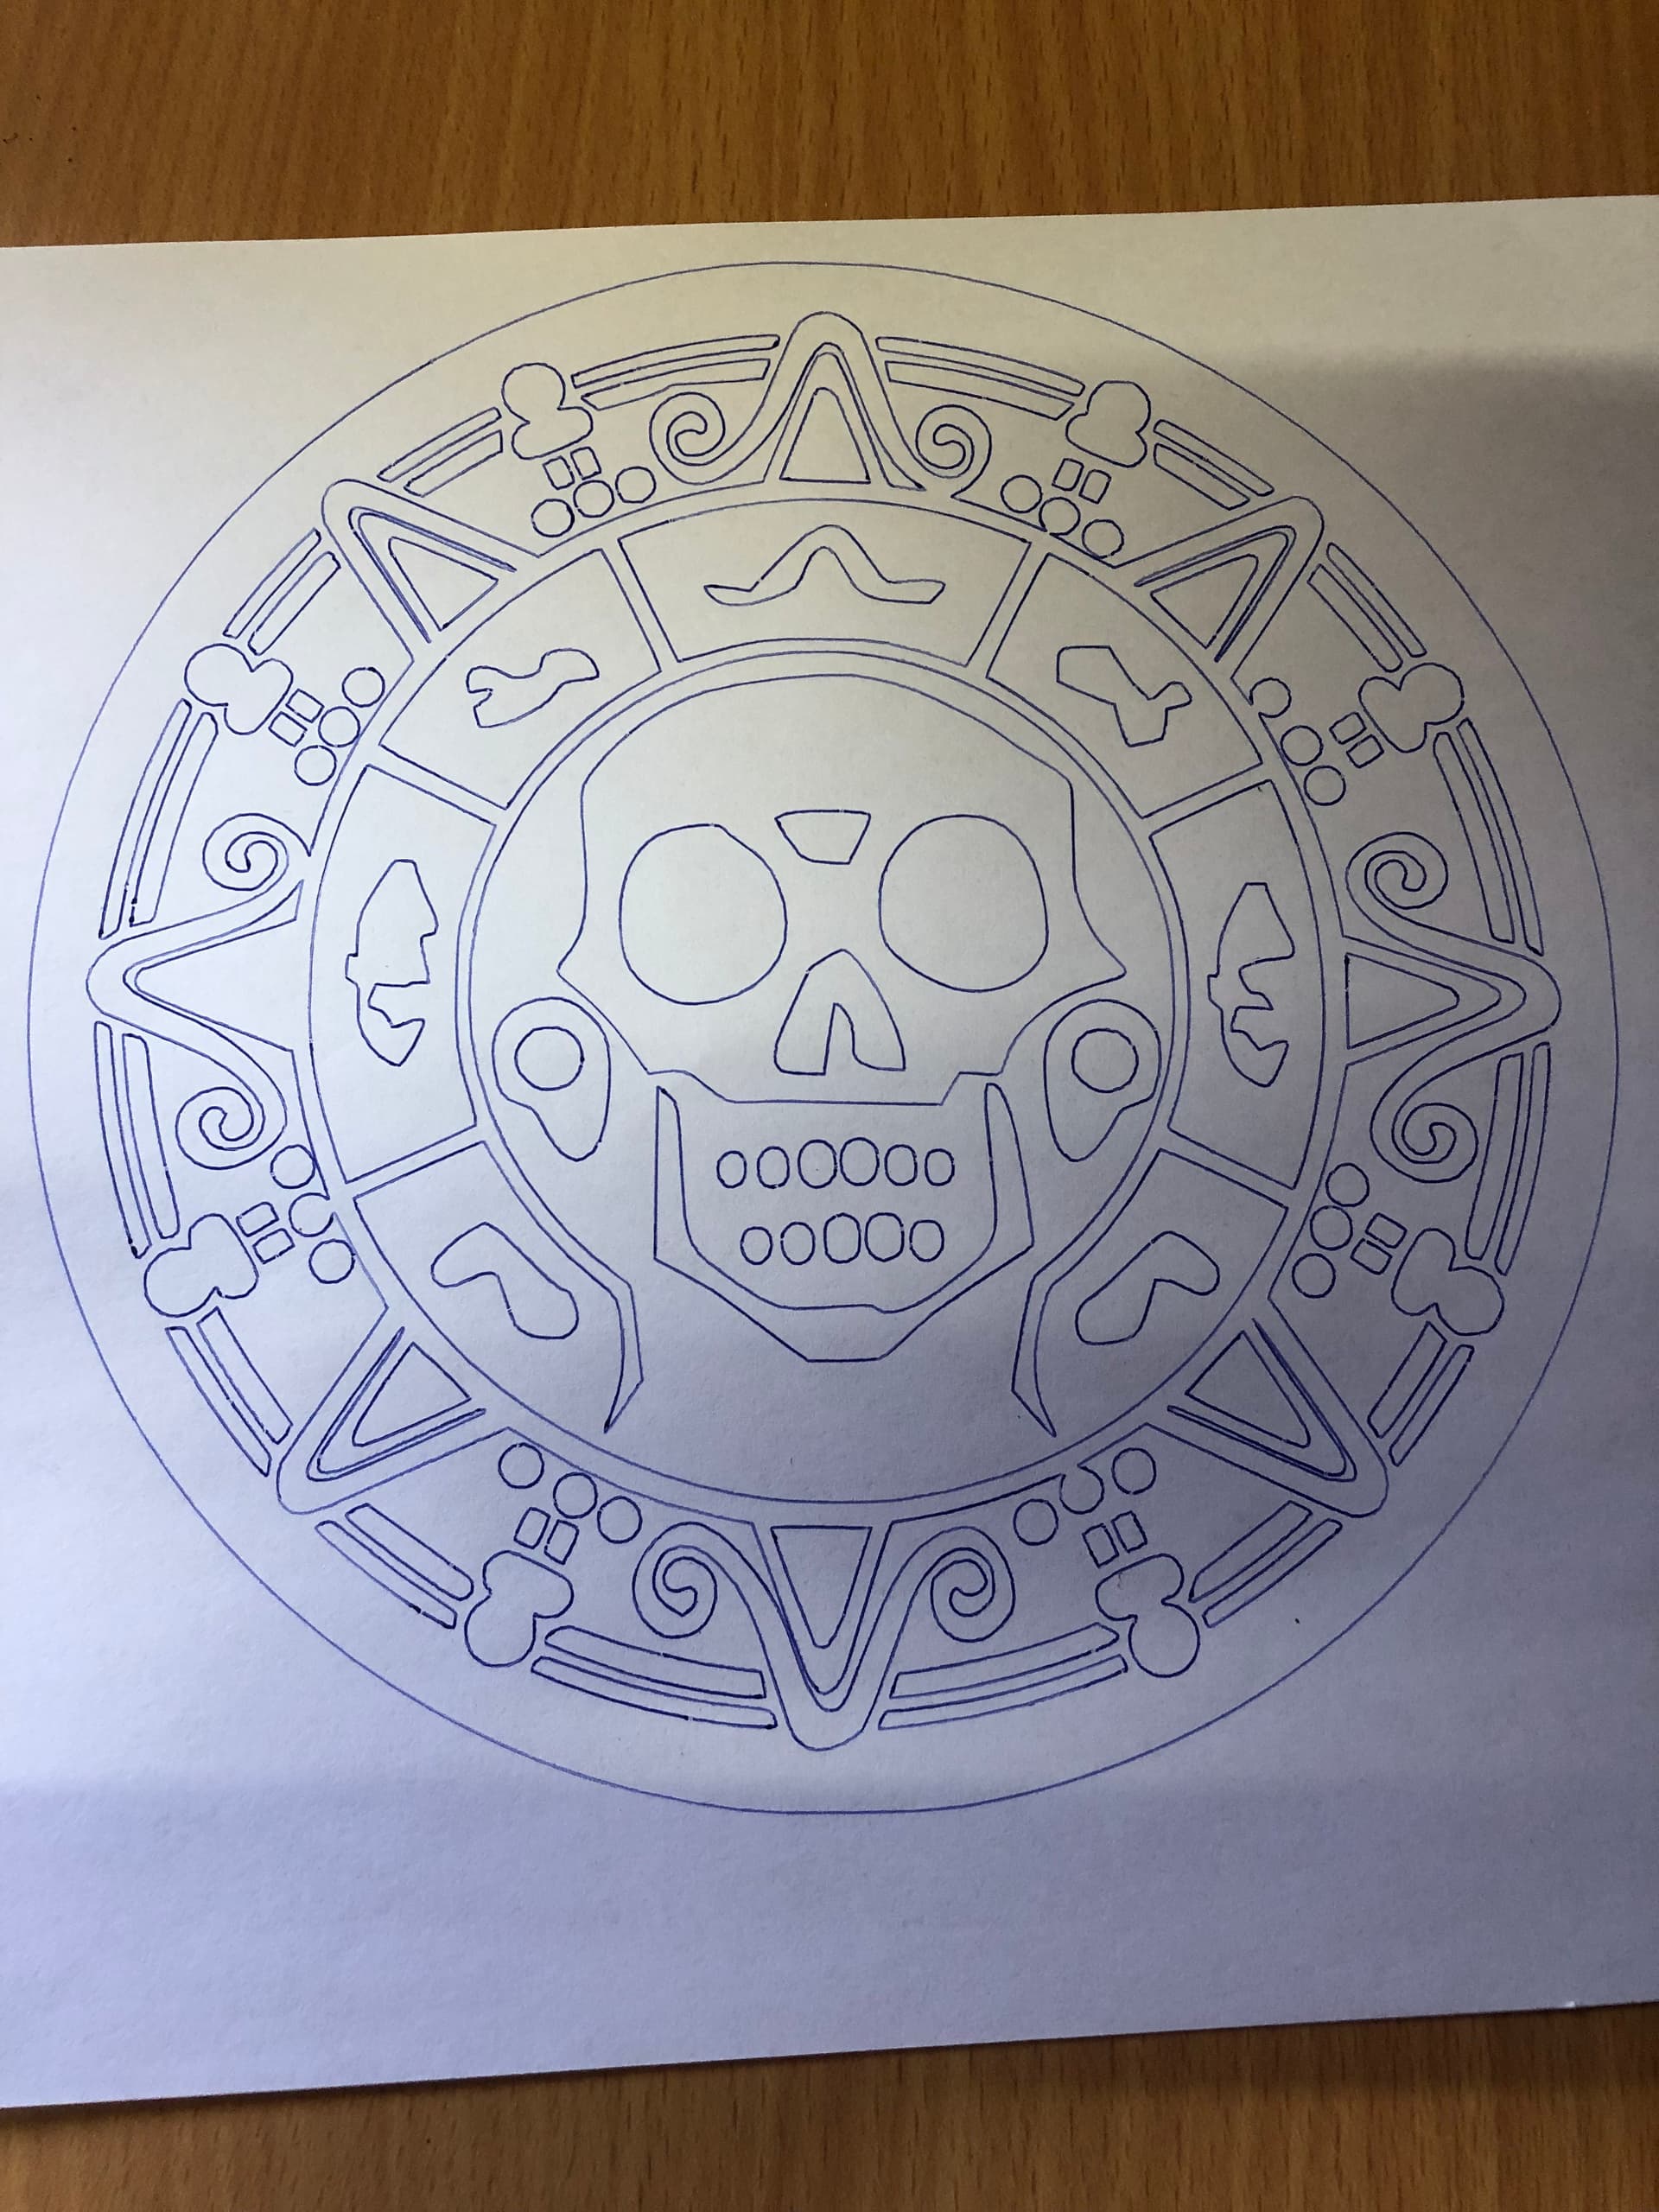
Crown pic as promised.
Let me know if anything looks out of place.
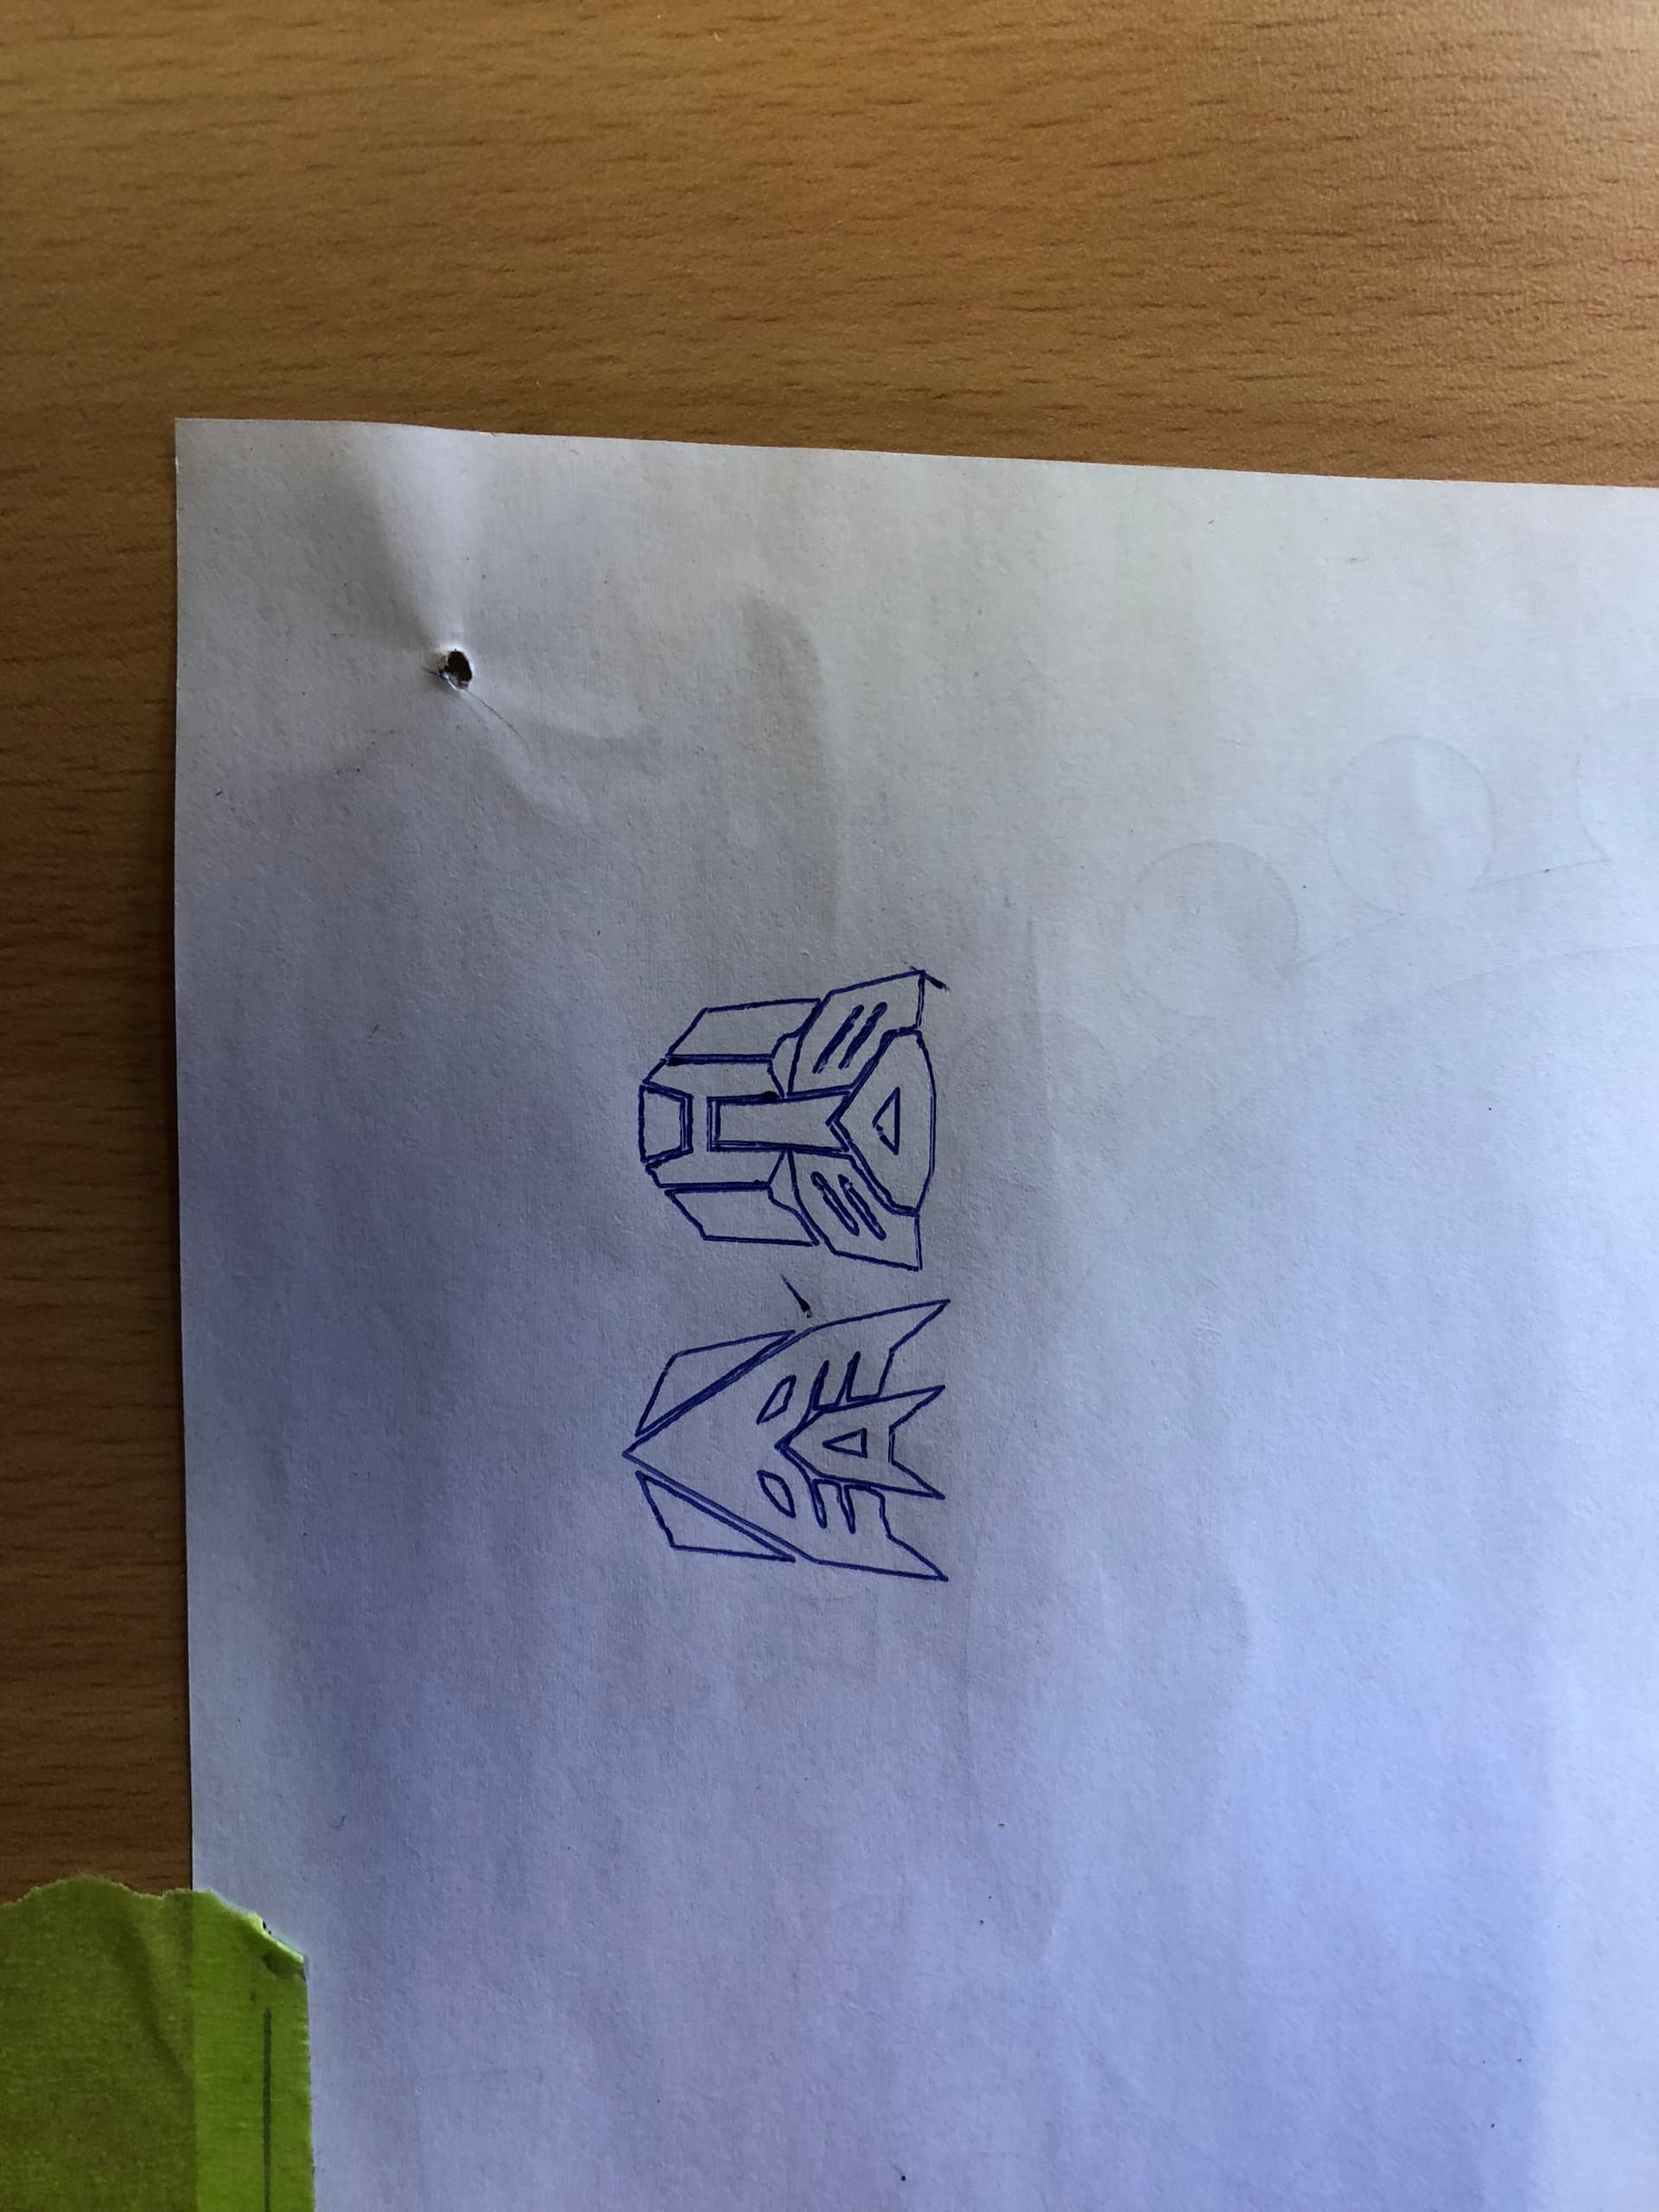
And transformers learning how to use ESTLCAM and Repetier Host.

6 Likes
Hey all, Having a great time playing with the CNC.
I have an old GMC trim router I was hoping to design a mount for and utilise while I’m still learning.
May as well use what I already have and then upgrade later on.
So I have been battling Fusion360 and trying to modify the Makita mount which is just killing me. Importing the STL ends up with so many faces and the amount of time Fusion crashes is too damn high.
With that being said does anyone have a Fusion file of a base tool mount for the Primo?
Or can anyone please provide some helpful hints on the best way to edit/modify the STL files.
Thanks folks.
1 Like
Is the GMC router really any different to the Makita 700 (dimension wise I mean?) They all seem to have a similar diameter - but with a few knobs and bobs. If it’s smaller than 65mm why not just print an adapter ring - maybe with a split and a flange to keep it in place and use Ryan’s Makita mount?
https://www.prusaprinters.org/prints/36015-makita-rt700-series-65mm-mount-for-the-mpcnc-primo/author
That way you’ll have the Makita mount done when you are ready for it!
Footnote: I still have a GMC $25.00 router so I had my money’s worth as well!
Thanks Peter, I was considering going that route. I was wondering how to keep it in place and a small flange would do the job.
I’ll give it a go and let you know.
I started playing around with making one from scratch which also forces me to brush up on my fusion360 skills or lake of.
My GMC has only ever been used for 2 small jobs in the past 15 years so hopefully it has plenty of life still in it.
1 Like
Noob here, I am just starting out on this journey and will get my build thread underway soon. I have seen a lot of posts dealing with tubing for the MPCNC and I am having trouble sourcing suitable material in my own (small) town. I notice @Melcour is in the same country and I want to ask for the specs of the tubing you have used. I may have to order this remotely and it would help to have something specific to ask for. Thx.
Hi Selwyn,
Yay another Aussie. I printed the “J” version that is 25.4mm.
I had a hard time getting it from any of the metal suppliers within a 1 hour drive but ended up getting it from Bunnings.
https://www.bunnings.com.au/metal-mate-25-4-x-1-2-1m-galvanised-steel-round-tube_p1130448
Also comes in 3m lengths.
I believe the 1.2mm wall is a little smaller than recommended but I simply couldn’t source anything else while keeping it affordable.
A couple of the metal suppliers offered to do a special order but there needed to be a minimum purchase.
It appears the 25.4mm used to be popular in Aus electricians but is being fazed out.
Good luck with the build and let me know if I can help with anything else.
1 Like
There is a step file here, Printables that should let you edit it in fusion.