Check the pulleys. The motors have to move in lockstep. The current for one is going through the other, so they have to rotate at the same time. If one pulley is loose, then it will lag behind, as rhe screw moves on the flat.
The trick to running square is starting square. Use the ends as a reference. Put a clamp or something on each pipe and pull the gantry up against it before you start. Then command a movement away from that end. If that isn’t square, then you can adjust it by moving the clamp. You can either draw a rectangle and measure the diagonals, or draw a 3-4-5 triangle and measure that.
The steppers get warm when they are energized, because there is current running through them to keep them still. They should stay below 50C or so. The whining is normal and you won’t notice when you start milling.
Ideally, start with the test crown. That gcode is very forgiving, and is a good check out of the machine. Jamie is especially good at diagnosing issues with just a picture of the crown.
Not sure what I’m looking for, but I think it came out good. Lines are a little fat becaused I used a ball end bur from my Dremel kit. I couldn’t find anything smaller at the moment
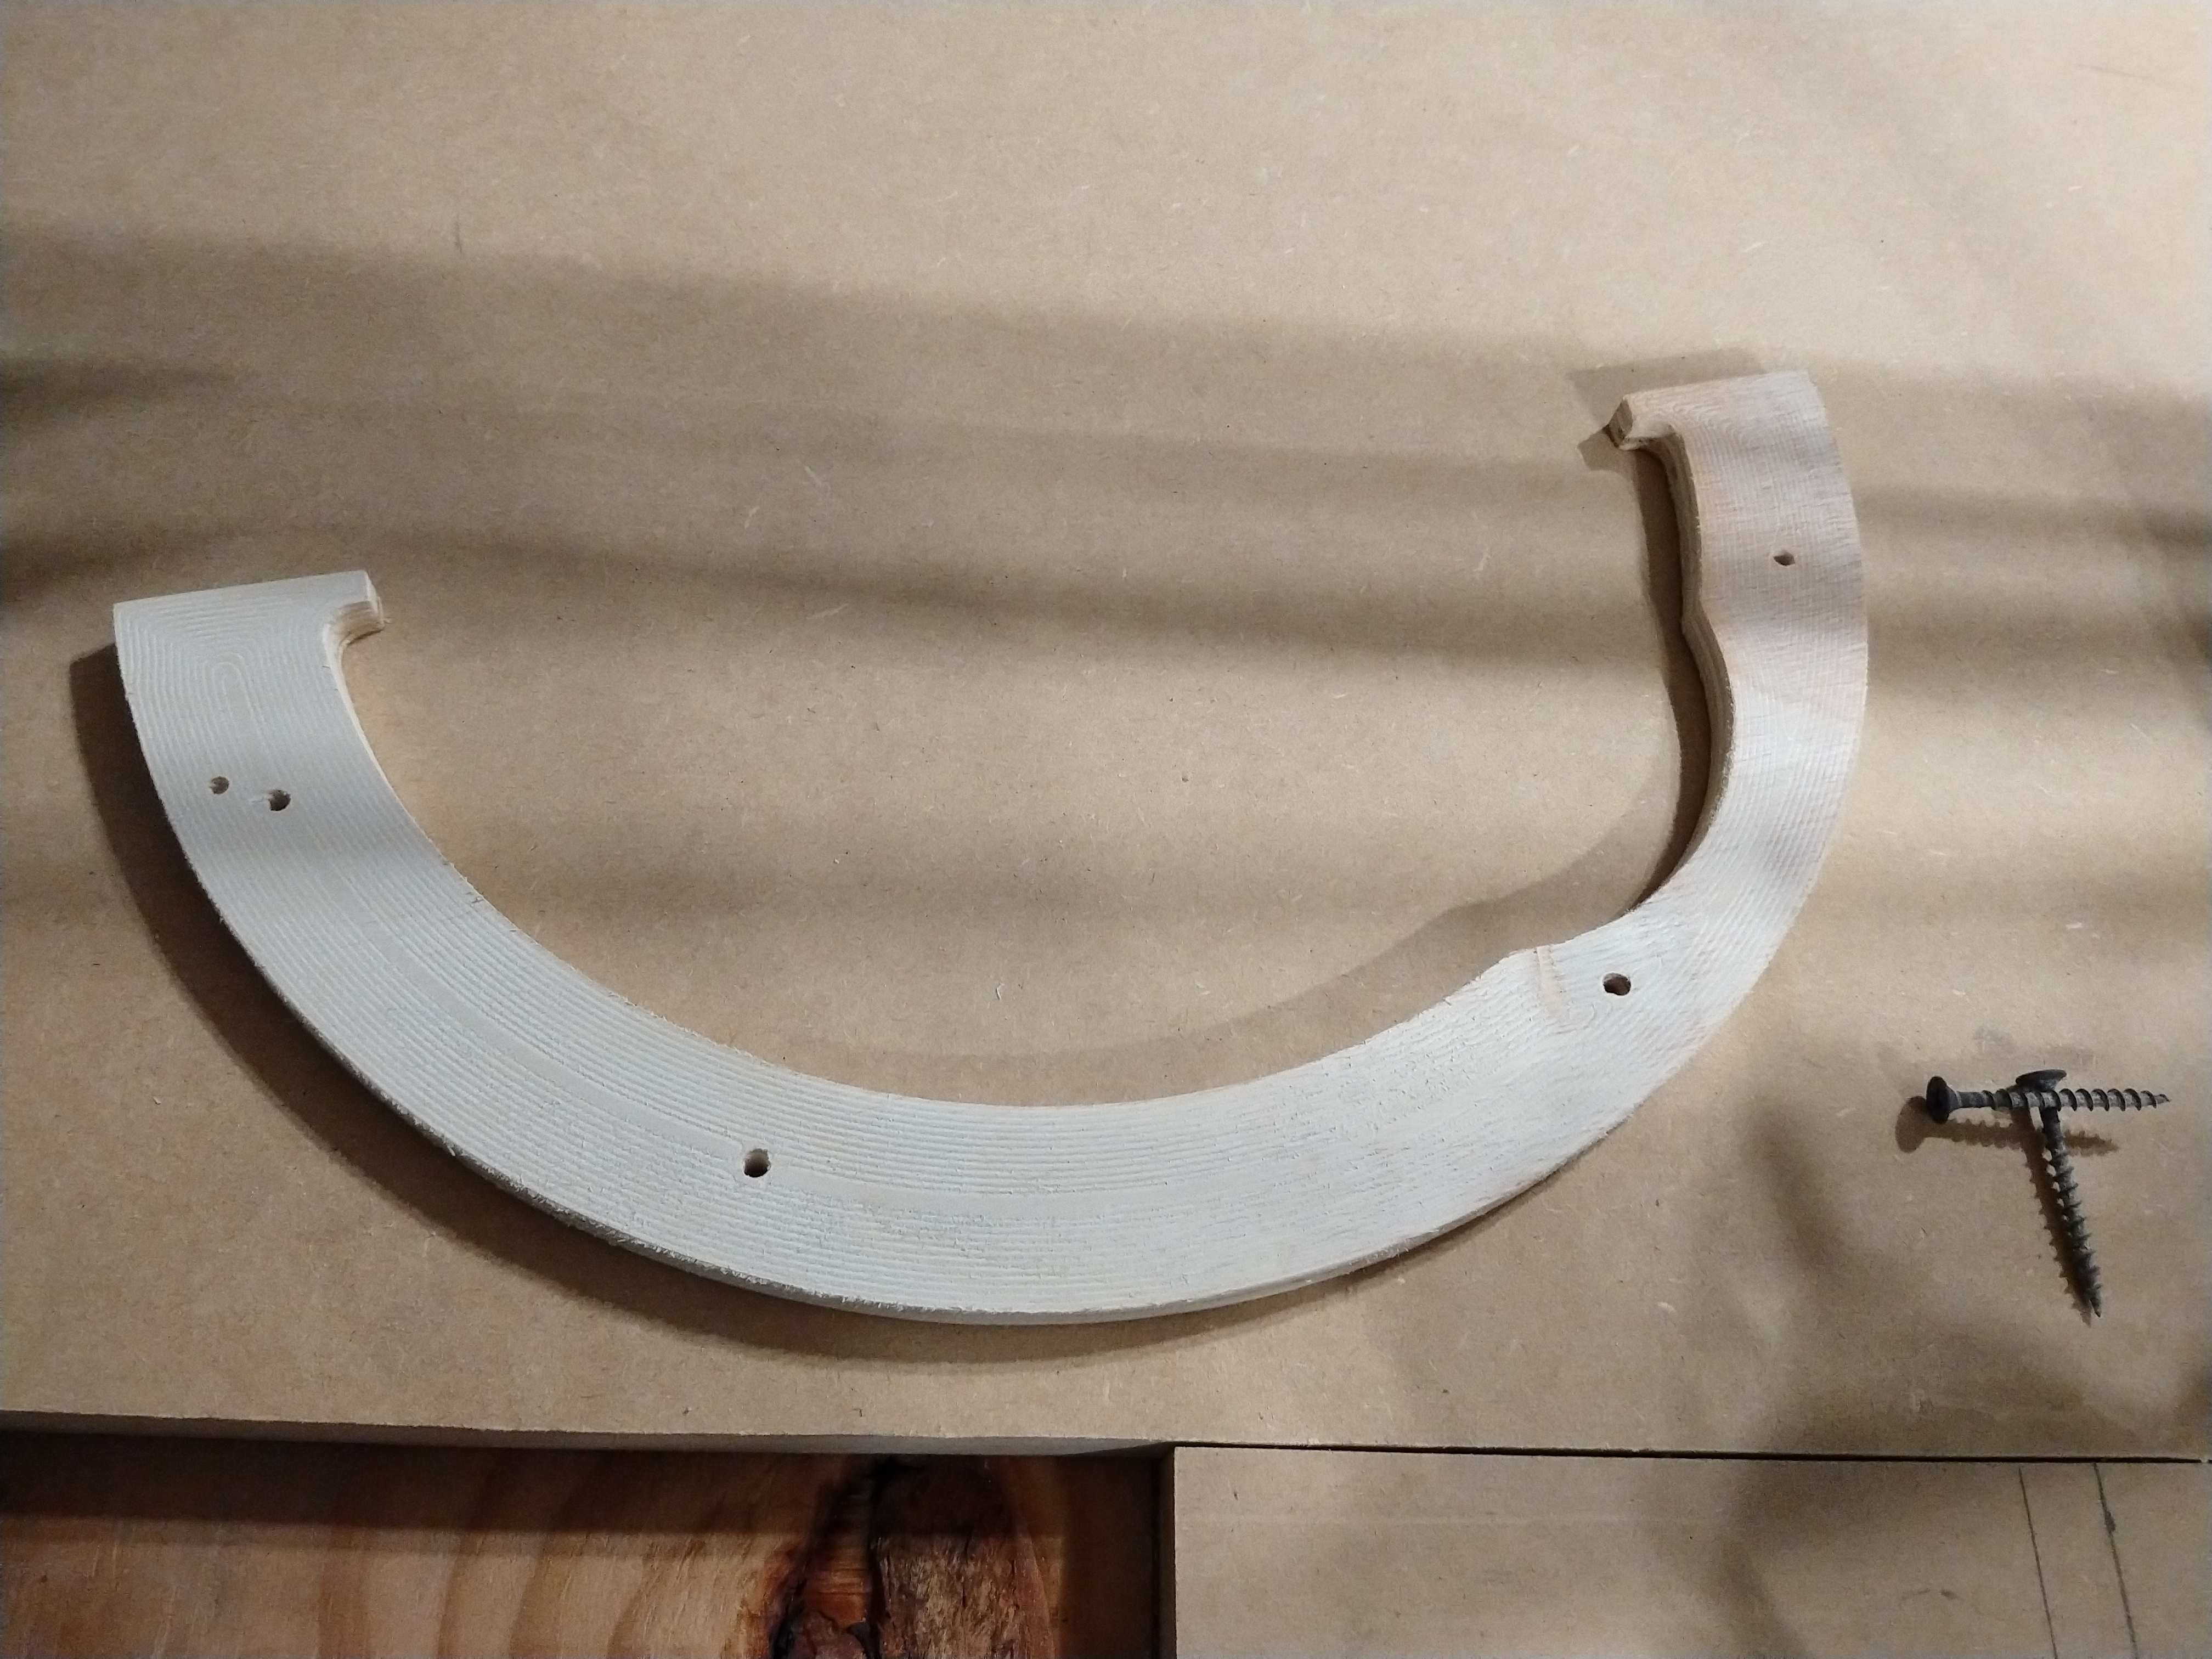
First piece off successfully. Had a few issues with g code from fusion 360, but eventually i got it. Had to strip out everything that wasn’t g90 or g92, or a move command. This was cut from a 1/2" scrap of birch plywood.
It cut the part .030-.050 oversize. Pretty sure it was due to tool deflection. I could have sworn I had a good 1/8" end mill, but couldn’t find anything suitable in my stash. I made this part with the bit that came with the DeWalt router, which was just too long for the cut I was making.
Aside from getting some better bits, dust collection is the next step. I have ideas here.
Agreed. I have some appropriate 1/4" bits, but I thought that might have been overkill for this part, and my dust management system is not set up. Does dewalt offer 3/16" collets for this model? I have a bunch of nice coated carbide 3/16 bits.
Tonight I got the touch plate working and installed the mpcnc post processor for fusion 360 which looks like a breath of fresh air. I had been doing a lot of manual cheat code modifications and that got old really quick.
WOW! While laying out my dust collection lines I noticed that a tension bolt on the x carriage was completely loose! The gantry could raise about 1/32" or more on one side of X. This could have definitely caused some size and perpendicularity issues in my first cut. Glad I found it now. Rest of the tensions feel good.
Made some progress on dust collection. I know it is not ideal, not having a shoe, but I like being able to see the tool when it is running. It is going to be a delicate balance between getting the nozzles positioned just above the work when at final depth, and minimizing how much of the cut area is reduced by the extra girth they add to the carriage. I also need a better mounting system…but im out of PLA.
If you can, try to shorten that dust hose on the Z axis. It’s going to cause issues when it gets pulled while you’re cutting. Or hang the hose off the ceiling to take the tension off.
Cool, just throwing that out before you really mess up a project. The pipe acts like a lever, so if the hose gets one of the ridges caught on the side of the table it will pull on the end of the z, which causes the endmill to dig in, then it goes sideways from there.
I hooked up the vacuum. It is…ok. I think the loc line is too directed. I may remove the nozzles. I can also lower the nozzles depending on how deep I am cutting. I don’t mind a little dust, as long as this catches most the airborne stuff that settles on printer, mill, and telescope I will be happy.