I bought these switches (https://www.amazon.de/dp/B08734MSDD), they are wired on pins 1 and 3 so they should be NC. In Esltcam I have to invert them though and my board reads them as always triggered as well. So they are working in Estlcam if inverted.
If it was the cabling, they would not work at all when wired to pins 1 and 3 and are NC, right? So if a cable didn’t make contact they’d be: whoops, it’s open, we are triggered and don’t work at all, inverted or not. Or am I seeing that wrong?
Are you using Marlin? Marlin ignores them unless you are homing. M119 tells the true story.
No, this board: Mainboard - Wissenssammlung
It uses an ESP for autosquaring. The only thing I have to do is invert the input in platform.io, but I don’t know where. I wrote the creator an email, asking where I can do just that. In estlcam it’s a simple switch.
That’s the software: GitHub - timo1235/ocs2.x-esp32-software: This Software is for the ESP32 on the OPEN-CNC-Shield 2.x, but I don’t know what flag I am looking for to invert it.
I don’t have any experience with that firmware or that board. Does it use the $$ commands from grbl? It might be a runtime config change to invert them, and enable/disable the hard stops (to make it care when you are just moving and not homing).
I will check, thanks. Will get back to you.
I would say your preferred n/c limit switch configuration is done in Estlcam.
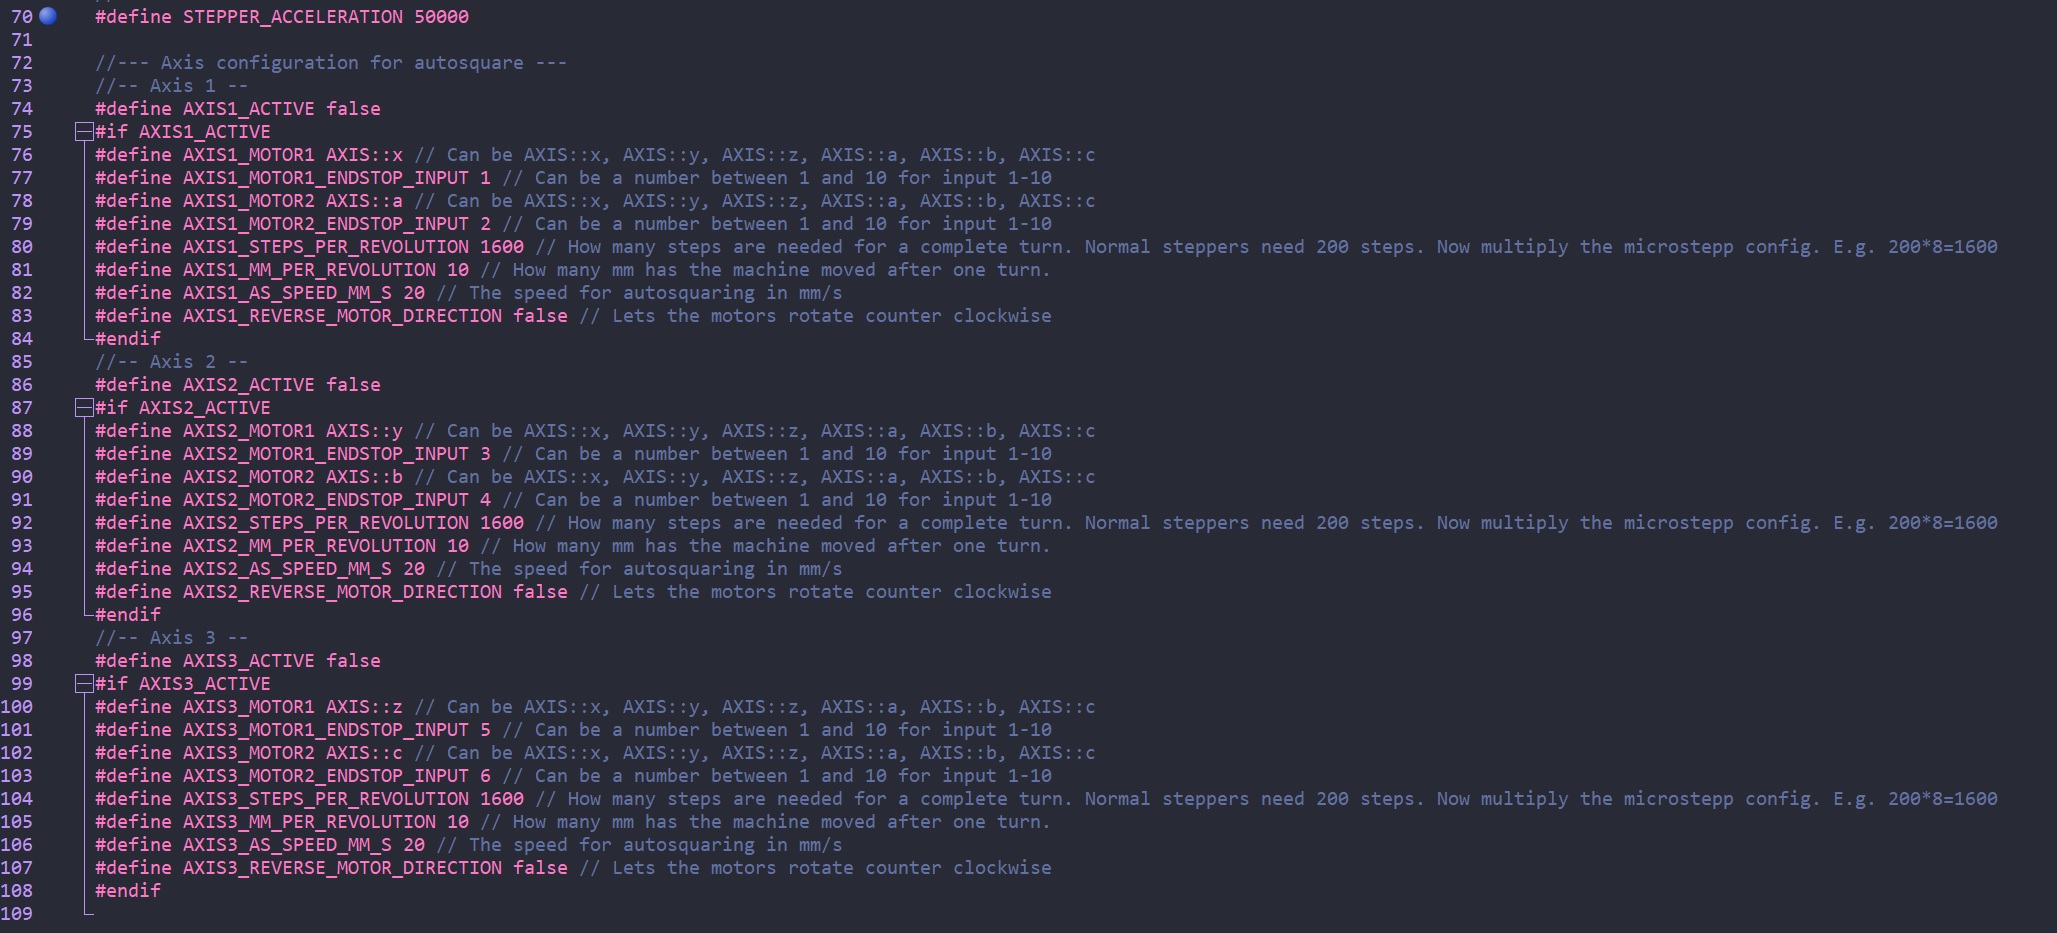
Lines 79, 91 and 103 (X , Y and Z) defines which limit switch Estlcam should assign to which axis, it would follow that Estlcam also handles the orientation of the switch with the ‘invert’ function in Inputs.
If Estlcam does not register the operation of the switch ensure you have the 5v pullup ticked, any further diagnostics will require the use of at least a meter.
I do find that board a tad confusing…do you need a ‘controller board’ as well as the ESP32? The impression I get from the blurb is that the ESP32 only handles -
Onboard ESP32 for various tasks
Autoquaring the axles
temperature monitoring
Wi-Fi control panel
individual programming possible
If you don’t have an Arduino plugged in as well I would imagine the board wouldn’t detect your limit switch actuation… or maybe I’m wrong!
1 Like
Thanks for your ideas. And yes, you are right, the signal has to be inverted. Everything works in Estlcam, I just inverted the signal there, but…
the one thing that does not work is the autosquaring with the ESP because I can’t invert the signal there. Estlcam can only differentiate between 3 axis and not individual drivers, that’s why the task is done by the ESP and not the Mega with Estlcam. I can start the autosquare with just the board powered (which powers the ESP as well) without having the Mega/Control board powered or even installed.
1 Like
I found out that the problem is known, but I stumbled upon it by chance on Github (AutoSquare und DRIVE_FROM_ENDSTOP_AFTER_AUTOSQUARE mit NC Endstops · Issue #2 · timo1235/ocs2.x-esp32-software · GitHub). Funnily enough I even asked the creator how to wire the endstops and he sent me to an old document that tells you to wire NC. Nowhere in the “new” documentary does it tell you to wire it NO for the moment. 2.5 hours wasted to fix a problem that is not my fault with a shitty documentation.
What a weird board setups. I am intrigued by this combination of controllers on a single board.
Here’s what I found out from poking at the code. The endstop state is read here:
So if you wanted to force all the endstops to reverse, you could invert that logic.
The pins get read in functions here:
The REVERSE_INPUTS affects all the inputs, and is in the header file here:
So you might be able to invert that. IDK what other inputs there are.
1 Like
Thanks Jeff, I might be poking around in the code a bit. I can’t destroy anything if I flash something that isn’t working? ![]()
The idea is great, you can swap the whole “main” module and use different controllers but leaving the rest as is:
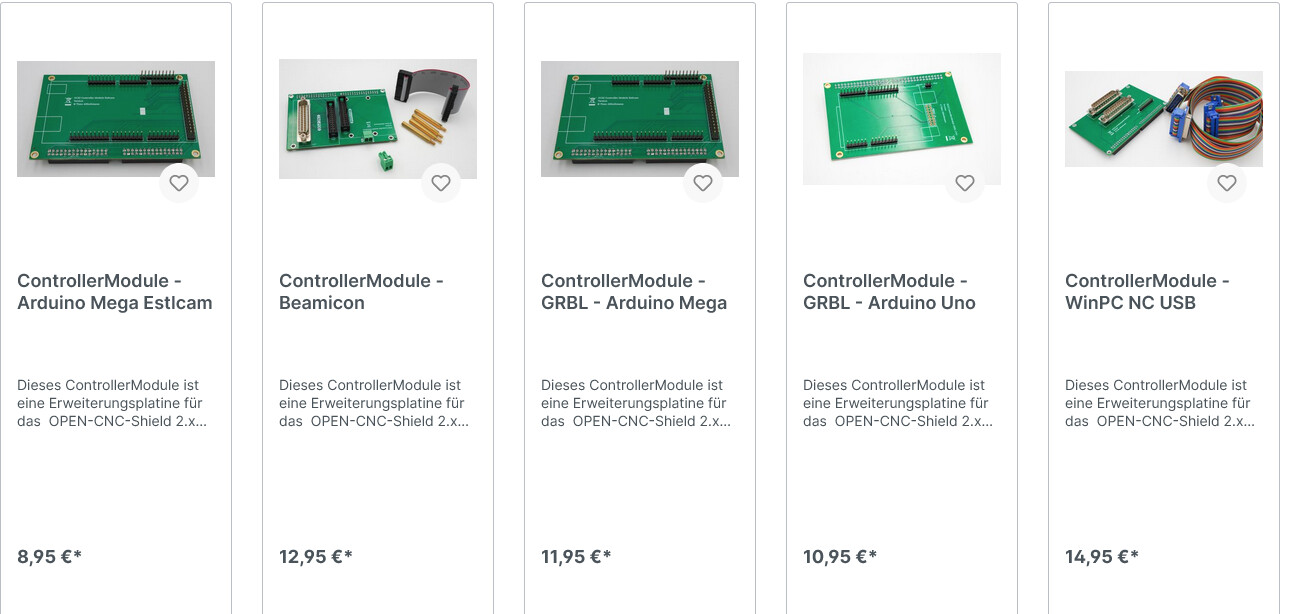
This goes for the drivers as well as In-Out modules as well. I think the general idea is brilliant, but since he is developing this alone and it’s pretty niche the documentation is meh.
The main barrier is: I can’t read German. I don’t understand how the esp32 and the arduino mega can both control the motors. Is there an electrical solution? Does the esp32 send some command to the arduino? I saw some things like an analogWrite with a feedrate that made me think it was the latter.
I don’t think so, because it works without the Arduino attached. You can see it in this video (jumped to the right time already): https://youtu.be/cuQo0xxF-PA?t=790. It is homing without a control board attached. The ESP does the controlling all alone. Don’t ask me how that works, but you need, for Estlcam, to configure jumpers that Axis Z is parallel to Axis C for instance and they will both move at the same time. For each Axis (Z and A) you can then define which endstop it belongs to (and are free to change them without changing the plugs or anything). Pretty neat if it works.
The creator just said that he did program the version that works with NC endstops, but hasn’t tested it yet. He is going to upload it though so I can at least try. ![]()
Thanks for all your help Jeff, maybe this dual-board setup could be of interest for any of your or @azab2c’s projects, with you guys always coding wild stuff I don’t get. ![]()
If the esp32 and the arduino are both installed (on an actual CNC where you want estlcam control and esp32 auto square), how do you manage to do that? If the arduino has the DIR pin set to forward and the esp32 wants it to go backwards, there must be some way to deconflict those. In the pcb/components (like diodes) or in the software. Or is the user responsible for just disconnecting estlcam before doing autosquaring?
Honestly, the whole thing seems like reinventing the wheel to me. It is very interesting and adds to the solution diversity. But I have a solution that works well already with Marlin. It is nice to be able to read the code and understand it though. This esp32 code is much shorter than marlin or fluidNC.
From my understanding the ESP takes priority over the Mega when autosquaring is triggered, that’s why in the defaulty settings you have to push the button for at least 1.5 seconds to not initiate it by accident. I am happy to try though.
And I don’t think he wants to reinvent the wheel, he just wants to offer autosquaring for Estlcam (or nearly any other board type that can’t do it natively). In his first version he used a second Mega for that, now he replaced it with the ESP. As soon as it works I am going to try what happens to the coordinates in Esltcam when I am autosquaring while Estlcam is also running. Might be interesting to see. ![]()
Yeah, I should have done all that stuff with Marlin as well back when I started, but in Germany Uncle Phil was popular and a board called CNC shield, which was pretty inexpensive. It was a slippery slope from there to the Arduinoclub Board with TB 6600. And you know how they say you don’t teach an old dog new tricks, or, as they put it in Wayne’s World: We fear change. Plus, I like the option to use a wireless Bluetooth keypad for controls or an X-Box controller as well as the touchplate that can measure the angle of the workpiece.
Those problems now and always needing a USB-cable are the prince I pay. ![]()
1 Like
He added the new code as a pull request (though I have got no idea what that means, I don’t speak github), it is quite a bit more than you’d assume. I will be able to test it tonight or tomorrow. ![]() Will tell you how it goes.
Will tell you how it goes.
The new code works, autosquaring works now, it only does not drive off the endstops, but I can live with that I guess. ![]() Might he fix it whenever.
Might he fix it whenever. ![]()
Thanks for the help Jeff and the good idea, Mike!
I looked at it. There are a few other changes in there not related to endstops. But most of it is because code changes for one person are usually a lot smaller than code changes needed to make it work for everyone. He has written the changes in a way to make them more useful, generally. So it looks like it is right.
You should really check it out. It is a great way to track changes in text files. It also facilitates sharing those changes and getting input from a lot of people. A pull-request is a way to make a change and share it with people before changing the main version. If he just made the change, then everyone would get it before anyone tested it. But by making a “branch” (a modified copy) and putting it in a “pull request” (a place to share it and discuss it), you can try it, tell everyone how well it works, and fix any problems before applying it to the main copy.
I love it. Software development before we had it was rough. Even though we had other systems, they sucked.
Thanks for the explanation. The choice of words is weird for me, because if I pulled sth, I’d take it off the shelve, or take it away somewhere. It certainly would not have to do with making changes… ![]() I was actually able to spot two things that didn’t make sense (though they were not really wrong) and he implemented them in a few minutes. Really nice.
I was actually able to spot two things that didn’t make sense (though they were not really wrong) and he implemented them in a few minutes. Really nice. ![]()
1 Like
There actually two things here. Git is the tool used to merge all these text files and build the trees to track the changes. Github is a website that uses Git and stores a lot of projects in one place.
Git was designed to manage the code for the Linux kernel. That development is extremely distributed, with teams working on very disconnected places. Github is bot distributed, but Git is.
The name “pull request” comes from that original context (amd a tool called request-pull. You are requesting the main code maintainers to pull in your changes into main.
It is a big subject. Some parts don’t make sense at first. I don’t want to overwhelm you. Just don’t try to escape it. It is a good tool.
2 Likes
I only know git gud. ![]()

I will try to understand it, knowing a little coding would help me anyway.
2 Likes