My fullsheet(almost) LR3 build ...and SKR pro

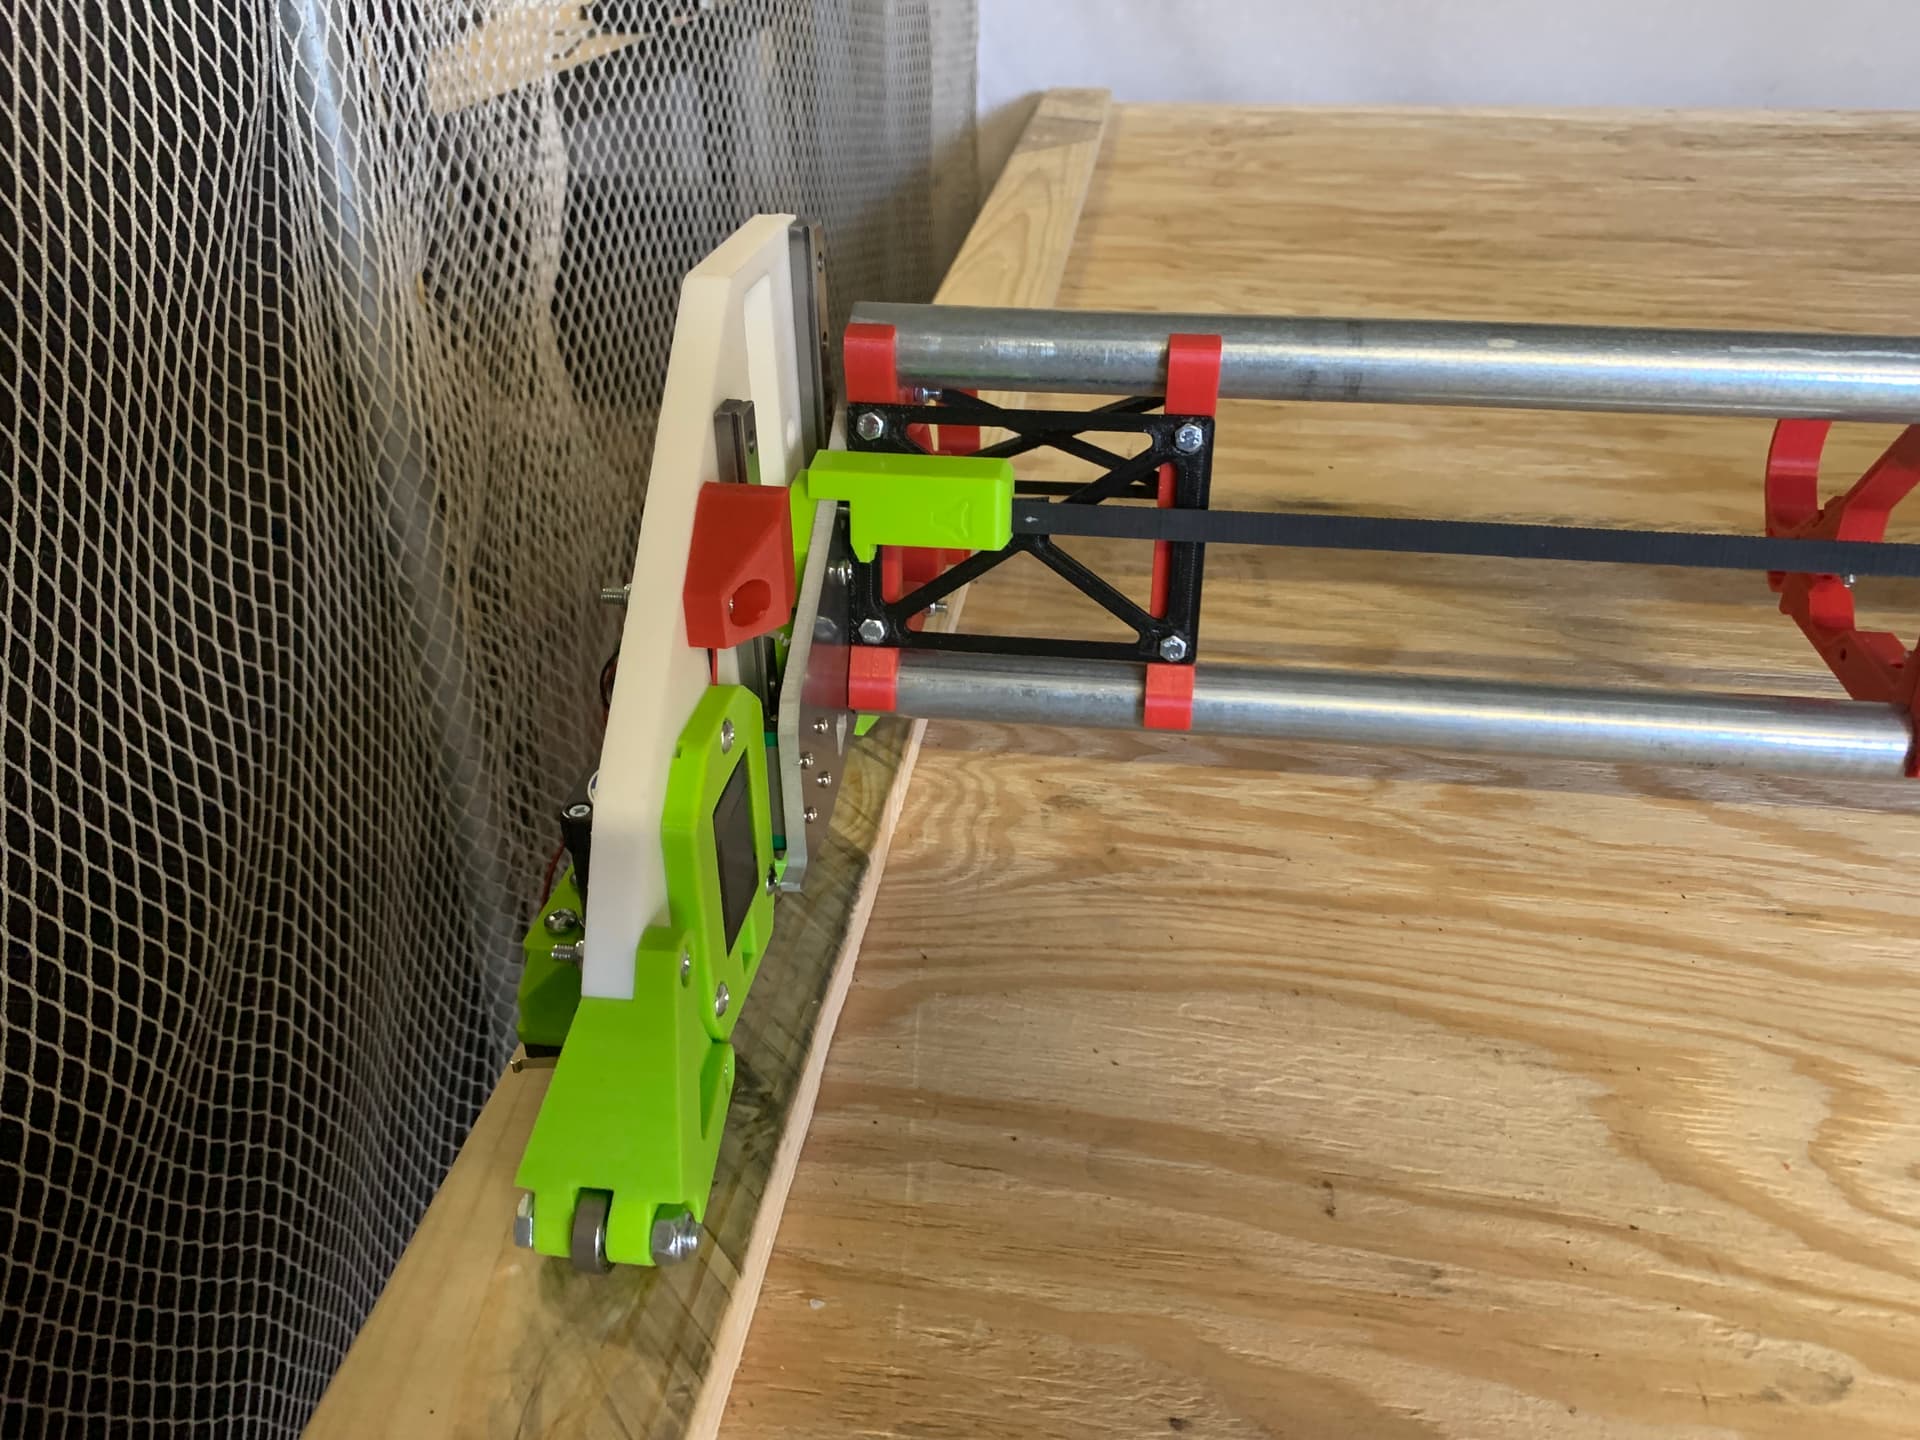
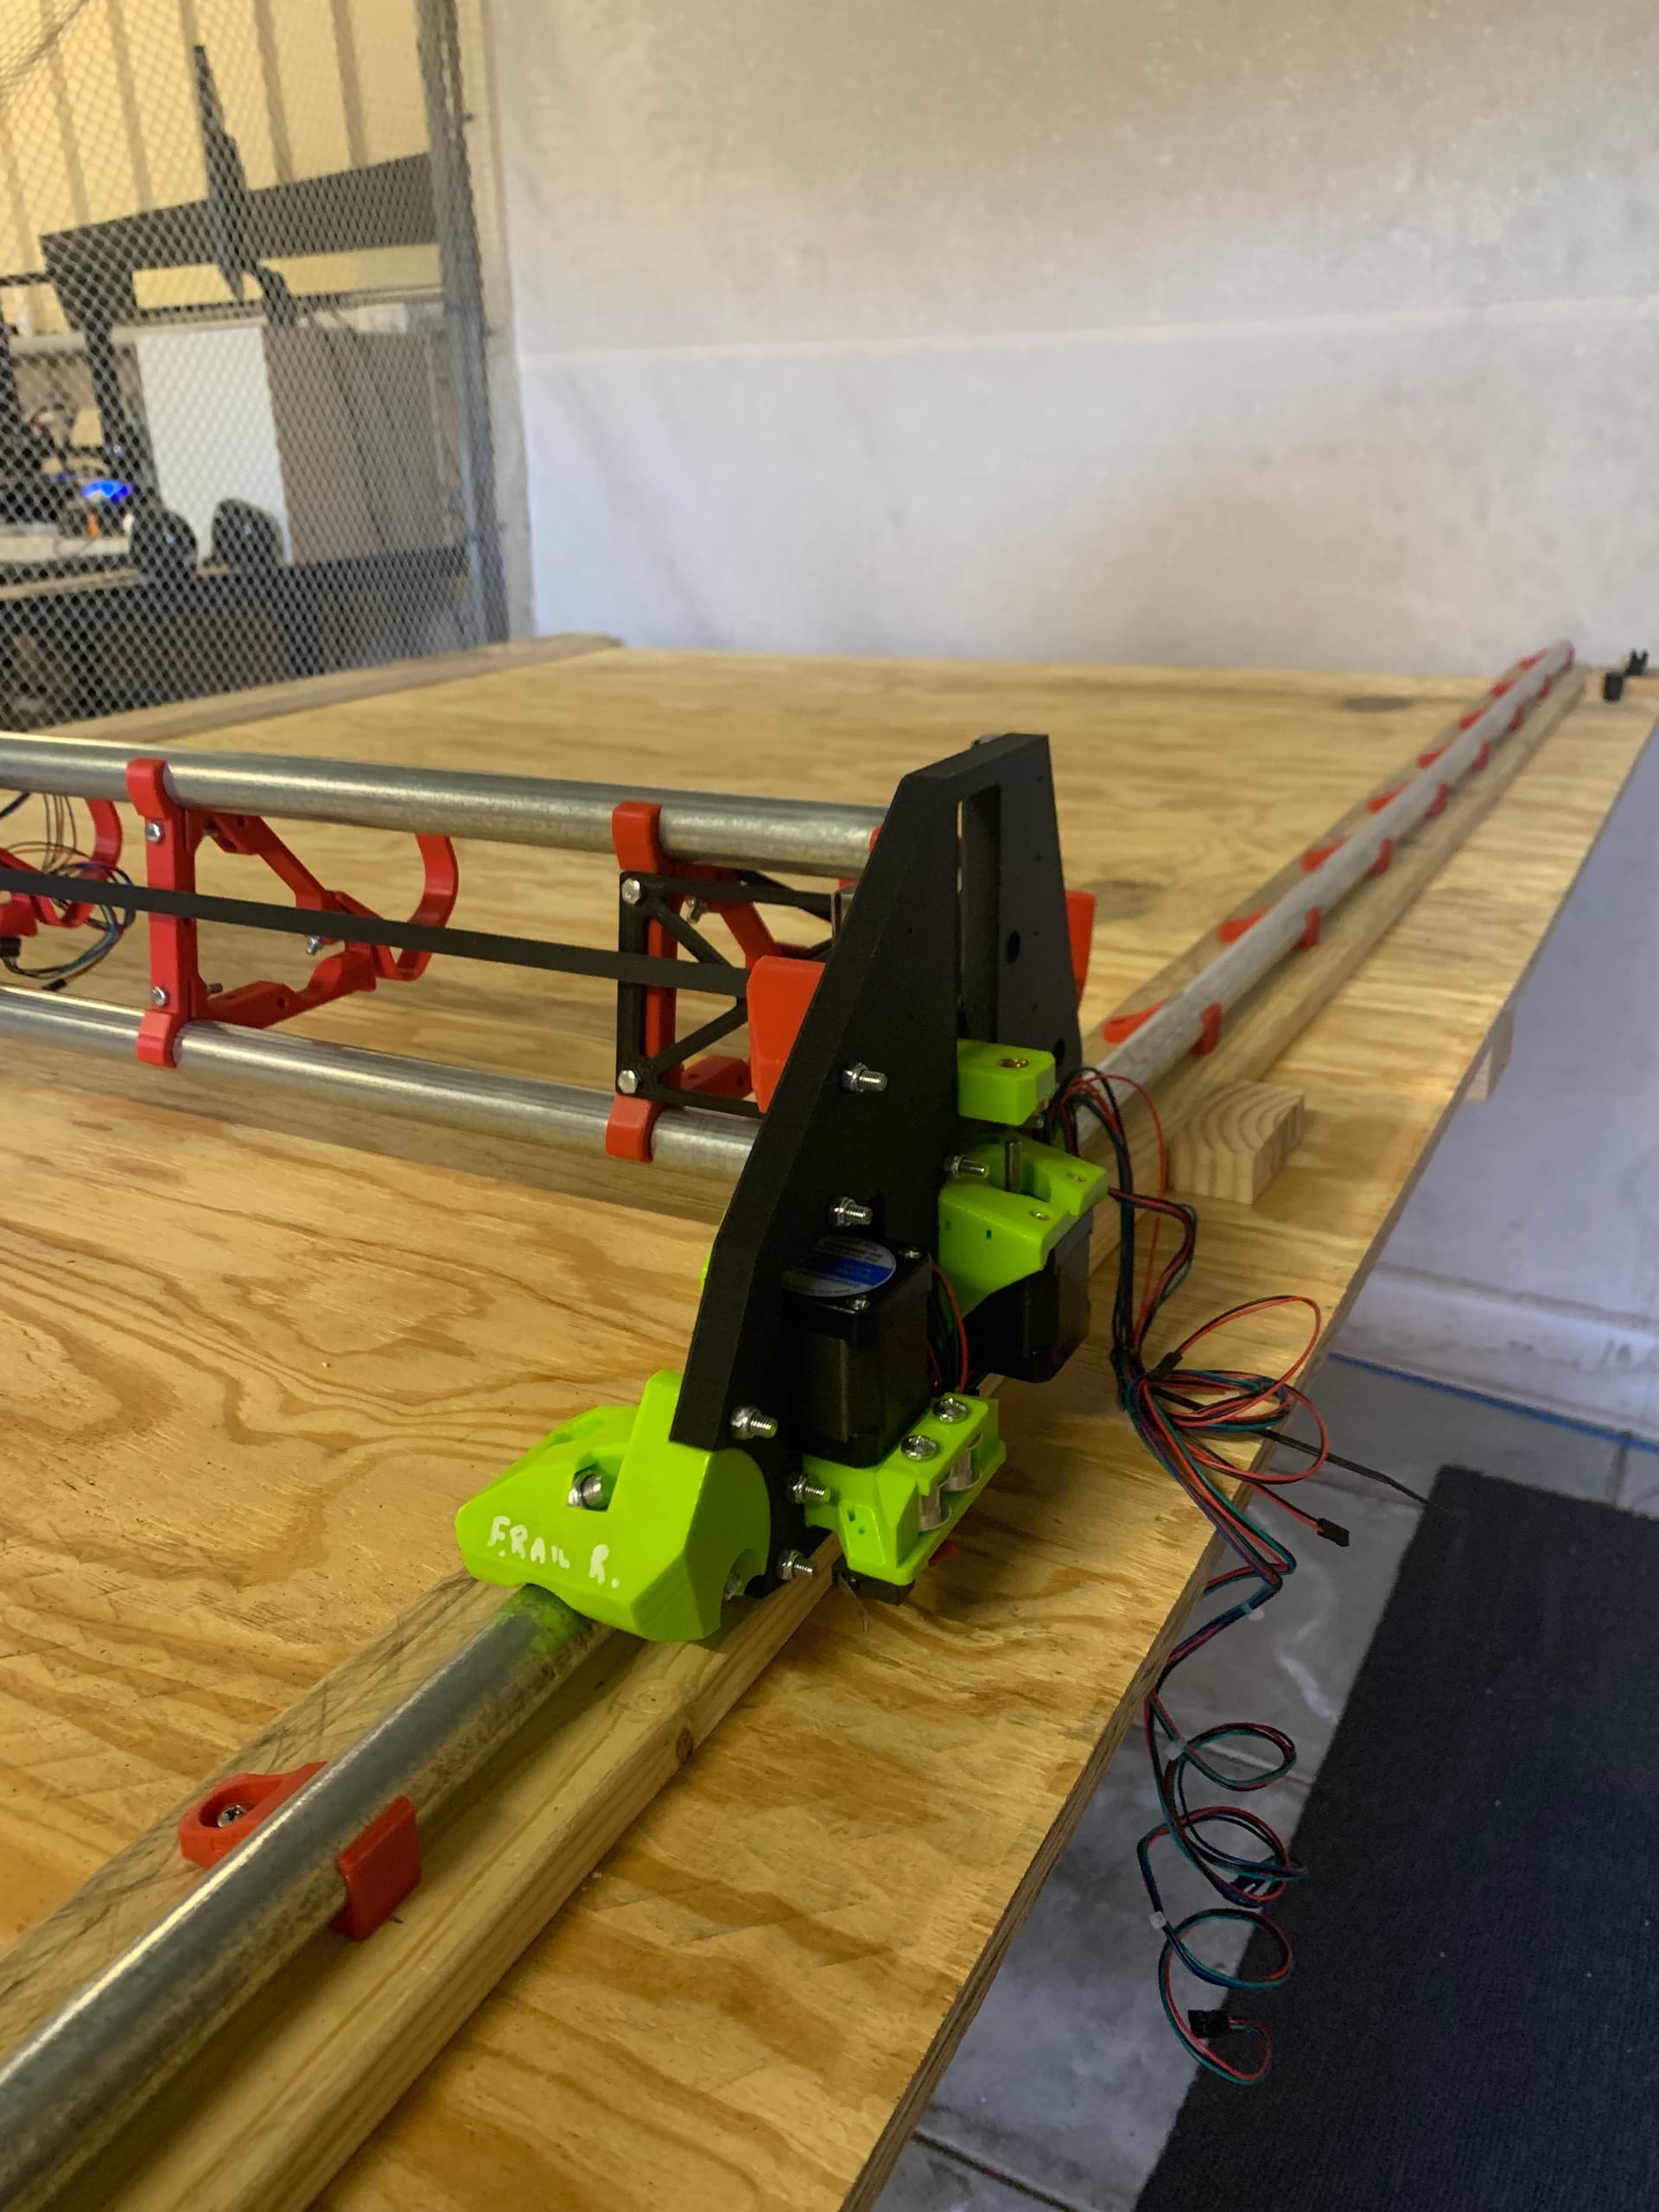
Hi, I am building my full sheet(almost) Low Rider3 in my shed in Perth, Western Australia.
So far it has been a good experience, with all my printing done, plus some aluminium XY plates, via AnthonyG… Thanks AnthonyG for your help.
In regards to Board box for SKR Pro, i have printed Ryans’ box, before coming across others. As i have printed it already, i will use and modify to my liking, but in his photos he also has a box for tft35 screen, which is not in the instructions?
I am wanting to print this box for my screen, as it fits in the recess on top, but I need an .stl file for it.
(the one in the first picture in the Key points section.)
Can someone please point me in the right direction.

Cheers, Anthony0281.
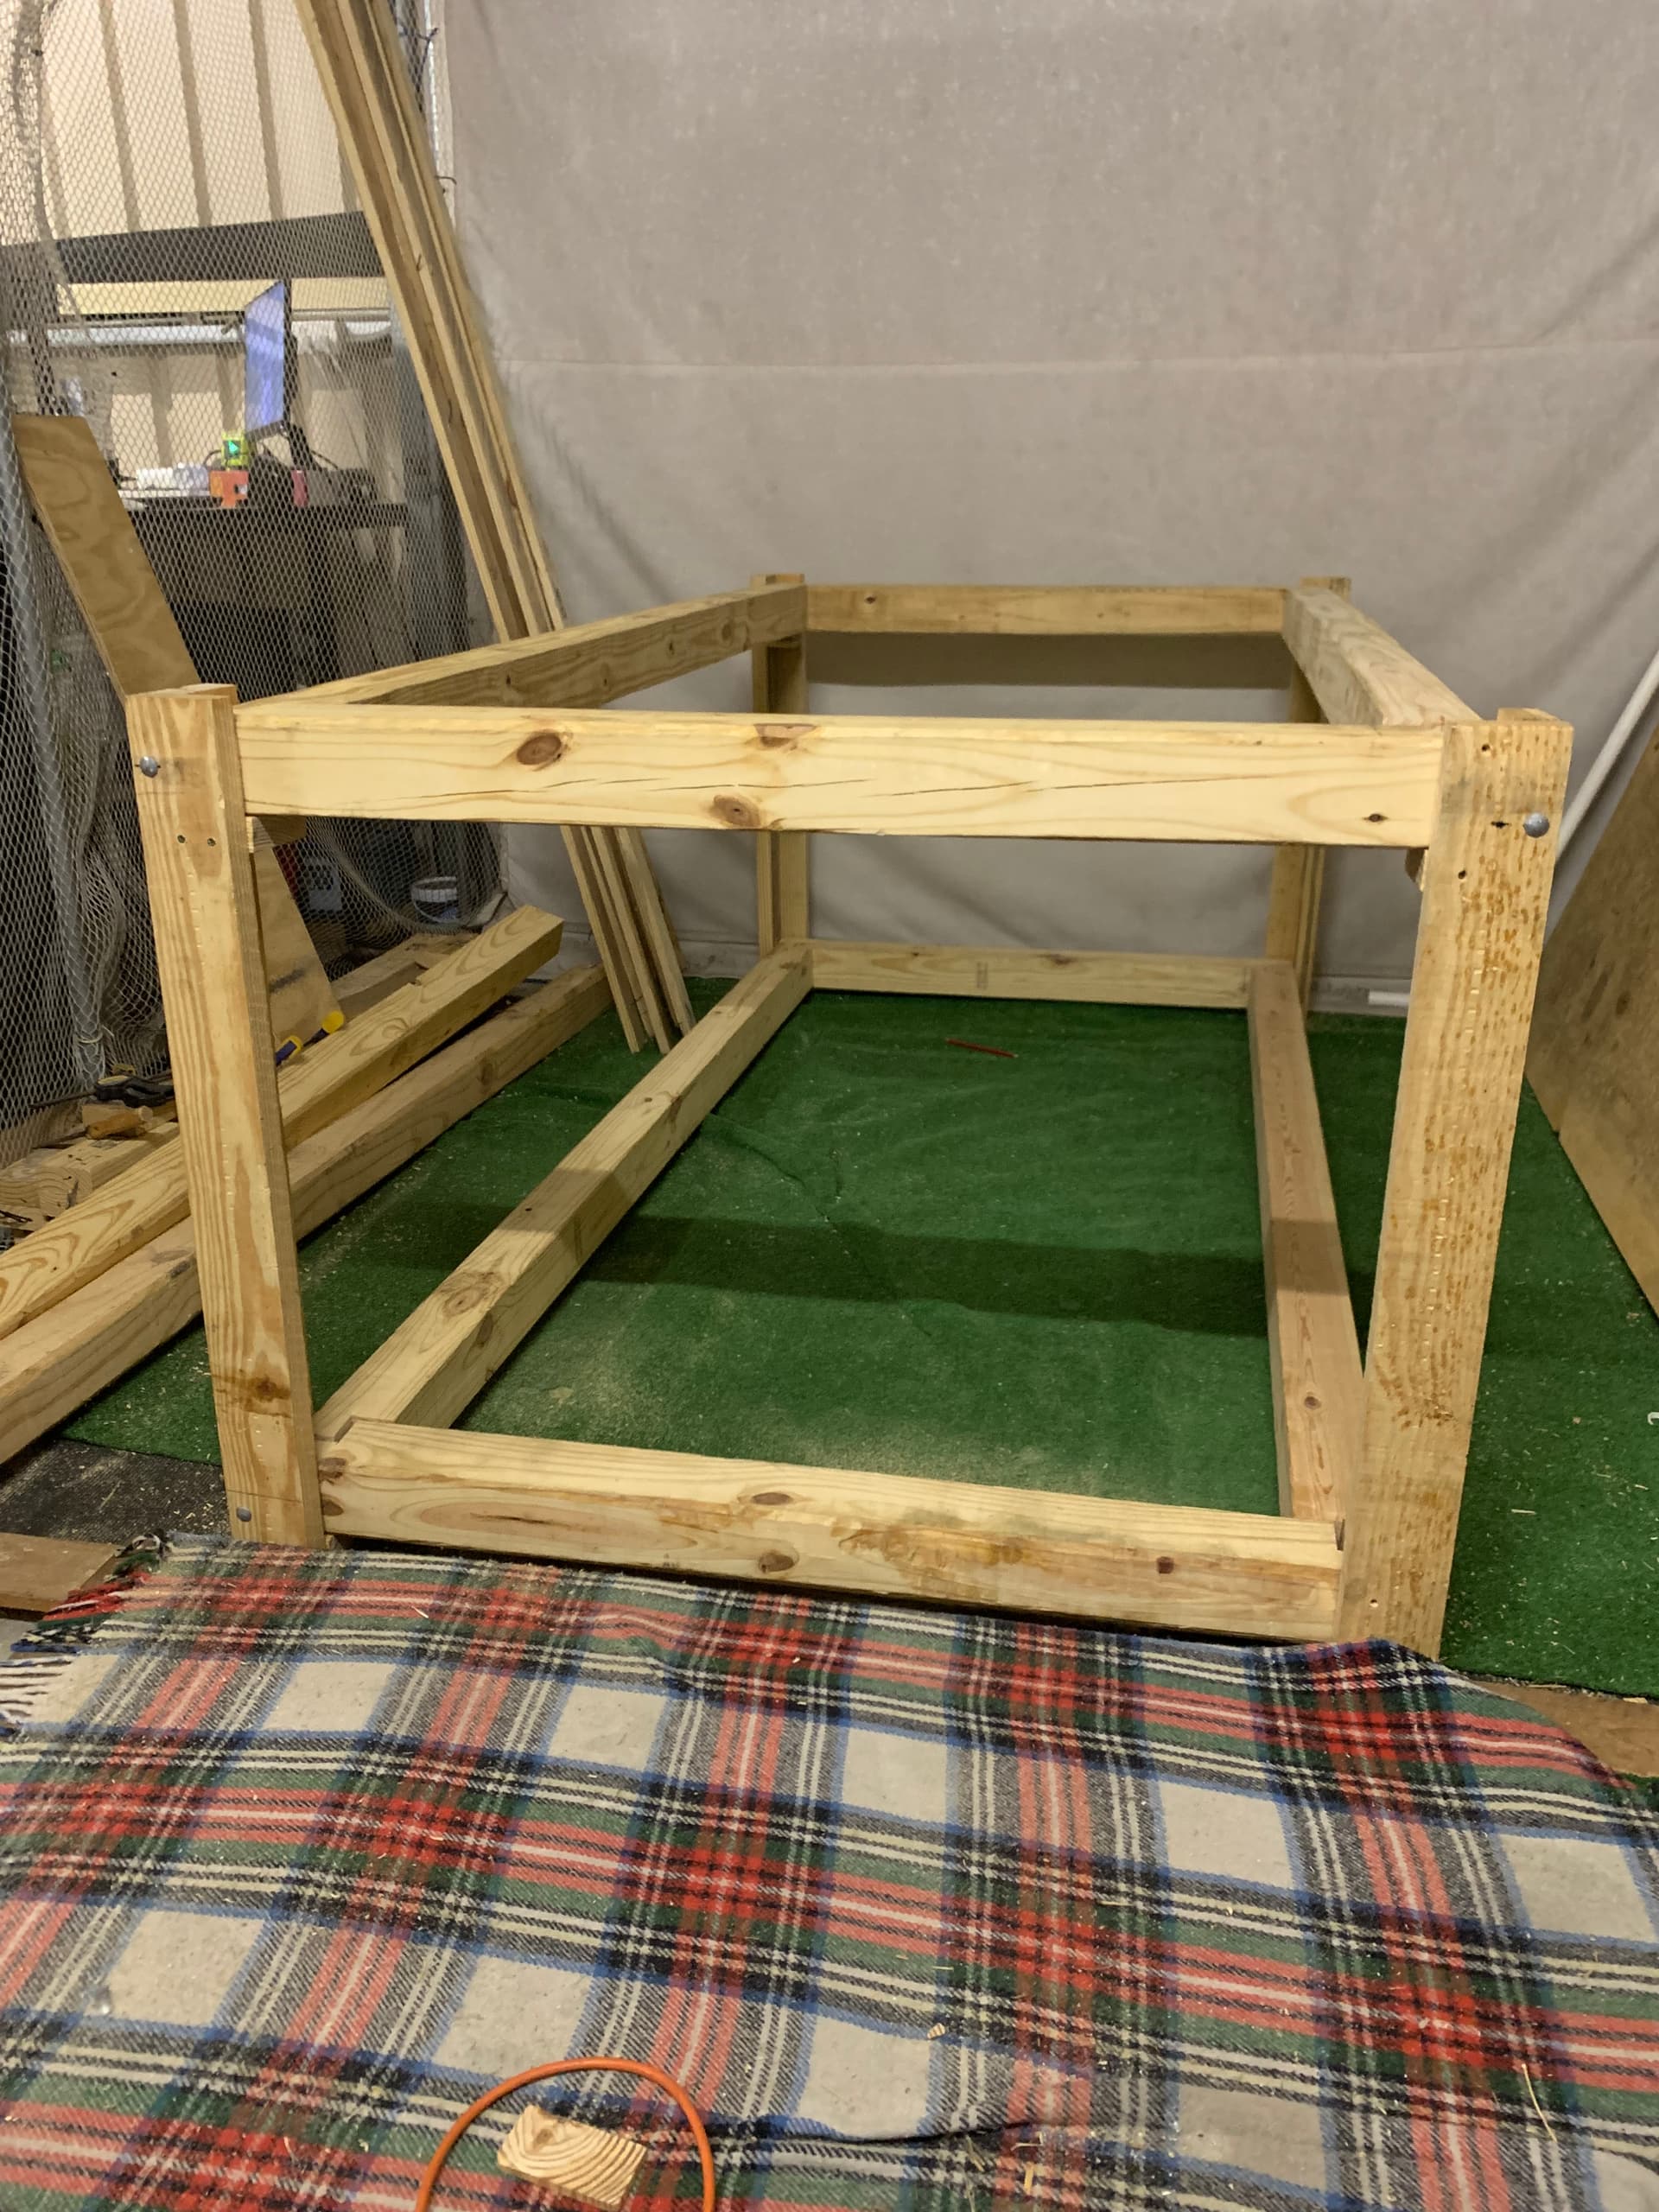
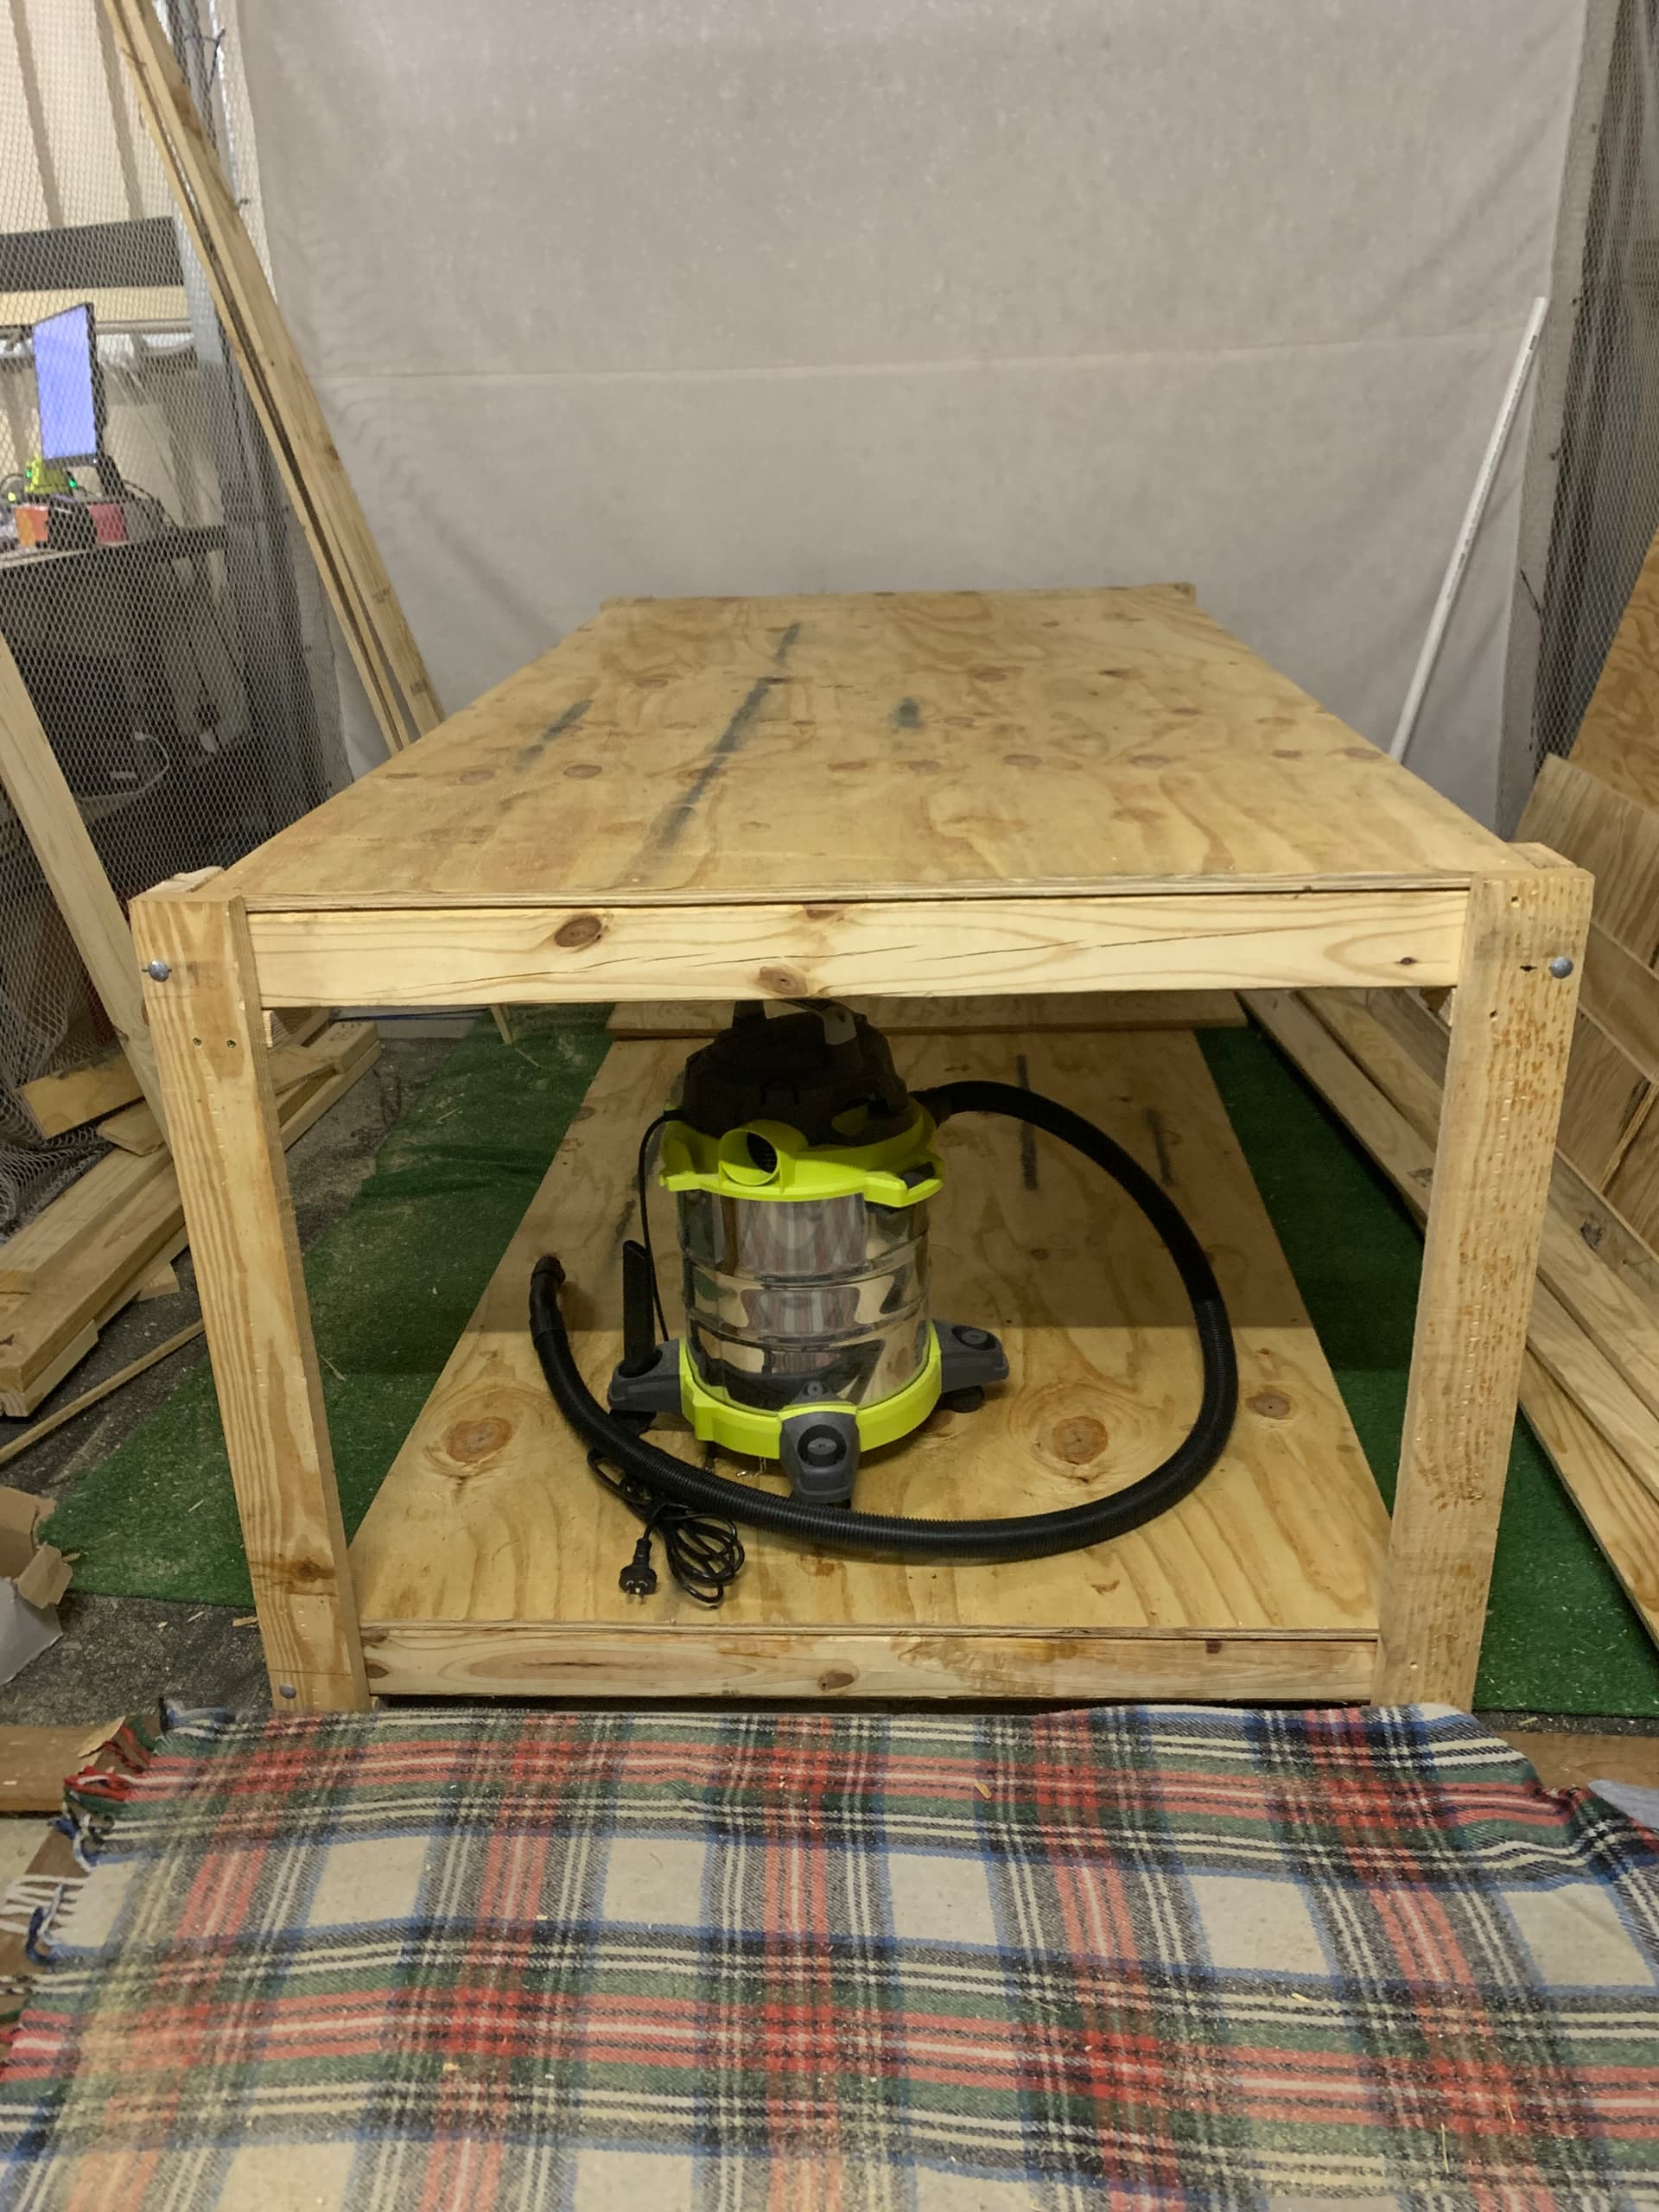
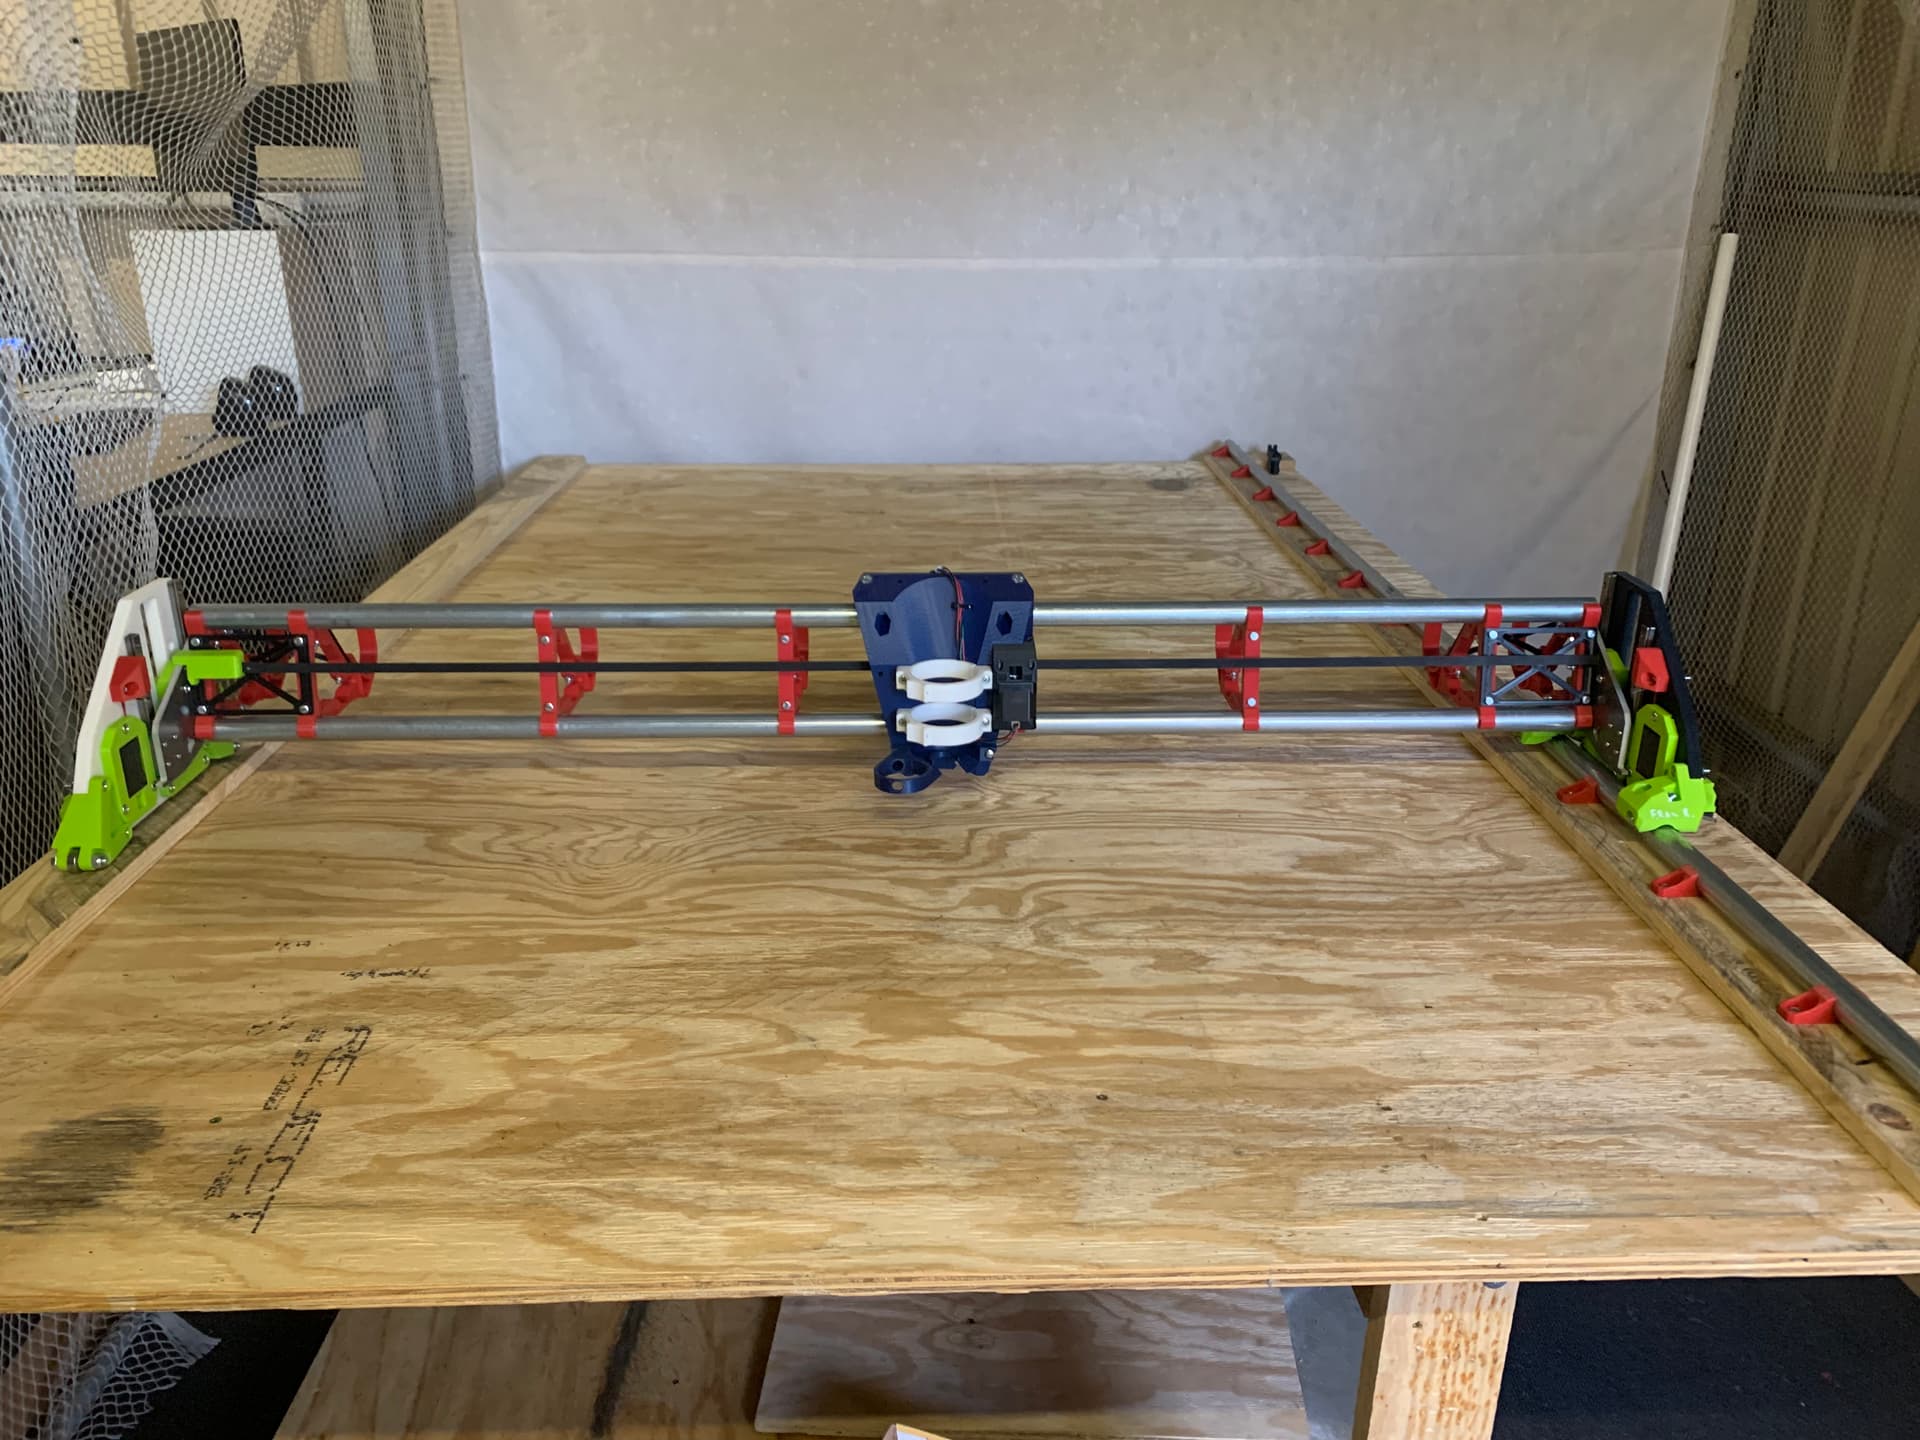
P.s. I will post some pics of my table and set up-as soon as I work out how :slightly_smiling_face:

1 Like

Is this the box you’re looking for?:

https://www.printables.com/model/74330-tft35-e3-v3-case

3 Likes

Thanks Matt, it looks great.
Downloaded and printing now.

3 Likes

I have a problem, besides that fact that i am not too smart, but smart enough to ask questions.:slight_smile:
How do I post photos? I can see from other feeds that it should be easier than it seams? Please can someonew help with some easy directions, that way you all get to see my handywork, yes we all like to show off our builds! Thankyou in advance.

1 Like


Here are some images from my build so far, and at the moment I am programming my board and screen to add and test.
I am also re-printing my tensioners, as i found that my slicer settings needed to be adjusted, which corrected my over extruding, and my belts would not fit through guide holes.
in the last photo, you can see that i have added a small pin to my belt on x-axis, as when i tried to tension the belt, it pulled back through. A simple fix.
More photos to come soon.(I am not so dumb after all. :joy:)

6 Likes

Perfect. Nice touch, actually.

1 Like

Thanks Ryan, it is just a piece cut from a spare printer bed clip/ bulldog clip.
I hope it helps someone else!

2 Likes

New problems with no drive on y2 and z2 motors, these are connected at E0 and E1 on the board(skr pro).

Do I need to Re flash my board, or is there some adjustment in marlin to do.
Do I need to move connections, my end stops are all connected as per lr3 skr pro documentation.

I can’t remember what firmware I used, but it was specifically for this board, I might have to recheck if it and use the one from Ryan .

Any. Suggestion? Please?

There is nothing I know of that can knock out two drives like that.

You can try reflashing your board, the files are at Marlin Firmware - V1 Engineering Documentation

I would check the endstops with M119 in a terminal. That could stop your drives.

Double check all the connections, that is the most likely culprit here.

1 Like

Not ok, still major problems with two drivers.y2,z2( non rail side).
Things I have tried-( always un-powered between checks):
Unplugged y2z2 end stops, no drive, light next to drivers on , at z1,z2,y2. We’re all on before, I think.

M119-x, y open, z triggered.( end stops in v1 positions from docs). Swapped z1 from E3 position to z position, ( probe position in docs) z driver light goes out, M119- z open, trigger stop- z triggered.
Z1 unplugged, no z stop indicated.

Swapped z1 and y1 drivers - z1 still works, y1 not.
Swapped plugs z1 and z2, z2 motor drives, z1 not.

Re flashed from link skr pro few from v1 docs, fit hub gives options of 2 skr pro firmware, file difference in lettering of D or R , I flashed the D version, made no difference. ( I hope this is right?)

I refitted all end stops, by pushing in wires on plugs for end stops into plugs, I got y2 light to go off, played around and I now get z2 and y2 lights off when end stops plugged in, but no driver operating.

Do I need to connect to a laptop and maybe can I check through pronterface to check configurations.

I did not send photos as not at computer.
Seems like a firmware fault, or do you think a board failure?

Unfortunately, due to time differences, communication is difficult, and thus frustrating.

Thanks for your thoughts, I need all the help I can get.
Cheers,
Anthony0281

The lights next to the drivers are for the endstops, and it is very confusing.

To test endstops please just use M119 reports. Test every endstop, does each one show open and triggered, one at a time?

So you popped two drivers somehow? I am not really following this part. Your Y2 and Z2 are not moving. When you swap drivers they work. So the issue is not the wires or steppers. Still could be drivers or endstops. If that is what you did there.

Your firmware should be the LR dual, if you boot to the marlin screen it will say DL after the revision number. M119 will also tell us if you have the right one.

It is most likely not firmware. Endstops of drivers, could be the board itself. This is not common at all. The only other time I can think of something like this happened, a Gecko had crawled all over the board.

Take it slow we will figure it out.

1 Like

Sorry, I should read what I wrote.

I swapped the Y2 driver to the Z1 position, and viceversa.
The Y2 driver works the Z1 motor, the Z1 stepper driver does not work Y2 motor.

So, Neither Y2 or Z2 (E0 and E1 positions) stepper motors will drive their respective motors, but when I swapped motor wiring for Y2 and Z2 to Z1 position, the corresponding motors will operate.

So there is a problem driving steppers from positions
E0 and E1.

With the end stops, X1( displays as x) will operate, Y1 the same. Z1 (stop in E2 position as per V1 docs) says triggered), but when I switch to the Z stop position, will operate as open , or triggered.
The Y2 and Z2 end stops( plugged at E0 and E1) do not display at all, so can’t test.

I will go back and recheck firmware type I have installed, I also have Christian Auravio? Tft firmware, should I change to V1 version, will that change anything?

Will removing the black connector base at tft position help stop my tft plugs from constantly pulling out?

I hope this explains it all better.
I will endeavour to go and try it all again.
I could try the wiring for Y2 and Z2 in the other positions and check that they actually work,.
I have also checked resistance for motor phases, and end stops and they work manually.

Thanks again, Ryan. You are more than helpful.

1 Like

This is a good indication for the type of firmware installed too. It should have Z2 and Y2 endstops in m119

Yes I have a feeling that is the problem, some how.
I thought I originally had the right one , but no

If you are having issues, I highly recommend using our tested and proven firmware for both the screen and board. This should eliminate variables. (I am testing other tft firmware and it can have all sorts of random bugs).

Yes, I have this step in the instructions. You should also secure the wires after the plugs somewhere as well. In my cases, you can cable tie them to the vents and exit holes. Wire pull outs can cause damage.

Run M119 and show us a screen shot.

Even if you ultimately move back to the community firmware, at least test and debug with the V1 firmware. We have a lot of evidence that it works (with dozens if not hundreds of users making it work). After we have found the issues, you can go back to that tft firmware and change one thing at a time while testing. That gives you “a corner to fight from”.

1 Like

Yep, I will do. Already have V1 tft on my computer, so easily done.
Just have to find correct firmware for board.

Then refit end stop wires correctly, and🤞

thankyou Ryan and Jeffeb3, I have success.
I have installed the V1 CNC TFT firmware-Success :white_check_mark:
I Have installed theSKR Pro Dual LR firmware-Success :white_check_mark:
I have checked and have all motors and end stops working-Success :white_check_mark:

When the end stops are activated, the motors will still try and drive, even though both z stops are activated, is this normall when using move buttons?
Will Y axis do the same? do any actually stop the axis from moving,or is it just in this mode?
Now i have to clear top of cnc of rubbish, and test and play, etc.

FYI, i was trying to find firmware by clicking on link in the firmware- where it says-
Current release bin files, V1 Engineering pre-configured firmware,

which took me to the original i downloaded,nah!
This time I went in at Marlin Firmware/skr pro/ skr…dualLR. Yeah!!
I now have both saved for future reference.

Thank you both again so much, you are amazing.
Enjoy your Friday…and as it is P.O.E.T.S day, start the weekend early.
(Piss Off Early Tomorrow’s Saturday)
Cheers, and beers… Anthony0281

1 Like

The end stops only work during homing operations. If you are just moving it manually through the menus or via software, they will not stop any movement beyond the physical limits of the machine. You can set up soft limits via the firmware, but someone else will have to help on that.

2 Likes

next question, in the endstop section, it says to make sure that a positive movement is away from the end stops- so then I changed motor plugs so that this the case.
and tested, yes x,y,z positive is away.
homing gives x to end stop, y to end stops, but z goes down, not up to end stops- why?
I can turn the motor wires around, but then positive Z will be towards end stops.
what do i need to adjust? or should i just leave it?
that way, positive z is up, which makes more sense anyway, positive y will be down the table from front to rear. positive x will be away from stop, that will be easy.

There is always something to trip me up!
Cheers.

1 Like