Ok so collected a partial built / printed LR3. I have printed the none rail side & got that built up. I have a few parts that I’m not sure yet what they are for. I’m on my phone at the minute so not sure how to add photos sorry. Jackpot board & some other bits are well on the way from V1E. M5 stack on the way from PiHut. Will deffo need some of your skilled input for this I think. Will post photos later this evening when I’m back on the PC.
You can access the lr3 docs. They are linked in the lowrider section
Yep just found them thanks guys ![]()

That should work. If you can find a 24v I think you will be better off with that. Assuming your control board can handle 24v
2 Likes
12V will work and be fine. 24V is better for new builds as long as your controller and peripherals can handle that, just as JJ says. We’d need to know more about your planned build to give better advice.
2 Likes
I’m using the Jackpot board from V1E.
1 Like
In that case, since you are buying a power supply either way, I would go with 24v if you can.
1 Like
Ok any suggestions ?
1 Like
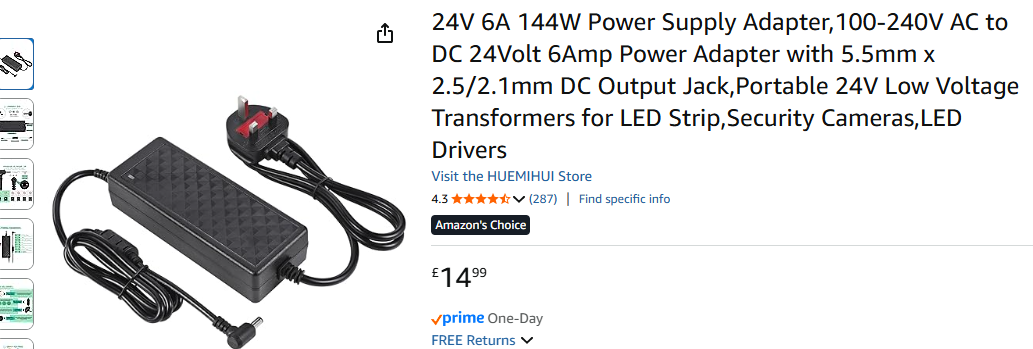
That looks perfect. You will just have to cut the barrel plug off of the end and hook the wires up to the Jackpot. The adaptors are known to go bad quite often.
1 Like
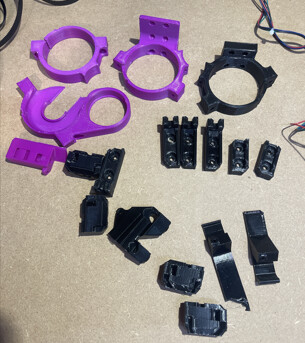
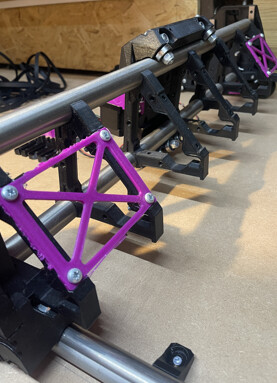
An update as too where I am currently at ![]()
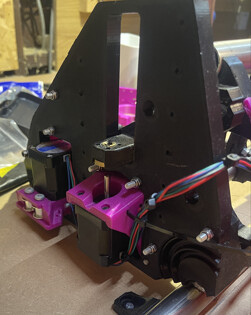
Got some parts here that I can’t figure out where they go ?
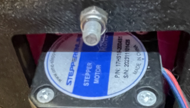
These are the steppers that came with it.
Some of this side was printed so I got to work on building it.
It was missing 3 Strut braces from in between the two purpley pink bits
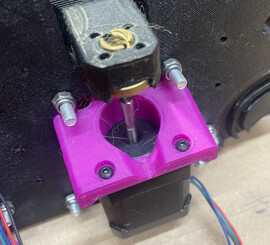
I Have temporary routed the stepper cables to figure out some positions & stuff.

Now I’m working on a power chain for the ‘X’ axis, just not sure how I’m going to mount it to the carriage yet.
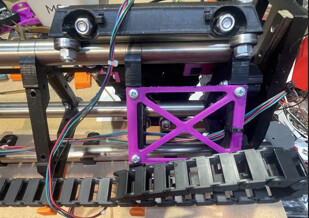
More to follow soon.
The purple ones look like parts for @DougJoseph’s floating dust shoe attachment and/or kinematic tool holder. They replace the stock dust shoe, upper, and lower tool mounts.
Not sure about the black parts.
These are the temporary struts. You only need them on the end sections, but you should have them on all three faces of those sections (if I recall correctly).
Use the temporary struts to cut permanent ones with your LR3.
1 Like
Here’s a link to the YouTube playlist about that floating Z dust shoe.
1 Like
Oh yes I like that design. How did it work out in the end ?
1 Like
Floating Z design definitely works and I used it extensively on my LR3, however, the LR4 approach of putting printed TPU bristles on the bottom of the fixed shoe, and having two sets of them with two different lengths of bristles, such as what Ryan designed for the LowRider v4, is a very capable solution that is easier and simpler to produce and works so well that it makes a floating shoe approach not needed. I think prior to my design with the floating Z shoe that involves the track/groove on the bottom for bristles, Ryan and others were just taping bristles to the sides of existing shoes. So I’m not sure if I gave him some inspiration for his very clever track/groove based bristles on the v4 or not, but (long story short), I used the floating Z dust shoe on my LR3, but not on my LR4.
1 Like
Ok thanks for the info pal, I’ll look into the LR4 Design to see if I can adapt it to fit mine.![]()
All limit switches N/C ?