Nice build…will read through it later tonight !!!
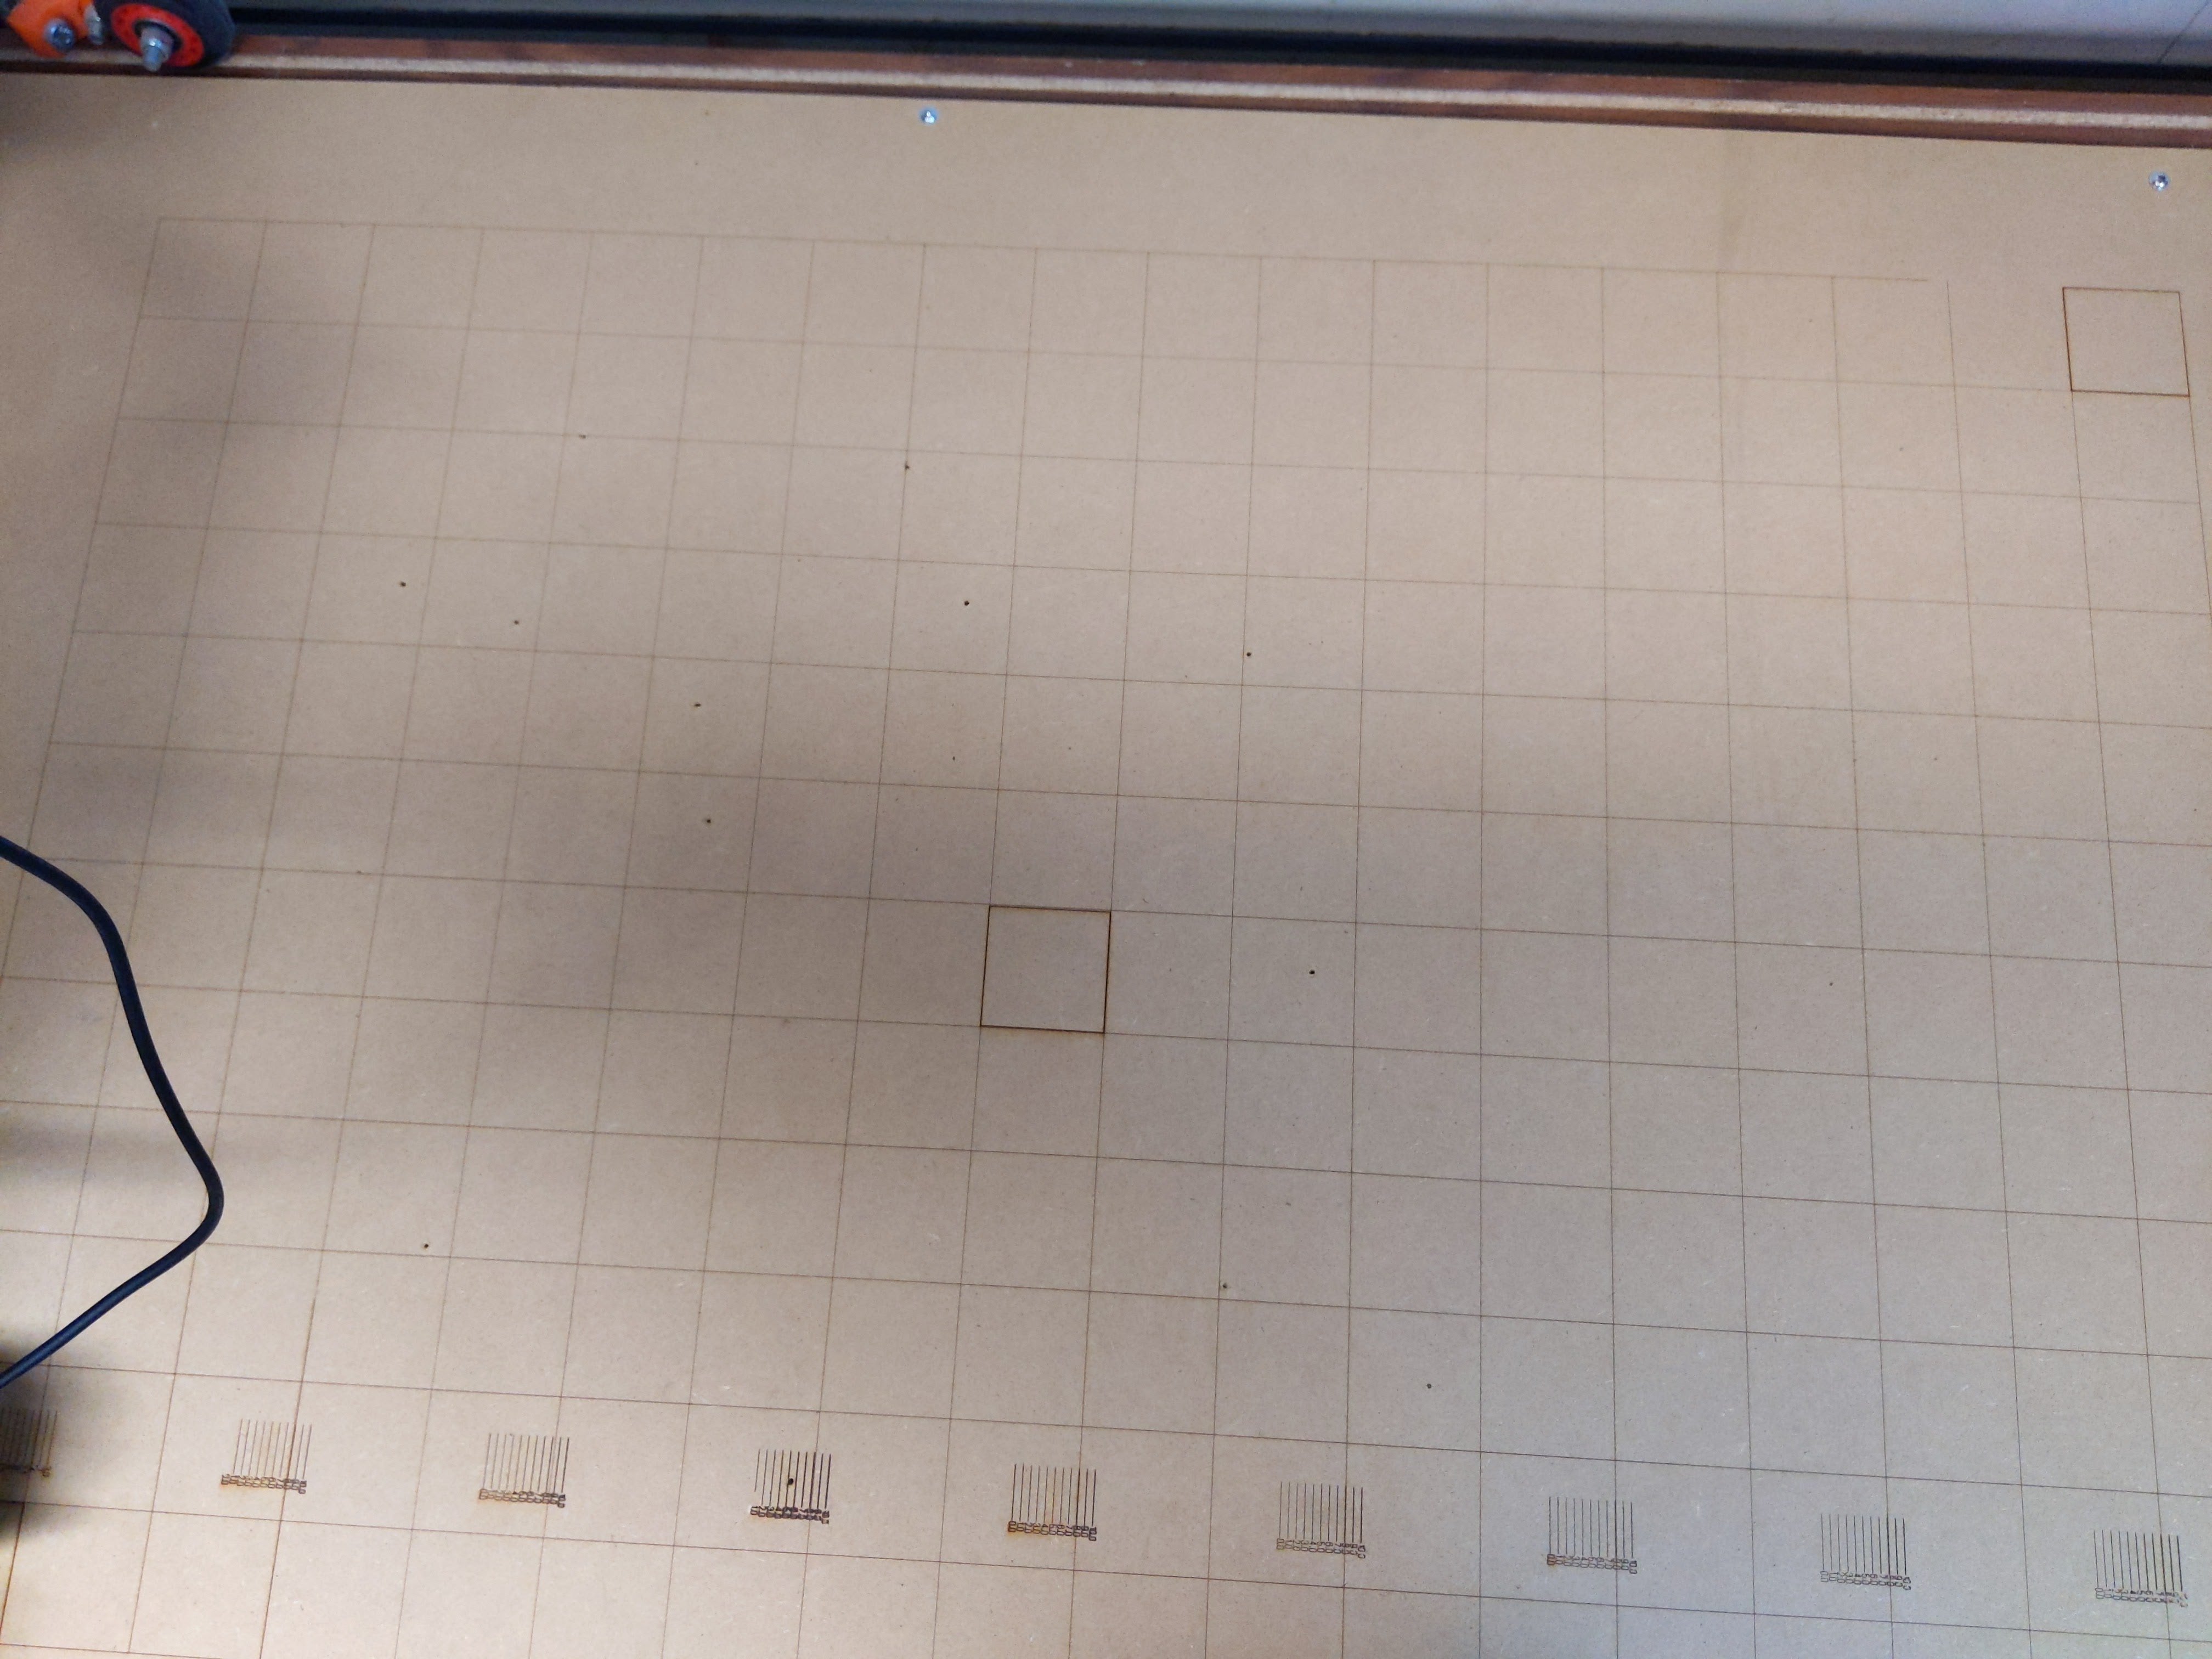
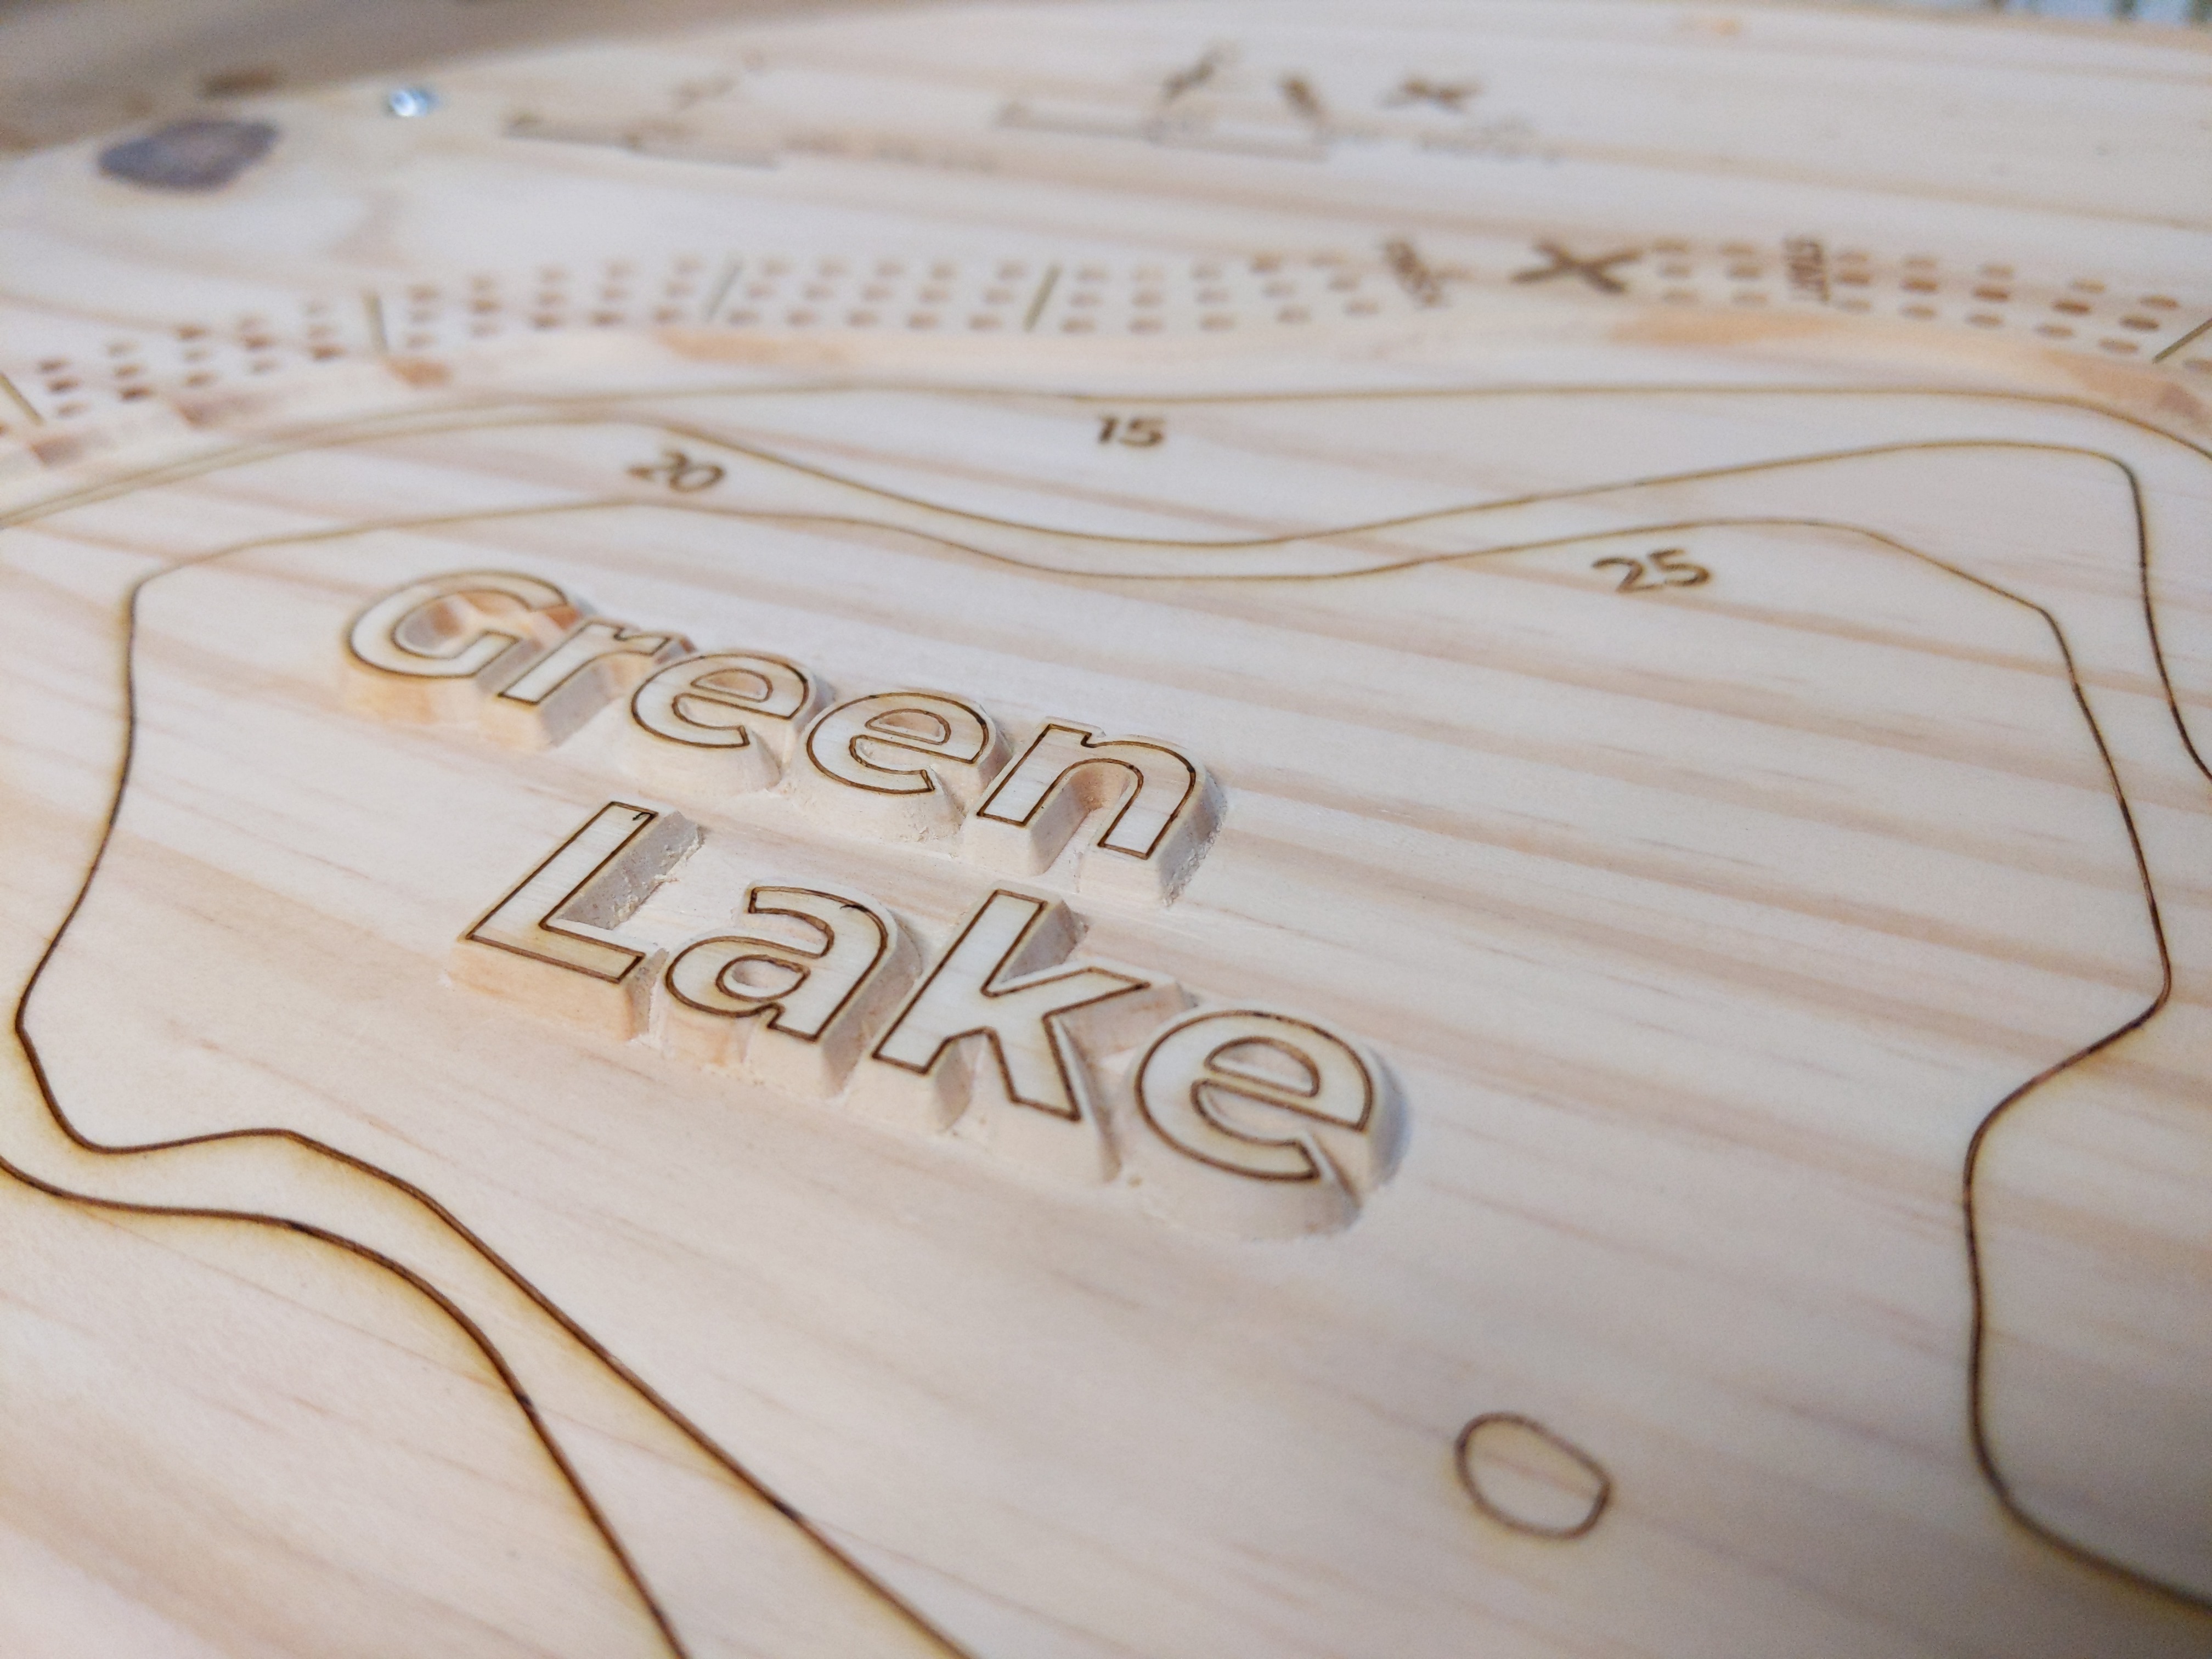
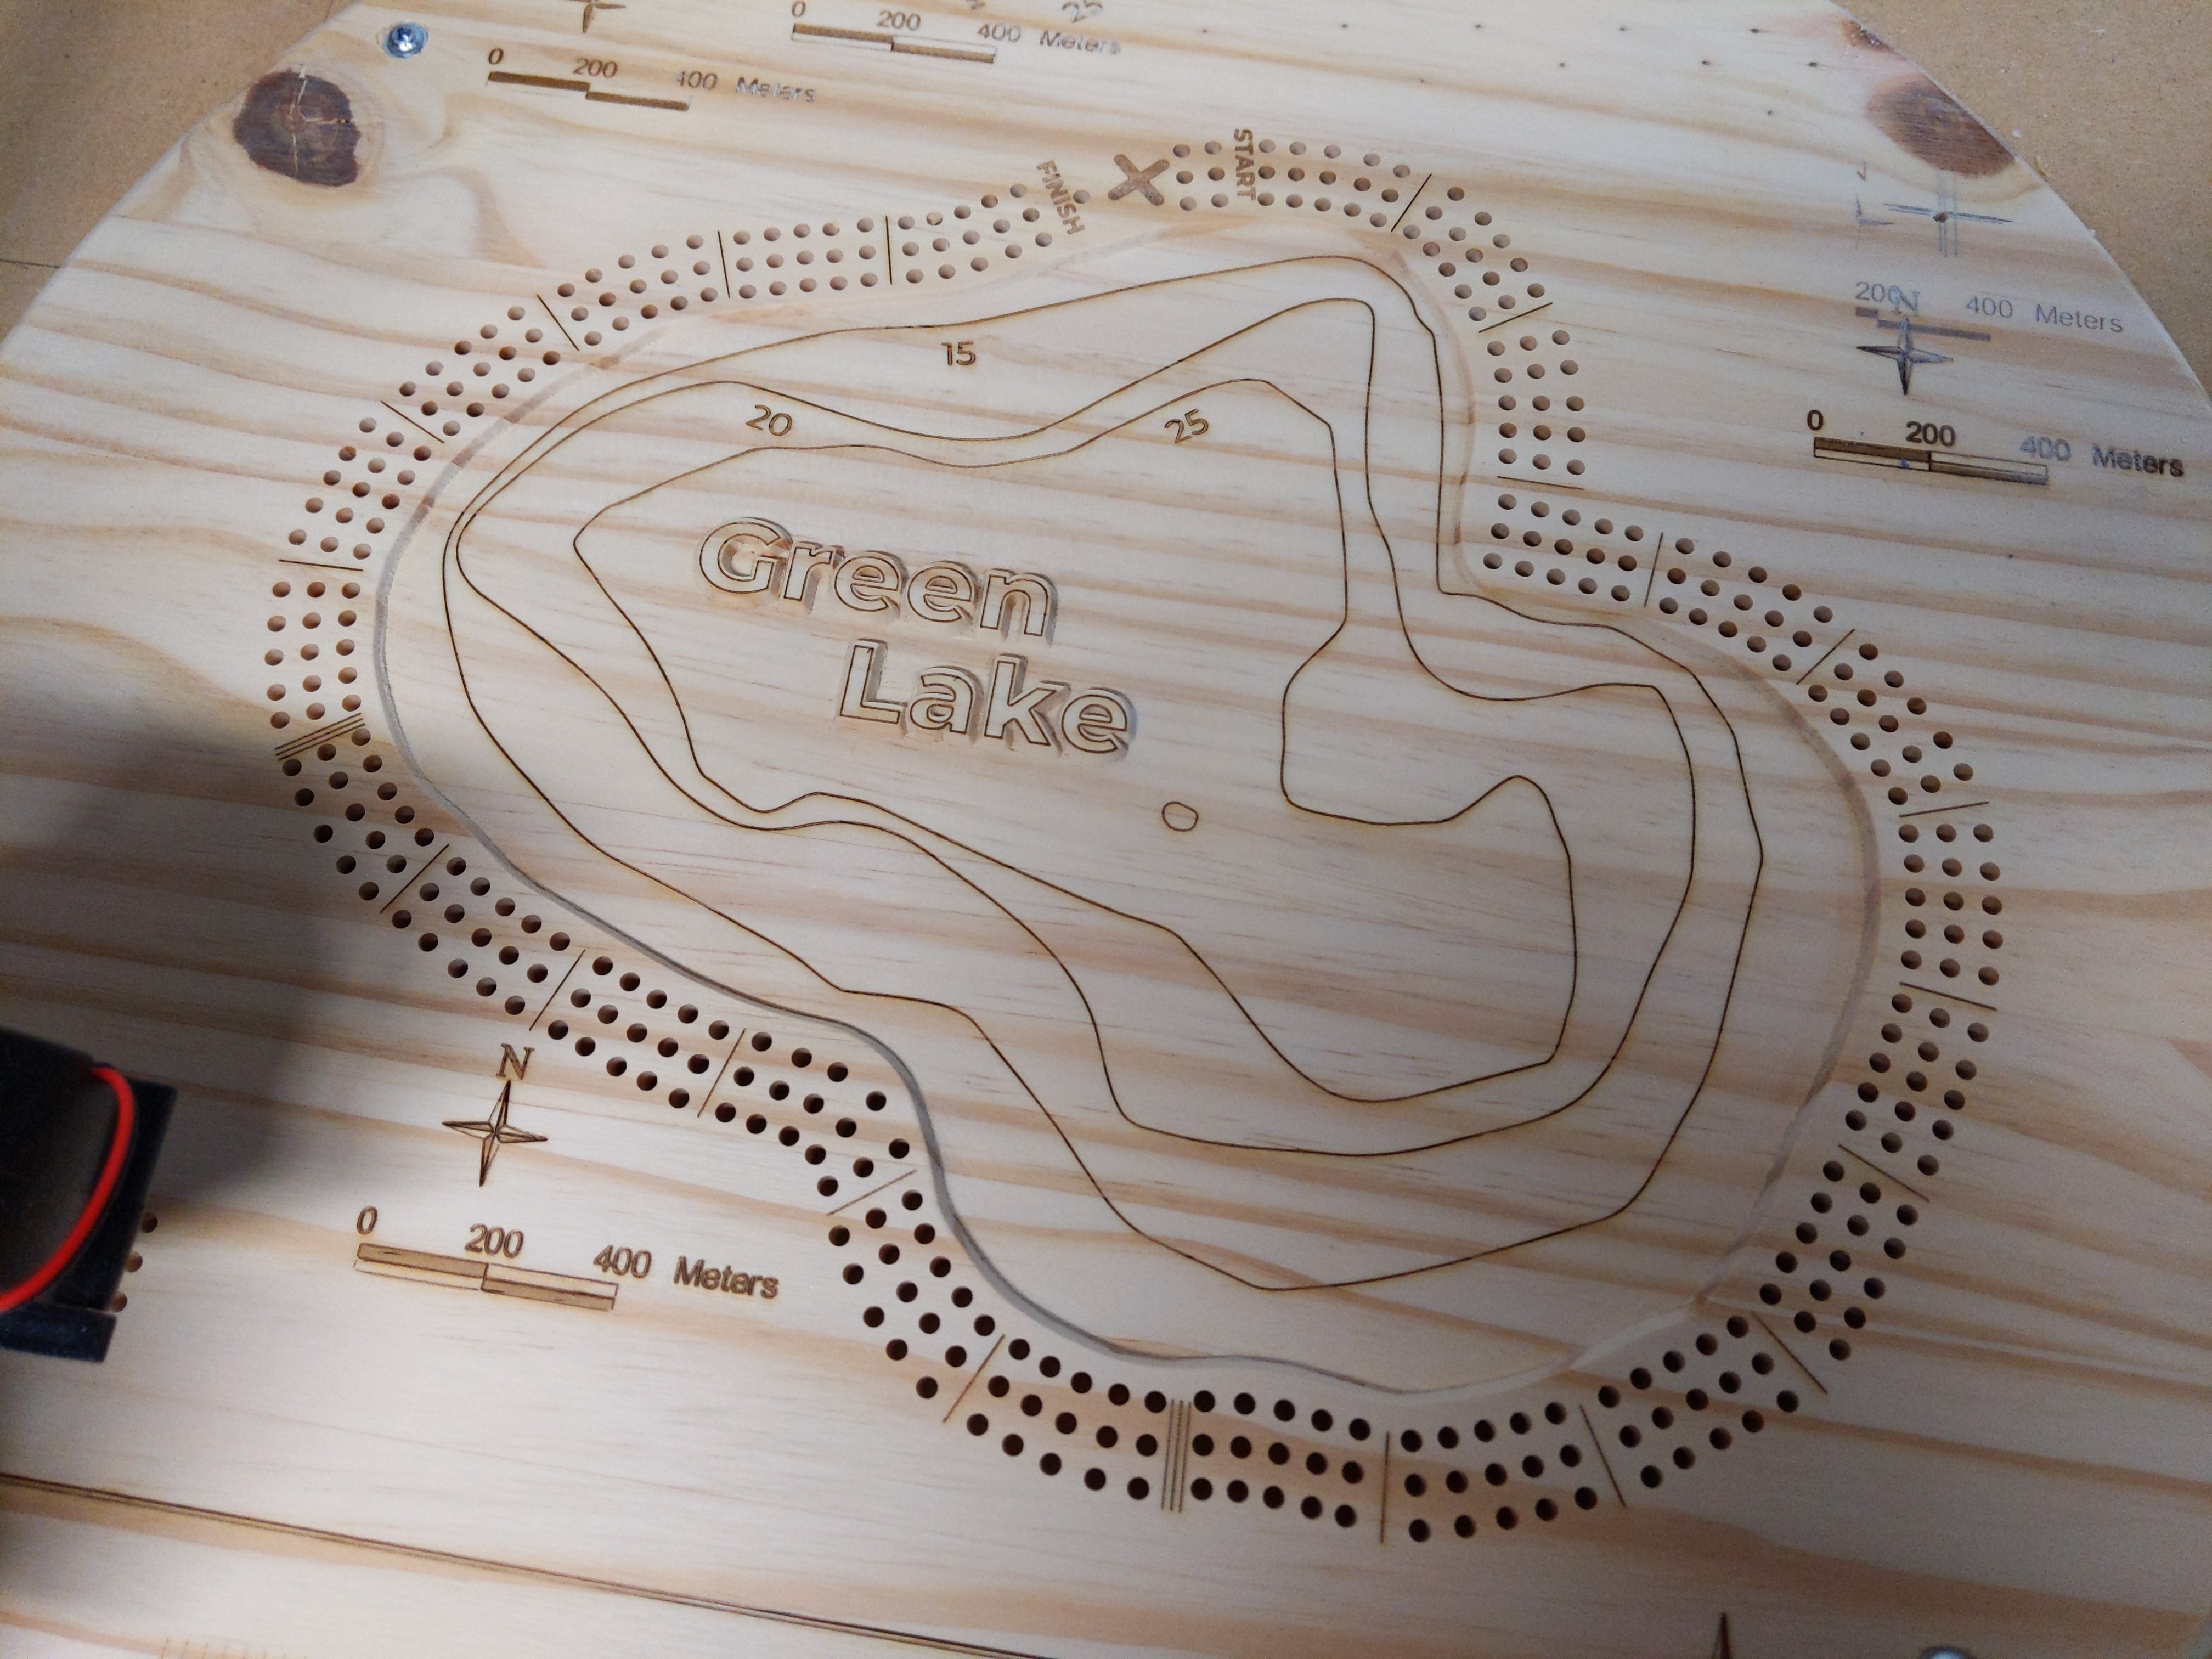
Finally putting some more complicated jobs through this. Carved out the raised text and drilled the holes. Now I am getting the laser work done. Next will be to cut out this side and flip it over and cut out the peg hole and then final cut out.
Tip for anyone drilling out the holes, I switched from a 1/8" shaft bit to a 1/4" shaft (still 1/8" cut diameter) bit and was able to almost double my drill speed as it got rid of bit chatter in the hole.
4 Likes
WOW, I think you just one for nicest cribbage board.
That etching on the raised letters…so nice!
1 Like
This bit was awesome for drilling the holes.
https://smile.amazon.com/dp/B00L3AV0ZK/ref=cm_sw_r_cp_apa_fabc_8b25FbTY4PTPW?_encoding=UTF8&psc=1
1 Like
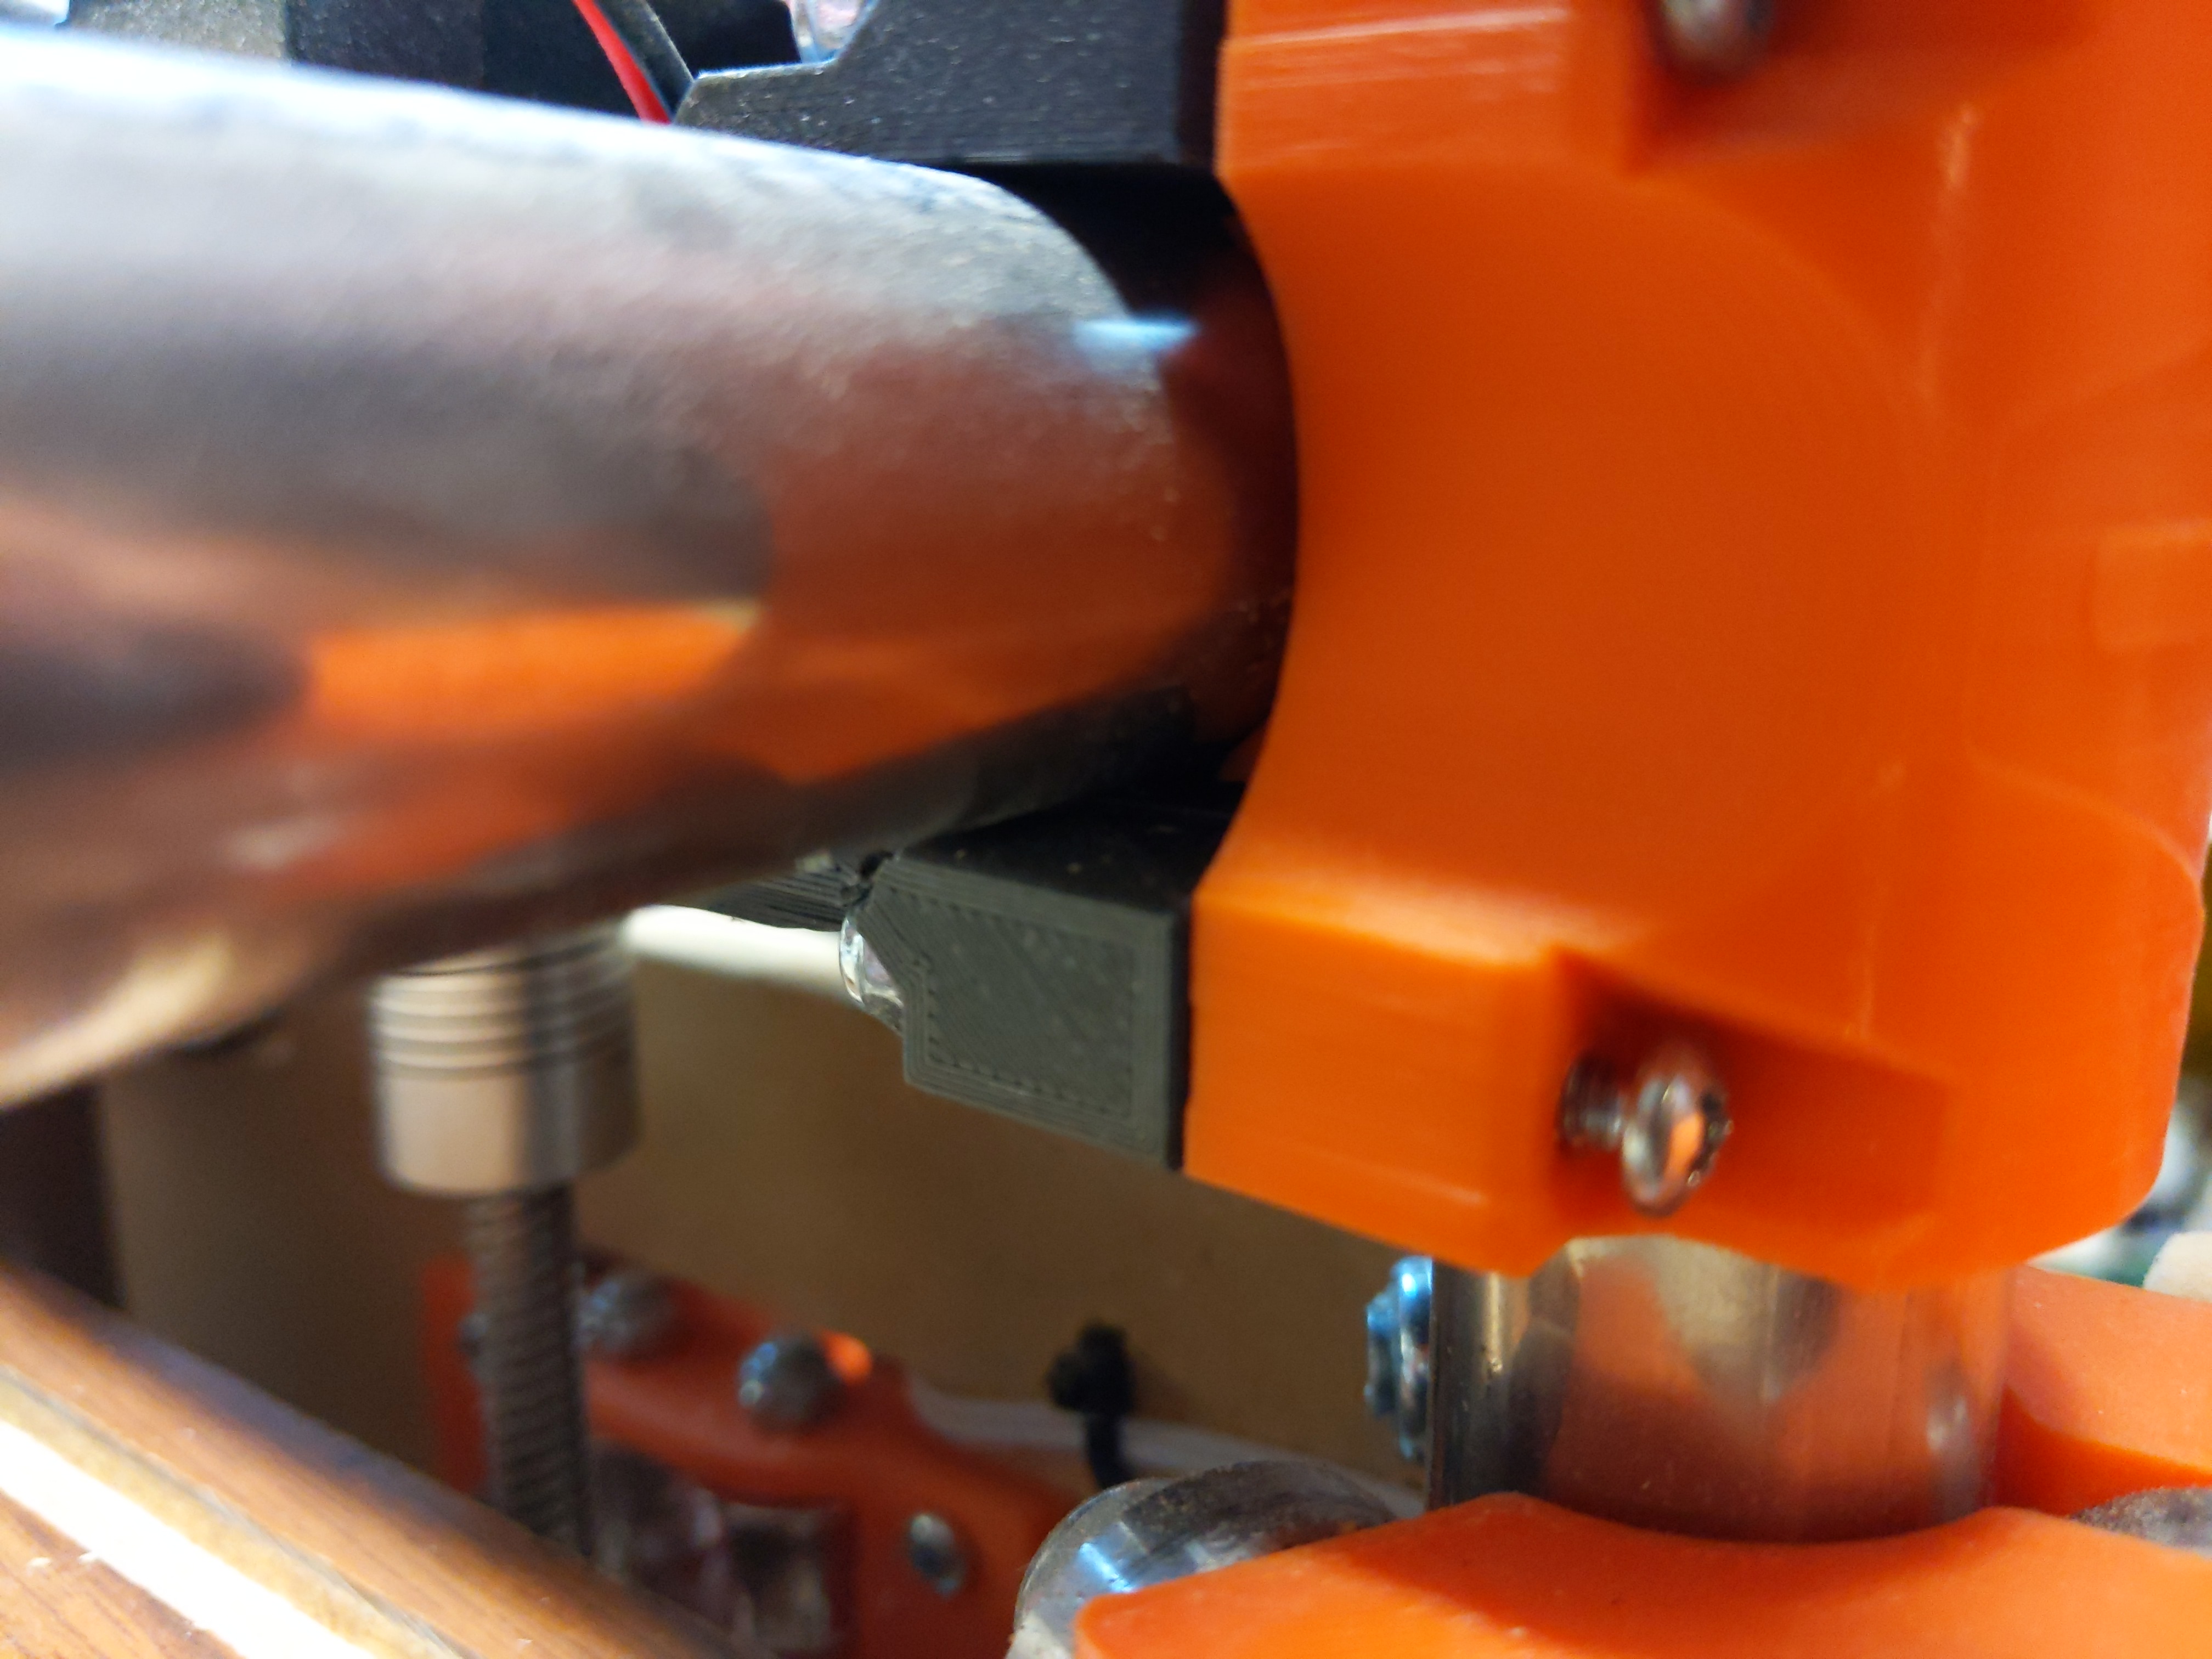
Laser setup:
To this mount:
With this plate:
I would suggest using this air assist:
Software/control: lightburn, the best $40 I have spent on this machine.
2 Likes
@vicious1, I need a new sticker!
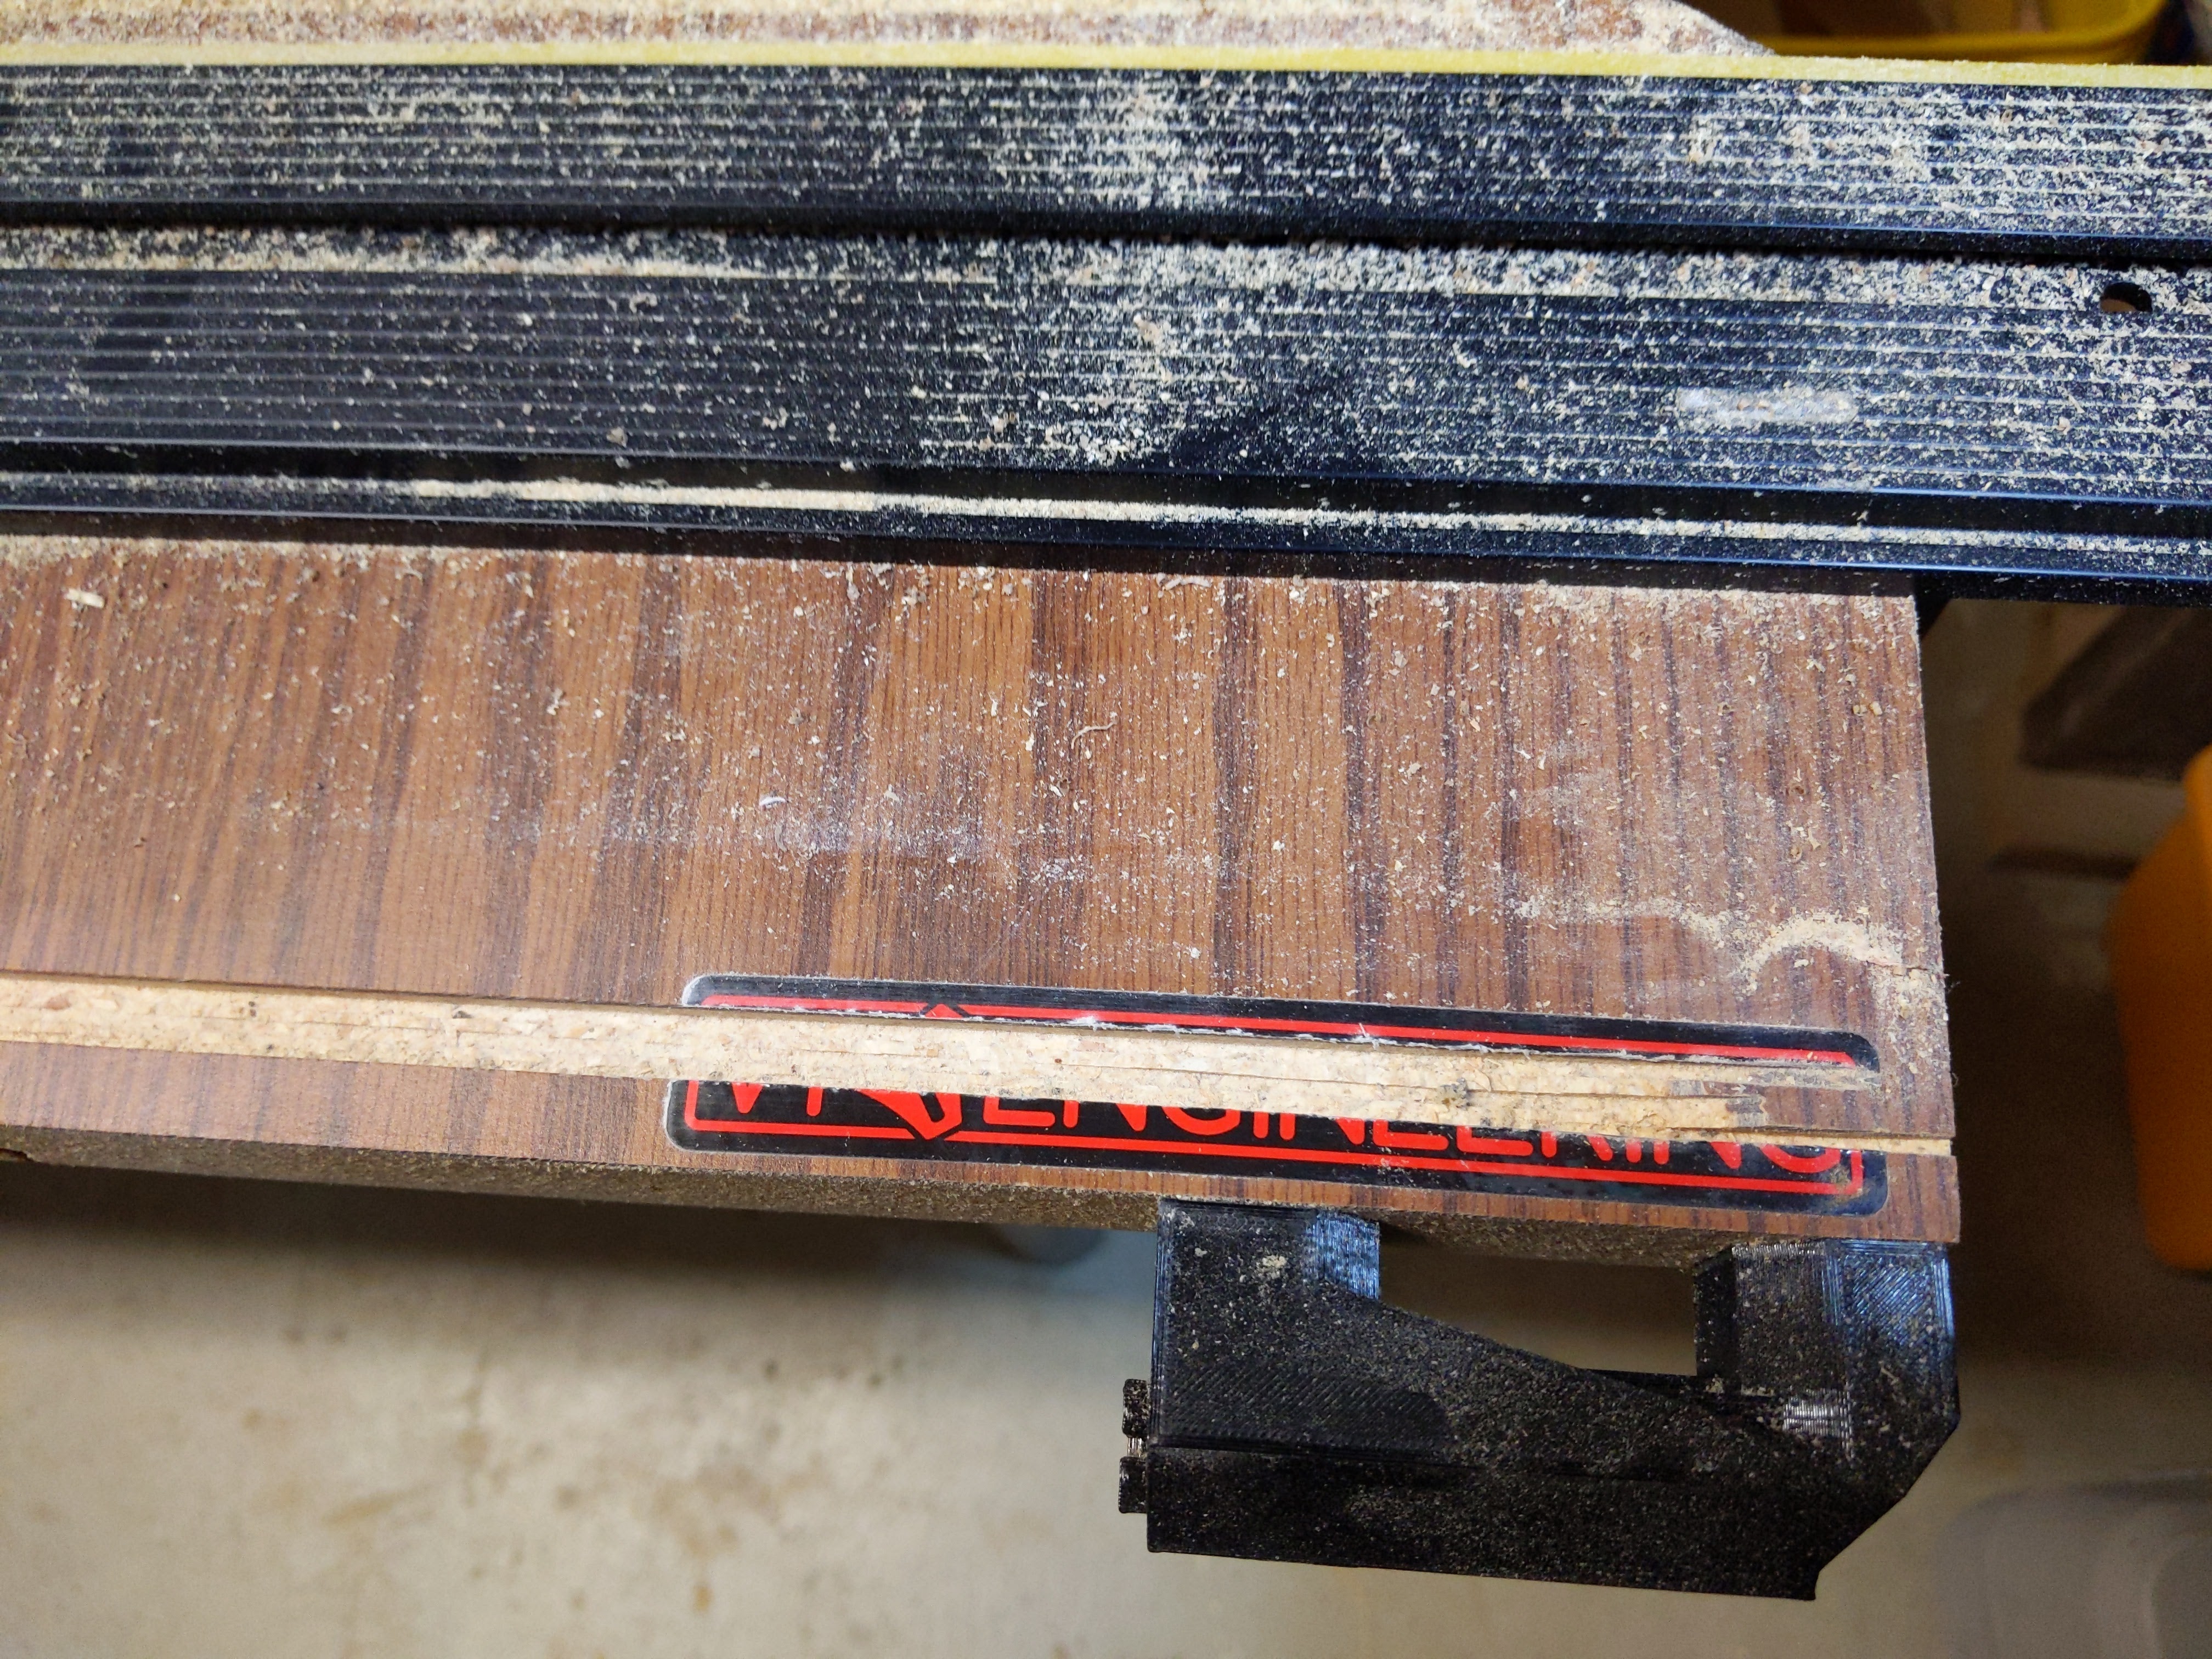
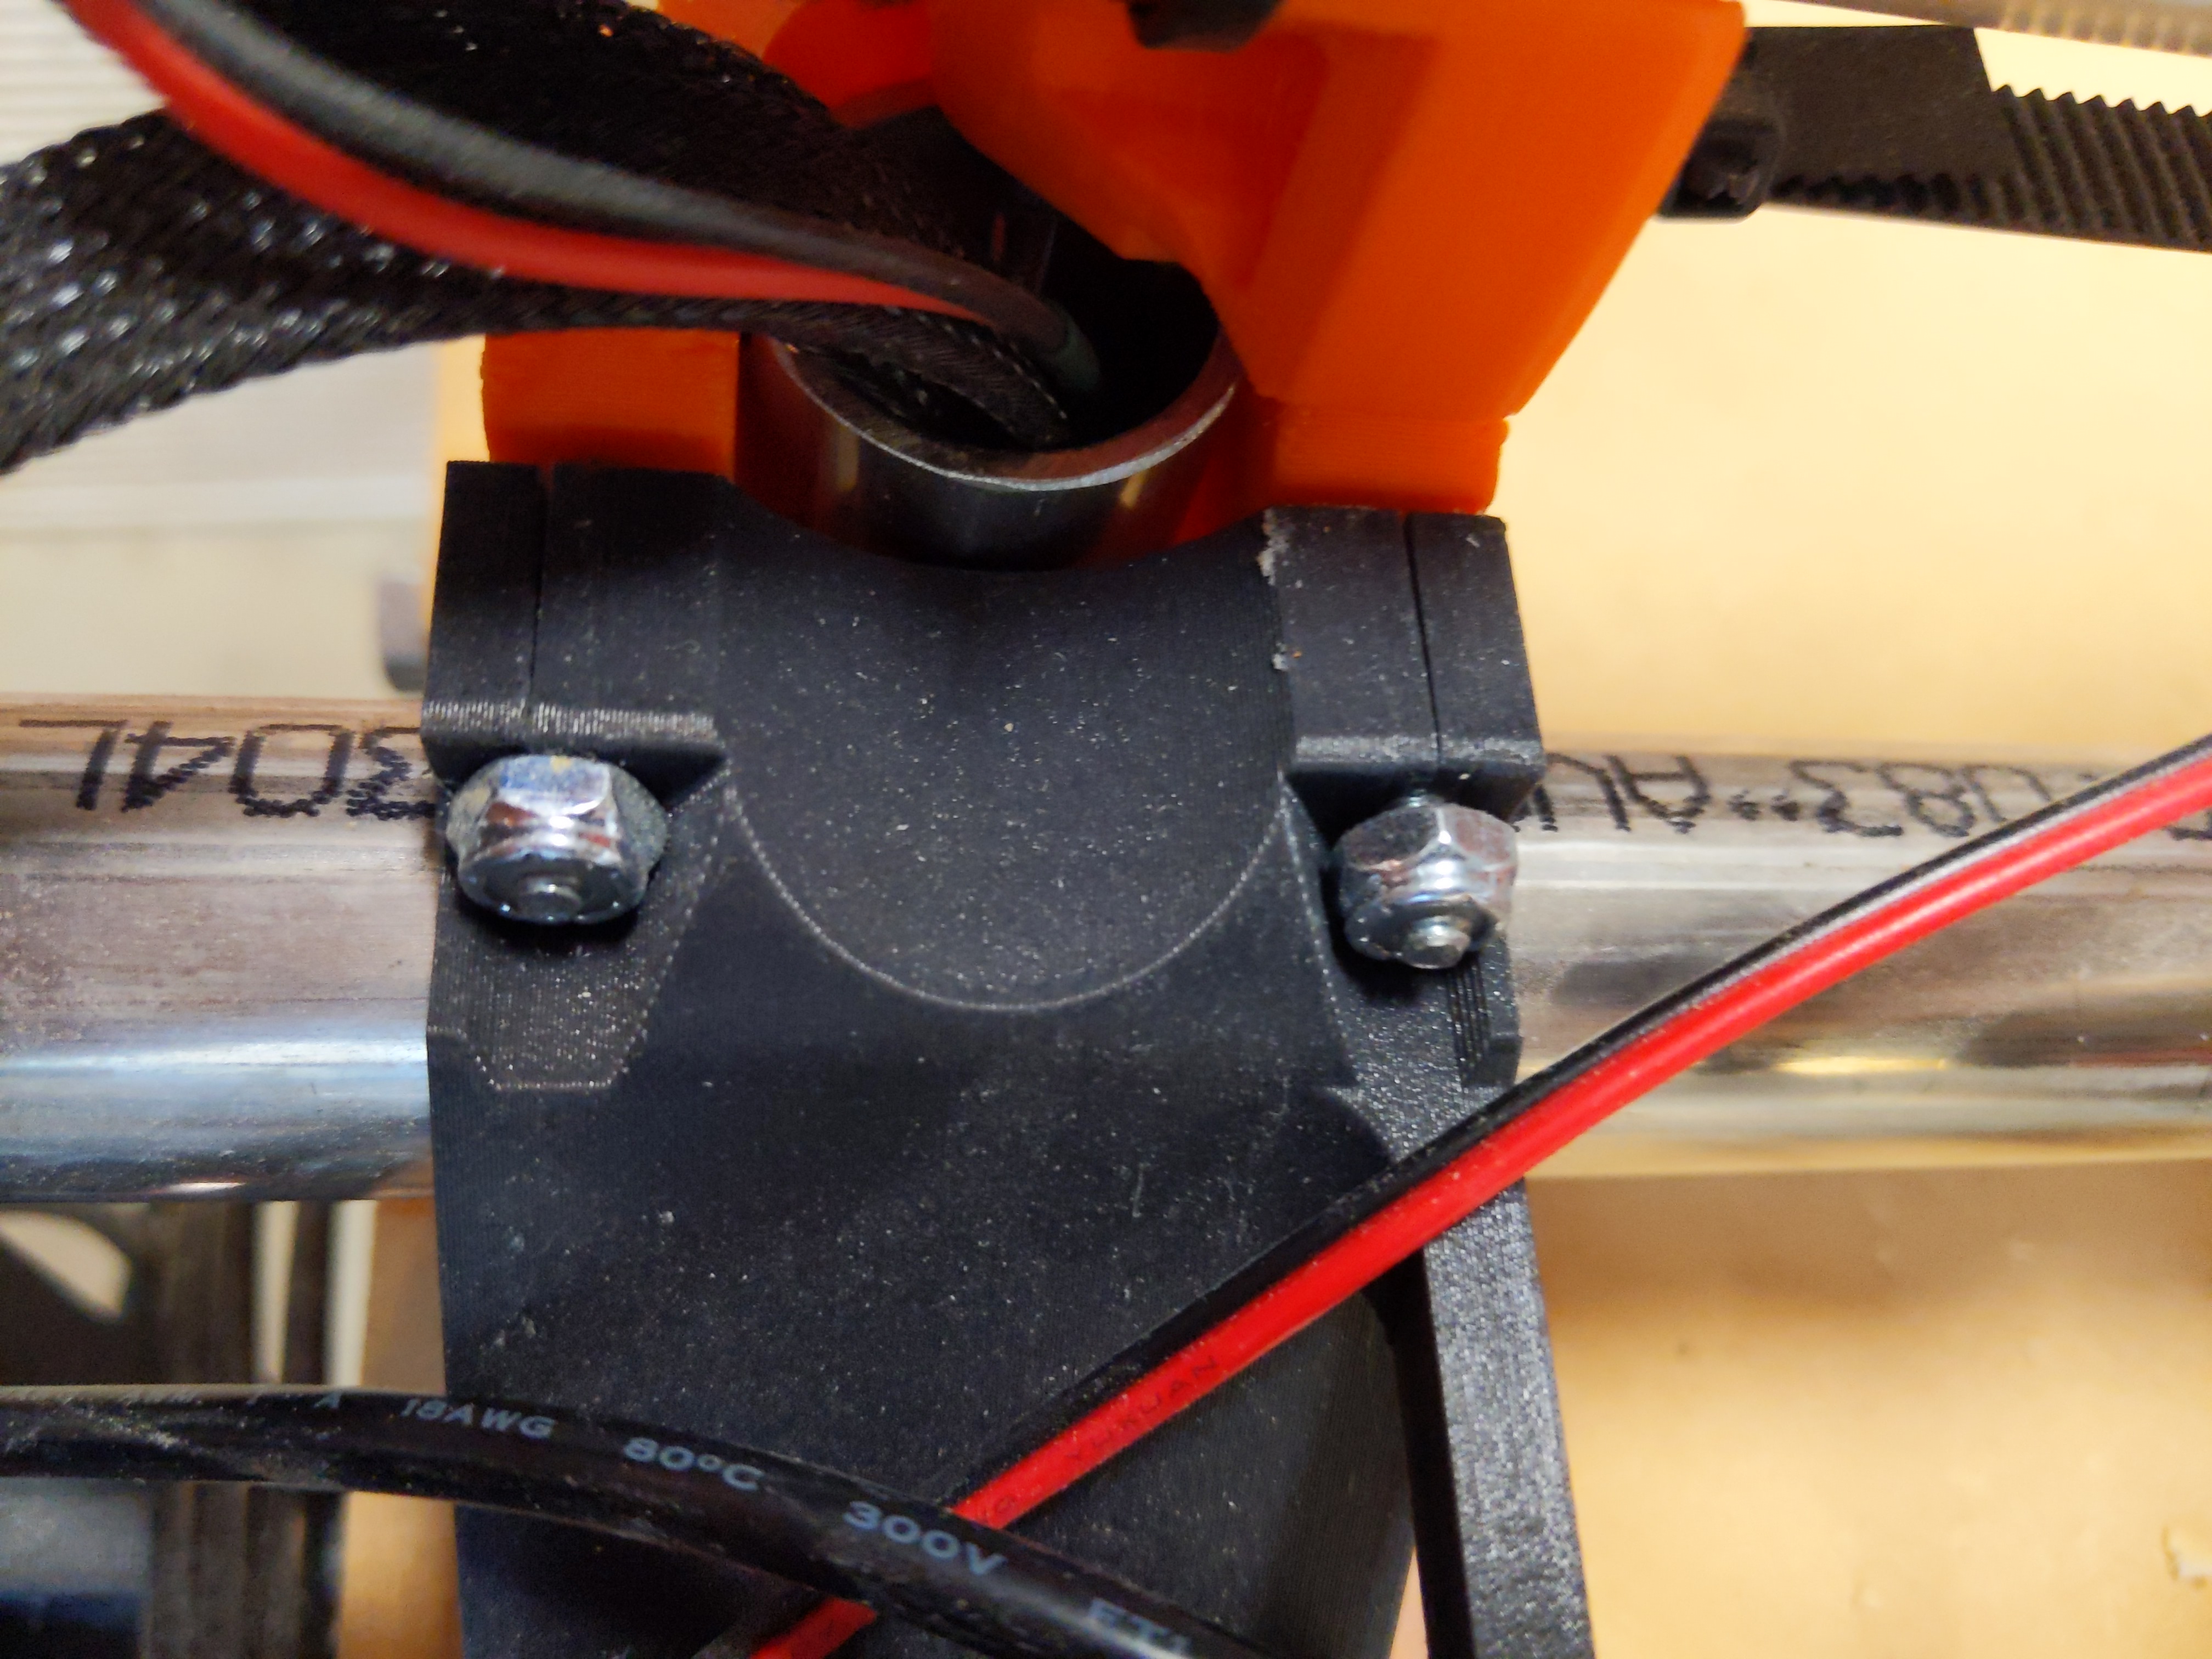
I on my last project I was fighting a 1 mm movement on my y (short) axis. With my tabletop being so smooth my wheels were just sliding until the pipes rubbed on the side of the table. I am hoping with this groove in the table for the wheels to ride in I will not have that problem. I made it deep enough so there was someplace for the wood chips to fall and not be there for the wheels to bump over. My only concern is that it will chew up the side of the wheels. If it does I will print some in carbon fiber pla with a profile designed for the groove.
Unfortunately, as I was putting the table back together I realized my XZ_Main and 1 XZ side had cracked (I think it happened as I was taking it off of the table). So I will print new pieces tonight and see how it works tomorrow night. I think once I get my current projects done I will try milling out the aluminum tube XZ mains.

1 Like