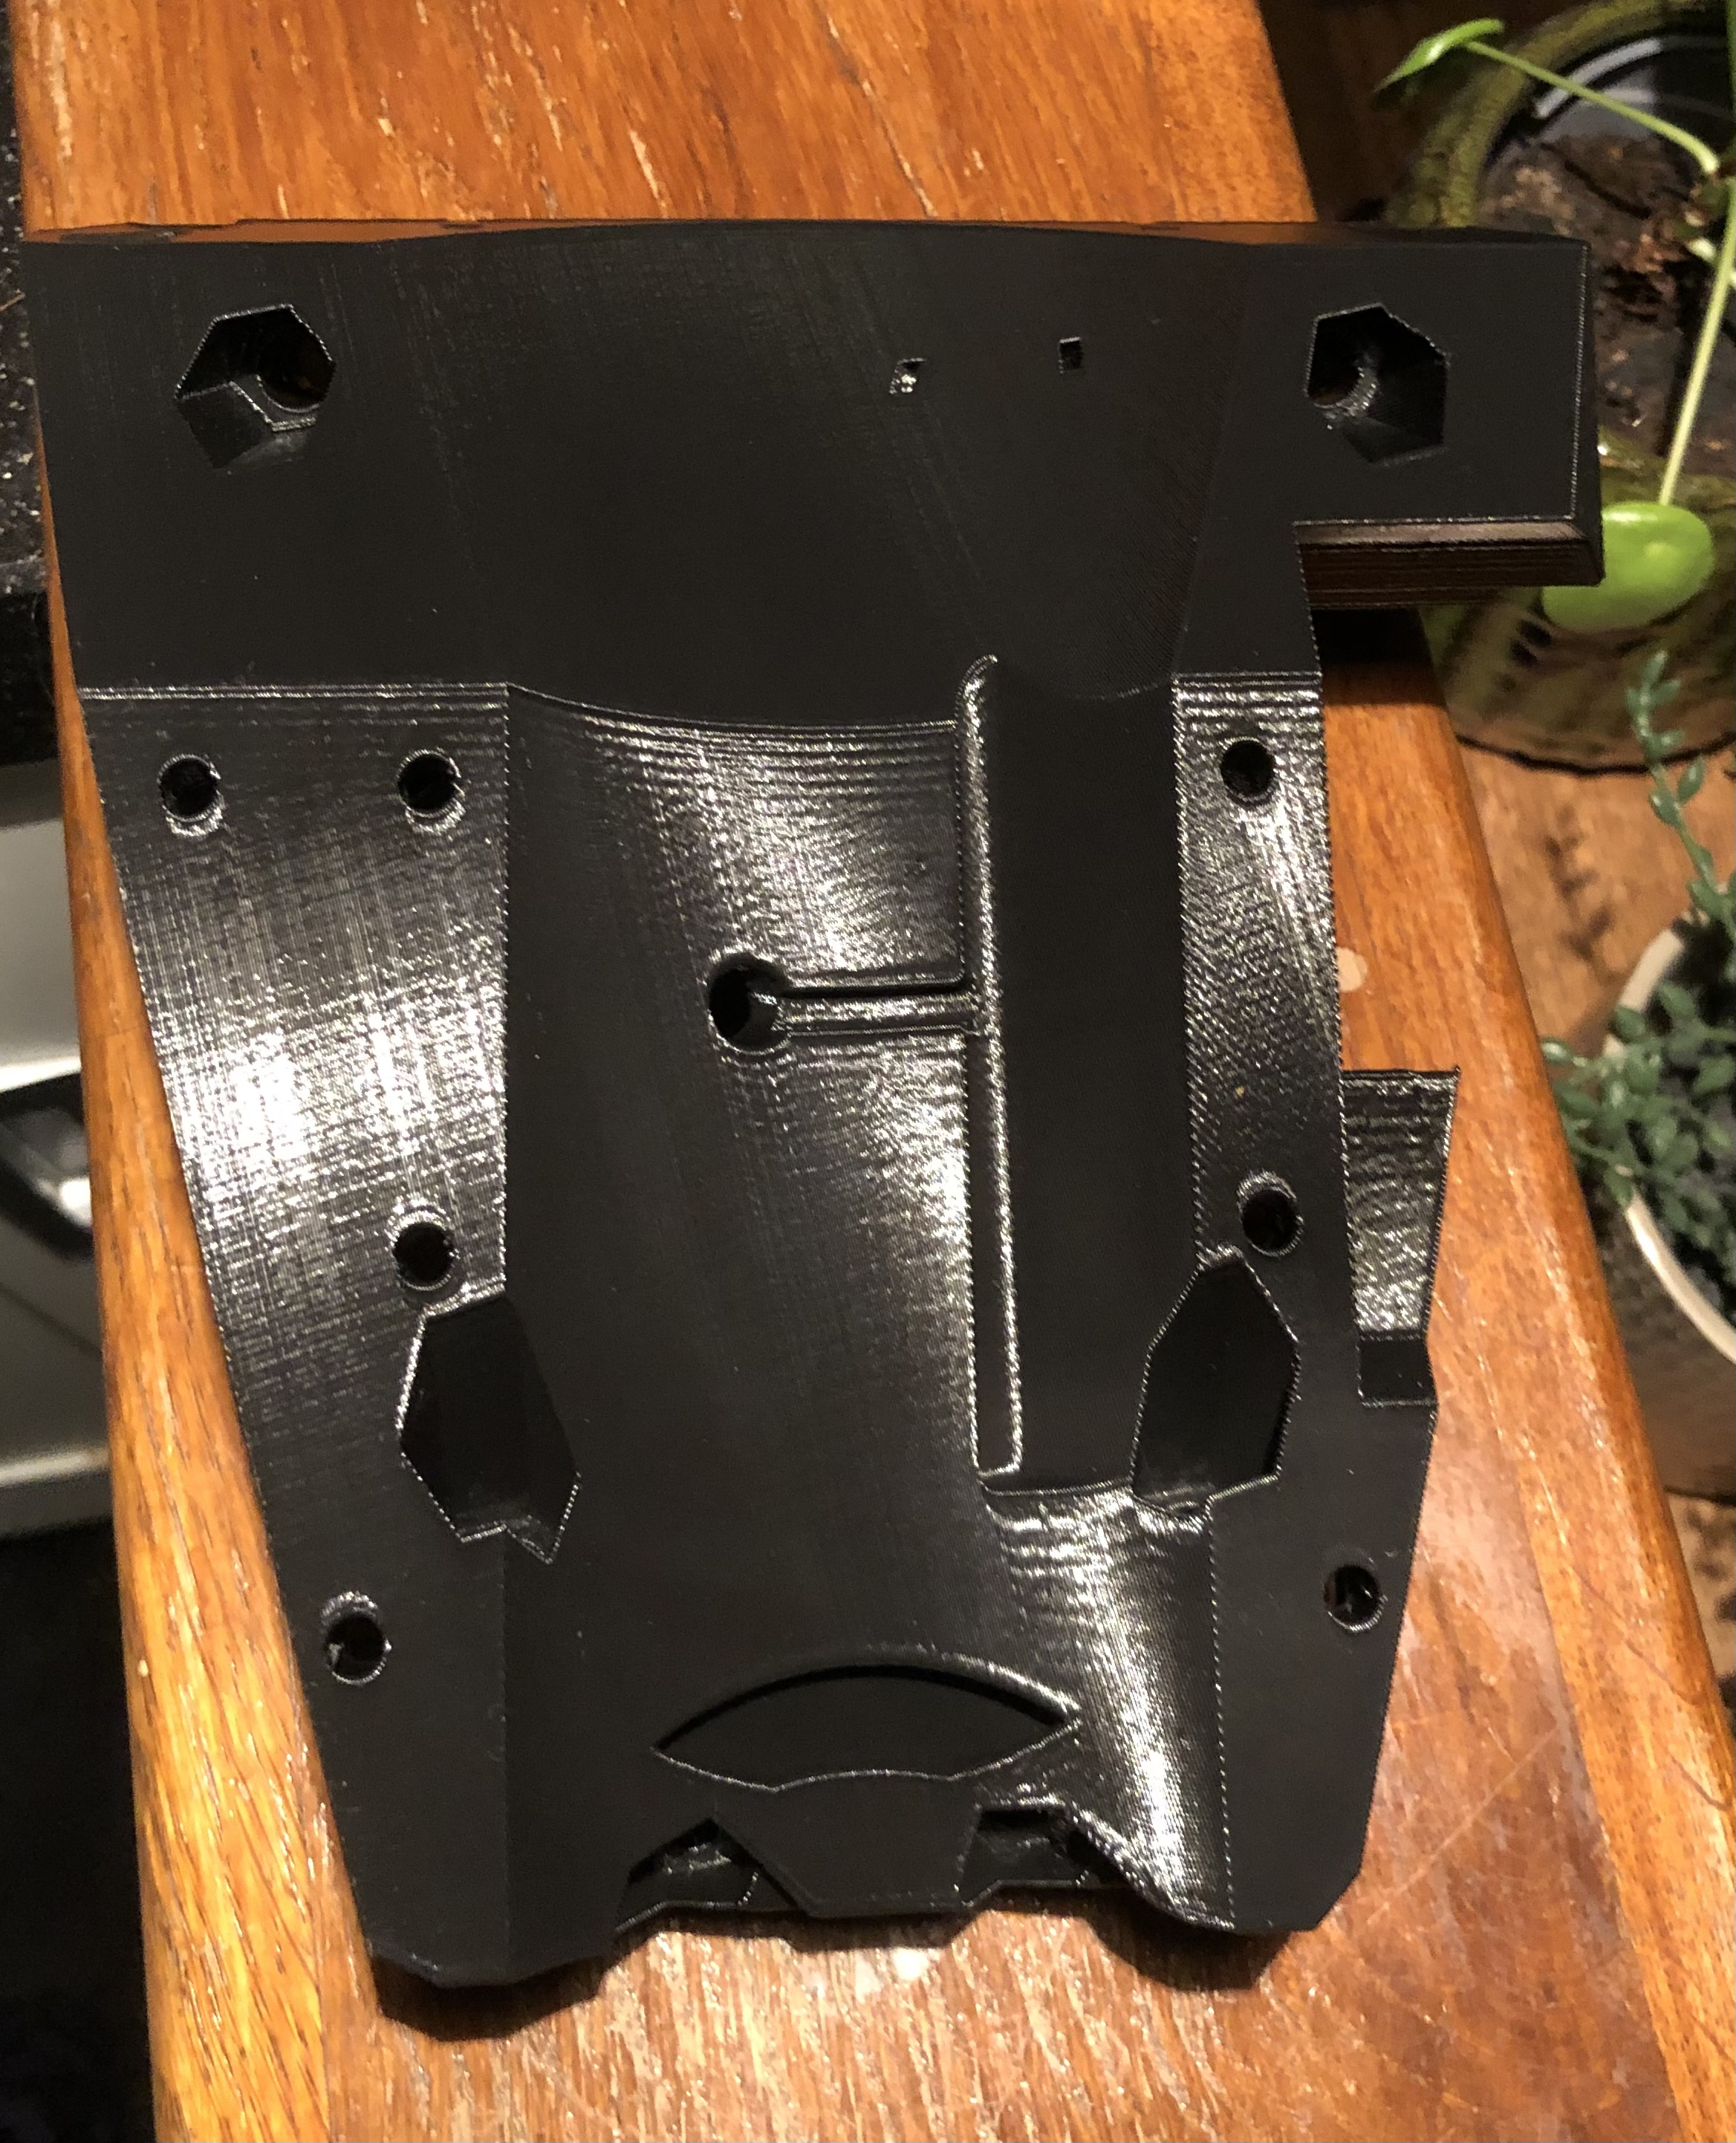
I recently bought the lowrider kit and can’t wait to start building it. I am currently in the process of printing the parts and sourcing the conduit. I have a few options available to use as conduit.
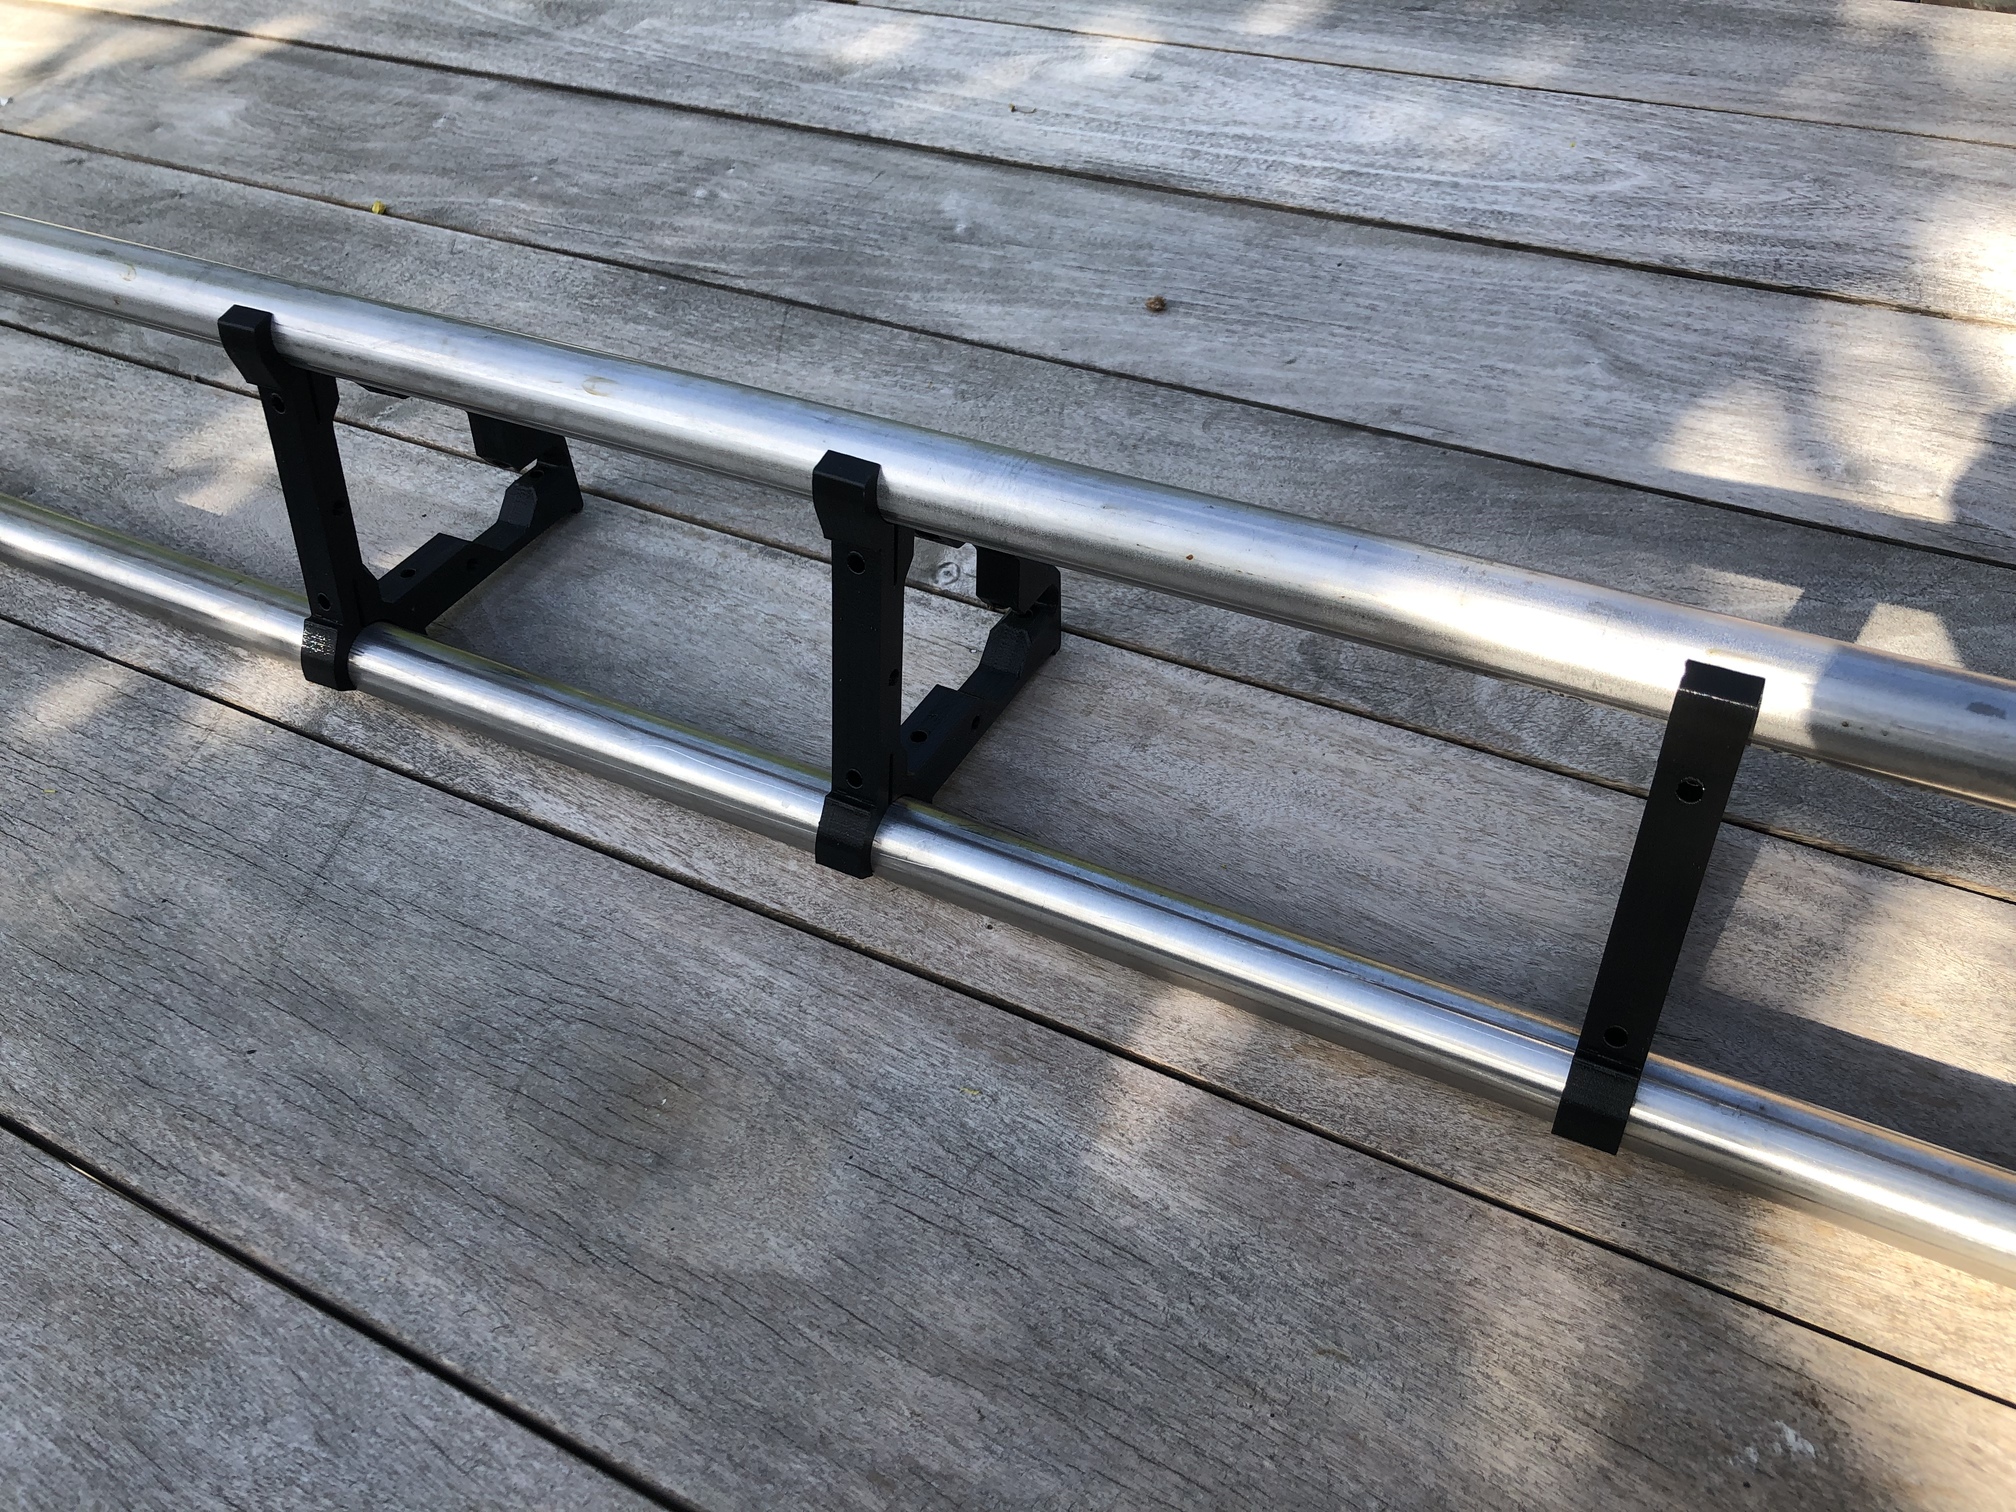
25mm steel with a 1.5 or 2mm wall thickness
25mm aluminum with a 1.5, 2, or 2.5mm wall thickness
The build will be for a full sheet. My thinking is that the aluminum is better since it is lighter and won’t sag under it’s own weight?
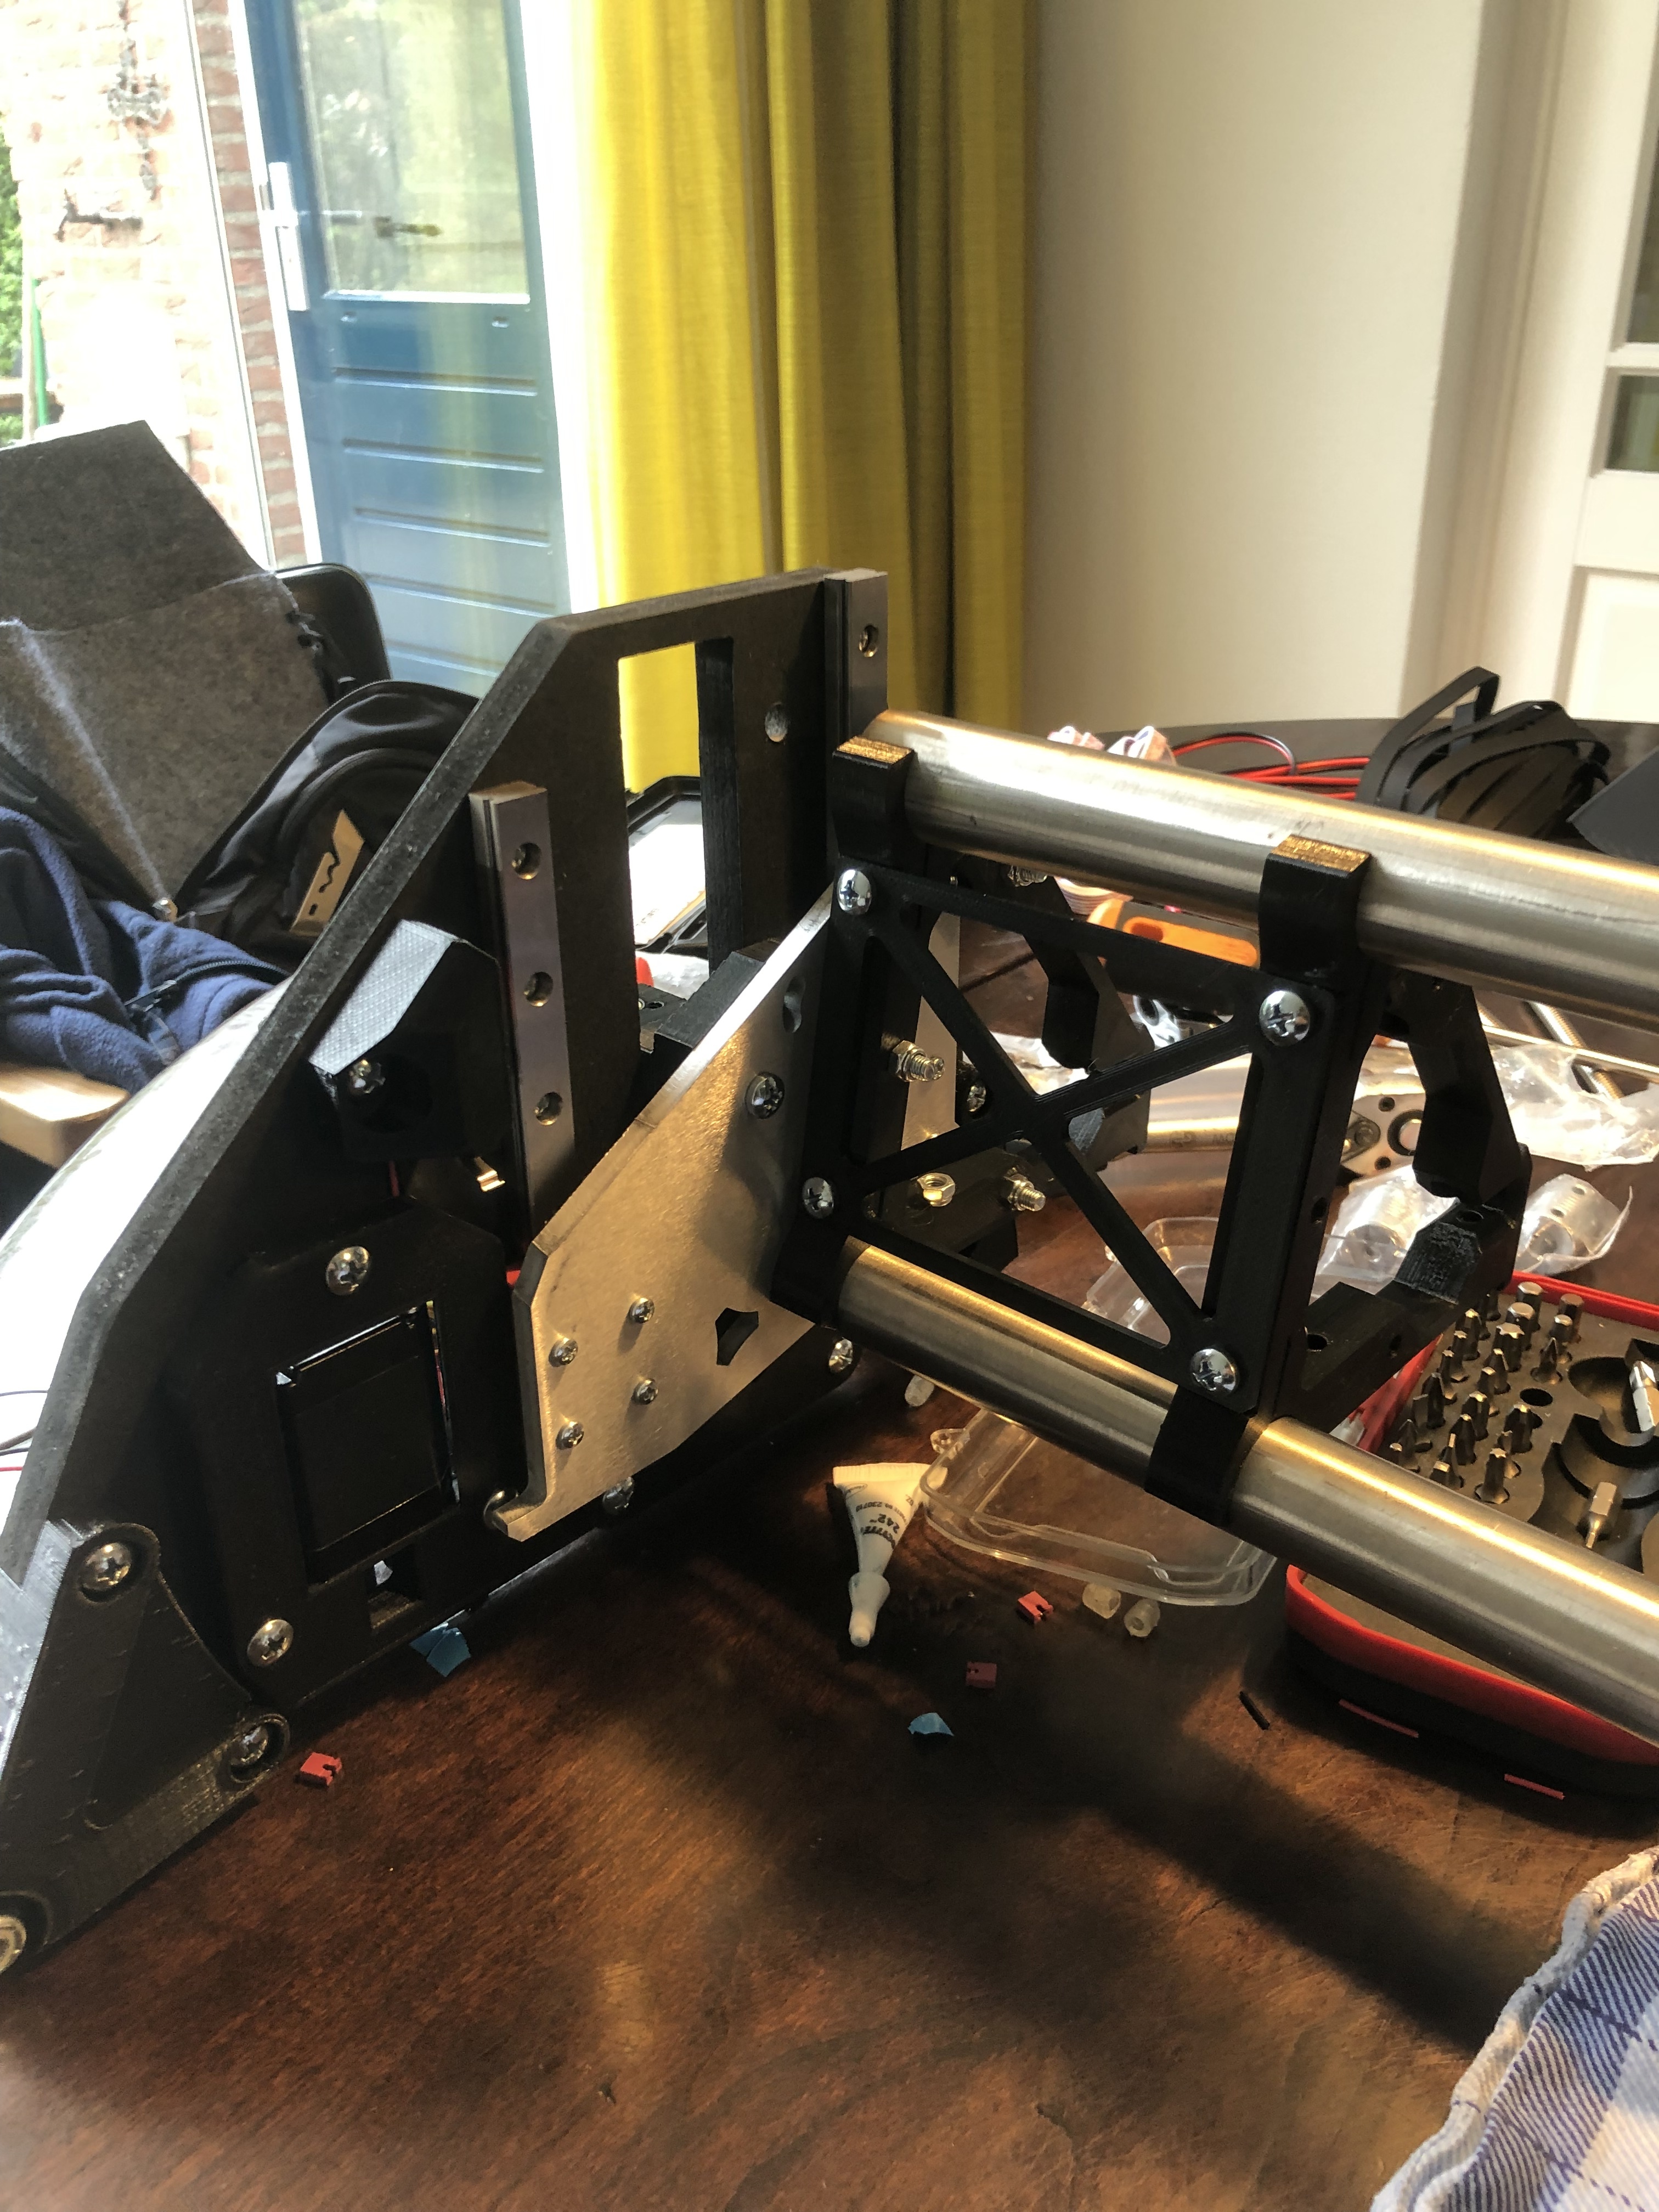
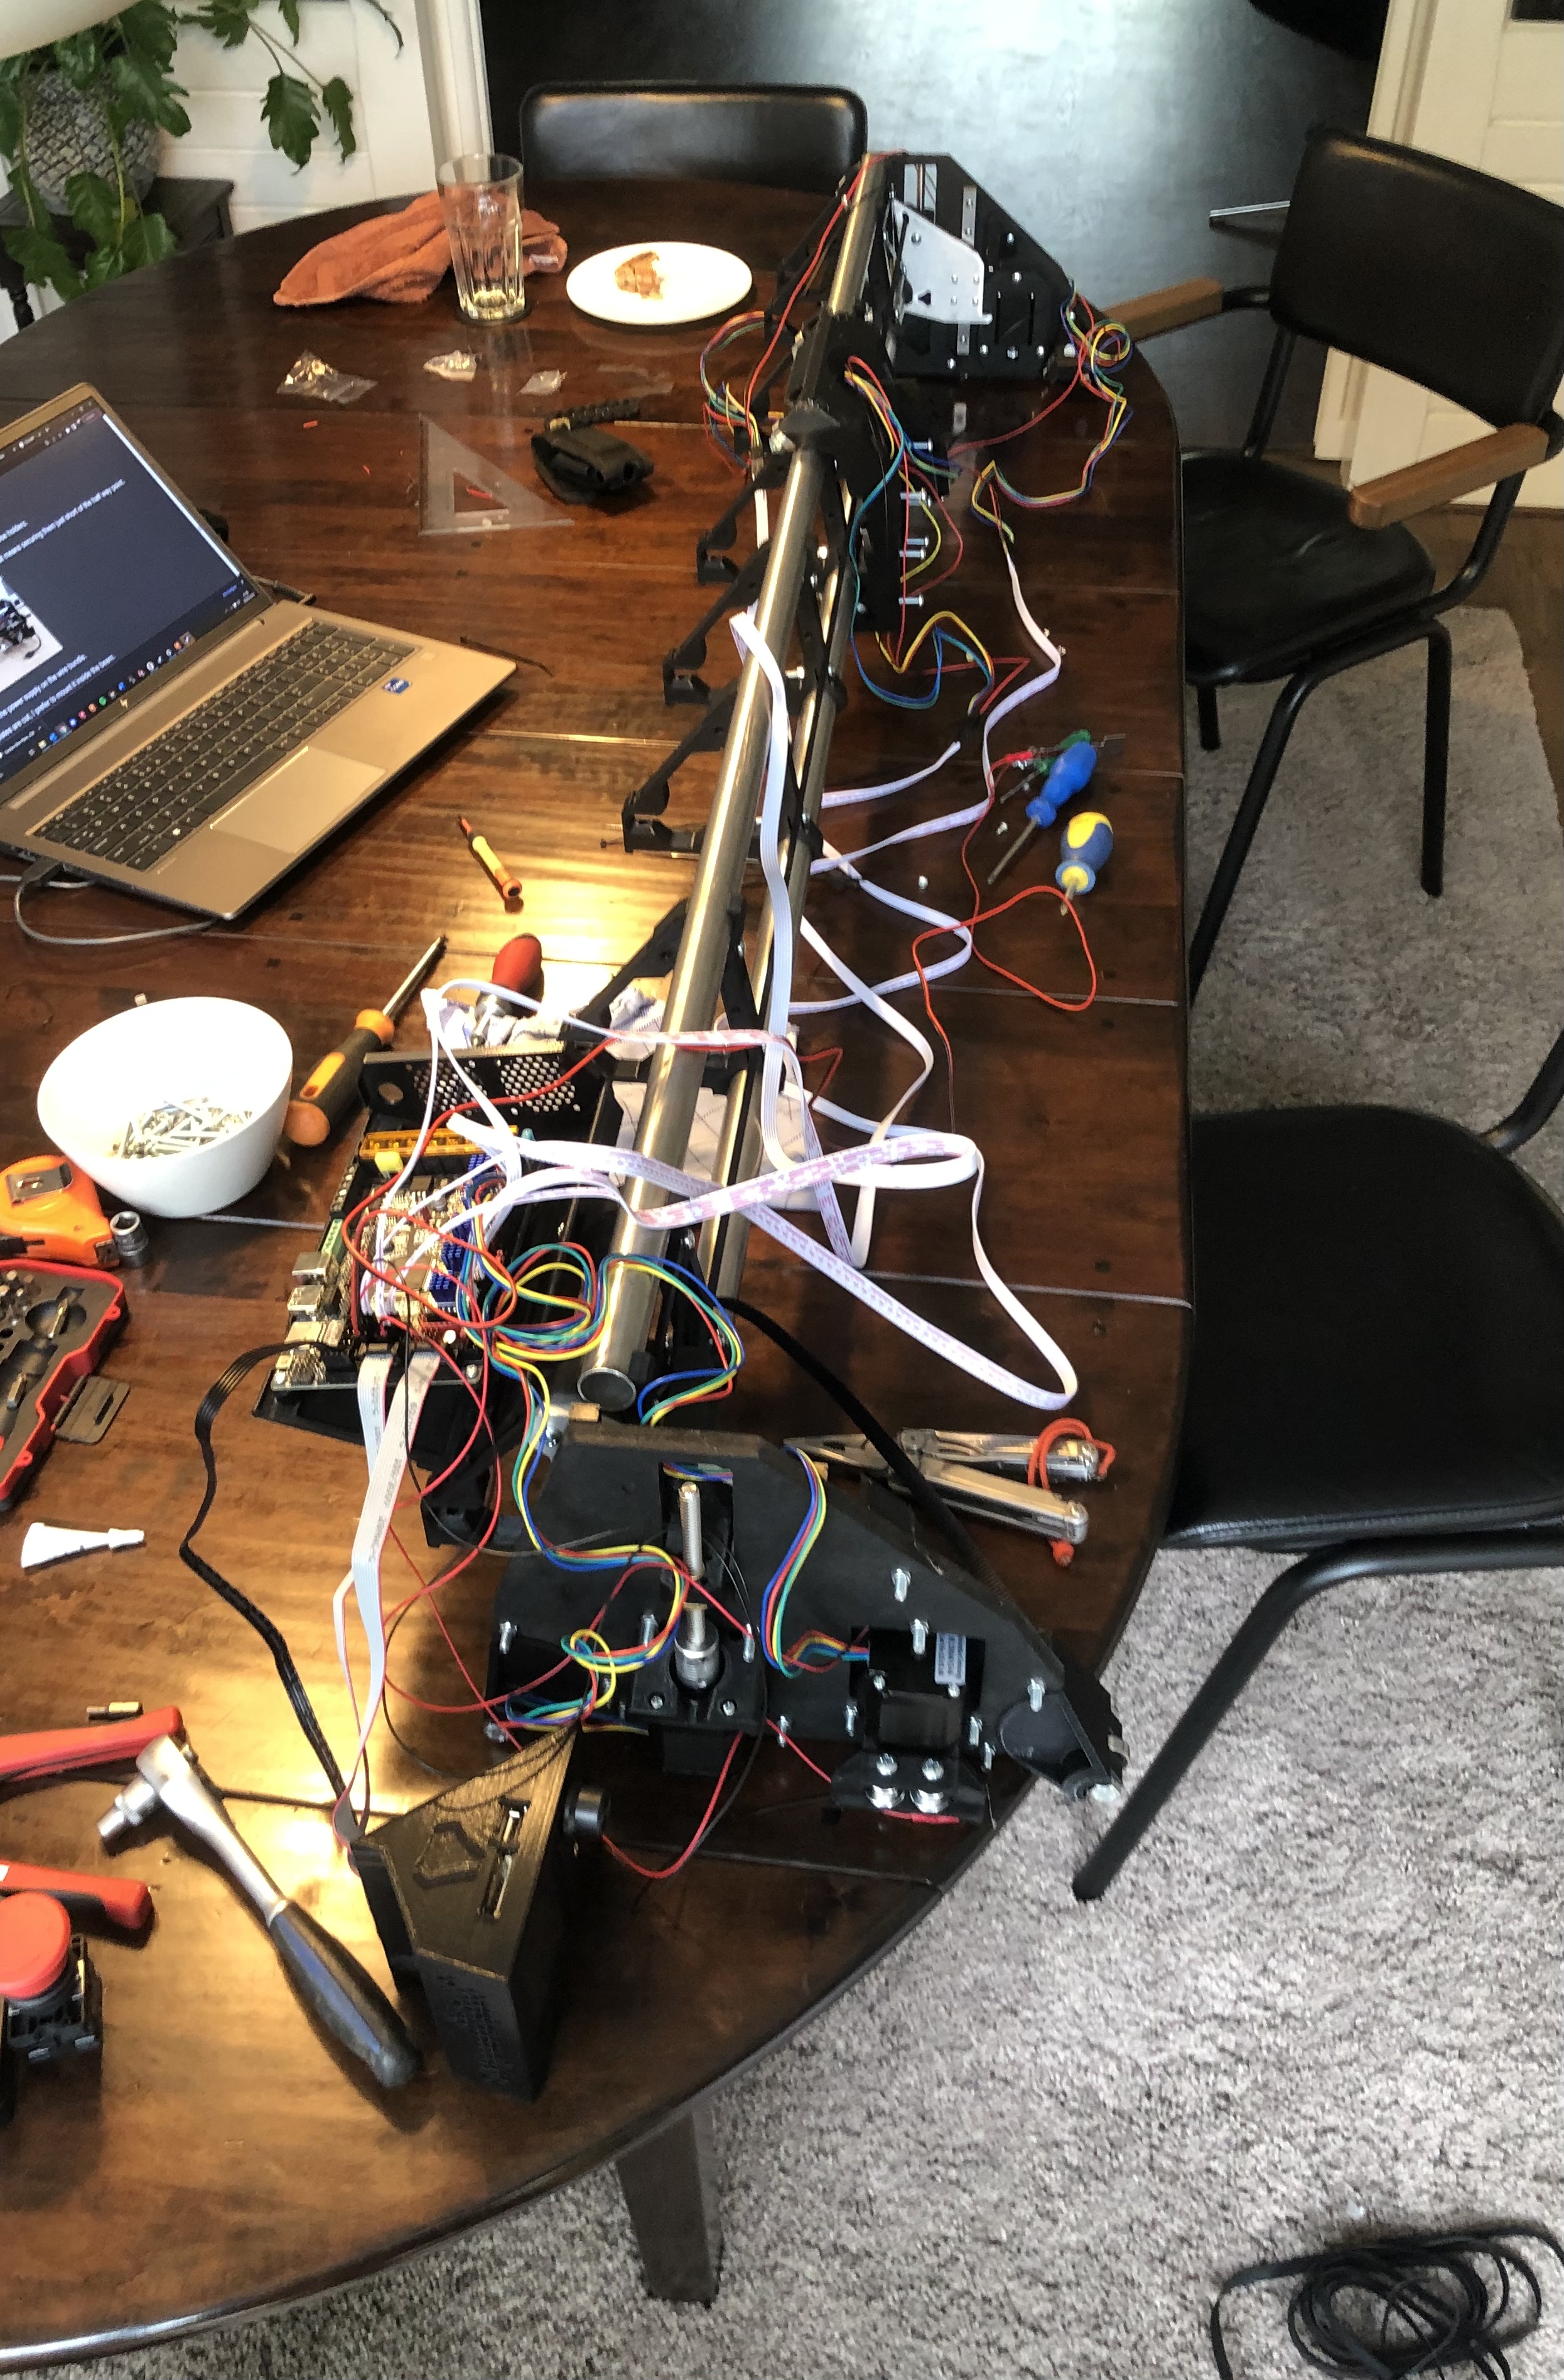
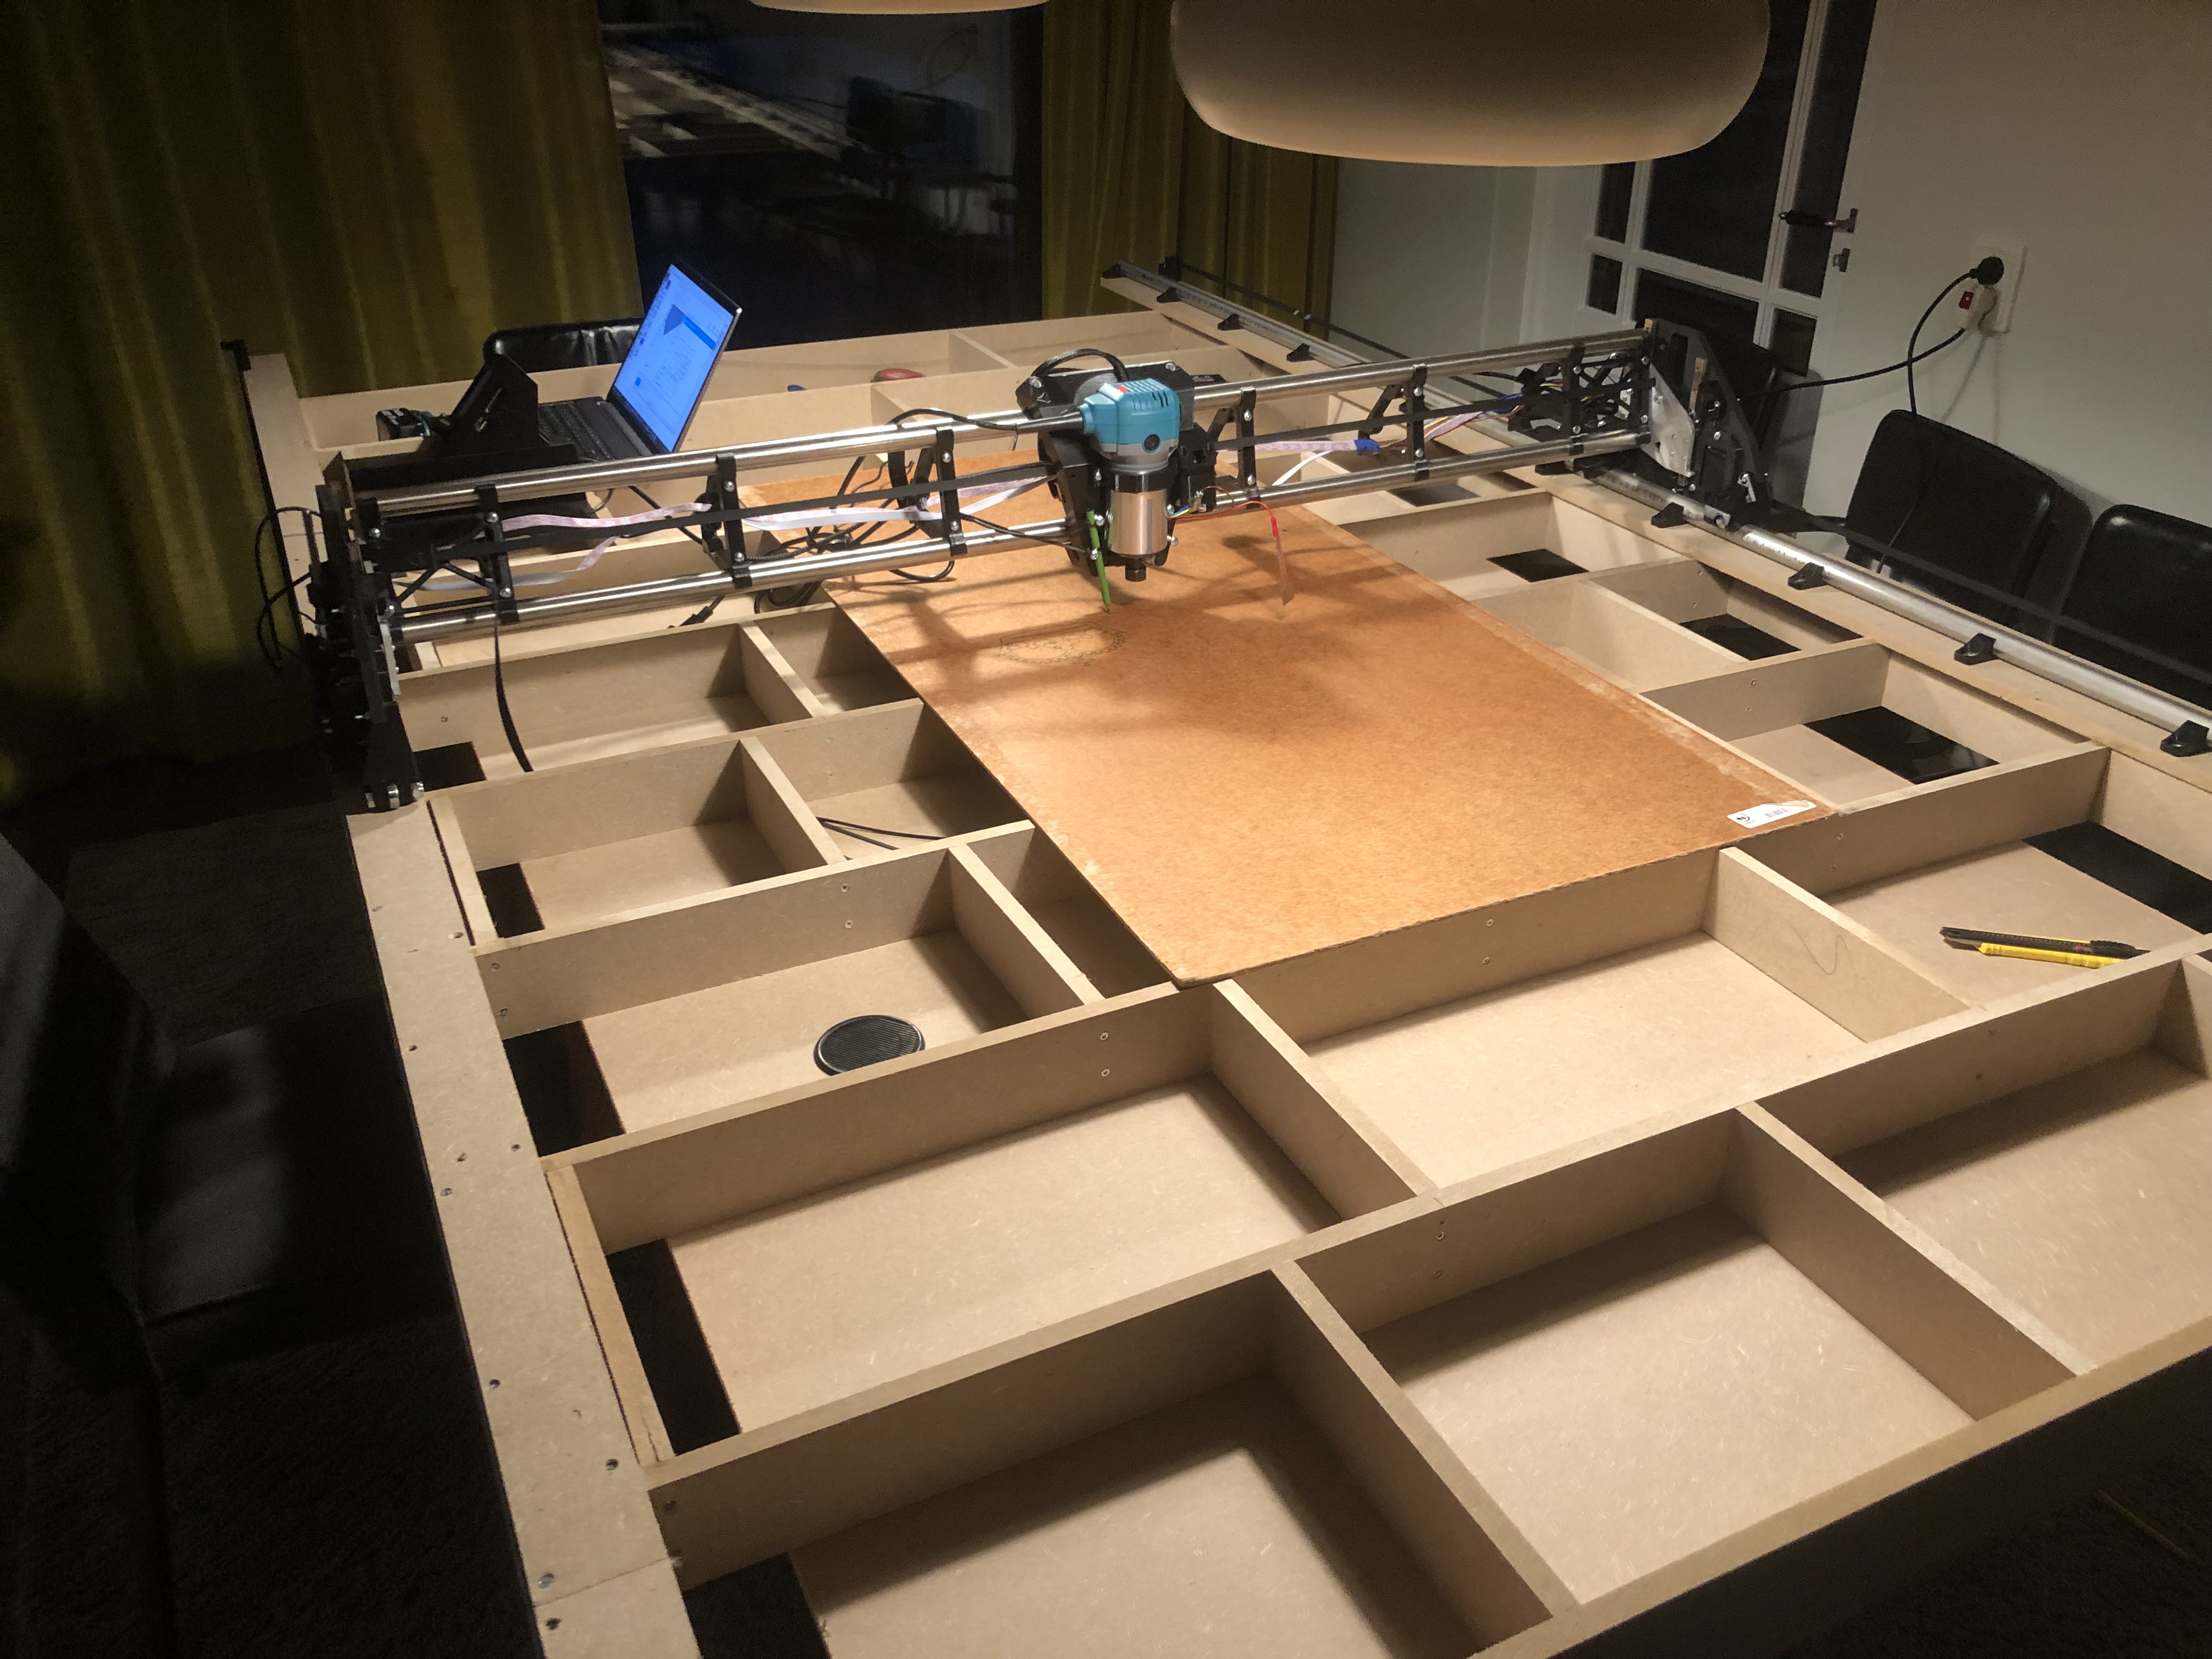
Started building today, assembling everything was an absolute blast! Got as far as getting some x and z movement today. Need to build a table now so i can start putting it through it’s pases and testing everything
Thanks @vicious1 for creating this wonderfull machine and making it all so accessibel.
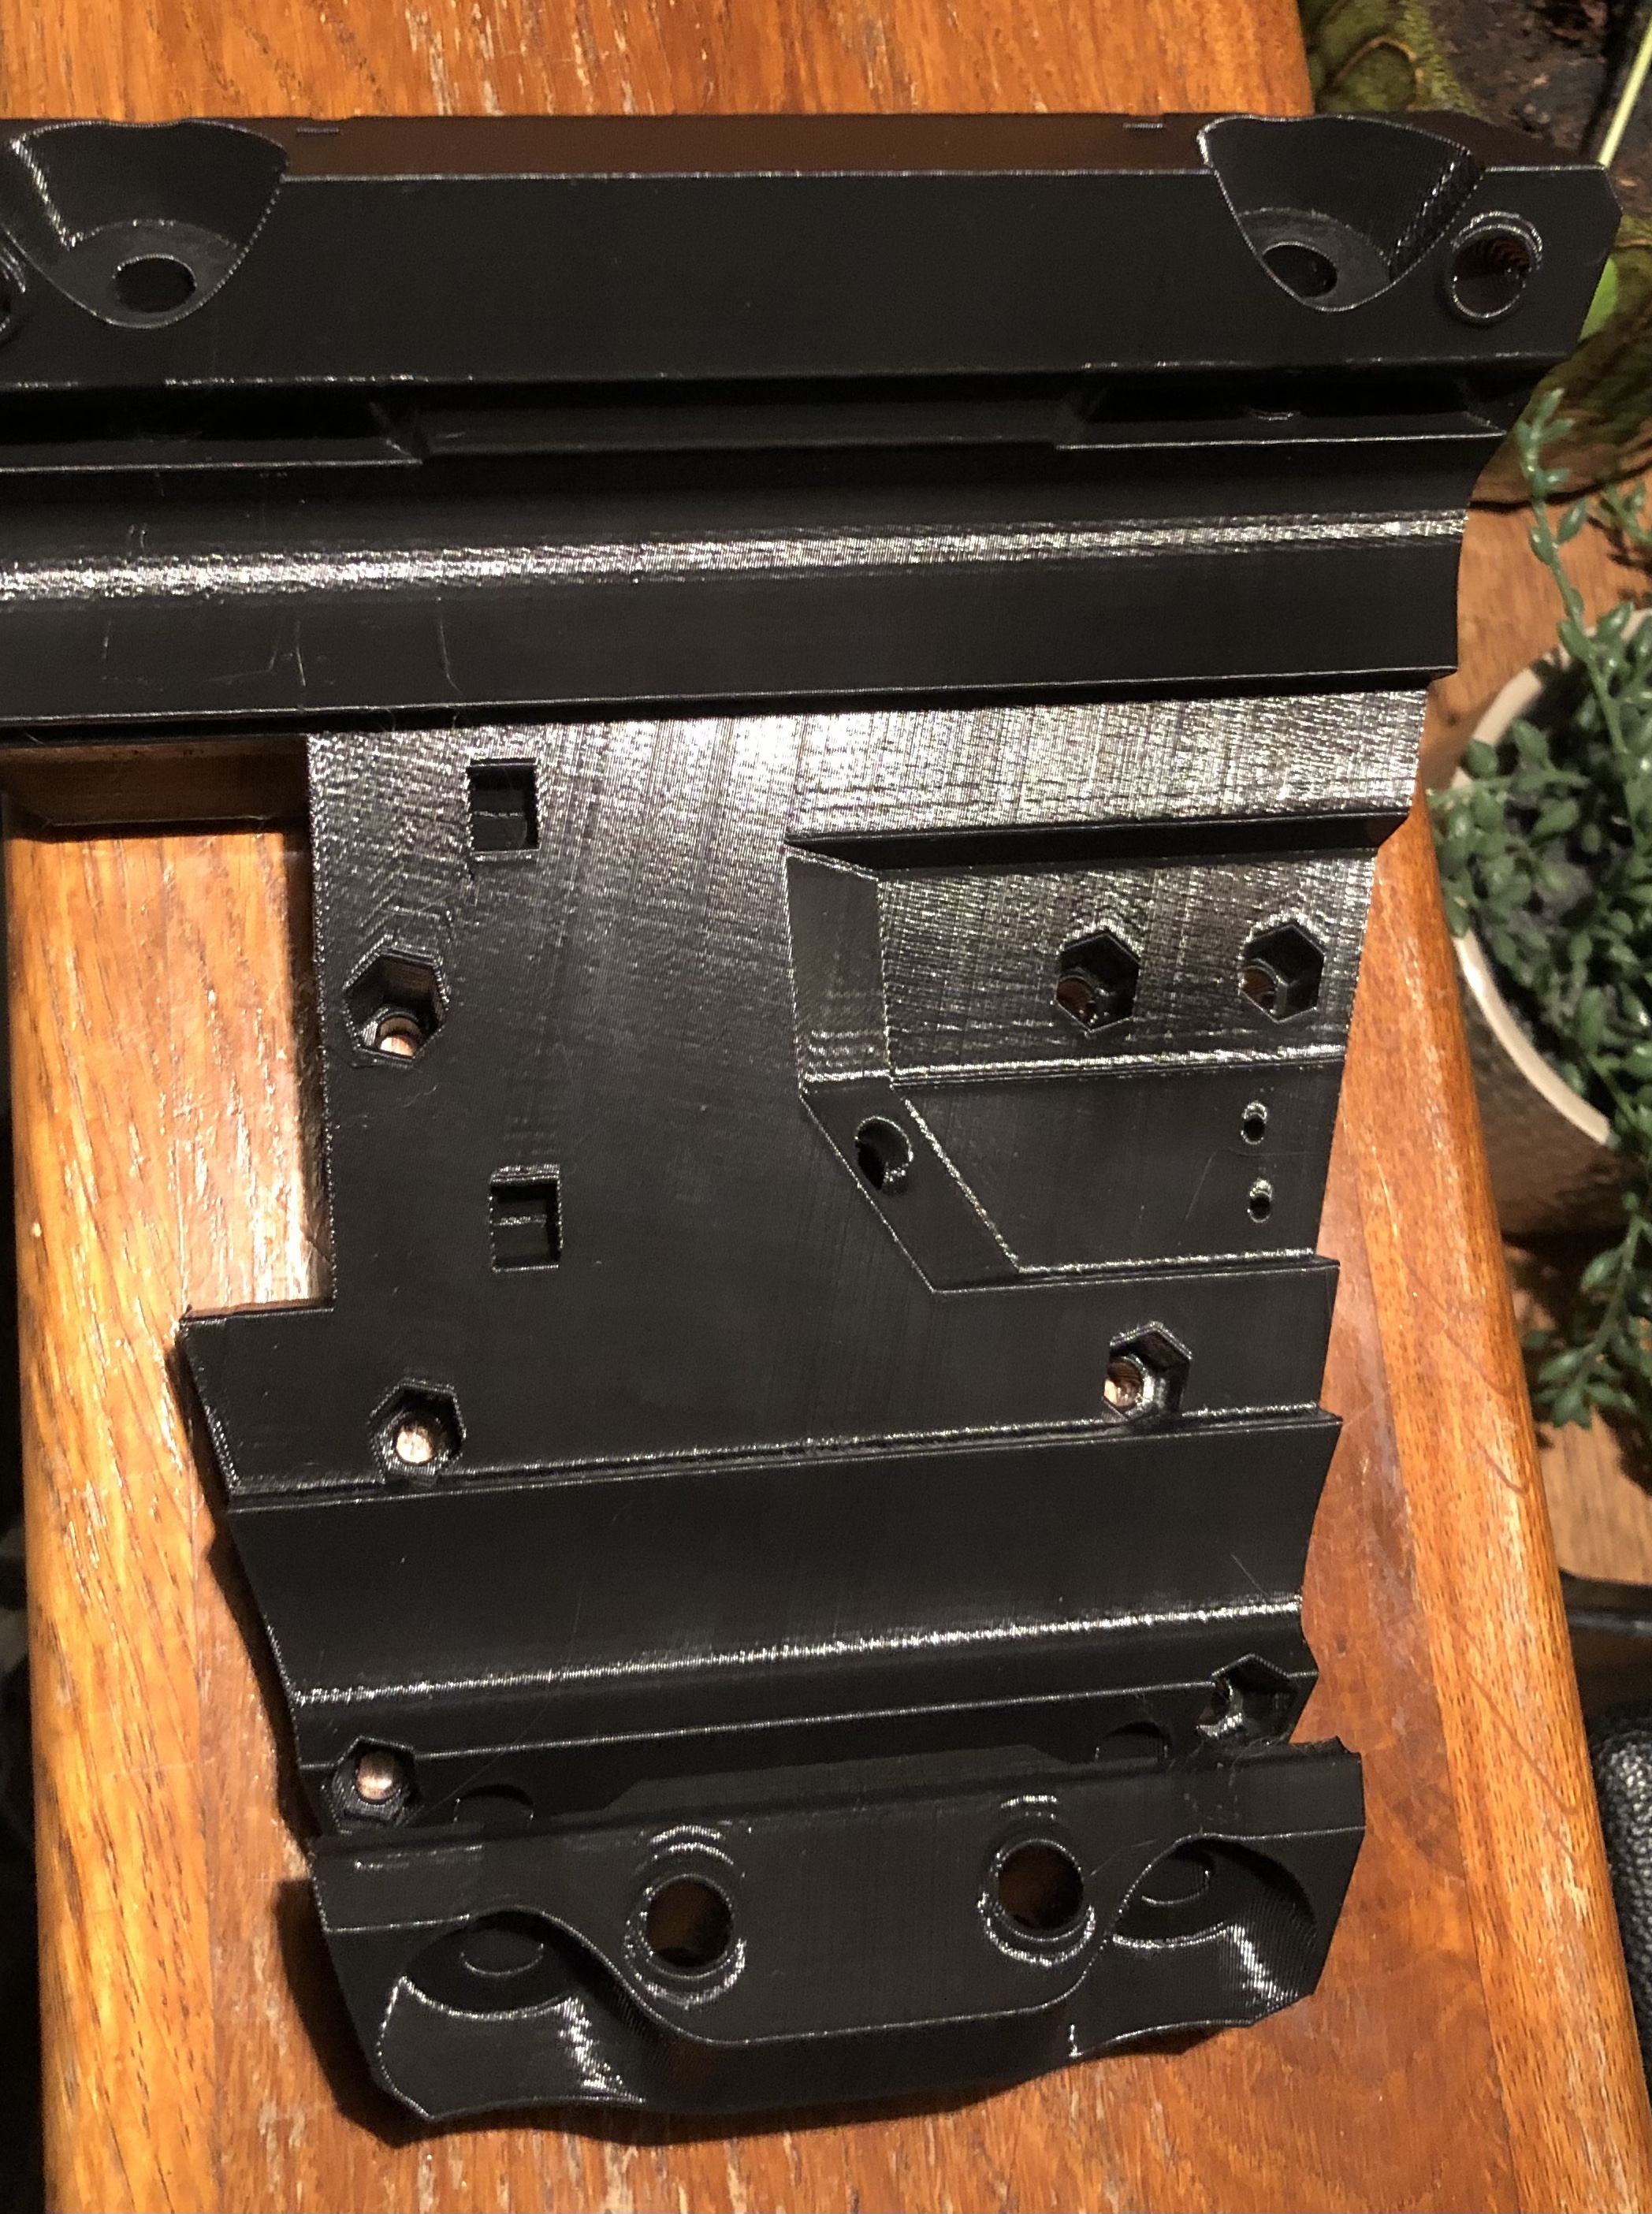
Some images, aa you can see it is far from being done but i’m happy with what i achieved in a day.
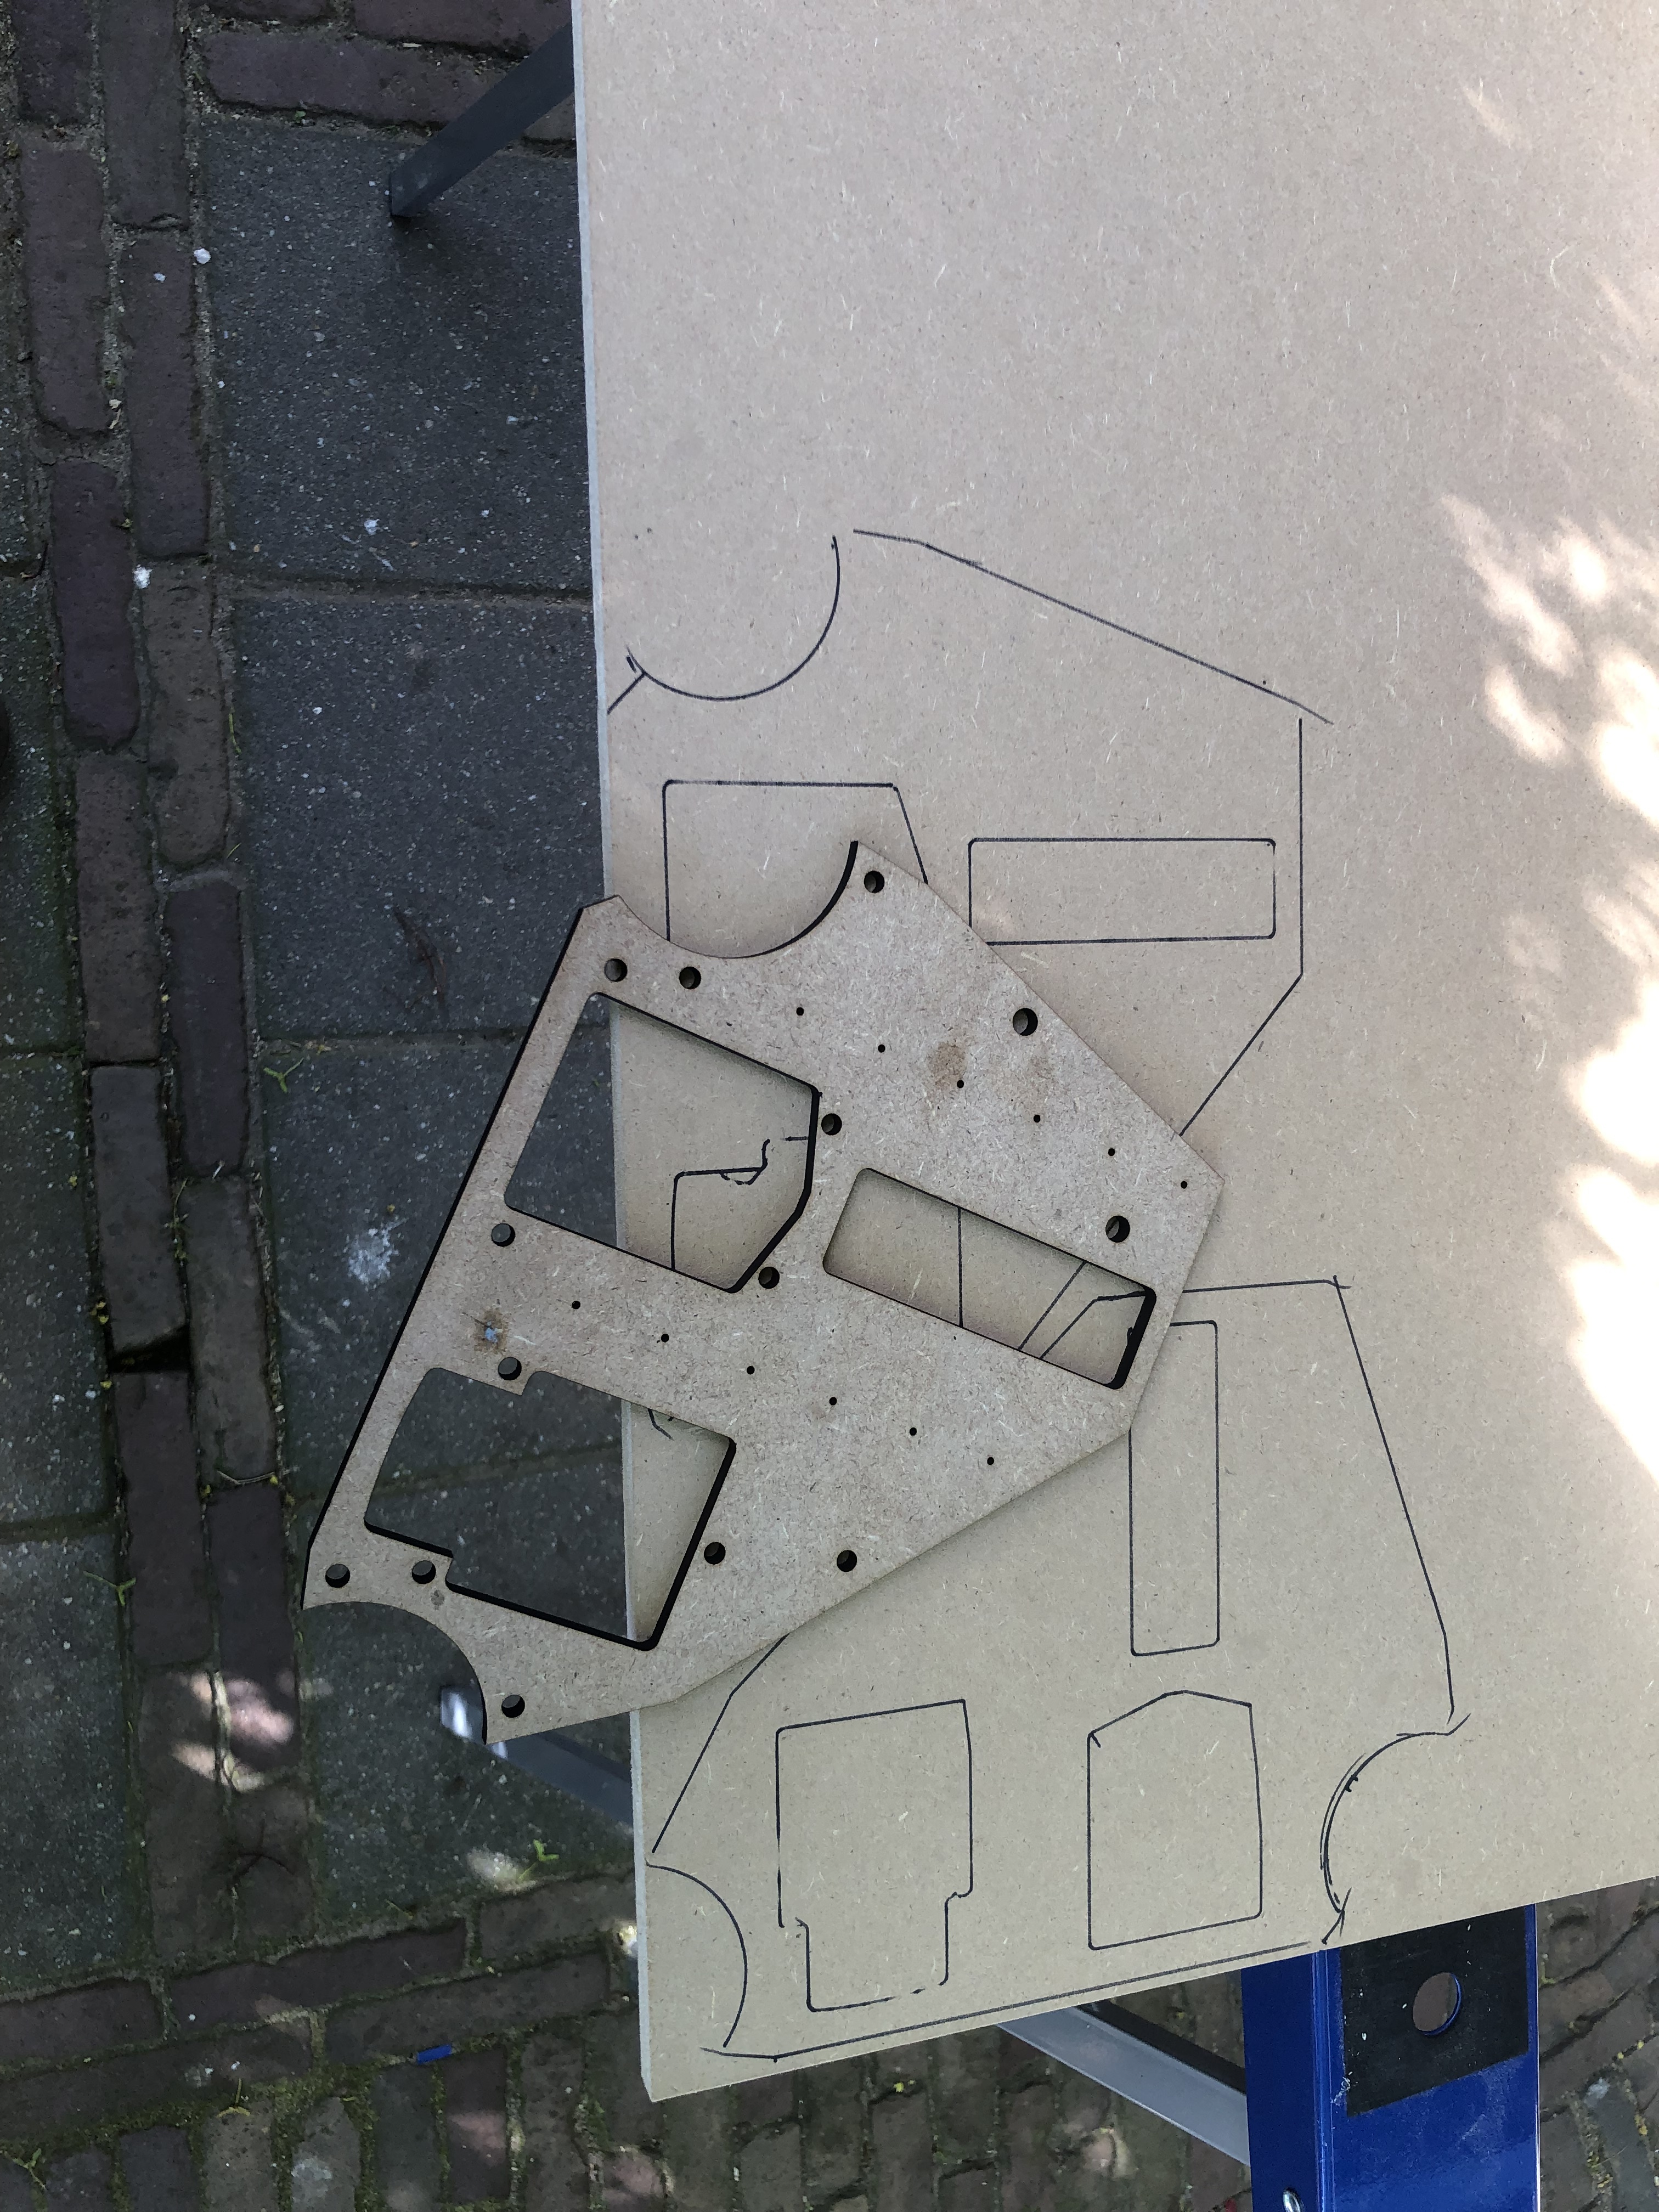
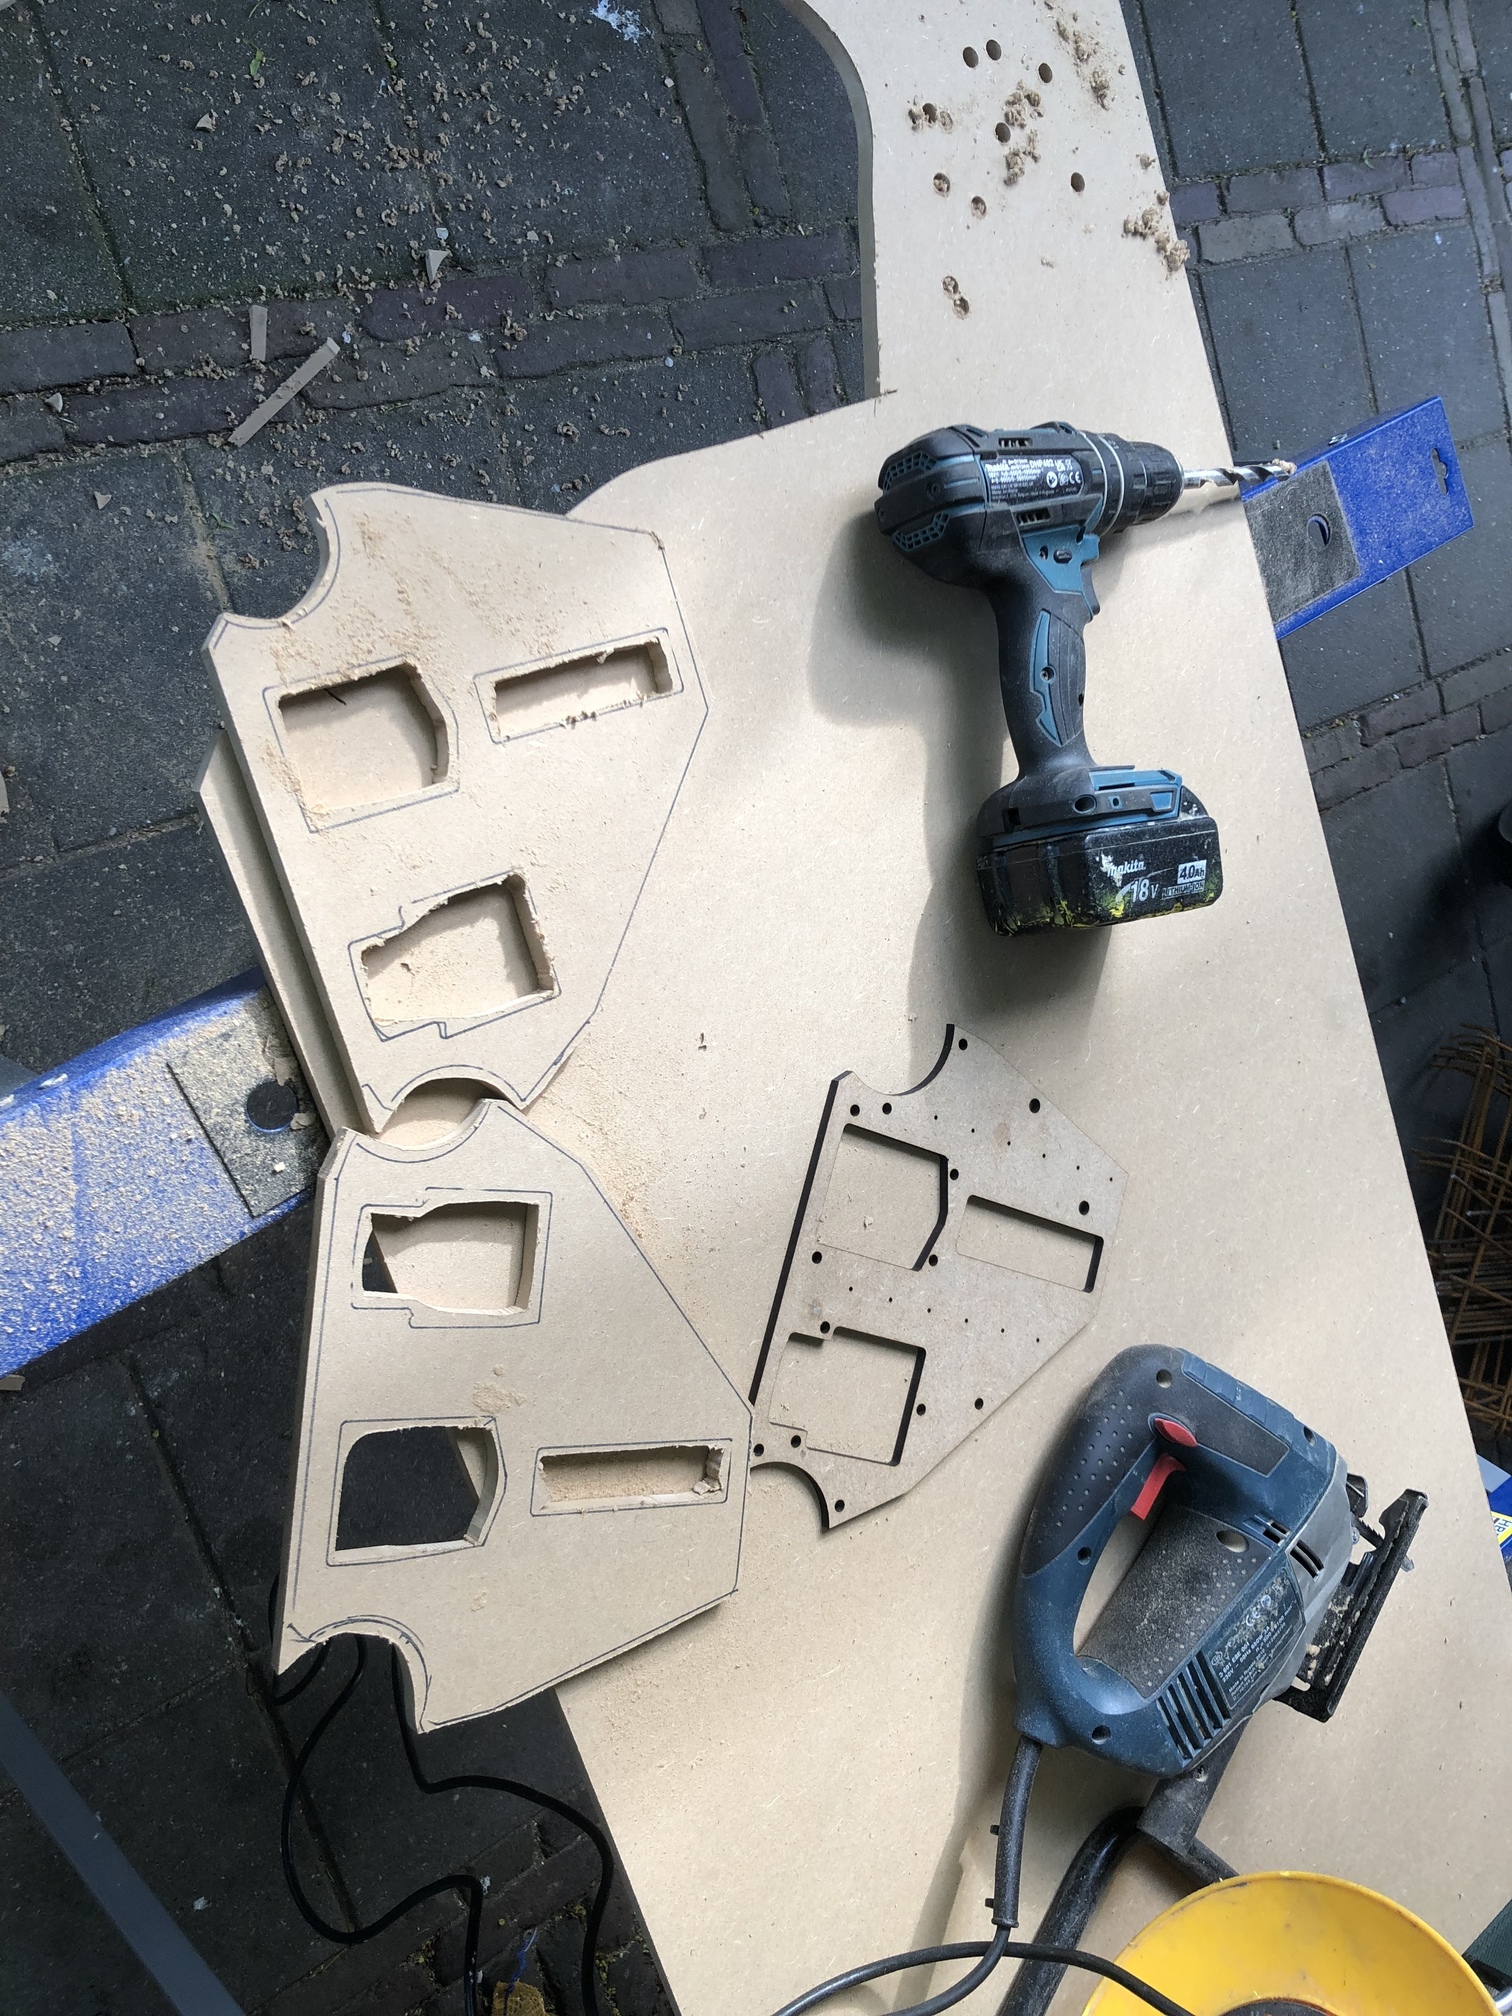
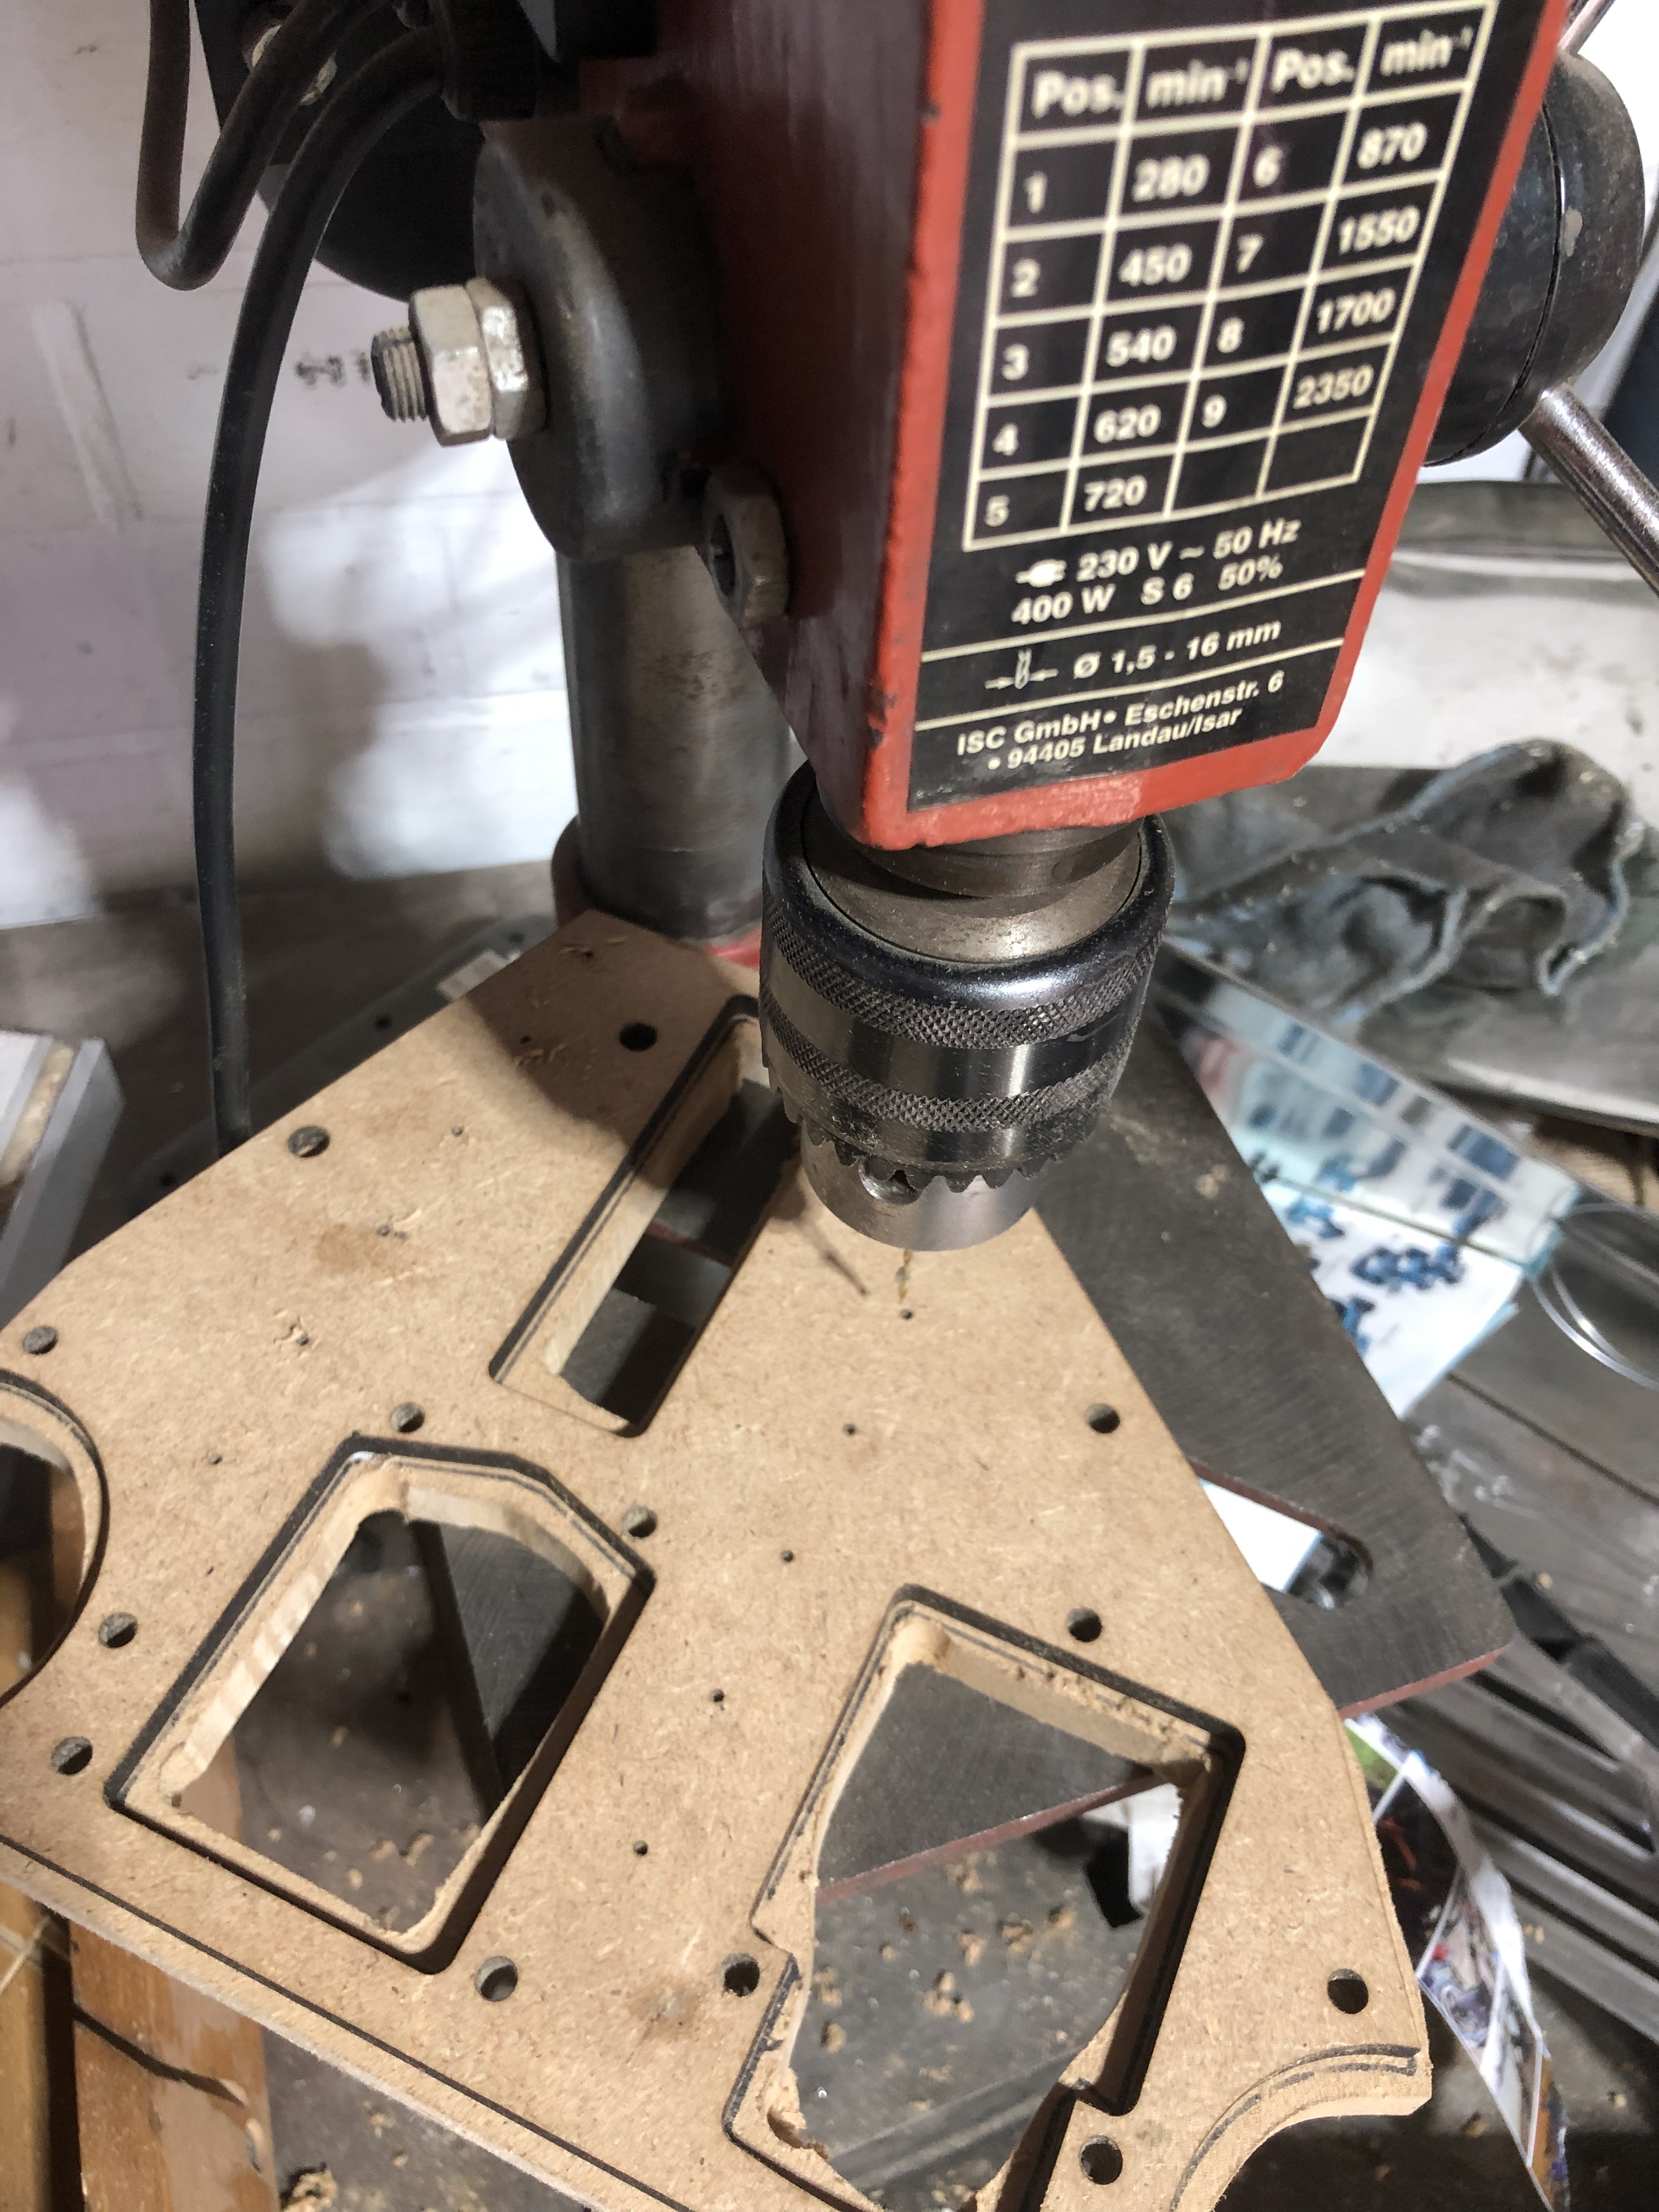
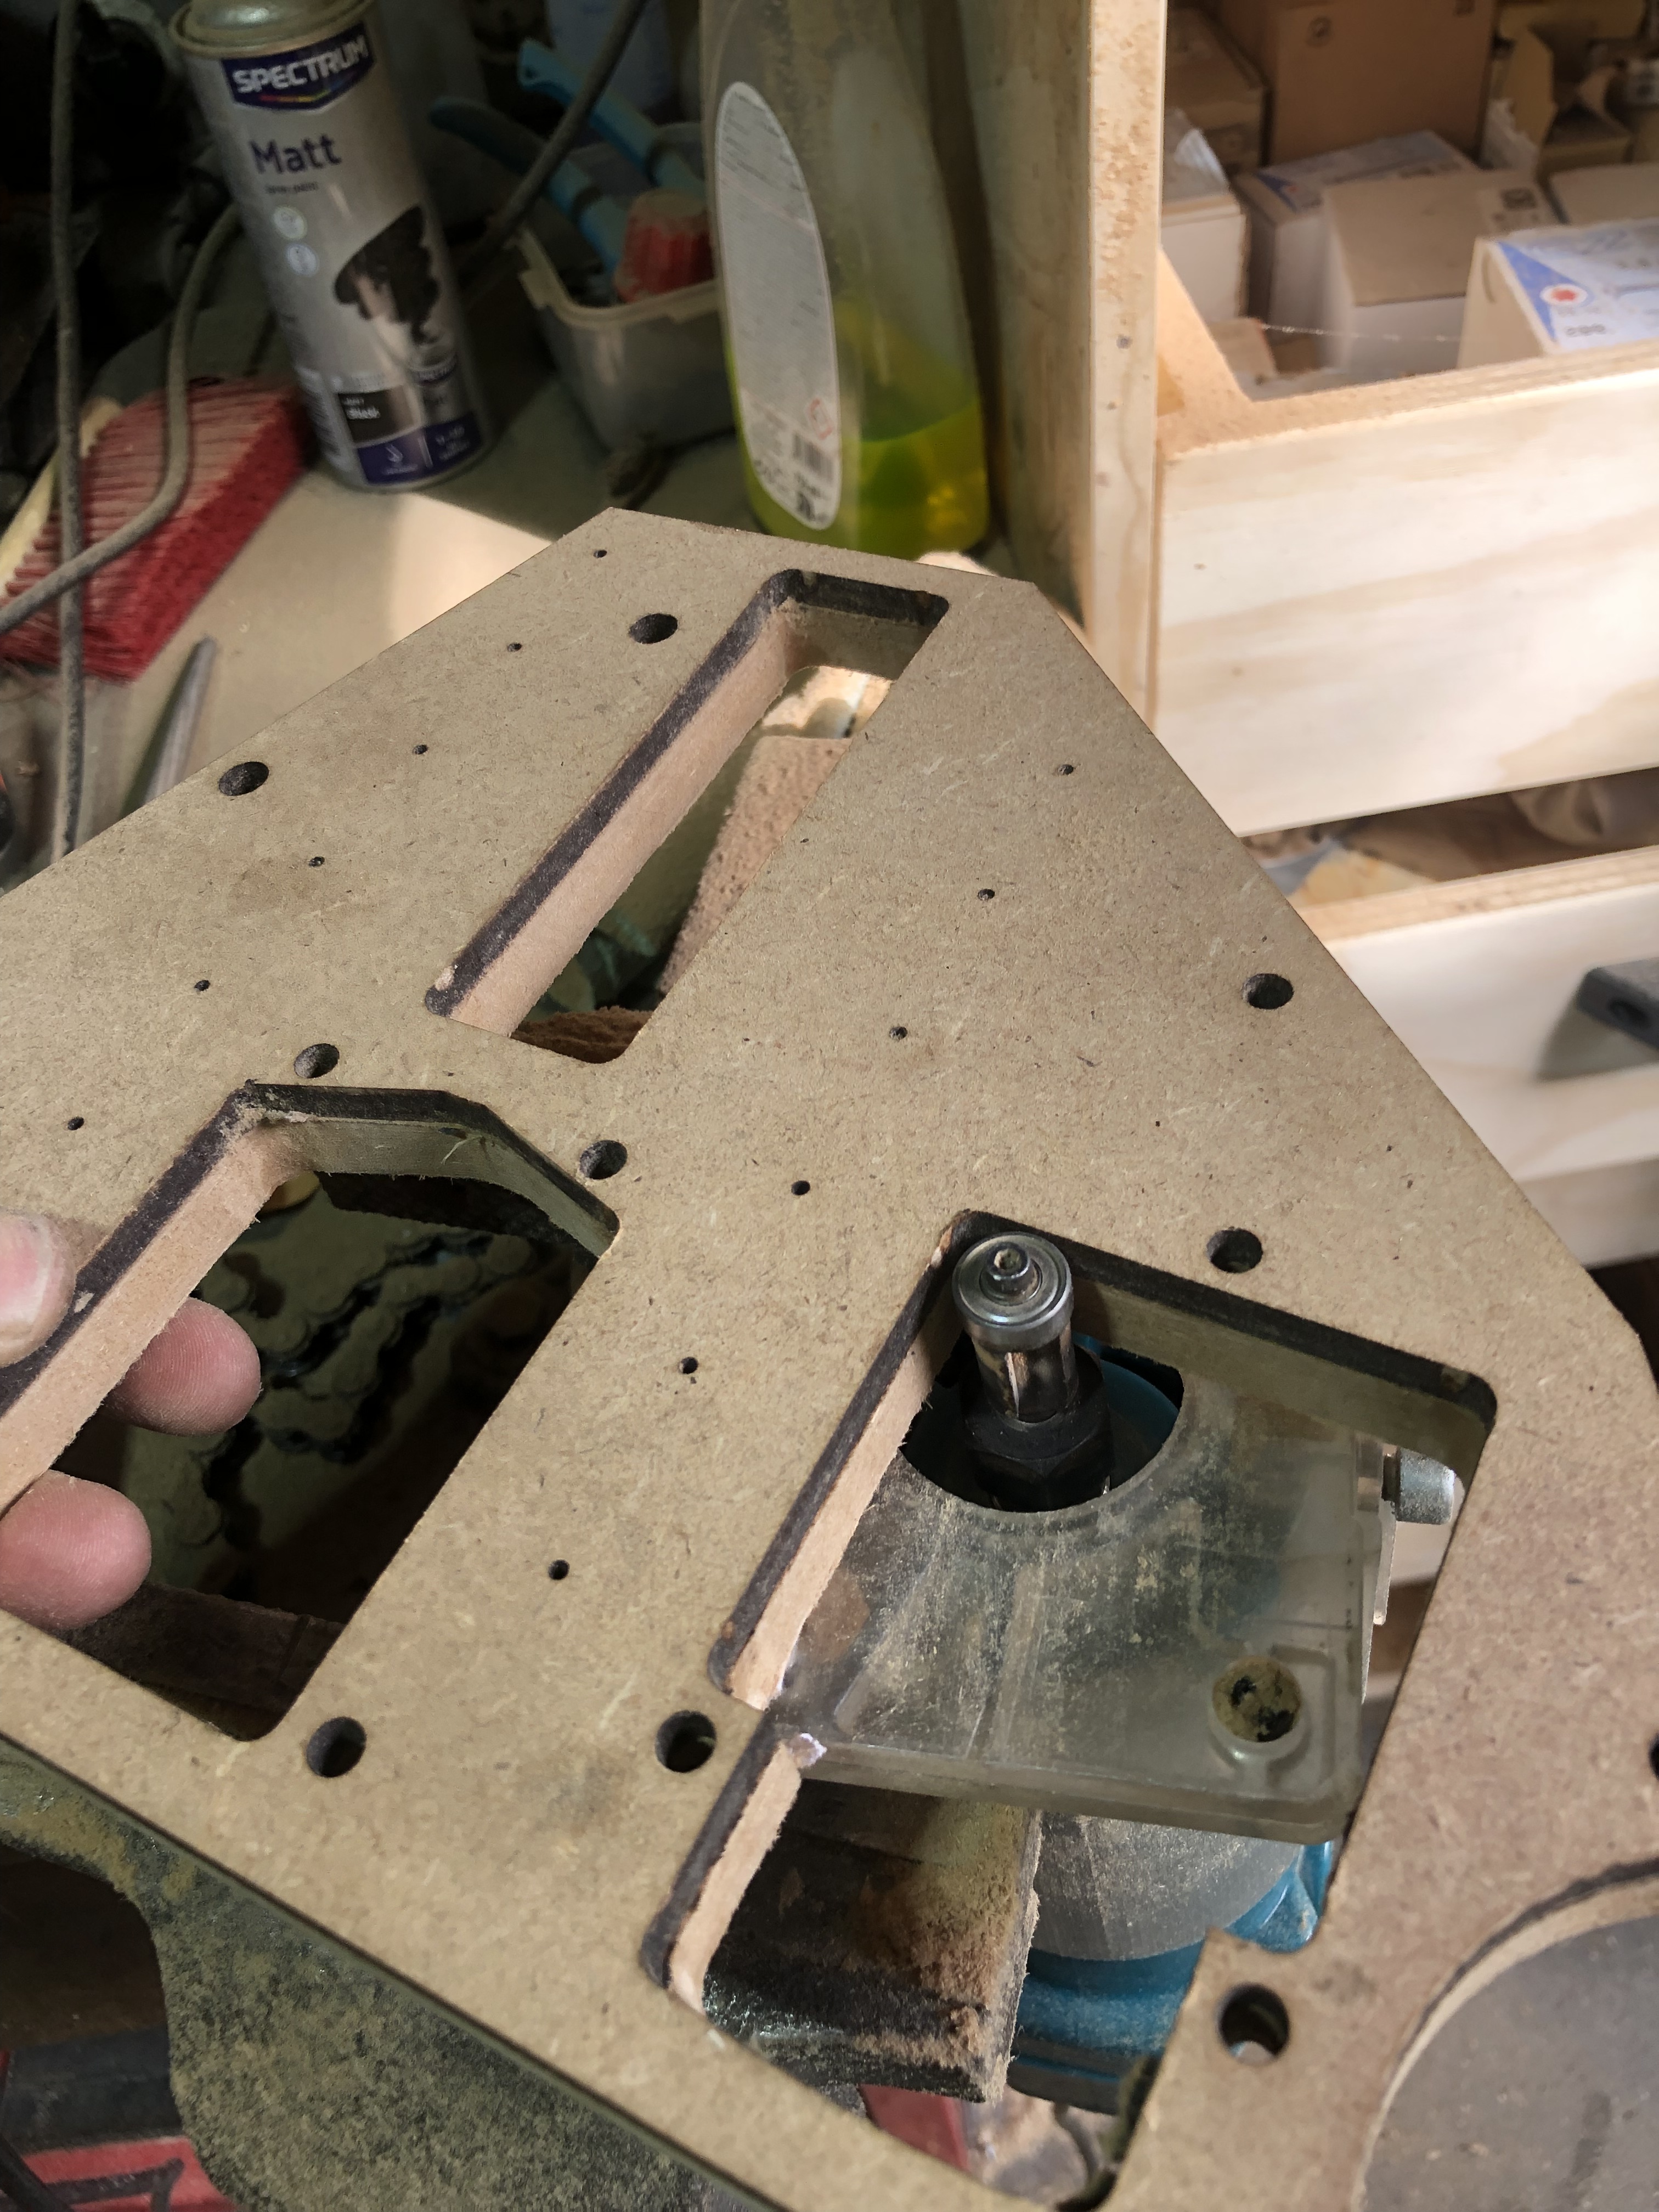
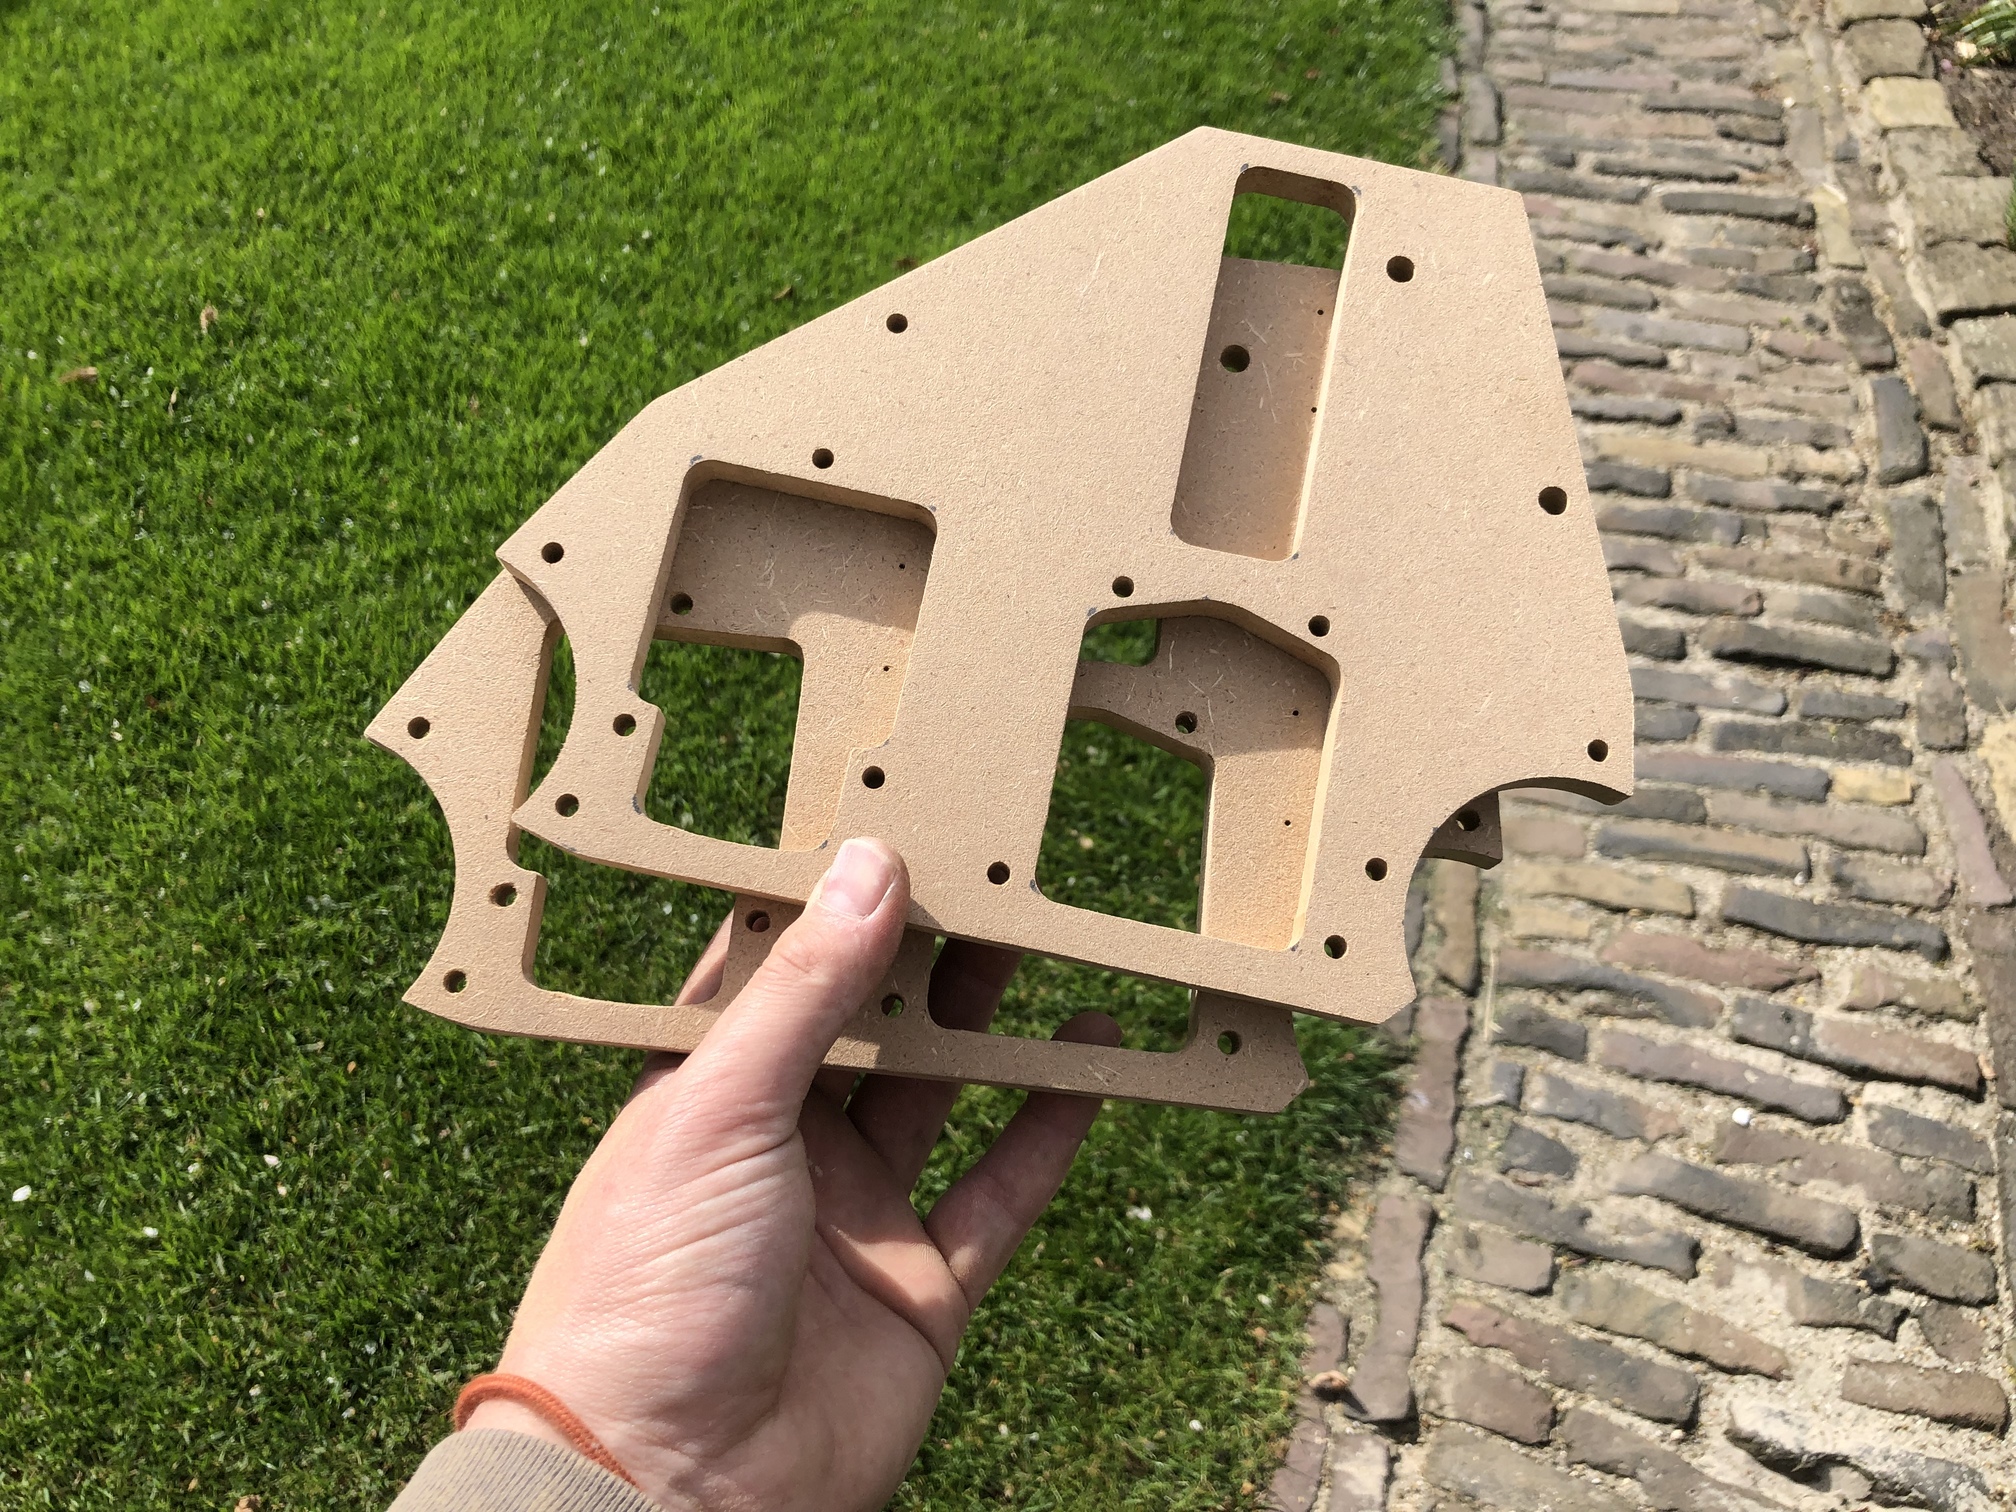
For the yz plates I had a piece of 6mm mdf laser cut at my university. Then used a copying bit on the router to make them from 12mm mdf. Worked well from what i can tell.
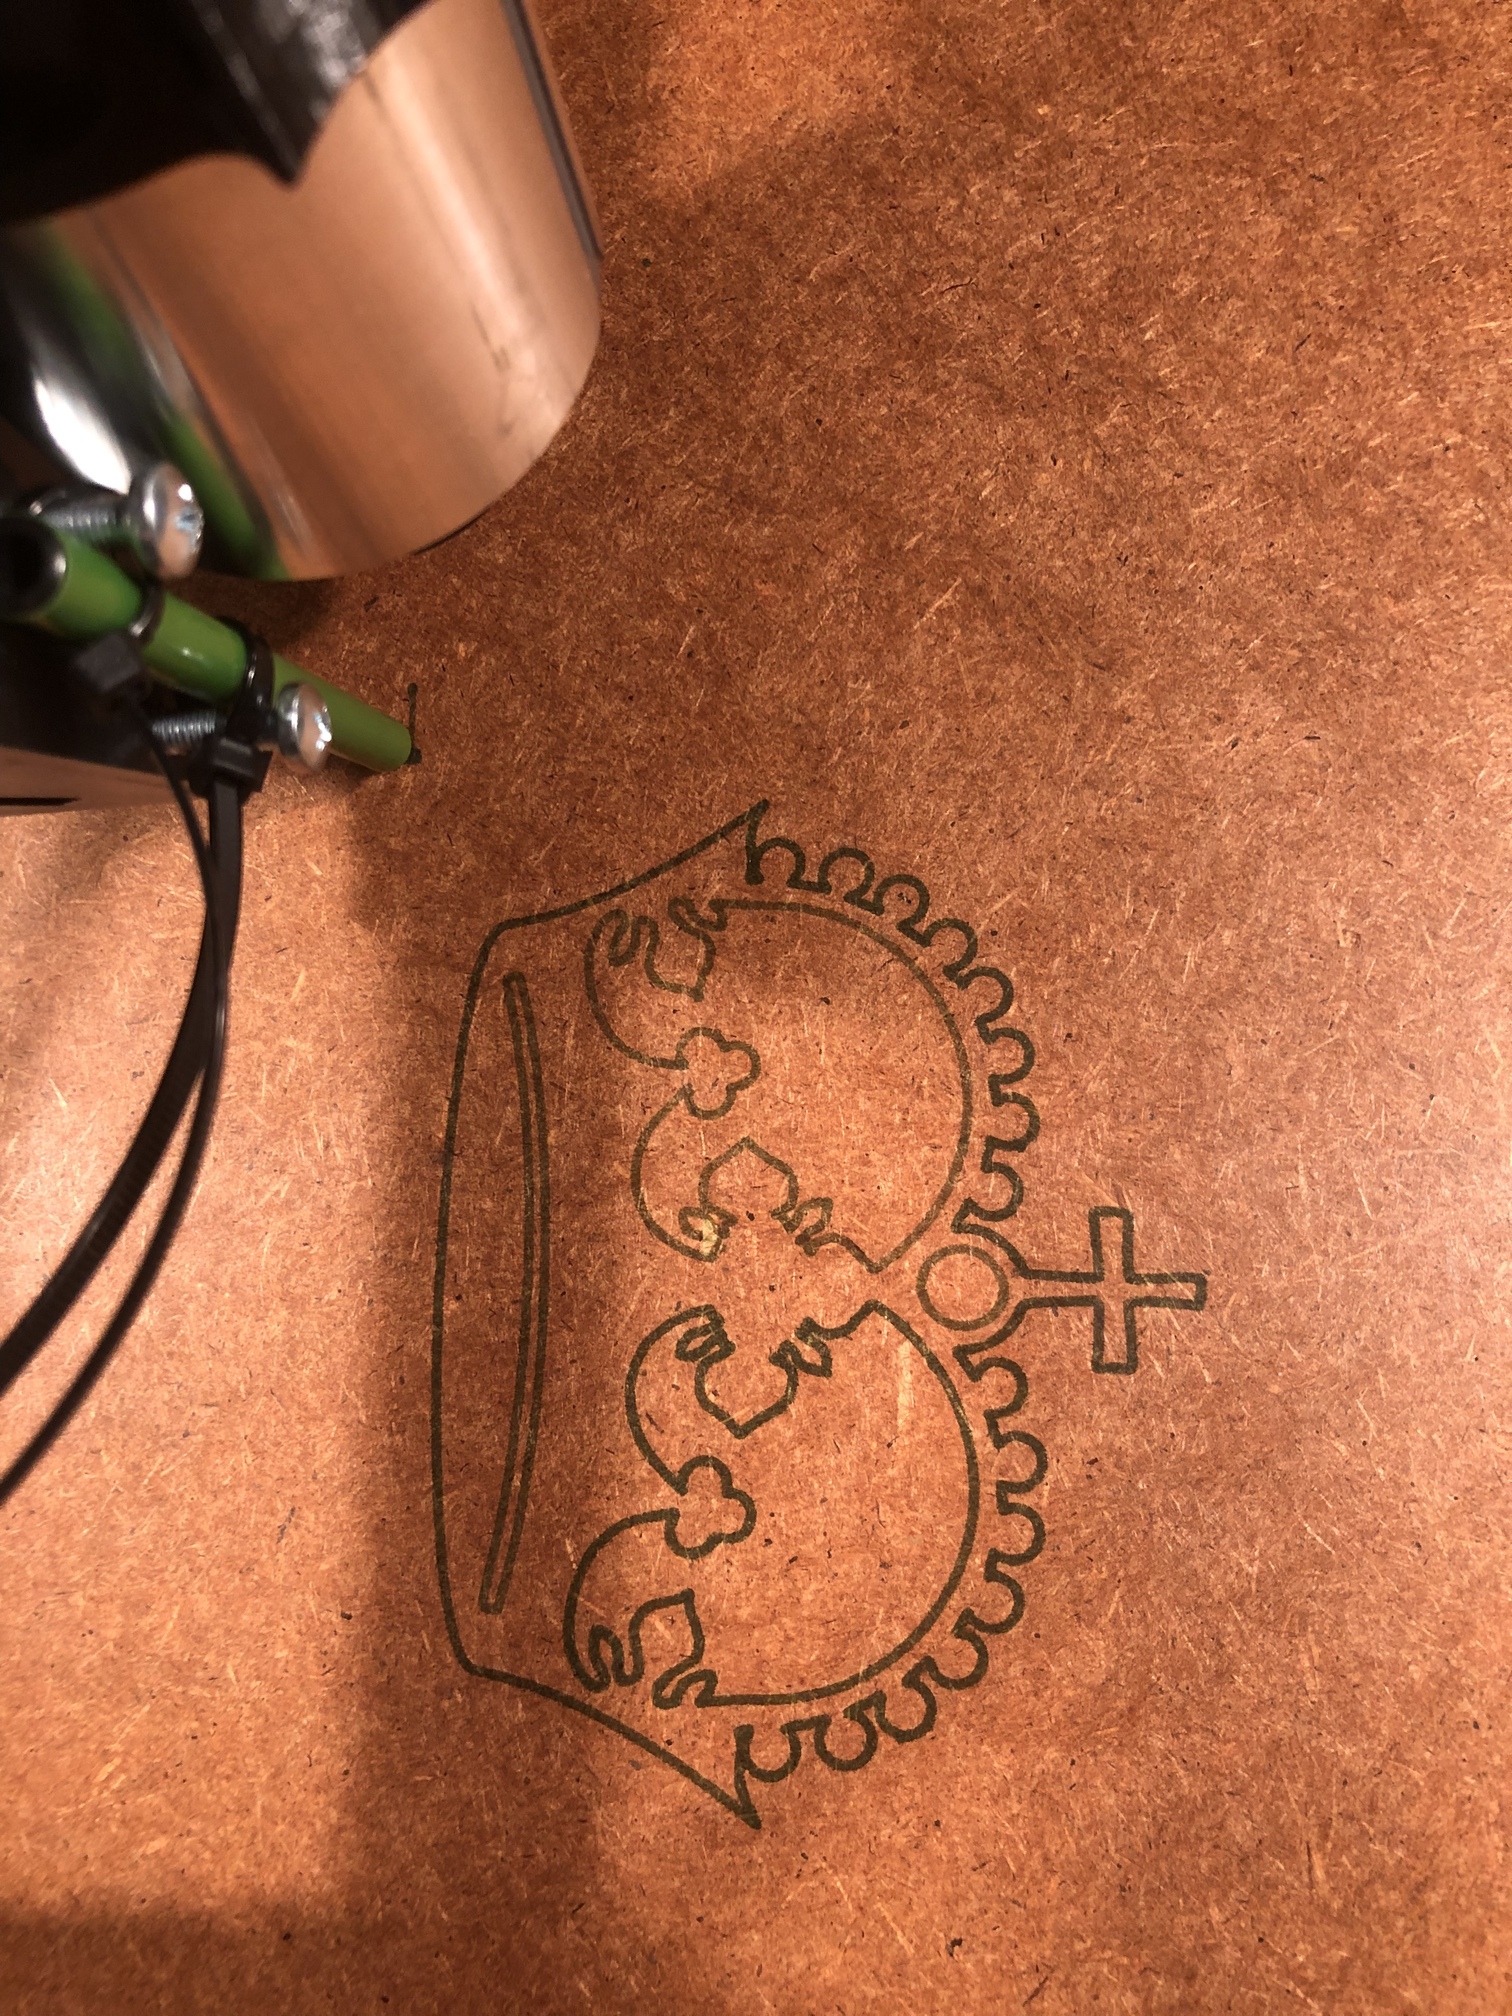
Lot’s of progress. Made a table, and got to work. It took me a while to figure out an issue i had with my z axis moving down during the crown test. Turned out i had to reset the coordinates and that fixed it.
Yes both top and bottom have a sheet atached to it to create the torsion box. It is pretty stiff but i do need 6 legs to support it well enough. It works good enough i would say.
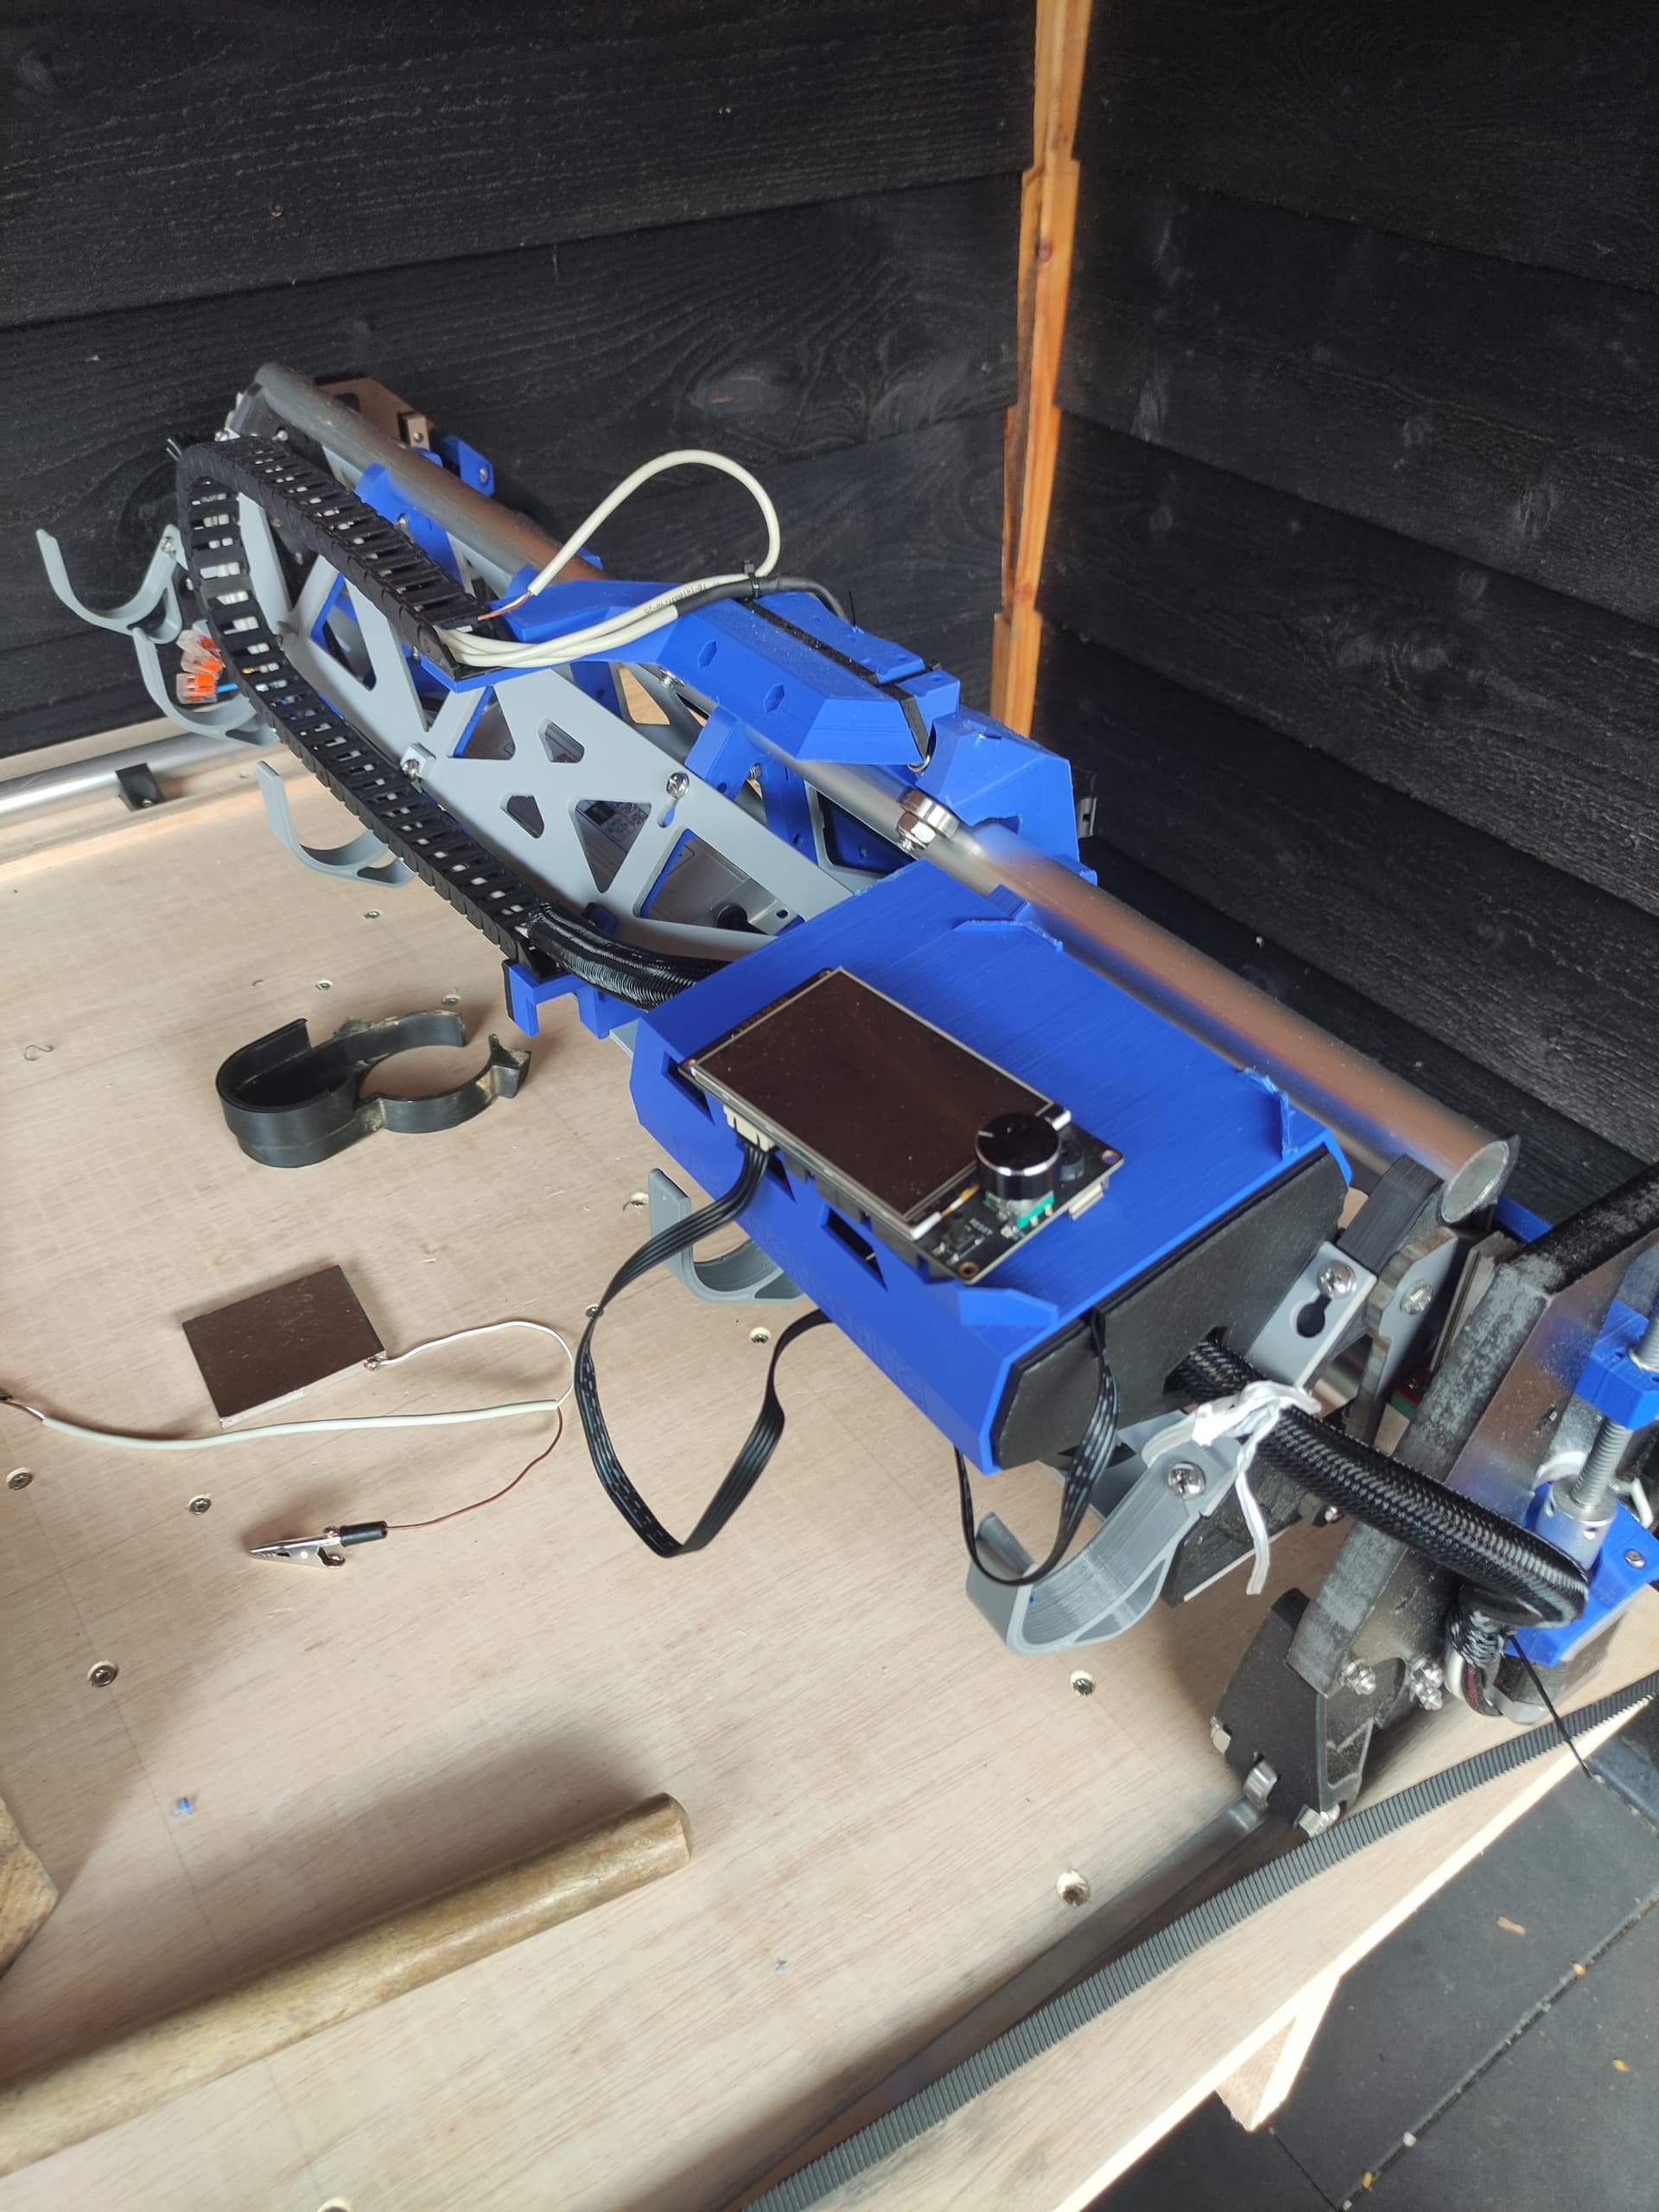
Just done building it, only need to put the strutplates in. And now I see don’t use aluminium tubes Well don’t have anything else right now, I will see how these perform, always possible to replace them in the future.
Located in Lelystad.
Start to look like something nice, cable chain added, rewired some parts. Next to do connect my new power supply to mains and the SSR power switch cables to my router.
Power supply, 24v 100watt, overkill but maybe for a future mod with a laserhead
I used aluminium tubes on my MPCNC because that was all that was available in 25mm here in NZ at the time and there was no 25.4mm version back then.
They’ve flattened off where the bearings ride, but not to the point where it has introduced any issues. I suspect I need to run mine slower than if it were steel tubes, but the stiffness difference isn’t as stark as it’s made out to be, in my opinion.
It’s always possible to shrink the gantry if you want a faster machine, at the expense of area.