Below is I think everything that one would need to set up dual-x-carriages on the LowRider 3.
I’ll edit this post as necessary if things change or if we find mistakes or omissions.
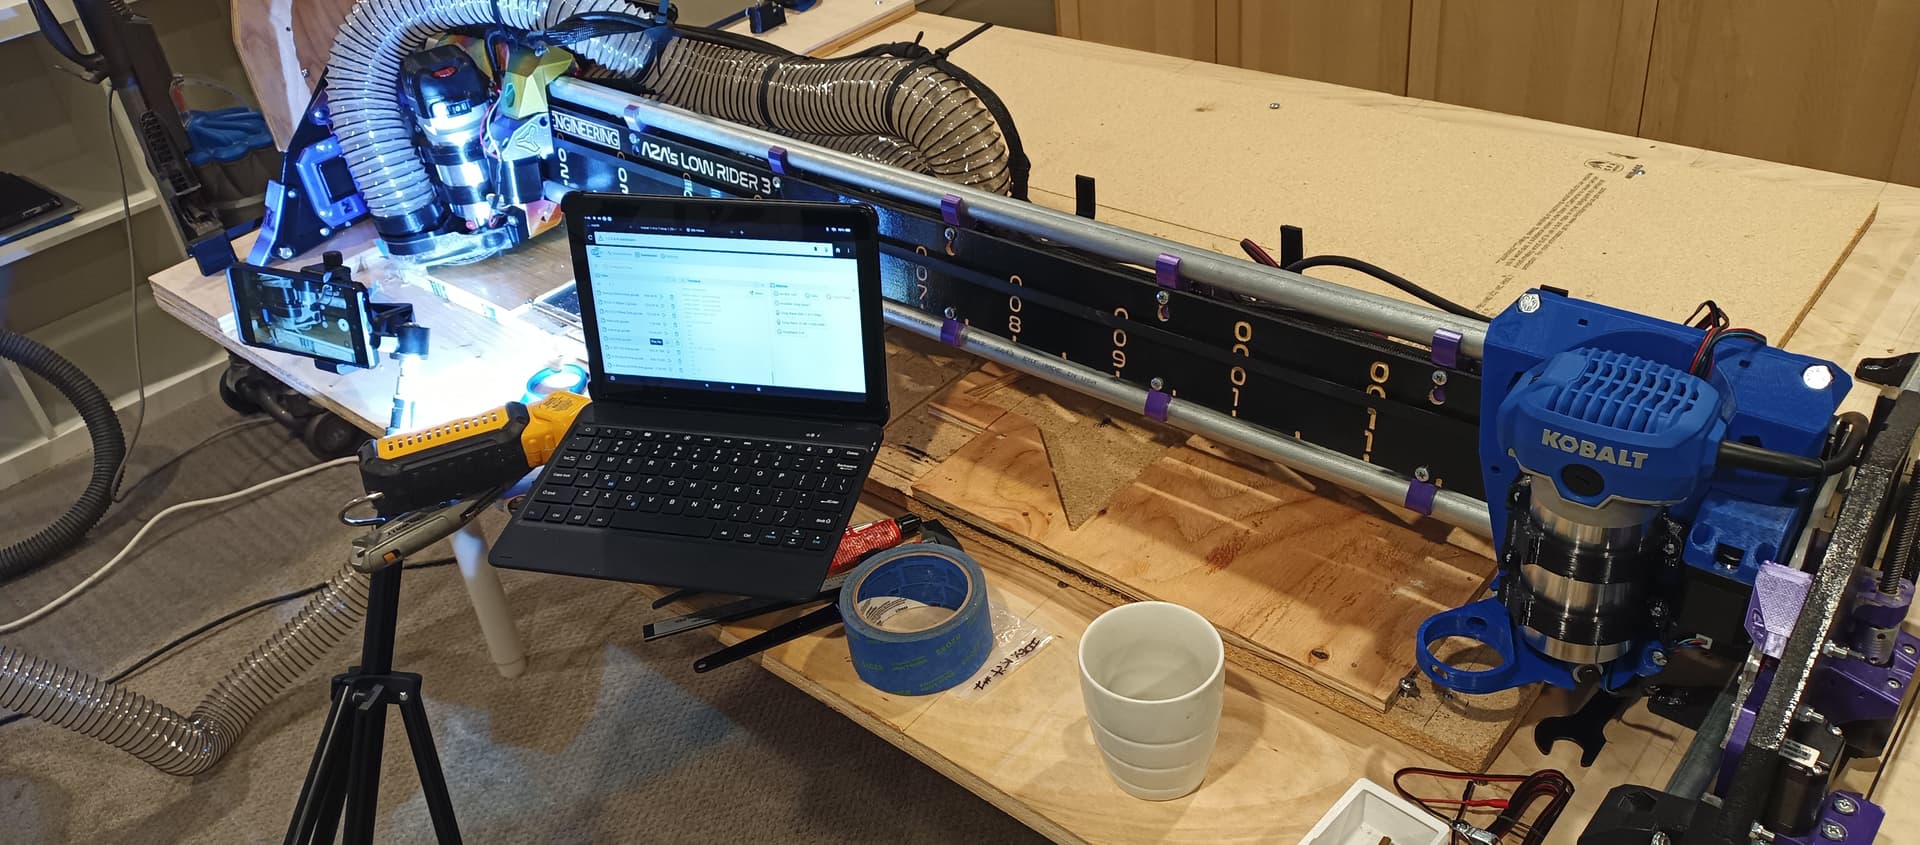
Install X-Max Endstop
The DUAL_X_CARRIAGE option is set up to home Tool 1 toward X-max. I looked at homing toward X-min so that it would bump against Tool 0, but this would require a lot of changes. Therefore an endstop needs to be installed to detect when a carriage reaches the maximum X position. I used epoxy to secure an endstop switch to the XZ plate.
The standard LR3 firmware uses the X_MAX plug in order to home Z2. (Presumably this is to leave Z_MIN free for probing.) This is no longer possible since X_MAX has to be dedicated to homing Tool 1, so Z2 homing should use the Z_MIN plug.
#define Z2_USE_ENDSTOP _ZMIN_
Then, since _ZMIN_ is now a NC endstop for Z2 and not a touch probe, you need to define
#define Z_MIN_ENDSTOP_INVERTING false // standard is true for normally-open touch probe
For probing, you’ll have to find some other pin besides Z_MIN. For SKR Octopus I chose PB7 and assigned it with
#define Z_MIN_PROBE_PIN PB7
Define X2 Stepper
Define your X2_DRIVER_TYPE for the appropriate driver you’ll be using, e.g.
#define X2_DRIVER_TYPE TMC2209
Set Up Range of Motion
With Tool 0 all the way to the left, and T1 all the way to the right, measure the distance between the carriages. This is X_BED_SIZE, and it constrains Tool 0 to move from 0 to X_BED_SIZE and it won’t crash into Tool 1.
The DUAL_X_CARRIAGE feature will complain if you don’t have soft-endstops enabled for both min and max, so you need
#define MAX_SOFTWARE_ENDSTOPS
Then within Configuration_adv.h
#define DUAL_X_CARRIAGE
#define X2_MIN_POS 183
#define X2_MAX_POS X_BED_SIZE + X2_MIN_POS
The X2 min position is defined by the width of the LR3 core, so it will always be 183.
In that section I also configure for FULL_CONTROL_MODE because I don’t trust the auto-parking.
#define DEFAULT_DUAL_X_CARRIAGE_MODE DXC_FULL_CONTROL_MODE
Set Up Two Extruders (?!)
The DUAL_X_CARRIAGE feature expects two extruders, i.e. #define EXTRUDERS 2.
I looked at what it would take to factor out extruders vs. tools, and the assumption that dual-carriages are dual-extruders is pretty deeply baked into the implementation. So two extruders are mandatory. This means that you must also define all the other things for the two extruders, including
#define TEMP_SENSOR_1 998 // (code 0, meaning none, is not allowed)
Additionally all these values need four elements instead of three so they are defined for X, Y, Z, and E axes:
DEFAULT_AXIS_STEPS_PER_UNIT
DEFAULT_MAX_FEEDRATE
DEFAULT_MAX_ACCELERATION
AXIS_RELATIVE_MODES
MANUAL_FEEDRATE
(The compiler will tell you if you miss one.)
Set up extruder steppers
If you have an SKR Octopus, then the normal LR3 setup defines MOTOR0, MOTOR1, MOTOR2, MOTOR3 to X1, Y1, Z1, Z2, and MOTOR4 is Y2 (automatically using next available extruder motor).
With DUAL_X_CARRIAGE enabled (and the necessary EXTRUDERS 2), the motors MOTOR0-MOTOR3 are unchanged, but MOTOR4, MOTOR5, MOTOR6, and MOTOR7 are assigned to E0, E1, X2, and Y2. The E0 and E1 axes are wasted, but it works. (The motor drivers for those slots could be removed.)
For a board with 6 motor drivers, there are physically enough drivers for X1 Y1 Z1 X2 Y2 and Z2, but it will try to define two extruders too and complain about not having enough steppers. The workaround for this is to edit the pins file to map some dummy pins to E0 and E1, and then the real stepper motor pins can be assigned to higher numbered extruders E2, E3 and E4.
If the LCD is not being used (EXP1 and EXP2 ports) then those pins can be used as dummy pins for E0 and E1.
For the SKR Pro for example, you can define E0 and E1 to EXP1/EXP2 pins, and the real stepper pins can be assigned to E2, E3, and E4. The automatic assignment should then assign those motor ports to X2, Y2, Z2.
Set Up Workspace
The X_BED_SIZE and X2_MIN_POS will determine the position of Tool 1 after homing, which should be pretty close to the actual X distance between the center of the cutting bits, but it might not be exact. Perform a cutting job with both tools (e.g. concentric circles) and measure the residual error between the tools. Note the current tool offset by entering M218. The X offset should be approximately X_BED_SIZE + X2_MIN_POS and you can correct for the X position error by adjusting the value slightly and setting it via M218 T1 X___. Don’t forget to save the value with M500.
For tools of different length, you would also include the Z offset with M218 T1 Z___. This offset will generally need to change when you change bits in either of the routers.
For two routers of the same model, there won’t usually be a Y offset between the tools, but for different routers, or a router and a pen, there can also be a Y offset, which you would assign the same way.
An important physical consideration when setting up the workspace is that the parking locations of the tools should have sufficient clearance below them so that when the tools are parked, they won’t drag on the table top or spoil board. When one tool is cutting all the way through the workpiece and cutting slightly into the spoil board, the other idle tool must not crash into anything.
One way to achieve this is to mount a spoil board that is narrow enough that it sits entirely between the two parking spots and is not below either parking spot. When one tool is cutting all the way through the workpiece, the other tool will miss the spoil board.
Set Up Solid State Relay and Gcode Scripts
I like to use a combination switch and outlet with a solid state relay wired in parallel. This allows me to switch the tool on with the switch for manual control, or with the switch in the off position the tool can be turned on and off with the SSR. Each tool gets its own SSR and switch.
GPIO pins can be switched from gcode with the M42 command. In my case I disabled some fans so that the pins could be used as generic GPIO. The schematic and the pins.h file identifies them as “PD14”, “PD15” etc. but the M42 command requires a single number. Within platformio, right-click on “PD14” (or whichever pin you are wanting to use) and click “Go to Definition”. This will take you to a file that identifies the Arduino pin number for each of those names.
Once you have the number, the command is M42 P[number] S255 to turn the router on, or M42 P[number] S0 to turn the router off.
Since we are using DXC_FULL_CONTROL_MODE (and not auto-park) the tools will not automatically move out of the way when we switch. Therefore when switching from T0 to T1, you must move G0 X0 before the T1 command. Similarly, when switching from T1 to T0, you must move G0 X[T1 Home] where the T1 home position is the X offset you had determined for M218 (approximately equal to X_BED_SIZE + X2_MIN_POS.
The sequence for changing tools from T0 to T1 is
- Dwell (
G4 S0) - Stop spindle for T0 (
M42 P[T0 SSR Pin] S0) - Move tool 0 out of the way (
G0 X0 F3000) - Change to T1 (
T1) - Dwell (
G4 S0) - Start spindle T1 (
M42 P[T1 SSR Pin] S255)
The sequence for changing tools from T1 to T0 is similar
- Dwell (
G4 S0) - Stop spindle for T1 (
M42 P[T1 SSR Pin] S0) - Move tool 1 out of the way (
G0 X[T1 parking spot] F3000) - Change to T0 (
T0) - Dwell (
G4 S0) - Start spindle T0 (
M42 P[T0 SSR Pin] S255)
The dwell (G4S0) is important because the GPIO commands M42 jump the queue. Apparently they take effect when the command is received, even if there are several movement commands waiting completion in the queue. This is very bad because the router may stop or start prematurely. Even a zero-second dwell forces the queue to be flushed before the following command is processed. (Optionally, you may dwell for a second or two after the router starts to give it time to spin up, but I don’t find it to be necessary.)
These can be assigned to macros if they are enabled. Within Configuration_adv.h, enable with
#define GCODE_MACROS
#define GCODE_MACROS_SLOTS 10
#define GCODE_MACROS_SLOT_SIZE 80
These macros can then be used in the tool-change script (within EstlCam for example) to perform all these steps when changing tools.
Bugfix for G92
The latest version of Marlin (as of Dec 31, 2020) has a bug where G92 offsets are lost when switching tools (whether or not workspaces (G54, etc.) are used). Edit the code to add three lines according to this edit, specifically the file Marlin/src/module/tool_change.cpp. This fixes it so that G92 offsets are preserved across tool changes T0/T1.