When I moved from the MPCNC to the LowRider 3, I suddenly had some “spare” parts that were eating away at my imagination. I wanted to see if I could use some of those parts to create a much larger printer. About the same time, I was commissioned for a 3D printed cosplay costume for an upcoming GalaxyCon that would really benefit from a bigger print volume. I wanted to share the project in case anyone has any ideas or wants to give it a shot themselves. This is a hack and I know there are better ways. I’m certain this idea has many flaws, but I wanted to see what those flaws were.
The build volume at this time is 550x600x900mm. The frame is built from 2020 aluminum extrusion, 4ft conduit on each corner, and tensioning wires to attempt to constrain the corners.
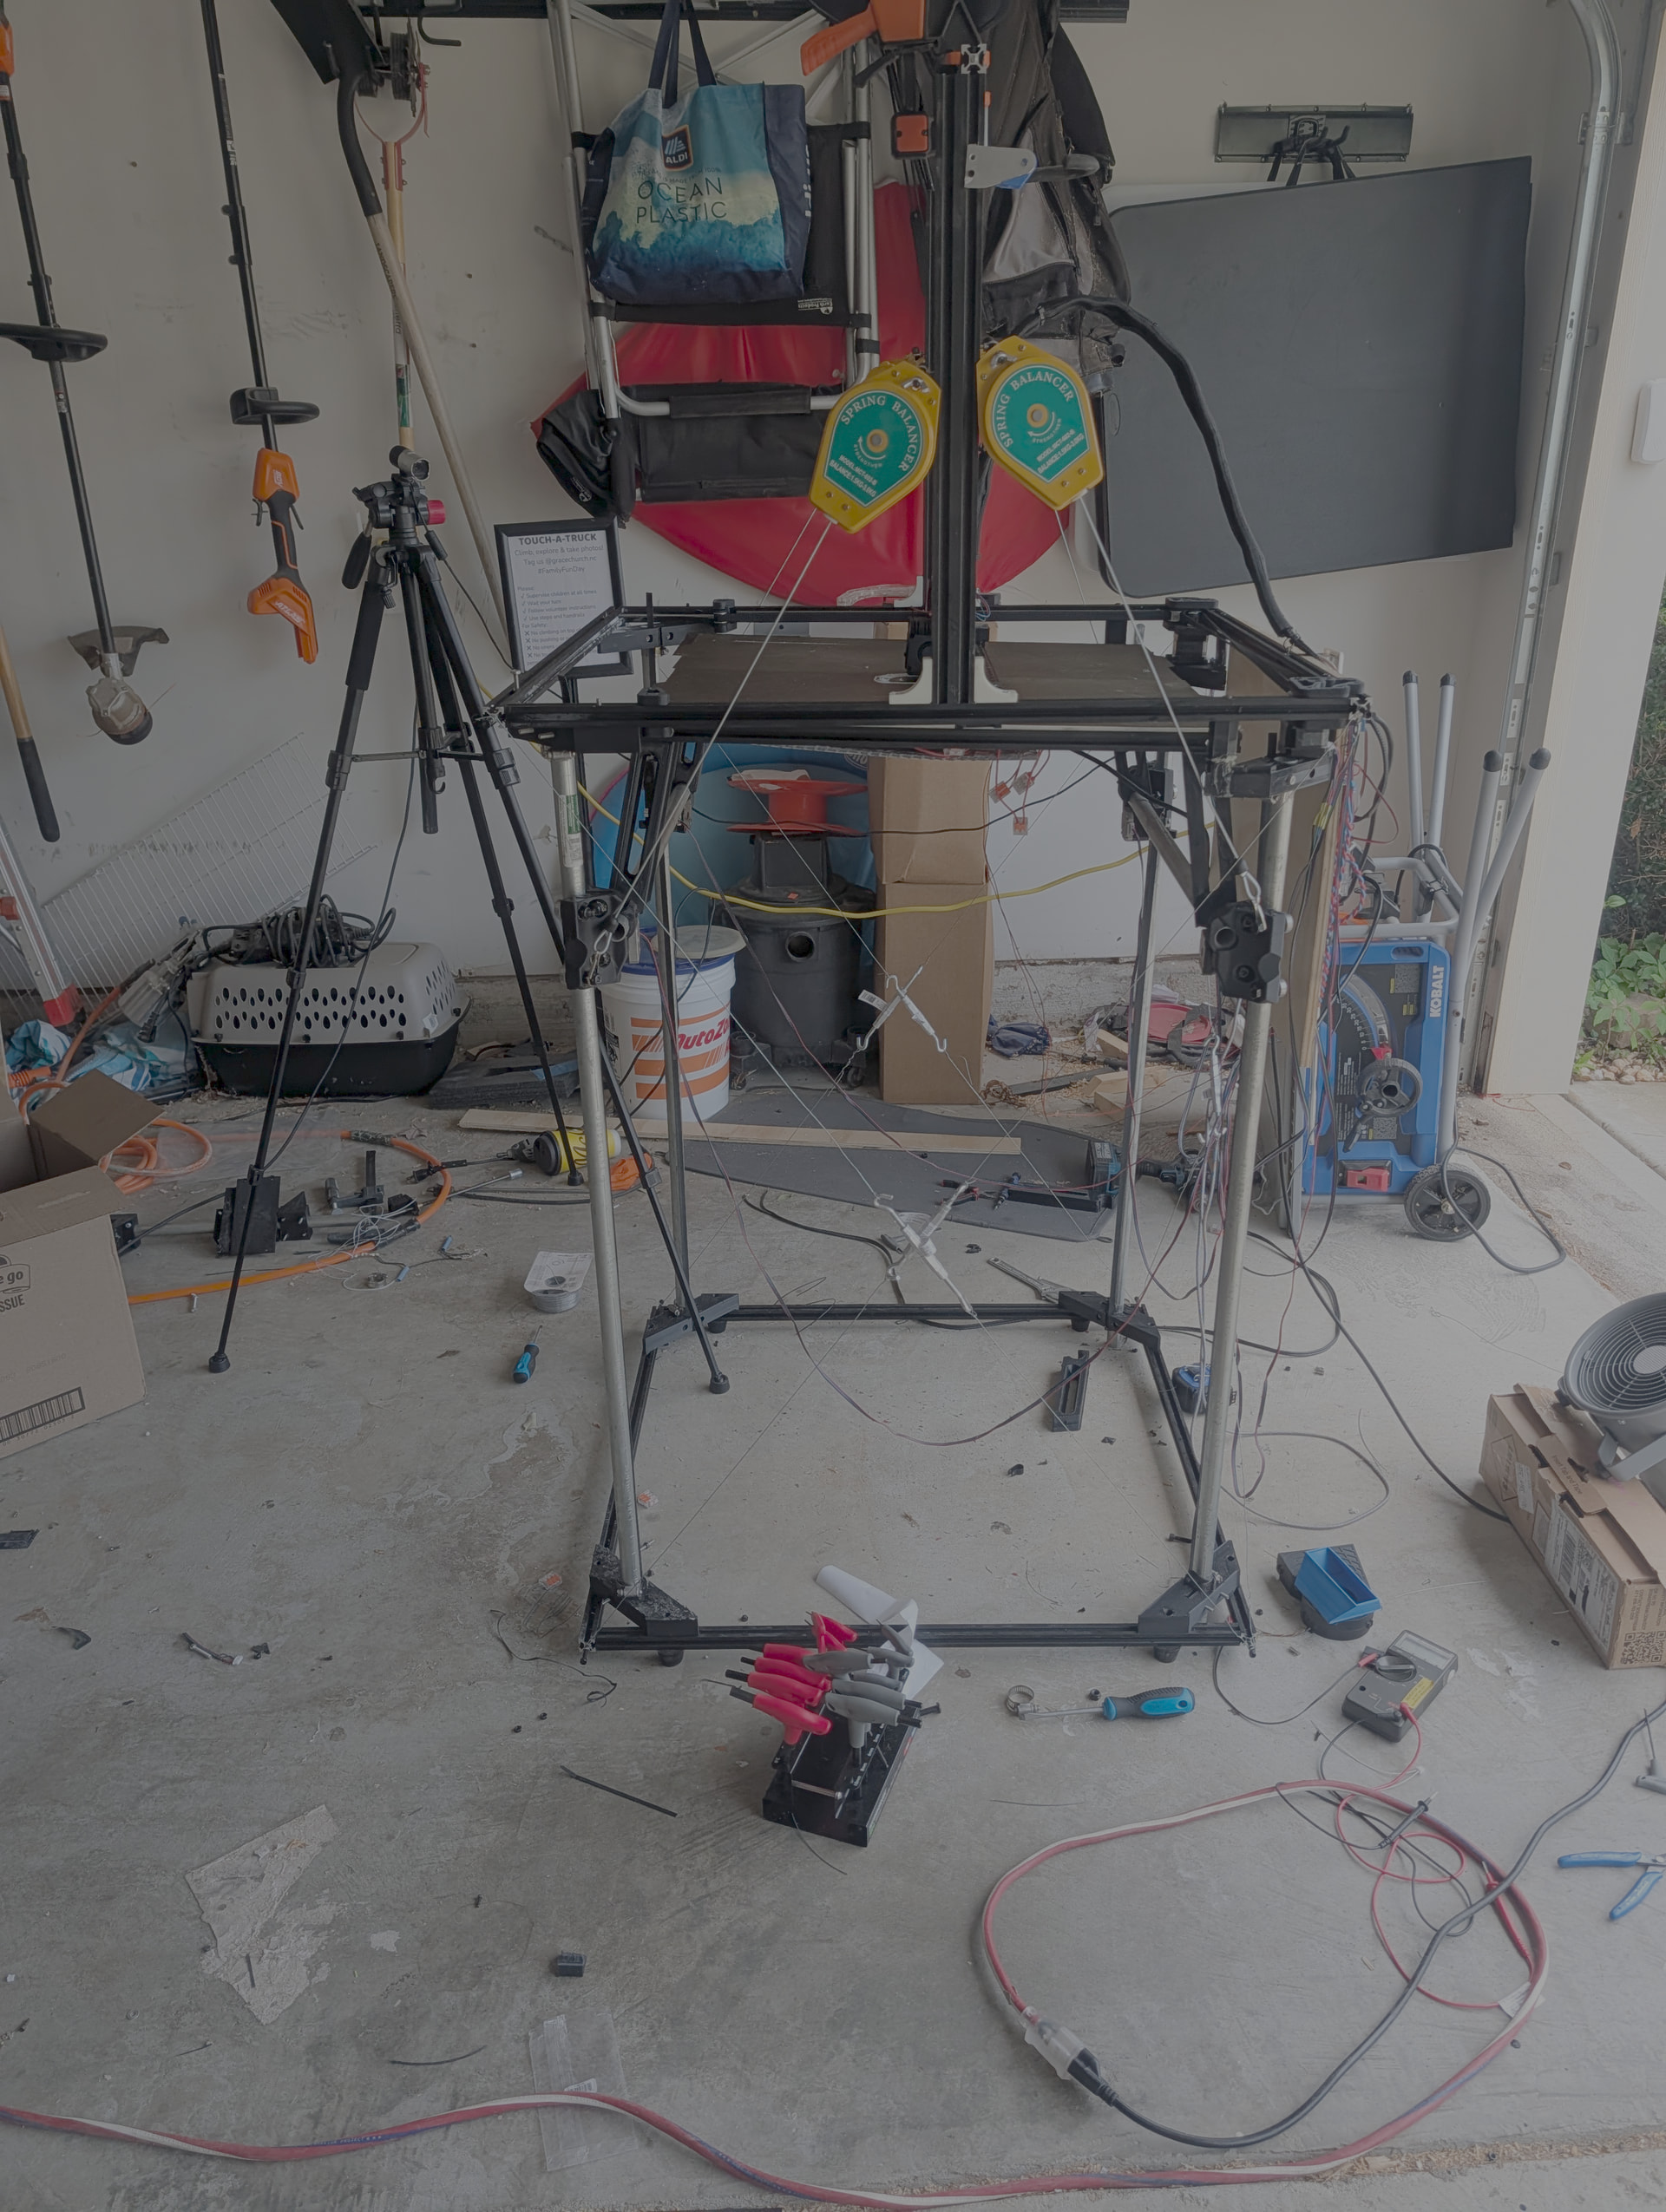
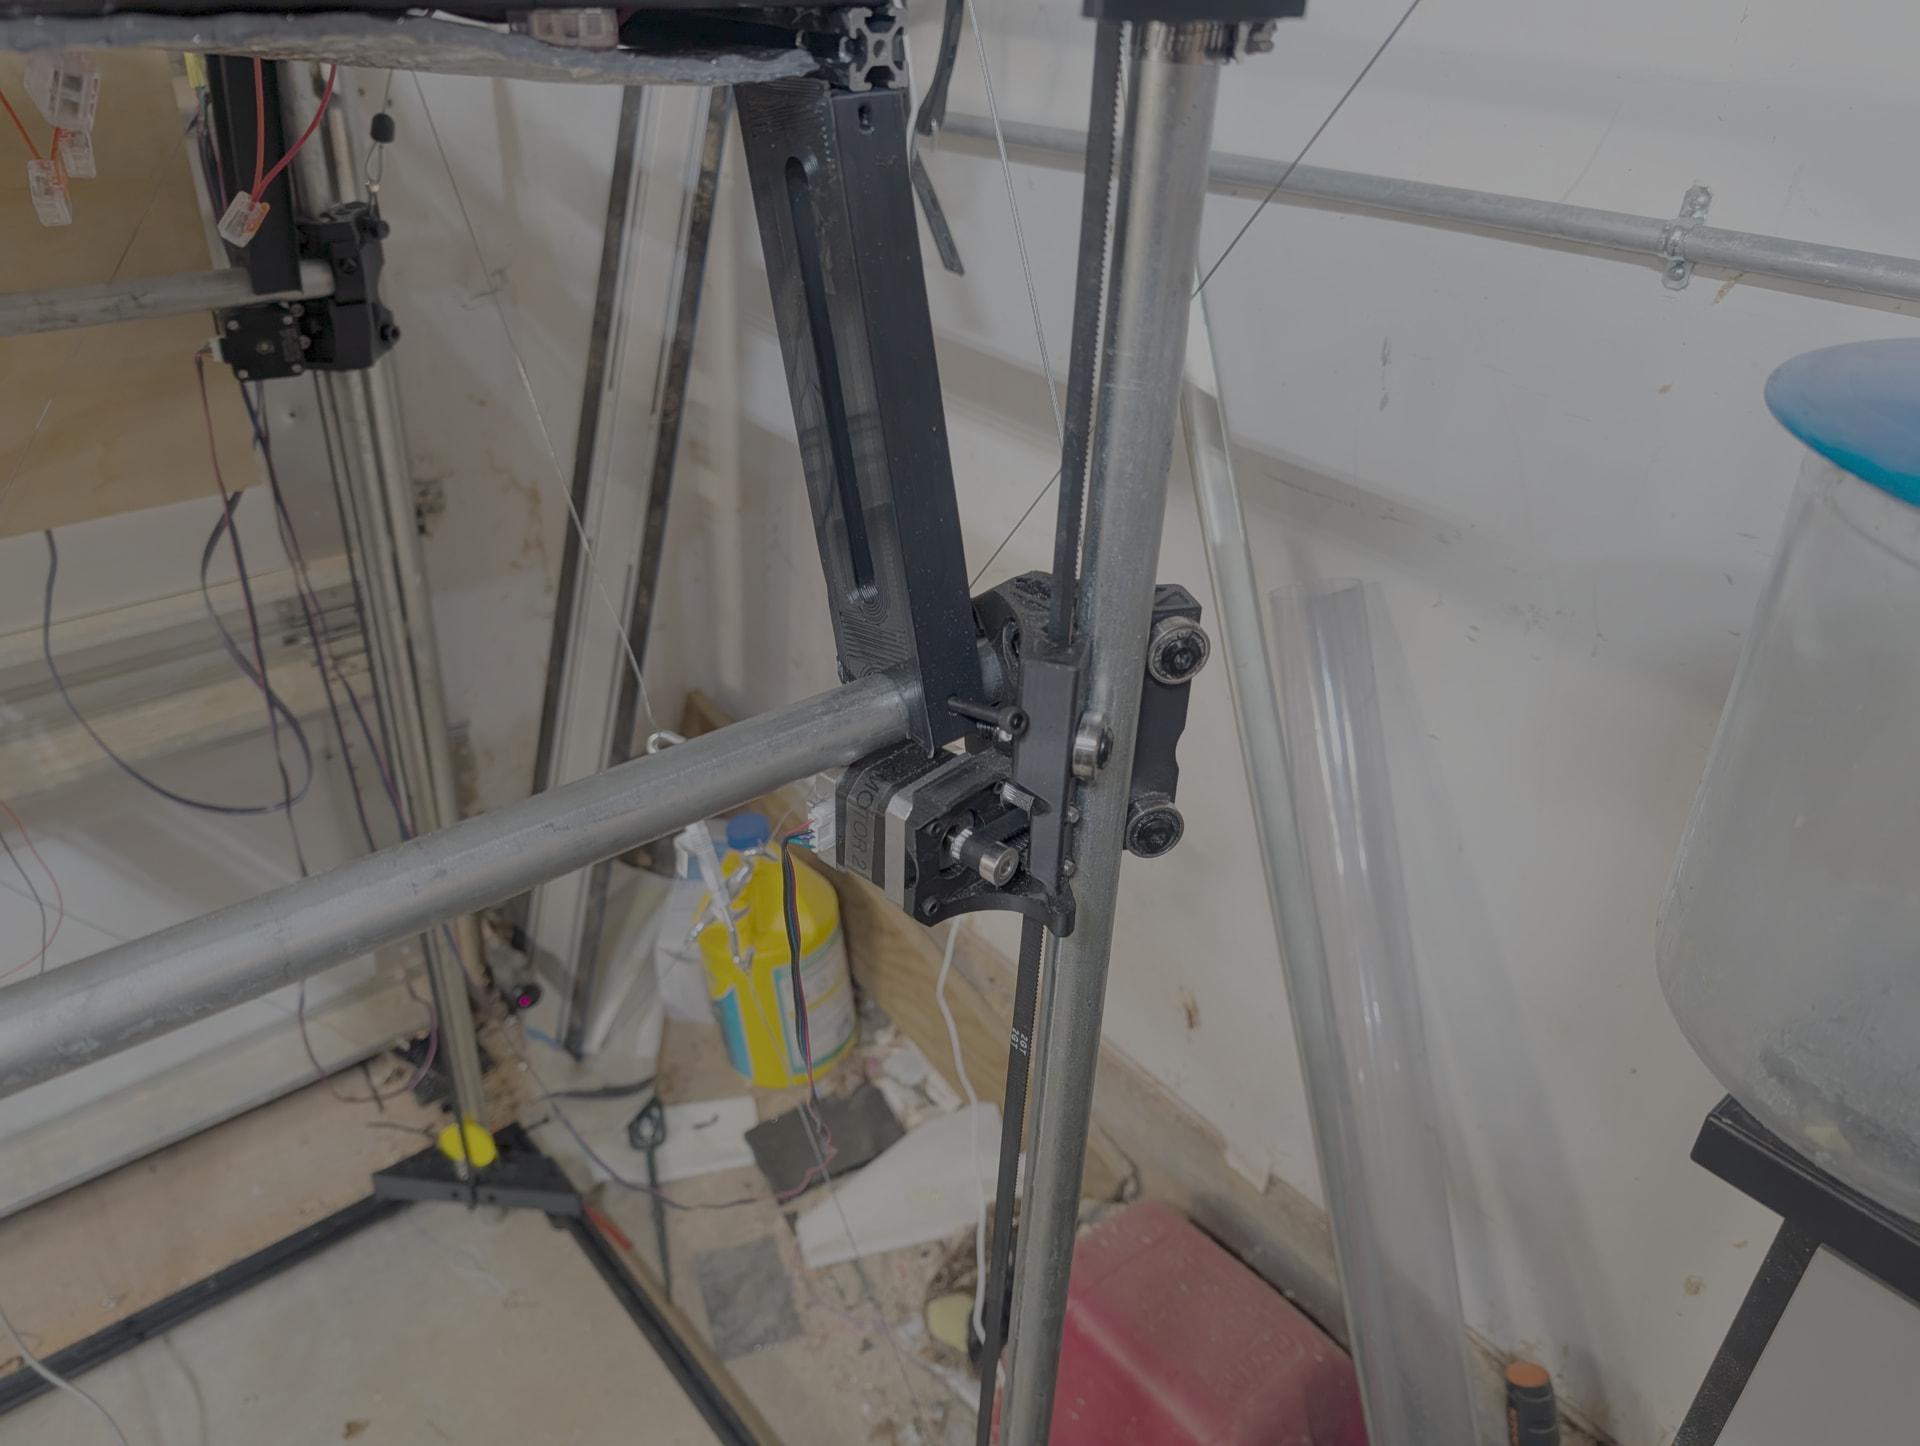
Rather than milling the aluminum brackets for the corners and stepper, I wanted to experiment with ASA GF to see how it holds up. I only have 20 or so hours on the machine, but I haven’t any issues or catastrophic failures … yet.
The Z axis is comprised of the 4 MPCNC trucks with some modeled brackets to support the aluminum build platform.
The build platform is a 600x600mm 3/16” alumnimum plate. One of the problems I had to solve was preventing this massive hunk of aluminum from falling when klipper(or a power outage) cuts power to the z steppers. My current strategy for addressing this is using 8 relays to short the stepper motors, but the weight of the plate requires some additional counterbalancing to prevent the plate from crashing. I found these cool spring balancers that do the trick. Now, the motors only have a small net load on them and the relays are able to prevent any sudden dropping, and even hold the build platform roughly in place.
The build plate is heated with 20 100W 100x100mm stickers controlled via an SSR.

Right now, the way they are wired, the bed consumes about 500W at full power. Since my current commission only requires TPU, the bed heating required is minimal. Regardless, the bed can achieve 70C across the inner 500x500mm of the bed in my hot garage that is roughly 35C. These stickers can supposedly hit 150C, but that is terrifying. I’m not sure I’d want to push them much past 100C.
Areas I Need/Want to Improve
- More frame rigidity. It’s not bad with the tensioning wires, but I can see it being an issue that will keep my speeds in the 100-200mm/sec range.
- Bed leveling. I’ve been having issues with Klipper not being able to settle the Z-tilt properly . I recall it being finicky to setup when I built my last printer. At the moment, I using a 800mm piece of aluminum extrusion to manually level the bed against the frame, then enabling the z steppers.
- Tool changing. I’d like to develop, or integrate, a tool changer so I can swap nozzles mid print.
- Clean up the wiring and make a proper electronics box.
- A better way of mounting and positioning the spring balances.
- Enclosing the print volume.
- Controlling chamber temperature.
- Higher bed temperature capability.
- Print higher temperature filaments such as PC. My dream would be to print PeeK but I think that will require magic this build can’t conjur.
This build is very much a work in progress and is a platform for experimentation, but it is turning decent prints. I plan to put the models created for this project on Printables. It has been an incredible challenge and a lot of fun.
