Does anyone know if there is a Klipper printer.cfg profile out there for the LR2?
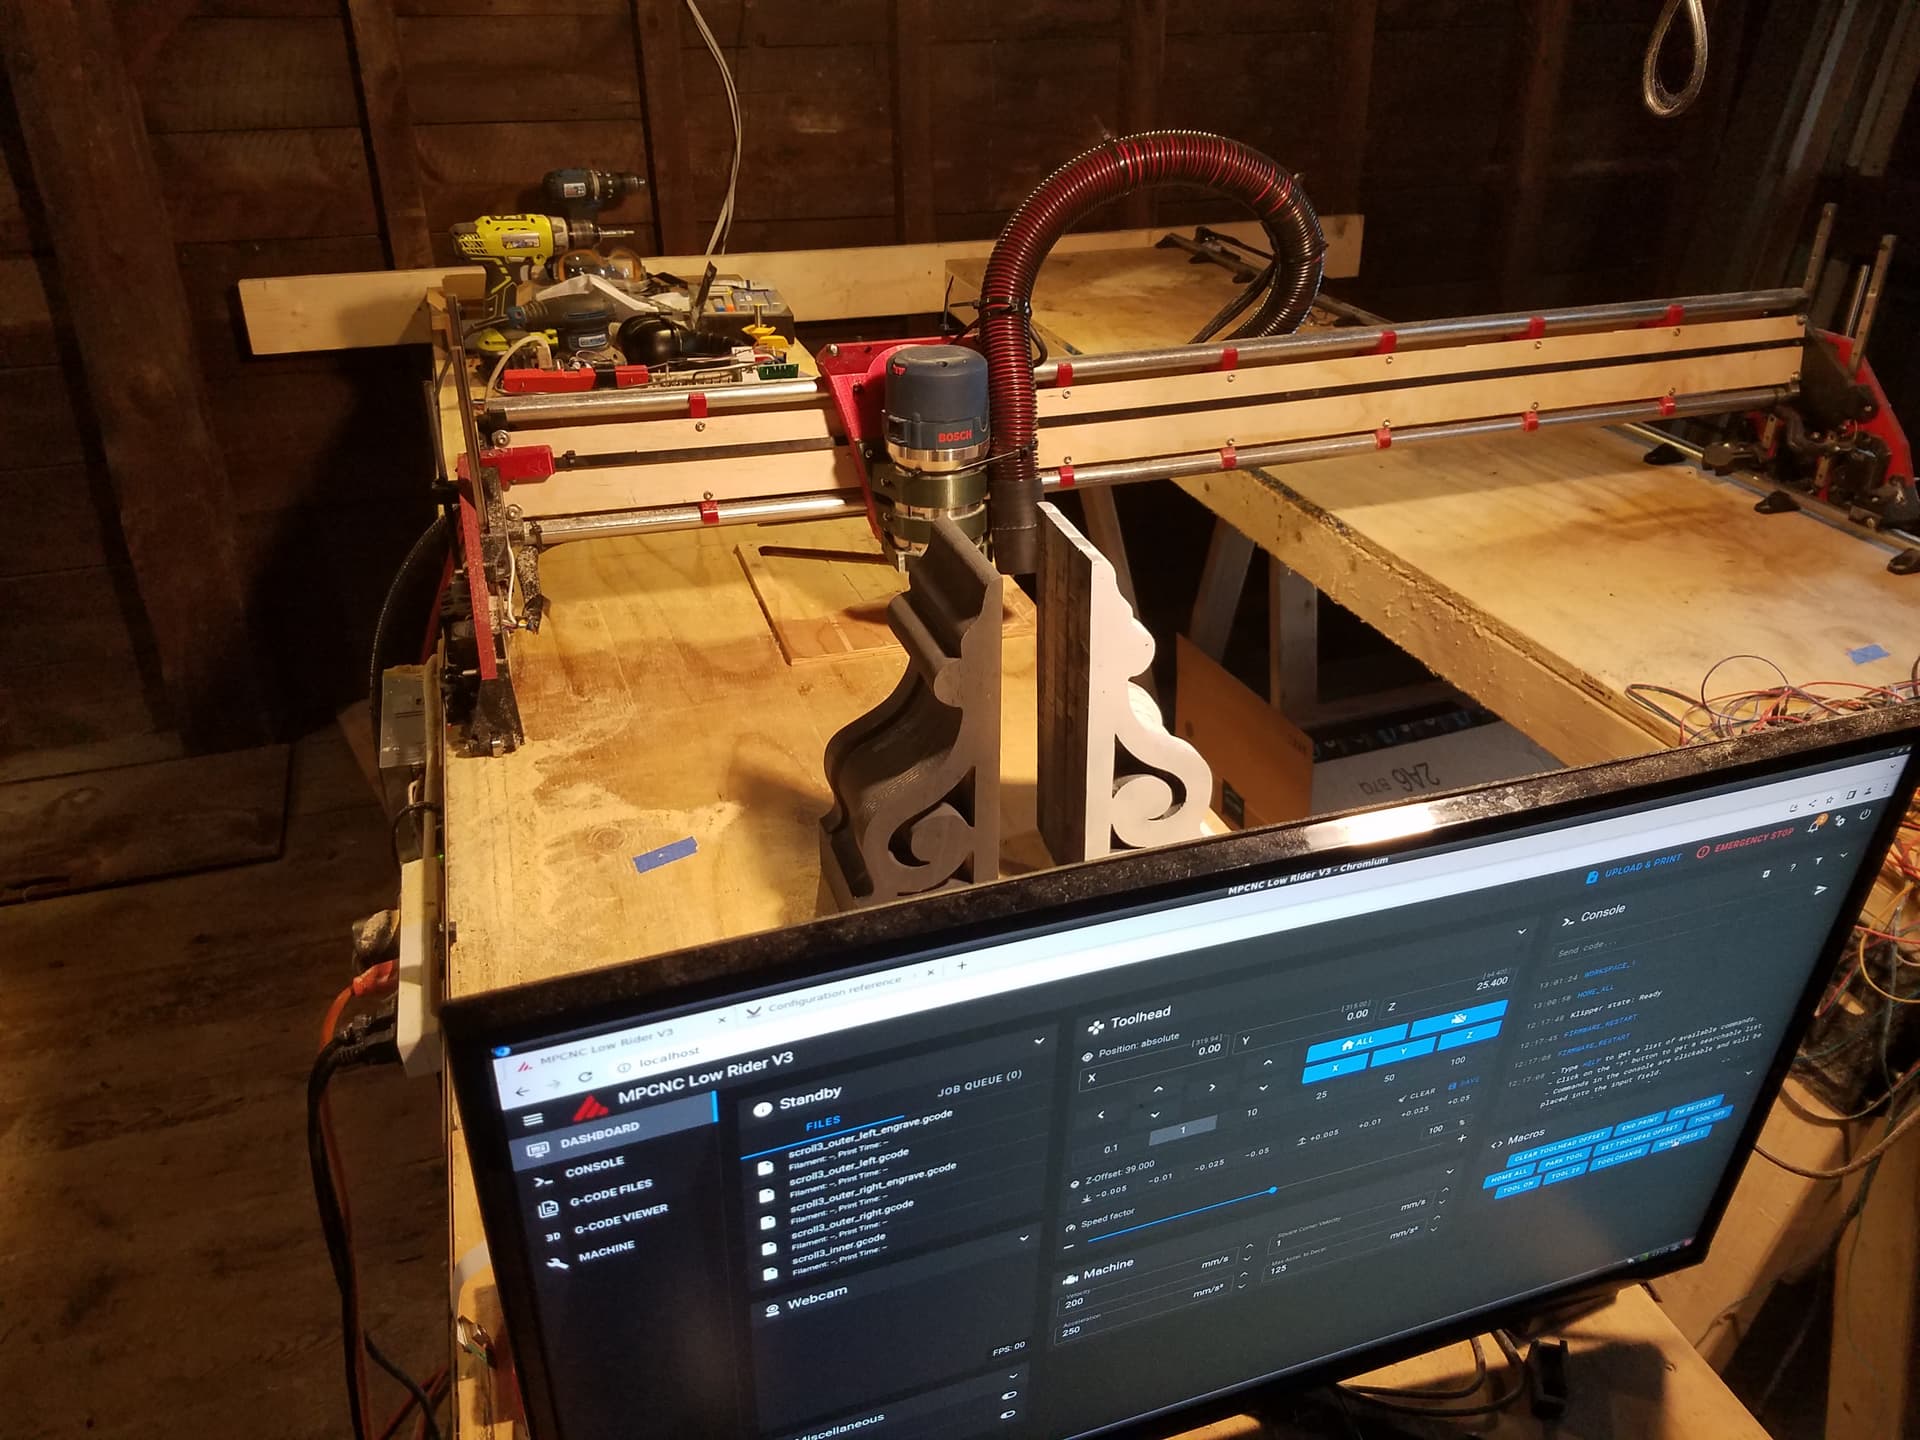
For what its worth, here’s the klipper printer.cfg I work with for the lr3. The klipper SET_SKEW function is invoked following home of the axis, which enables precise squaring of the work area.
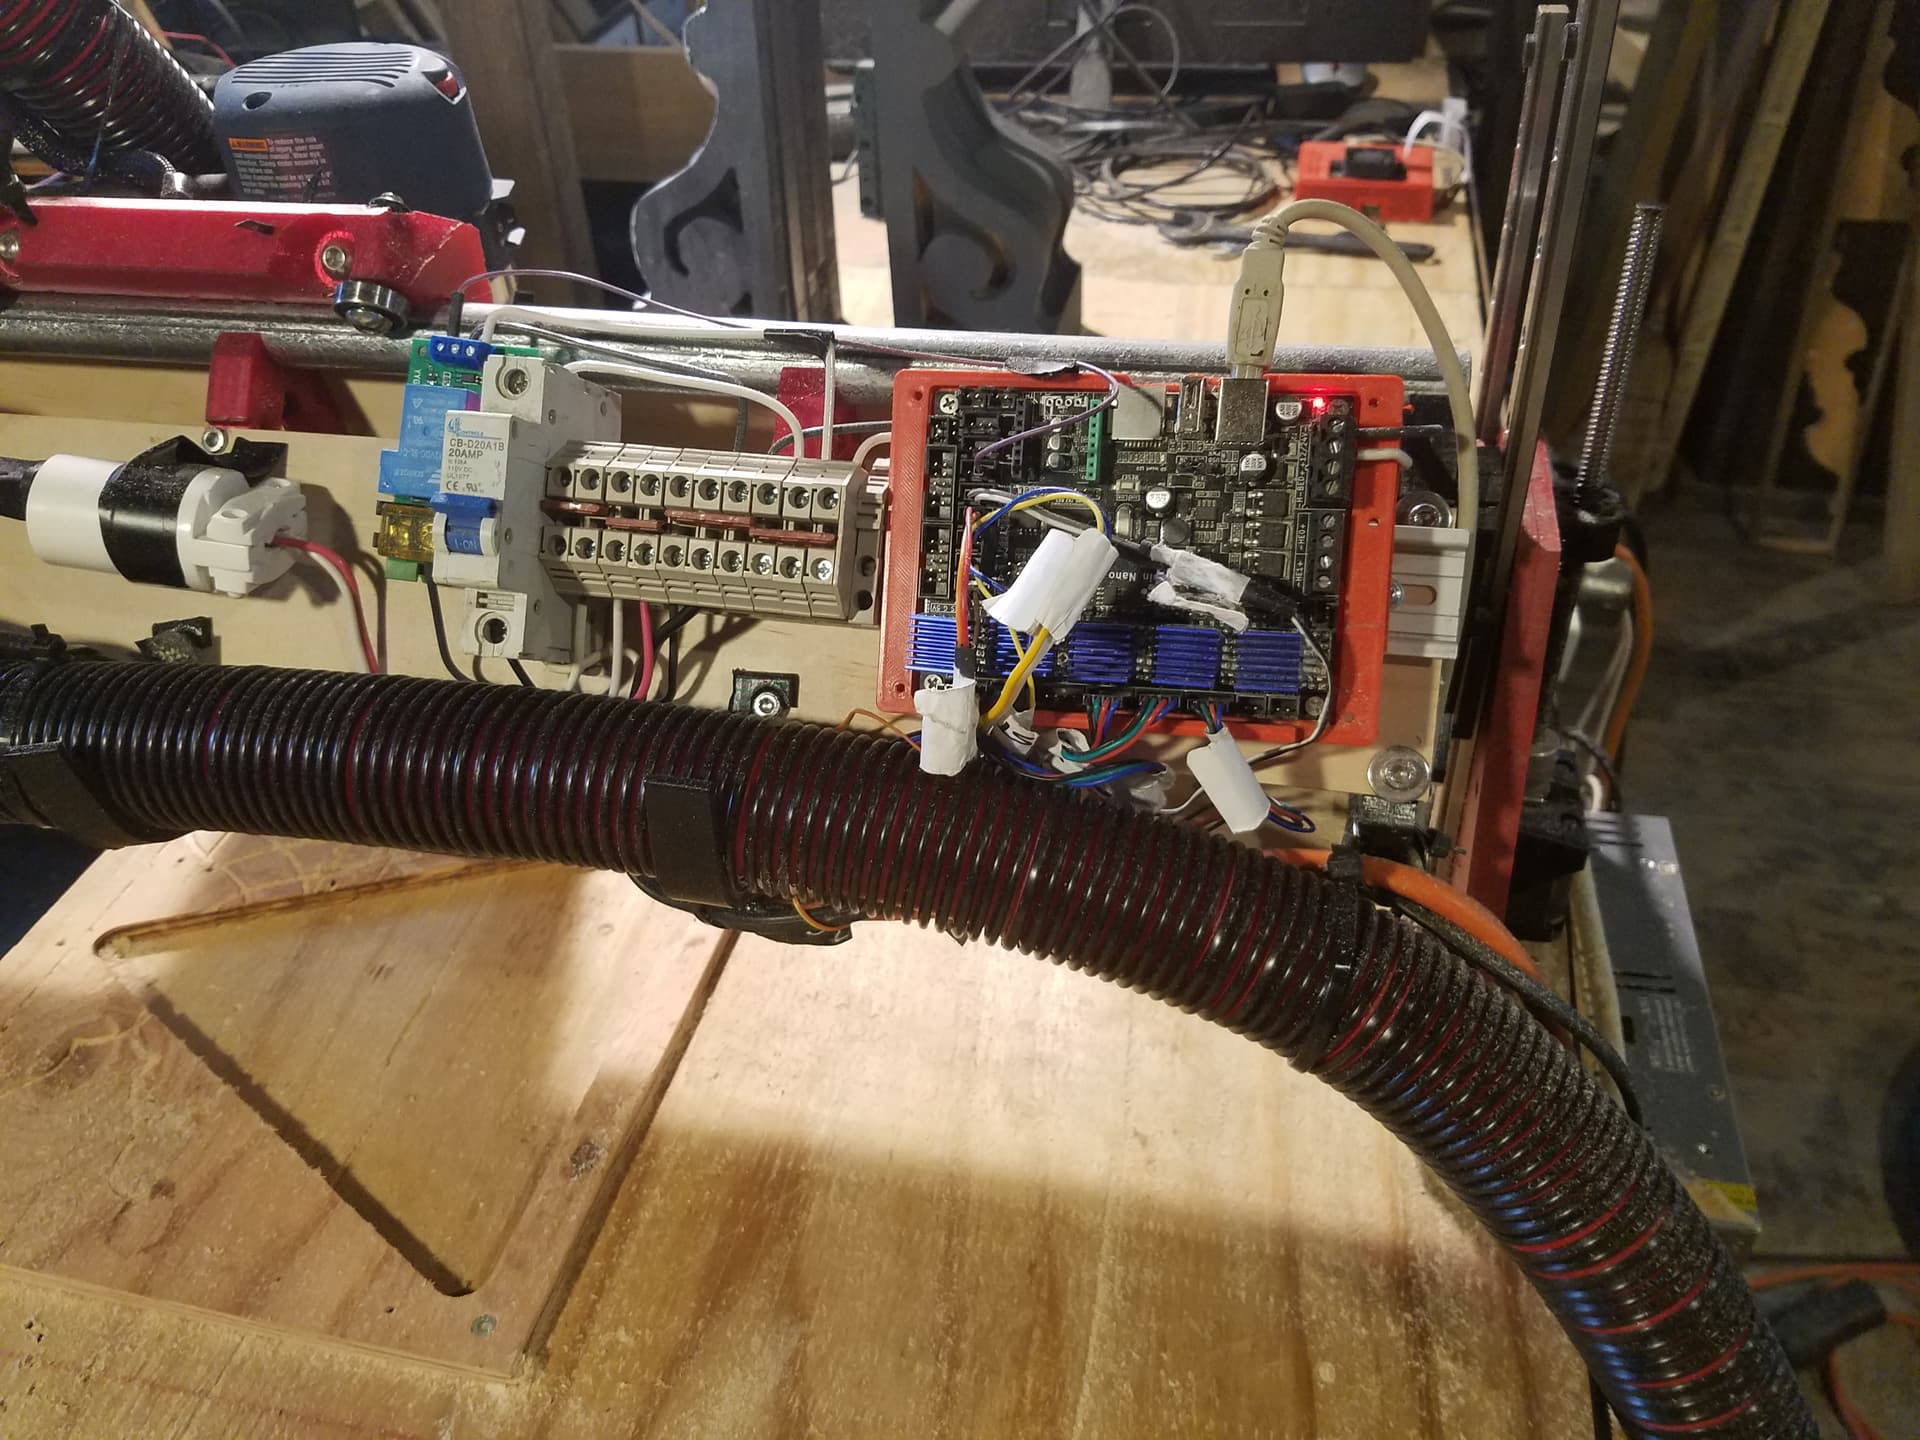
The spindle is switched on/off with a relay so the TOOL_ON/OFF macros can be embedded in the gcode. The emergency stop procedure also switches off the spindle a split second before it slams onto the table.
[include mainsail.cfg]
# This file contains common pin mappings for MKS Robin Nano V3
# boards. To use this config, the firmware should be compiled for the
# stm32f407. When running "make menuconfig", select the 48KiB
# bootloader, and enable "USB for communication".

# The "make flash" command does not work on the MKS Robin. Instead,
# after running "make", copy the generated "out/klipper.bin" file to a
# file named "Robin_nano_v3.bin" on an SD card and then restart the
# MKS Robin with that SD card.

# See docs/Config_Reference.md for a description of parameters.
[stepper_x]
step_pin: PE3
dir_pin: PE2
enable_pin: !PE4
microsteps: 64
rotation_distance: 32
endstop_pin: PA15
position_endstop: 0
position_min: 0
position_max: 1660
homing_speed: 50

[tmc2209 stepper_x]
uart_pin: PD5
run_current: 0.95

[stepper_y]
step_pin: PE0
dir_pin: !PB9
enable_pin: !PE1
microsteps: 64
rotation_distance: 32
endstop_pin: PD2
position_endstop: 0
position_min: -2
position_max: 2743
homing_speed: 50

[tmc2209 stepper_y]
uart_pin: PD7
run_current: 0.95

[stepper_z]
step_pin: PB5
dir_pin: PB4
enable_pin: !PB8
microsteps: 64
rotation_distance: 8
endstop_pin: PC8
position_min:-5
position_max: 76
position_endstop: 70
homing_positive_dir: true


[tmc2209 stepper_z]
uart_pin: PD4
run_current: 0.95

[stepper_z1]
step_pin: PD6
dir_pin: PD3
enable_pin: !PB3
microsteps: 64
rotation_distance: 8
endstop_pin: PC4

[tmc2209 stepper_z1]
uart_pin: PD9
run_current: 0.95

[stepper_y1]
step_pin: PD15
dir_pin: PA1
enable_pin: !PA3
microsteps: 64
rotation_distance: 32
endstop_pin: PA13

[tmc2209 stepper_y1]
uart_pin: PD8
run_current: 0.95

[output_pin tool_power]
# tool_power pin PA4 is located at J52, the 6th jumper down in the endstop block
pin: PA4
value: 0
shutdown_value: 0
pwm: false

[output_pin tool_power_led]
# tool_power led pin PC14 is located at fan1 led
pin: PC14

[mcu]
serial: /dev/serial/by-id/usb-Klipper_stm32f407xx_12345-if00

[printer]
kinematics: cartesian
max_velocity: 200
max_accel: 250
max_accel_to_decel: 125
max_z_velocity: 25
max_z_accel: 50
square_corner_velocity: 1

[gcode_arcs]
resolution: 0.05

[pause_resume]
recover_velocity: 50.

[skew_correction]

[display_status]

[board_pins]
aliases:
    # EXP1 header
    EXP1_1=PC5,  EXP1_3=PD13, EXP1_5=PE14, EXP1_7=PD11, EXP1_9=<GND>,
    EXP1_2=PE13, EXP1_4=PC6,  EXP1_6=PE15, EXP1_8=PD10, EXP1_10=<5V>,
    # EXP2 header
    EXP2_1=PA6, EXP2_3=PE8, EXP2_5=PE11, EXP2_7=PE12,  EXP2_9=<GND>,
    EXP2_2=PA5, EXP2_4=PE10, EXP2_6=PA7, EXP2_8=<RST>, EXP2_10=<3.3v>
    # Pins EXP2_1, EXP2_6, EXP2_2 are also MISO, MOSI, SCK of bus "ssp1"

# See the MKS Lcd Config path file for definitions of common LCD displays.

#--------------------------------
# MACROS

[gcode_macro SET_TOOLHEAD_OFFSET]
gcode:
  {% set xo = printer.toolhead.position.x|float %}
  {% set yo = printer.toolhead.position.y|float %}
  {% set zo = printer.toolhead.position.z|float %}
  SET_GCODE_OFFSET x={xo} y={yo} z={zo}

[gcode_macro CLEAR_TOOLHEAD_OFFSET]
gcode:
  SET_GCODE_OFFSET x=0 y=0 z=0
[gcode_macro TOOL_ON]
gcode:
  SET_PIN PIN=tool_power VALUE=1
  SET_PIN PIN=tool_power_led VALUE=1

[gcode_macro TOOL_OFF]
gcode:
  SET_PIN PIN=tool_power VALUE=0
  SET_PIN PIN=tool_power_led VALUE=0

[gcode_macro HOME_ALL]
gcode:
  G28 Z
  G28 XY
  SET_SKEW XY=1701.8,1700.6875,1200

[gcode_macro PARK_TOOL]
gcode:
  {action_respond_info("*** REMINDER: switch off spindle manually ***")}
  TOOL_OFF
  CLEAR_TOOLHEAD_OFFSET
  G0 Z65
  G0 X40 Y50
  G1 Z25

[gcode_macro FW_RESTART]
gcode:
  FIRMWARE_RESTART

[gcode_macro WORKSPACE_1]
# Configured for 25.4mm stock height, 9mm spoilboard height, 6in stock width
gcode:
  SET_GCODE_OFFSET x=0 y=0 z=0
  g0 z68
  g0 x322 y315
  g0 z64.4
  SET_GCODE_OFFSET x=322 y=315 z=39

[gcode_macro TOOLCHANGE]
gcode:
  g0 z36
  g0 x-40 y-40

[gcode_macro TOOL_Z0]
gcode:
  g0 z36
  g0 x-40 y10
  g0 z0
I also needed to edit mainsail.cfg to remove checks for hotend thermistor temperature within range before starting print job:
# Mainsail klipper definitions
#
# Copyright (C) 2021 Alex Zellner <alexander.zellner@googlemail.com>
#
# This file may be distributed under the terms of the GNU GPLv3 license
#
# Version 1.11

# add [include mainsail.cfg] to your printer.cfg to include it to your printer.cfg
# modify x_park, y_park, z_park_delta and extrude value at the macro _TOOLHEAD_PARK_PAUSE_CANCEL if needed

# use variable_park: False at CANCEL_PRINT to disallow the parking move

[virtual_sdcard]
path: /var/print
#on_error_gcode: CANCEL_PRINT

[pause_resume]

[display_status]

[gcode_macro CANCEL_PRINT]
description: Cancel the actual running print
rename_existing: CANCEL_PRINT_BASE
variable_park: True
gcode:
  {action_respond_info("CANCEL_PRINT")}
  ## Move head and retract only if not already in the pause state and park set to true
  {% if printer.pause_resume.is_paused|lower == 'false' and park|lower == 'true'%}
    _TOOLHEAD_PARK_PAUSE_CANCEL
  {% endif %}
  #TURN_OFF_HEATERS
  M106 S0
  {action_respond_info("Calling cancel print base")}
  CANCEL_PRINT_BASE

[gcode_macro PAUSE]
description: Pause the actual running print
rename_existing: PAUSE_BASE
gcode:
  PAUSE_BASE
  _TOOLHEAD_PARK_PAUSE_CANCEL

[gcode_macro RESUME]
description: Resume the actual running print
rename_existing: RESUME_BASE
gcode:
  ##### read extrude from  _TOOLHEAD_PARK_PAUSE_CANCEL  macro #####
  #{% set extrude = printer['gcode_macro _TOOLHEAD_PARK_PAUSE_CANCEL'].extrude %}
  #### get VELOCITY parameter if specified ####
  {% if 'VELOCITY' in params|upper %}
    {% set get_params = ('VELOCITY=' + params.VELOCITY)  %}
  {%else %}
    {% set get_params = "" %}
  {% endif %}
  ##### end of definitions #####
  #{% if printer.extruder.can_extrude|lower == 'true' %}
  #  M83
  #  G1 E{extrude} F2100
  #  {% if printer.gcode_move.absolute_extrude |lower == 'true' %} M82 {% endif %}
  #{% else %}
  #  {action_respond_info("Extruder not hot enough")}
  #{% endif %}
  RESUME_BASE {get_params}

[gcode_macro END_PRINT]
#rename_existing: END_PRINT_BASE
gcode:
  {action_respond_info("END_PRINT")}
  _TOOLHEAD_PARK_PAUSE_CANCEL
  #Disable Steppers
  M84 X Y

[gcode_macro _TOOLHEAD_PARK_PAUSE_CANCEL]
description: Helper: park toolhead used in PAUSE and CANCEL_PRINT
variable_extrude: 1.0
gcode:
  {action_respond_info("_TOOLHEAD_PARK_PAUSE_CANCEL")}
  ##### set park positon for x and y #####
  # default is your max posion from your printer.cfg
  {% set x_park = printer.toolhead.axis_minimum.x|float + 5.0 %}
  {% set y_park = printer.toolhead.axis_minimum.y|float + 5.0 %}
  {% set z_park_delta = 2.0 %}
  ##### calculate save lift position #####
  {% set max_z = printer.toolhead.axis_maximum.z|float %}
  {% set z_safe = max_z - z_park_delta %}
  #{% set act_z = printer.toolhead.position.z|float %}
  #{% if act_z < (max_z - z_park_delta) %}
  #  {% set z_safe = z_park_delta %}
  #{% else %}
  #  {% set z_safe = max_z - act_z %}
  #{% endif %}
  ##### end of definitions #####
  #{% if printer.extruder.can_extrude|lower == 'true' %}
  #  M83
  #  G1 E-{extrude} F2100
  #  {% if printer.gcode_move.absolute_extrude |lower == 'true' %} M82 {% endif %}
  #{% else %}
  #  {action_respond_info("Extruder not hot enough")}
  #{% endif %}
  {% if "xyz" in printer.toolhead.homed_axes %}
    {% set x_park = 101.0 %}
    {% set y_park = 102.0 %}
    {% set z_safe = 66.0 %}
    {action_respond_info("Moving axis to safe positions")}
    G90
    G1 Z{z_safe} F900
    G1 X{x_park} Y{y_park} F6000
    {% if printer.gcode_move.absolute_coordinates|lower == 'false' %} G91 {% endif %}
  {% else %}
    {action_respond_info("Printer not homed")}
  {% endif %}
  {action_respond_info("_TOOLHEAD_PARK_PAUSE_CANCEL end")}
Pics, with examples of architectural parts made with the lr3: