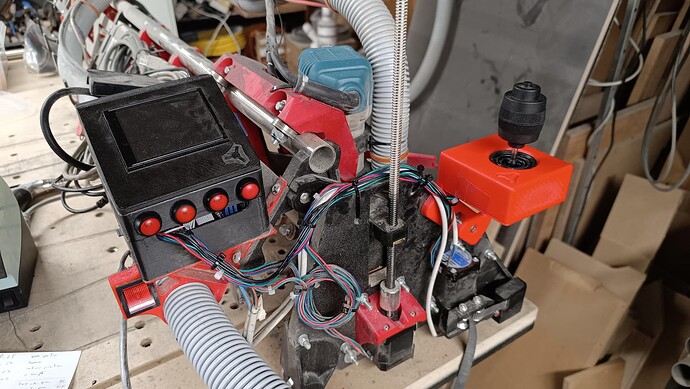
I managed to get the joystick working with my SKR 1.4 board
Is there a way to change the speed on the lower side?
I did the calibration with M119 but as soon as I hit the joystick there seems to be some minimum start speed? I need to position it very precise and slowly
It should automatically transition smoothly, and it should provide low speed in response to small movements of the joystick.
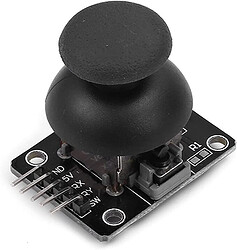
Which kind of joystick do you have? I tried one of the cheap ones a long time ago and it provided very poor control and low speed was not possible. It’s possible that’s the problem if that is the kind of joystick you have.
It looks like this (the bad one):
Thanks for your reply. I use the bigger joysticks that are mentioned also somewhere above.
I need to control it at a very very slow speed at the beginning
Thank you @jamiek and others for all your work on this project ![]()
One significant thing that I did not see listed in the topic (perhaps because it should be obvious),is the need for the controller to be mounted dead square, match x to the mpcnc x. That is, the X should exactly perpendicular on both the joystick and the cnc.
Originally, mine was not “flush” and I kept getting janky results. Correcting that (simiple duh) made a world of difference.
Second most important thing for tweaking mine was matching the x, y and z limit ranges. I use a 500 buffer to create a larger deadzone.
Board is RAMBo 1.4
Hi Would it be possible to add a second joystick? There are availabe AD pins from the thermistors that could be used. I like to control 6 axis with the BTT Octopus-Pro board
In principle, yes, the software could be modified to do this (but that’s not saying much since the software can be modified to do anything).
I’m afraid you would be on your own to extend the joystick functionality to a second joystick. The good news is that it is really not very much code, so it will be relatively easy as far as software mods go.
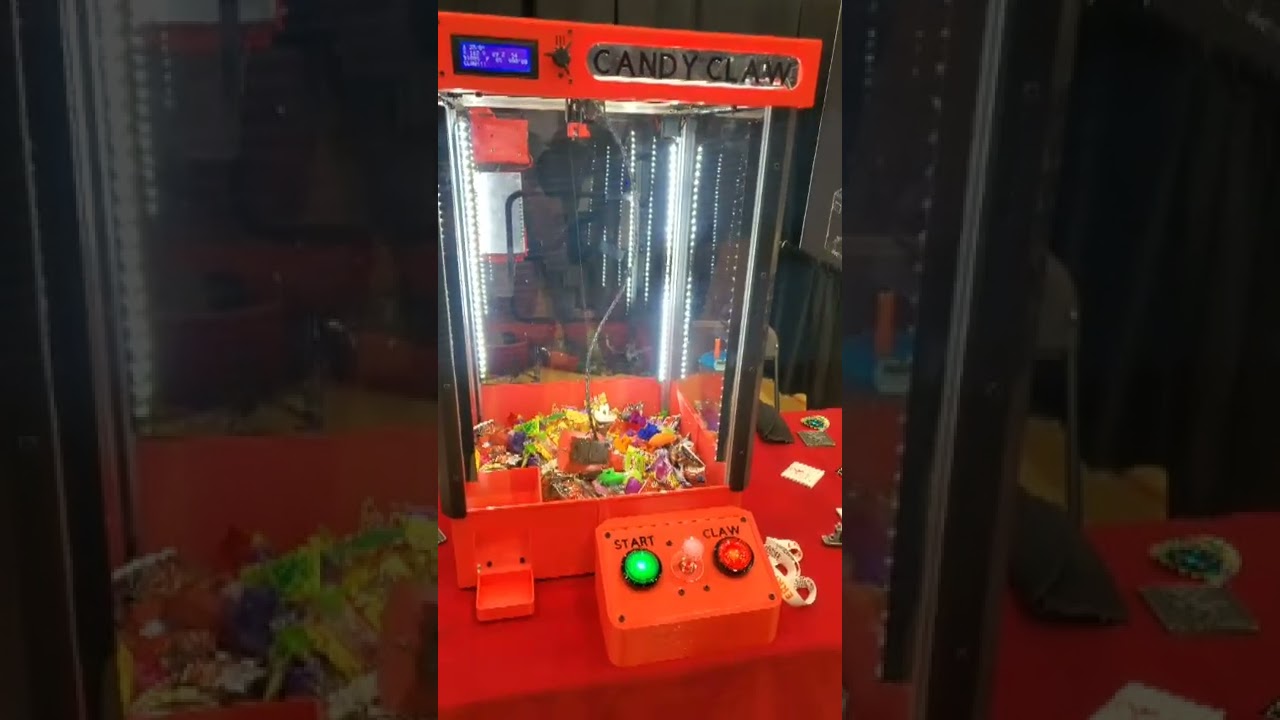
Thanks to Jeff’s tip, I saw Chris’ Candy Claw Machine at RMRRF and after a quick search online, I found this (a bit older):
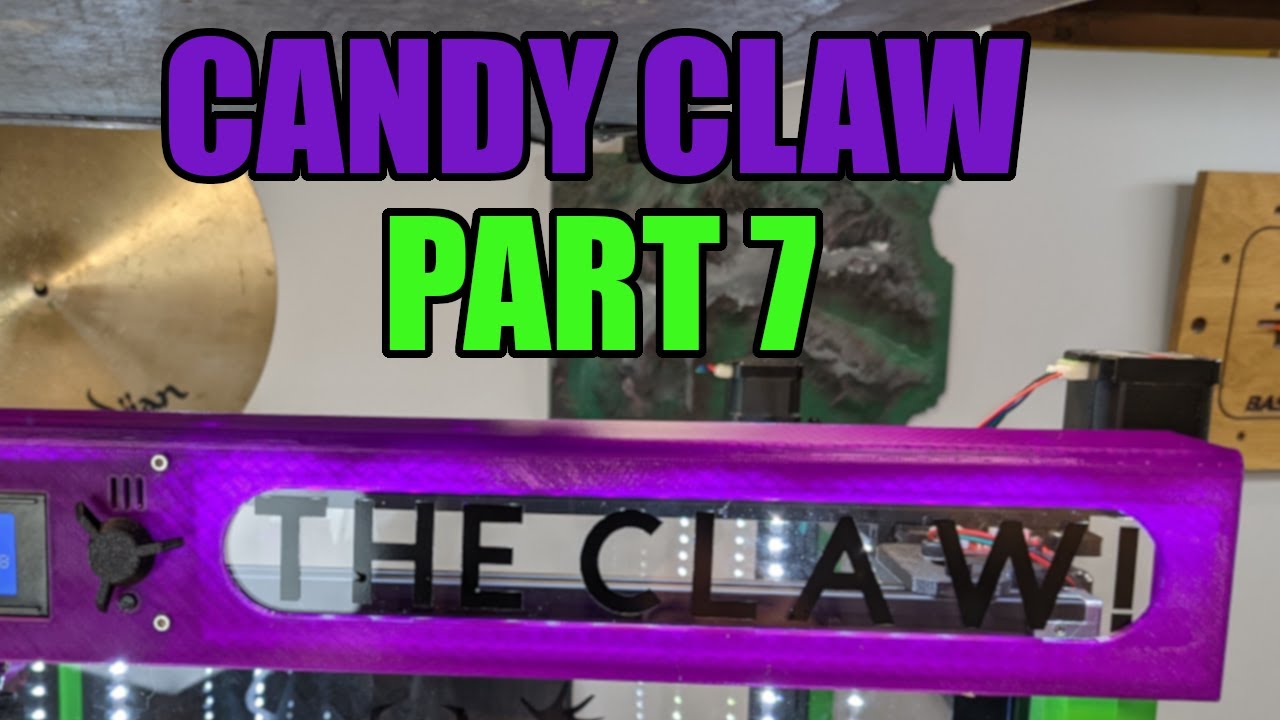
Digging some more on Chris’ channel I found a build series and in this part he specifically describes configuring the joystick in Marlin.
I am always happy to see this feature put to use and even moreso when it’s doing something unconventional. Chris probably won’t ever see this but anyway Thanks, Chris for making my day! ![]()
Hi guys !
I’m in the boat as well, thanks to all of you ![]()
Lowrider V3
SKR 1.3
JH-D400X-R4 10K joystick (bought on Aliexpress)
Config in configuration_adv.h :
#if ENABLED(JOYSTICK)
  #define JOY_X_PIN P0_25     // RAMPS: Suggested pin A5  on AUX2
  #define JOY_Y_PIN P0_24    // RAMPS: Suggested pin A10 on AUX2
  #define JOY_Z_PIN P0_23    // RAMPS: Suggested pin A12 on AUX2
  #define JOY_EN_PIN P1_30   // RAMPS: Suggested pin D44 on AUX2

  //#define INVERT_JOY_X  // Enable if X direction is reversed
  #define INVERT_JOY_Y  // Enable if Y direction is reversed
  //#define INVERT_JOY_Z  // Enable if Z direction is reversed

  // Use M119 with JOYSTICK_DEBUG to find reasonable values after connecting:
  #define JOY_X_LIMITS { 0, 3550-50, 3550+50, 4095 } // min, deadzone start, deadzone end, max
  #define JOY_Y_LIMITS { 12288, 13008-50, 13008+50, 16382 }
  #define JOY_Z_LIMITS { 0, 3430-50, 3430+50, 4095 }
  #define JOYSTICK_DEBUG
JOY_Y limits are odd, because I uncommented INVERT_JOY_Y and had to get new values (as stated above, M119 is the way to know you deadzone and value).
Pic of the assembly :
Mount is custom, as I wanted it to follow the gantry.
Might upload it soon enough, if I don’t forget about it ![]()
Thanks everybody for the good work, it was a piece of cake to make it work ![]()
Sorry guys, I’d really like to add a joystick/controller to my mpcnc (ramps)… I know that in this topic there is the solution but I’m not skilled enough to do it alone. Can someone share a step by step procedure to add the joystick to my machine?
I can help but it is not easy to break it down to detailed step-by-step instructions because it is going to require a decent understanding of what is happening.
First let’s assume you have a working machine.
Then make sure you can compile Marlin.
Use a multi-meter to identify which wires go to which. The red and black are not always +VCC and GND so you have to check.
Solder wires for +VCC and GND to the opposite sides of the potentiometers and the analog signal wires to dupont plugs. Check that there are no short circuits. Then hook to the controller.
With the controller on and with firmware compiled with joystick enabled, move the joystick around and use the M119 command to determine the numeric values for the maximum range of motion and for the dead zone.
Enter the values into the firmware code and recompile and flash the controller again.
Some of these steps can be pretty involved depending on what skill areas you are having trouble with. But these are the overall steps.


