Jeffeb3 MP3DP Build

@vicious1,
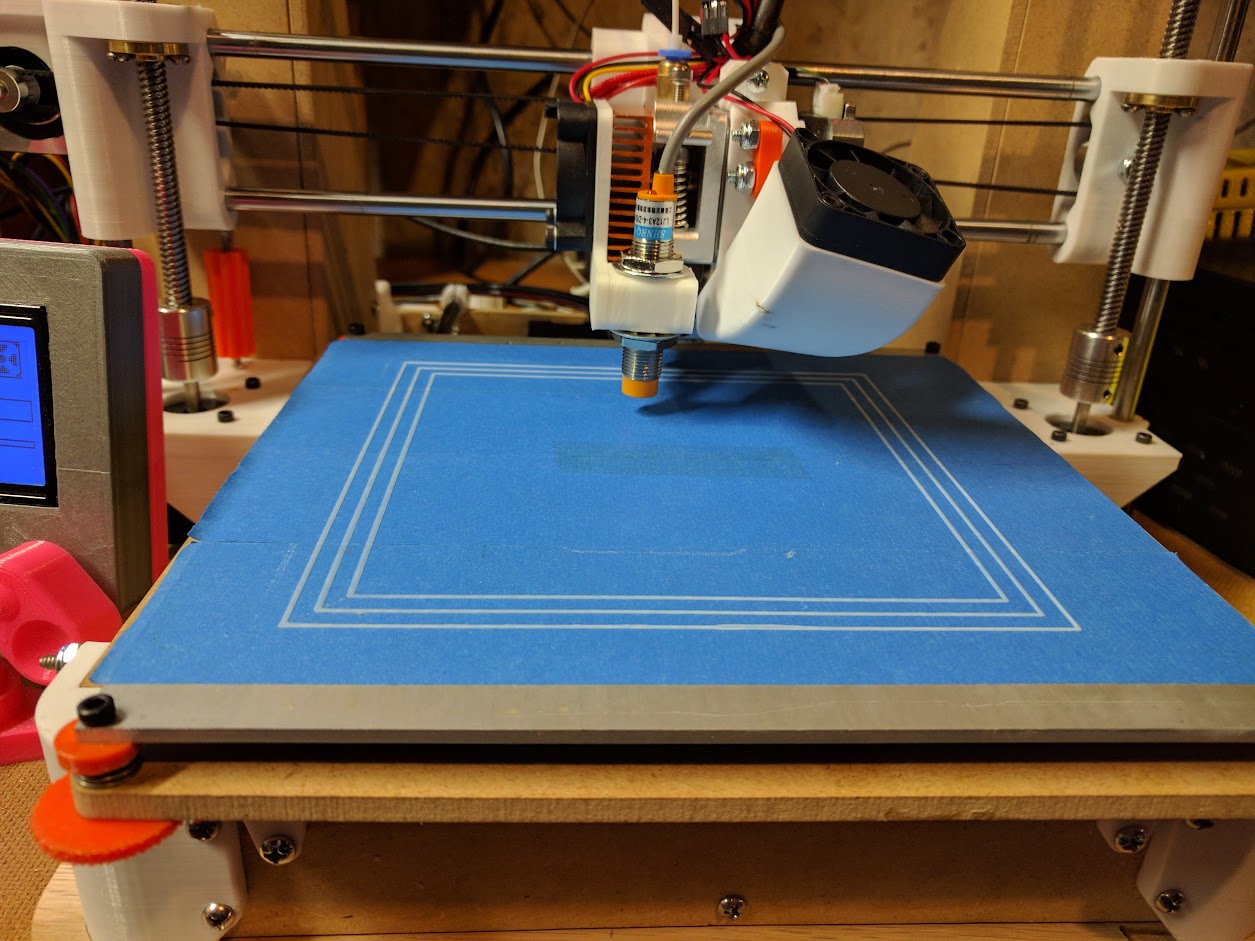
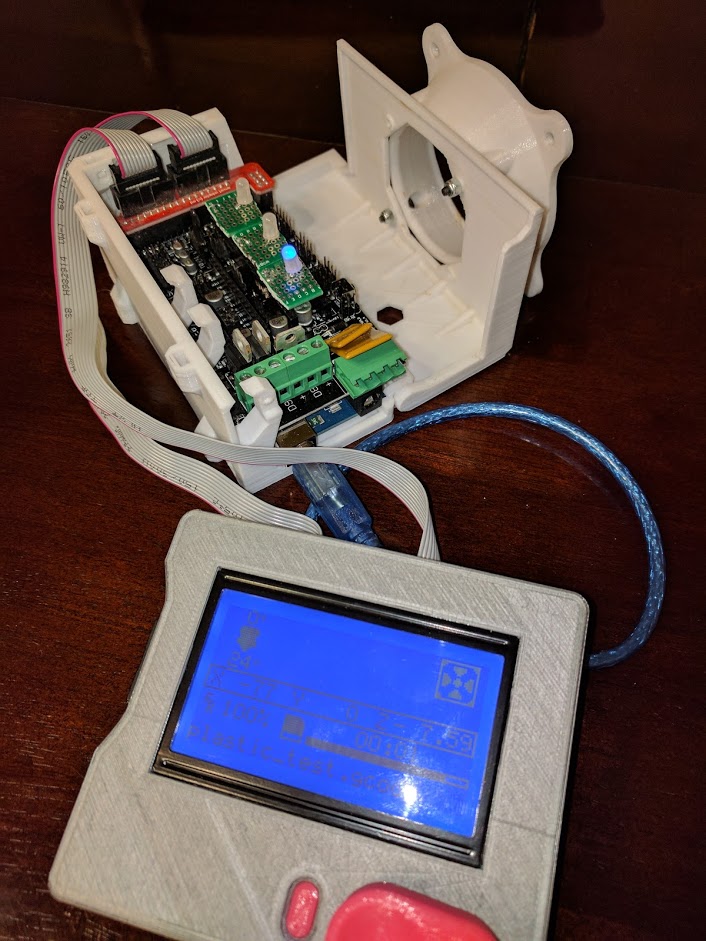
So I have my super sweet testing rig here (The LEDs are wired between STEP and GND with a resistor where the stepper drivers used to be, so I can see what’s moving. I can’t tell the direction, but that’s OK.

I first just ran your gcode (from the SD card) using the software that was on there, which is from the MP3DP. That didn’t seem to have a problem with either the plastic test, or the quick_test.gcode (The code you posted above).

Then I reprogrammed with your Marlin.zip from above, and with the quick_test.gcode, I get a KILLED PRINTER HALTED Please Reset message. When I ran with plastic_test.gcode, it just sort of stopped, although the LCD was still changing the X,Y,Z to ?s, and the X led was slightly on, which probably means it was slowly walking to its doom.

I then copied your Configuration.h edits and Configuration_adv.h edits to the RCBugfix branch, which AFAIK, is RC8 plus any bug fixes they know about. RC is unstable, but I’m not sure if RCBugfix is more or less stable. Anyway, the RCBugfix branch doesn’t have the problem, so I’m attaching that zip.

I’m not sure what’s on my MP3DP though. I got that code from your page, and I’ve made a few small edits, but when I look at the diff, there are many changes between that code (not just configuration) and the RC8 from github. Your Marlin.zip is RC8 from github, for sure.

It looks like you have two options, 1) Stay back at RC7, or whatever the MP3DP software is, or 2) go to the RCBugfix branch. I don’t know the history of the Marlin software team’s stability, but certainly, anything labeled RC is beta software and should be treated carefully. I would assume RCBugfix is something like RC8, with no new experimental features, just experimental bug fixes. Which should, in theory, be safer than the RC8, but it is also a moving target.

I guess there’s a 3) which is to try to see which bugfix is the repair, and merge that into RC8, but I doubt that work is justified.

P.S. I miss your splash screen :slight_smile:

Marlin_RC8Bugfix.zip (1.27 MB)

You probably have the RC7 on the printer unless you updated it last week. I have 4 printers running RC8 they are fine. That is part of the reason I think it is a z axis thing. 32nd stepping and a 5/16 allthread are just too much now, It works fine on the LowRider with the T8 leads screws. But When I print with a mpcnc it will die on the finishing z lift sometimes.

I looked at the bug fix and I thought the only change so far was a language fix. There is a pull request saying the enable smooth moves is not necessary anymore. I think RC8 might have just been either pushed out a little too soon, or we are too close to the limit with 32nd stepping.

We can all step down to 16th or 8th stepping on the Z axis and run RC8 fine but I thought the improvements were to make Marlin more efficient, looks like It might be going the other way…

I took the screen out of that one just in case it was the issue.

Maybe it was this one that solved it, dam screen. https://github.com/MarlinFirmware/Marlin/commit/d0e24e0876c845c764e921287afce521966ce6f0

I think I am going to switch back the the other screen that wasn’t so troublesome, and cheaper.

The default steps per mm are close to the mpcnc settings, 4000 steps/mm and 5 mm/s, mpcnc is like 4500,8.4. the MP3DP is actually more, because it’s too speed is 50mm/s. So I think the mpcnc speeds should stay supported by Marlin. It just seems like an honest bug. I can’t tell if that commit is the issue. I also don’t know which screen you’re talking about…

I thought you said it failed even without the screen?

So are you just going to post three rcbugfix8 firmware and call it good? Do you need more testing first? I only tested it on my LEDs.

Also, the base does make it super square, but I think it’s slightly too large. It’s enough that the rear right corner is lifting up about 5mm. If I hold that down, things seem to be very rigid. I’m hopefully going to get a chance to cut a looser version in 3/4" plywood tomorrow or the next day. That should sit flatter, and highly not bind going in, which should help.

I have a fundamental issue with RC releases being considered betas… I’ve always gone with Alpha means you are adding features, beta means you are fixing bugs after features are frozen, and RC is the release candidate. There are no open issues but you want others to test it in different ways than you have been able to model. The fact that they’re at RC8 and still making feature changes makes me think they’re not terribly strict on their interpretation. :frowning:

Sure, although I think the argument could be made that they do not need to have 4 levels of stability. Most open source projects have a stable and development, with an occasional feature freeze/bug fix branch (I’m intentionally not using those terms). Personally, I don’t care what they call it, as long as they are clear about it. If the RC8 is meant to be tested by the devs to iron out bugs, then they should be clear about it (maybe they are, and I haven’t read the right doc). It’s also very possible that it is supposed to be much more stable, and there was just a bad bug that snuck in. Shit happens, and they are giving me work for free, so I don’t mind giving them the benefit of the doubt.

I moved octoprint to the MP3DP from my old printer. Easy to do.

I also had one failed print (it was just a calibration print) where the y axis rods fell out of their supports. So I added a dab of hot glue, just enough to stop the slow wiggling, not enough to stop me in a furious rage from removing the build plate. Because you know that will happen eventually, and I don’t want to break anything.

The 8 hour estimate was from the first layer being so slow. It ended up being about 4 hours.

I recut the base, this time with 3/4" ply. I made some changes to the DXF, making the border wider, added a missing corner, and added 0.2mm on the 3D printed parts.

It fit quite well. I loosened the corner screws, because the front was a little bit skinny, and didn’t fit well. After that, I tightened everything back up, and it is rock solid.

I thought it worked well overall. It is very stiff. The base is super square, the L frames are very stiff, and the big ‘n’ part is very stiff, except in the very upper corners. The front and back panels are a little loose, but as long as they hold the tension of Y, it’s OK, now that the corners are rigid. I like Ryan’s suggestion of adding little ‘L’ brackets to the front and back though, that would be useful. At some point though, it’s a 3D printer, and any stiffer is just for fun.

oh, these are the CAD files. I had to explode the components to get estlcam to work on it.

Base_Frame-1.zip (7.92 KB)

I spent some time mounting an inductive sensor and getting marlin to work with it. I mostly followed this video, although the Marlin firmware has changed a bit:

I remixed a mount, my file is here:

The sensor was from amazon, and it was pretty cheap. I had fun doing it, and I hope it will pay off in fewer levelings in the future, or more useable area on the printer, but as I said in the other thread, at the end of the day, I did it because it was fun, and that’s part of why I started this project.

Video of the tramming procedure (I know, not another one). This was just after I got the procedure working, and I set the basic offset based on my trusty piece of paper. Right after this print, I spent some time adjusting it better, based on how it was actually printing, and I adjusted the Z offset in the EEPROM settings:

Picture of a successful calibration print:

It’s still not perfect though. There is a discernable difference in the height in the different corners, even close to where the sensor measured. The rear left seems to be a constant problem, so I wonder if there is some kind of interference causing a slightly different distance back there. Overall, I’d say it’s better than I can do with my manual leveling, but just don’t expect a silver bullet. IMHO, it’s better at leveling the bed than I am.

I am really hoping that I don’t have to touch the leveling settings for another 3 months. If that happens, then I will call it a huge success.

FWIW, These are the numbers that come out of measuring the bed in those 9 places. I don’t know if it’s fair to think these are how much the bed is warped because there is still some amount of error in the inductive sensor as well.

Recv: Bilinear Leveling Grid:
Recv:       0     1     2
Recv:  0 -0.02 -0.02 -0.16
Recv:  1 -0.09 +0.10 -0.02
Recv:  2 -0.33 -0.14 -0.16

I have no idea which corner is 0,1,2. It would be interesting to move the bed over to the triangle mounts, and see if this is any better. I wonder if I’m warping it with the way I have it mounted.

I’ve been away from my toys for the past two weeks. I had a business trip to Detroit (I know, you’re jealous) and I had to work a bunch to prepare for it. I’m hoping to get some progress with the Low Rider/Printer pretty soon.

I’ve been having more and more filament problems. When I switched to PETG, I didn’t do a good job of cleaning the nozzle (I think) because I got some jams (after making 3 successful z rollers, the 4th jammed). So then I cleared it by removing the nozzle, and heating it up with a torch. I might have gotten it too hot, but it looked clear, so I tried it again. I had to do a bunch of prints to adjust the auto level again, and when I printed that 4th Z roller, it jammed again.

Then my maker geeks PLA came back, so I torched the thing again, cleared it out. And put the maker geeks filament in there. I printed one Z roller, and went onto the YZRoller. Mid print… Another JAM! At the same time, I bought an all metal replacement for this printer, and I finally installed it today, and I printed a great first layer of my calibration print at 230 (That’s what maker geeks PLA says they need) but midway through that print, which is a really small print, it had trouble extruding, and I could hear the extruder clicking. Since this is a brand new nozzle and a brand new throat, I don’t think it is a clog, and it also extruded fine when I bumped the temp up a bit more. I’m not sure if it’s something wrong with the new nozzle, or something wrong with the filament, or something wrong with the hotend (maybe it’s not getting as hot as I think?).

So I went back to the last bits of hatchbox PLA I have, and I’m printing the YZ_Roller. We’ll see how this goes…

When you heated it with a touched did you run a bit in the hole to make sure you didn’t deform it? Do you have the roller tension too tight or loose on the filament?

How’s your bed leveling? Is it mesh bed leveling?

I dont have bits that small. But I could see through the hole. I think I vaporized all the plastic. Im pretty sure I got it too hot, but I’m not using that nozzle anymore anyway.

The bed leveling is great, except that I have had to adjust the z offset a few times because I have the mount for the sensor on the extruder fan, so I have to readjust every time I take it off, which has been a lot since I’ve been having these clog issues.

I don’t want to jinx it, but this hatchbox PLA is printing pretty well so far.

But… This is printing at 205C, and I was printing at 195C for most of HB PLA.

Have you tried AIO robotics? I got some of their stuff printing now, and it’s freaking awesome. It has a ± .02 accuracy. I measured about 2 feet of it and it was dead on 1.70 in every spot. I got the bed at 40 and the nozzle at 195.

Wow! Detroit! Did you get time for some sightseeing?

:slight_smile:

I’ve been printing close to non-stop for quite a while now, got to practice switching spools on the fly today, Repetier-Host took it like a champ and the parts came out great. I’ve got all the stock parts printed for two more printers and am now working on the optional pieces. I’m running an 11 hour print tonight of two power switch boxes. I’m using the Ziro PLA from Amazon and have had two good spools and one iffy spool so far.

The people in Detroit seemed nice enough, but I’m happy I live here.

The print was an orange success. There were some high temp artifacts, so I’m going to try lowering it back to 195.

How does the inductive sensor locate, meaning what triggers it? Does it just pick up the aluminum bed?
I have a Prusa MK2 and it has 9 little spots, but I have no idea what the induction probe is sensing there either.

I activated manual mesh bed leveling on my MPCNC and it works remarkably well…as evidenced by the uniform scar depth on the waste board when cutting out the parts for the MP3DP I have just begun.

My MK2 runs the mesh bed leveling function before every print. Is it really that advantageous to do it every time?
If not, I’m going to just use the manual method like I do with the MPCNC. If so, I’m going to install the probe.

By the way, I still had to do put a bed level correction line in my start gcode for my MK2 prints. The bed is seriously warped. There’s a .2mm difference between the right side and the front of the bed that is not compensated in the auto bed leveling. Hence my question about the value of the probe setup.