GP - LR3 Beta Build

Just sand it down right there a bit, no big deal. It is hidden behind that tensioner.

Normally with my screws, the heads would hit before that part would deflect.

1 Like

How is the full rebuild going?

1 Like

Sorry For the lack of update, What was supposed to just be a weekend event in DC end up been a full week of video shoots for CVS Health. I will be back home tomorrow afternoon and I will finish everything on Saturday. All parts are printed and I’m planning to use the 6.35mm struts that I had cut for the first try.
I think it will take me just couple hours to rebuild it.

Had edited the post… I hate replying on my phone

1 Like

No, no rush. Sorry don’t feel that way. I just thought I might have missed it in the other thread or something.

I am still waiting on rail samples and some custom T8’s

2 Likes

I think I should post some more pictures that I share over PM with the beta crew… And update the building thread.

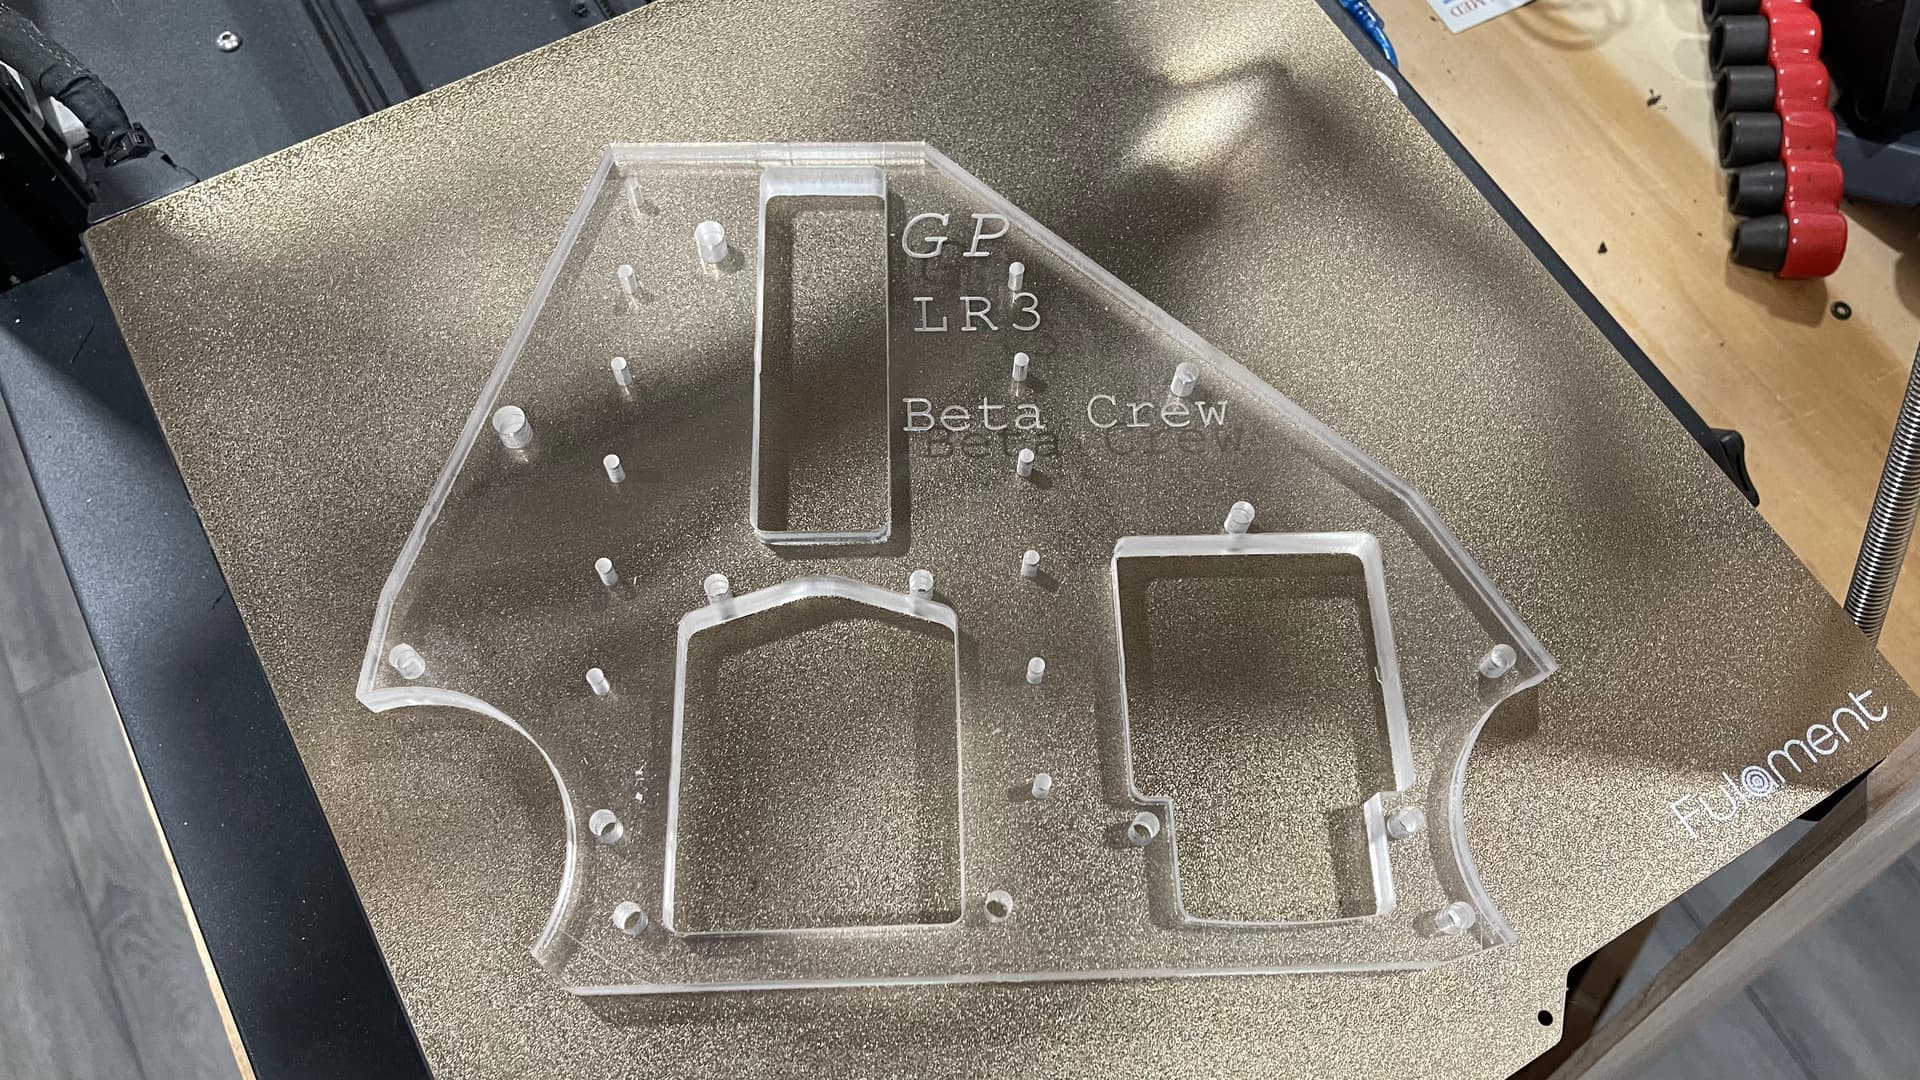
Acrylic plates are ready!!
I forgot how painful it is to peal the paper out of the acrylic :hot_face:

4 Likes

Little progress today.
But was able to cut the strut the acrylic plate and rebuild one side of the YZ.

Tomorrow I will rebuild the other side and reinstall the belts.
Nothing wrong with the screws or lock nuts but I’m going to order some M5x25 and some back lock nuts just to make it look prettier :wink:

Now I’m wondering how can I mount some Neopixel to lid the edges…

6 Likes

It’s a looker for sure!!

1 Like

First real project for the LR3.

The wife wanted to buy 5 Adirondack chairs to go around our Fire pit. I said NO…I will make them…

Spend the last couple nights designing the chair, and today I start milling the parts.
Here is a screenshot of the design, I added a slot to hold a wine glass and a hole for a regular glass or a beer cam which I’m not sure if will a hole or just reassess in the wood (haven’t decided yet) and I still need to add a brace to the front leg.

As The top back support has a chamfer, I decided to start on that part as it has a couple of tool changes.
Here is a short video ( 36s ) of the LR3 dancing as it makes the chamfer.
https://youtu.be/MIkctv34XE8
Edited: Lower your speaker volume!!! It is Loud !!!

5 Likes

Nice!

Well, work got in a way again. But I was able to cut and get one chair together….

Chair Kinda in place ….

And …… the wine glass and drink/beer holder

6 Likes

That acrylic is awesome!

2 Likes

Do you use a steel ruler as your z probe?

Yes and no :smile:
I have Ryan’s V1 touch plate, the reason for the ruler is that I was using it on the LR2 and the touch plate is a little to short for the Lr2. That particular ruler is 0.5mm just like the V1 touch plate.

1 Like

Can I ask how thick this slab of Acrylic is?
10mm - 15mm?

that is 12mm thick, I was planing to use some smoked acrylic like I did for the LR2, but I didn’t have enough for both sides.

1 Like

Here is a picture of the router plate and the side plate of my LR2 all in Acrylic.

6 Likes

thanks!

So to ask again, but is there a reason you didn’t use acrylic for the XZ plates?

:grin: :grin::face_with_hand_over_mouth:

I did think about it, than Ryan show us the metal plates. And I was like “ I want that!!!”

So the answer is…Yes, it will be replace with aluminium plates.
I already got them, didn’t have time to installed yet as I’m out of town.