Oh no, that’s what I meant. What can the machine handle. Not what the ice should be set to. I’ll try 10 and see how it goes. I’m certain it’ll be fine. It took six hours to make 19 cups. Need to speed things up everywhere I can.
Shoot I would be doing one at a time and slowing tweaking the settings on each cut until something doesn’t sound good.
1 Like
The festival is over and I can barely hold the phone to type but it’s a good kinda hurt (always is). We adapted the plans for the cups to speed things up and it worked out pretty good. First off, I decided not to get the machine to bore out the ‘cup’ part. That alone was taking four minutes per cup (significant when there are 100 to make). Here’s what I did.
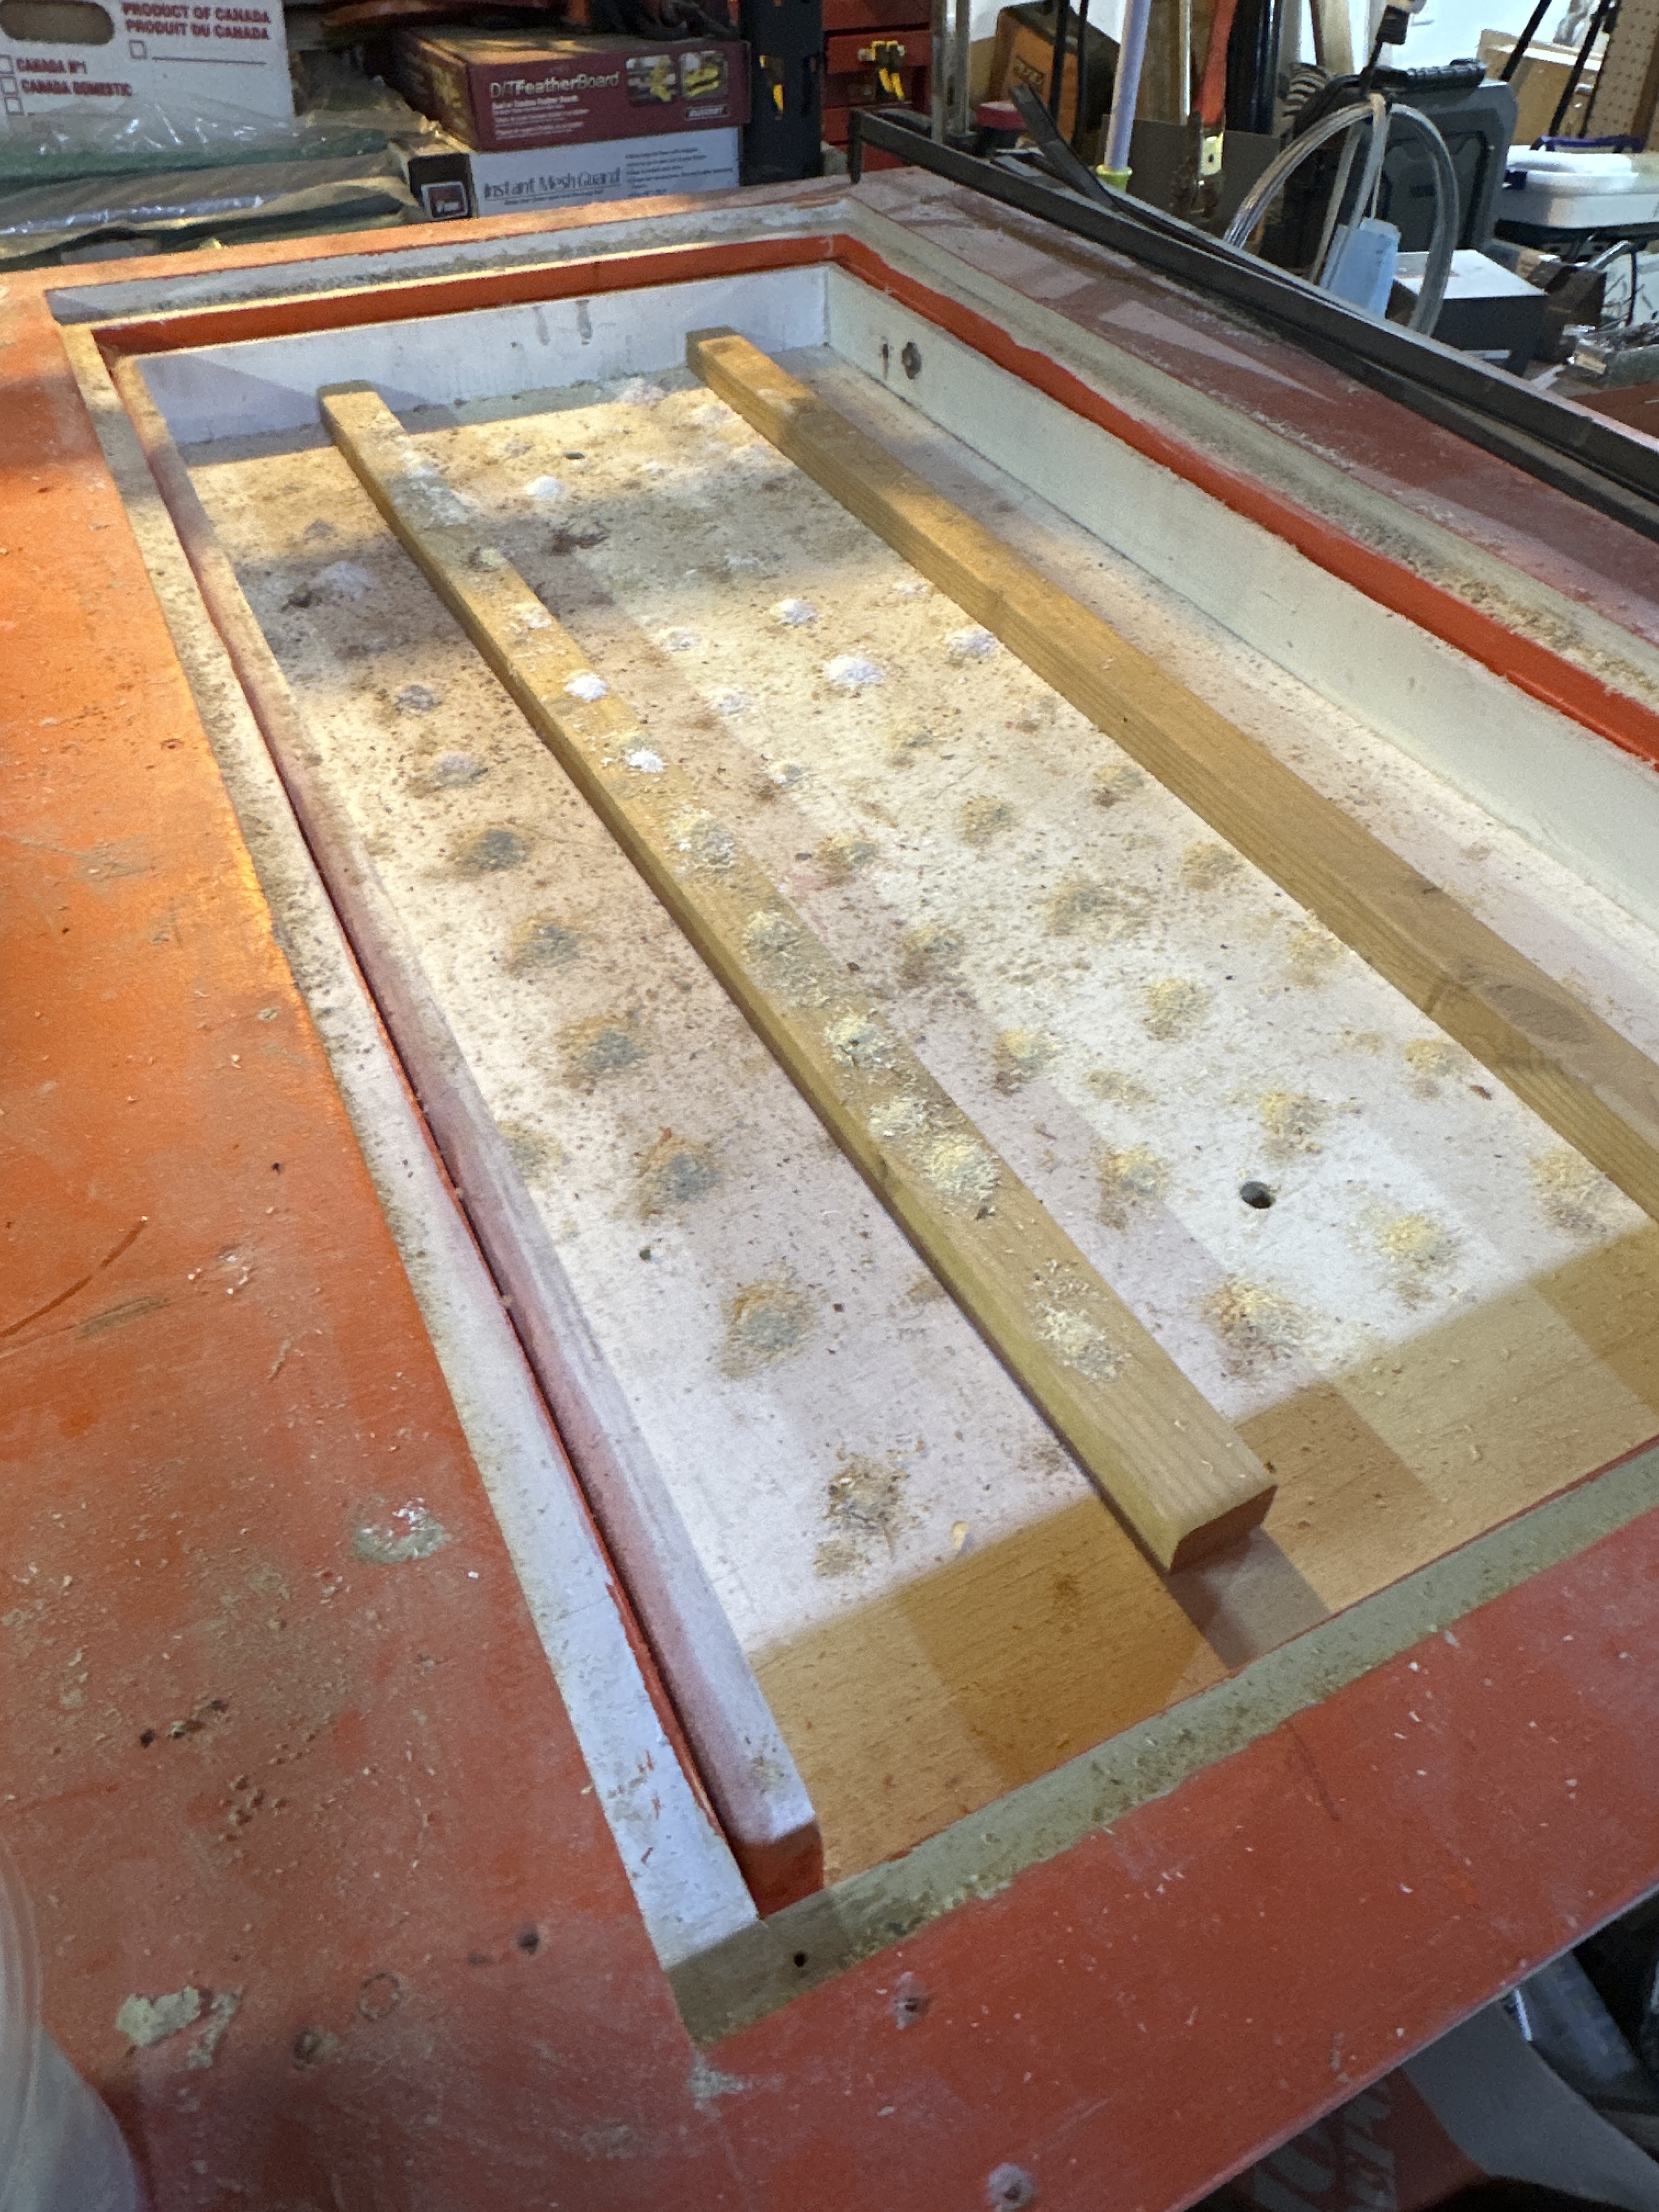
For that 3.5" long 3/8" endmill I set the plunge to 20mm and the speed to 40mm/s. After a 5mm surfacing pass with my 1" bit at 45% stepover (12 min for a 20"x20" slab of ice) the logos were cut in at a depth of 2.5mm (50 min). Switching to that 3.5" long 3/8" endmill I cut the outer circumference of the cups to a depth of 40mm and a registration hole for the flip to a depth of 20mm (10 min). I then flipped, surfaced (12 min) and cut the inside and outside of the cups’ top sides to a depth of 40mm (so it was just two passes). 16 min
Now, using a handheld die grinder with the 3/8" bit we were able to set the slab up on its side so the snow was mostly ejected from the cut. The bit follows the channel created by the MPCNC quite nicely so it’s just a matter of tracing along those guides, deepening the cuts until you’re through to the other side. Enough snow remains in the cuts to support the cup when it finally breaks free.
The boring out of the middles was done with a different bit - a big cone burr. By hand as well. It takes about 15 seconds to bore out the cups by hand with the burr. When I get enough energy to unpack the truck I’ll snap a pic of that bit. It’s a fun one. Makes ice disappear like a mother. Cutting the cups free took about 30 secs each.
The reason for the two pass maximum is that on each pass the snow gathers in the channel behind the bit and if it isn’t blown out will pack in behind the bit between each pass. So, when it comes time for pass #3 to the 60mm depth the bit has to not only deal with the 20mm of ice at the bottom of the cut but also a wall of hard snow for a total cut depth of 60mm. Once in a while it’d manage its way without skipping steps but then the fourth pass would definitely fail (we had been trying for a max of 80mm previously by blowing out the cuts as they were made). By limiting ourselves to two passes and a total of 40mm on top and 40mm on the bottom I only had 30-35mm to hand cut my way through. More importantly though was that I didn’t need to stand by the machine with a compressor hose so I was able to keep carving for the festival while the machine - working on-site in my trailer - was doing its thing. I stayed close but never had any issue or incident. Just lots of fascinated onlookers watching the machine do it’s thing.
Incidentally, one onlooker was a CNC enthusiast (he makes functioning miniature steam engines and stuff) and I got to chatting. He mentioned using the m codes for fluid on/off to control a solenoid for a compressed air nozzle on a laser. I’ll need to look into that it could be the key component to making this work a bit more hands-off.
Photos forthcoming. The couch just feels really really great right now…[attachment file=83895]
[attachment file=83896]


5 Likes
This thread is way too awesome.
3 Likes
I second his nozzle suggestion. A few around these parts do it for lasers, and cutting. You don;t even really need to get fancy with a solenoid, you can start with just a ball valve.
2 Likes