I would love to go corexy but I’m not sure if my skill set is there to design it from scratch. Would love to follow along with your build since you are way farther ahead than I am. Right now mine is still just a dream lol. But hope to get moving on it very soon
1 Like
Yes sir that build series is what caused me to start this thread lol
1 Like
We had a robot that would throttle down the CPUs when it got too hot. There were some very weird and funny software bugs that were exposed when we didn’t have enough processing power. We were short on time before a demo and we literally bought a window A/C unit and added ducting straight into the compute module box. It was so bad looking, but it did the trick. $300 for a new A/C or a couple of SWEs working overtime for a week? We chose to buy our way out.
4 Likes
Given time, I’m confident that he will dress that up. Everything else around him is all sharp and classy looking. He’ll find a way. I’m sure he was just excited about sharing what he was doing and wanted to do that sooner rather than later.
1 Like
Do you mind sharing where you got your parts? I see stuff all over but I have no clue whats worth getting and whats not. Im trying to read and learn but not making it far. Like you I’m planning the 2020/2040 extrusion and V slot wheels. But i dont want to just pick whatever i find off amazon and hope its good. Trying to not break the bank but also dont want to start with straight junk.
Do you have any CAD for this yet? I’m going to try my hand at it if you dont but I do not have any faith that i can get it right. So many little measurements here and there that I just dont have the experiance to know. But what the hell, can always just reprint as needed LOL.
I assume you are planning Nema 17 motors like Ryan sells?? Thoughts on going with a larger tooth gear to help speeds??
I am planning on going 100w. Will be more than enough for the normal day to day stuff to cut at a pretty good pace and still enough power to slow down and cut thicker stuff as well. And i really like the ability to cut acrylics as well. So many of my panels are screwed up on the MP3DP V4 that is one of the first things im looking forward to redoing LOL.
I admire all the stainless and polish there all it takes it time ![]()
2 Likes
I have CAD, but not ready to share untim I get everything together.
I bought the 2020 and 2040 extrusion on Amazon, the carriages are from Ali Express ($4 instead of $16 each)
The carriages attach to the X axis via printed plastic that also houses the pulleys for the CoreXY drive. The core itself is printed plastic to hold an Ali Express laser head with a 2.5" focal lens and terminate the CoreXY belts. I printed put a set for 6mm belts, but decided that I want 10mm belts for this after all, so re-printing is in process… slowly.
It will probably be 2024 before I actually choose a laser tube and power supply, then however long it takes to get it shipped before I’m ready to really test stuff. I am working on a Z axis, and the CAD for that is super primitive at this point, and I don’t even know for sure that the parts I’m thinking are easily sourced.
As is, this is a little demanding on the steel side, but I chose to be just a little paranoid about invisible beams that can maim or kill me or burn my home down.
2 Likes
Thanks a ton. I will look at the ones on AliExpress. Thinking I will order those parts first so I have them to take measurements from and see how it will all fit.
I used to think I needed a CO2 laser after watching that video series, but now that the diode lasers have become so much more powerful, I think one of the 20 - 40w diodes would work for me. They do have some limitations with acrylic & thickness, but the fact that they are a lot less cumbersome & take up a lot less space really appeals to me.
2 Likes
Well if this keeps up i will definatly be building a CO2 laser real soon. She has had the primo running non stop just about. Already ran out of the 3 sheets of ply i bought before i came to work and has taken my truck to go get 2 more sheets! She told me the other day “Im only going to say this once and then i will deny it. We need a second laser” LOL. So ofcourse i screen shot it for proof haha.
I did end up ordering another diode laser today to try and help her get christmas stuff out.
Going to set it up on the small LR3 when i get home so she can have 2 of them running LOL. All while ill be cutting full sheets of plywood for Grinch’s on the full sheet LR3. Going to be BUSY BUSY.
Here are just a few of the things she has made…

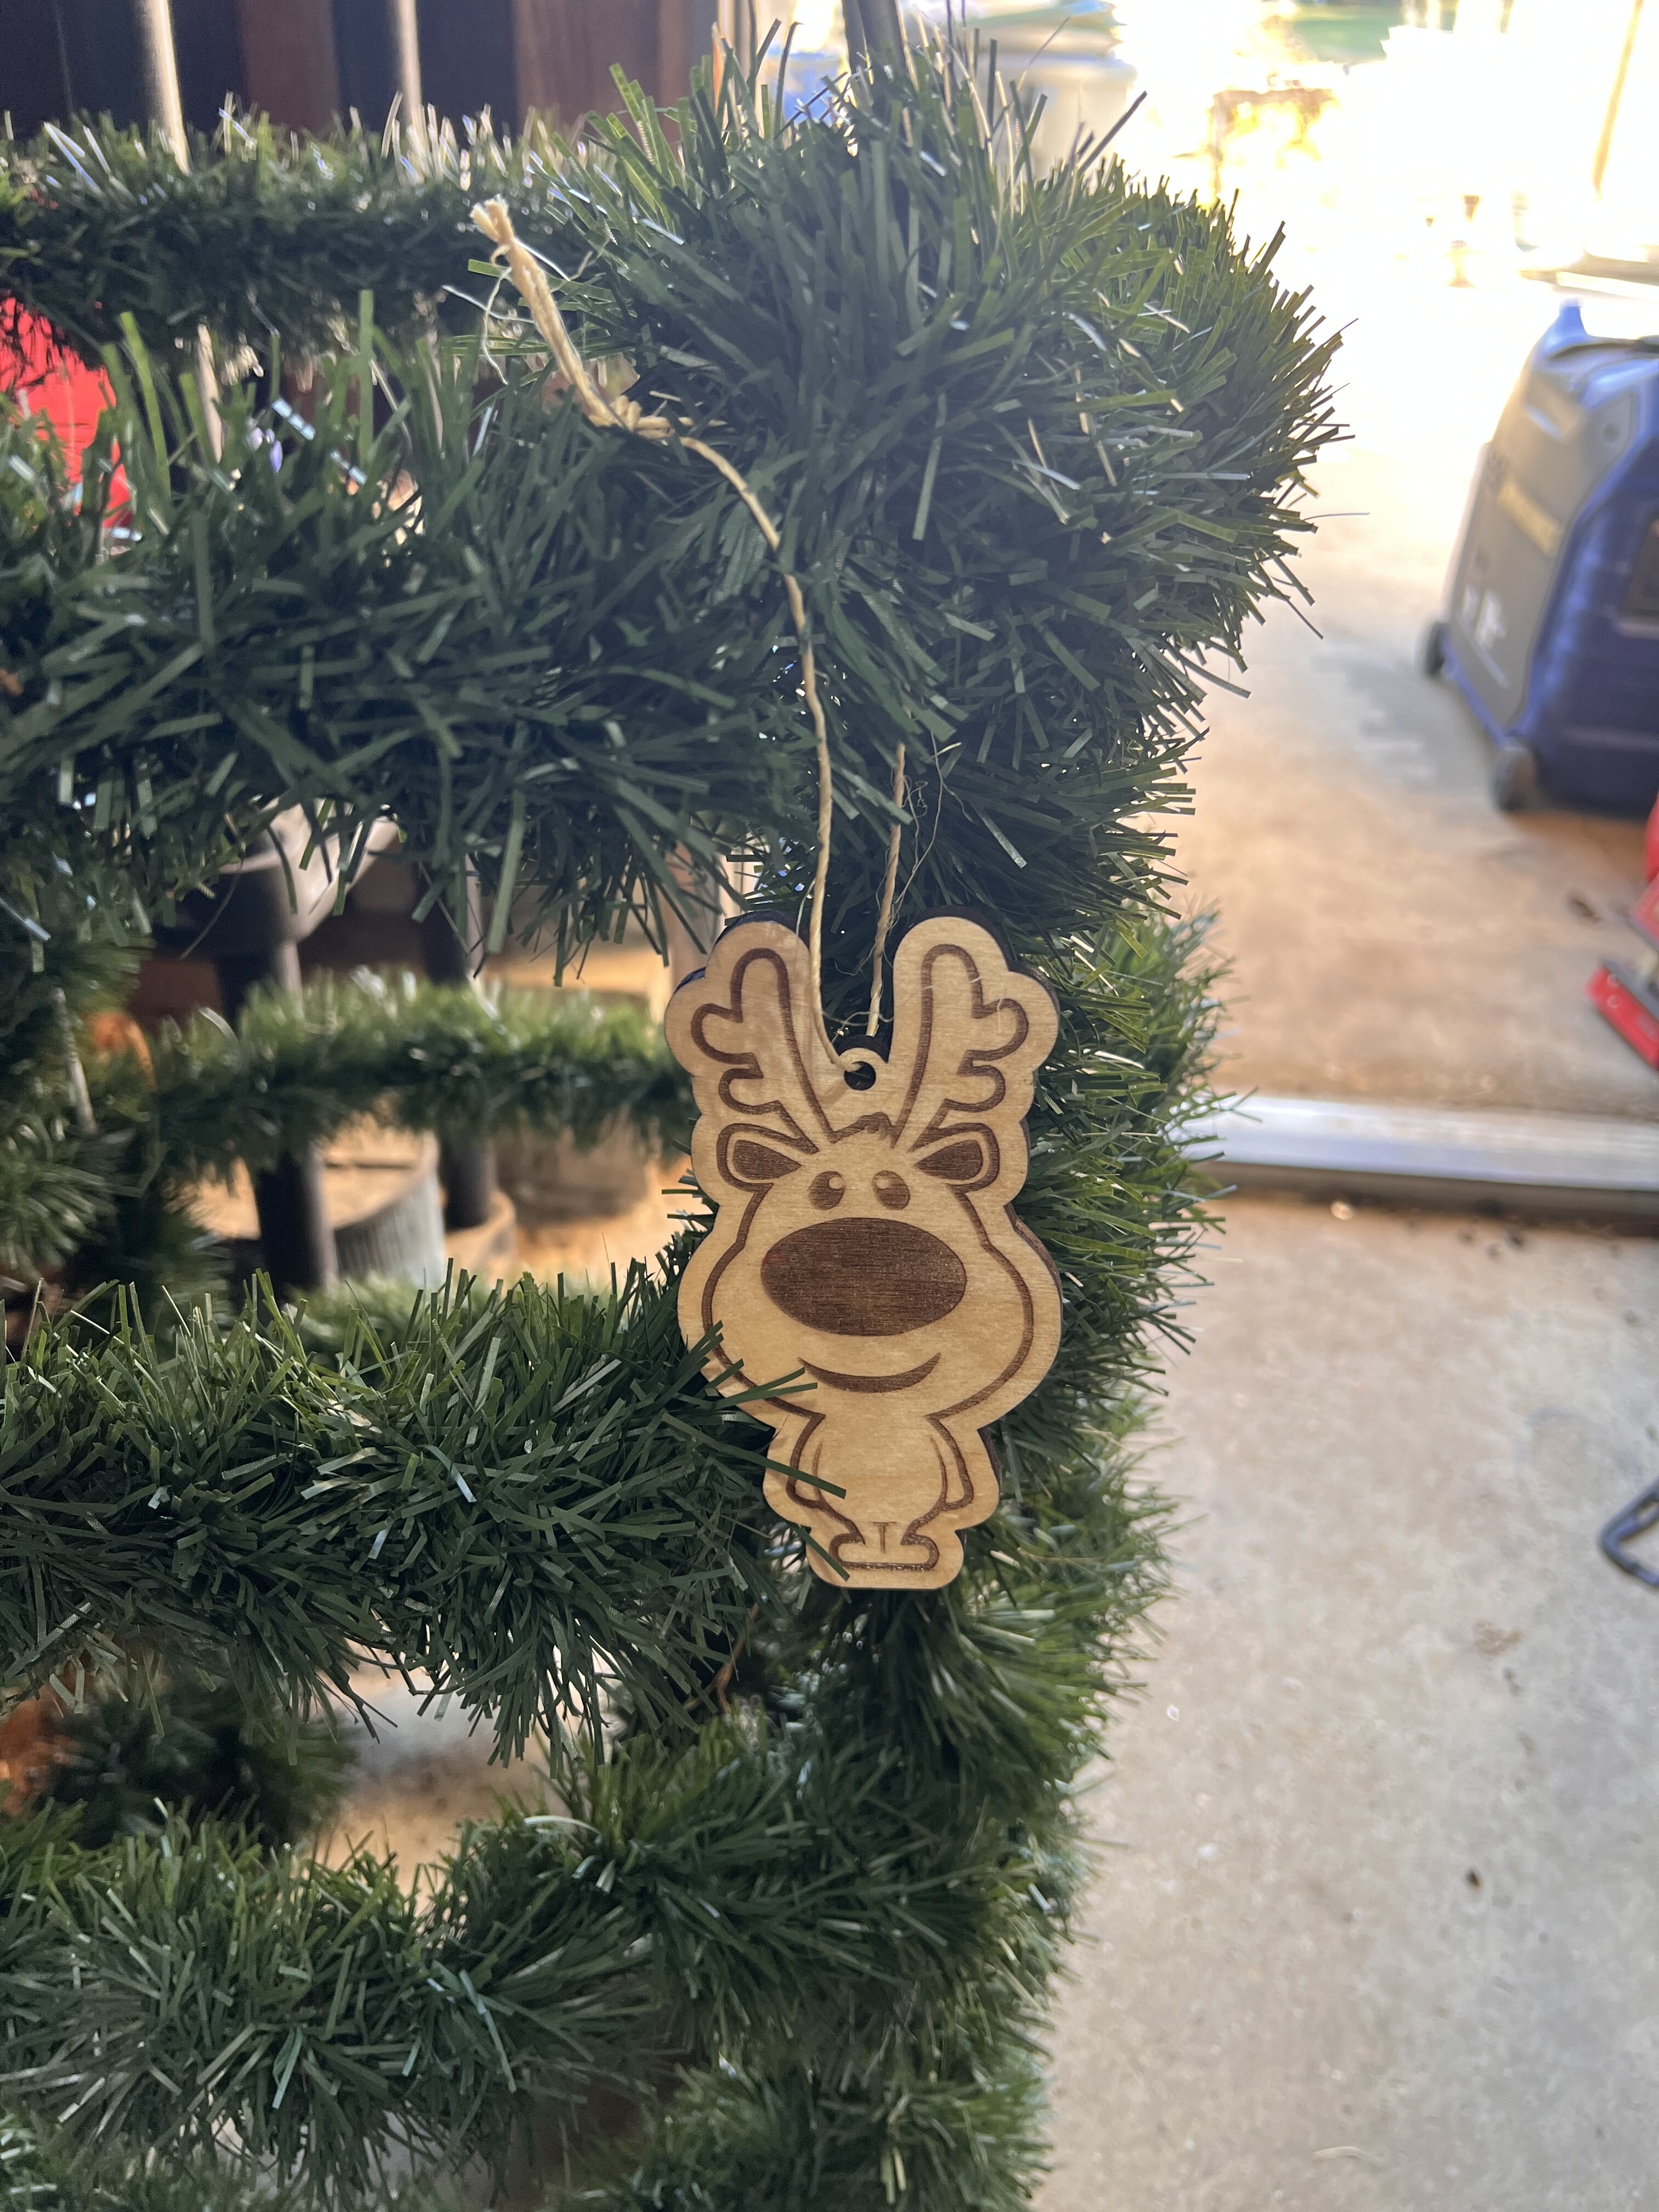
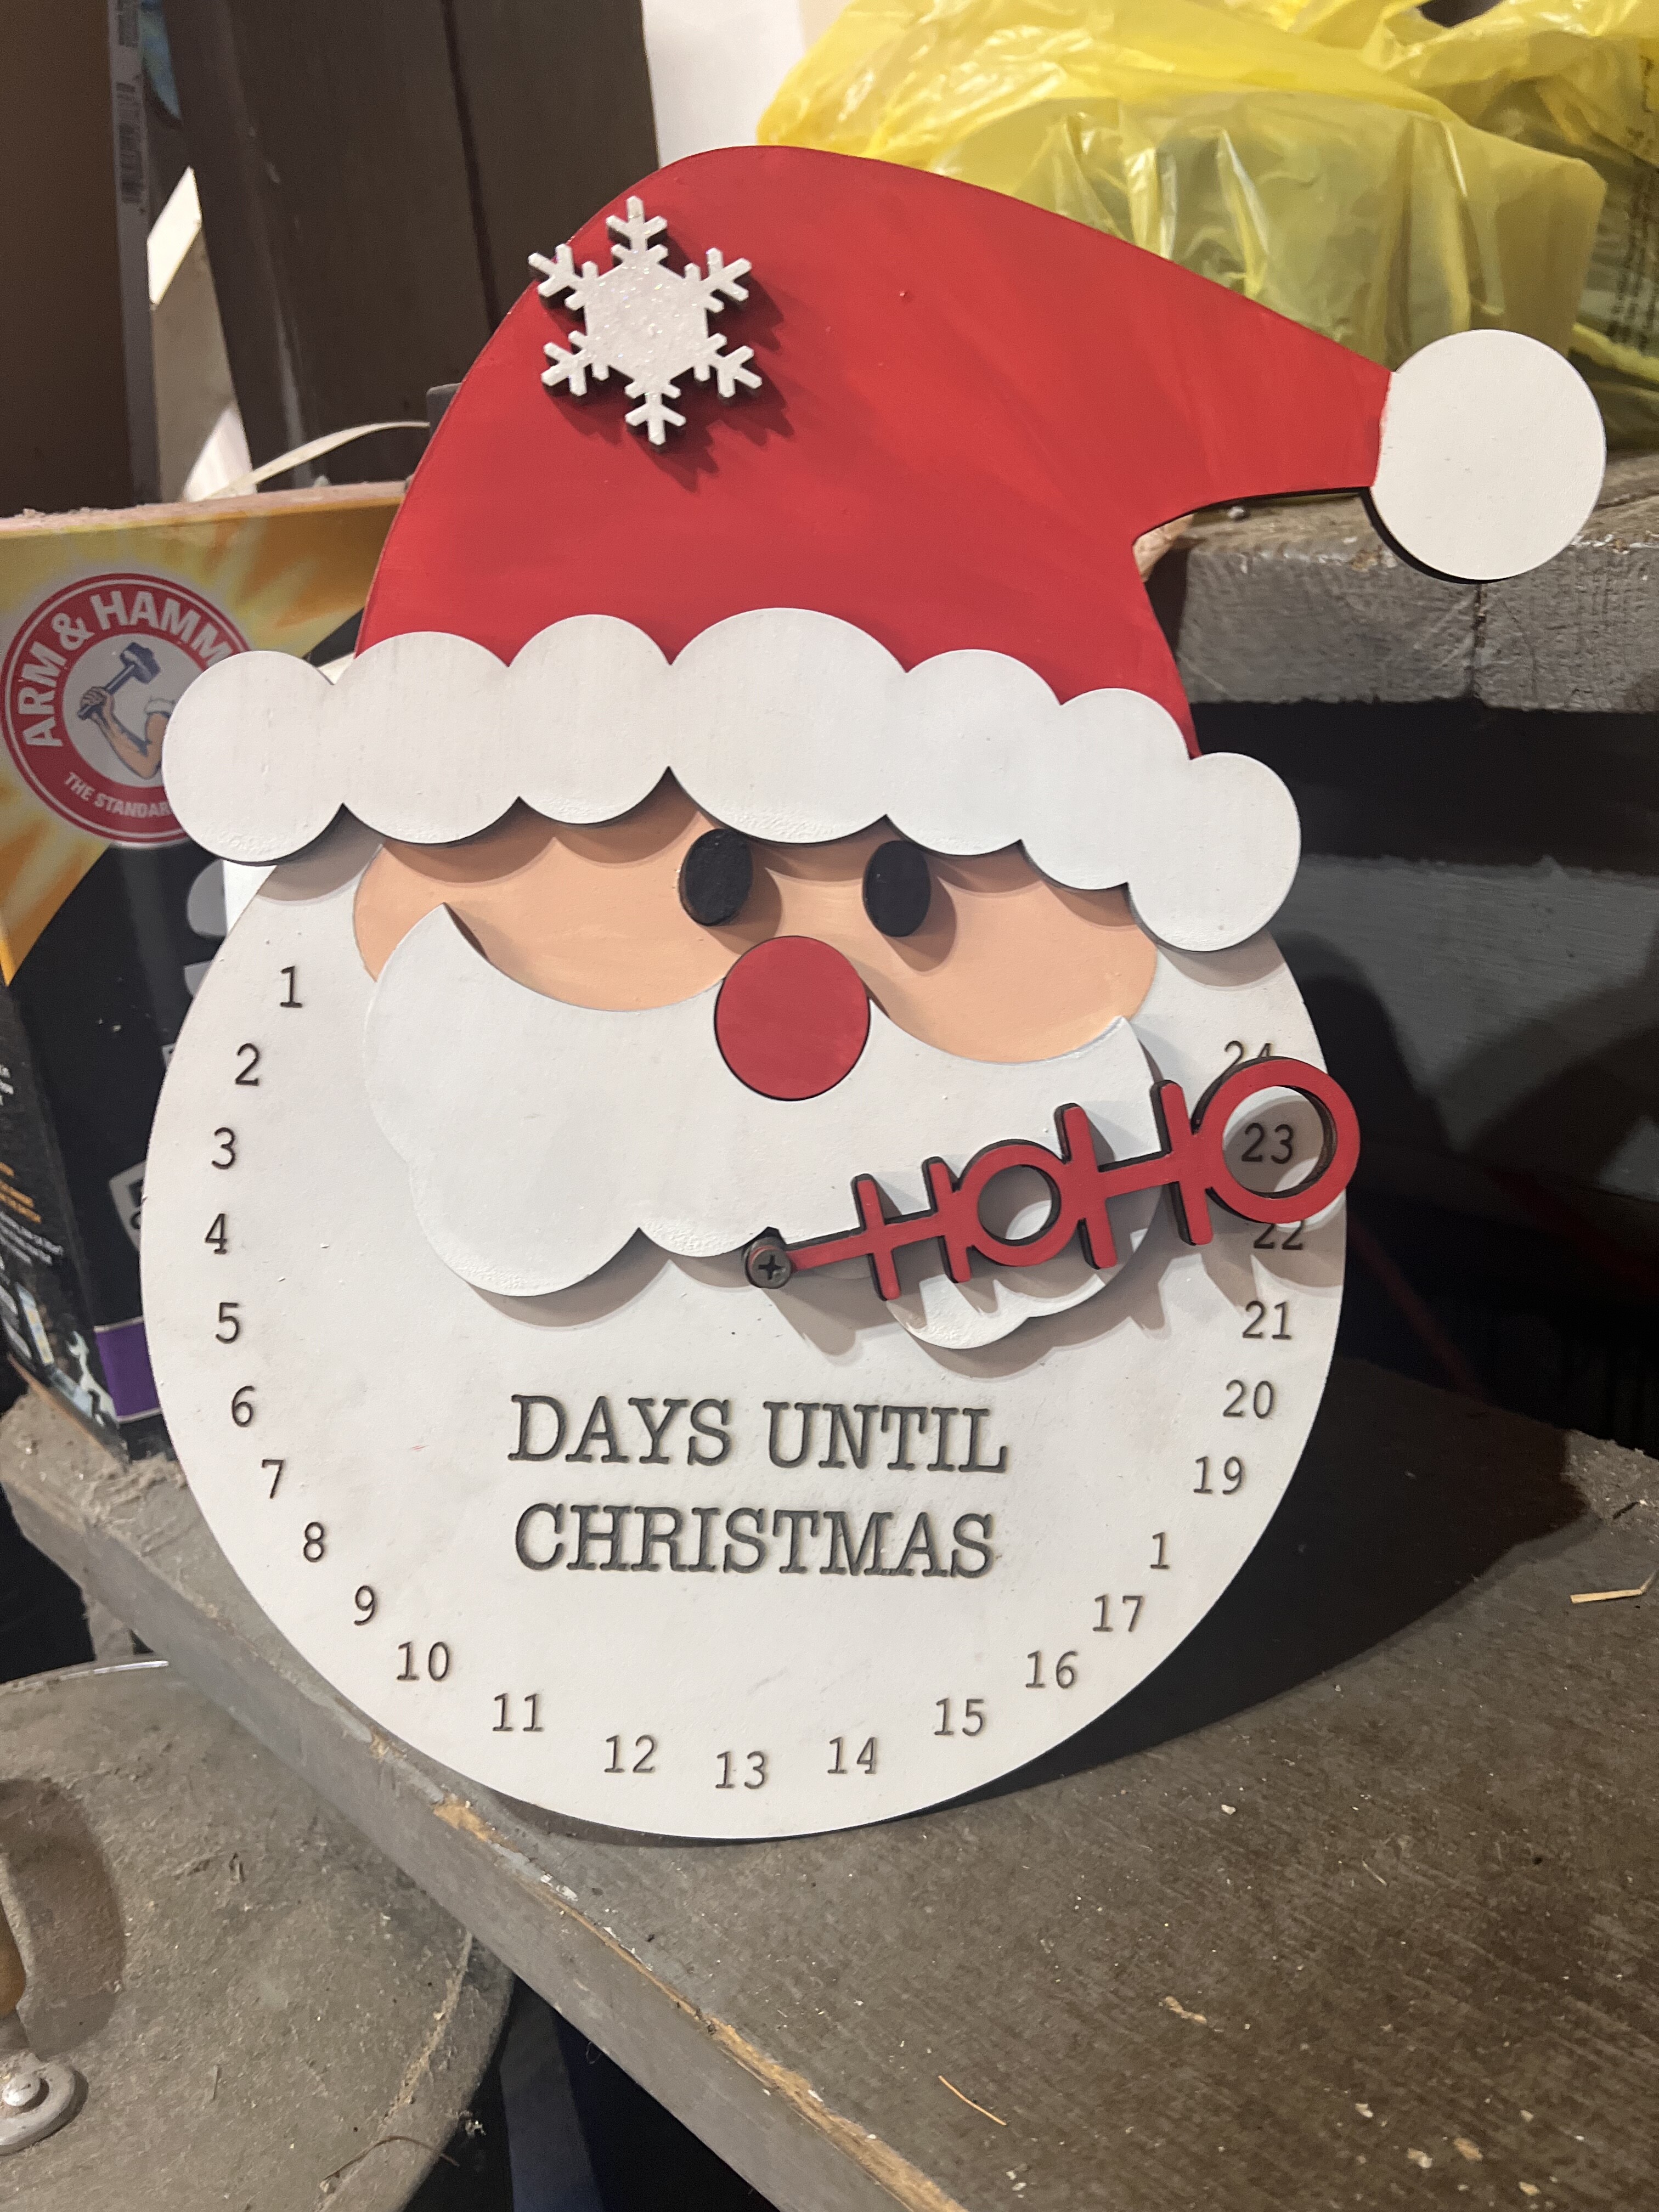
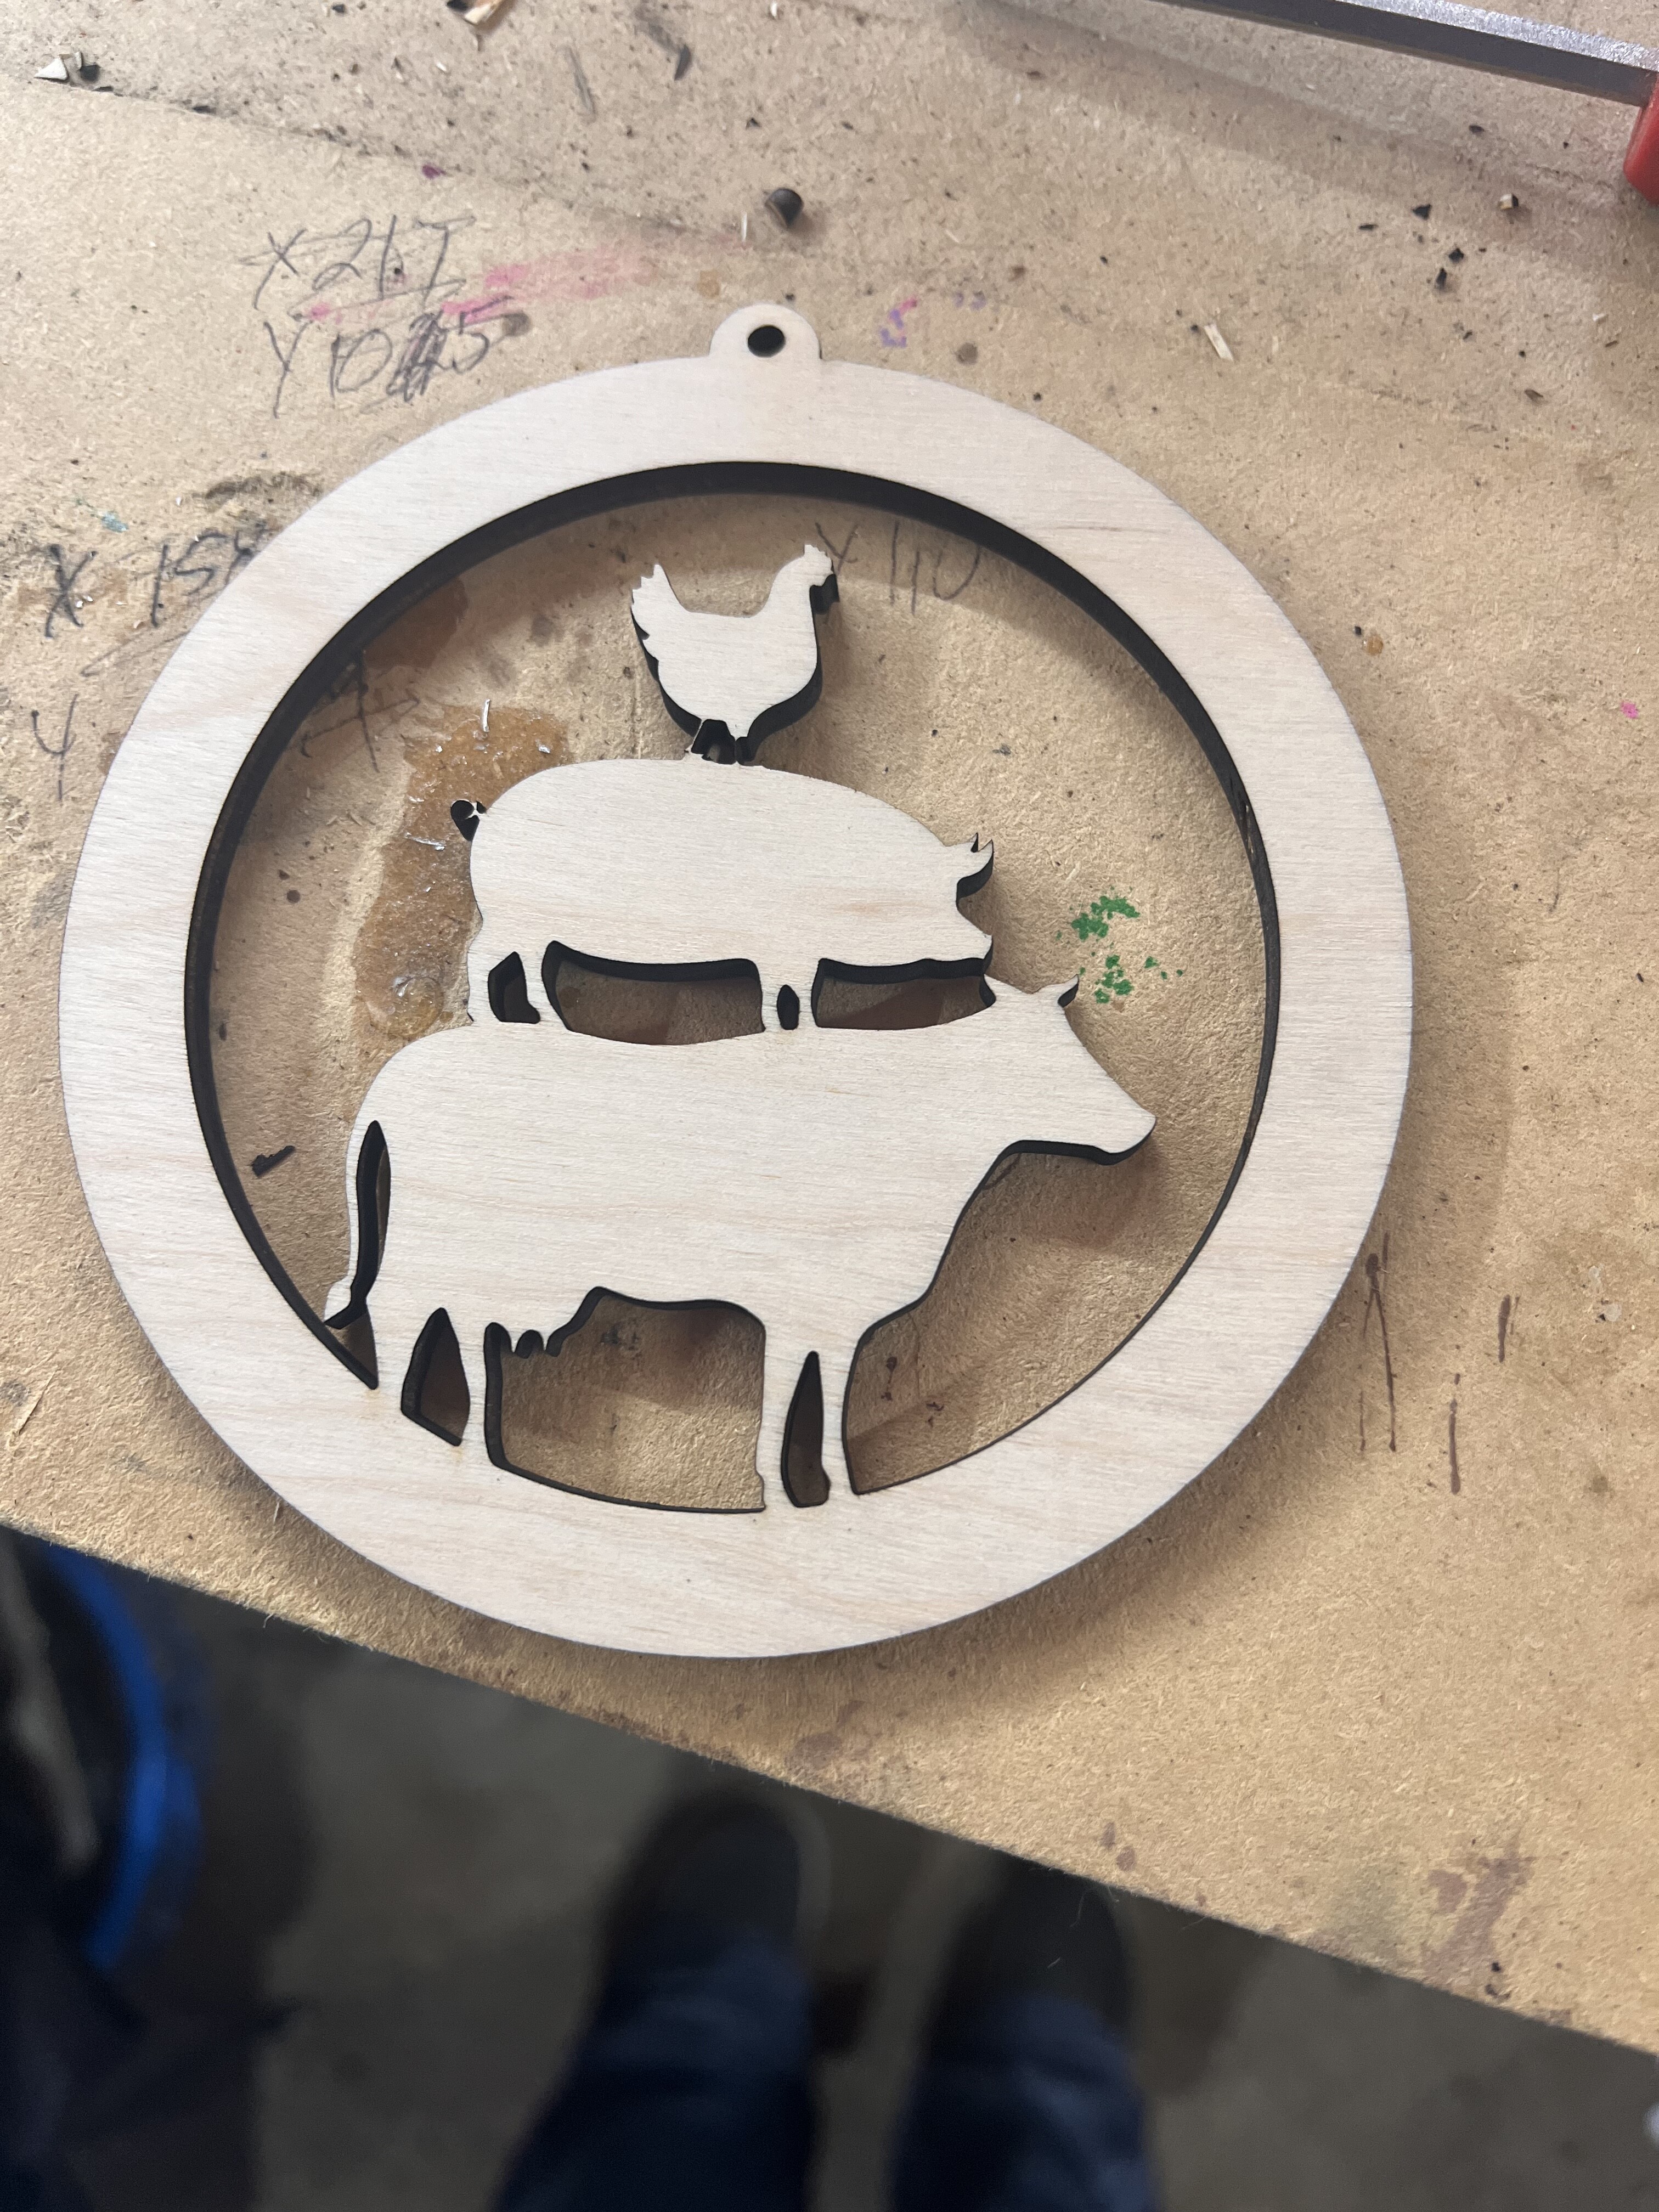
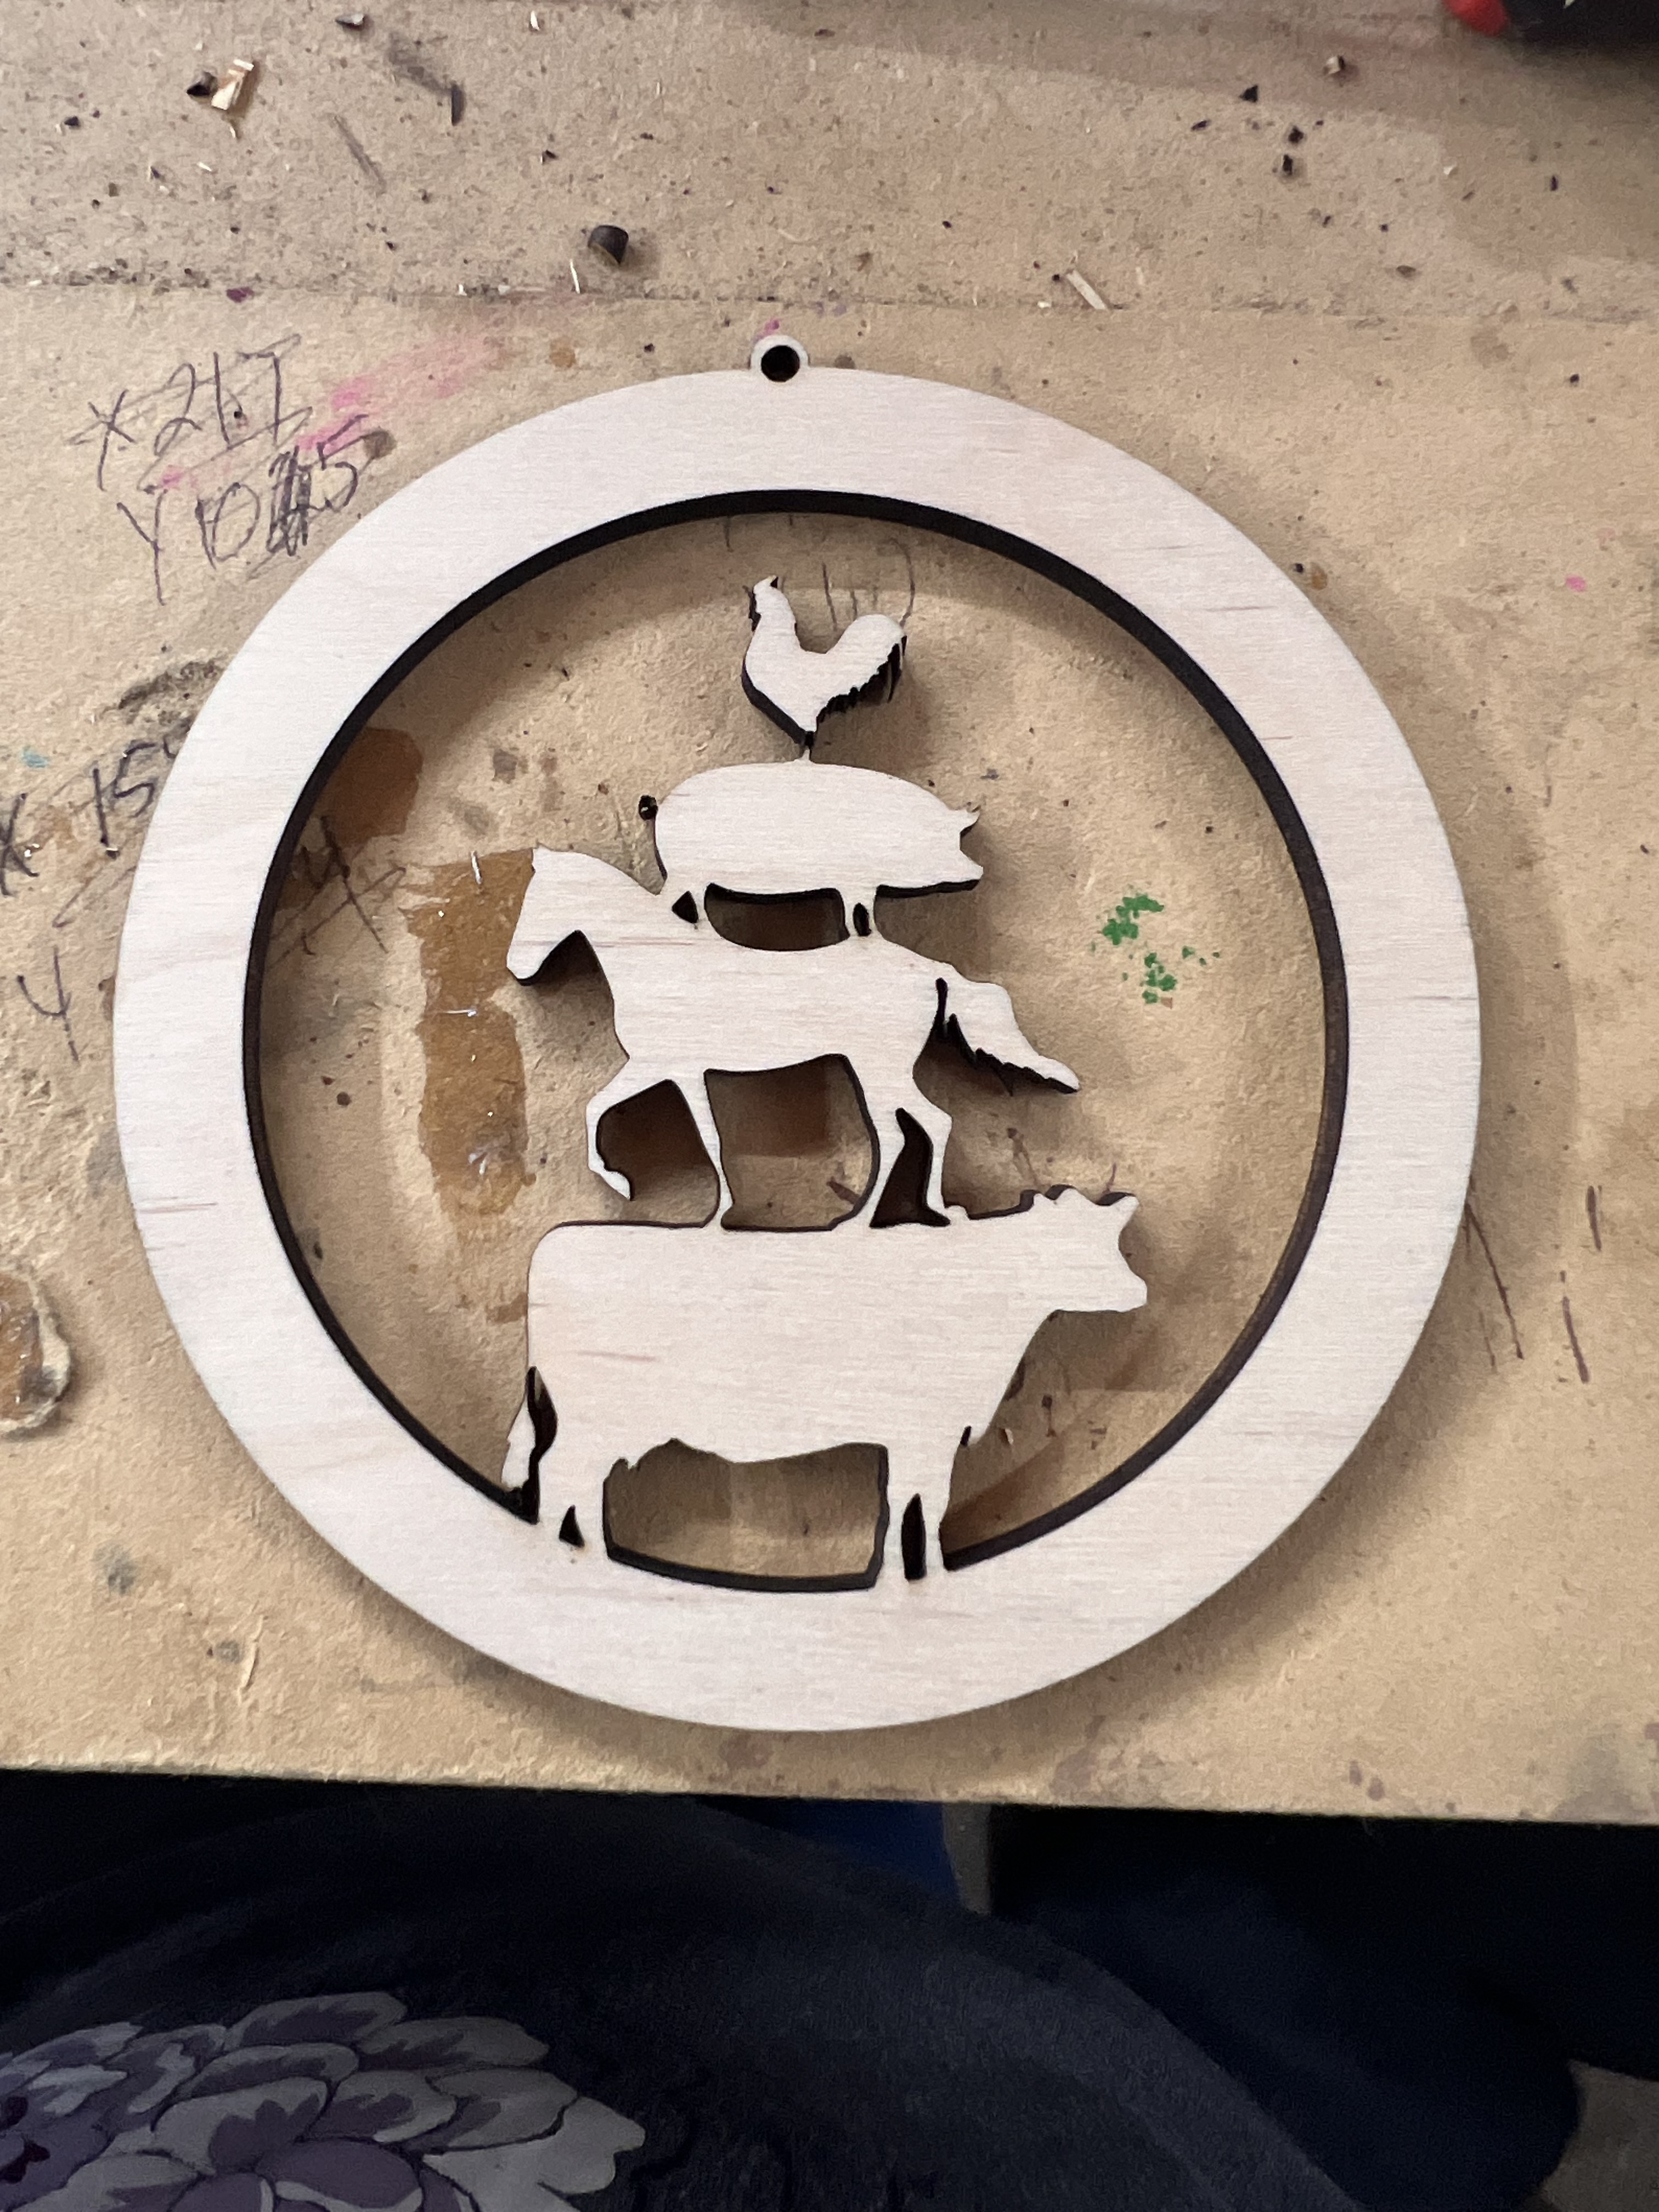


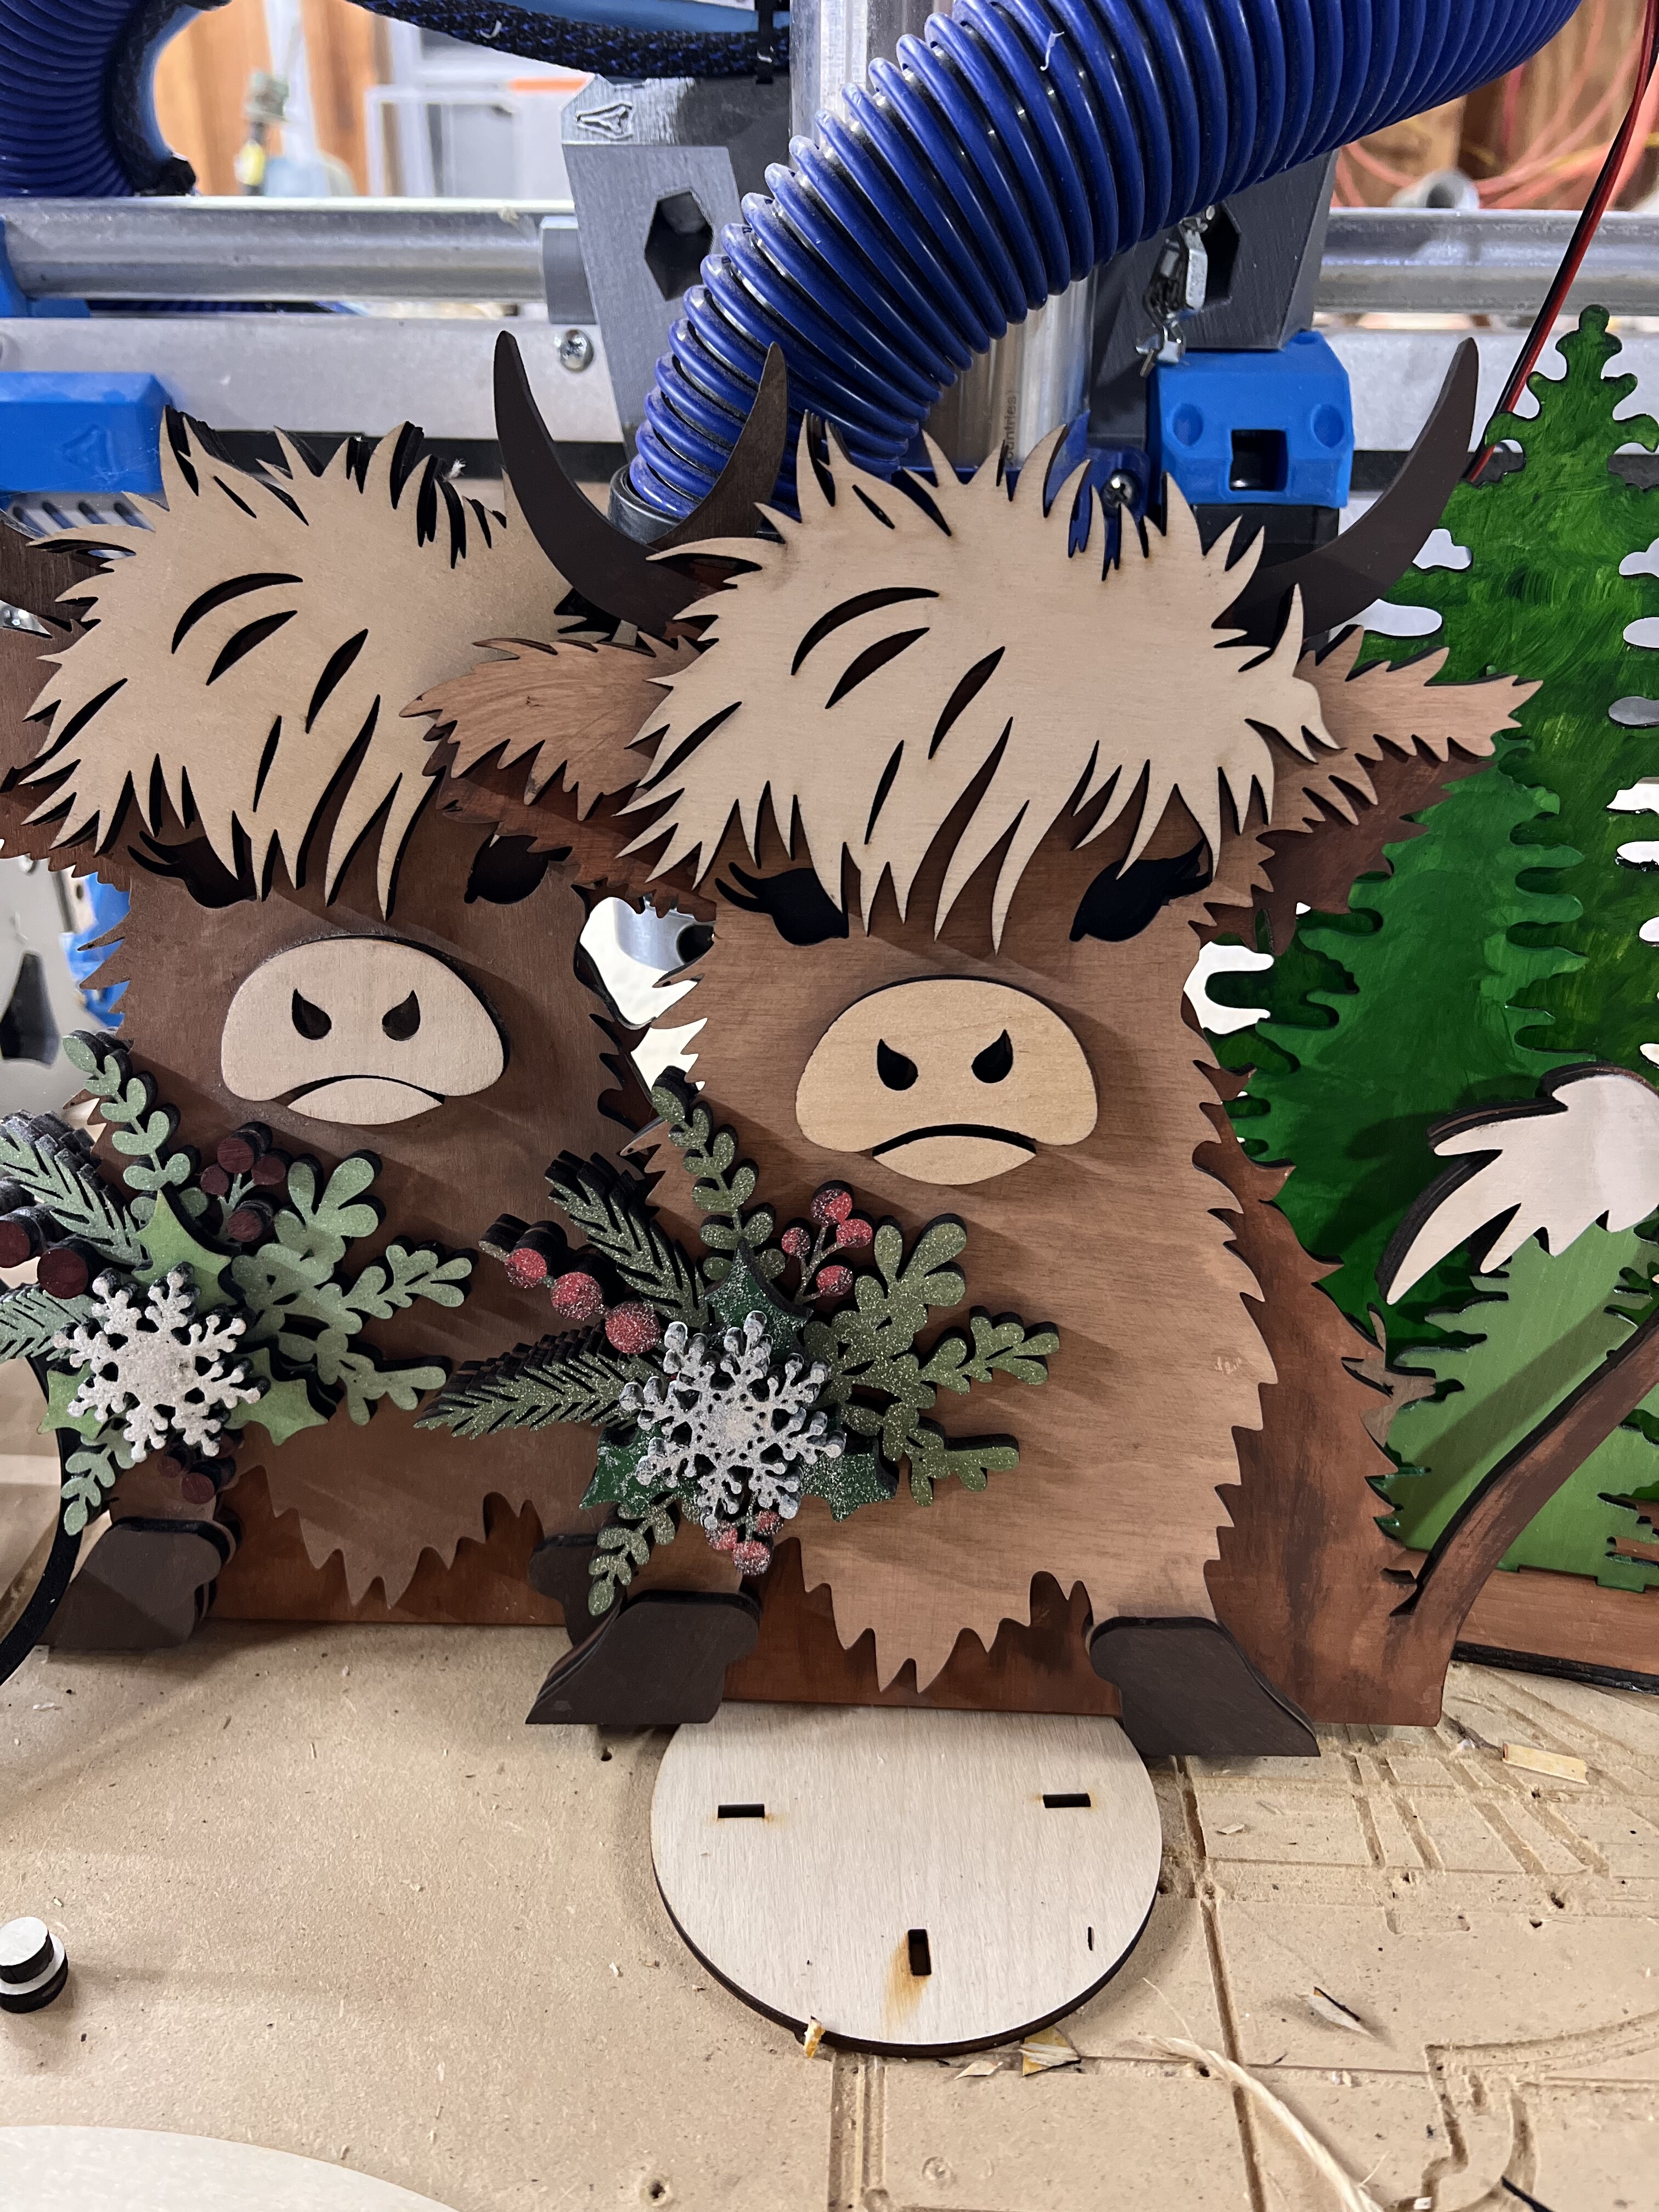
5 Likes
There is no images visible right now?
EDIT: Now they are showing and they look great!
2 Likes
Yeah I typed that post from my computer, then went to it from my phone to edit and add the pics. And of course any time i try to add more than one pic at a time it fails so it takes forever LOL
3 Likes
FYI… what I figured out, is that you can start a post, and then just go open it on the phone and the draft will be there.
So you can start a post from your phone, add a bunch of pictures, then go to your computer and visit the thread and you’ll see your pending post with all of the pictures. then you can add all of the text, cut/paste to re-order the pictures, etc.
Or the other way around starting at the computer and then uploading from your phone works the same
3 Likes
Oh glad it is not just me ![]()
1 Like
I usually do it like this I just got ahead of my self and clicked post lol
2 Likes
If you get errors about opening it in two places, you can hit the trash can on the first one and it says, “save draft for later”. That is a good way to avoid those errors.
I use it often. Some things are easier on a phone or a computer.
3 Likes
I’m not overly internet paranoid, but I don’t particularly like geodata in my photos exif stuff, particularly if they’ve been taken at home.
I’ve not checked to see if there’s a phone button that deletes it on export, but if there is it’s probably smart to do that. My usual photo workflow (except for the odd occasion) is to upload my pics to lightroom where they are tagged and filed in some sort of order so they can be found again, and exported at a smaller size with all exif except copyright data stripped.
It’s a simple enough process - but I skip it just often enough to make life interesting for the bad guys! ![]()
2 Likes
Sorry about the proper hijack here - I’ve just checked (because I didn’t have to before) and of course on an iPhone at least, turning off geodata is easy on export.
** Adjust the sharing options**
Before you share a photo or video, you can adjust the format, file type, and information that gets shared with it.
Open the photo or video, tap the Share button, tap Options, then do any of the following:
Turn off location data: Tap the button next to Location (green is on).
2 Likes
Yep, I usually do that before sharing, but mostly because I also go in there and choose a smaller size image to upload. “Large” instead of full size. Makes it a little quicker to upload and not having to store an extra 10MB for every random picture I upload
1 Like
Ok I kinda drifted off from this for the last week but now I’m thinking about it again. I did order a few pieces of extrusion just so I can start laying things out and seeing how it all lines up. I have to see it to figure it out unless I have nice premade plans in front of me lol. One thing I’m still completely lost on is the mirrors/mounts. How the heck do I figure out which ones I need??? I guess I just don’t know how to search for this stuff correctly. I can find parts but nothing that explains what I need and why. Or I’m just missing it
Here are some mounts I found on Amazon. Best thing I can find is this name seems to be good.
2 Likes