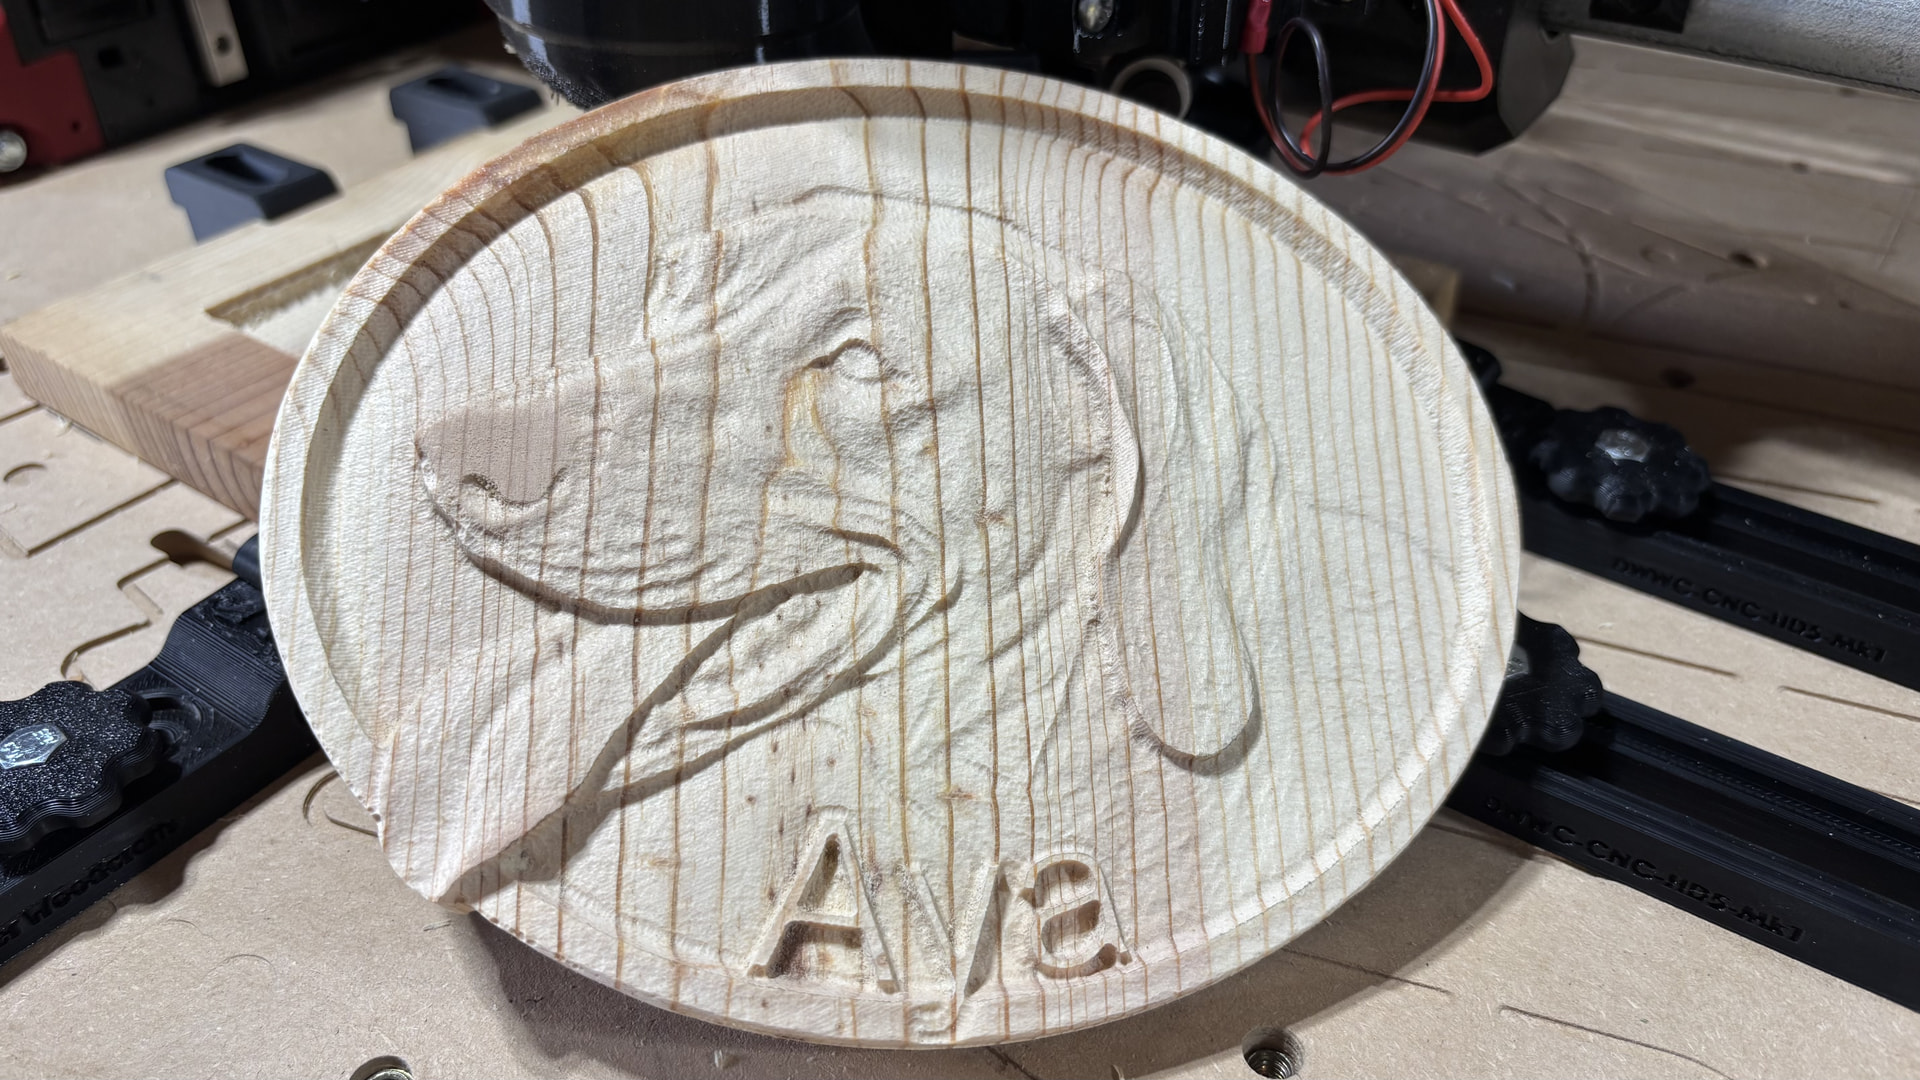
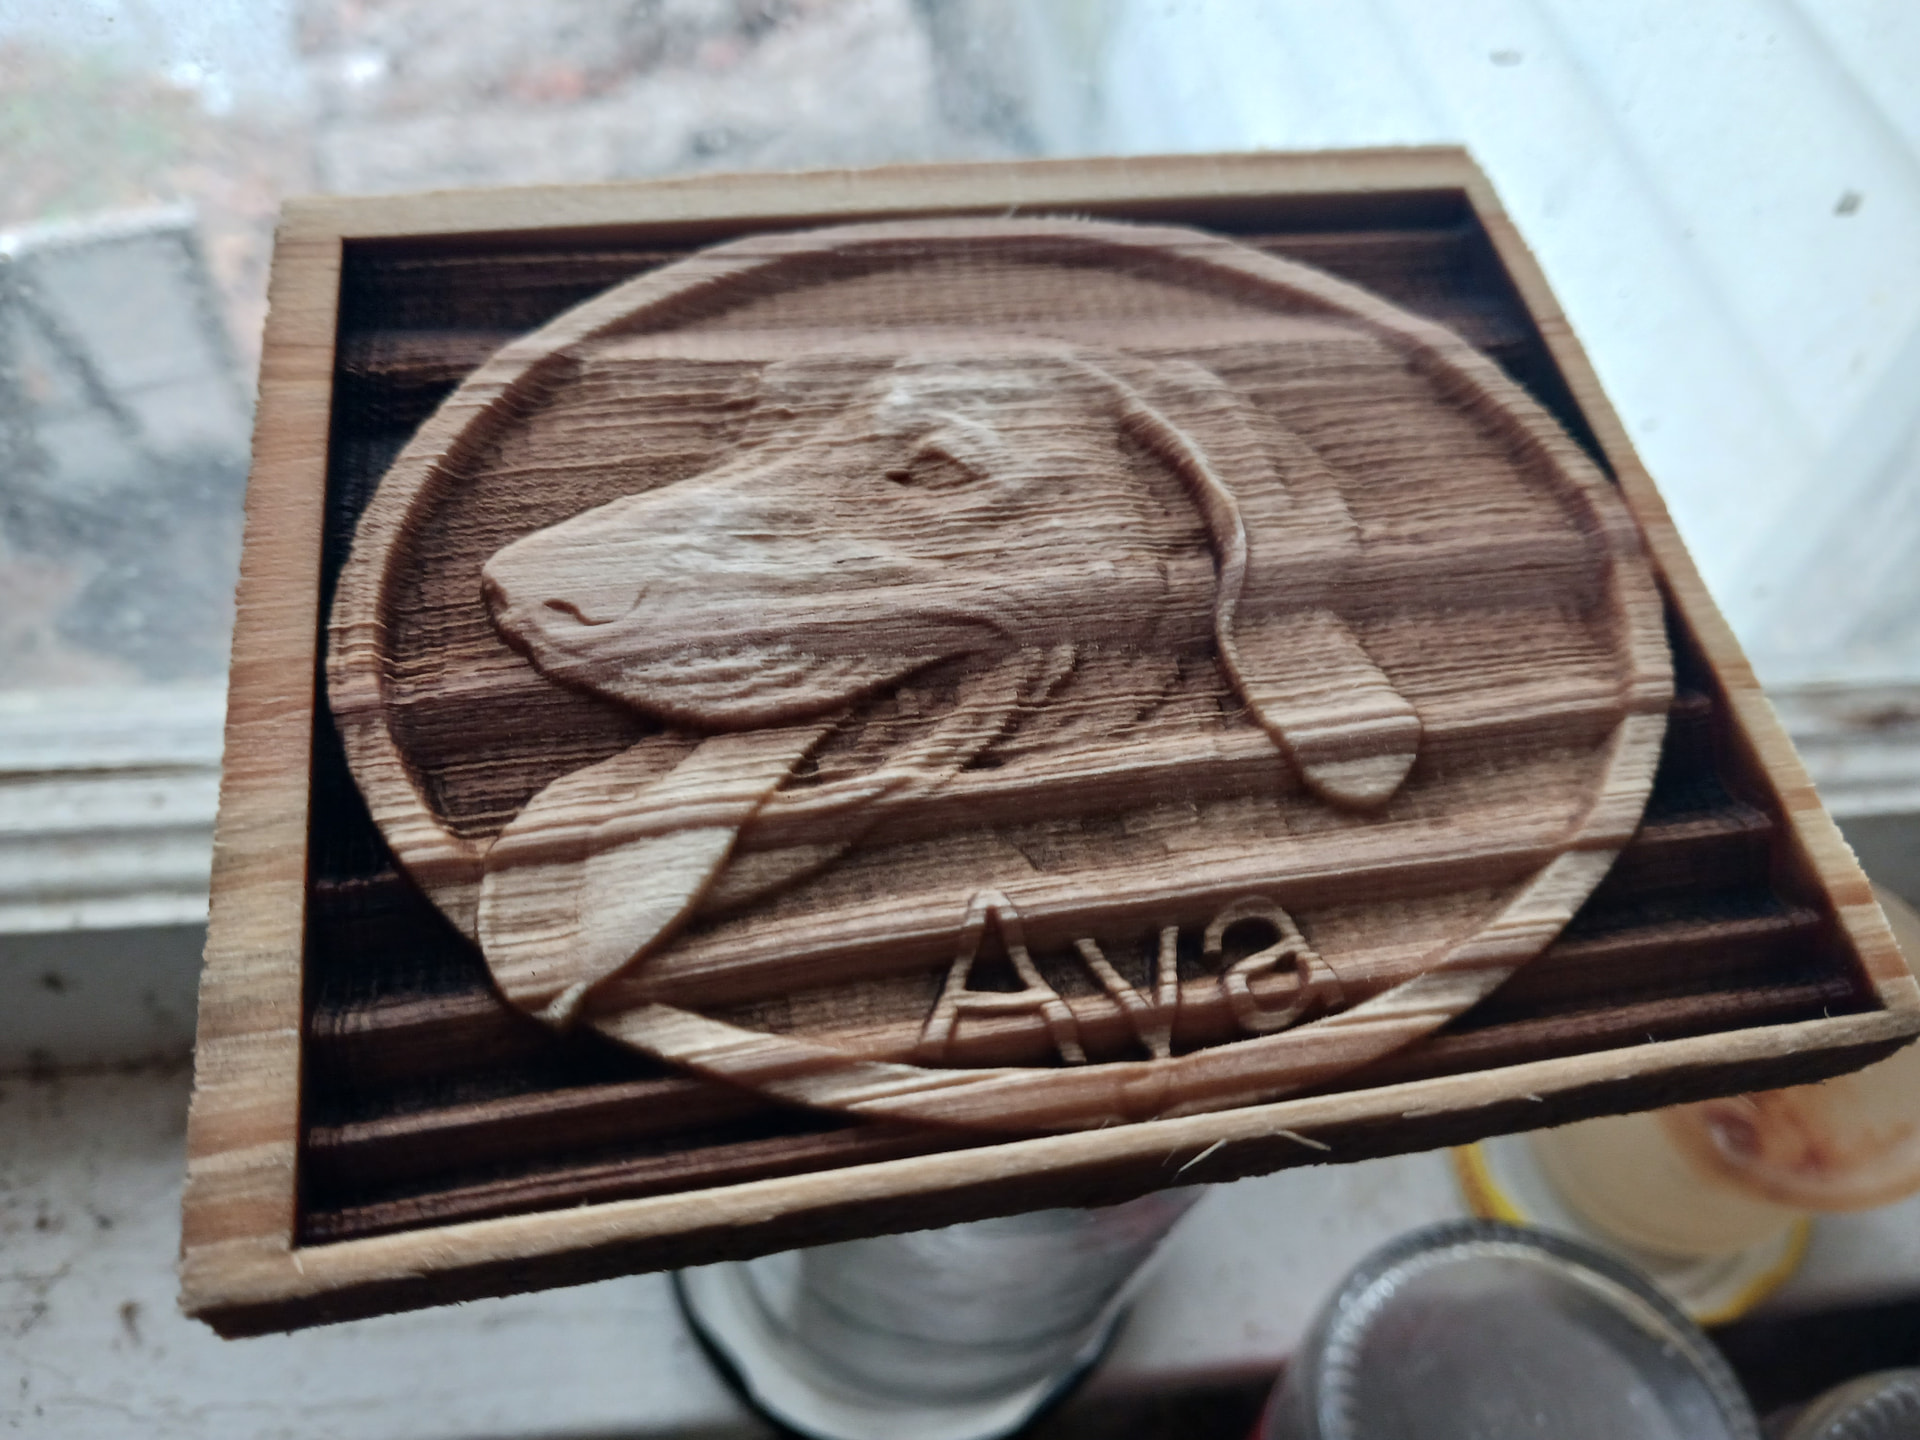
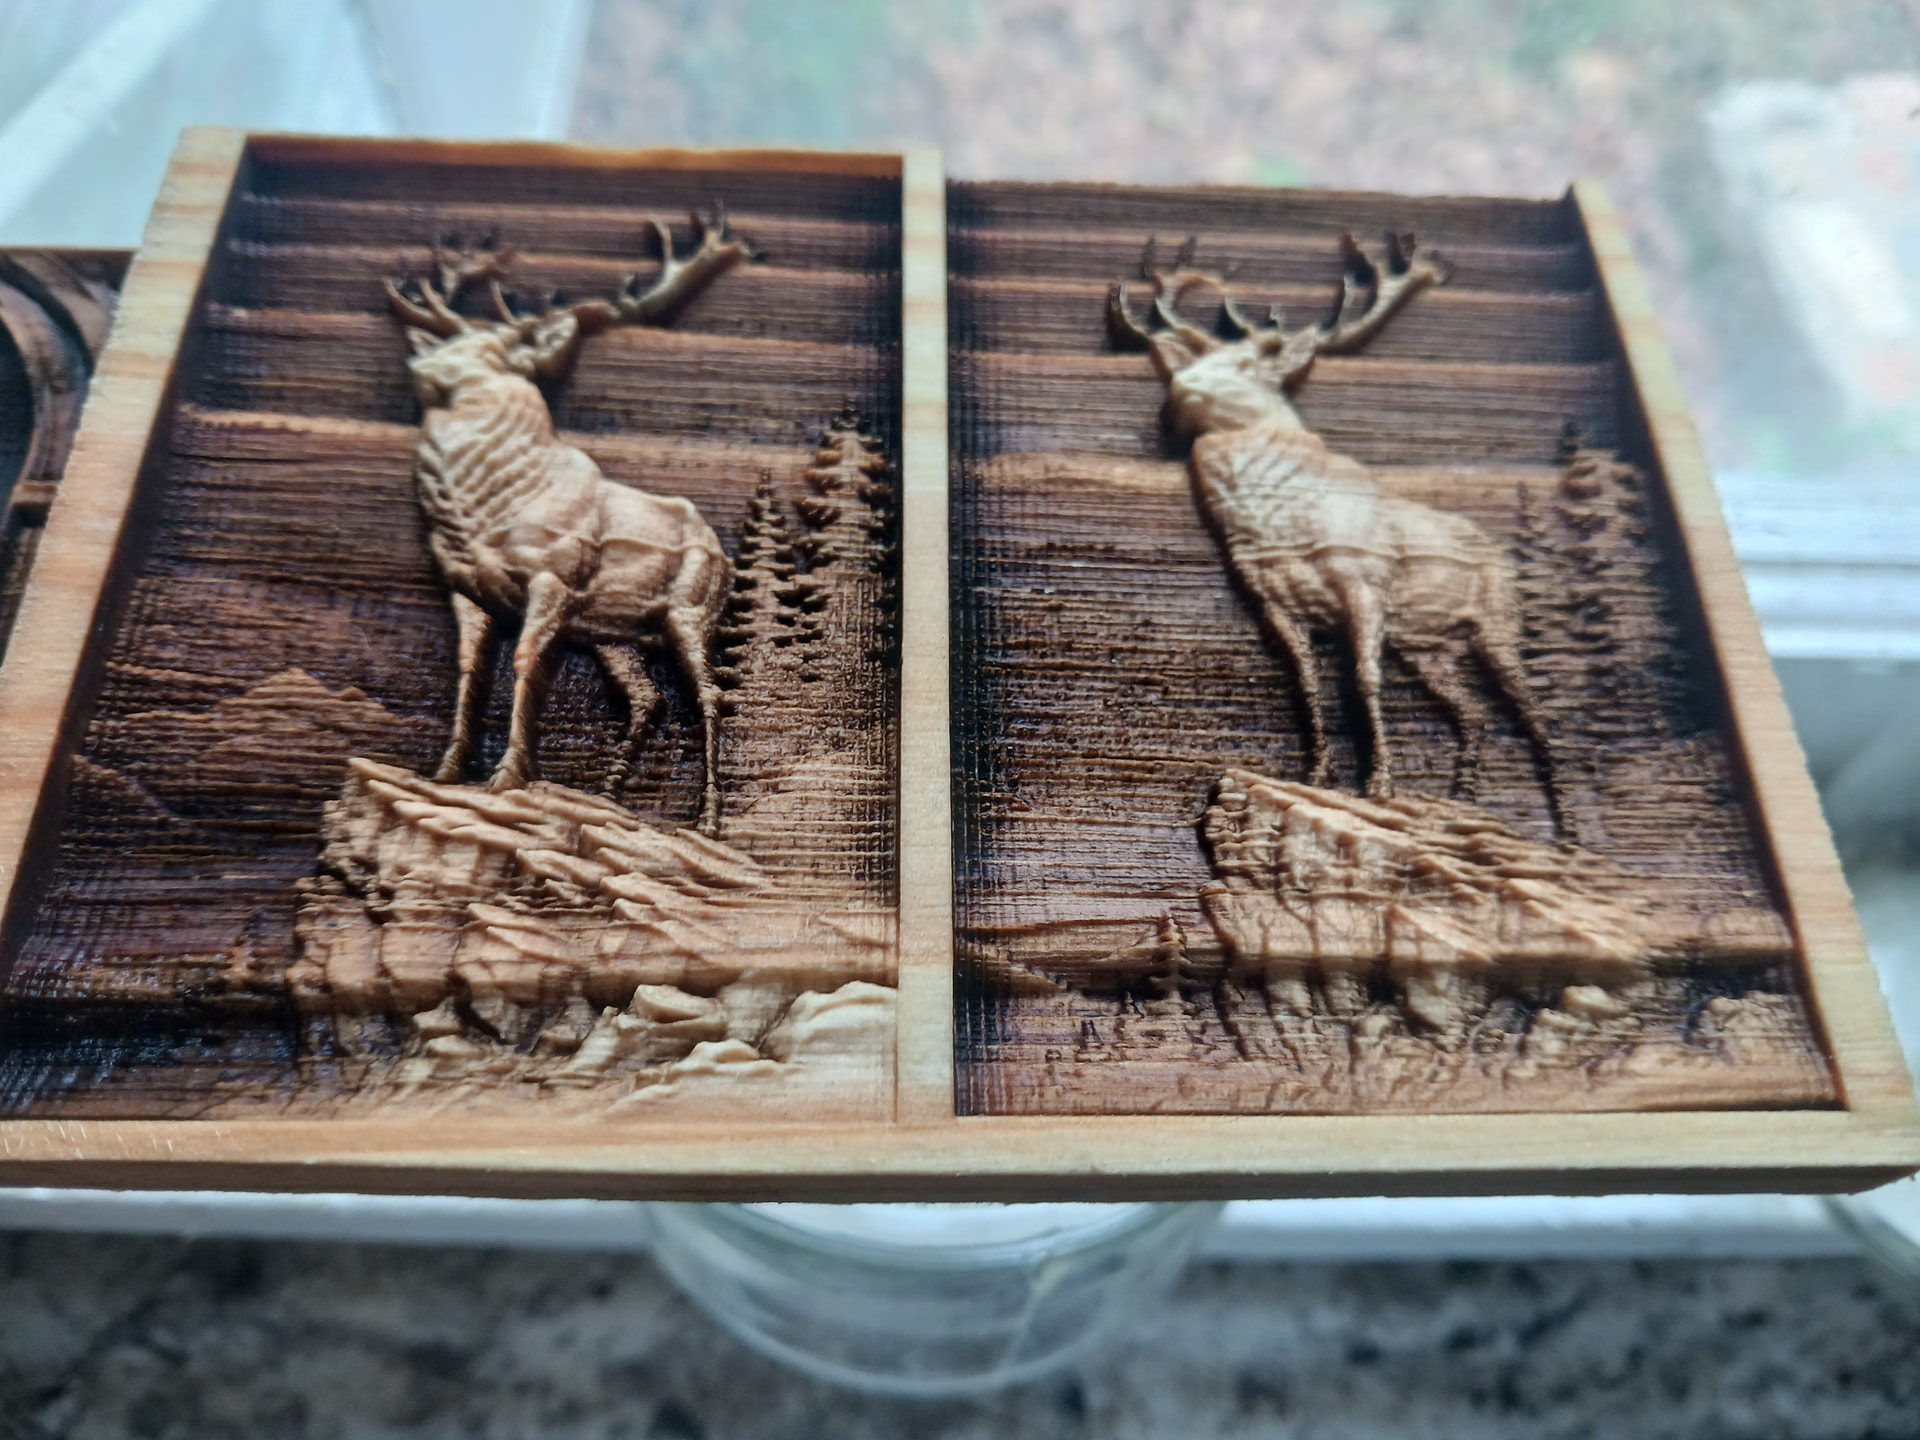
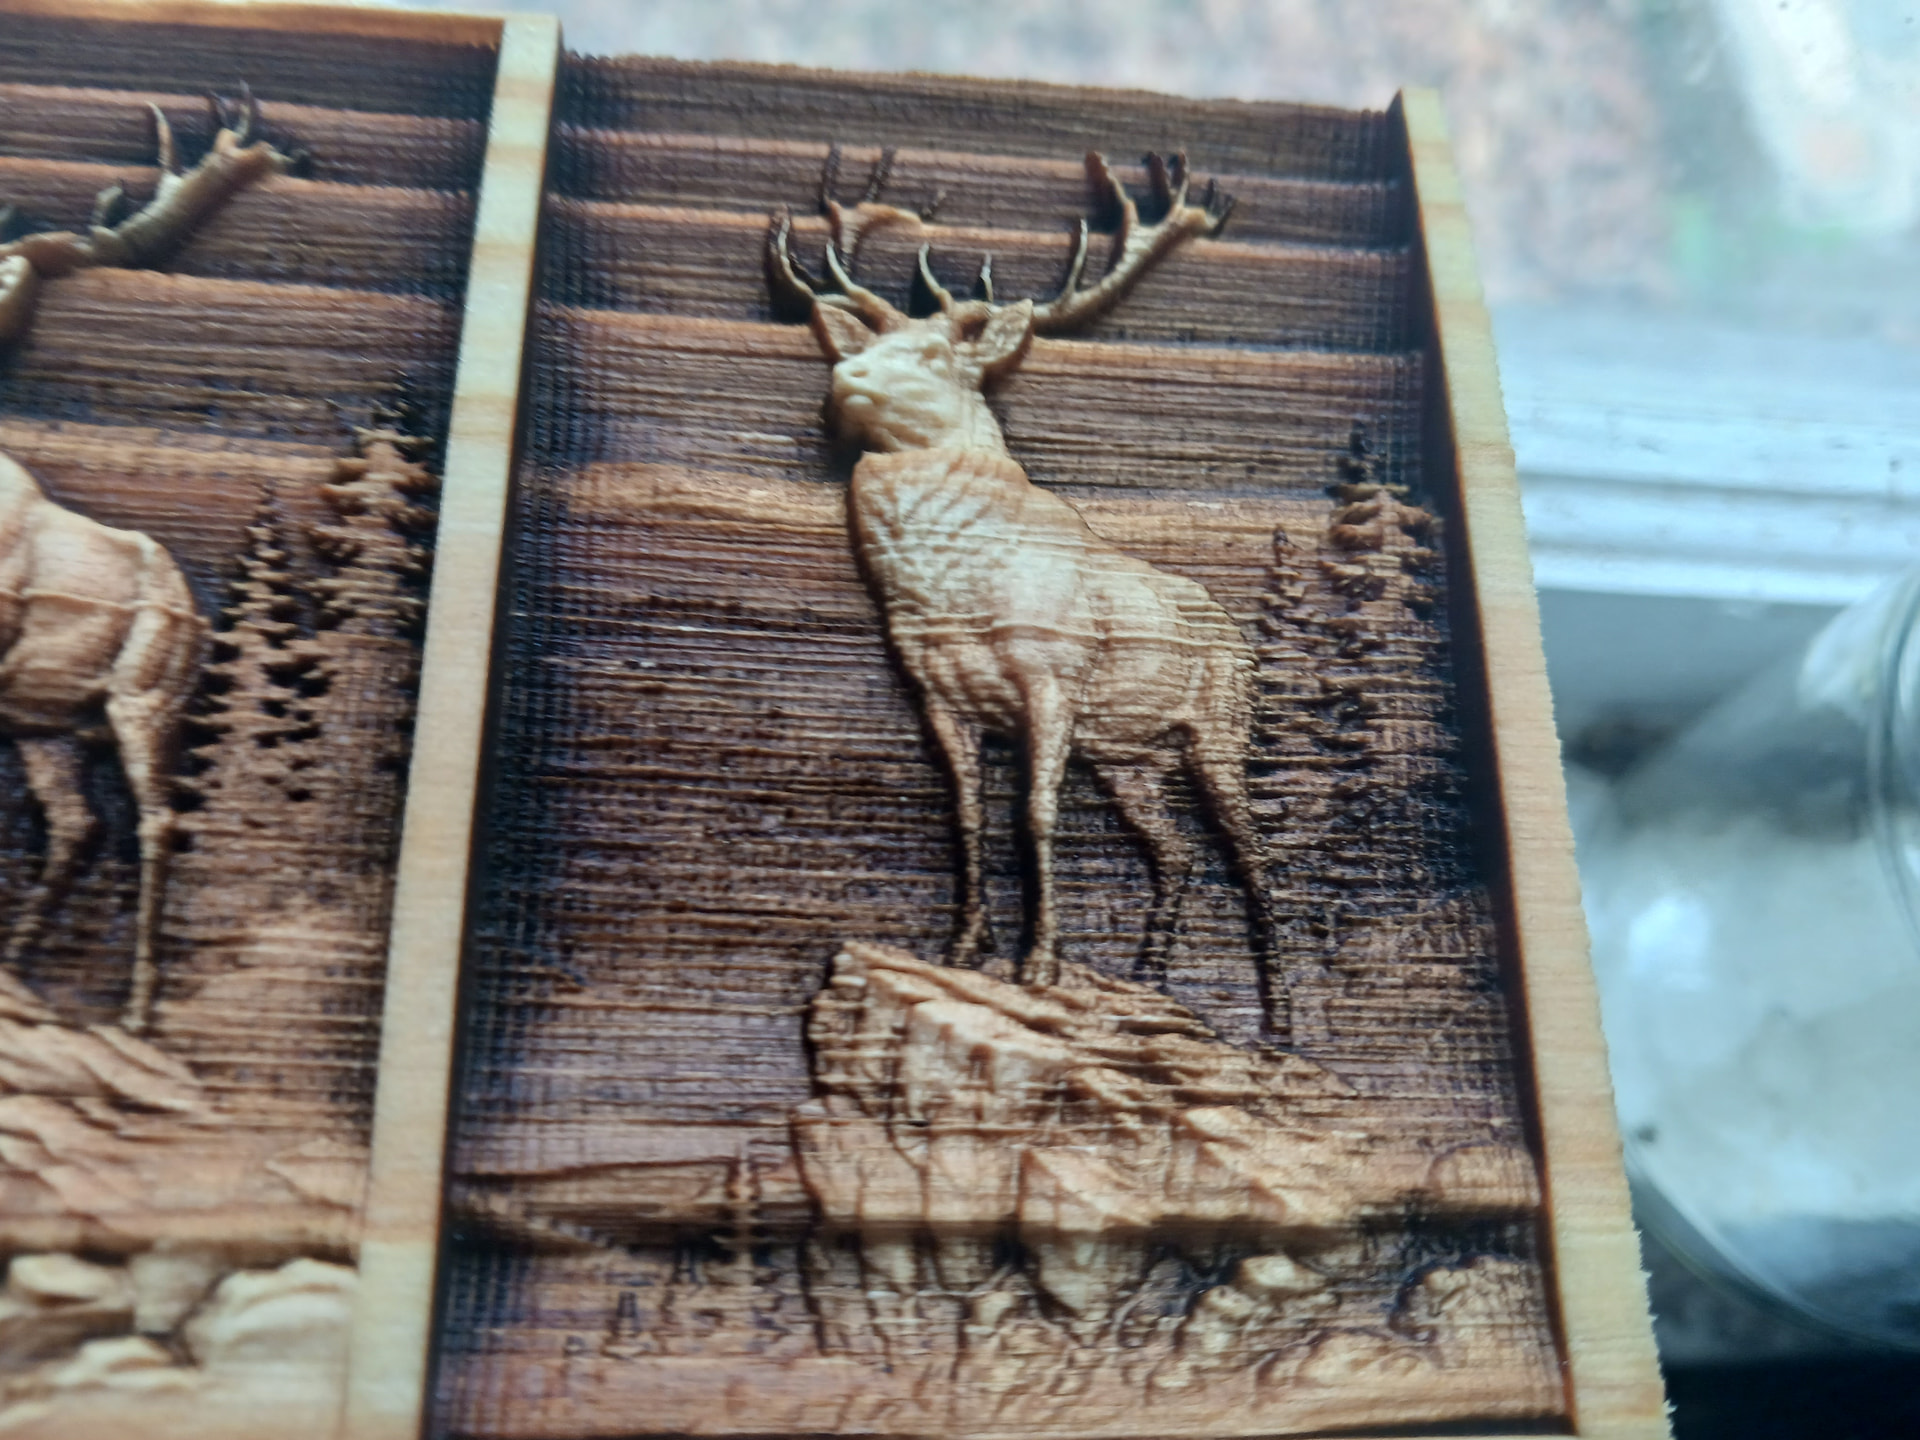
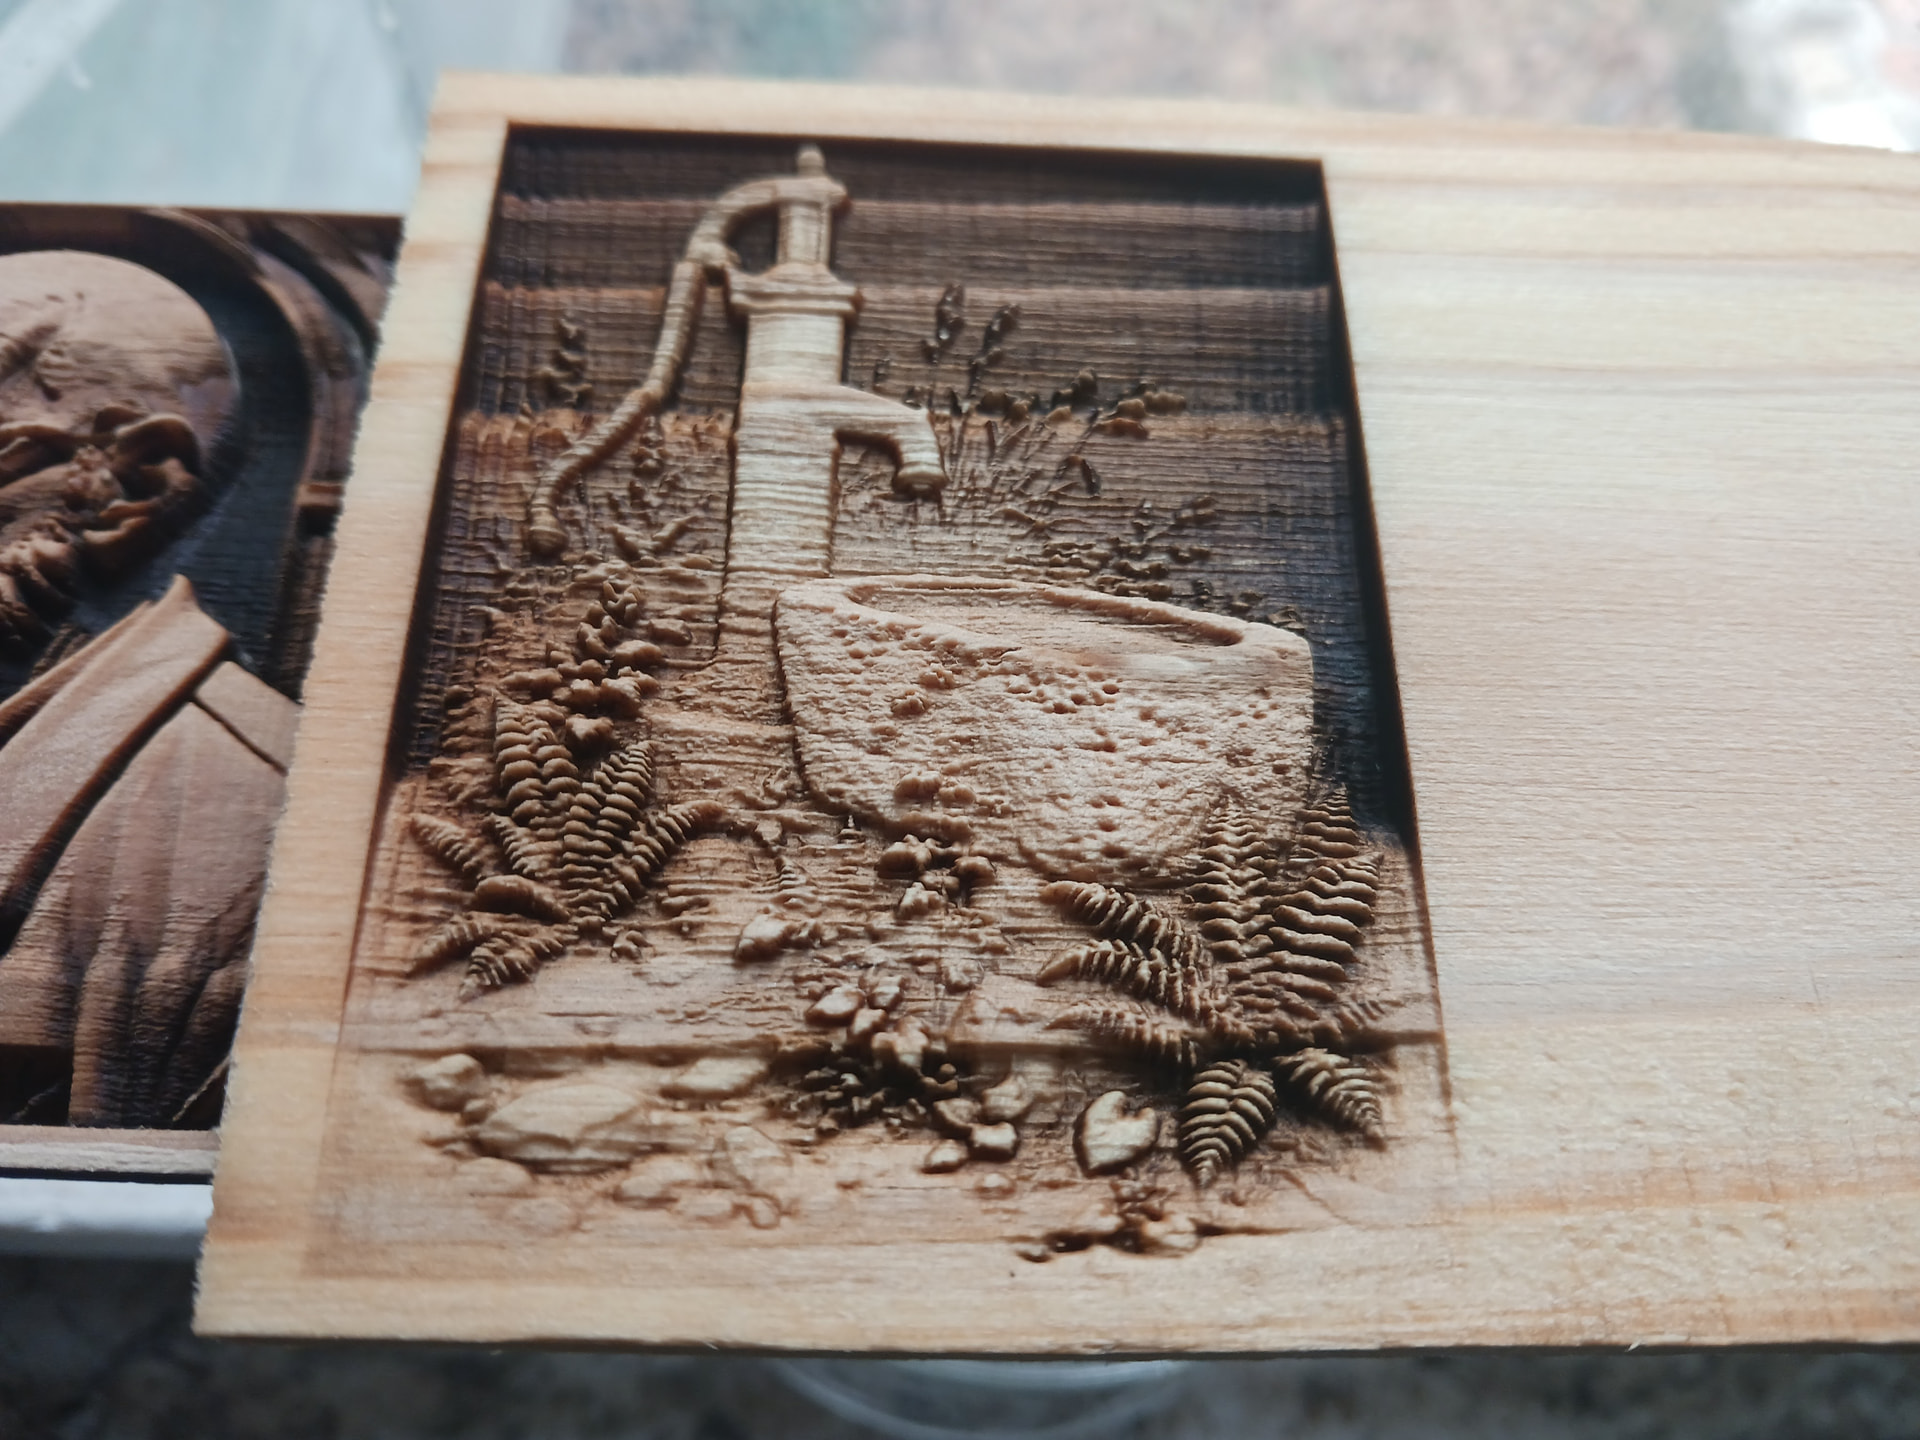
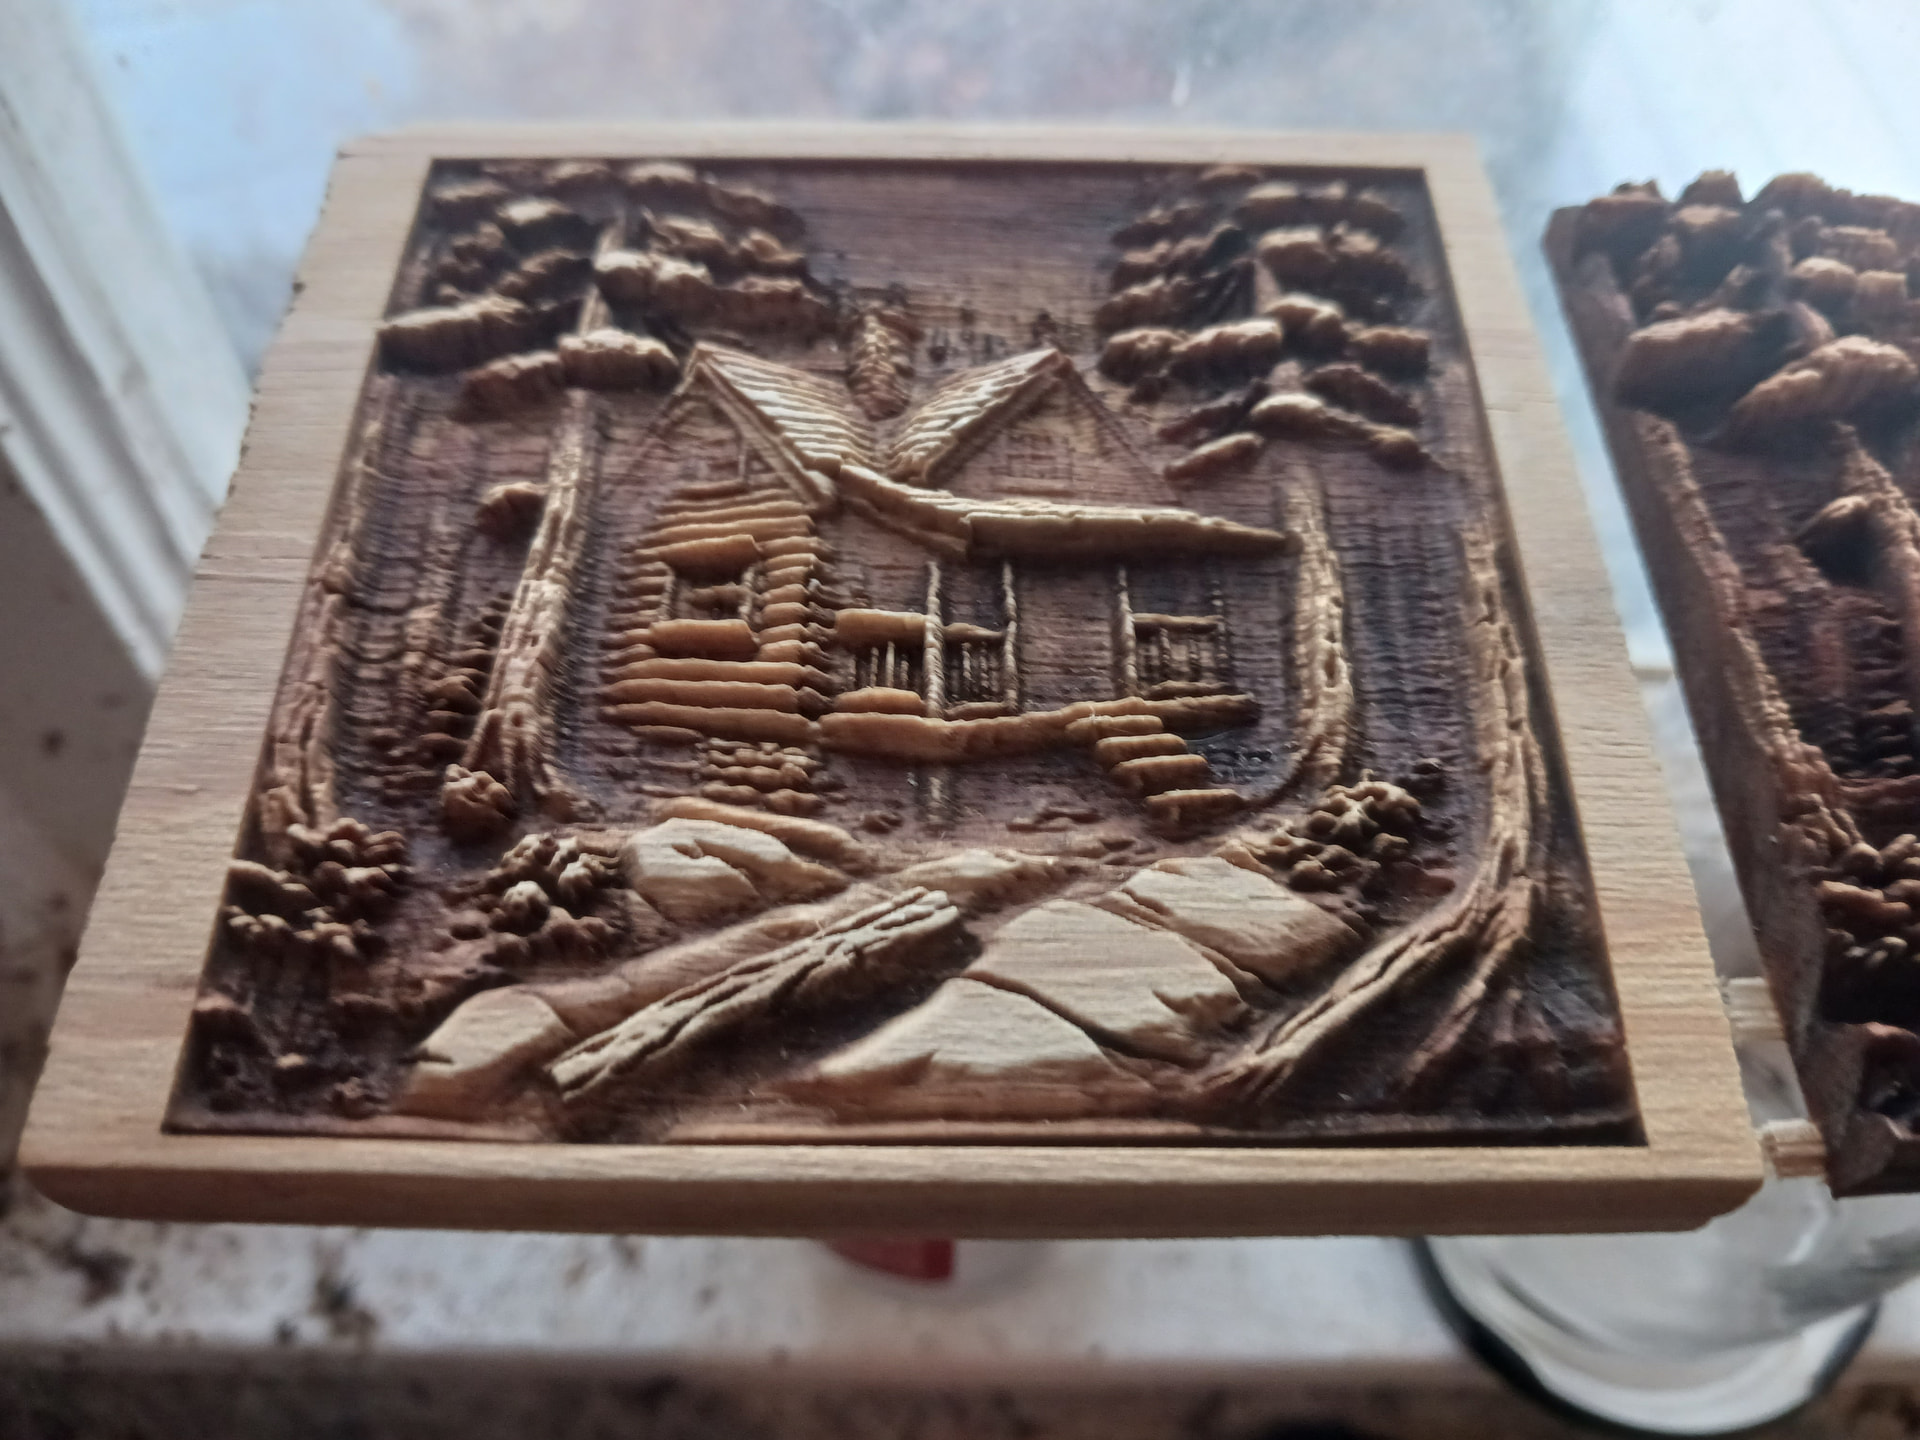
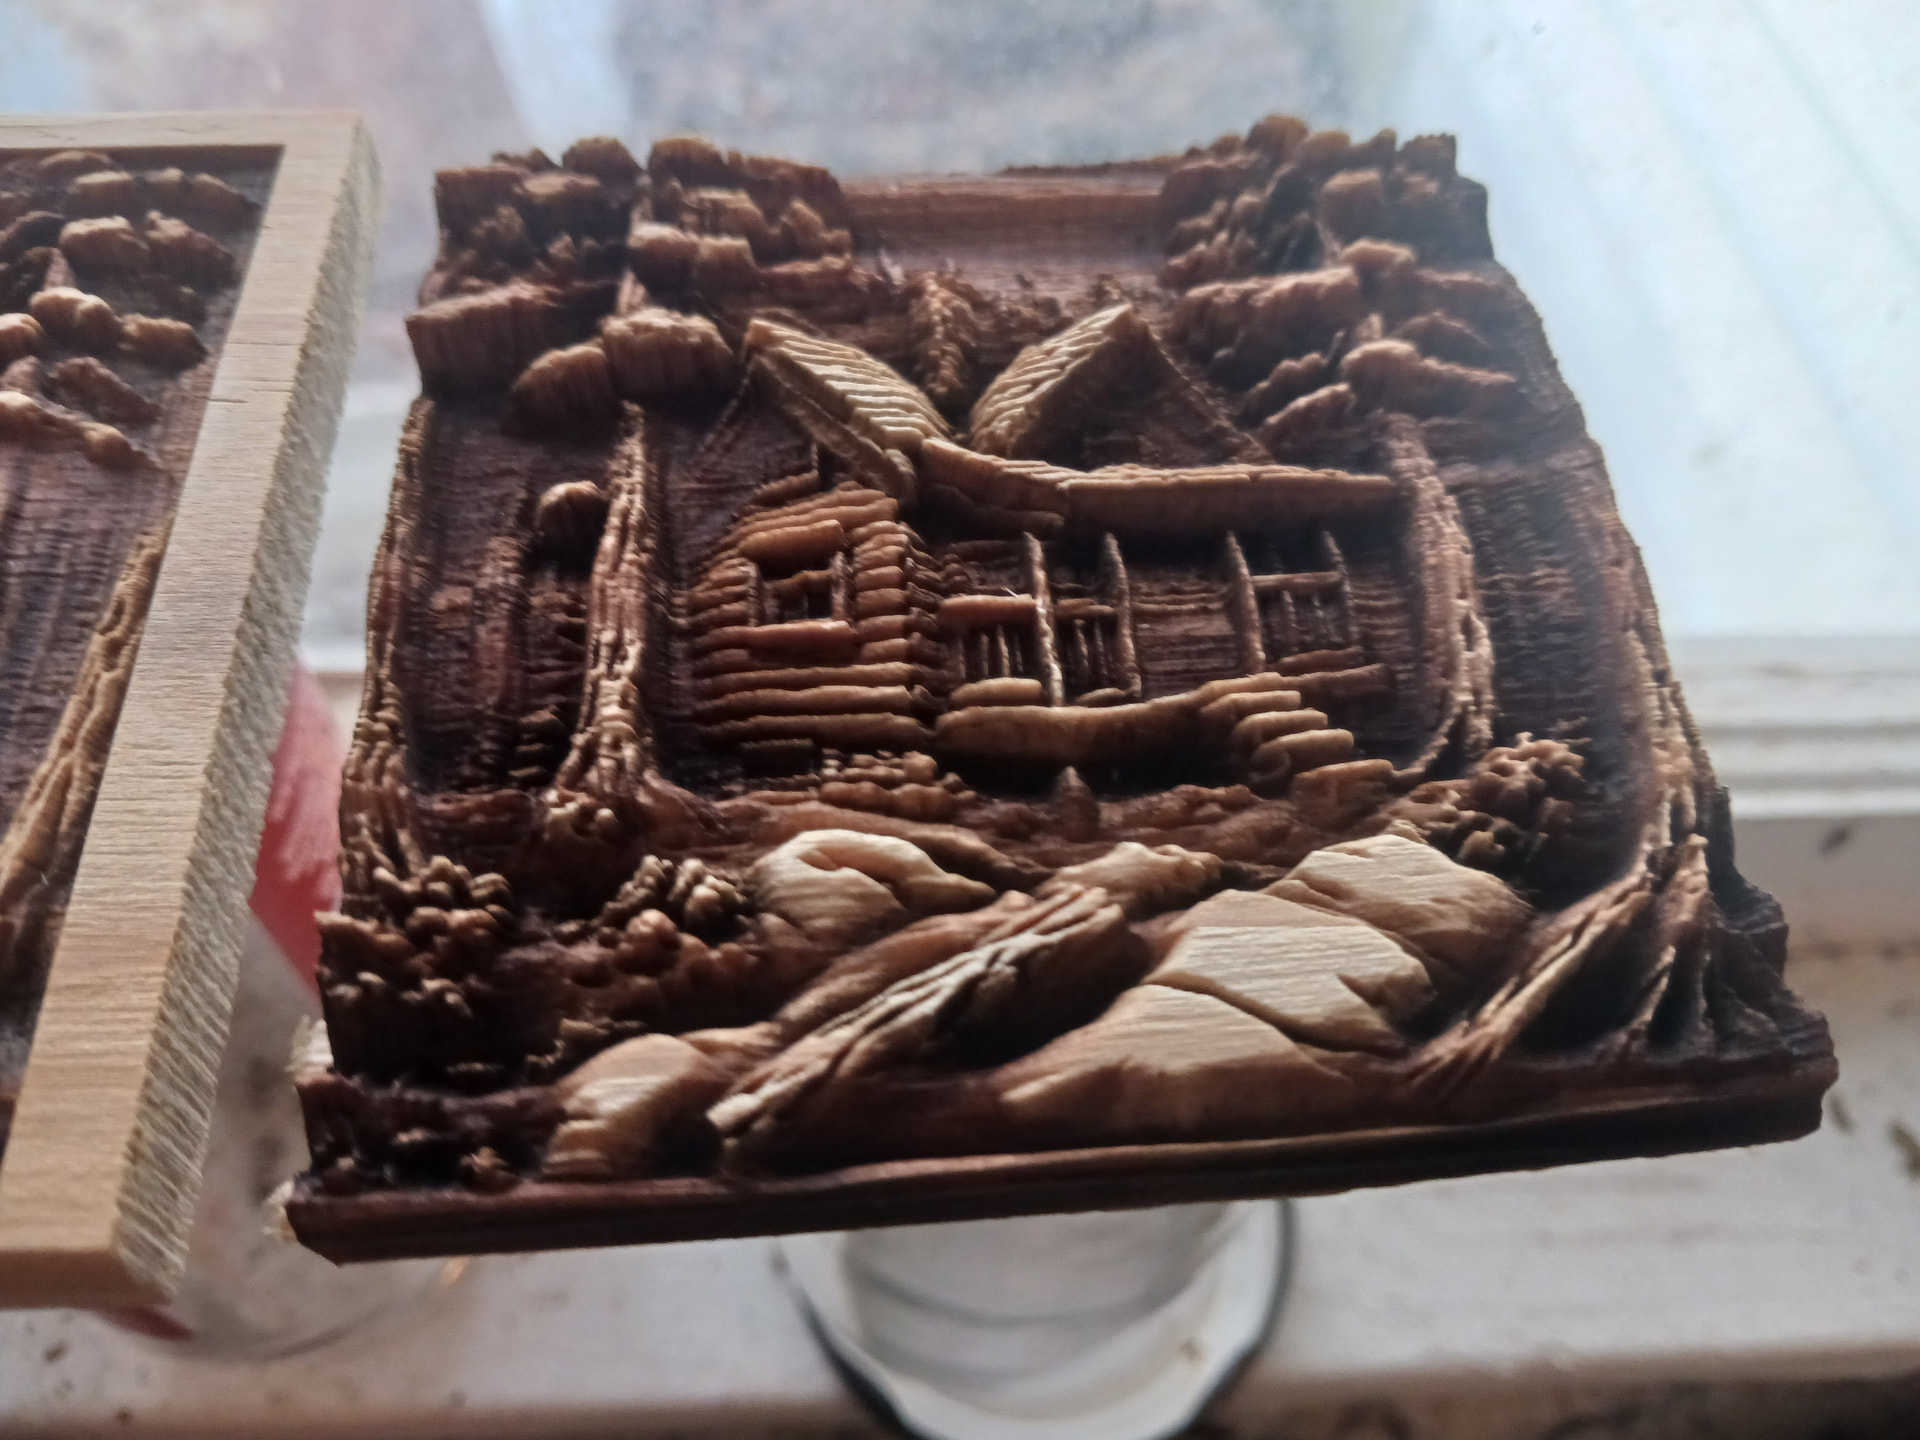
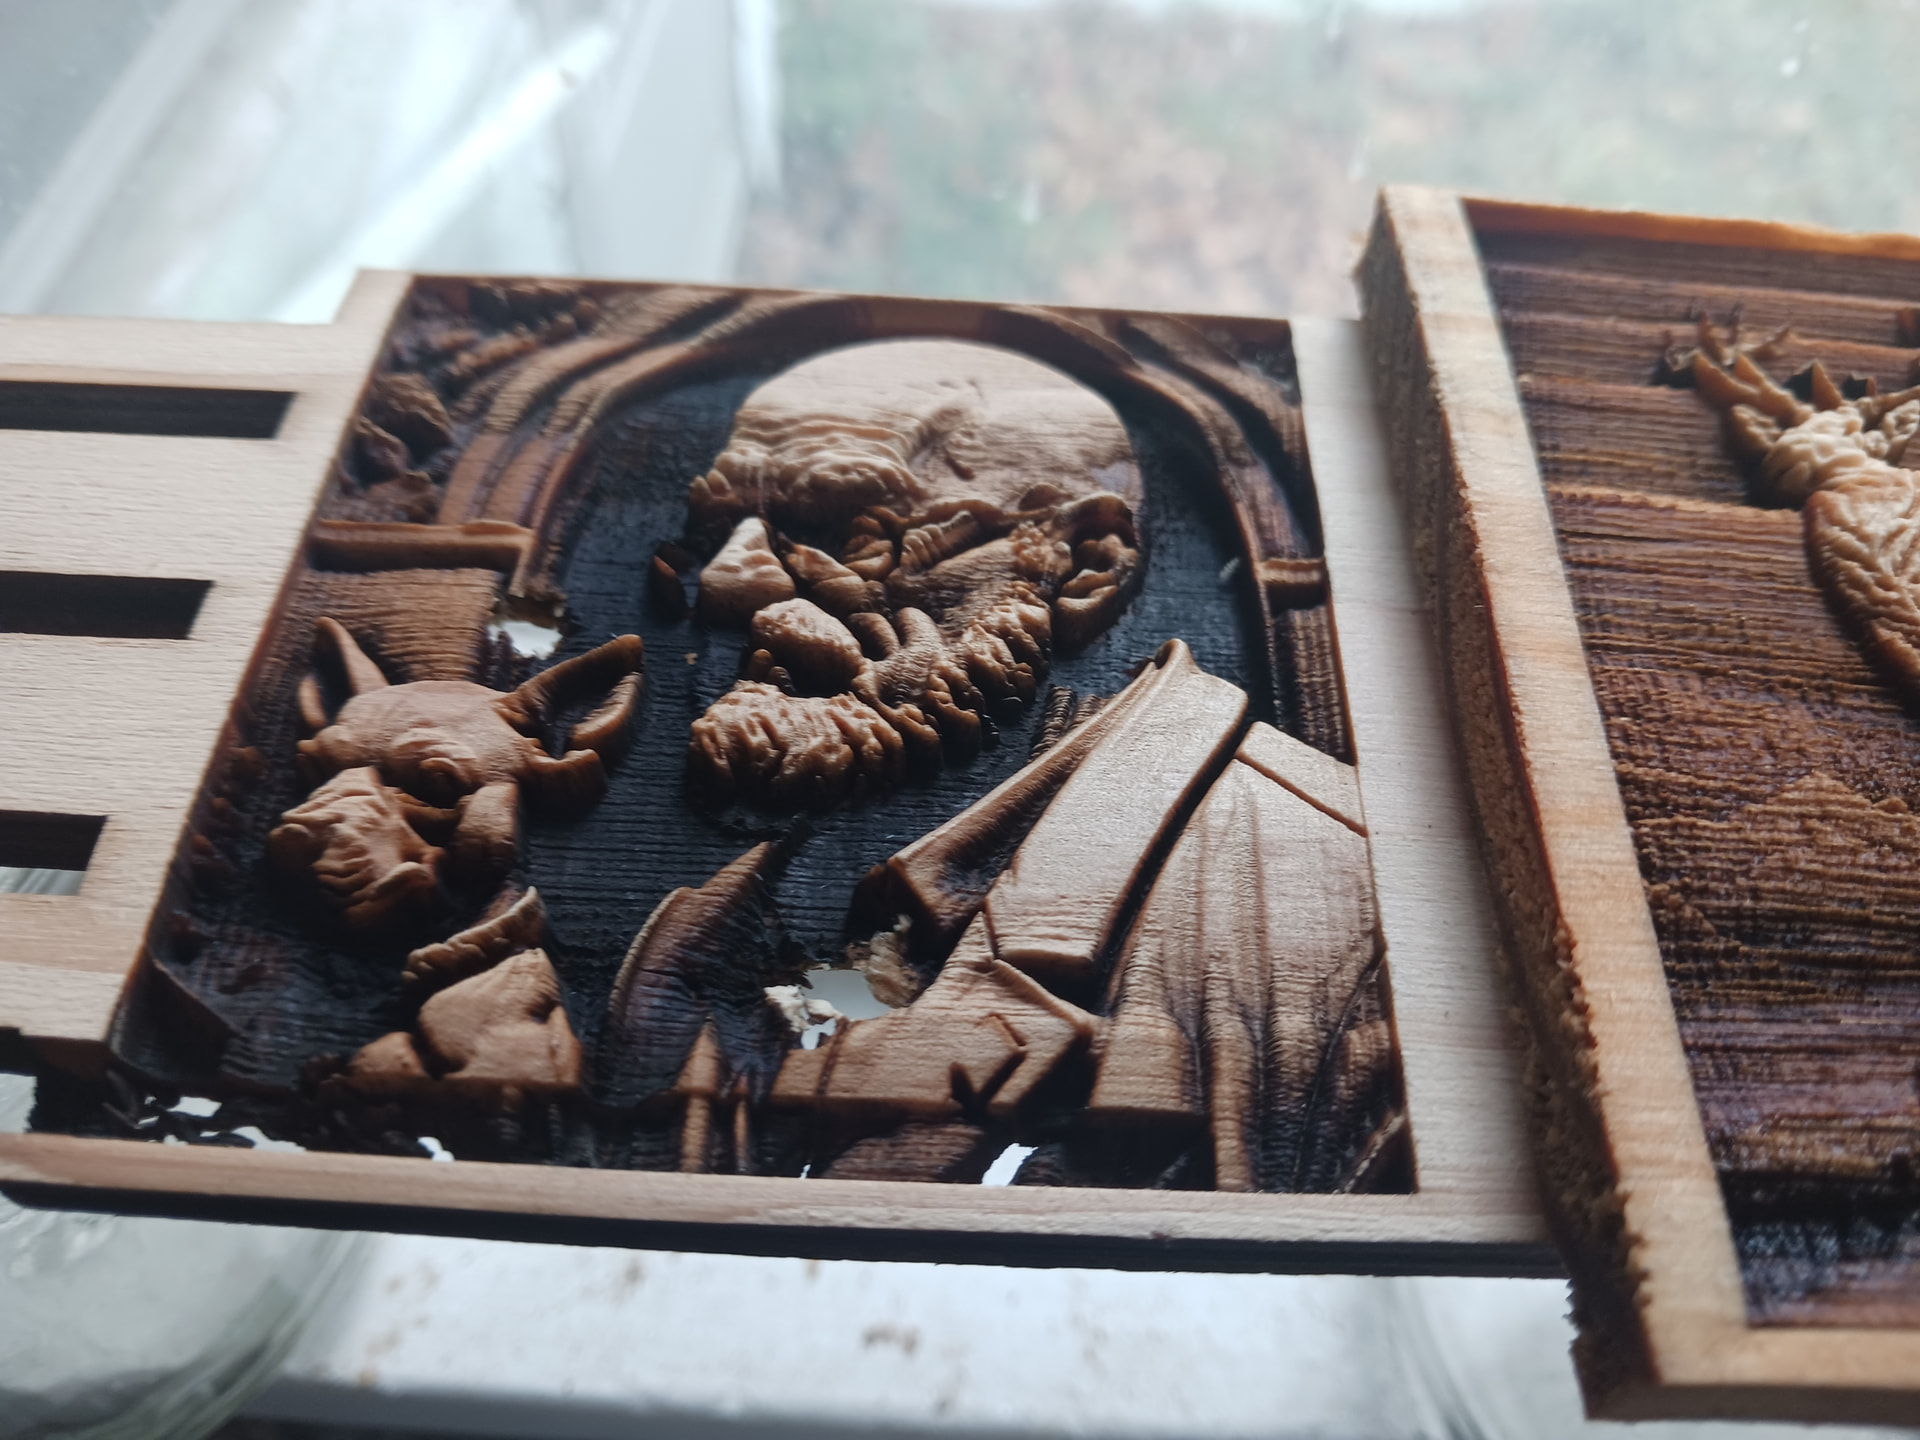
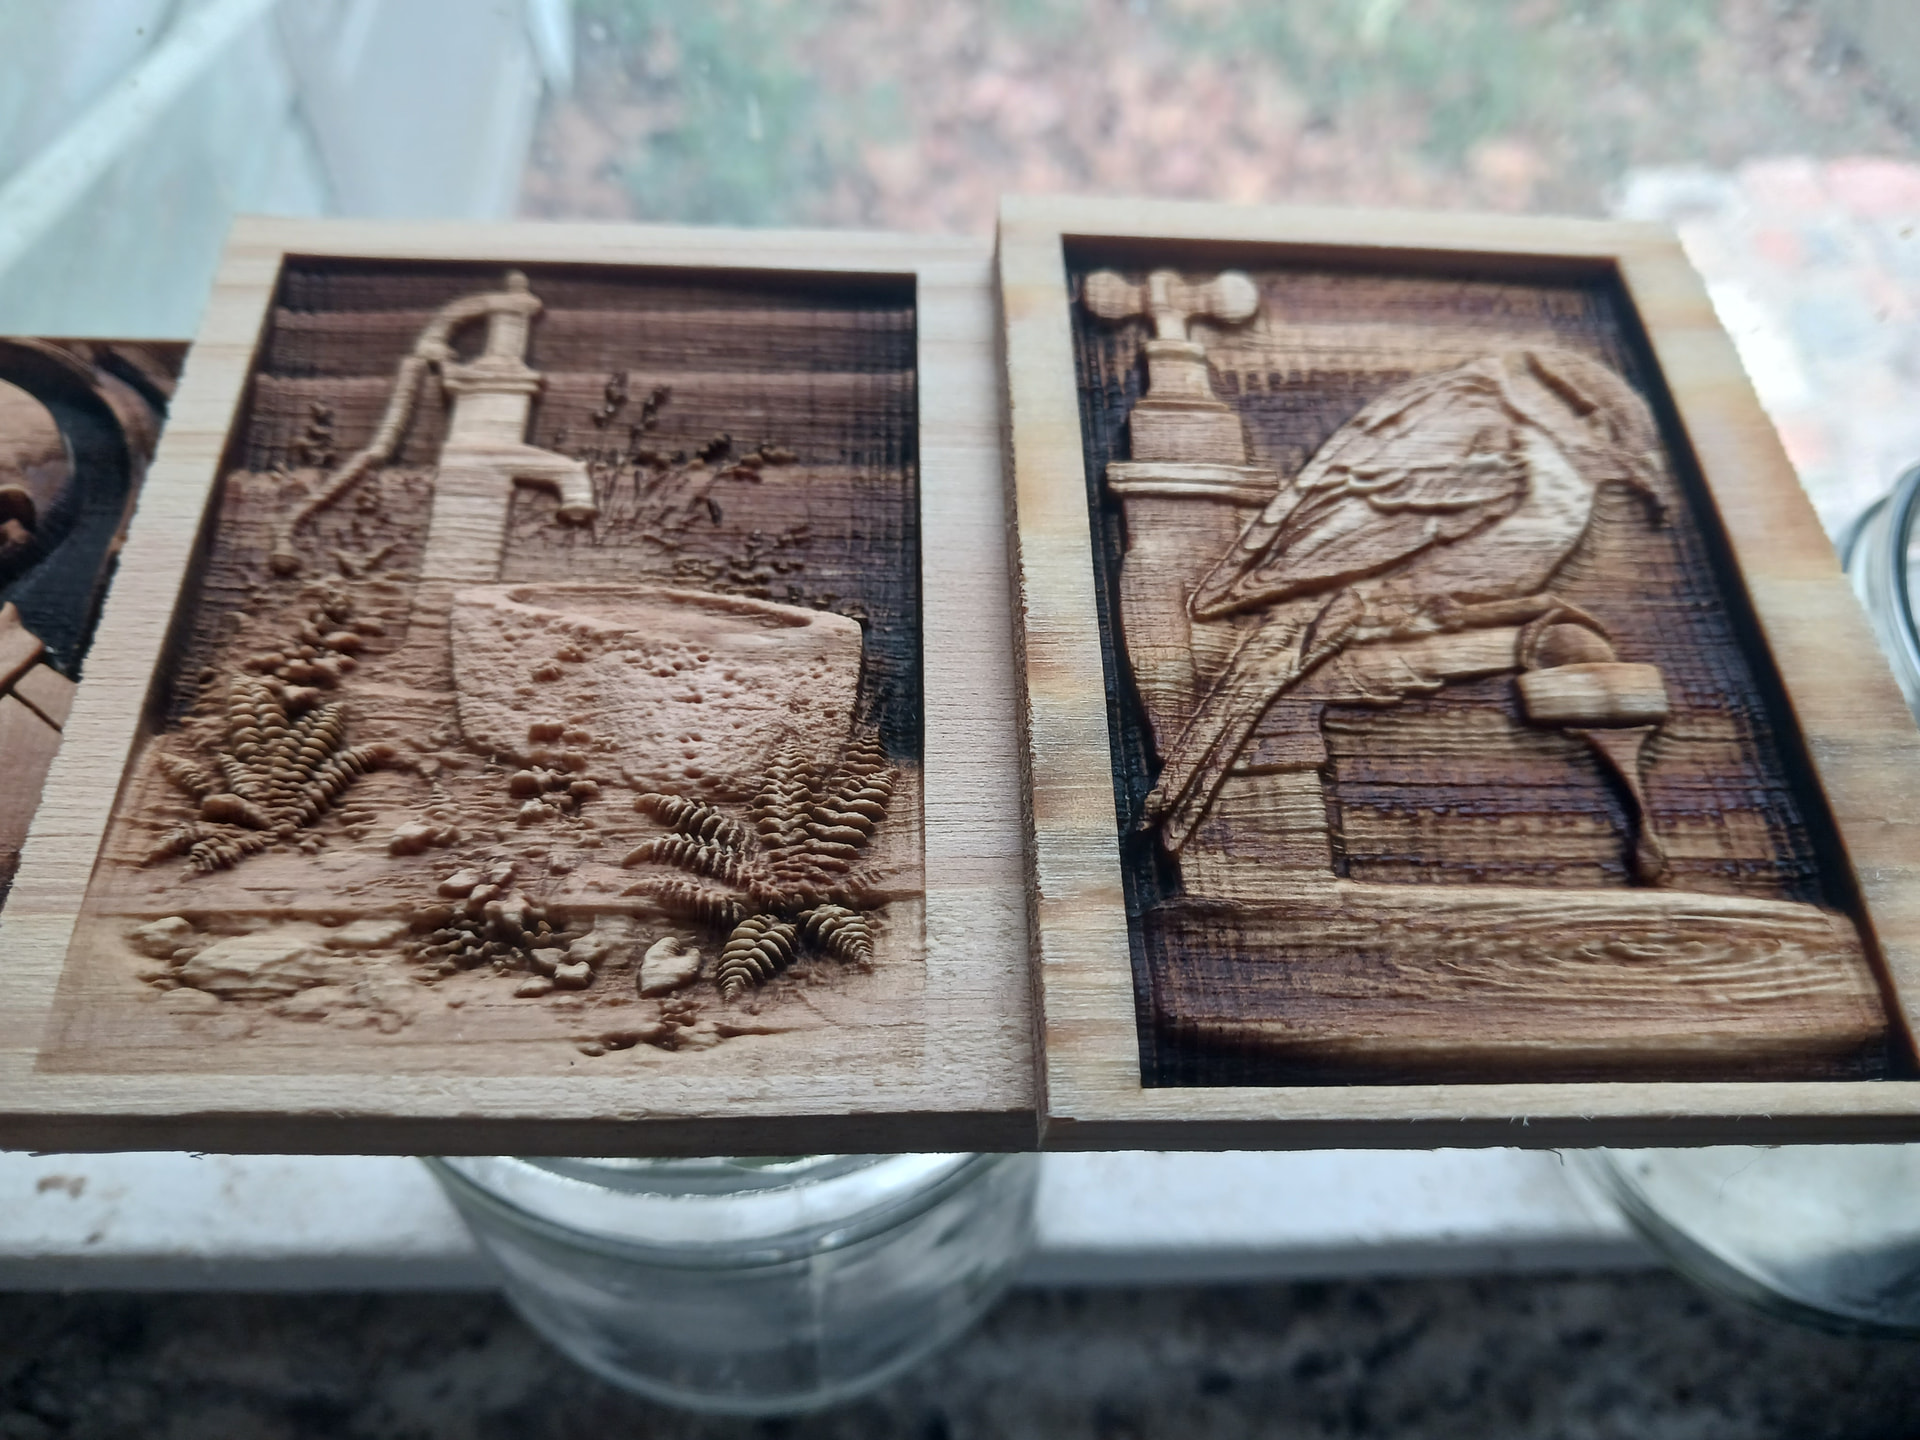
I find this pretty interesting…I’ve yet to try carving but am itching to (and my wife wants some custom shelves which are probably going to be my excuse to start experimenting.)
But I’ve also been doing quite a bit of work at work lately making a custom agent for our team to use with various image/video models for generating images. So I thought it might be fun to do some experimenting. I the agent I built uses fal.ai for the models since they have a bunch of different models for different types of media so it’s really easy to switch between them. I basically started with this project: GitHub - AgriciDaniel/banana-claude: AI image generation skill for Claude Code - Creative Director powered by Gemini · GitHub but worked with claude to change it to use fal.ai instead of googles models directly.
Basically it lets me give claude a very simple request and it will expand it into a far more detailed/structured prompt and let me test it across multiple models or work with a model of my choice to get the results I’m looking for.
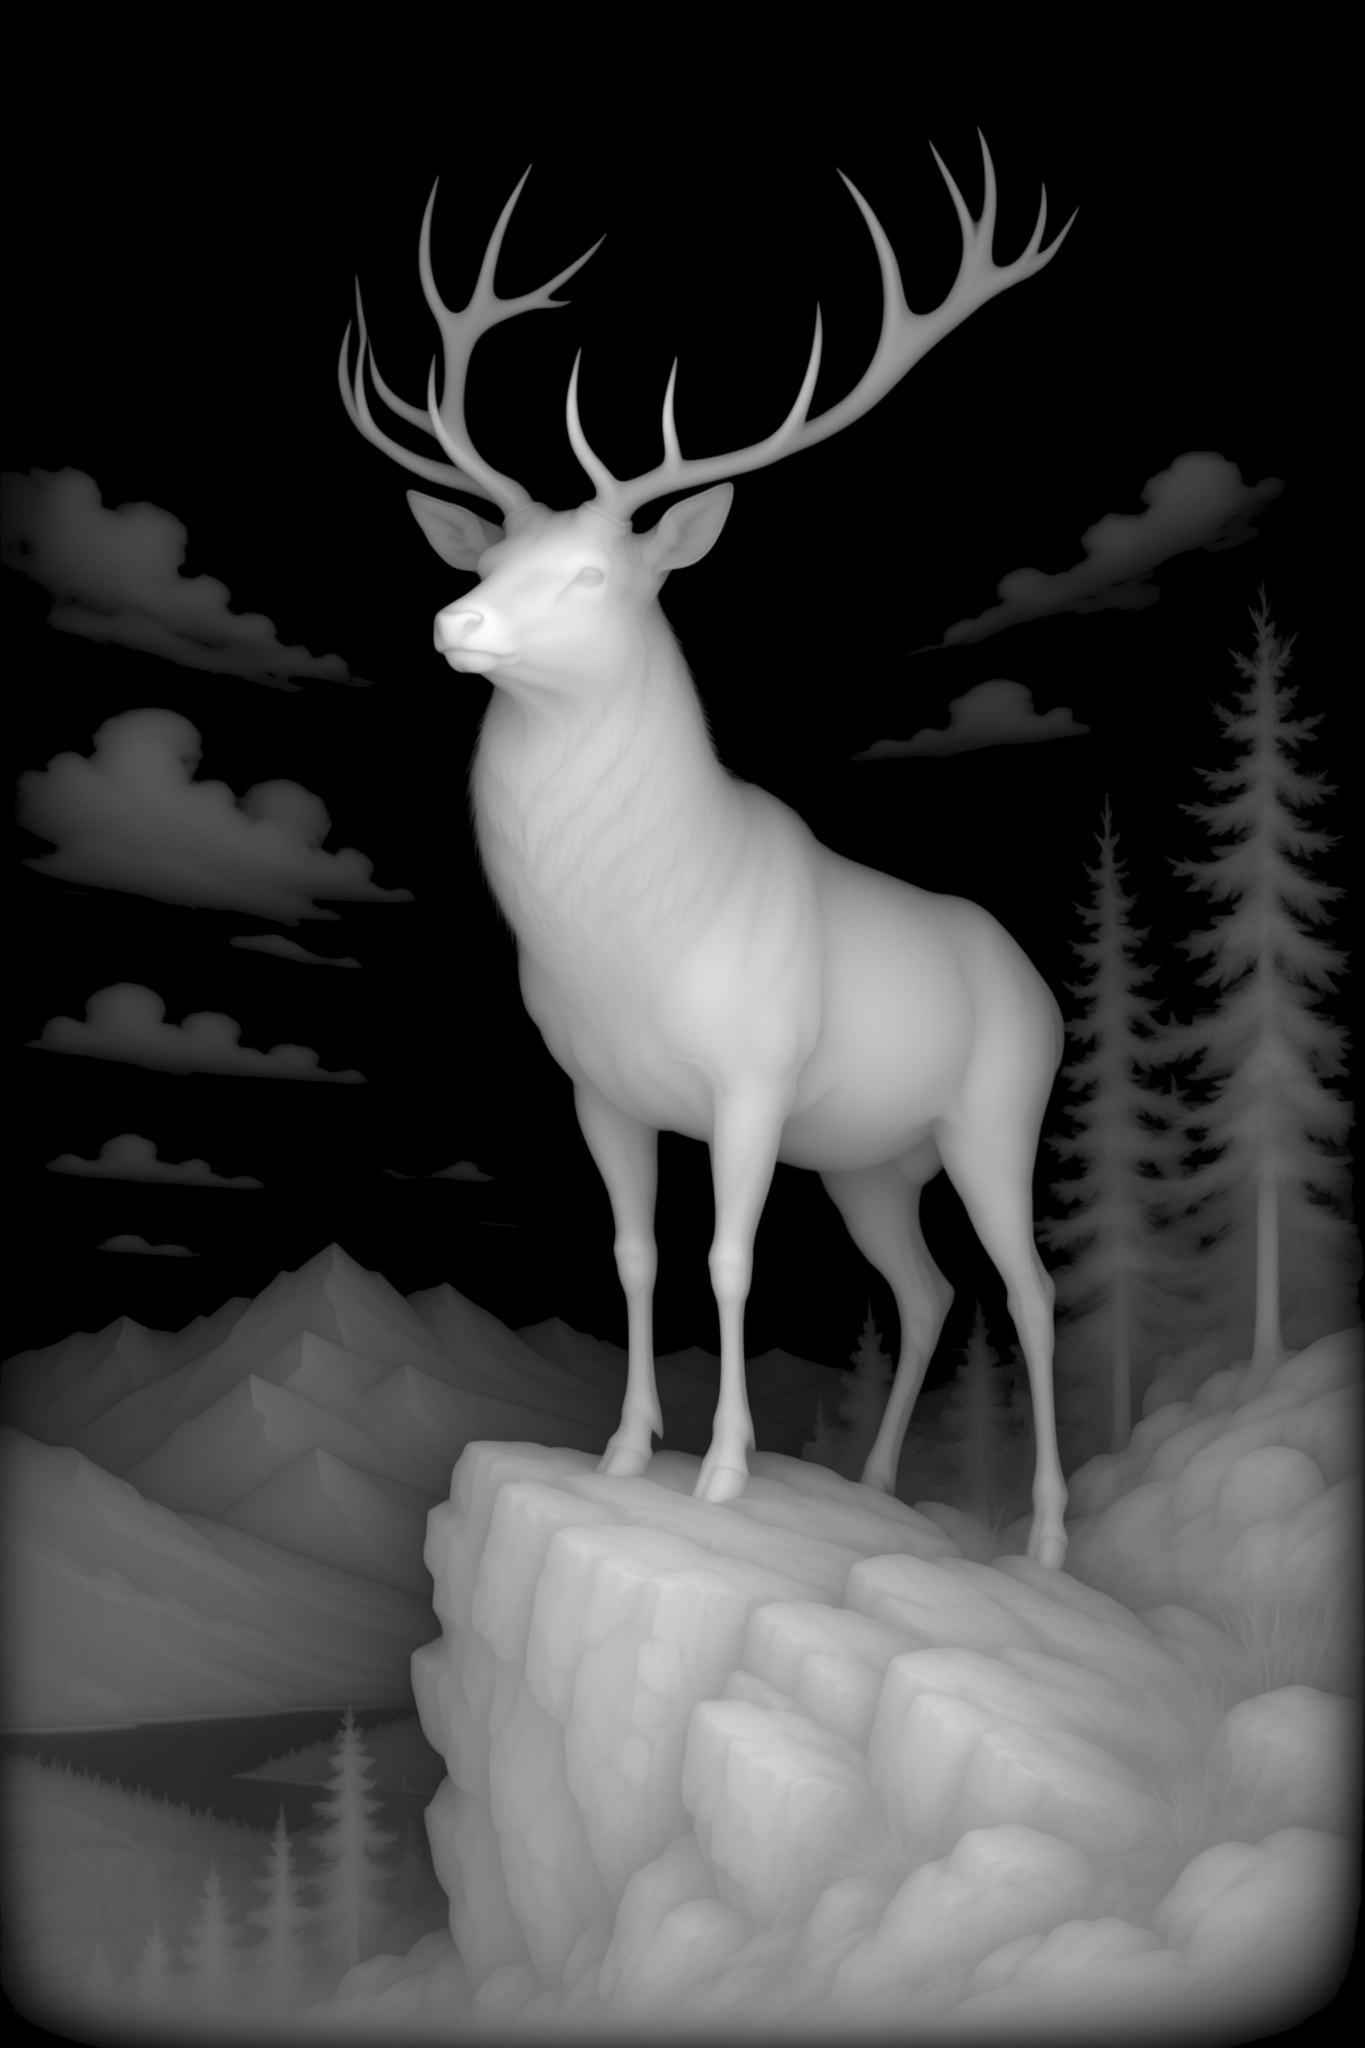
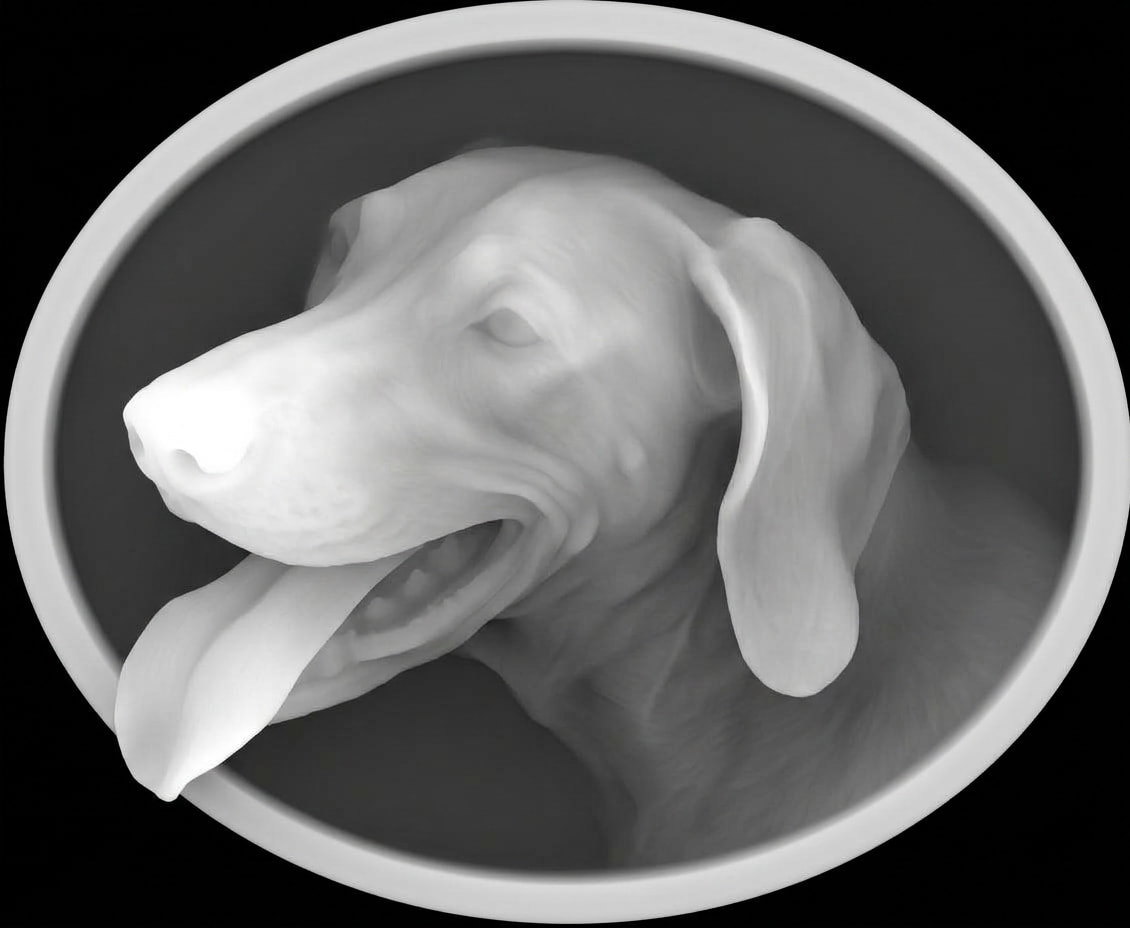
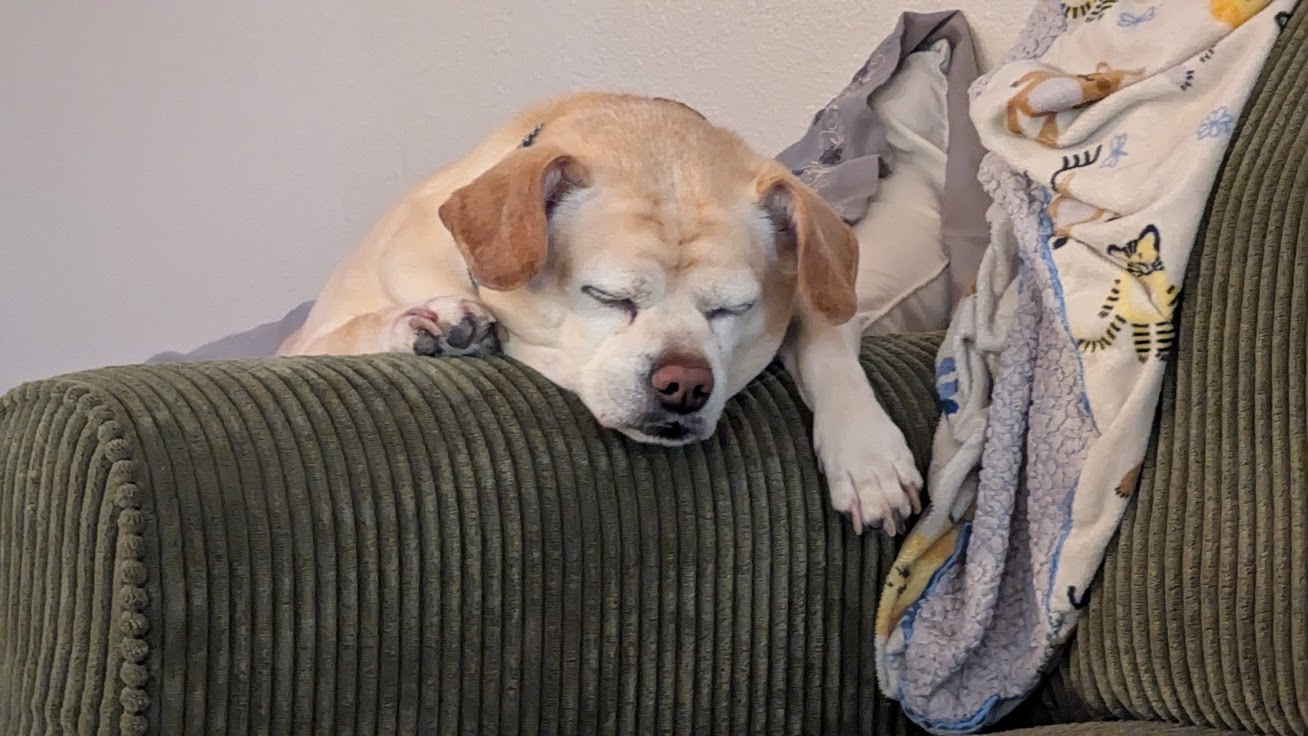
So I asked it if there were any models that were particularly well suited to this task. And it identified a few with Hi3D Image to Relief (Image to Image) API on fal as the most likely to be a good choice.
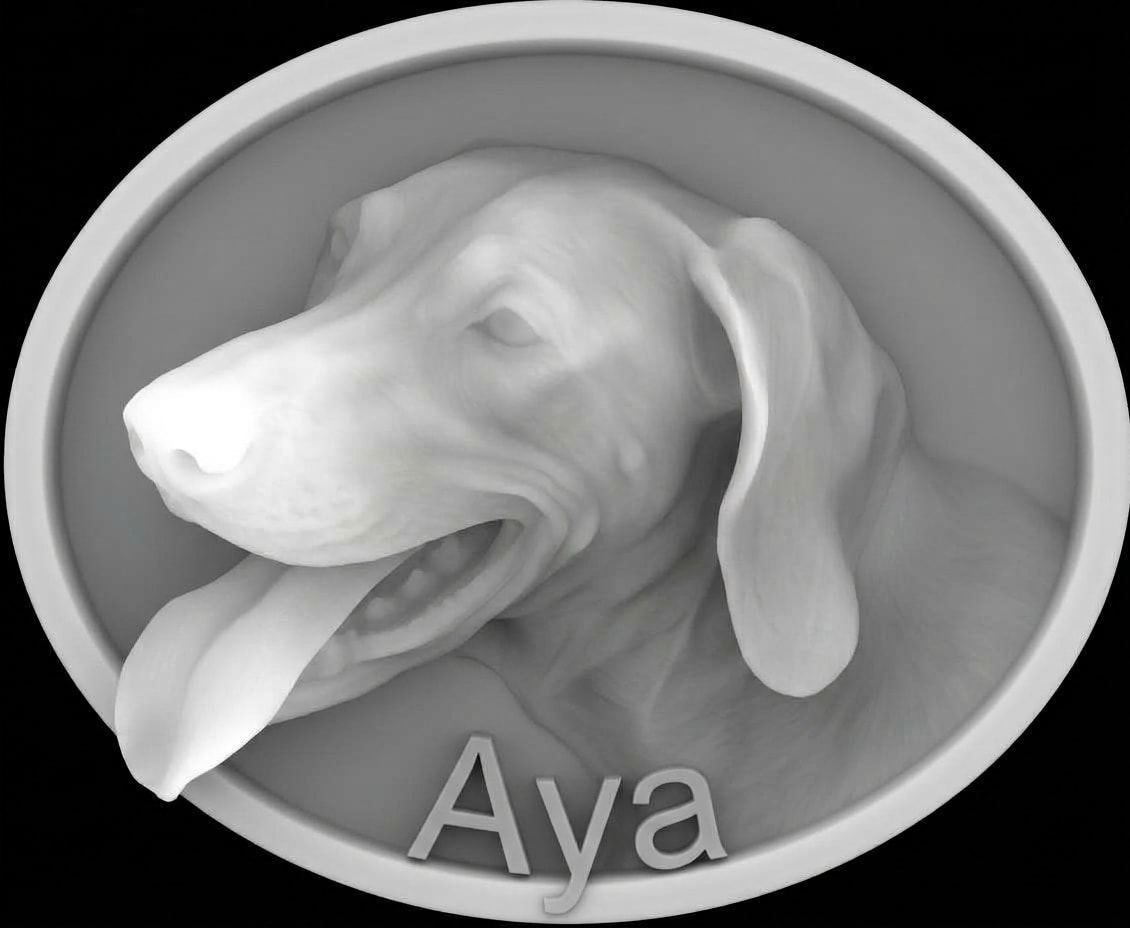
I gave it a try and it didn’t do horrible:
But it did seem a little soft and lacking in detail compared to the google attempts from @Terry_O_Sullivan’s prompt.
But for no prompting just using a specialized model It doesn’t seem that bad. You can try it direclty through the fal.ai website - you don’t have to use the full API to use their models.
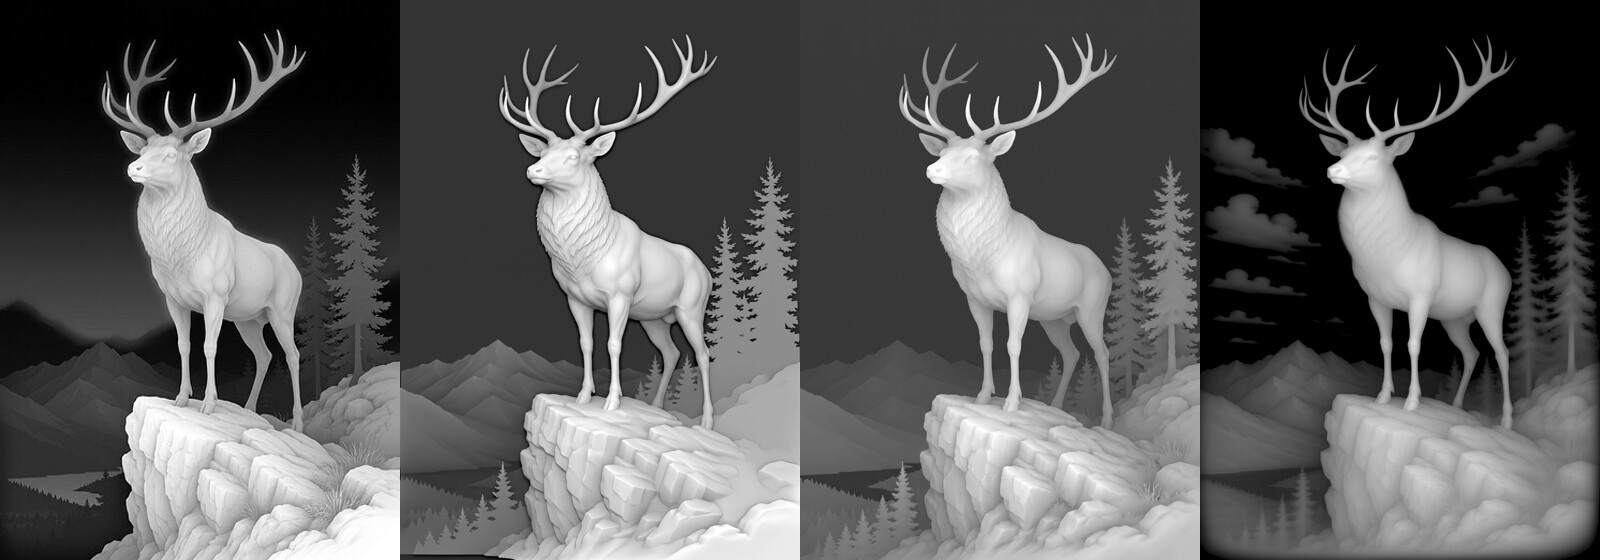
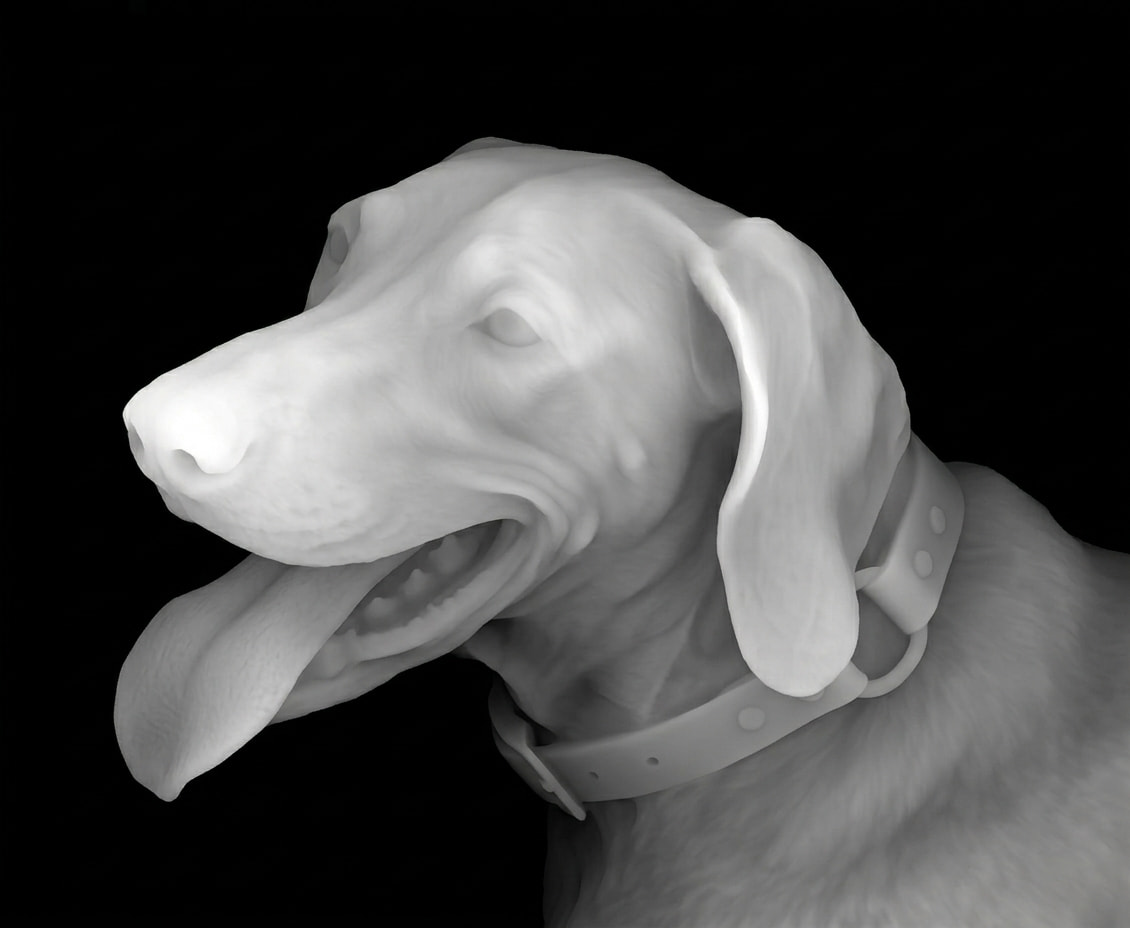
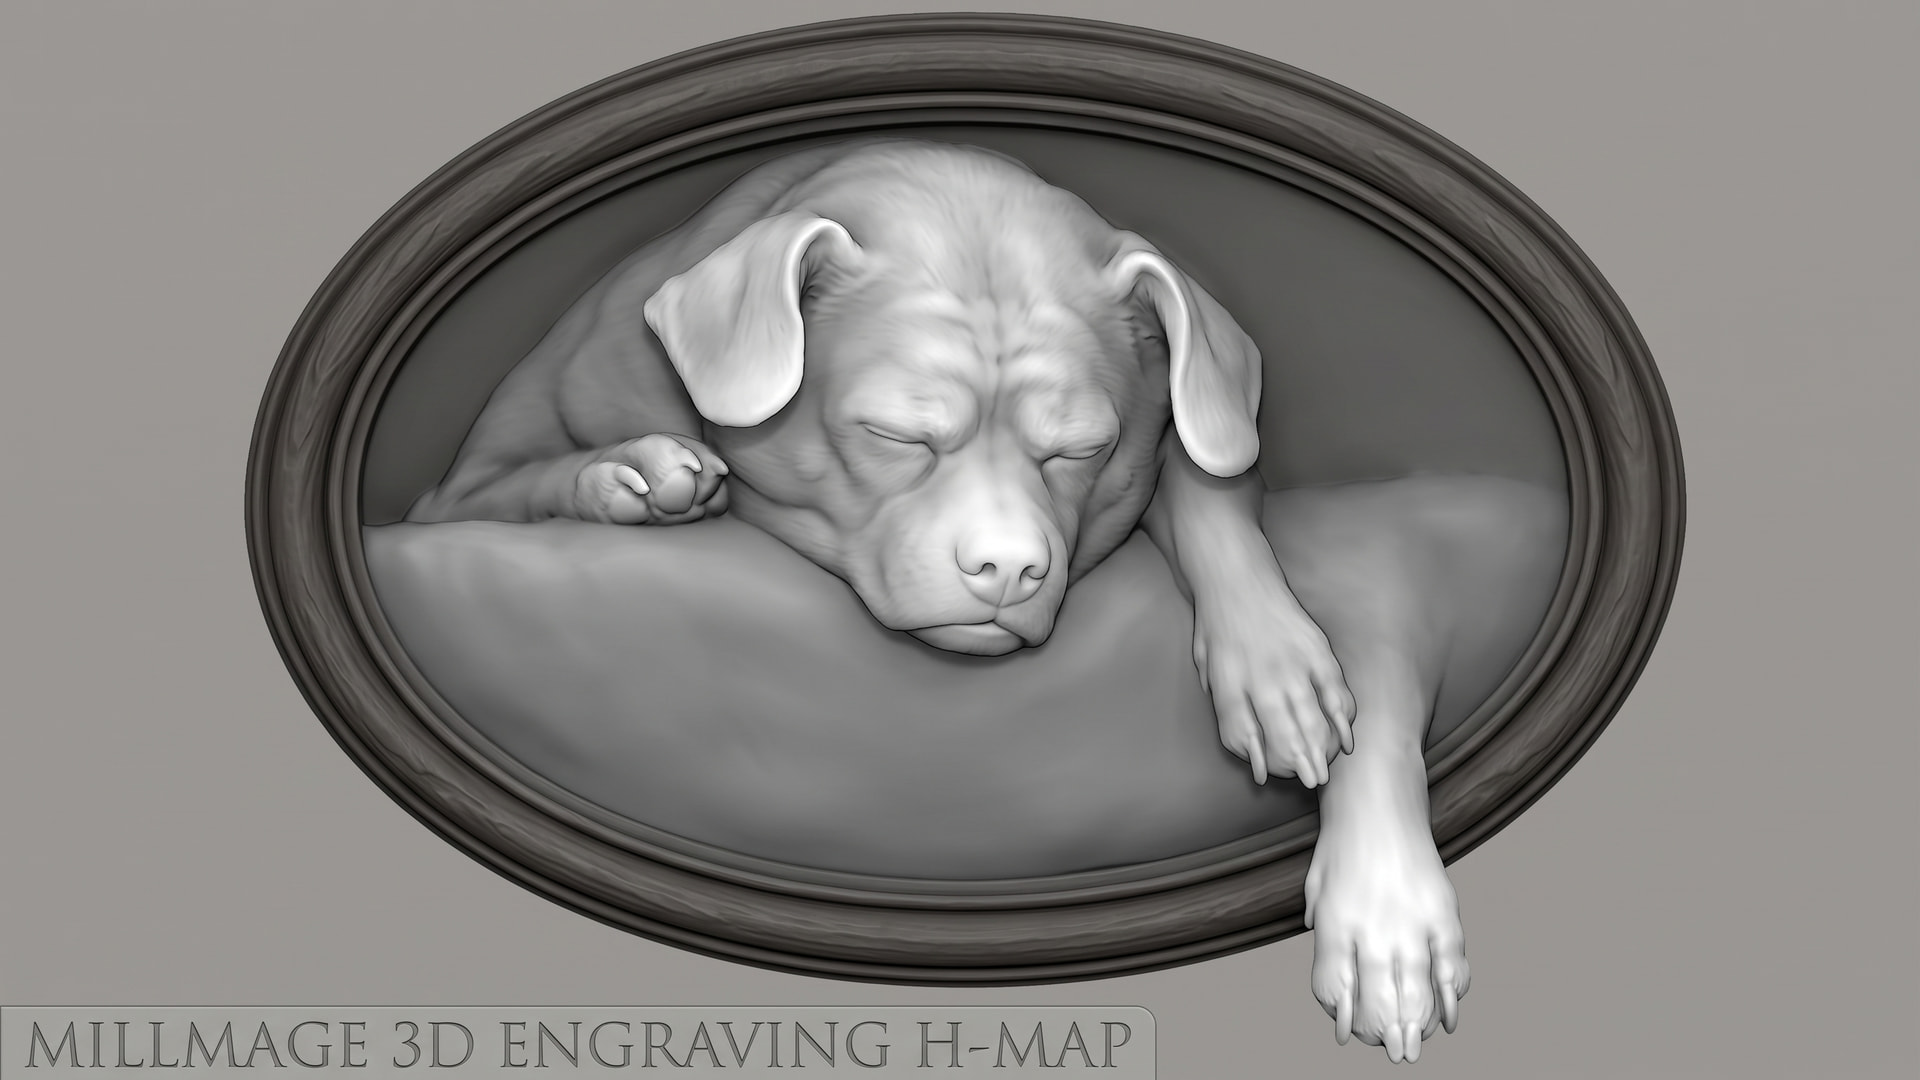
But since it seemed softer and less detailed than the other versions in this thread I gave it that prompt and asked if it could suggest any improvements which it then ran with a few models to compare:
That’s @Britt 's version first which I gave it as a baseline though with a request to minimze the “glow” that got worse in his 2nd test. (which it said was due to the request for an “ultra soft rollover” and “Broad, smooth, sweeping gradient”)
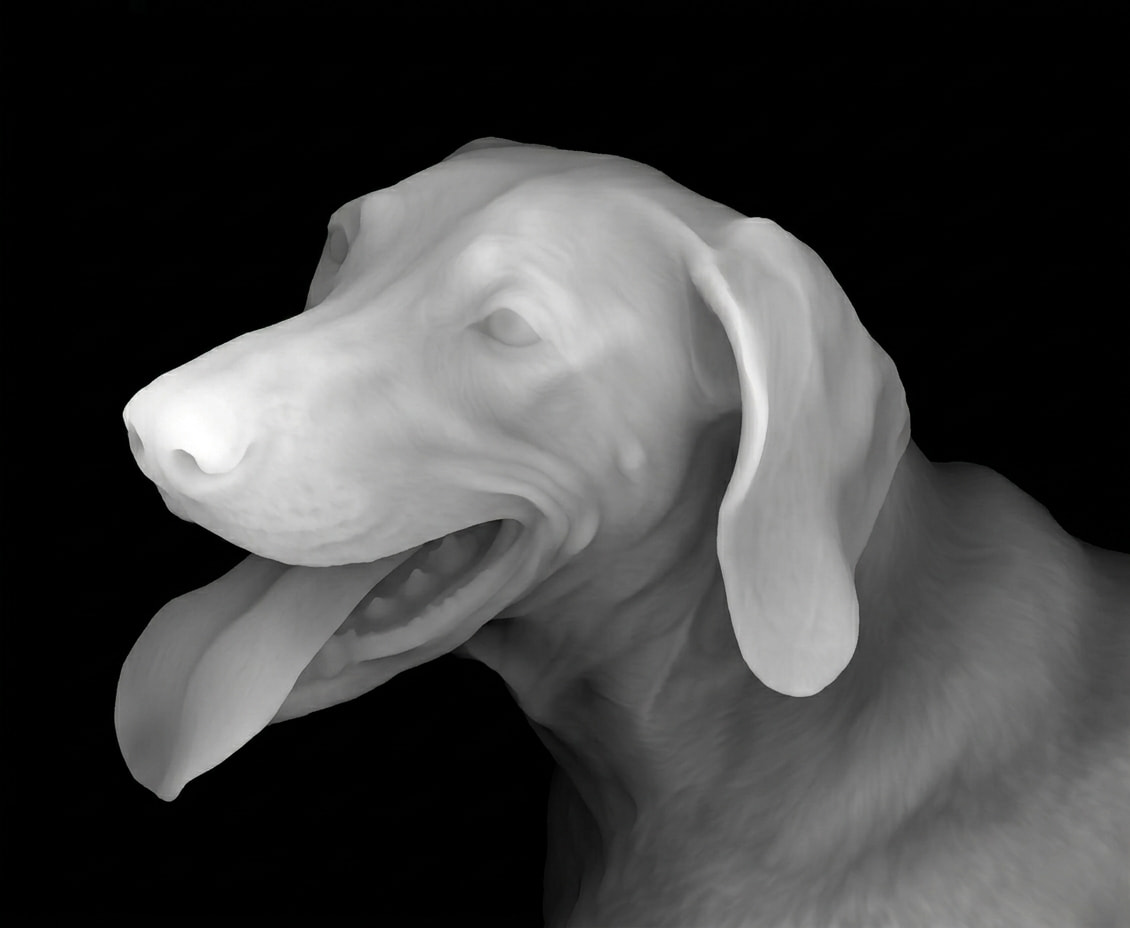
The second is the modified prompt claude suggested with NanoBanana2. Third is with Nano Banana Pro, and the last was with the hitem3d image-to-relief
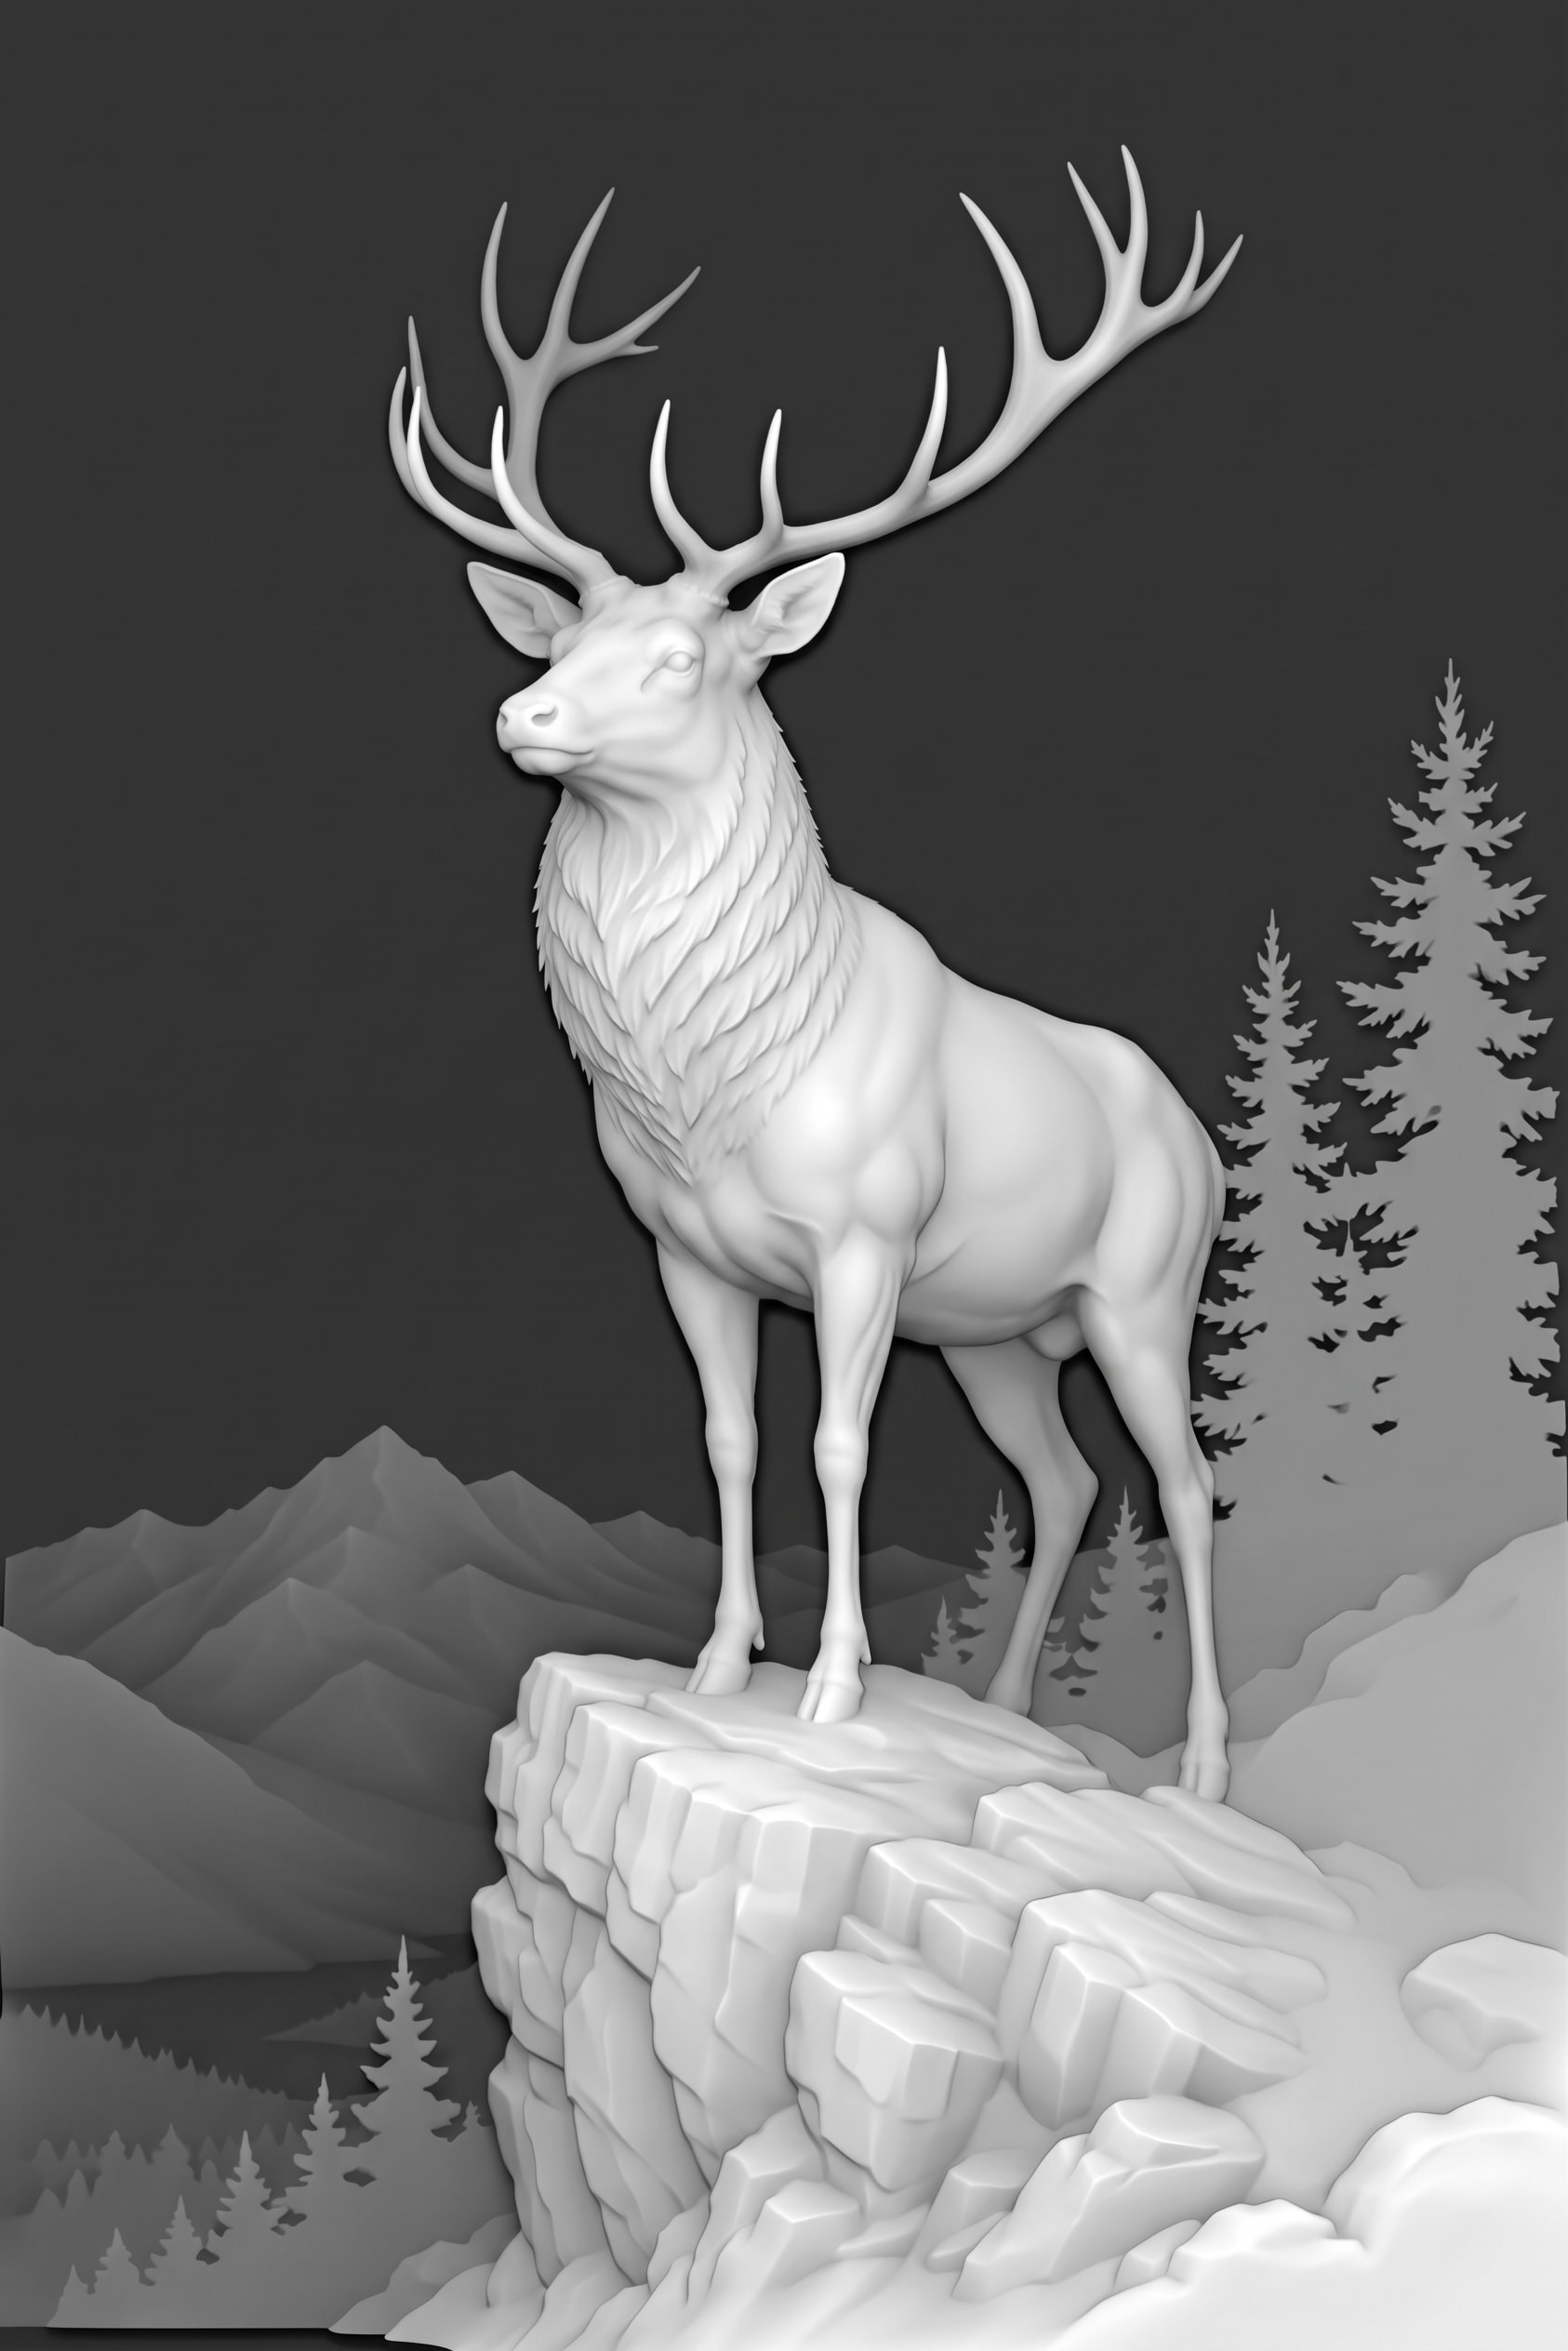
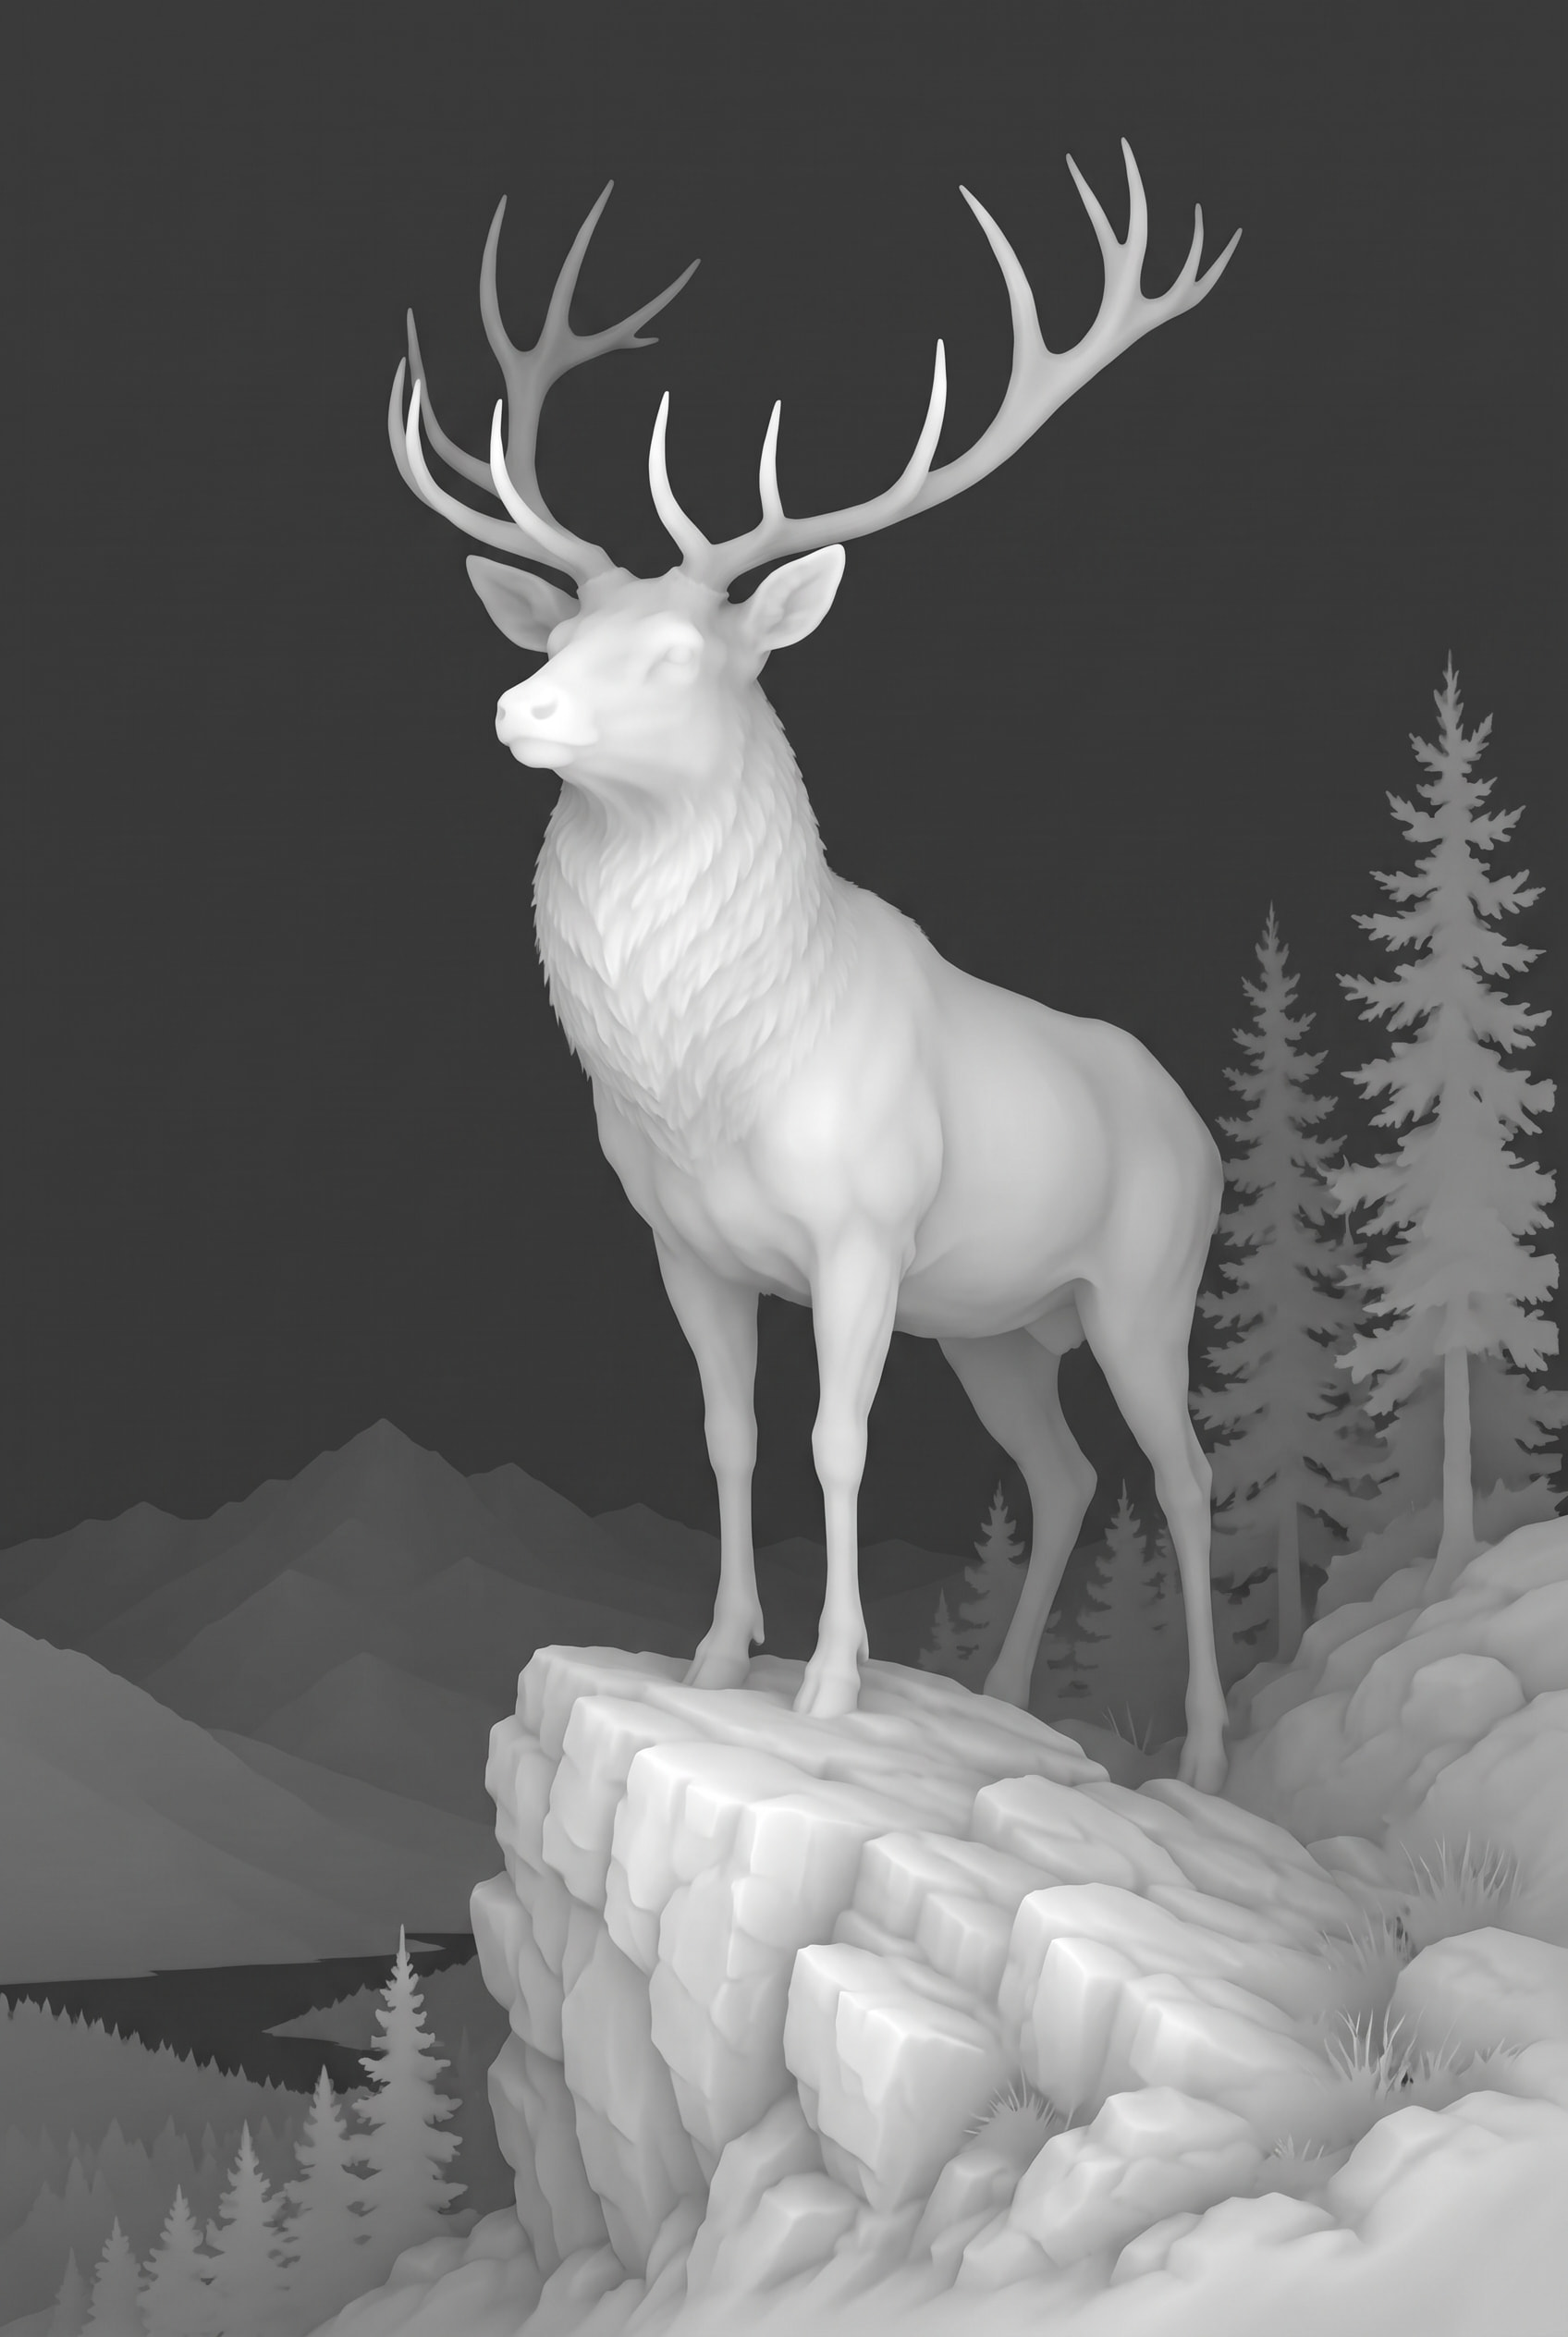
The NB2 version looks crispest to me - but it suggested that the NBPro version is most suitable for engraving.
Here’s the full versions of those:
NB2:
And NBPro:
The modified prompt it used was:
Convert this engraving into a grayscale depth map of a sculpted bas-relief carving, the kind a CNC router reads as a Z-height map for a carved wooden panel.
Height encoding: pure white is the highest point closest to the viewer, pure black is the lowest, furthest plane. Use smooth, continuous tonal gradients. Render as a depth map only: no lighting, no shading, no cast shadows, no ink lines or
hatching; the engraving strokes should become physical form, not surface pattern.
Layering: the stag and the rock outcrop it stands on are the highest layer, bright values. The pine trees and the near hillside sit one clearly distinct step lower in mid-grays. The distant mountains and lake are low and dark. The sky is the
base plane: a single flat, even, very dark gray.
Interior detail: inside the stag and the rock faces, keep crisp volumetric form: muscle structure of the shoulders and legs, the layered ruff of neck fur, facial planes, eye socket and muzzle, rounded antler beams and tines, and the faceted,
stepped rock blocks.
Edges: the edge of each form rolls over like a carved surface: the stag body and antlers curve down smoothly toward the background, the way a rounded carving meets its base. That rolloff happens inside the silhouette. Outside the silhouette, the
background begins immediately at its own flat value. There is absolutely no glow, halo, aura, bloom, light haze or bright rim around the stag, antlers or any object; the sky right next to the antlers is the same dark tone as the sky everywhere
else.
It’s interesting that the NB2 version kind of wound up with an anti-halo where it’s a black glow instead of a white glow. (Though I wonder if that would help give good separation in a carving…guess I may have to start figuring out mill mage next to preview  )
With the suggestion to rewrite the Layering and Interior detail paragraphs to suit other images. Which is one of the nice things about this agent/harness approach - I could extend it to customize those parts per image itself.
It could easily as for them to be less detailed. I’m just not sure where the happy point is since I haven’t actually tried carving yet.
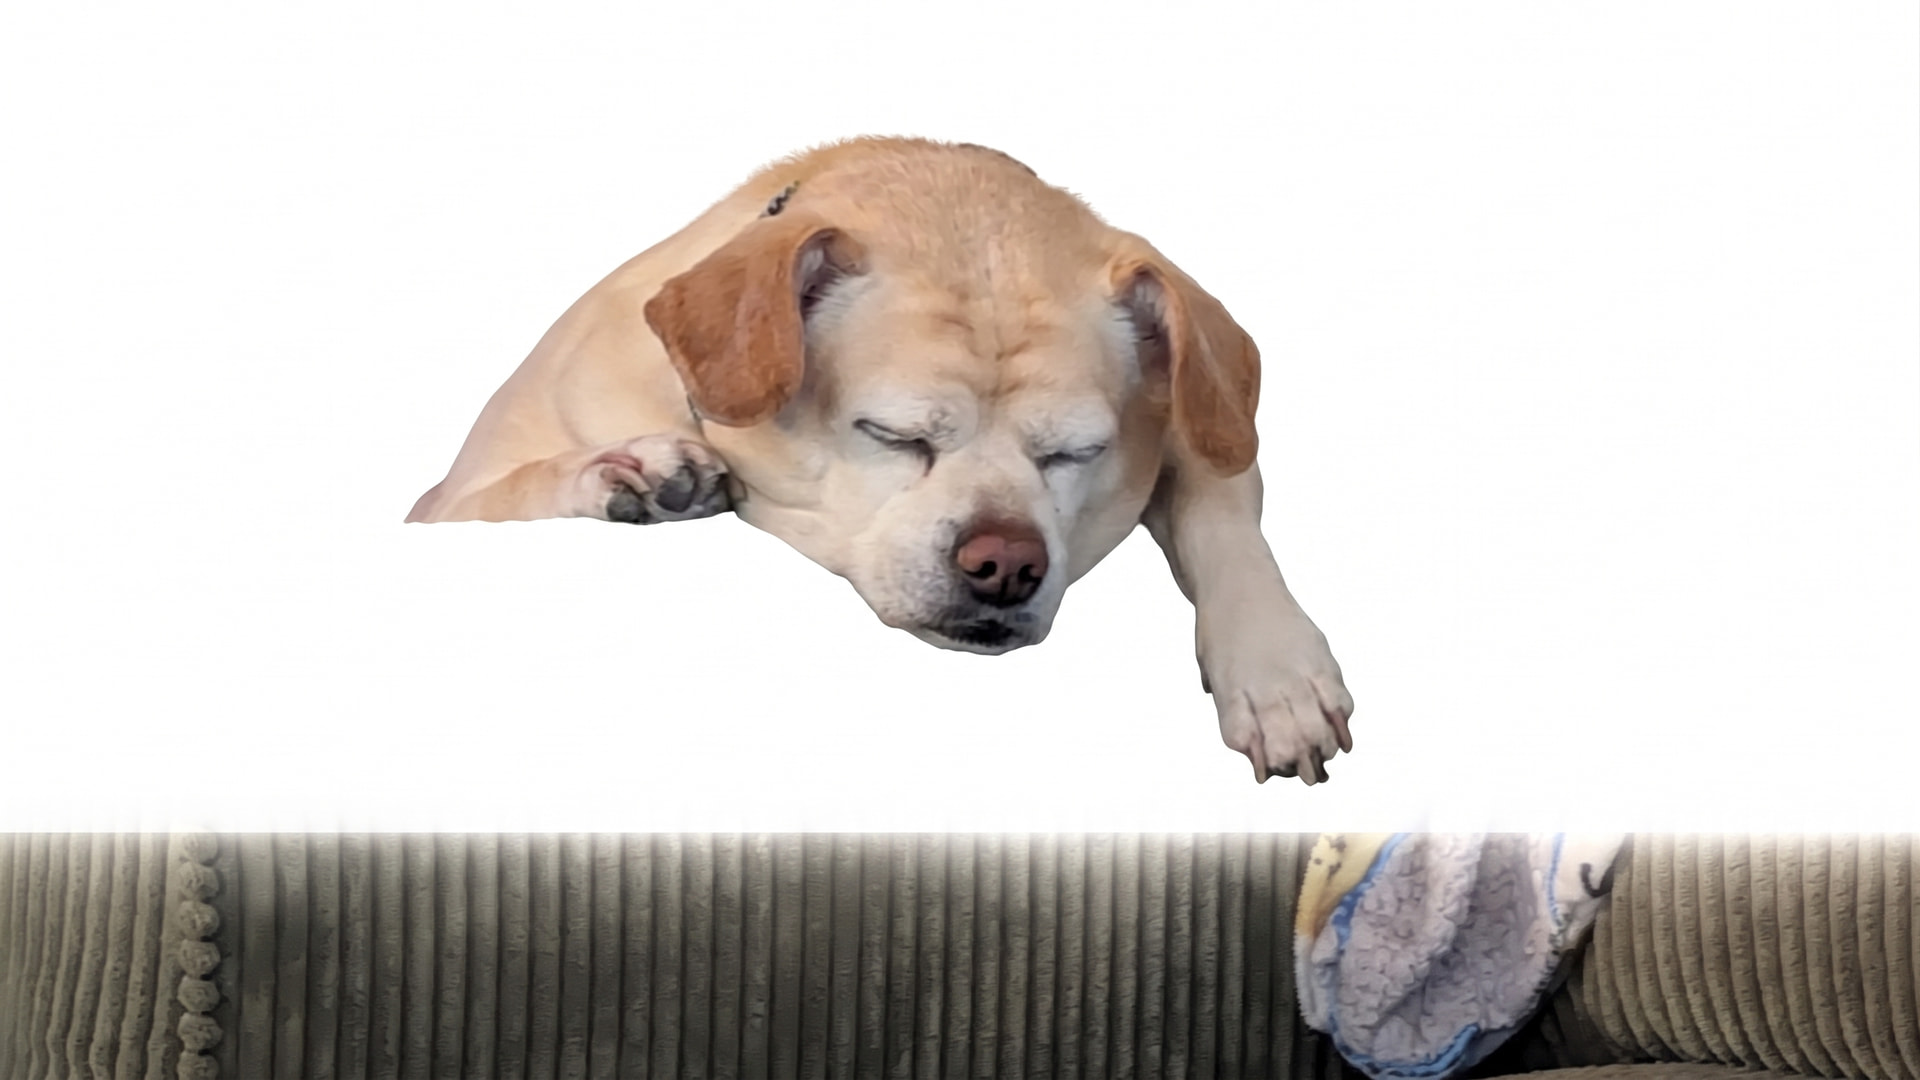
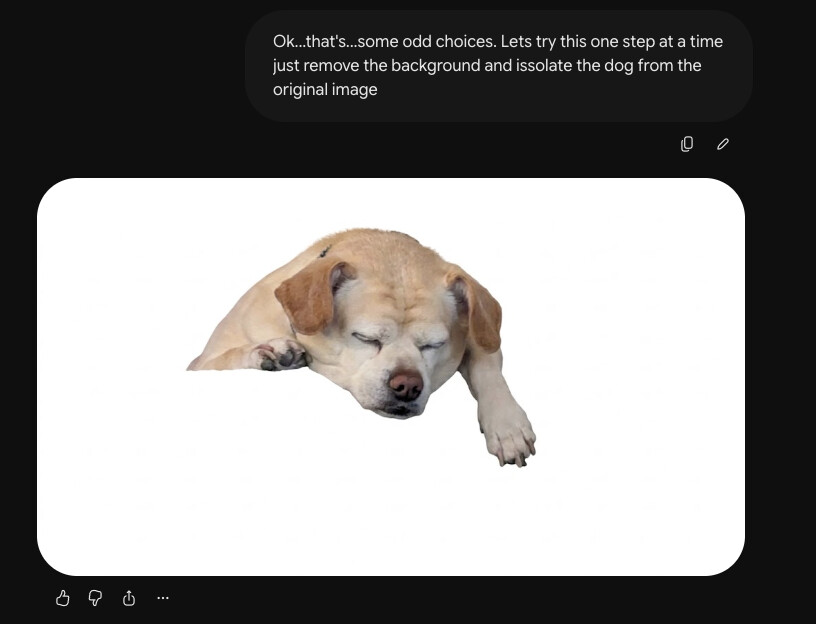
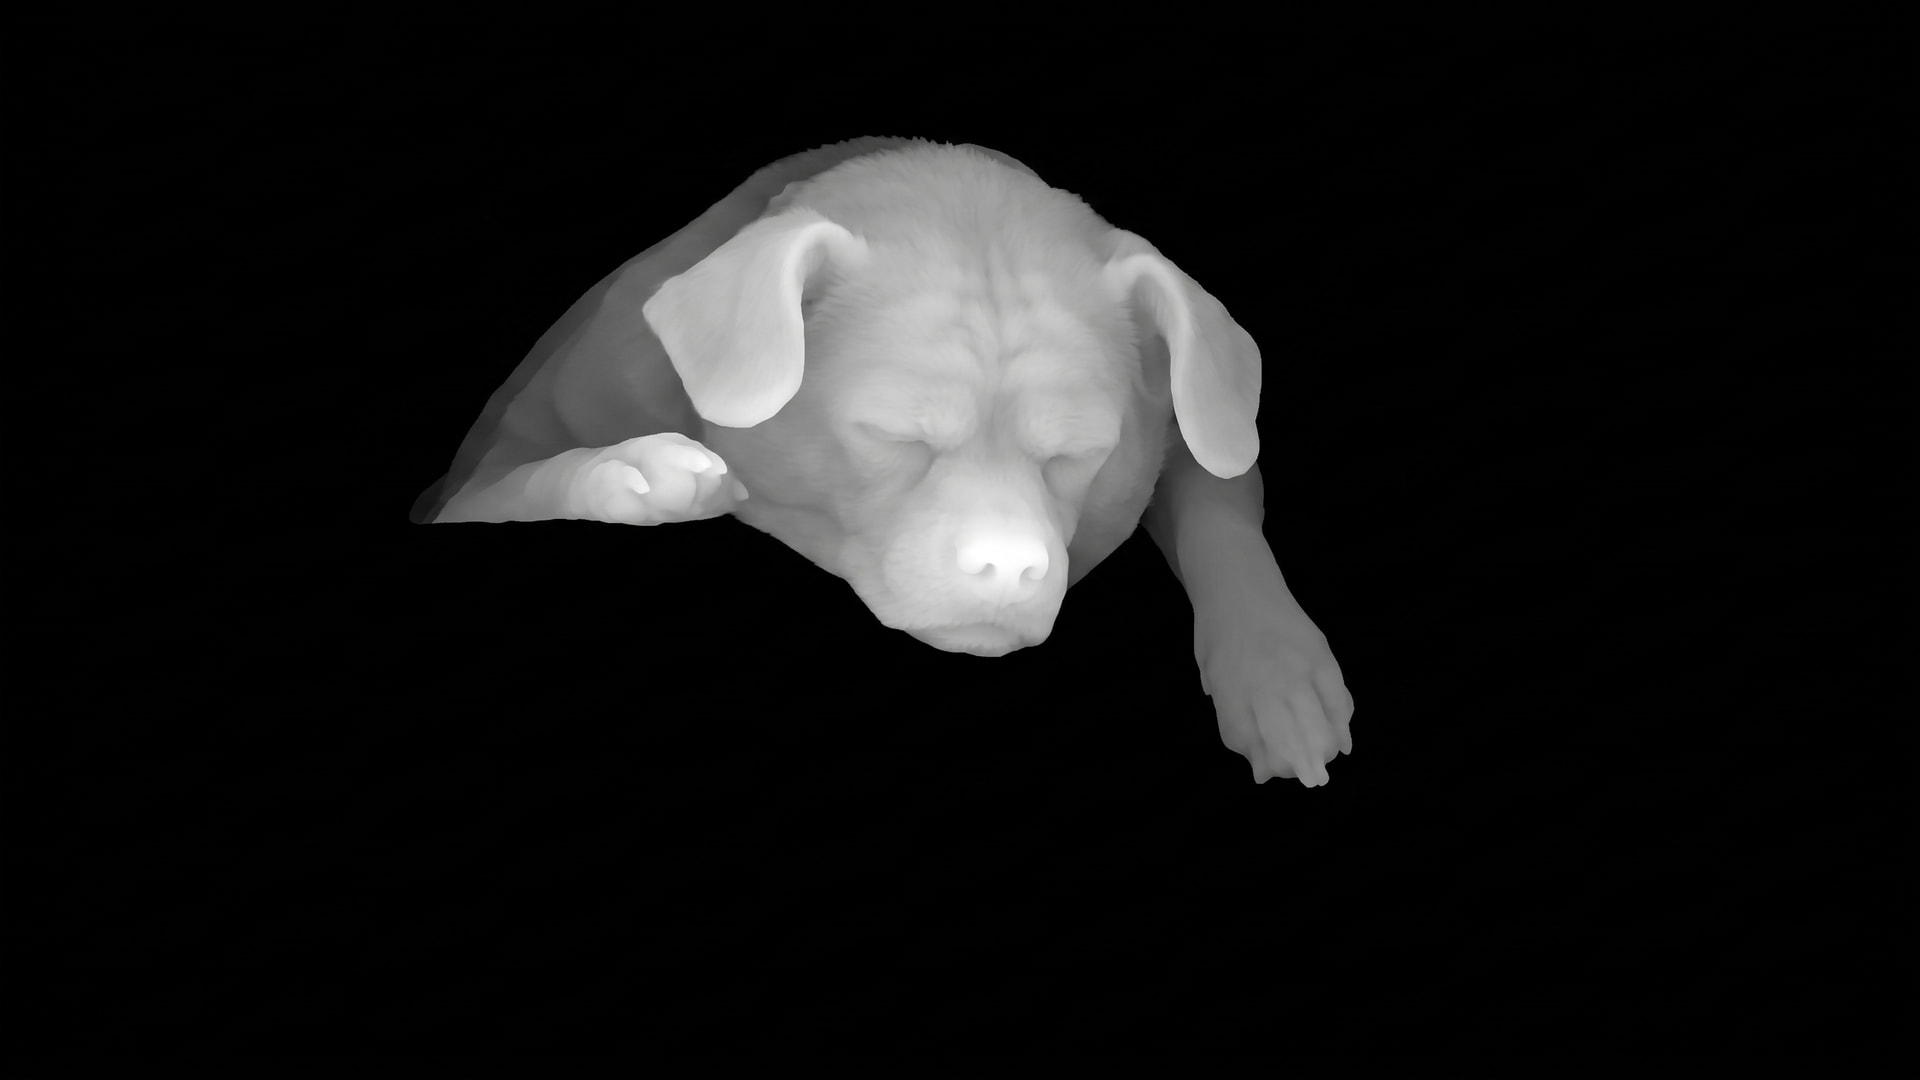
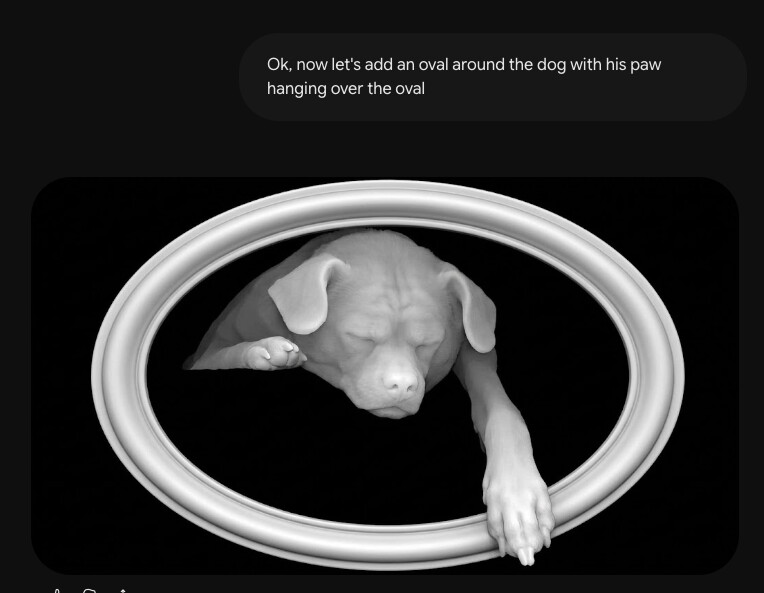
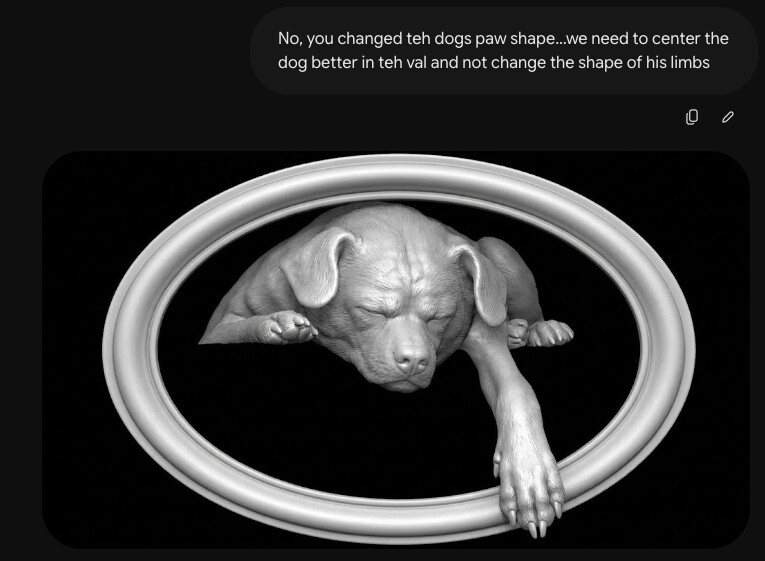
The other nice thing about the harness I’m using is it can route between multiple models. So I can have it use one that’s good at background removal remove a background, one that’s good at editing images make any changes, and finally have it use a final one for the actual height map generation. It also gave me a python script to convert them to STL (since I’ve only used Estlcam for cam so far and as far as I know it can take STL’s but nto greyscale)
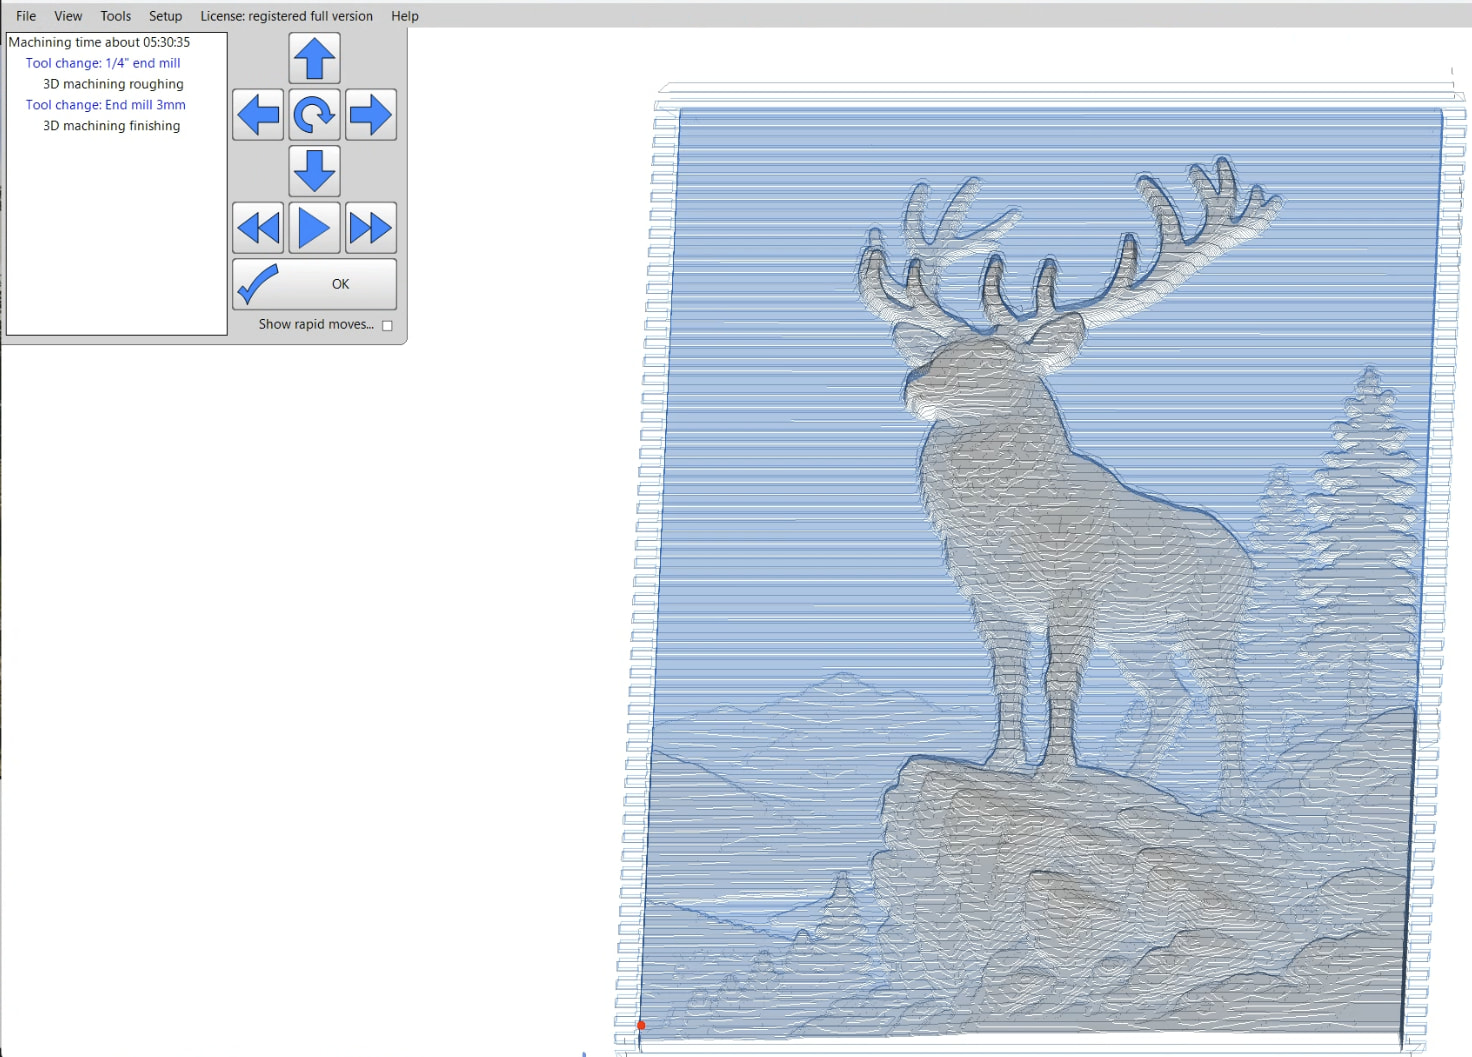
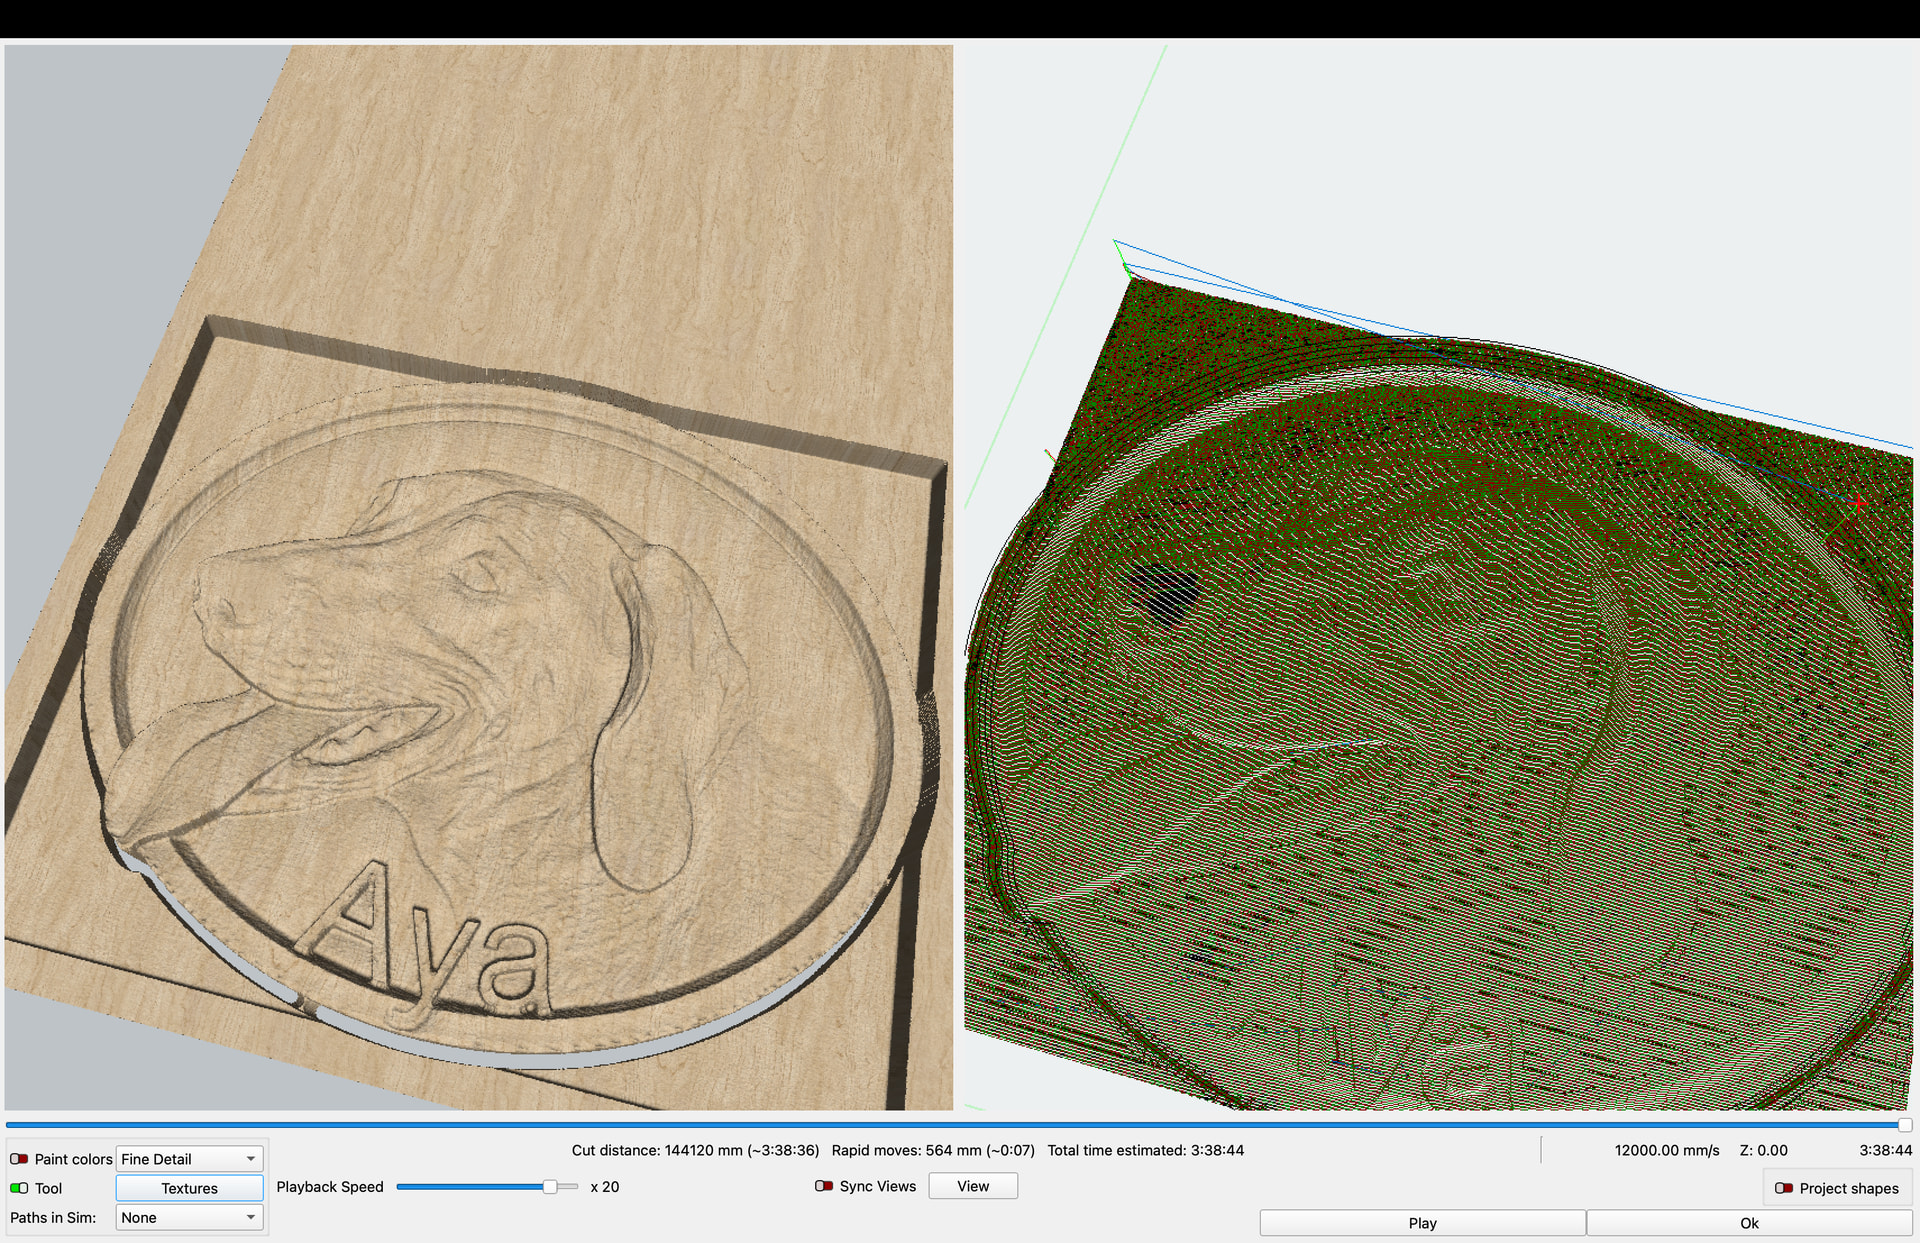
Preview in Estlcam looks decent enough … though I don’t have any proper engraving bits setup yet so this is just a 1/4" roughing end mill and 3mm finishing end mill:
And now I want to go deeper with this and get my harness to a point where it’s clean enough and usable enough I can share it. It has a few half finished features to make things like nice organizing work into projects and a start at a web based interface for previewing output and giving feedback between revisions. (those really help when you start doing multiple step processes. For example I did some silly fake commercials by having it generate a script, then generating stills for each shot so I could pick from 3-4 options before using them as a seed to generate video and then having some voice/music models generate audio and finally had it use remotion to script it all together into a finished video.)