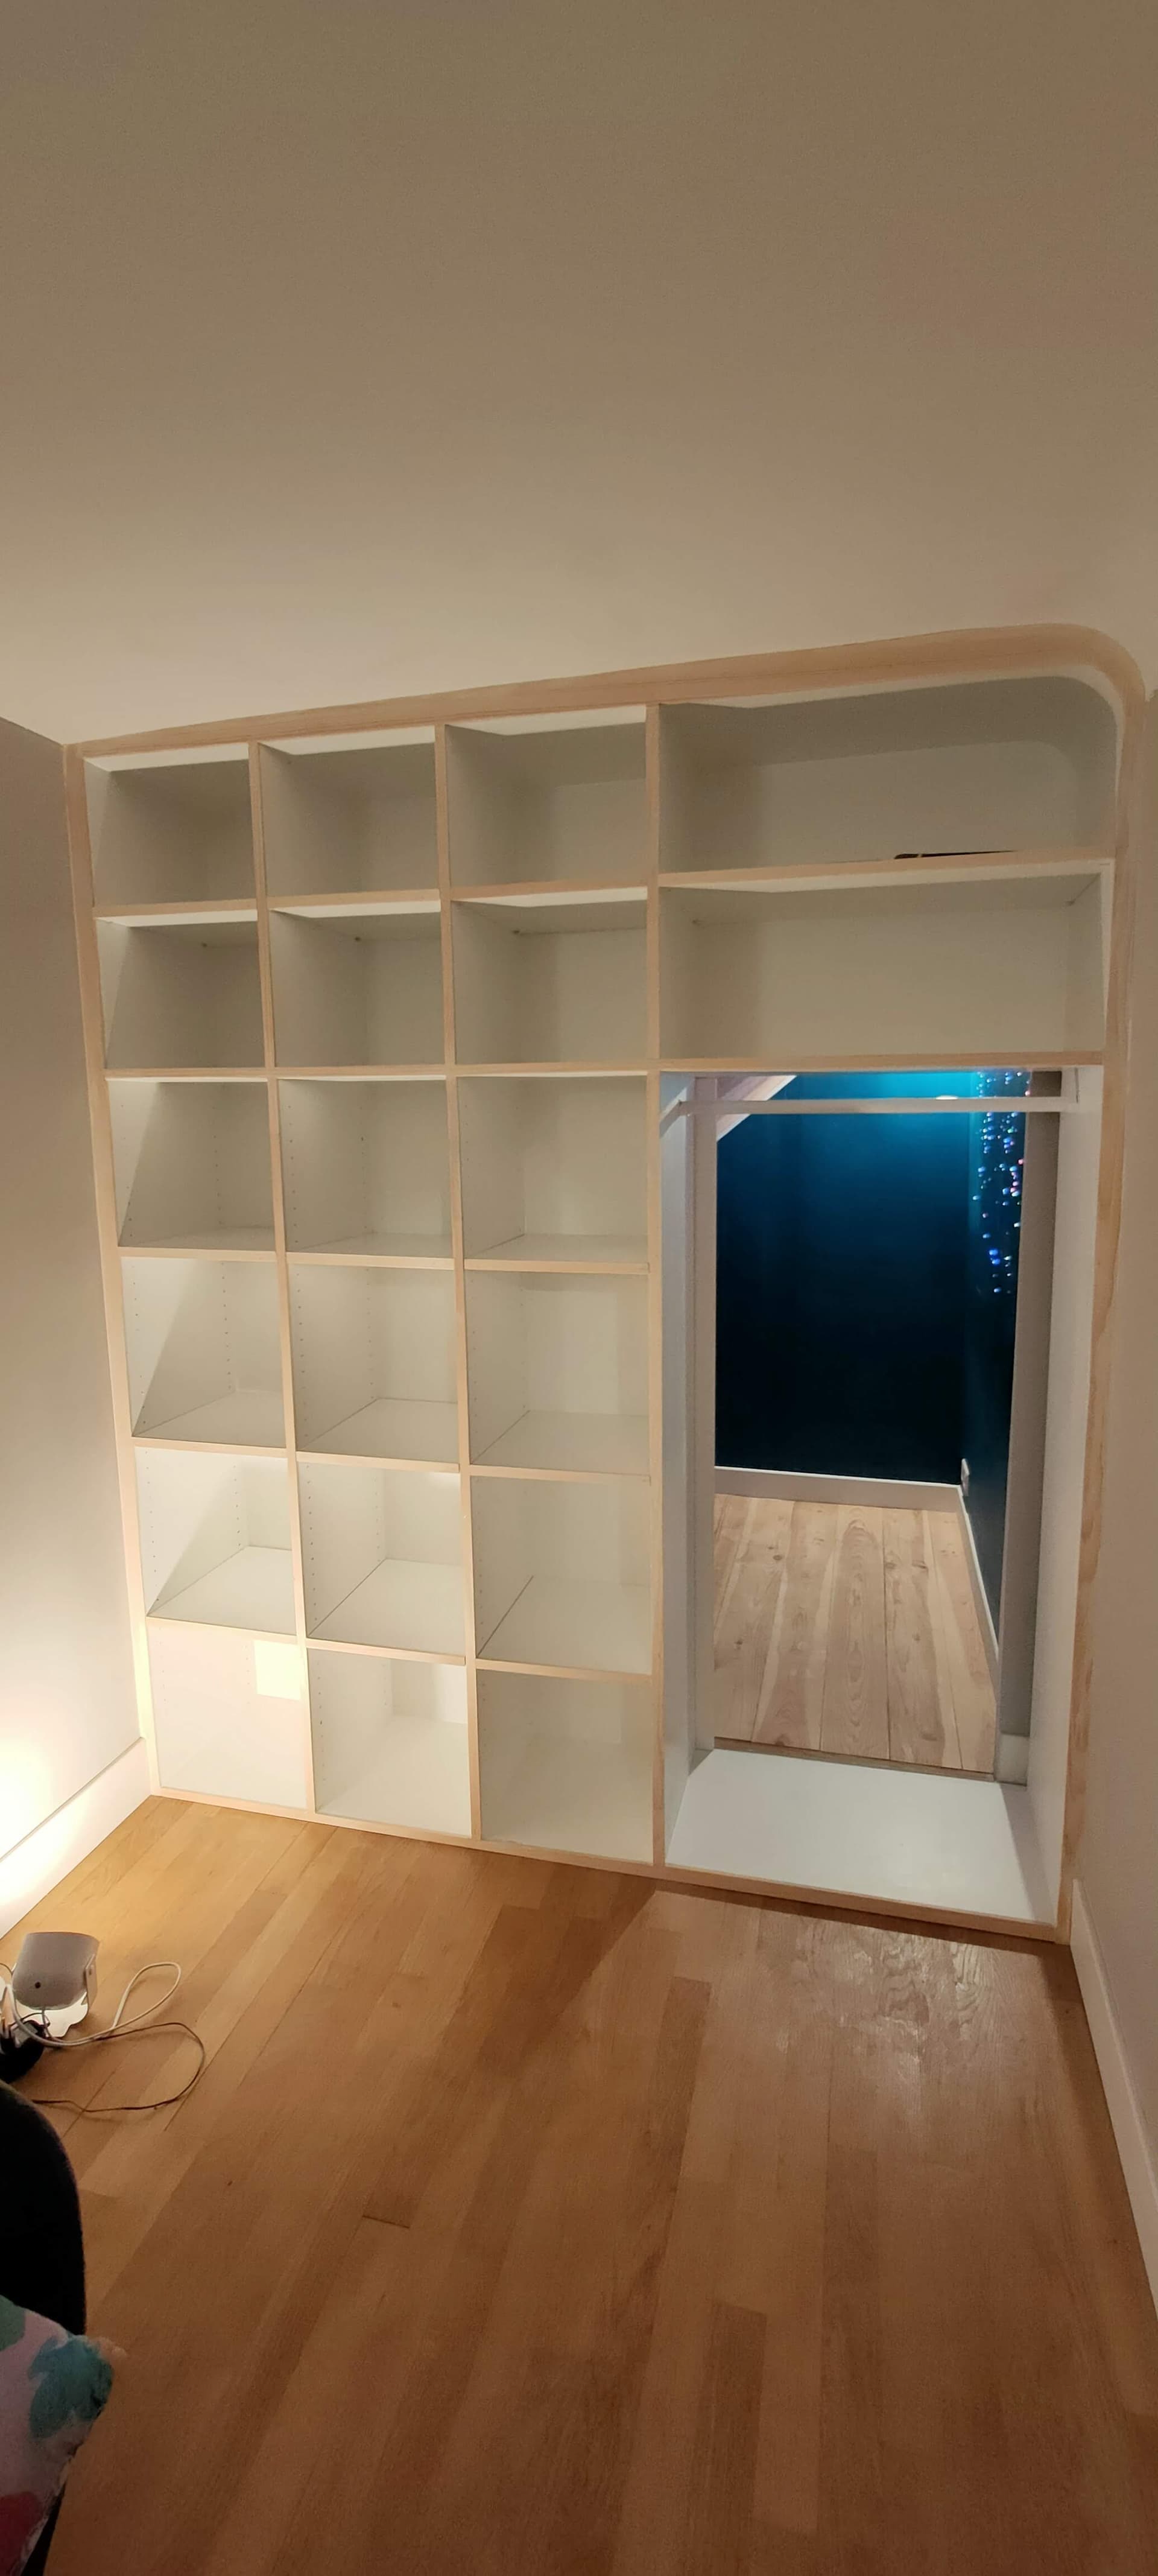
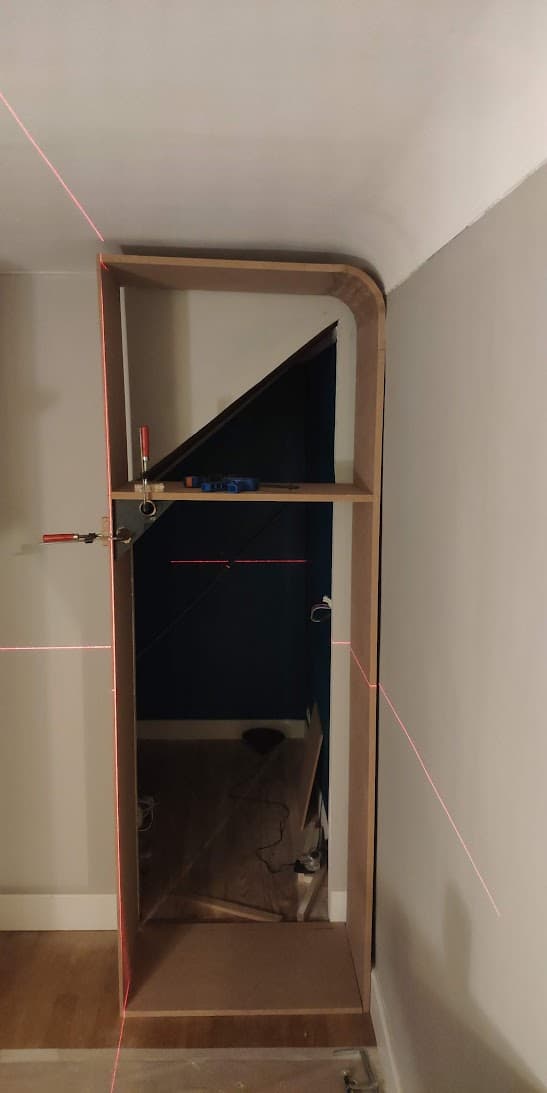
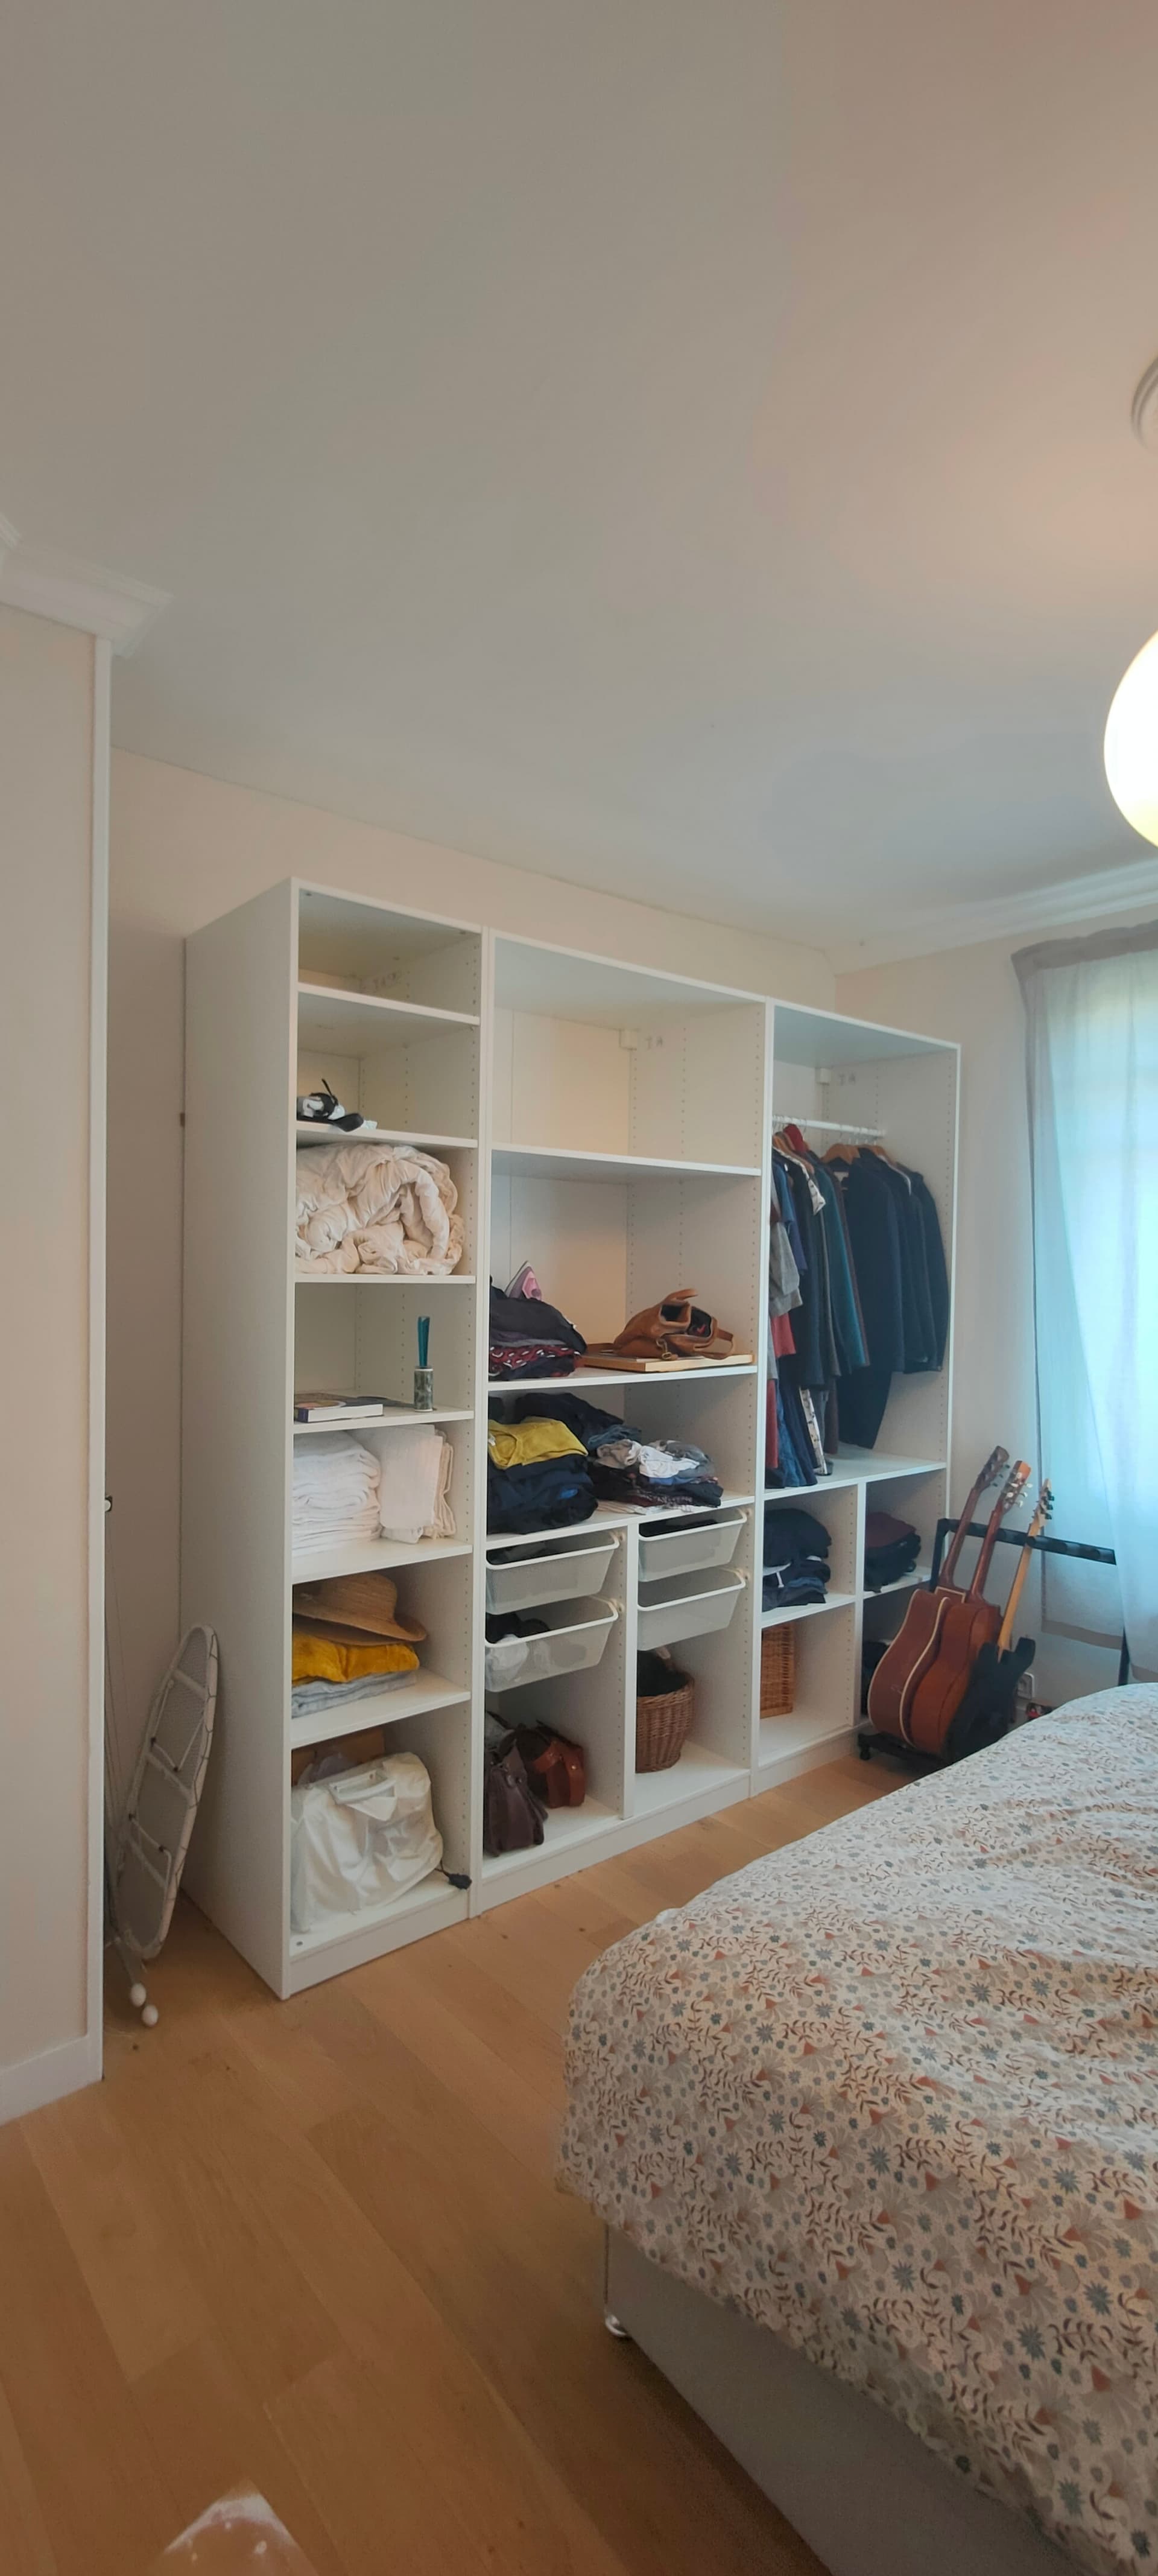
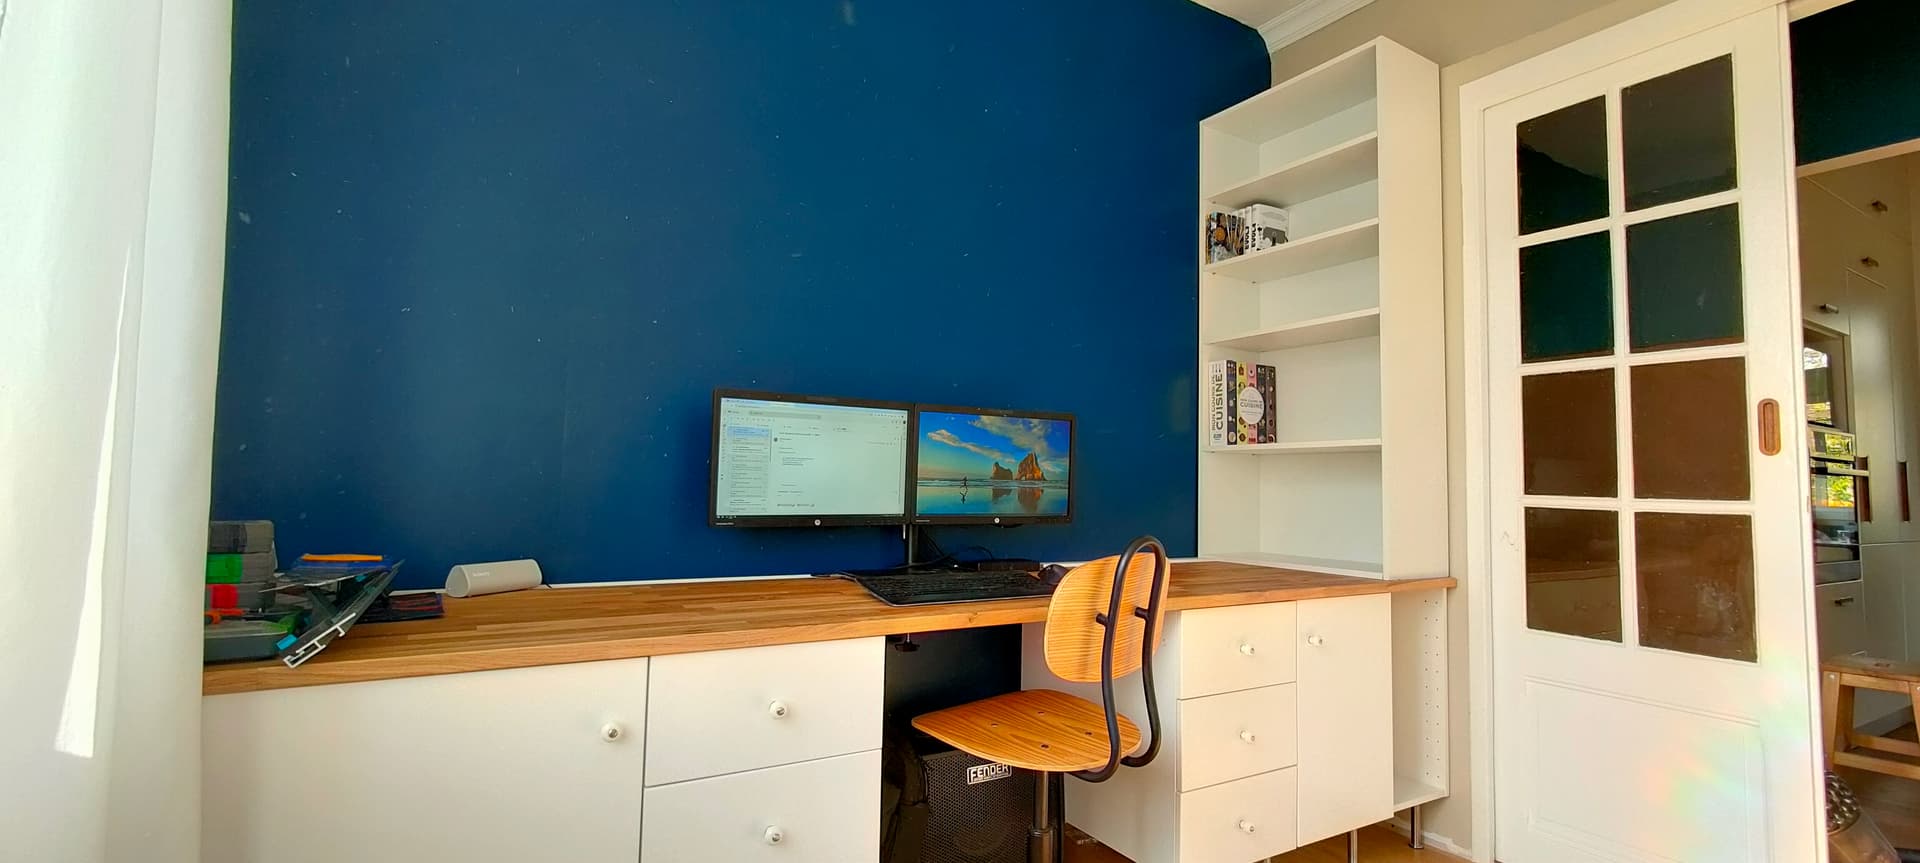
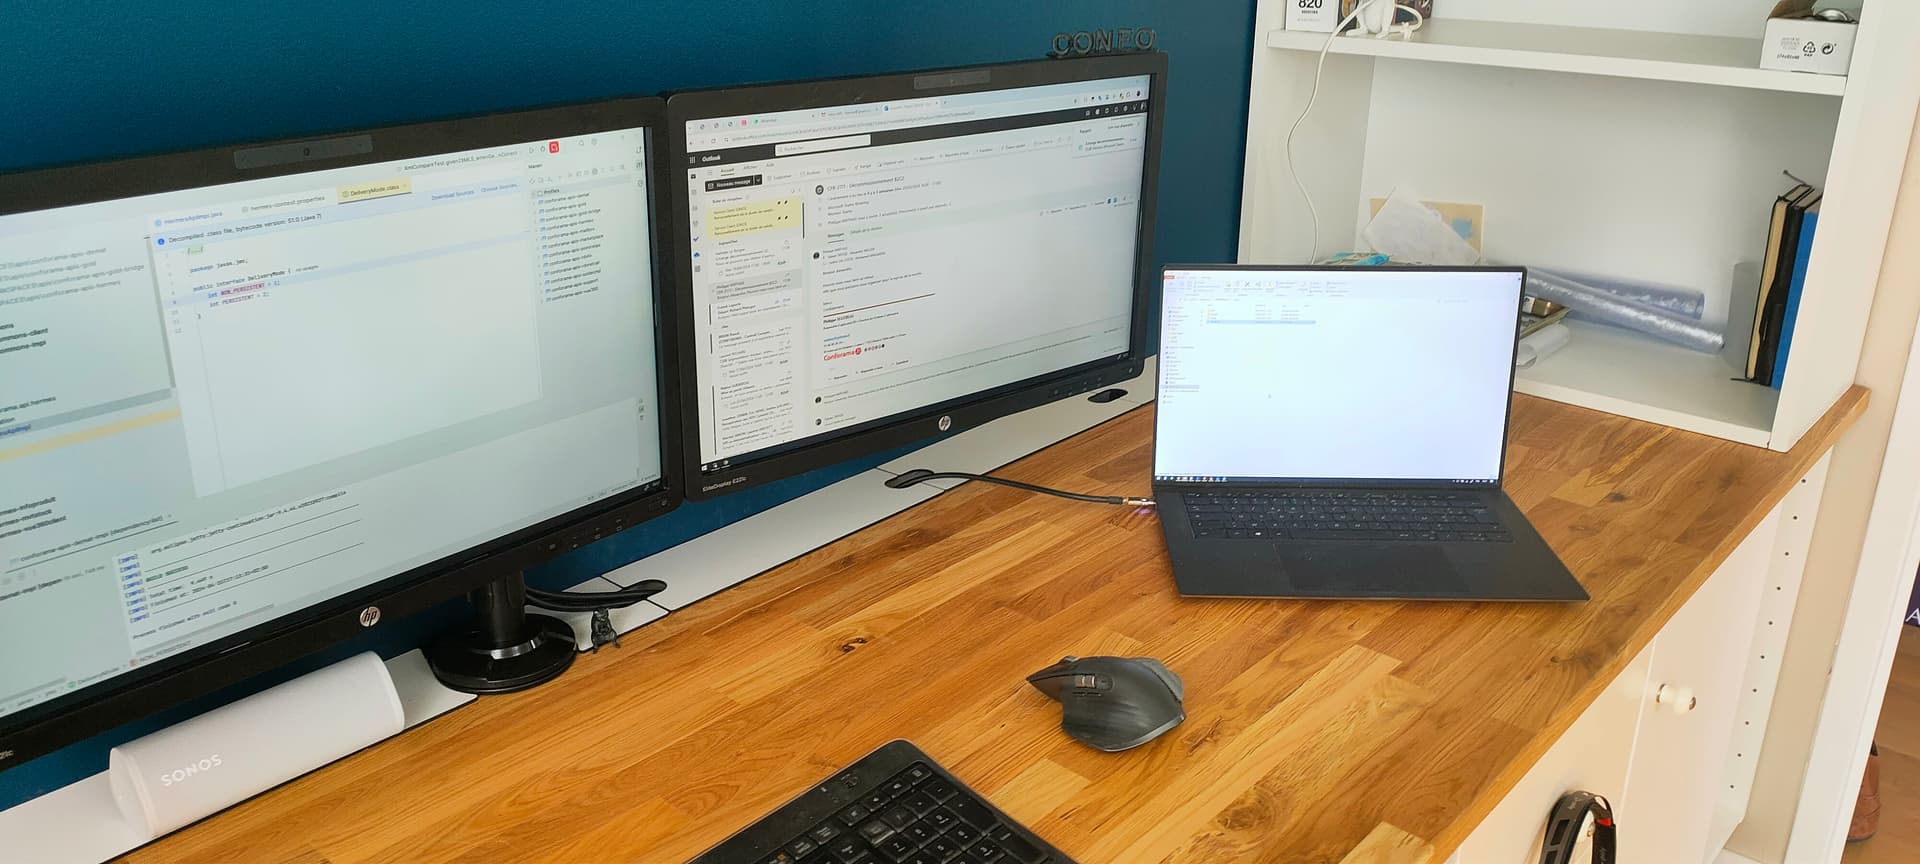
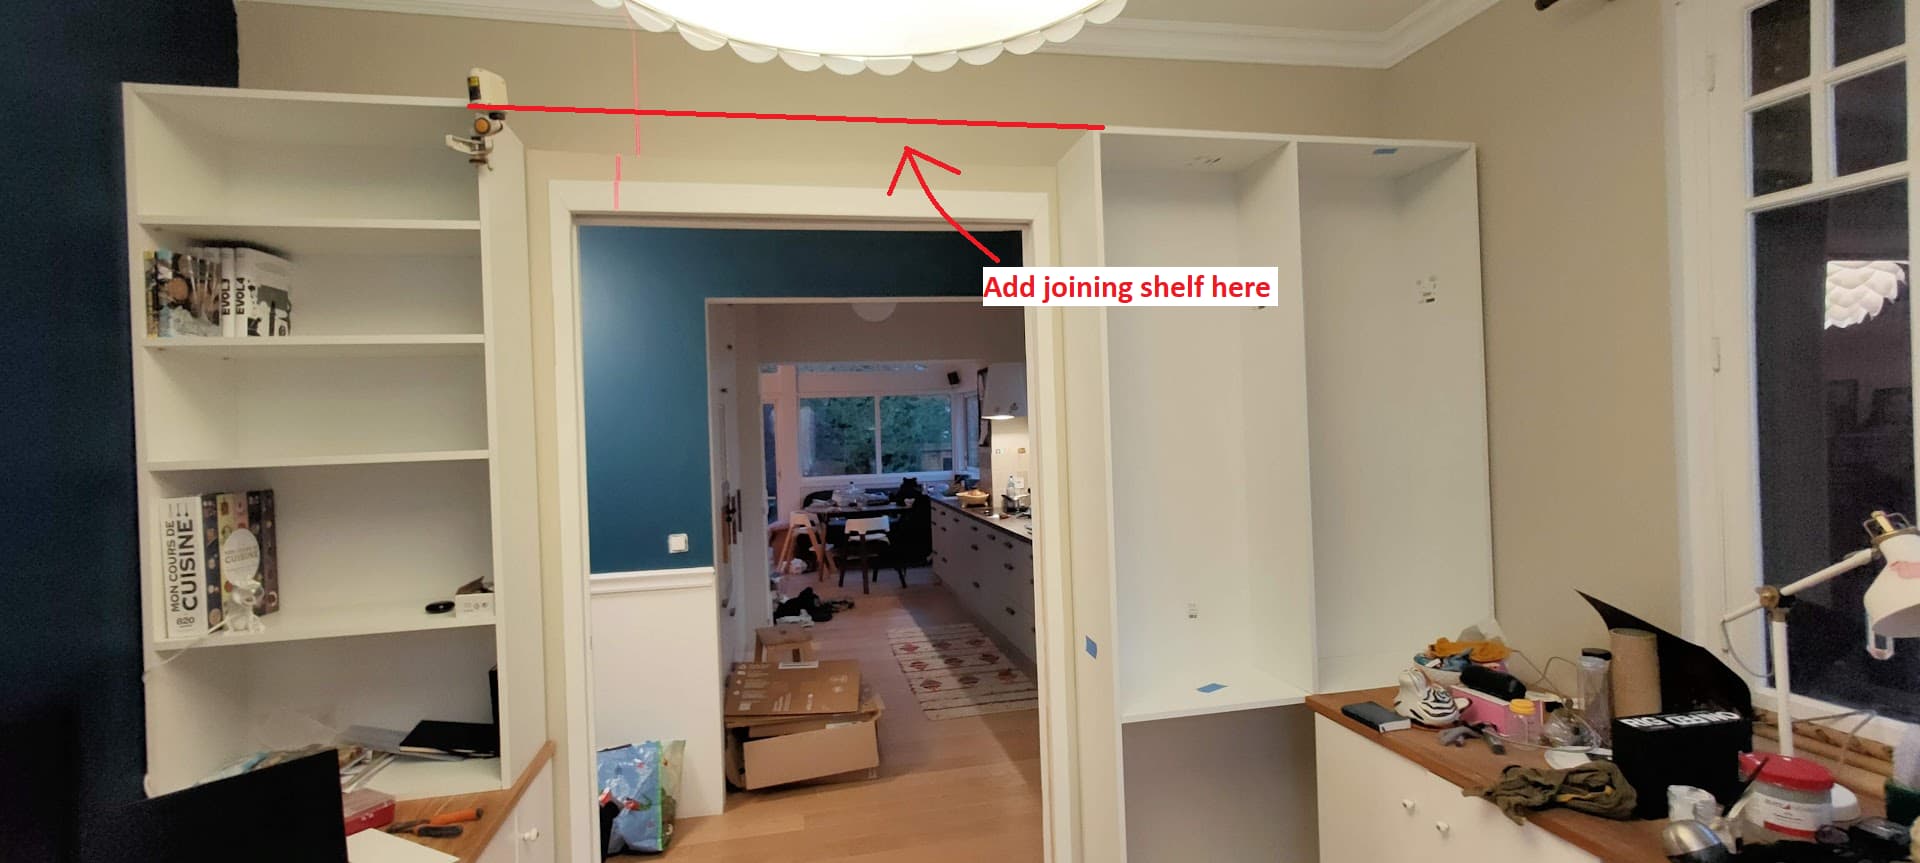
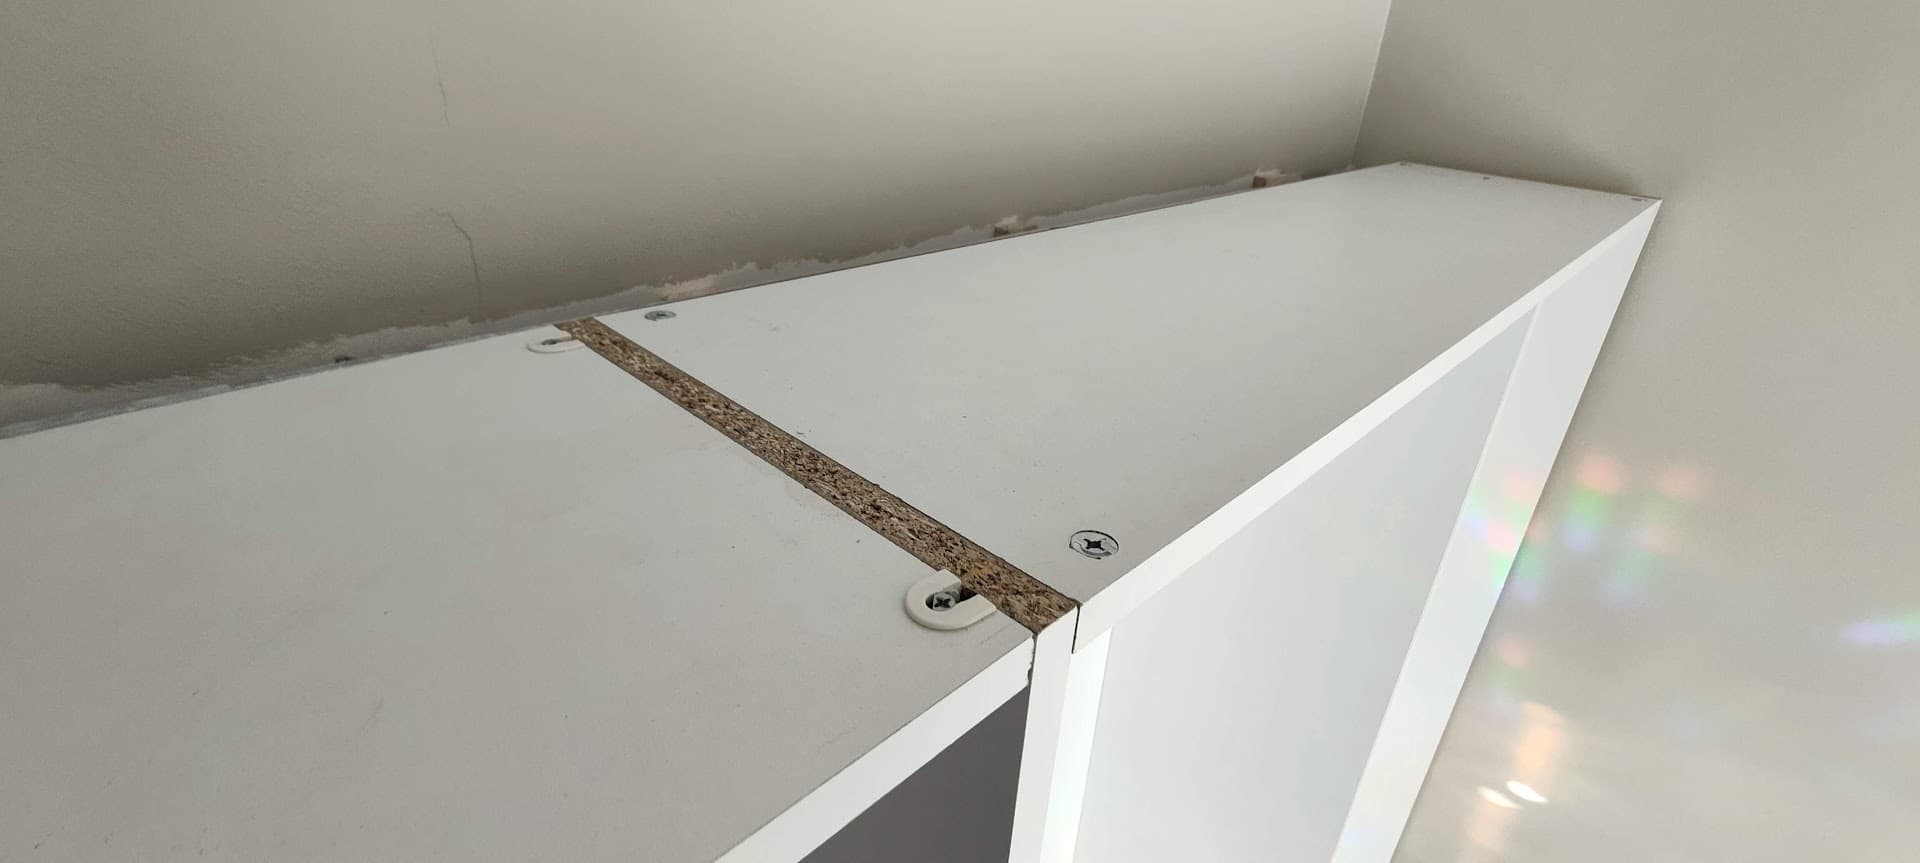
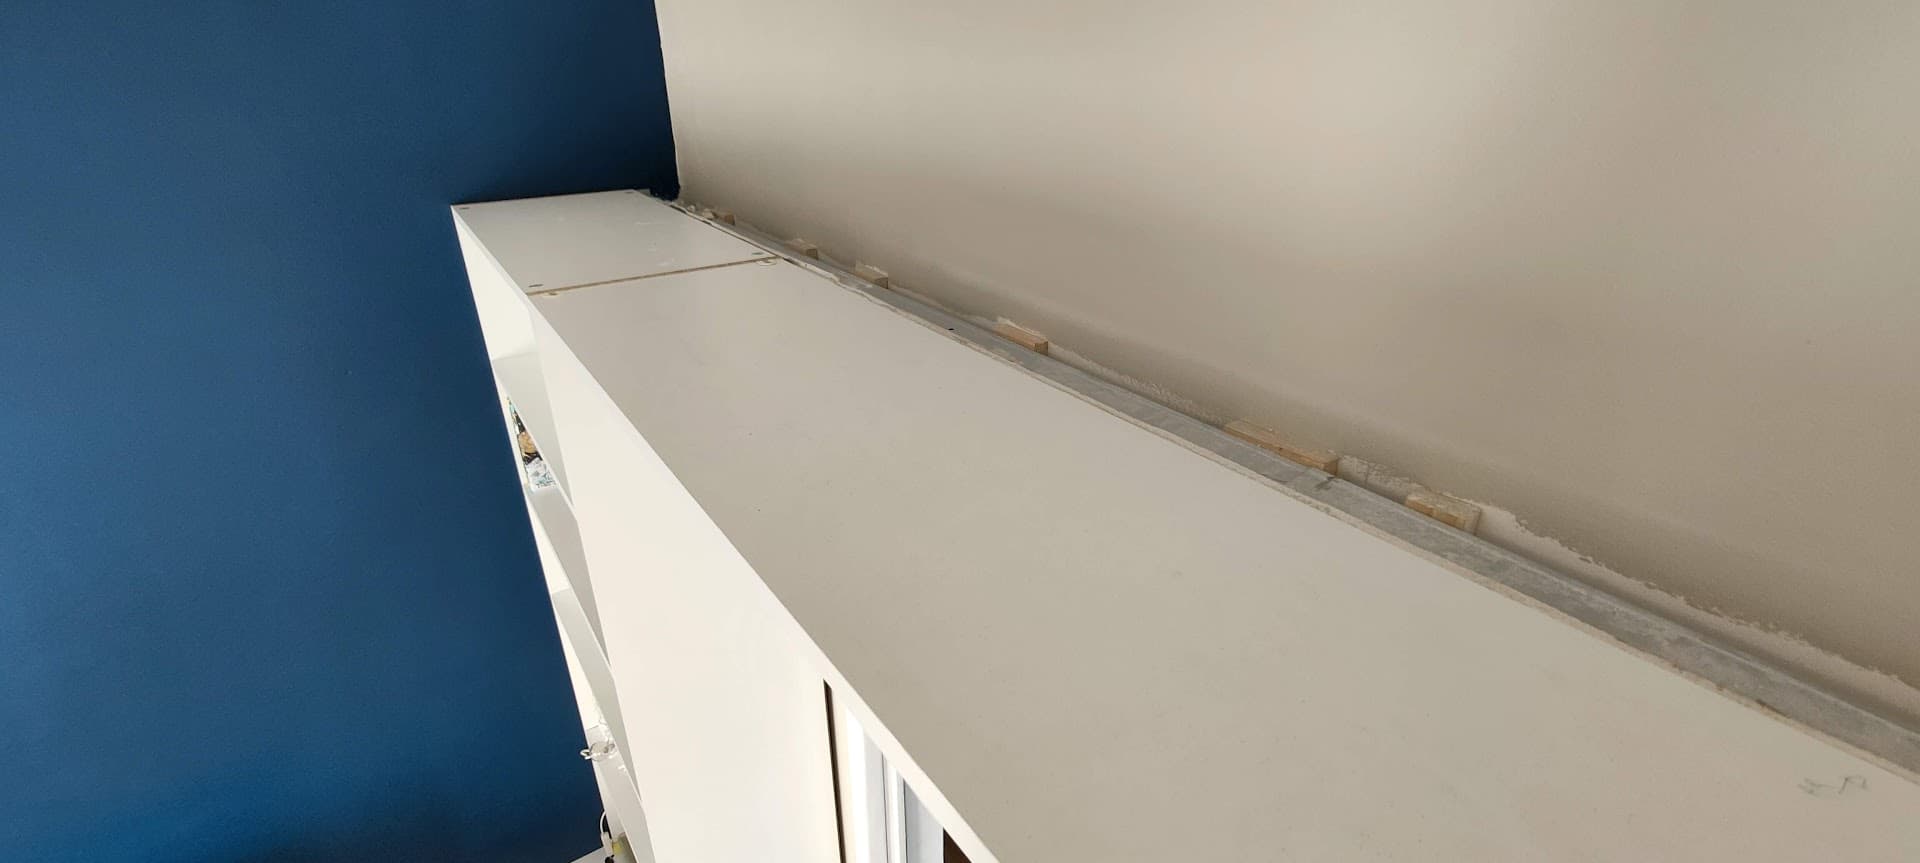
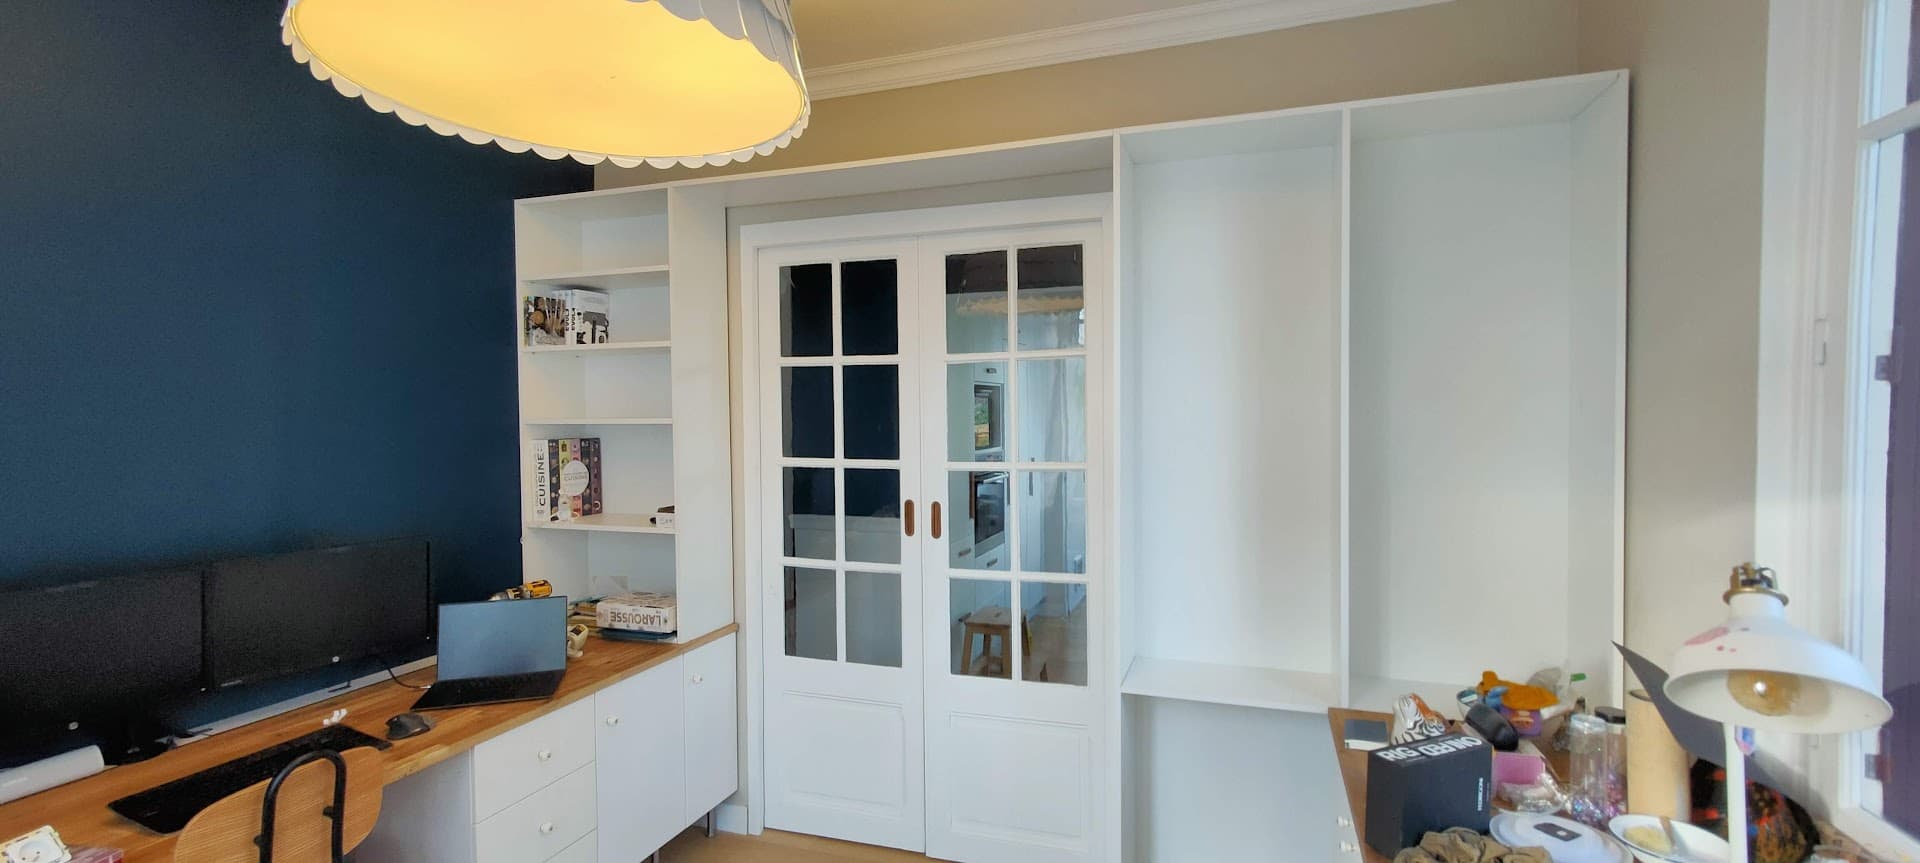
I’m in the process of making a large bespoke shelf for my office
The cabinets would be made out of 16/18mm thick agglomerate boards (depending on what I can find/buy)
The depth of the cabinet should be around 30cm
I’m not really willing to cut everything out of a single sheet/panel, so I’ll probably go with pre-cut 30cm wide tablets and just cut the length according to my needs
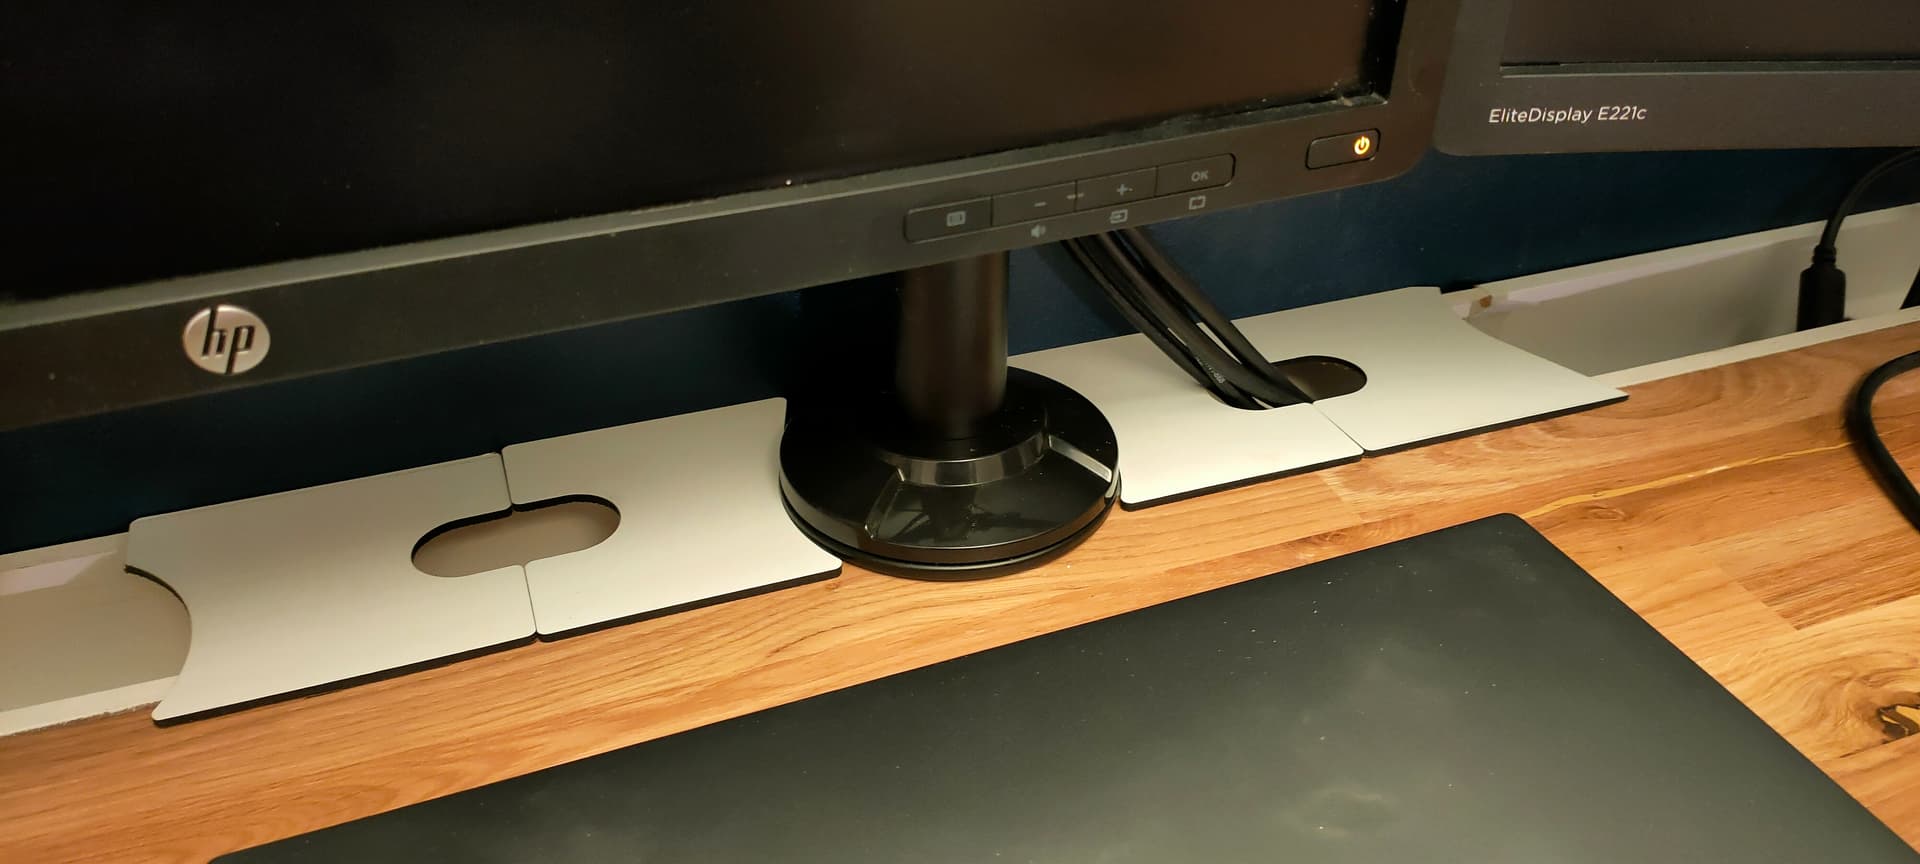
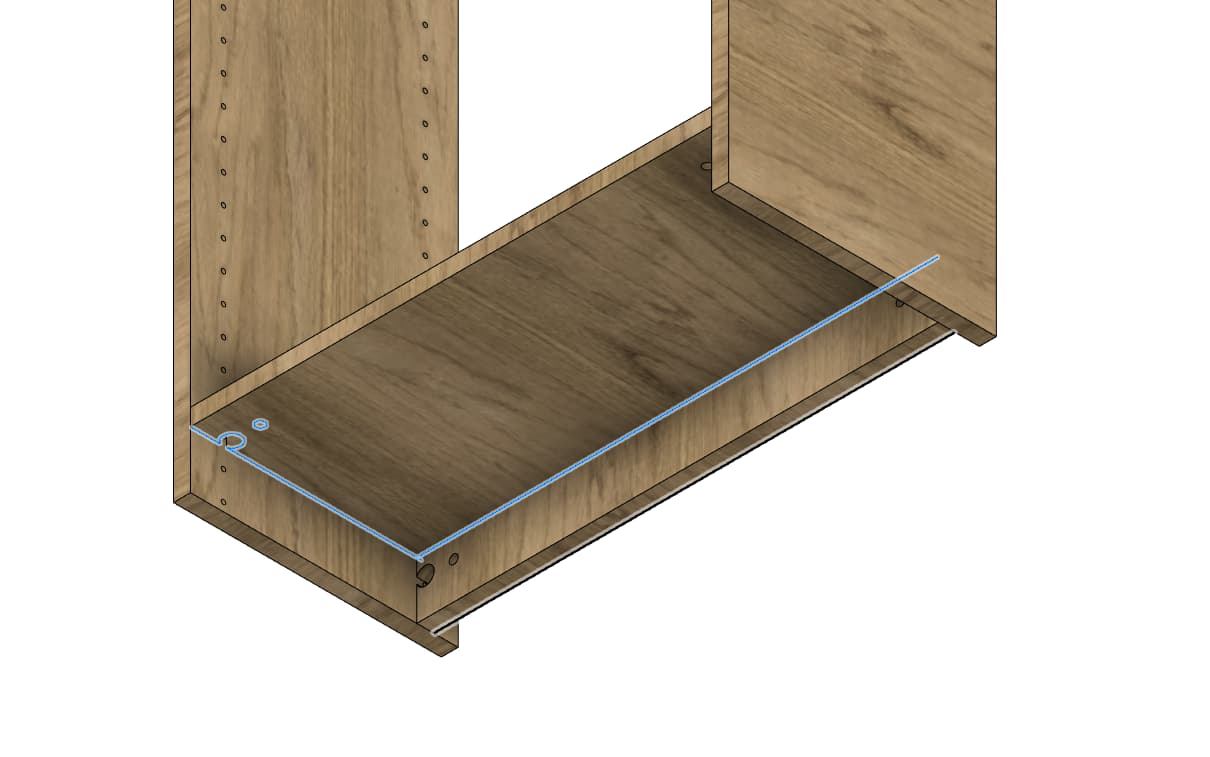
As I want some of the tablets to be adjustable, and I may add doors at a later point, I would like this cabinets to follow System 32
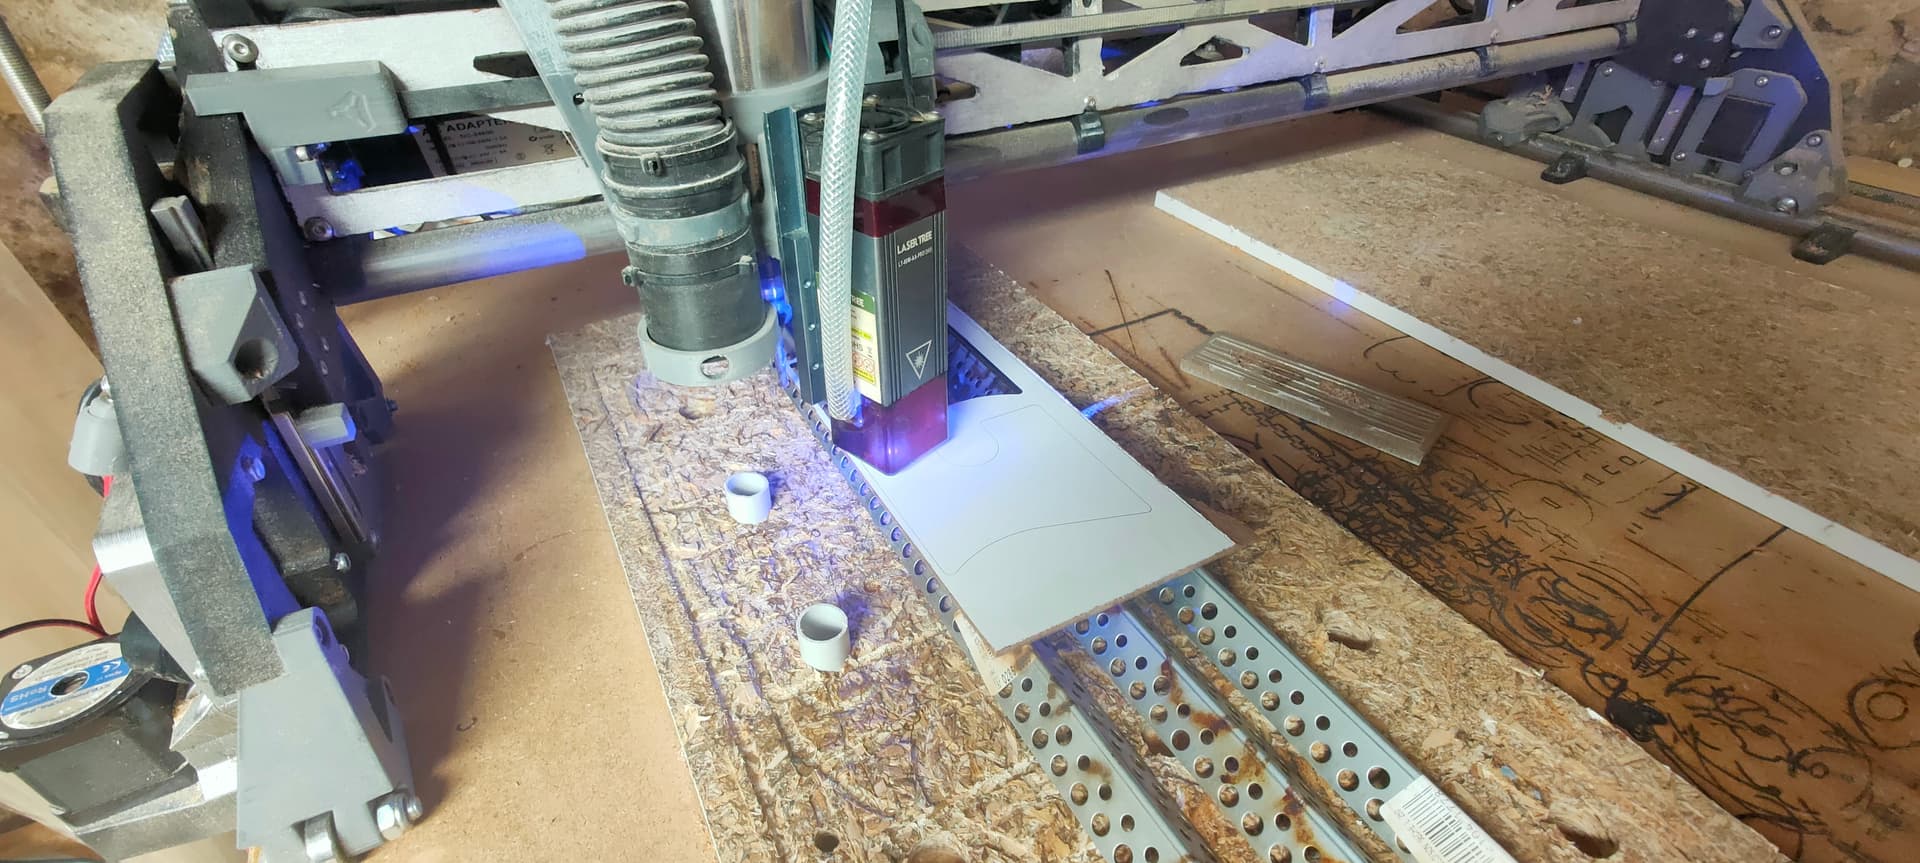
This is an ideal case for using the LR3 for cutting those numerous holes on the sides (had to do it once by hand with a jig, and it gets old very quick >_<)
So, while the stock is setup on the CNC, why not grab this occasion to locate and drill all features? Like fittings and such…
But I still have a few questions and would love some feedback/advice on this from the community ![]()
#############################
1 - Designing the cabinets
#############################
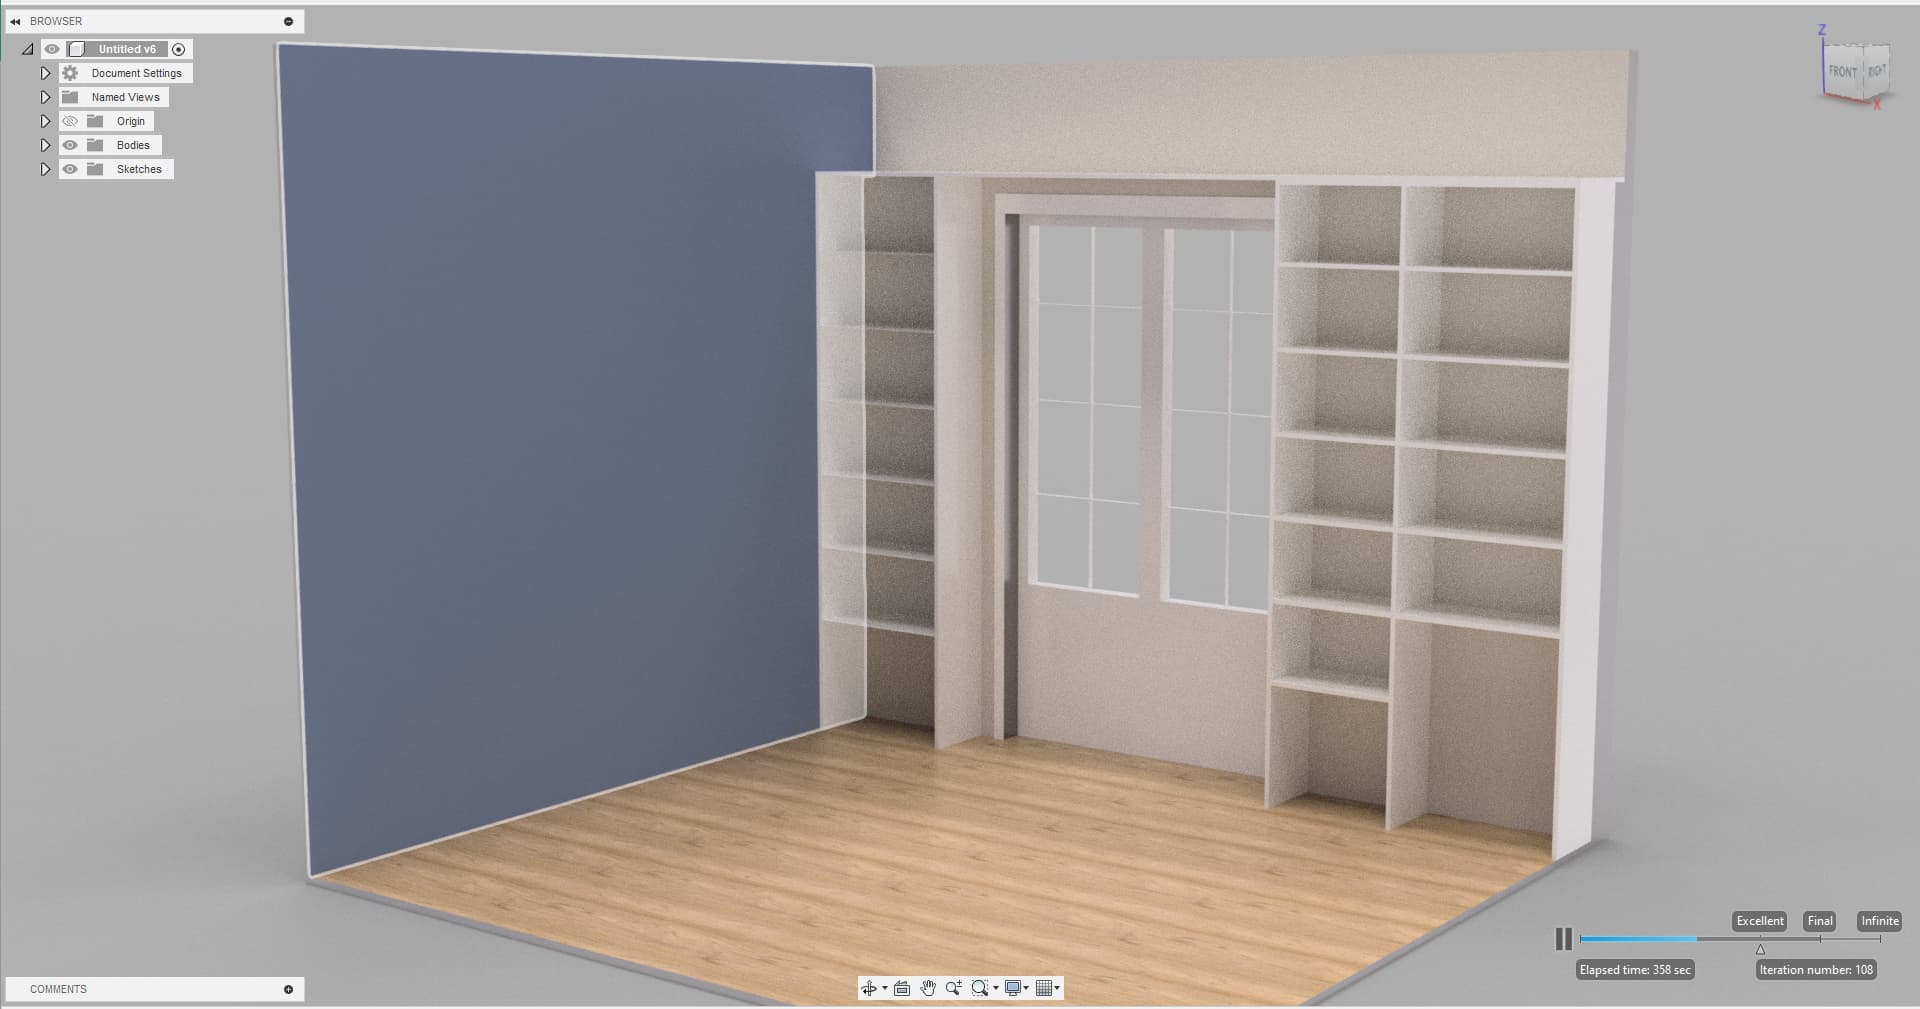
Right now, I’ve made a rough sketch of the cabinets I want (see picture above)
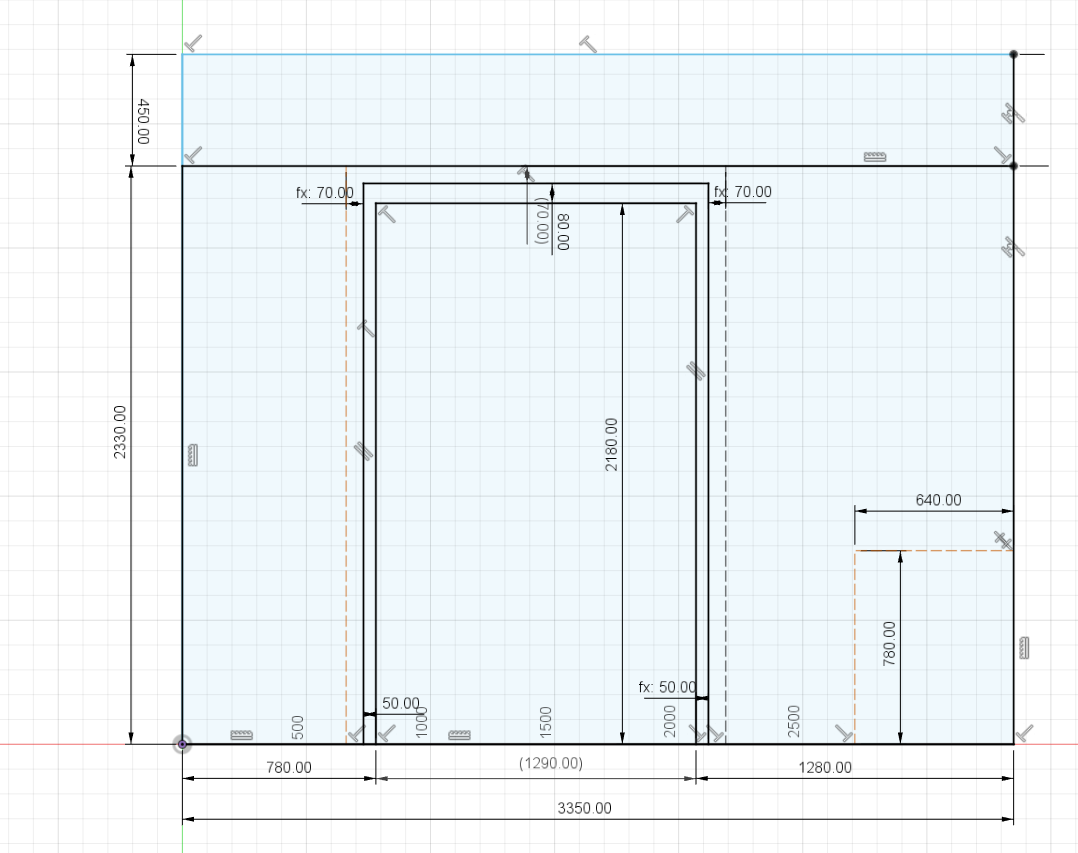
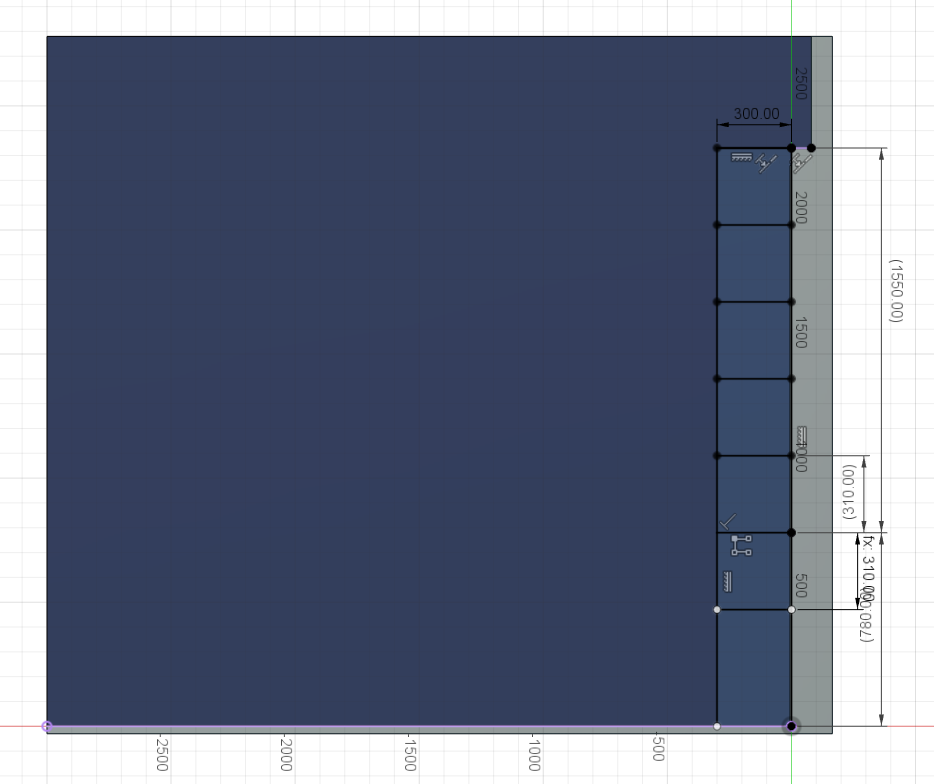
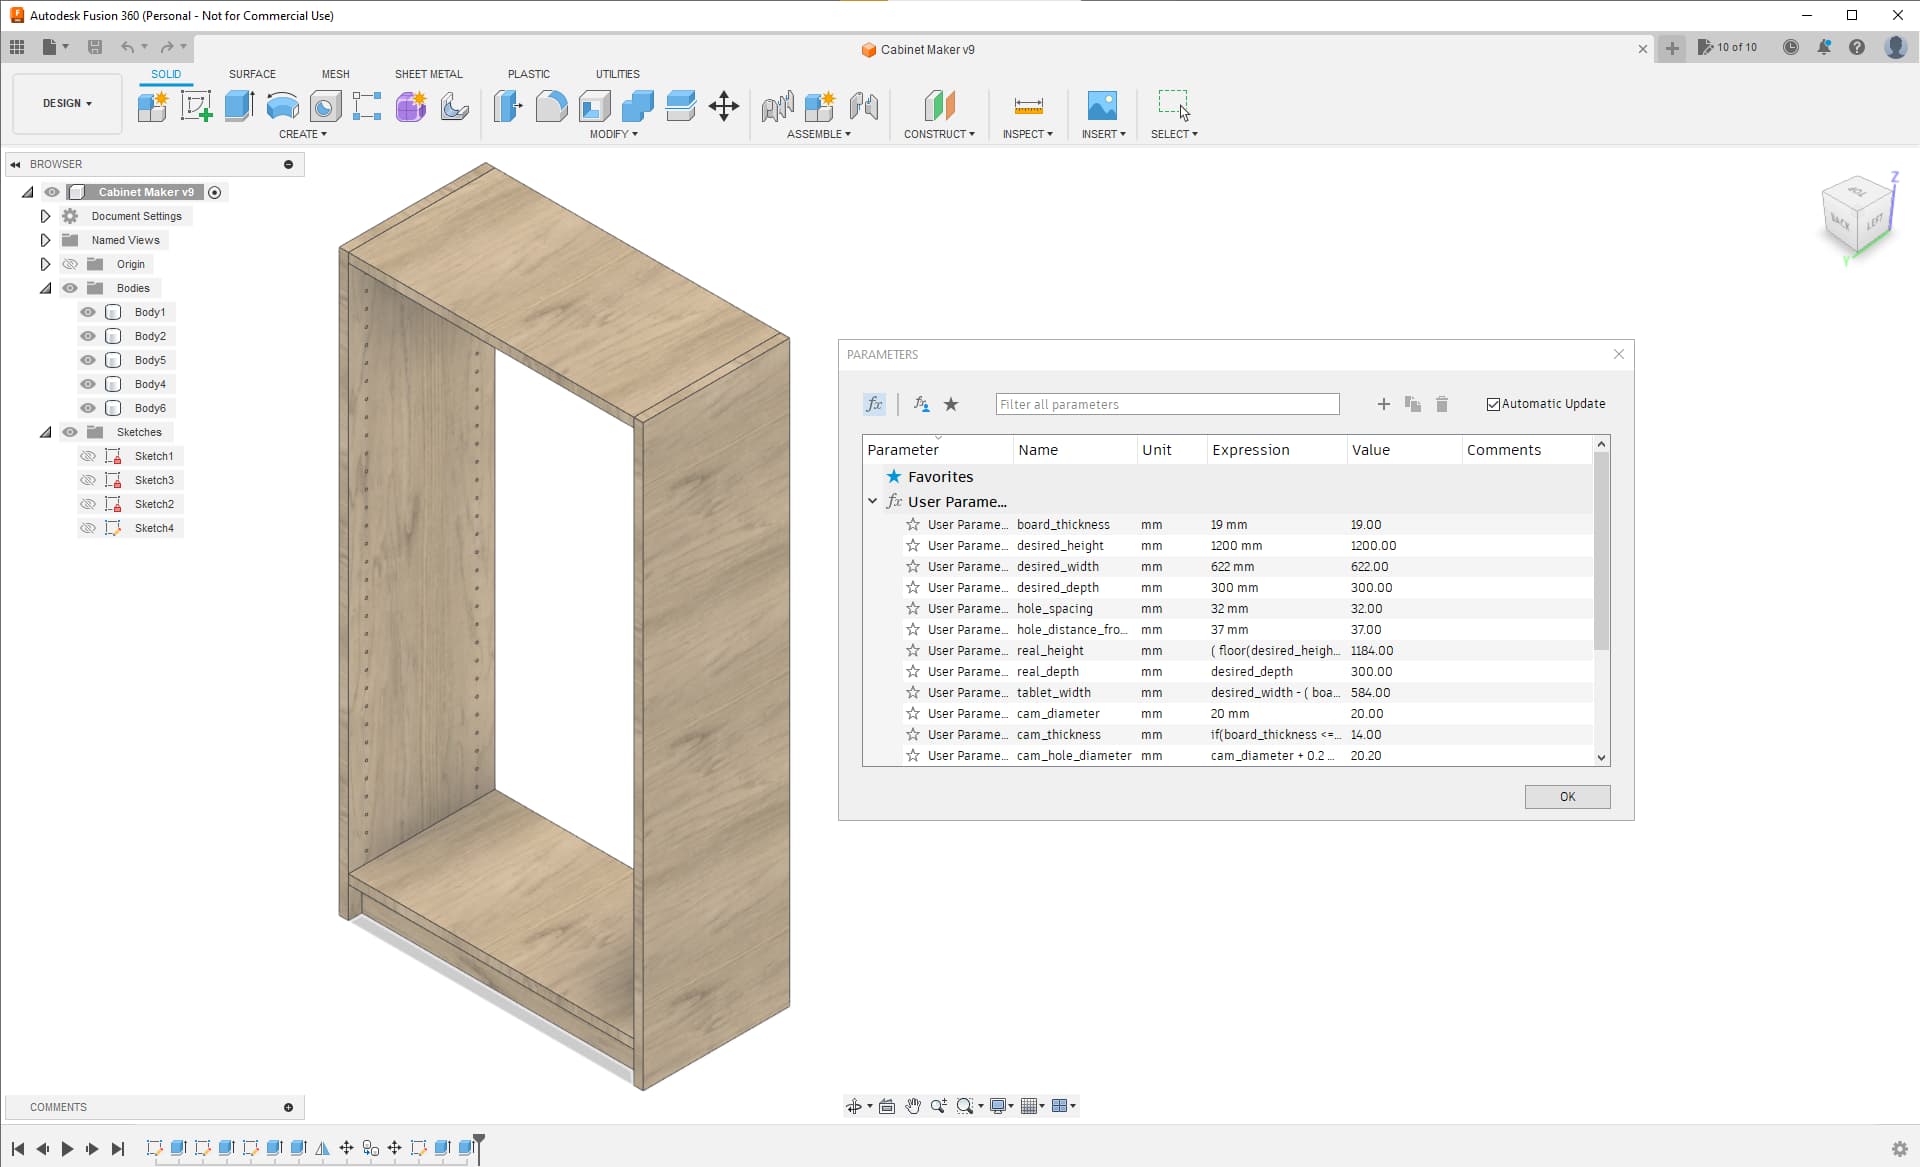
I also made a parametric Fusion360 design that takes a few inputs and creates the sides and top/bottom tablets following System32 specifications
Questions:
Are there better alternatives than just plain Fusion360 out there?
I’ve seen a few specialized commercial products, but they’re all extremely costly for a hobbyist (we’re lookuking at 500$/month liscences…)
I’ve also seen a FreeCAD macro for system32 but couldn’t get it to work properly… I’m not very sold on freecad anyway ![]()
Don’t know if there’s any free-ish addon or software I could use?
#############################
2 - Joinery and hardware choice
#############################
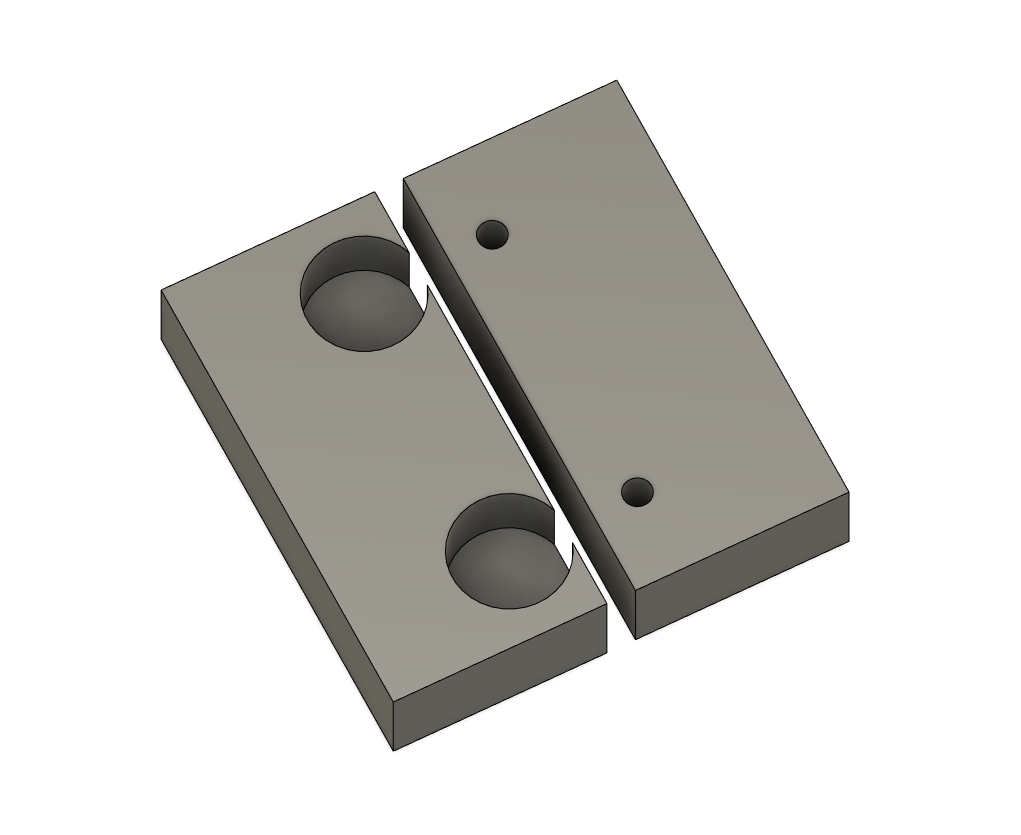
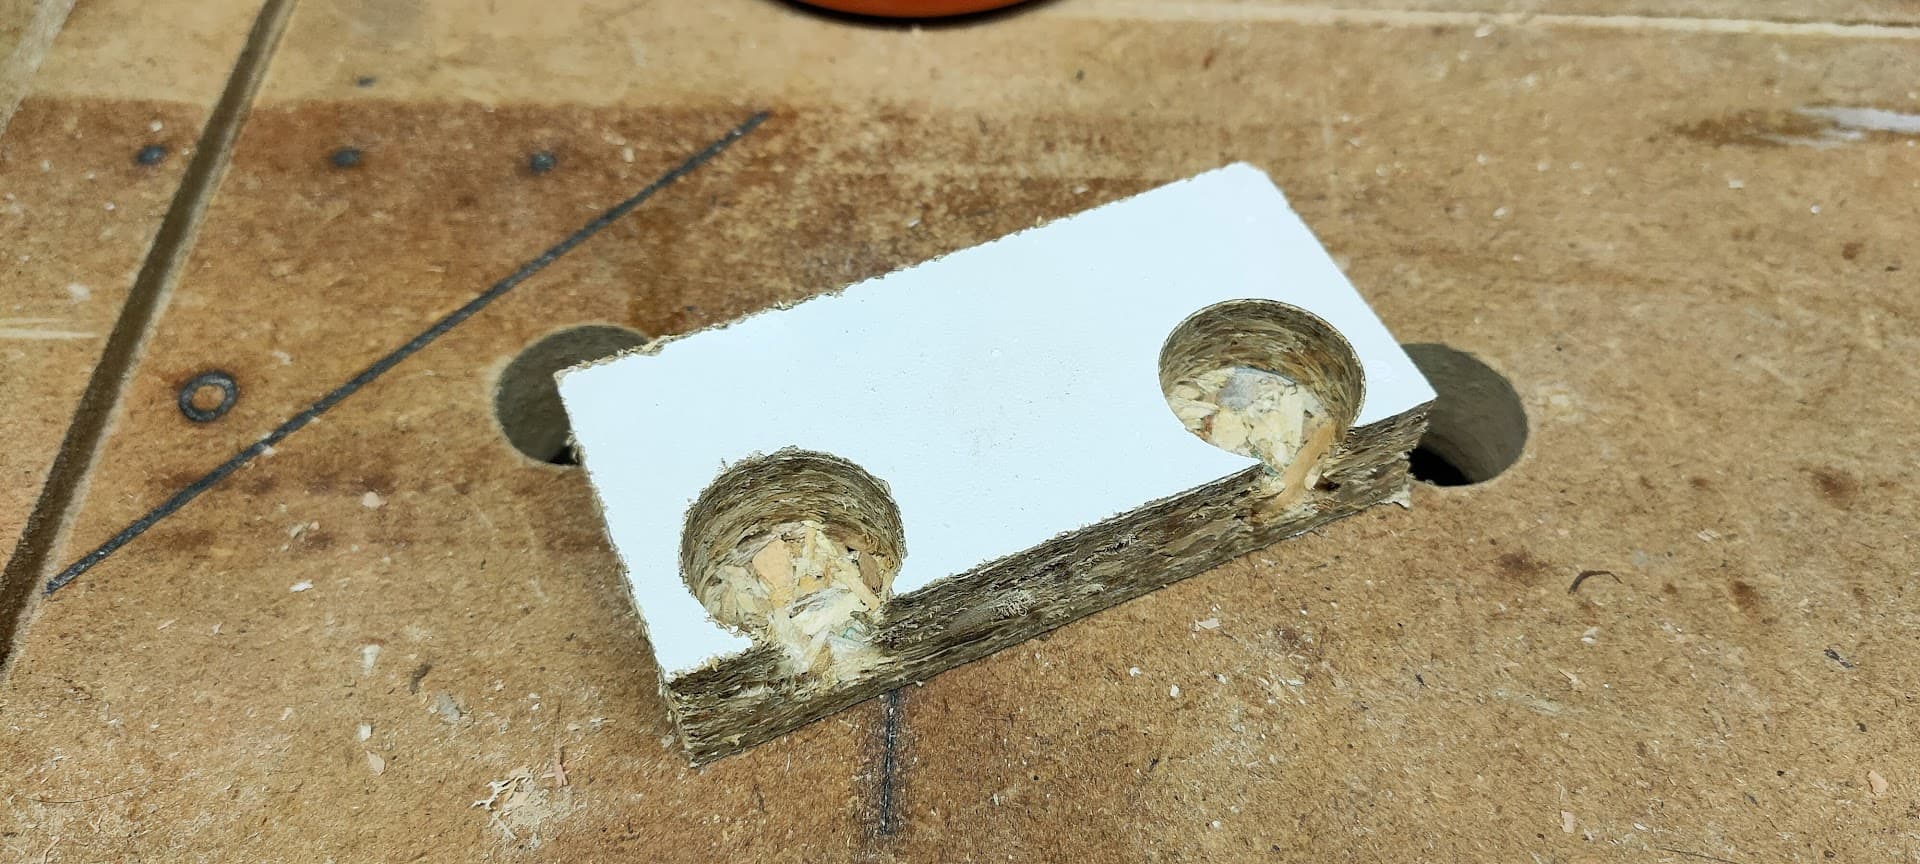
The next question is “How do I assemble the panels?”
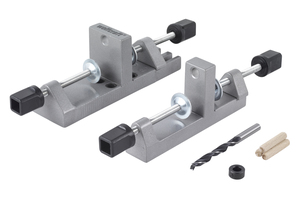
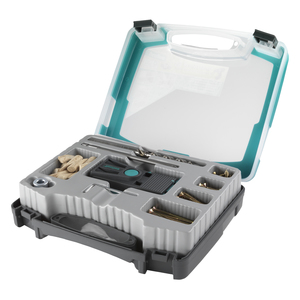
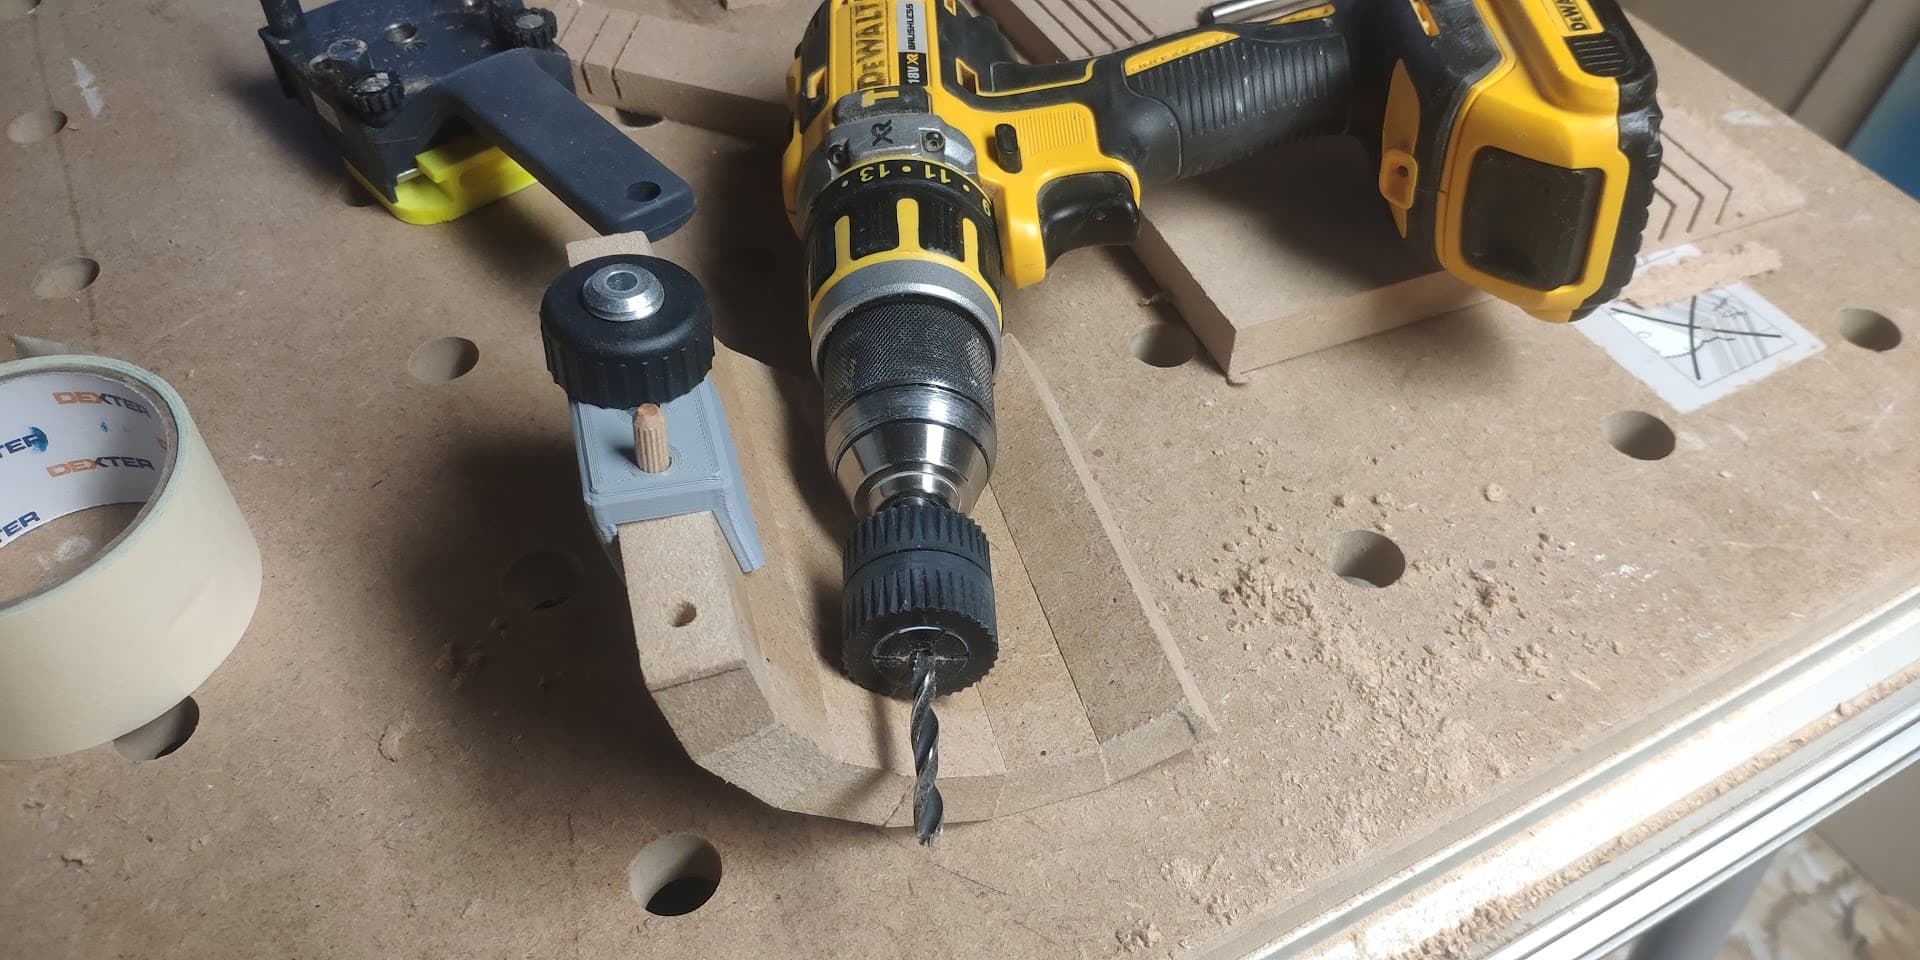
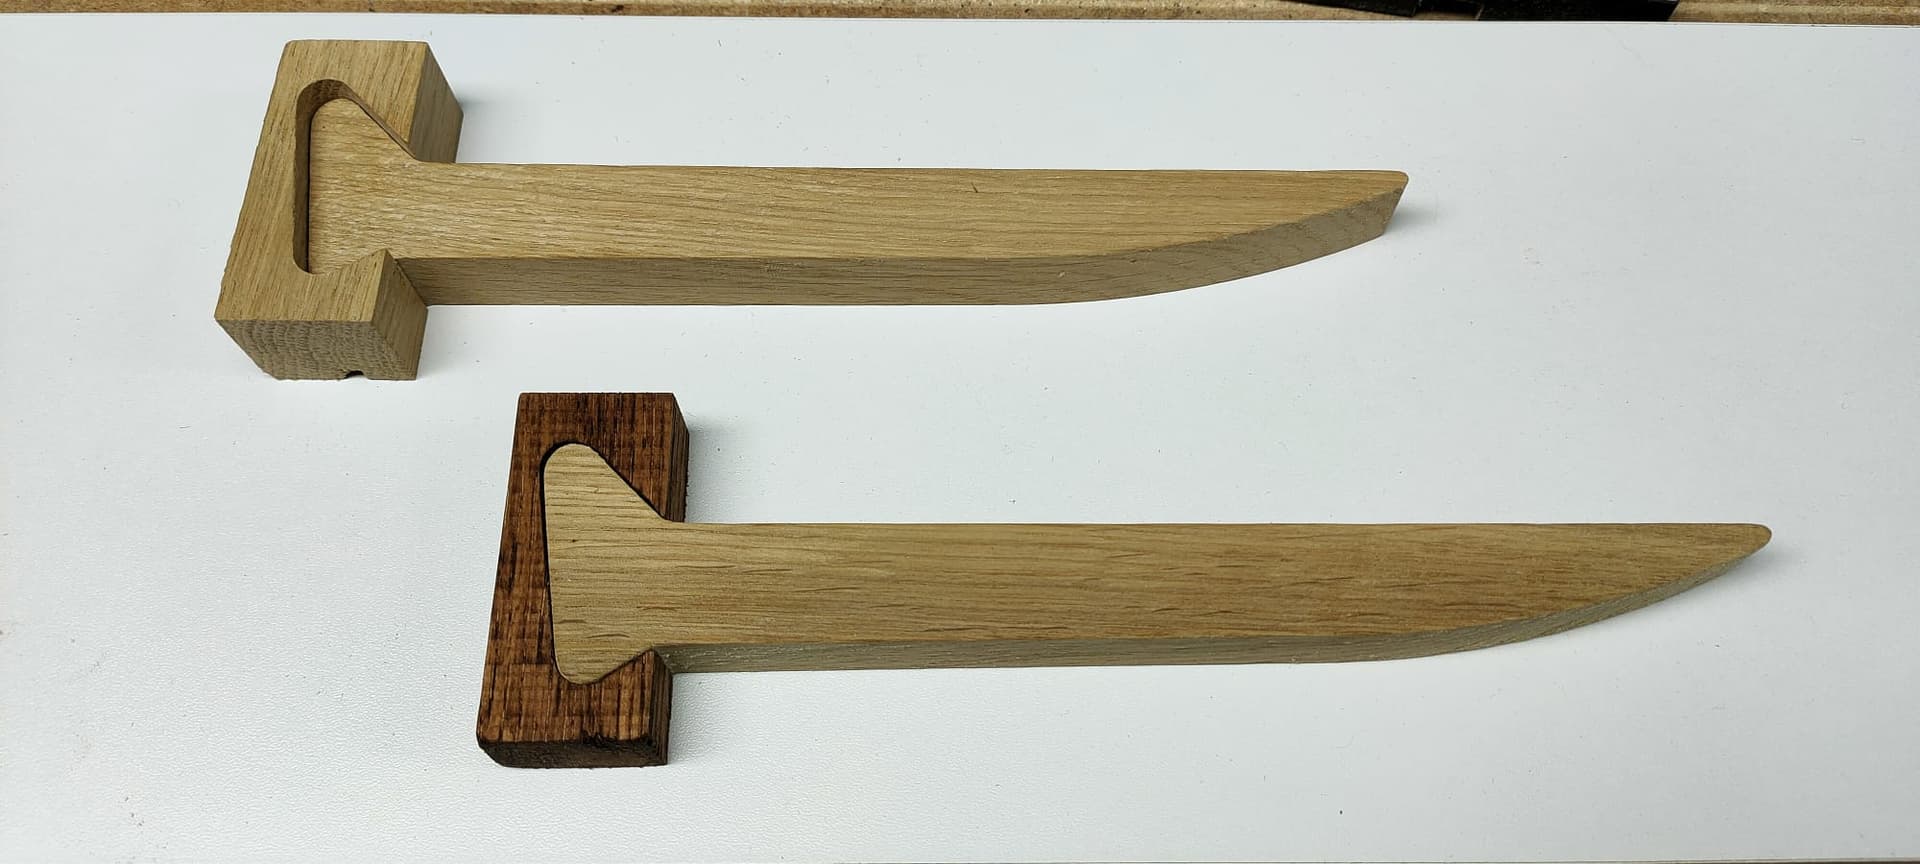
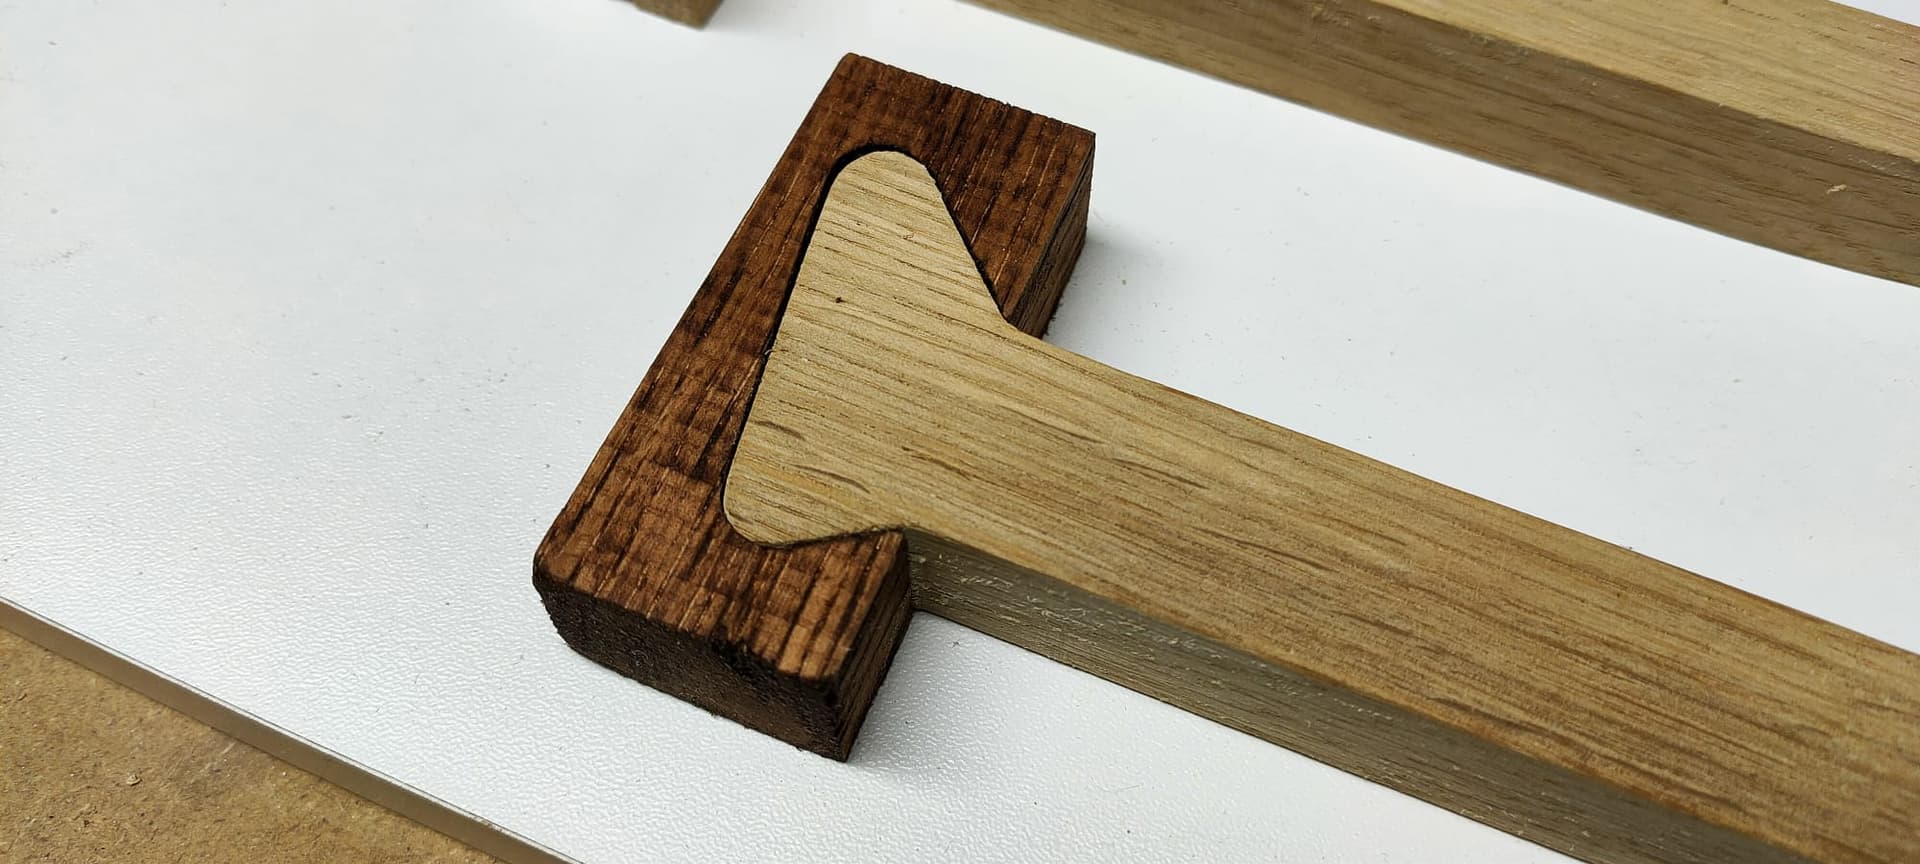
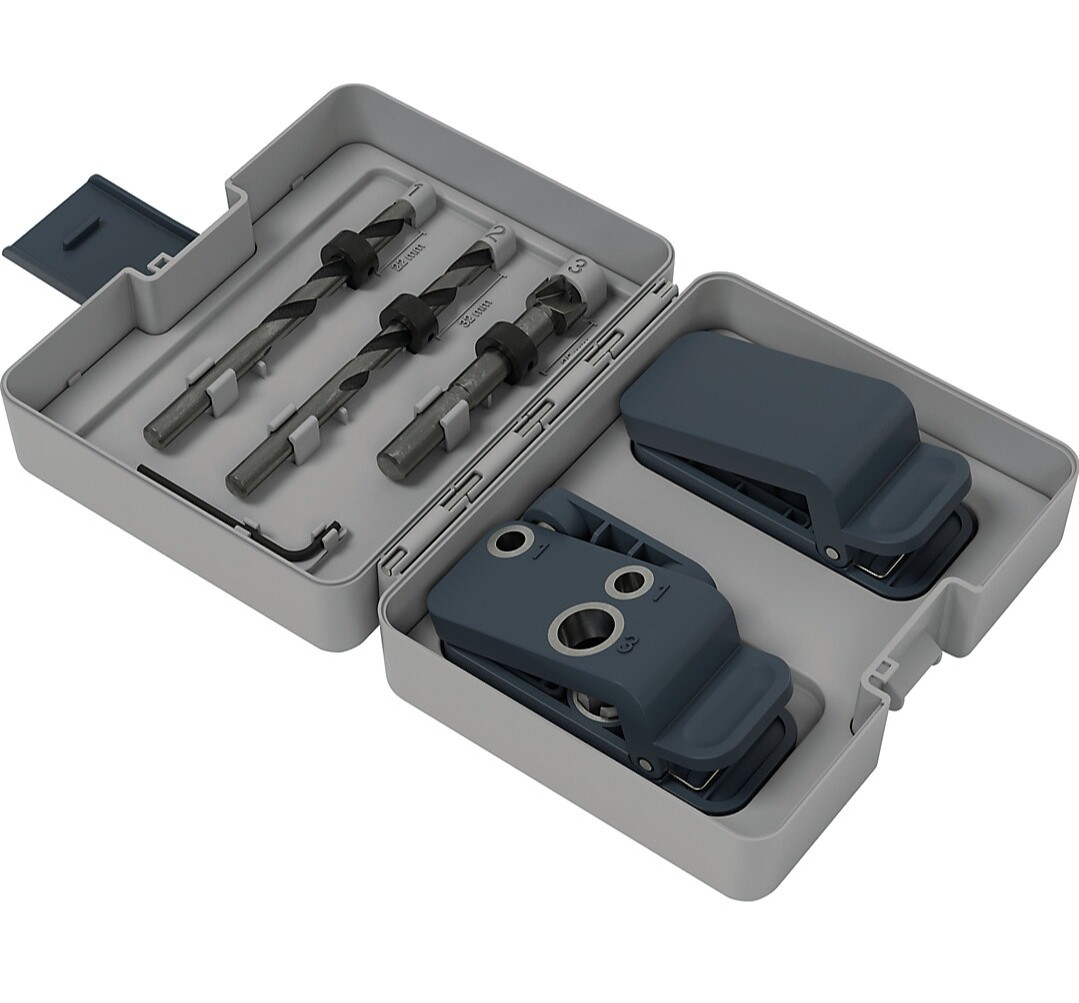
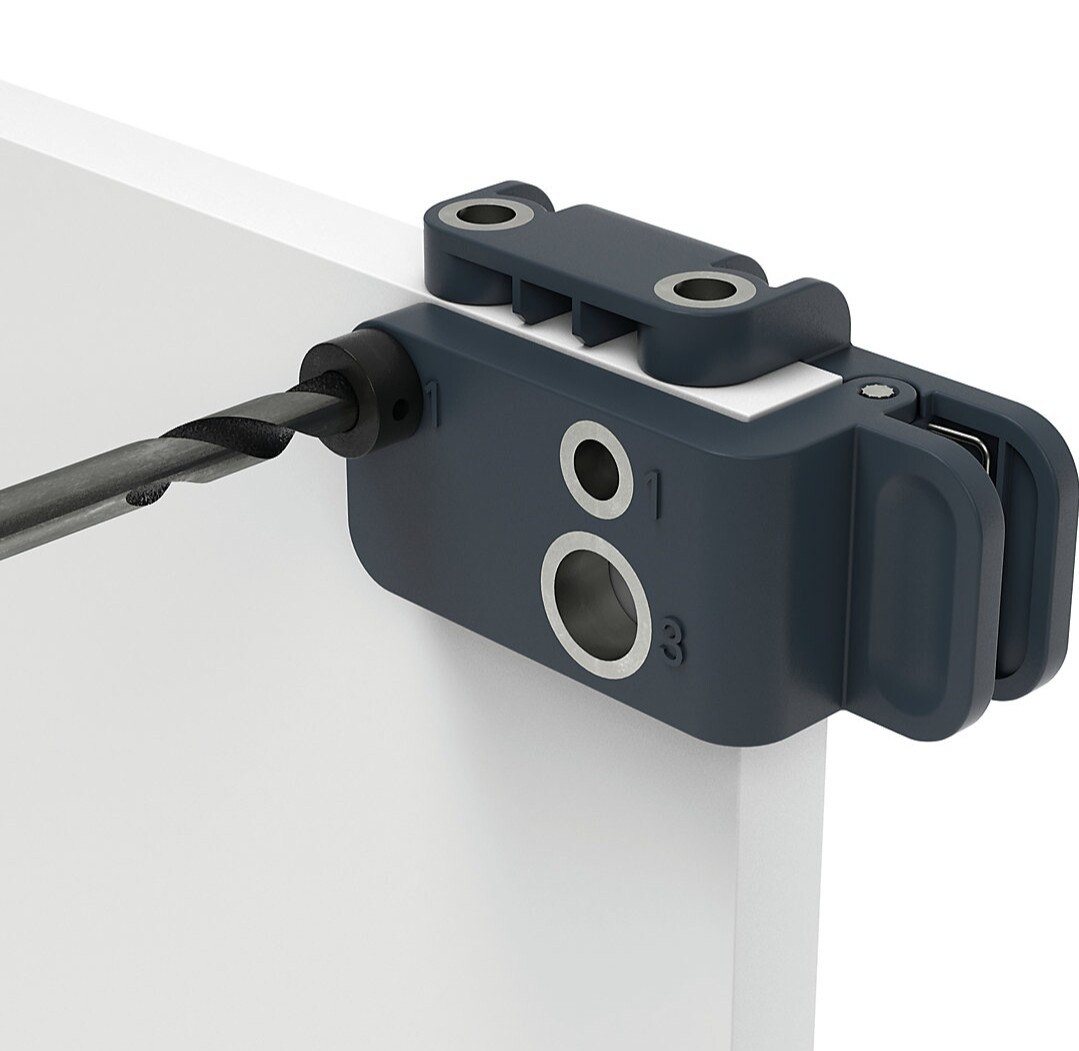
Traditionaly, I’ve been using a doweling jig and 8mm dowels for this, plus some glue to hold everything together…
I’d like the cabinets to be easily assembled/disassembled if need be, so I’m thinking of using some kind of assembly hardware instead of glue
Here are the options I’ve seen so far:
- Pocket holes
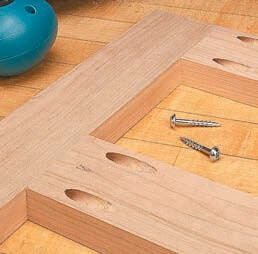
Pros:
- Cheap
Cons: - Fiddly (I have a jig for this, never really liked it…)
- Totally manual operation,
Note: I’ve seen a video about CNC-cutting pocket holes, has anyone tried this?

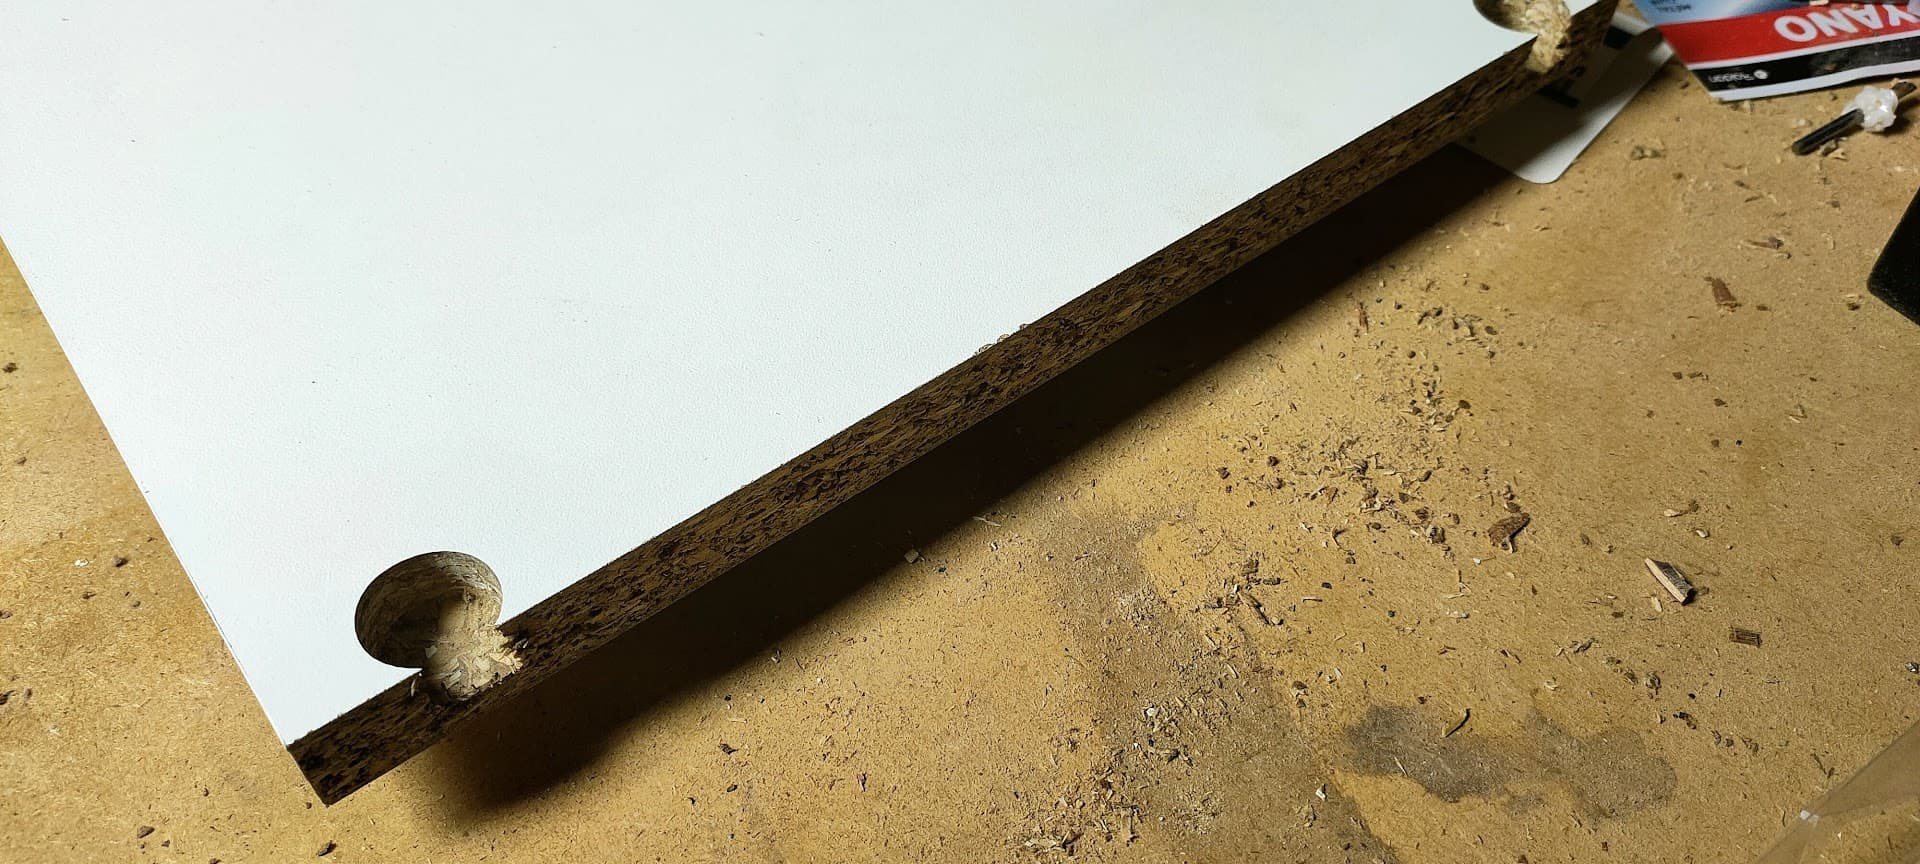
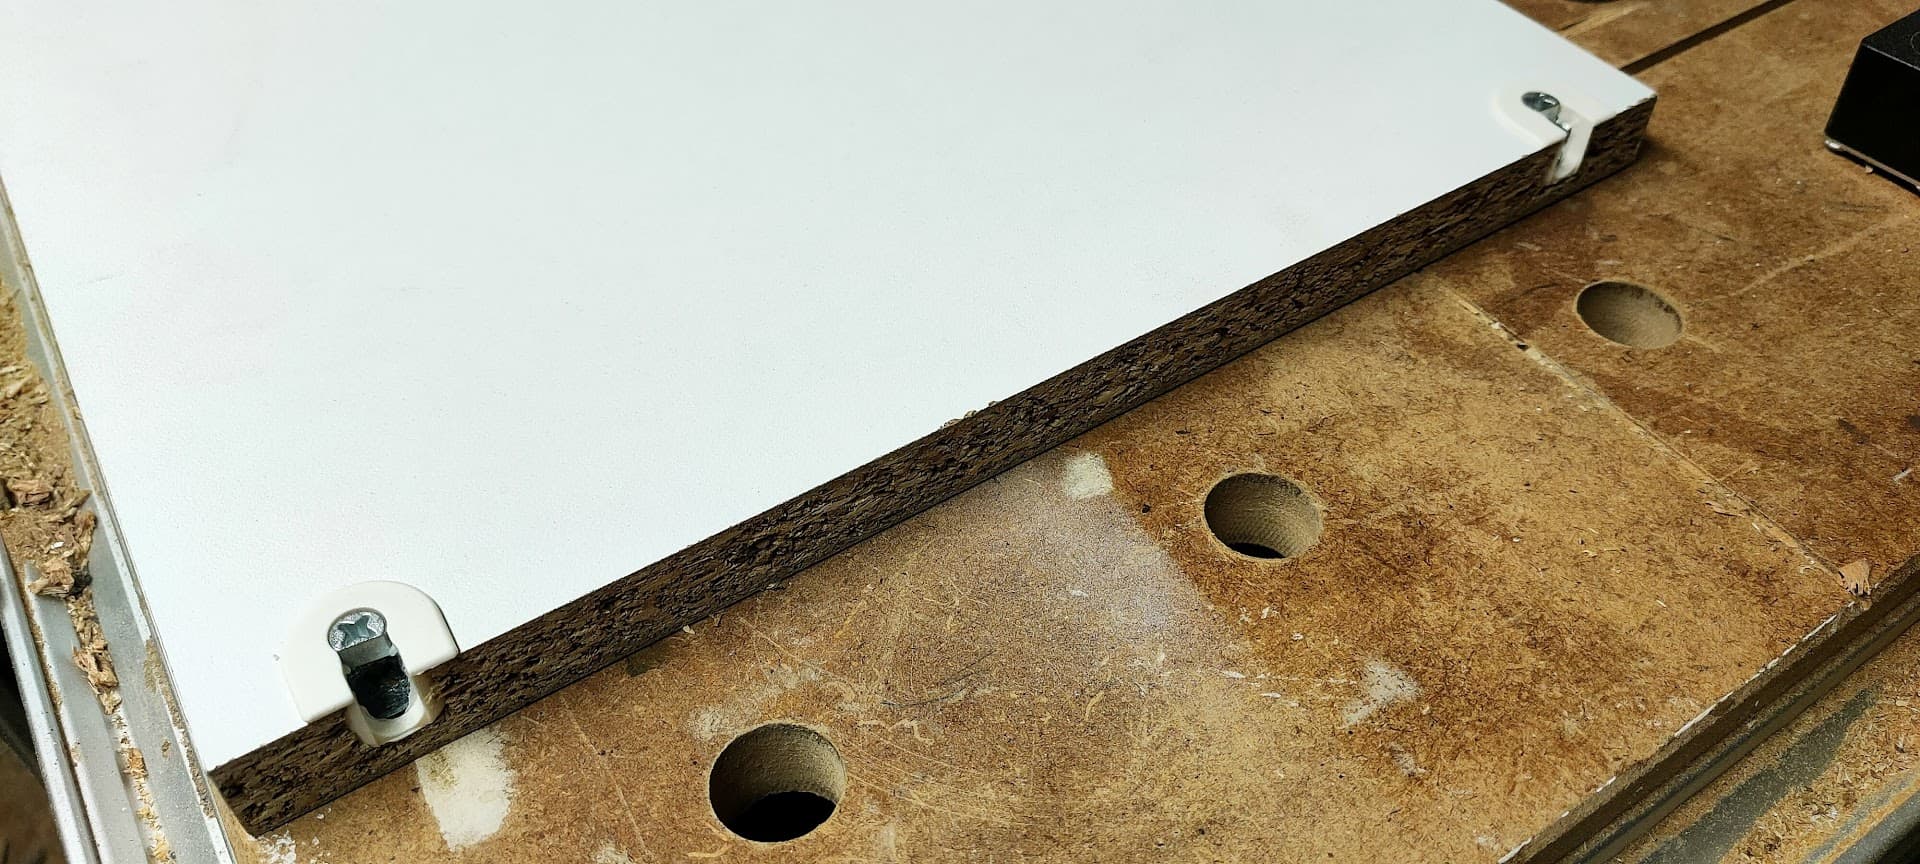
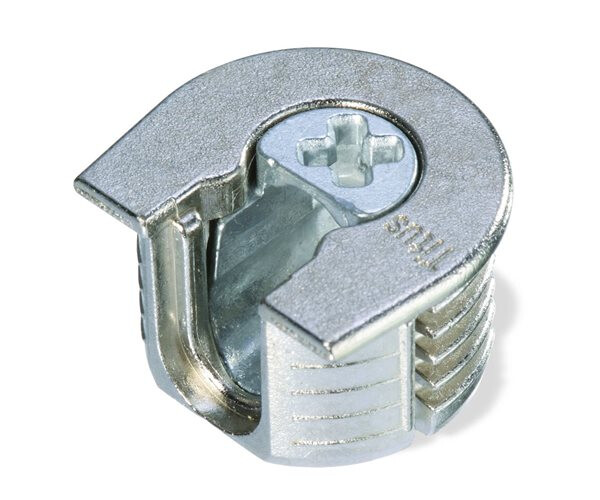
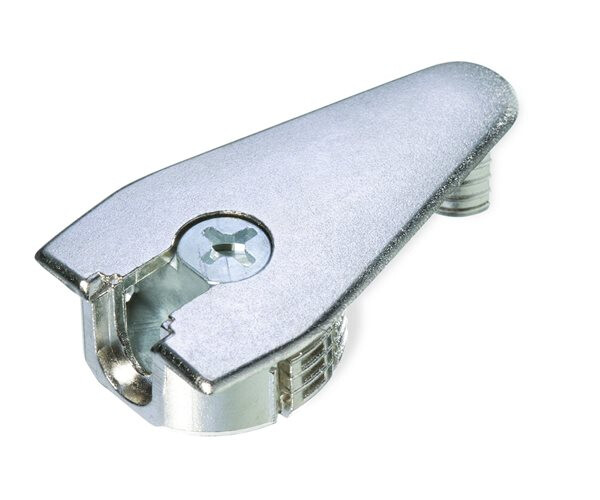
- Rastex/Minifix connectors
Price: 0.60€/piece - need 18
Pros:
- Easy to buy (hardware store)
- Good strength
- Accomodates different thickness of stock
Cons: - Needs a manual drilling operation on the side of the tablet, not fully cnc cut.
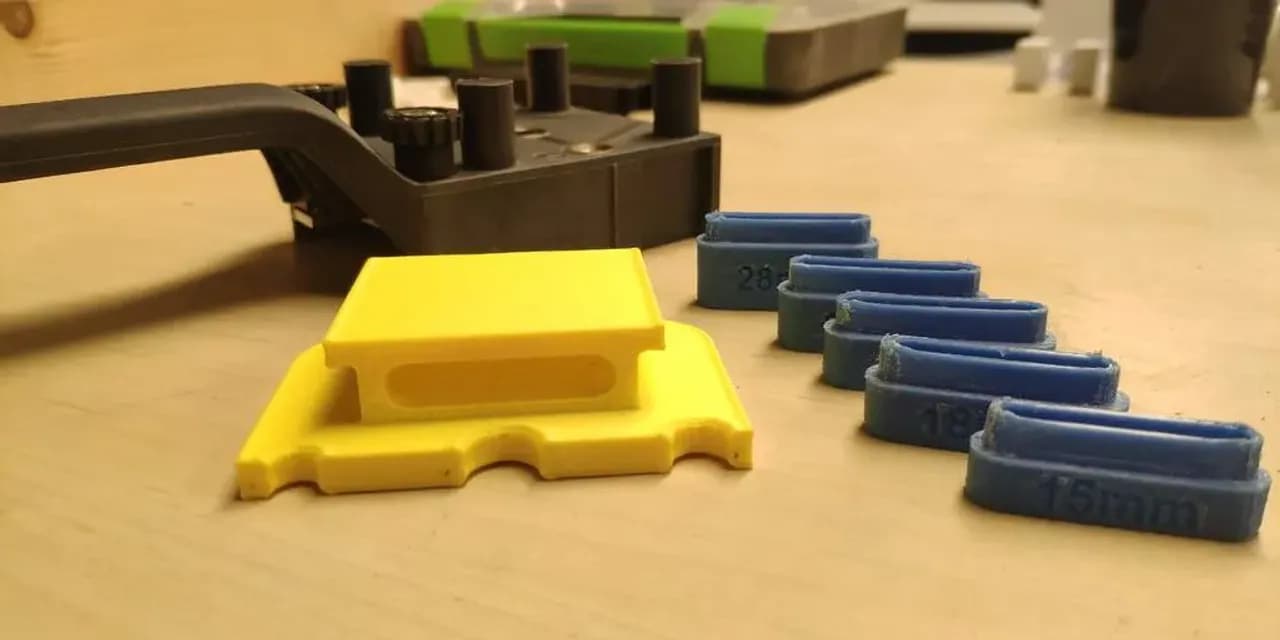
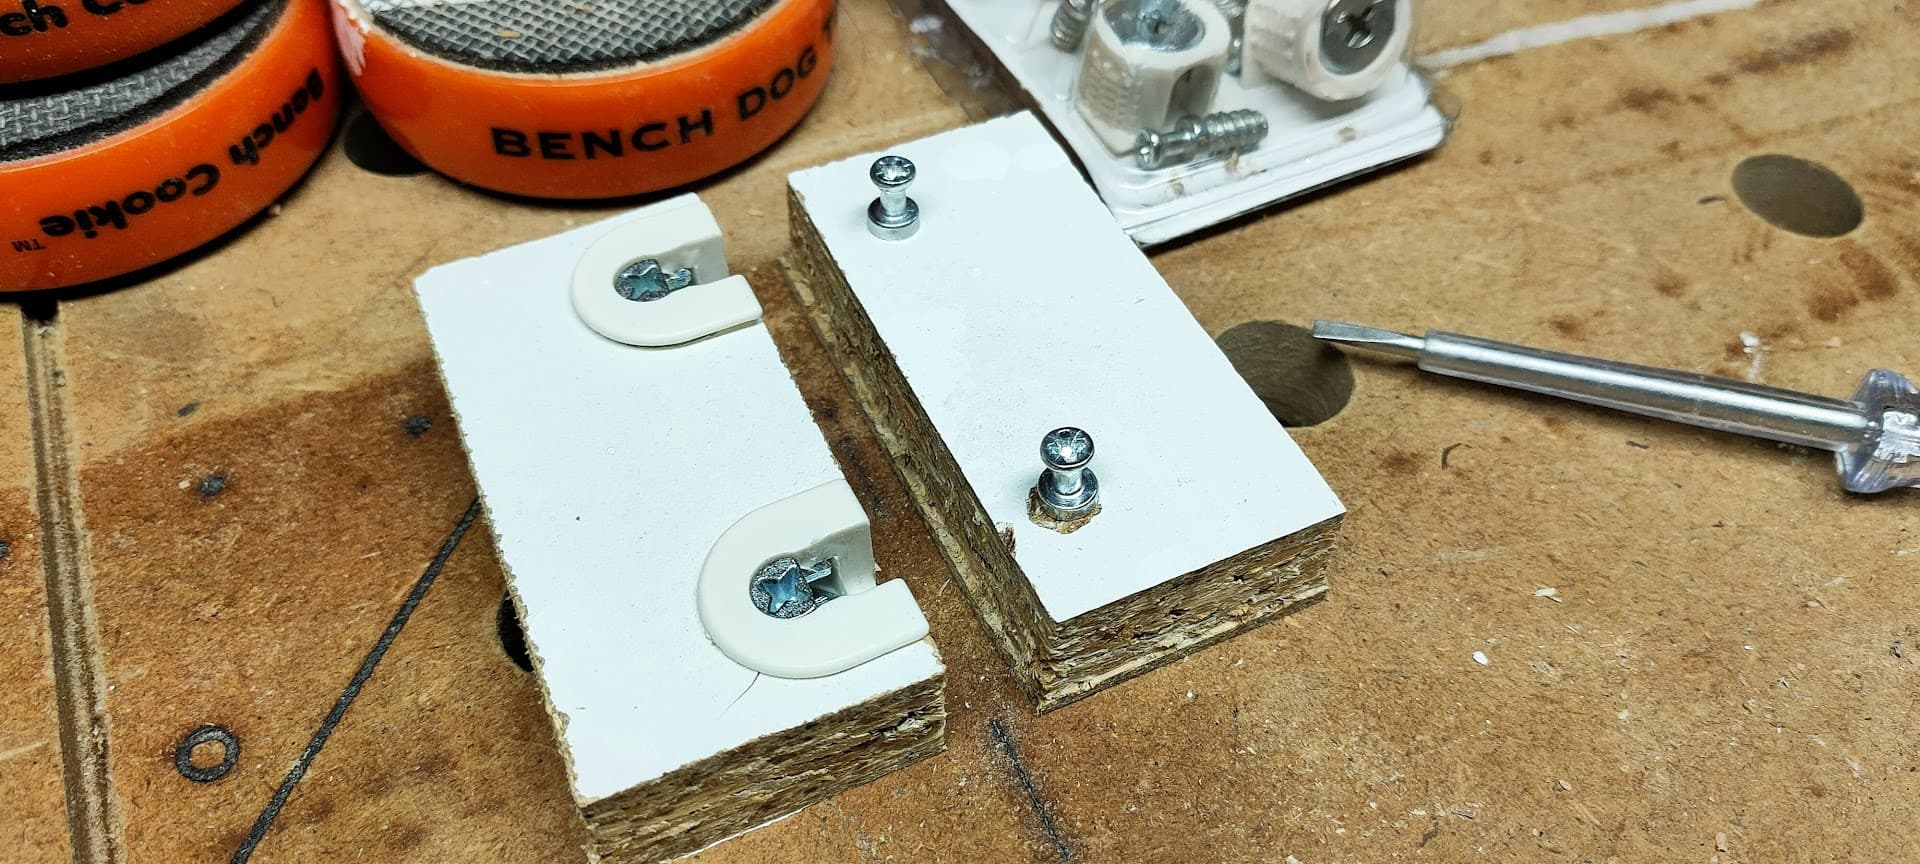
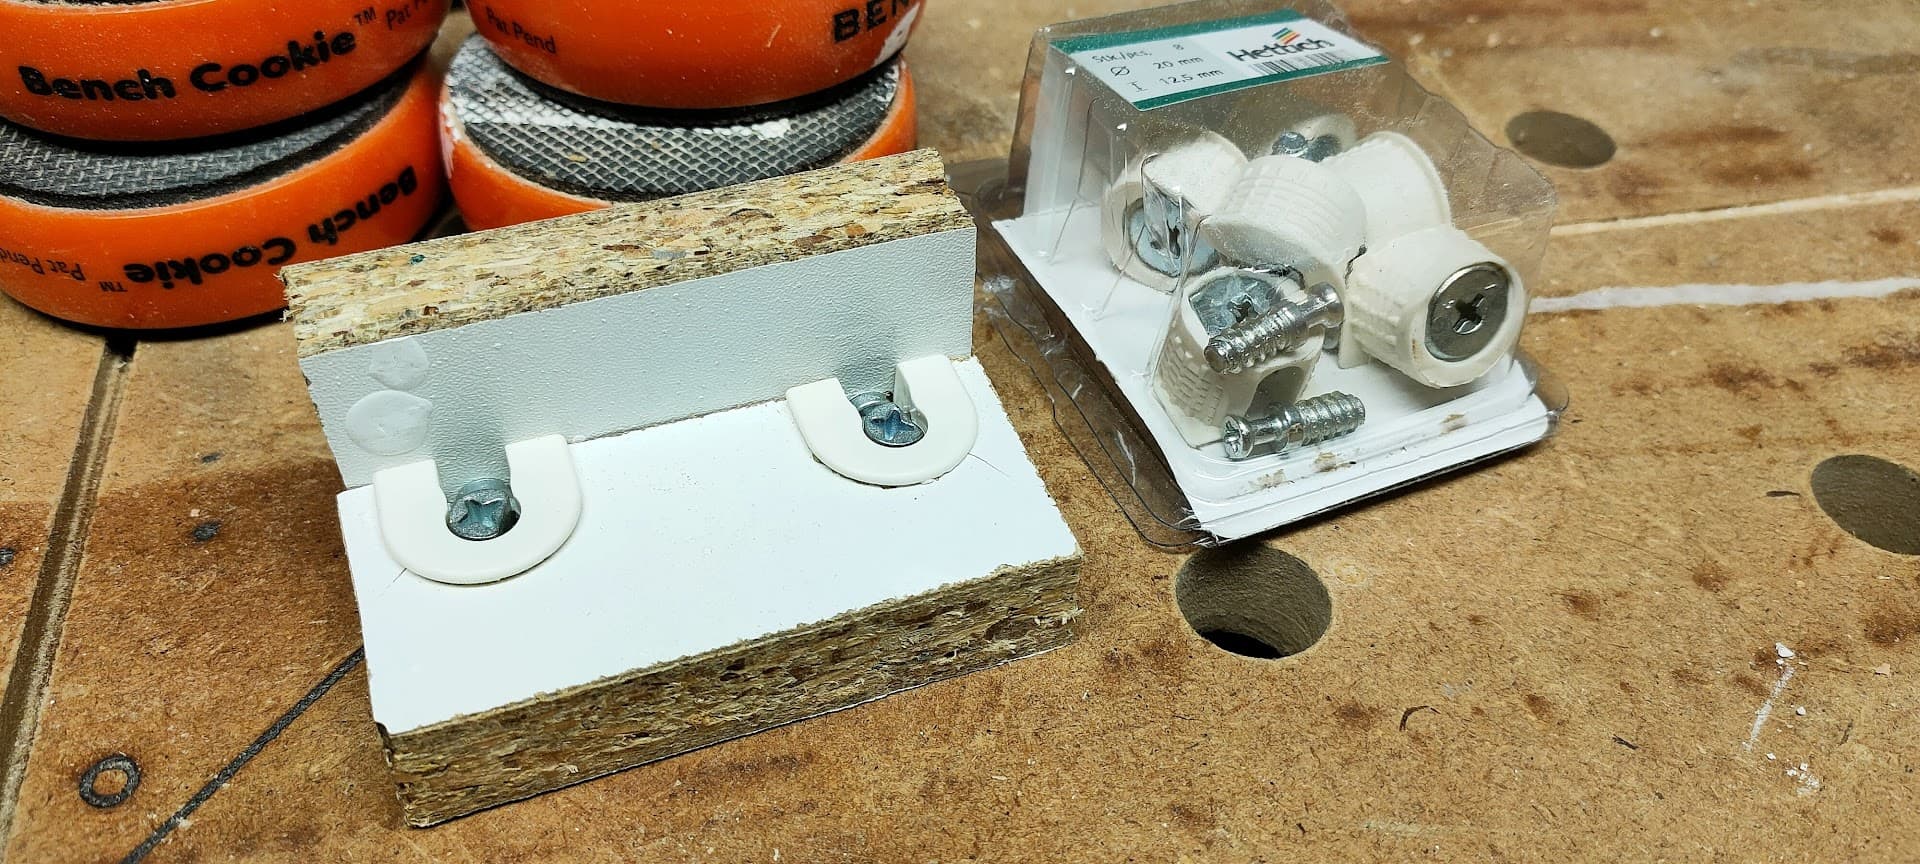
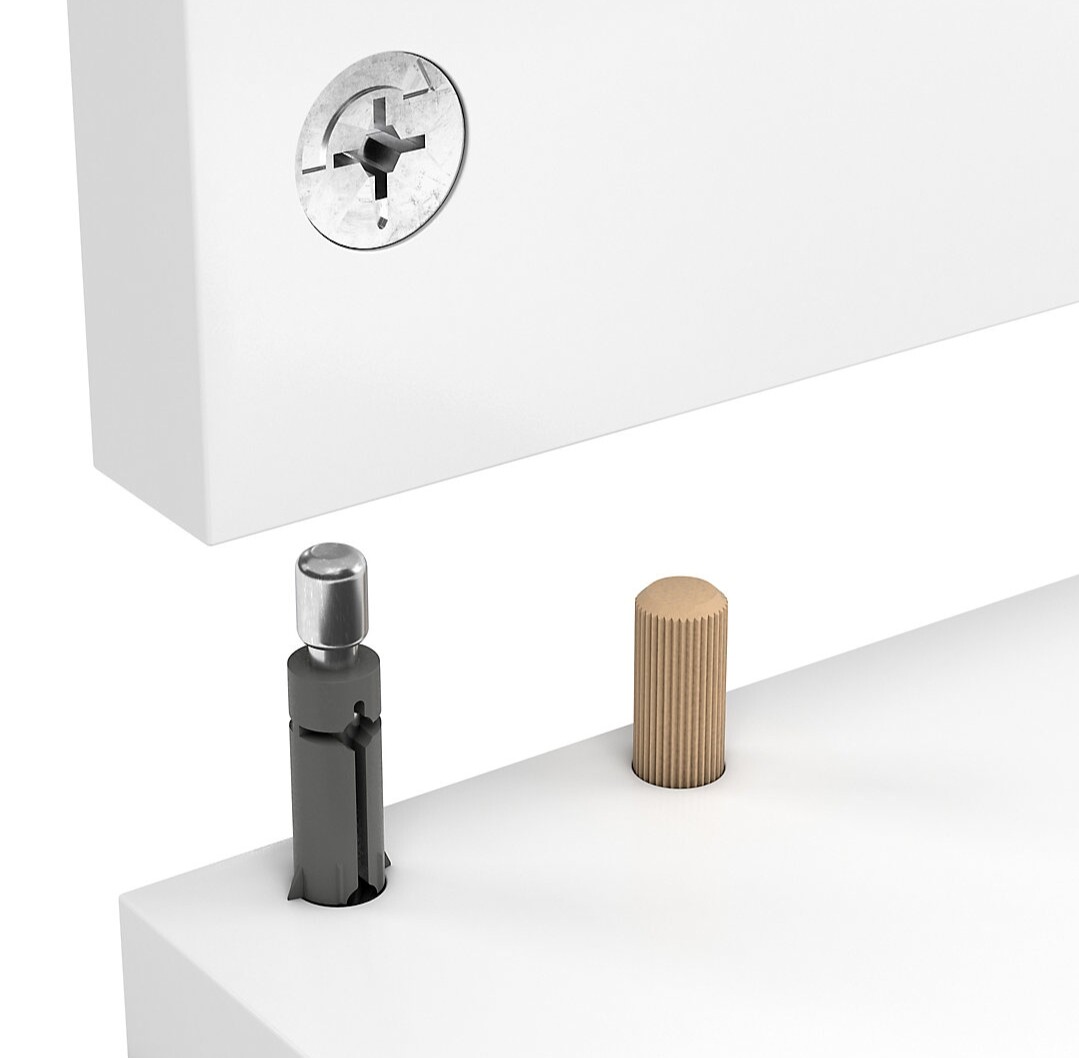
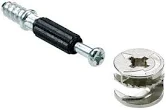
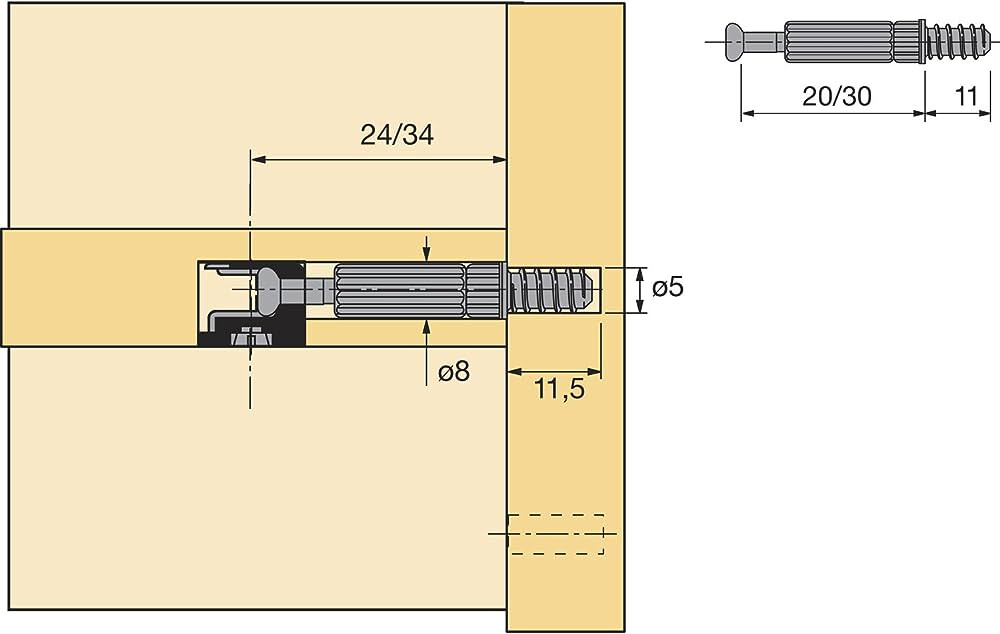
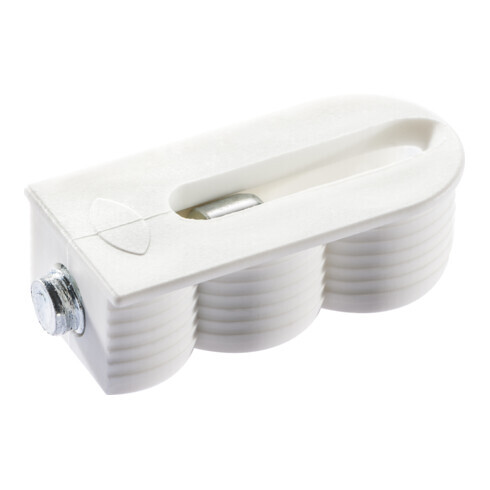
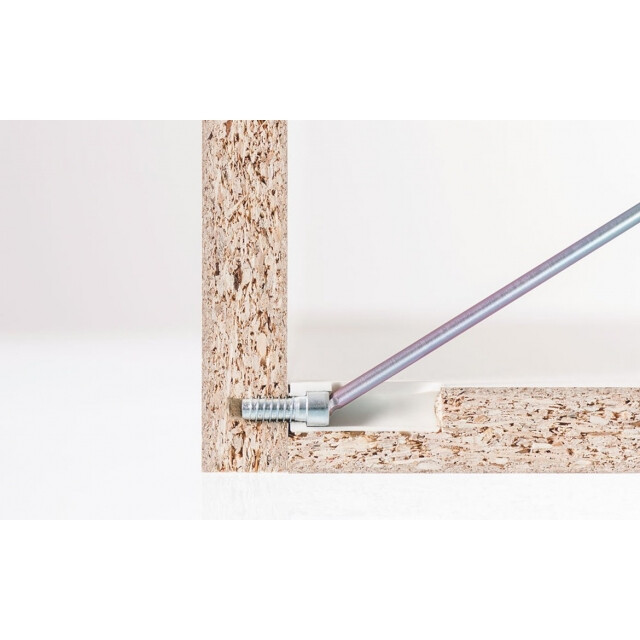
- Expando / Quickfix cam-style connectors
Price: 0.86€/piece - need 18
Pros:
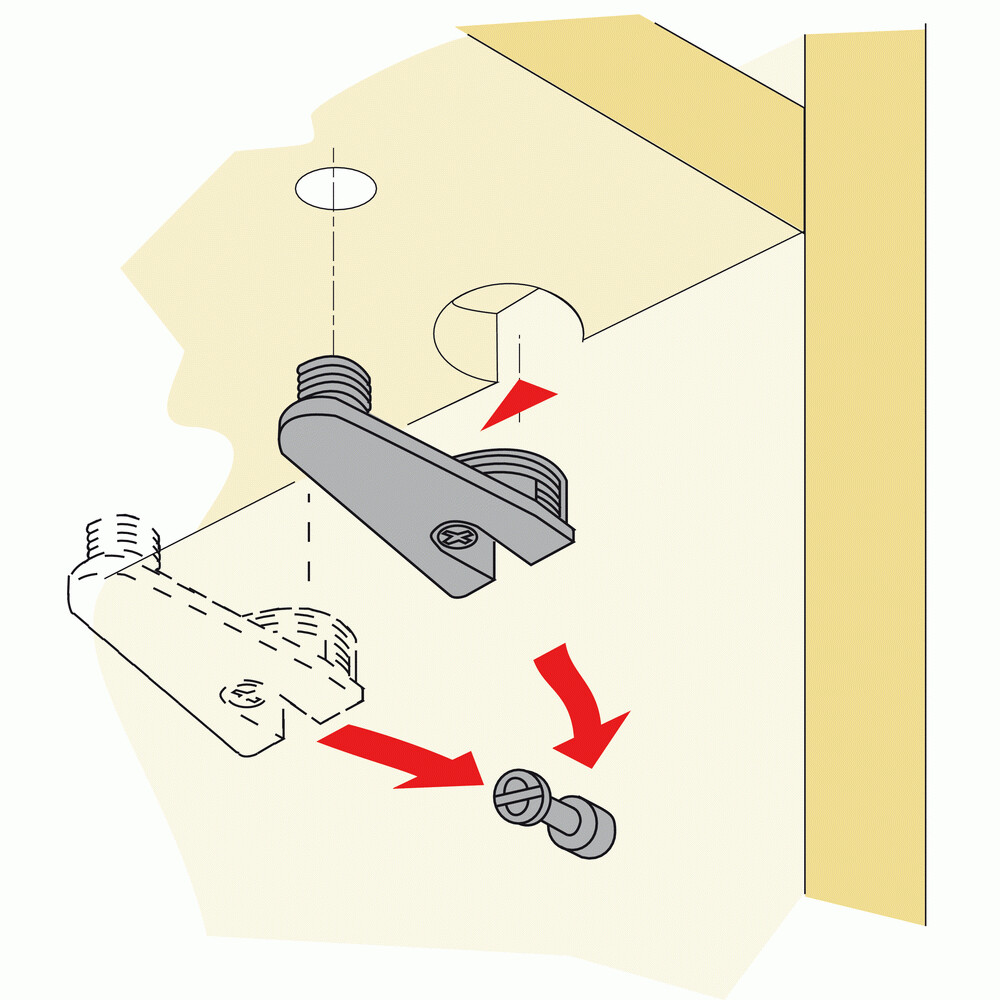
- Easy to buy (hardware store)
- Only requires surface milling operations
- Integrates with System32 holes
Cons: - Concerns about strength (justified?)
- Only fits 16mm and 19mm boards. (the ones I can easily buy are 18mm thick)
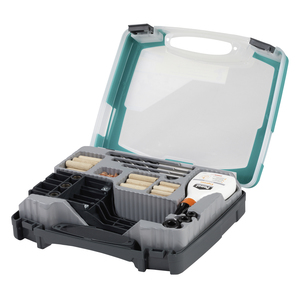
- Cabineo
Price: 0.18€/piece… but you need to buy in bulk, either115€ starter kit (you need a specific screwdriver) for 80 pieces or 190€ for 500/pieces
Pros:
- Strength
- Only requires surface milling operations
- Integrates with System32 holes
Cons: - Price
- Not easy to buy (bulk packaging, and specialized profesionnal distribution)
Questions:
Right now, I’m leaning toward the Expando fittings as they offer an interesting mix between price, automation capability and availability
Are there any other fittings that would fit the bill?
Any other way to assemble I wouldn’t have thought of (keyhole maybe?)
#############################
3 - Cutting/Machining
#############################
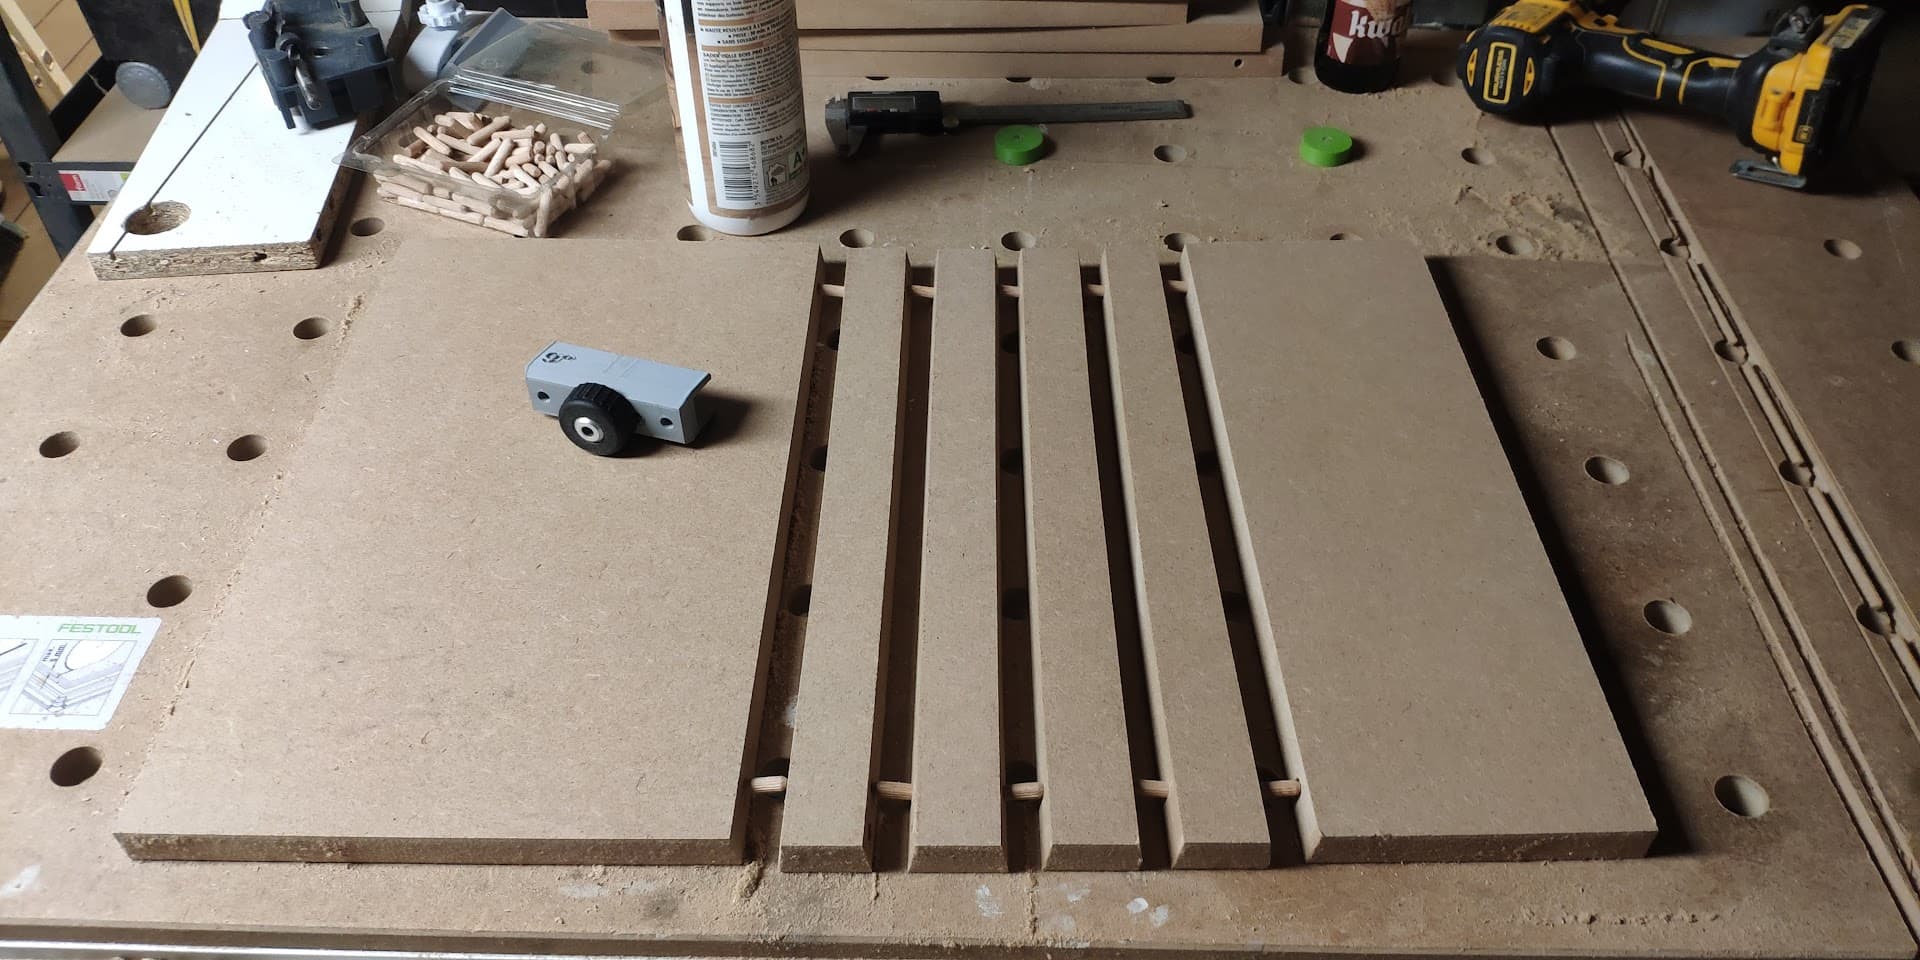
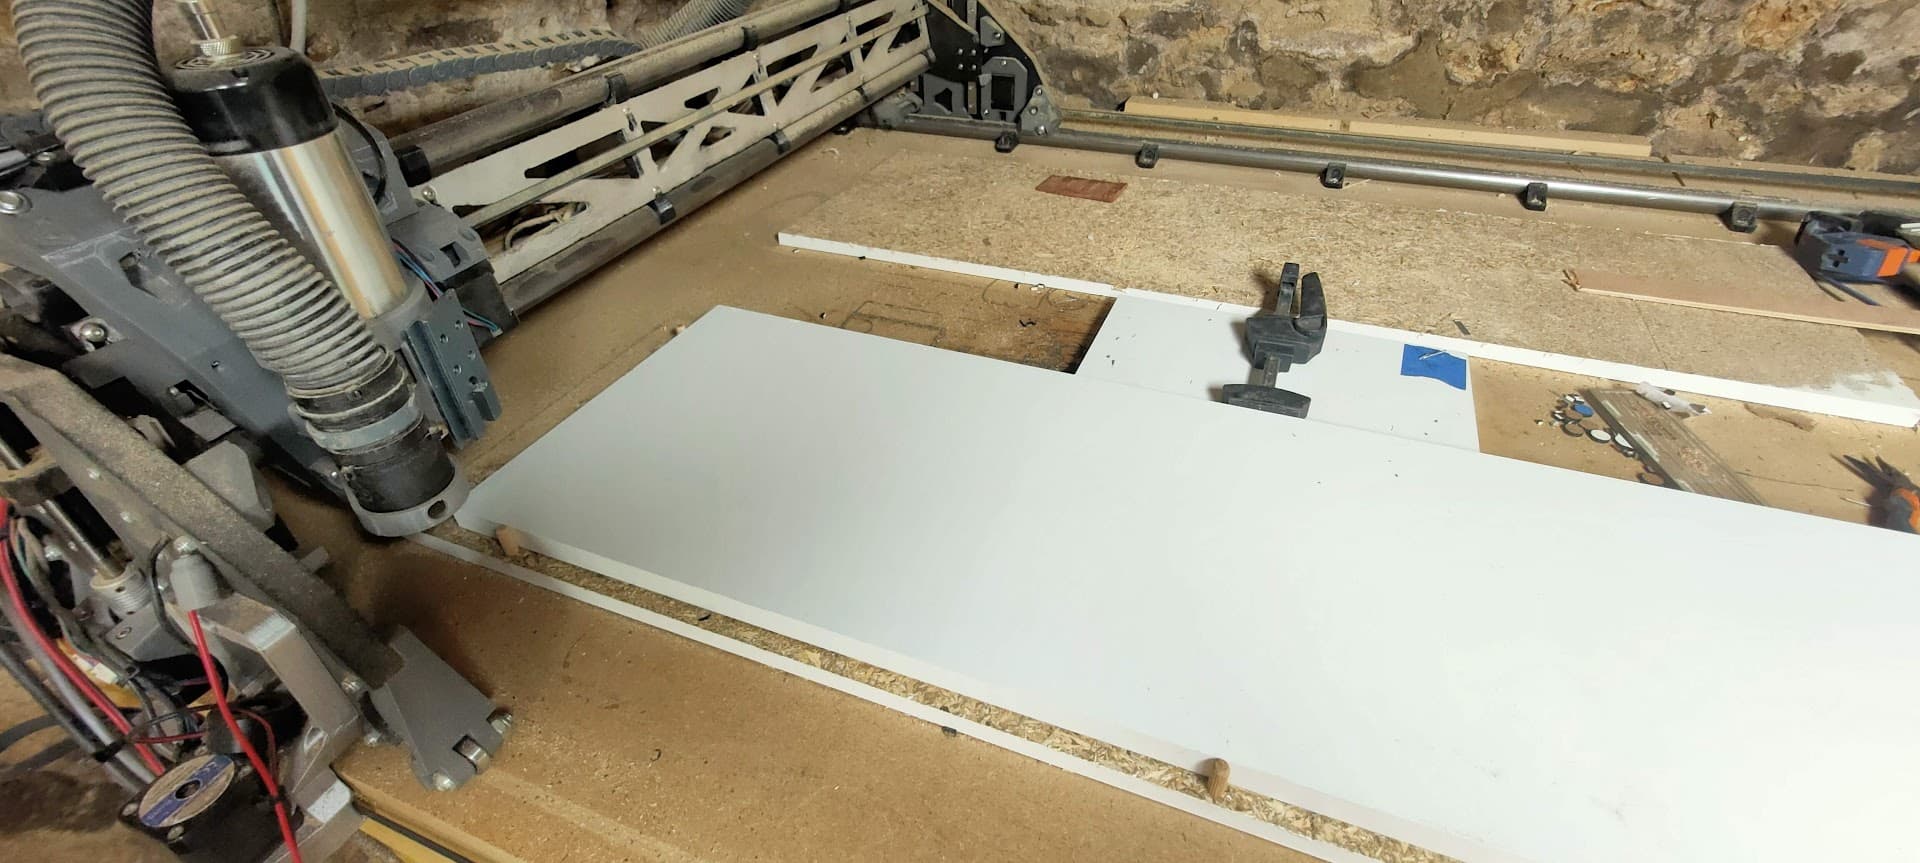
As previously stated, I’ll probably cut those out of 250x30x18mm tablets
They’re more readily available, and easier to handle for me
Also, they come already fitted with 3 sideed edge banding
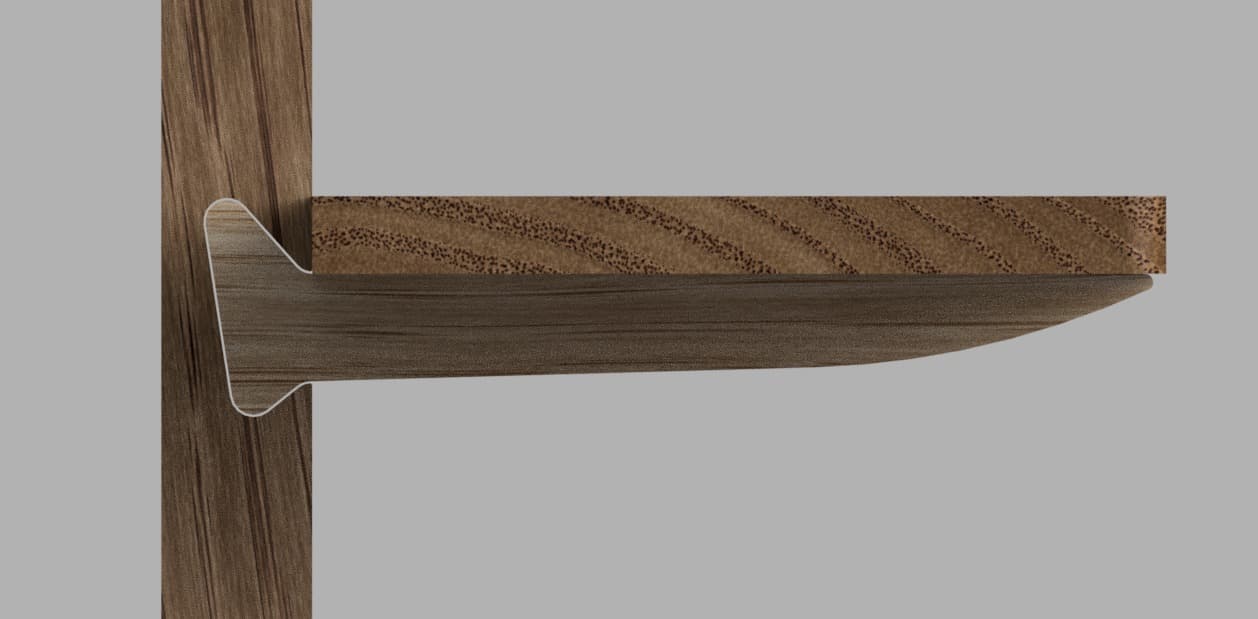
How would you go about machining this so that everything is square and true?
I was thinking about cutting an “L-shaped” form on one end of the spoilboard, and then reference the tablet to this feature
Anyone already did similar work and could provide some advices?
As always, thanks to every member of the community who take the time to read and respond to this
The goal is to be able to conclude this project with success, but also share the knowledge and give ideas to others, so, feel free to elaborate on the subject ![]()