Ryan does a neat two plane thing in unsupported screw holes, to convince the slicer to just make the jump. I am lazy and I just make a 0.2mm thick plane over the hole and the slicer will do the overhang. Then I either drill them out, or more likely (still lazy) I just punch through with the bolt. If I thought more than 10 copies of my parts were going to be printed, I would do the two plane thing that Ryan does. But it is a little less work to just extrude a plate.
I have seen that done & if I was worried about the structure of the part probably would do something like that. These just hold the board in place & there is 2.3mm depth of plastic to hold it in place, so for this application I think it is sufficient & requires no post processing. On the side plates of my rolling plotter design where I cared about the structure, I let PrusaSlicer add the supports & just punched them out with a drill bit or allen wrench.
do you have files for the endstop mount thats the last part i need to finish mine
How did you mount your ttl bord
Who was this meant to be for Bradyn? If you are looking for the file for the y axis limit switch bracket it is in ‘stage 2’ on my Google drive.
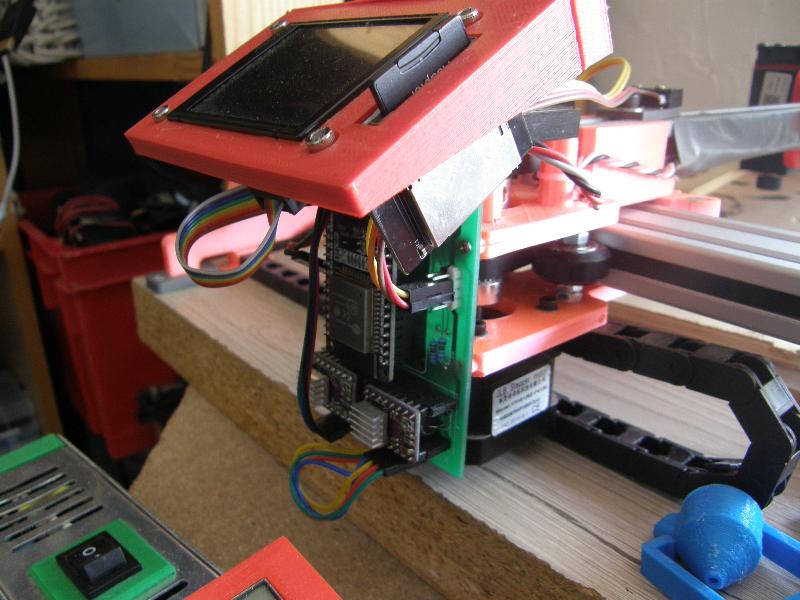
If you are asking me how I mounted my controller board, it screws onto the upper and lower frames…
I did not use endstops, but here is a simple mount I made that might work for you. You will need some type of stop for it to hit though. I will look thru my files more carefully later to see what else I have.
limit switch plate v5.zip (8.7 KB)
I don’t really have anything for the endstops other than what I posted and do not have the time to design something at the moment, sorry.
I finally got around to testing the laser with the UNO board & everything works. I realized this morning that my custom board might work since I had only hooked it up to 12v & not realizing I needed to have the 5v usb connected to see any lights lit up. Before testing the UNO board, I tested Mike’s custom board again & it all works except for the laser. The fan starts on the laser, so it is getting 12v. It is just the PWM line that is not working. I am not going to bother troubleshooting that for now since I have a board that works.
When testing the motors on the UNO board, I forgot to add the 3 jumpers for the step size & that machine really zinged when I moved it 10mm. I was glad I had the motor wires in wrong direction otherwise the carriage would have rolled over some wires. I moved it only 1mm at a time on the test after adding jumpers. I have to rewire the two leads on the laser harness so they are male pins on the 12v & GND connection. Think I would prefer to have the EleksMaker Mana board, but want to make sure my grounding problem is actually fixed this time before putting a more expensive board on there.
ok thanks dave!
anyone THANK you
That link is broken, for anyone interested the new link to the original project is now https://www.modelflying.co.uk/forums/index.php?/topic/44406-a-different-kind-of-build/#comments
1 Like
What is the proper laser settings in grbl? In lightburn, if I have $32=0 I can use laser focus, but then the laser stays on between non burn moves. It I set $32=1, I can not focus the laser or fire the laser at higher power. Also with $32=1 the laser does not turn up to high enough power to burn when running job. The job is running at 2400mm/min with 50% power with $32=0 or 1. I there another setting I need to change? Here are my current settings. Also are there some good starting points for the $110,$111 & $120,$121 settings?
grbl_0618_2021.zip (640 Bytes)
Hey, Dave! You might be interested in a focus script that does bidirectional scanning and uses M4 and $32=1… I created it in Lightburn and is used similarly to Ryan’s original script. I’ll also include my GRBL settings but I think they are reasonably close to yours. If you have $30=1000 you probably also need to insure the S parameter in your gcode matches…
GRBL_focus.zip (1.2 KB)
2 Likes
I changed the burn power to 90% on the 1st burn & it worked this time. I was probably moving too fast for it to burn. Still not sure why I can’t focus with $32=1. Thanks for the focus script, but I had seen that before & since I am not currently using a Z-axis it does not help me. Maybe I should post a message to the lightburn forum. Here is the test burn I did in a 2x4. The 1st little burn at bottom was previous test before I stopped it.
1 Like
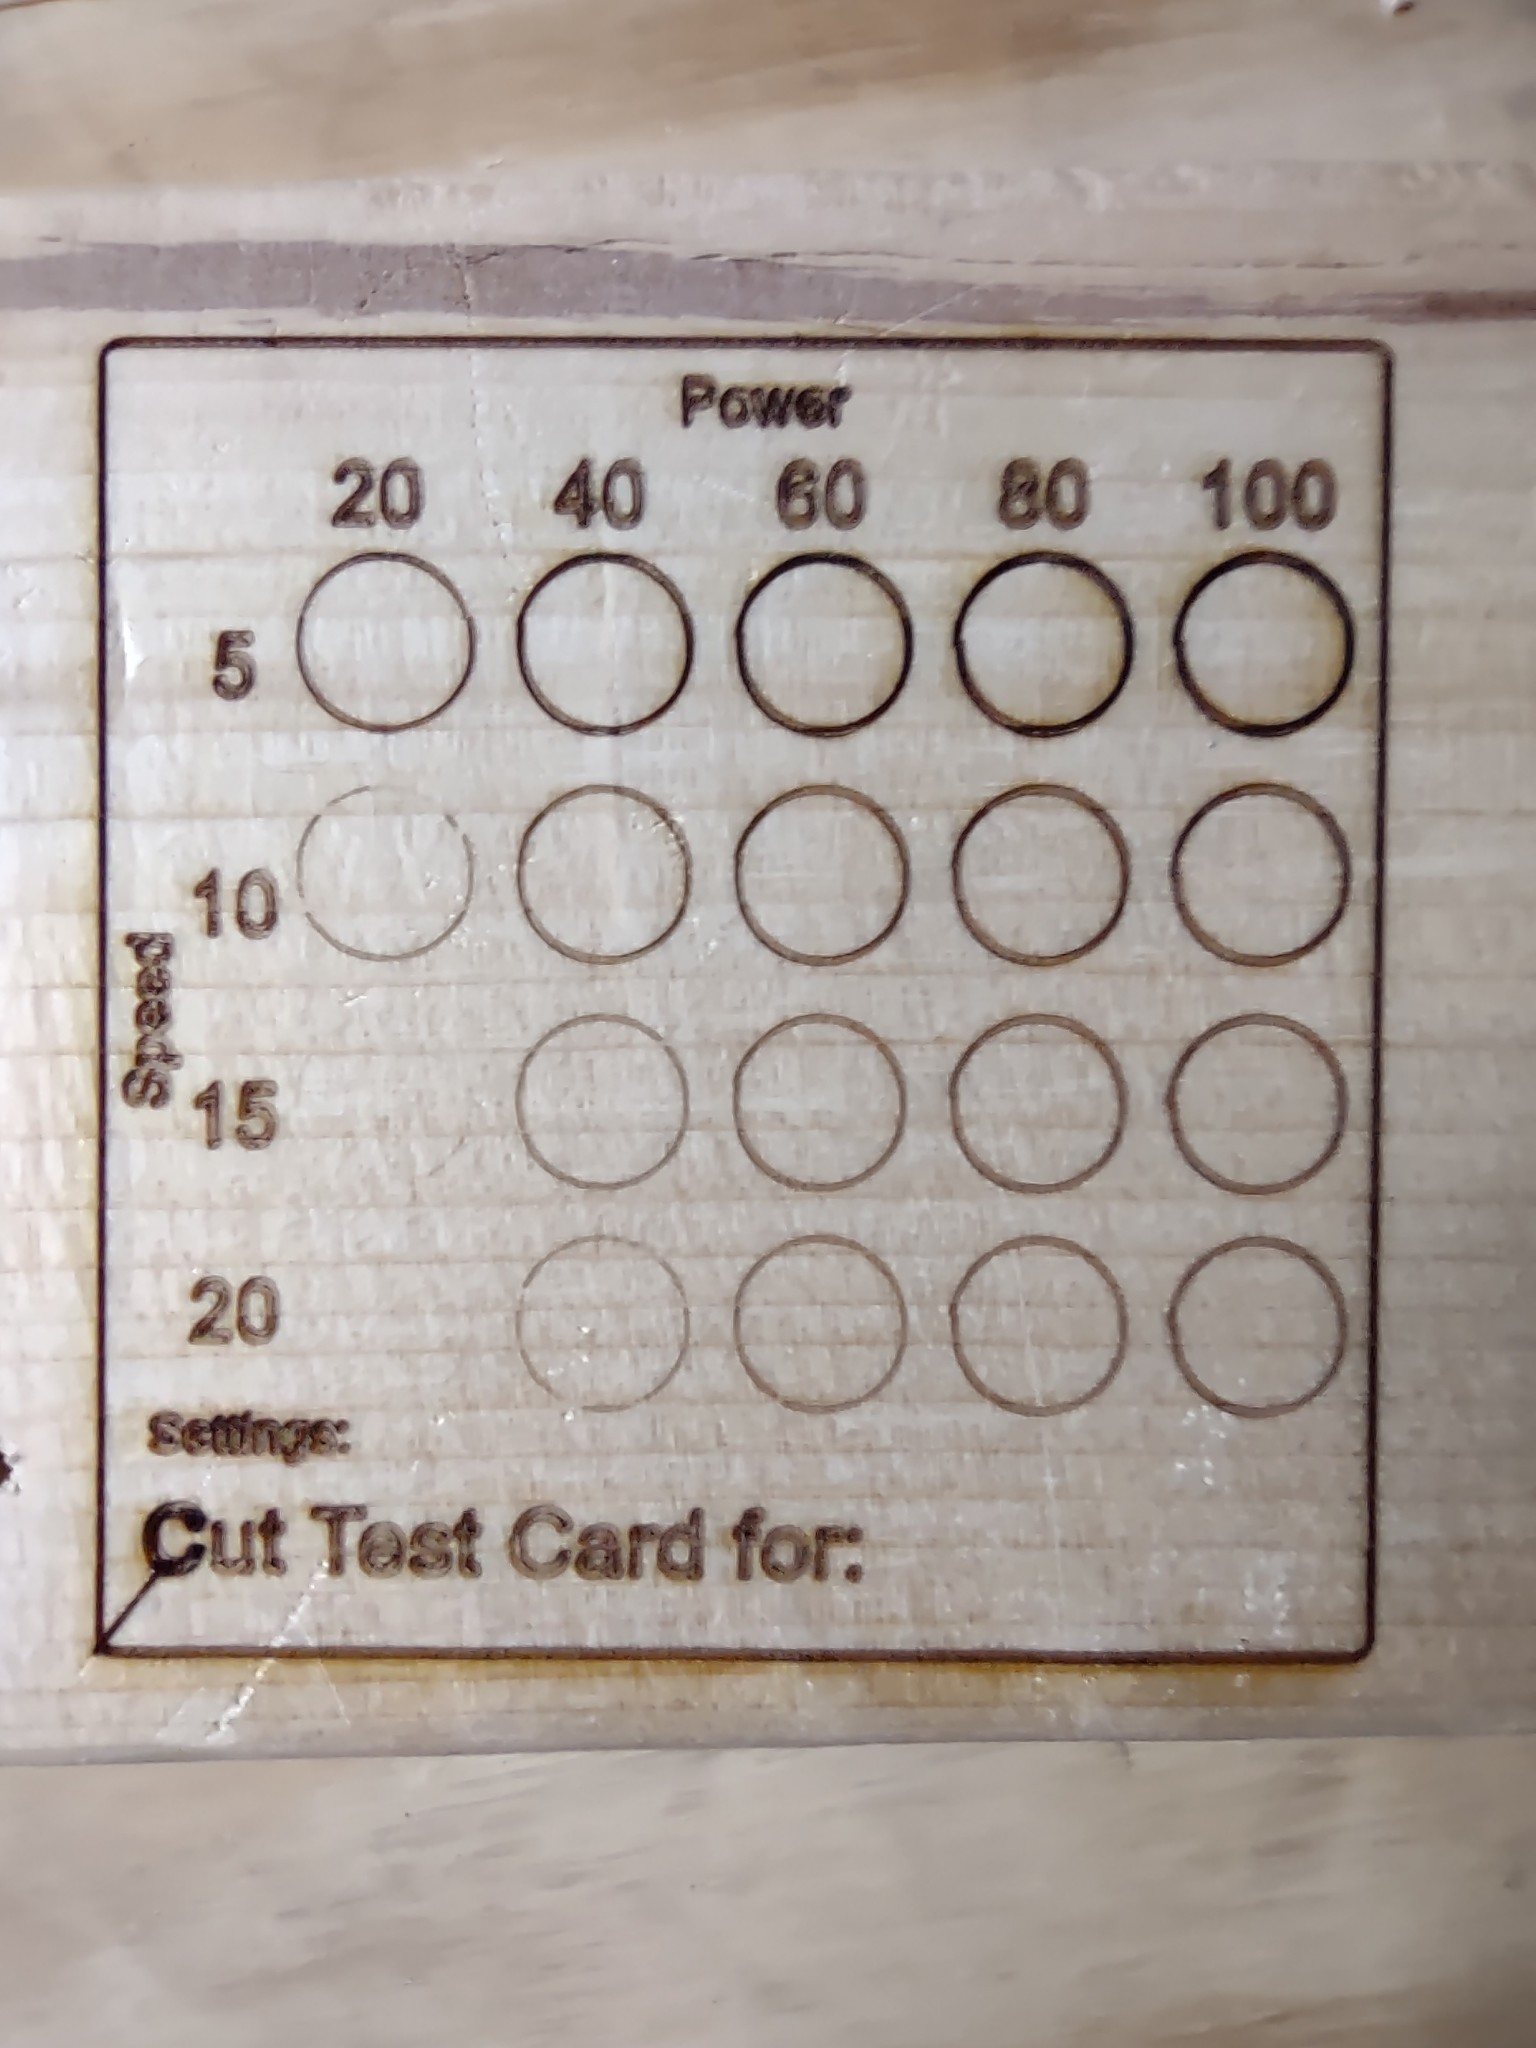
It turns out my eleksmaker board is ok & probably the other boards as well. That $32=1 setting got me. Can’t believe I have not found that with a google search. I can’t be the only one with this problem. I will have to post this question to lightburn forum when I get my data in a row. Here is my 2nd test burn for today. I set the size to fit on a 2x4. I used 2 dxf files from this free resource. I took the bear off one file & swapped it with the elk on the oval as I wanted an oval boundary. Wildlife Landscape Scenes | Free DXF Files | Maker Union

1 Like
Dave, When turning on the laser for focusing use the full G1F2000S10M3… it should work. Sometimes the F setting is missing and it wont turn on without it. Also with laser mode on all G0 rapid moves will be executed with the laser turned off, so use G1. with M4 the machine uses dynamic power - the laser should only be on if the head is moving, so use M3.
‘Dynamic laser power mode will automatically adjust laser power based on the current speed relative to the programmed rate’ - so if you are not getting 100% power then the programmed rate is set too high for the speed you are attaining, try reducing the mm/min. Your 10000 looks way too high to me.
1 Like
Thanks, that fixed it. I changed that 10000 after seeing @dkj4linux grbl settings. I now have:
$110=3000.000 (X-axis maximum rate, mm/min)
$111=3000.000 (Y-axis maximum rate, mm/min)
$112=250.000 (Z-axis maximum rate, mm/min) (not used by me yet)
$120=100.000 (X-axis acceleration, mm/sec^2)
$121=100.000 (Y-axis acceleration, mm/sec^2)
$122=50.000 (Z-axis acceleration, mm/sec^2) (not used by me yet)
Now that my current problems with the laser engraver are solved do mostly to the help from the folks in this forum, thought I would add air assist to this. I have an old air mattress pump, but that thing is pretty loud that I could try, but I wanted something that is adjustable speed & quiet. Aquarium pumps seem to be what I am leaning to. Here is one that has 6193 reviews & one of the reviewers is using it for 40 laser air assist. It also comes with the hose. Does this look like it would work well? Amazon.com : Uniclife Aquarium Air Pump 4 Watt 4-LPM 2 Outlets with Accessories, Adjustable Oxygen Pump for 20-100 Gallon Fish Tank : Pet Supplies
If you’re interested I can chase down a few links but here’s what I did a couple of months ago for my diode laser.
Taking a page from the Omtech 50W CO2 laser I purchased a few months ago…
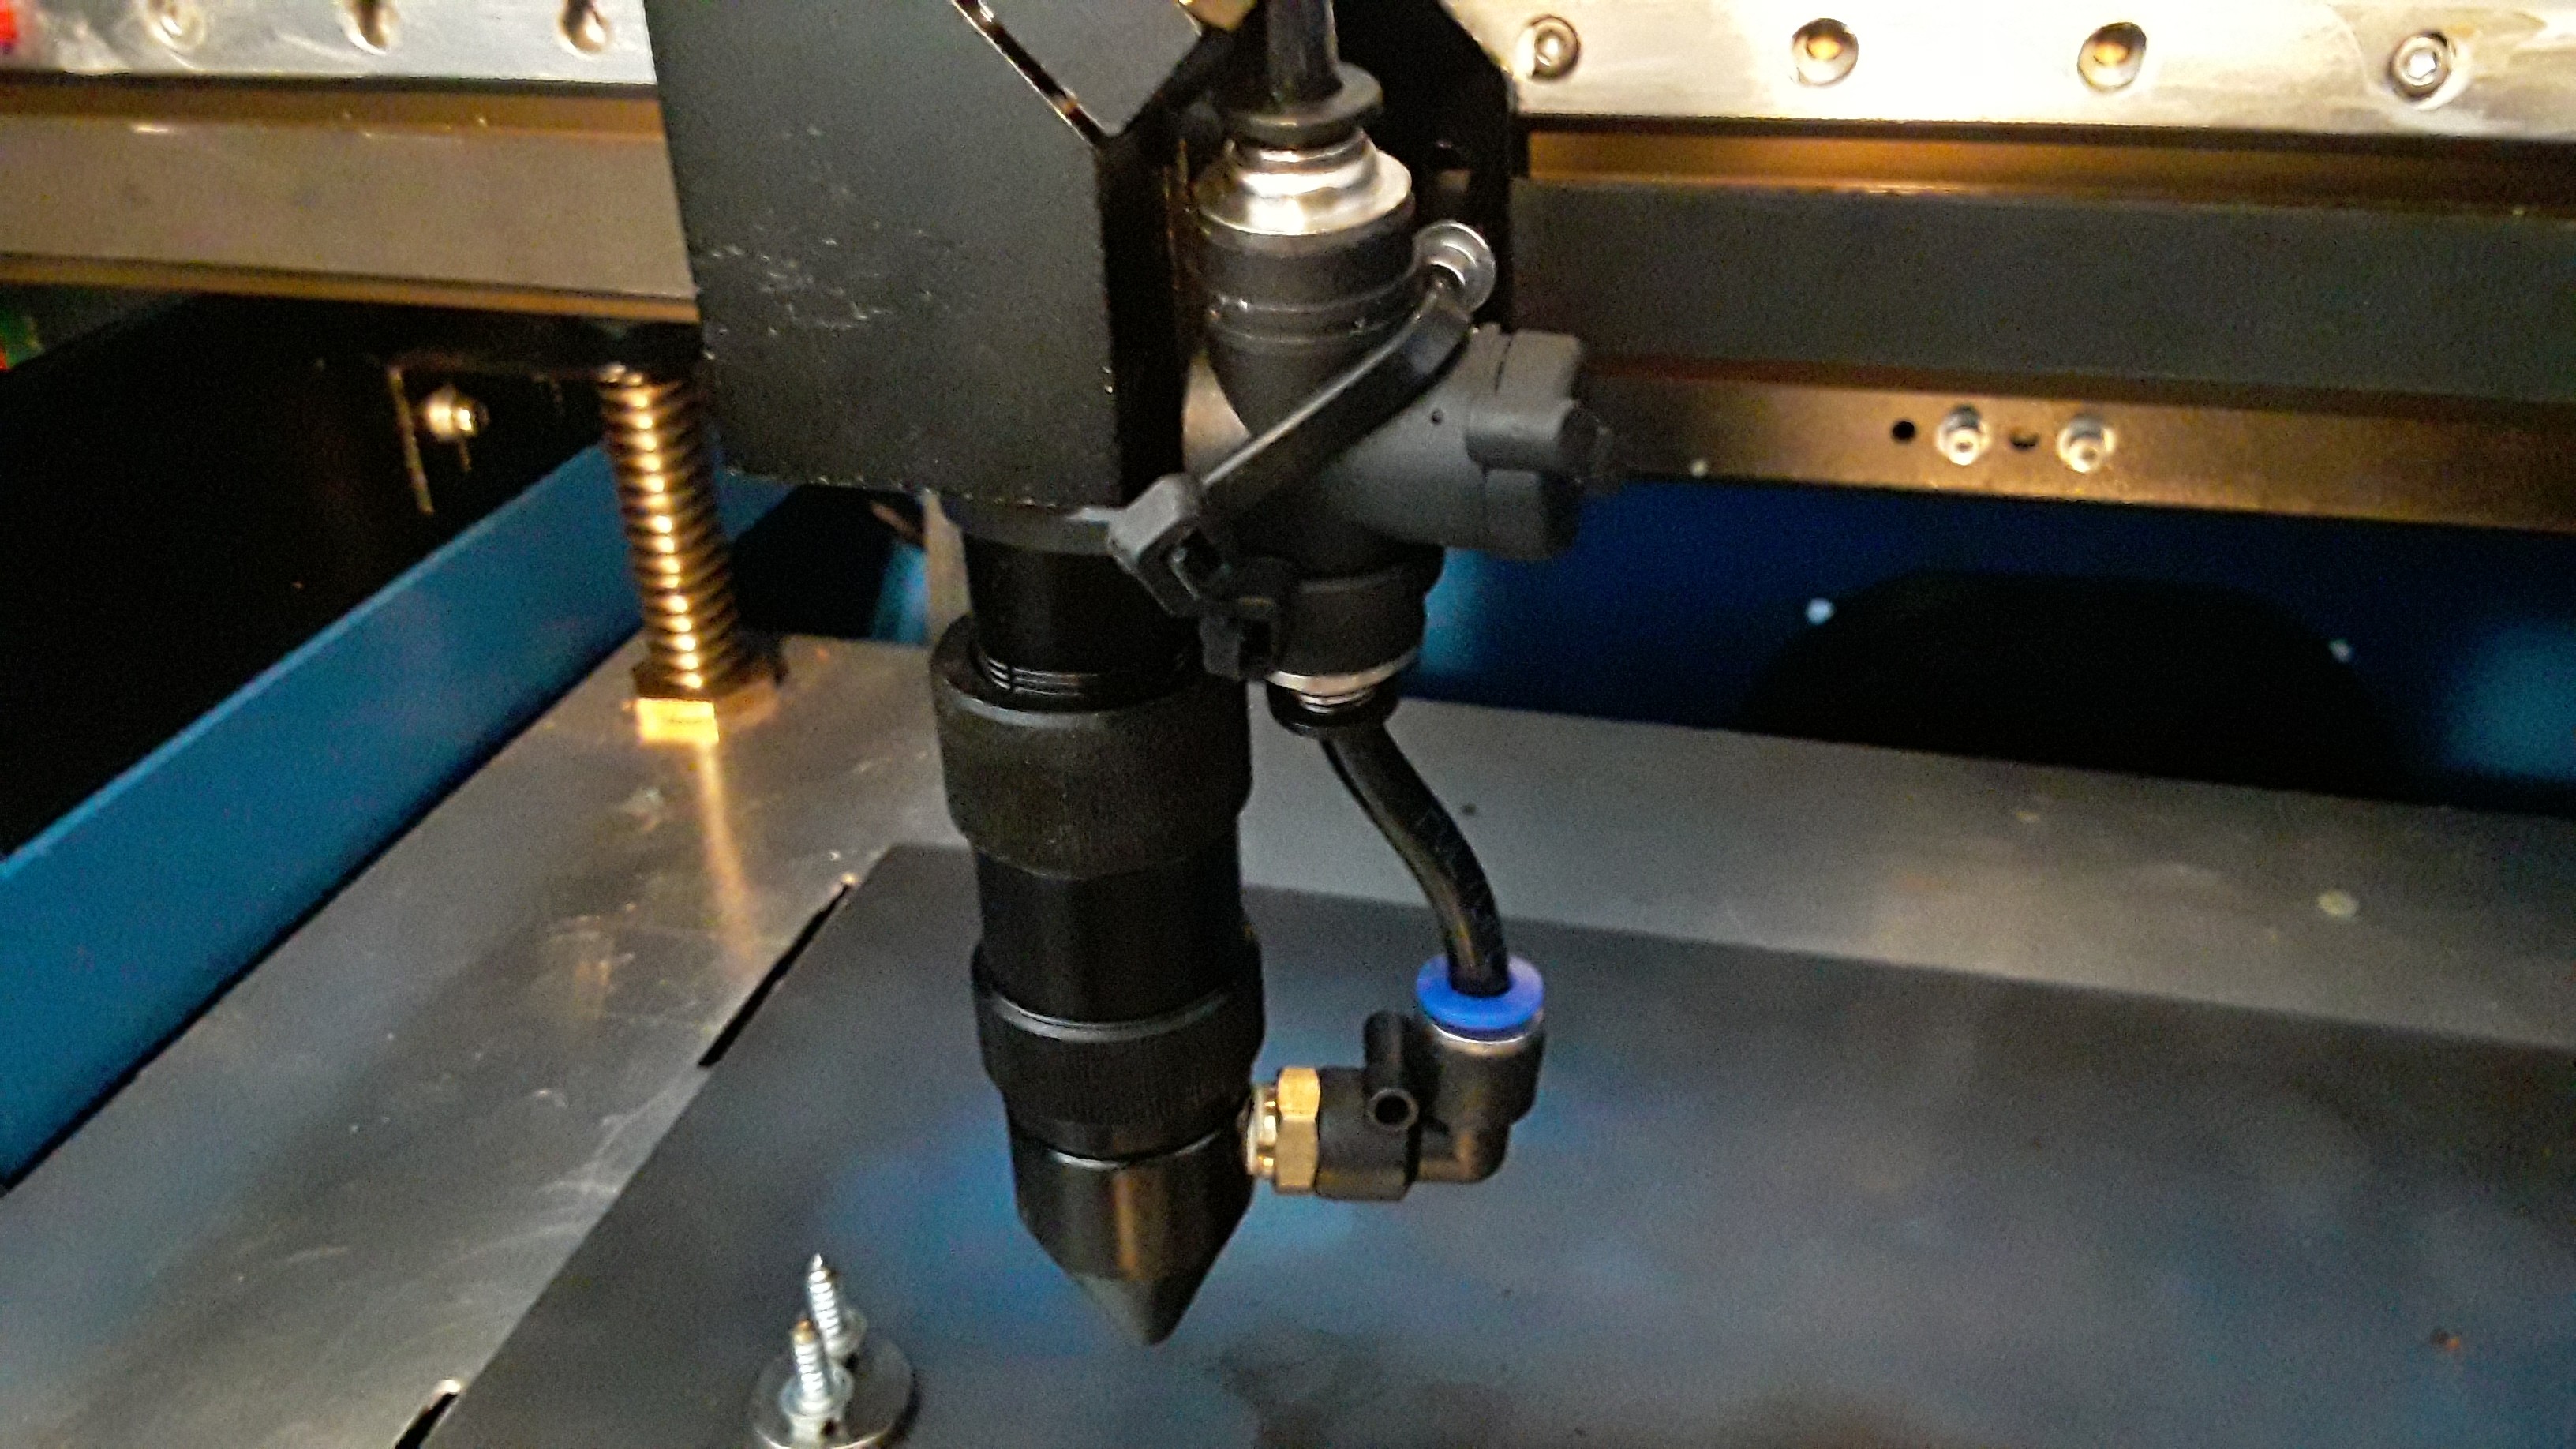
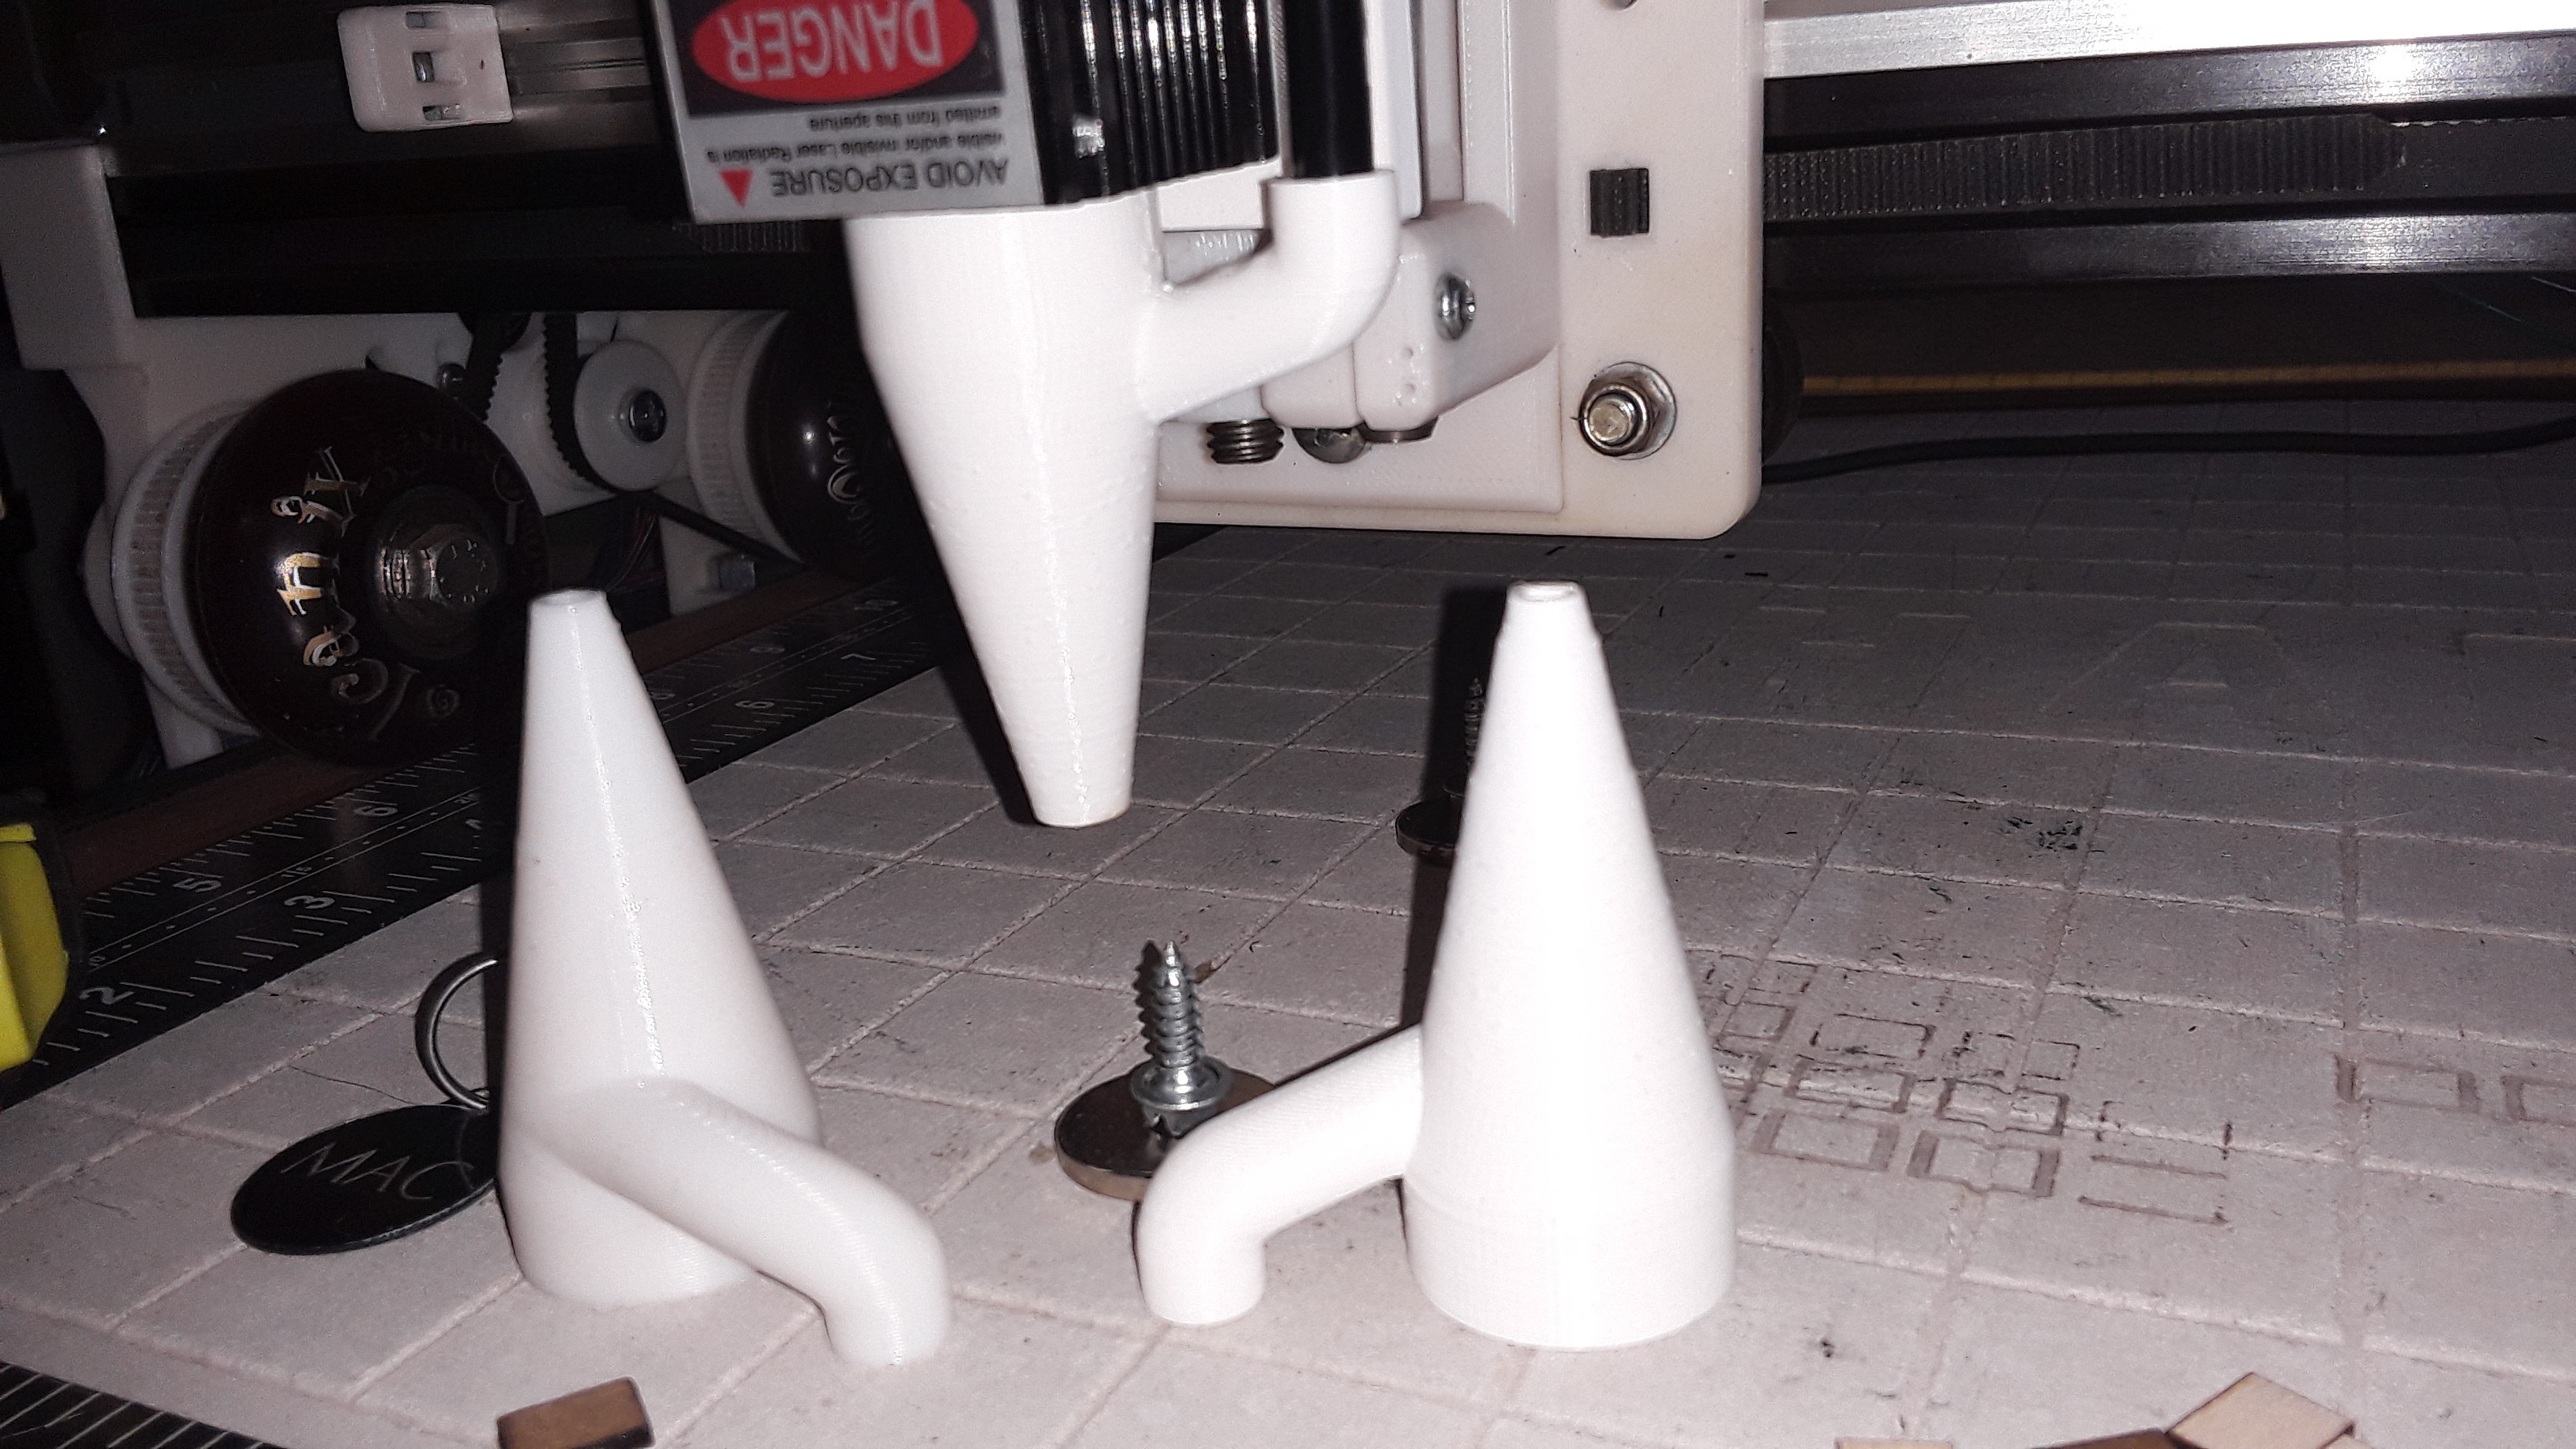
I devised a similar air-assist setup for my diode laser. Using Onshape I created a nozzle that simply friction-fits the screw-adjustable lens assembly of my diode laser module and accepts a length of 6mm air hose…
which loops around to a quick-disconnect ball-valve…
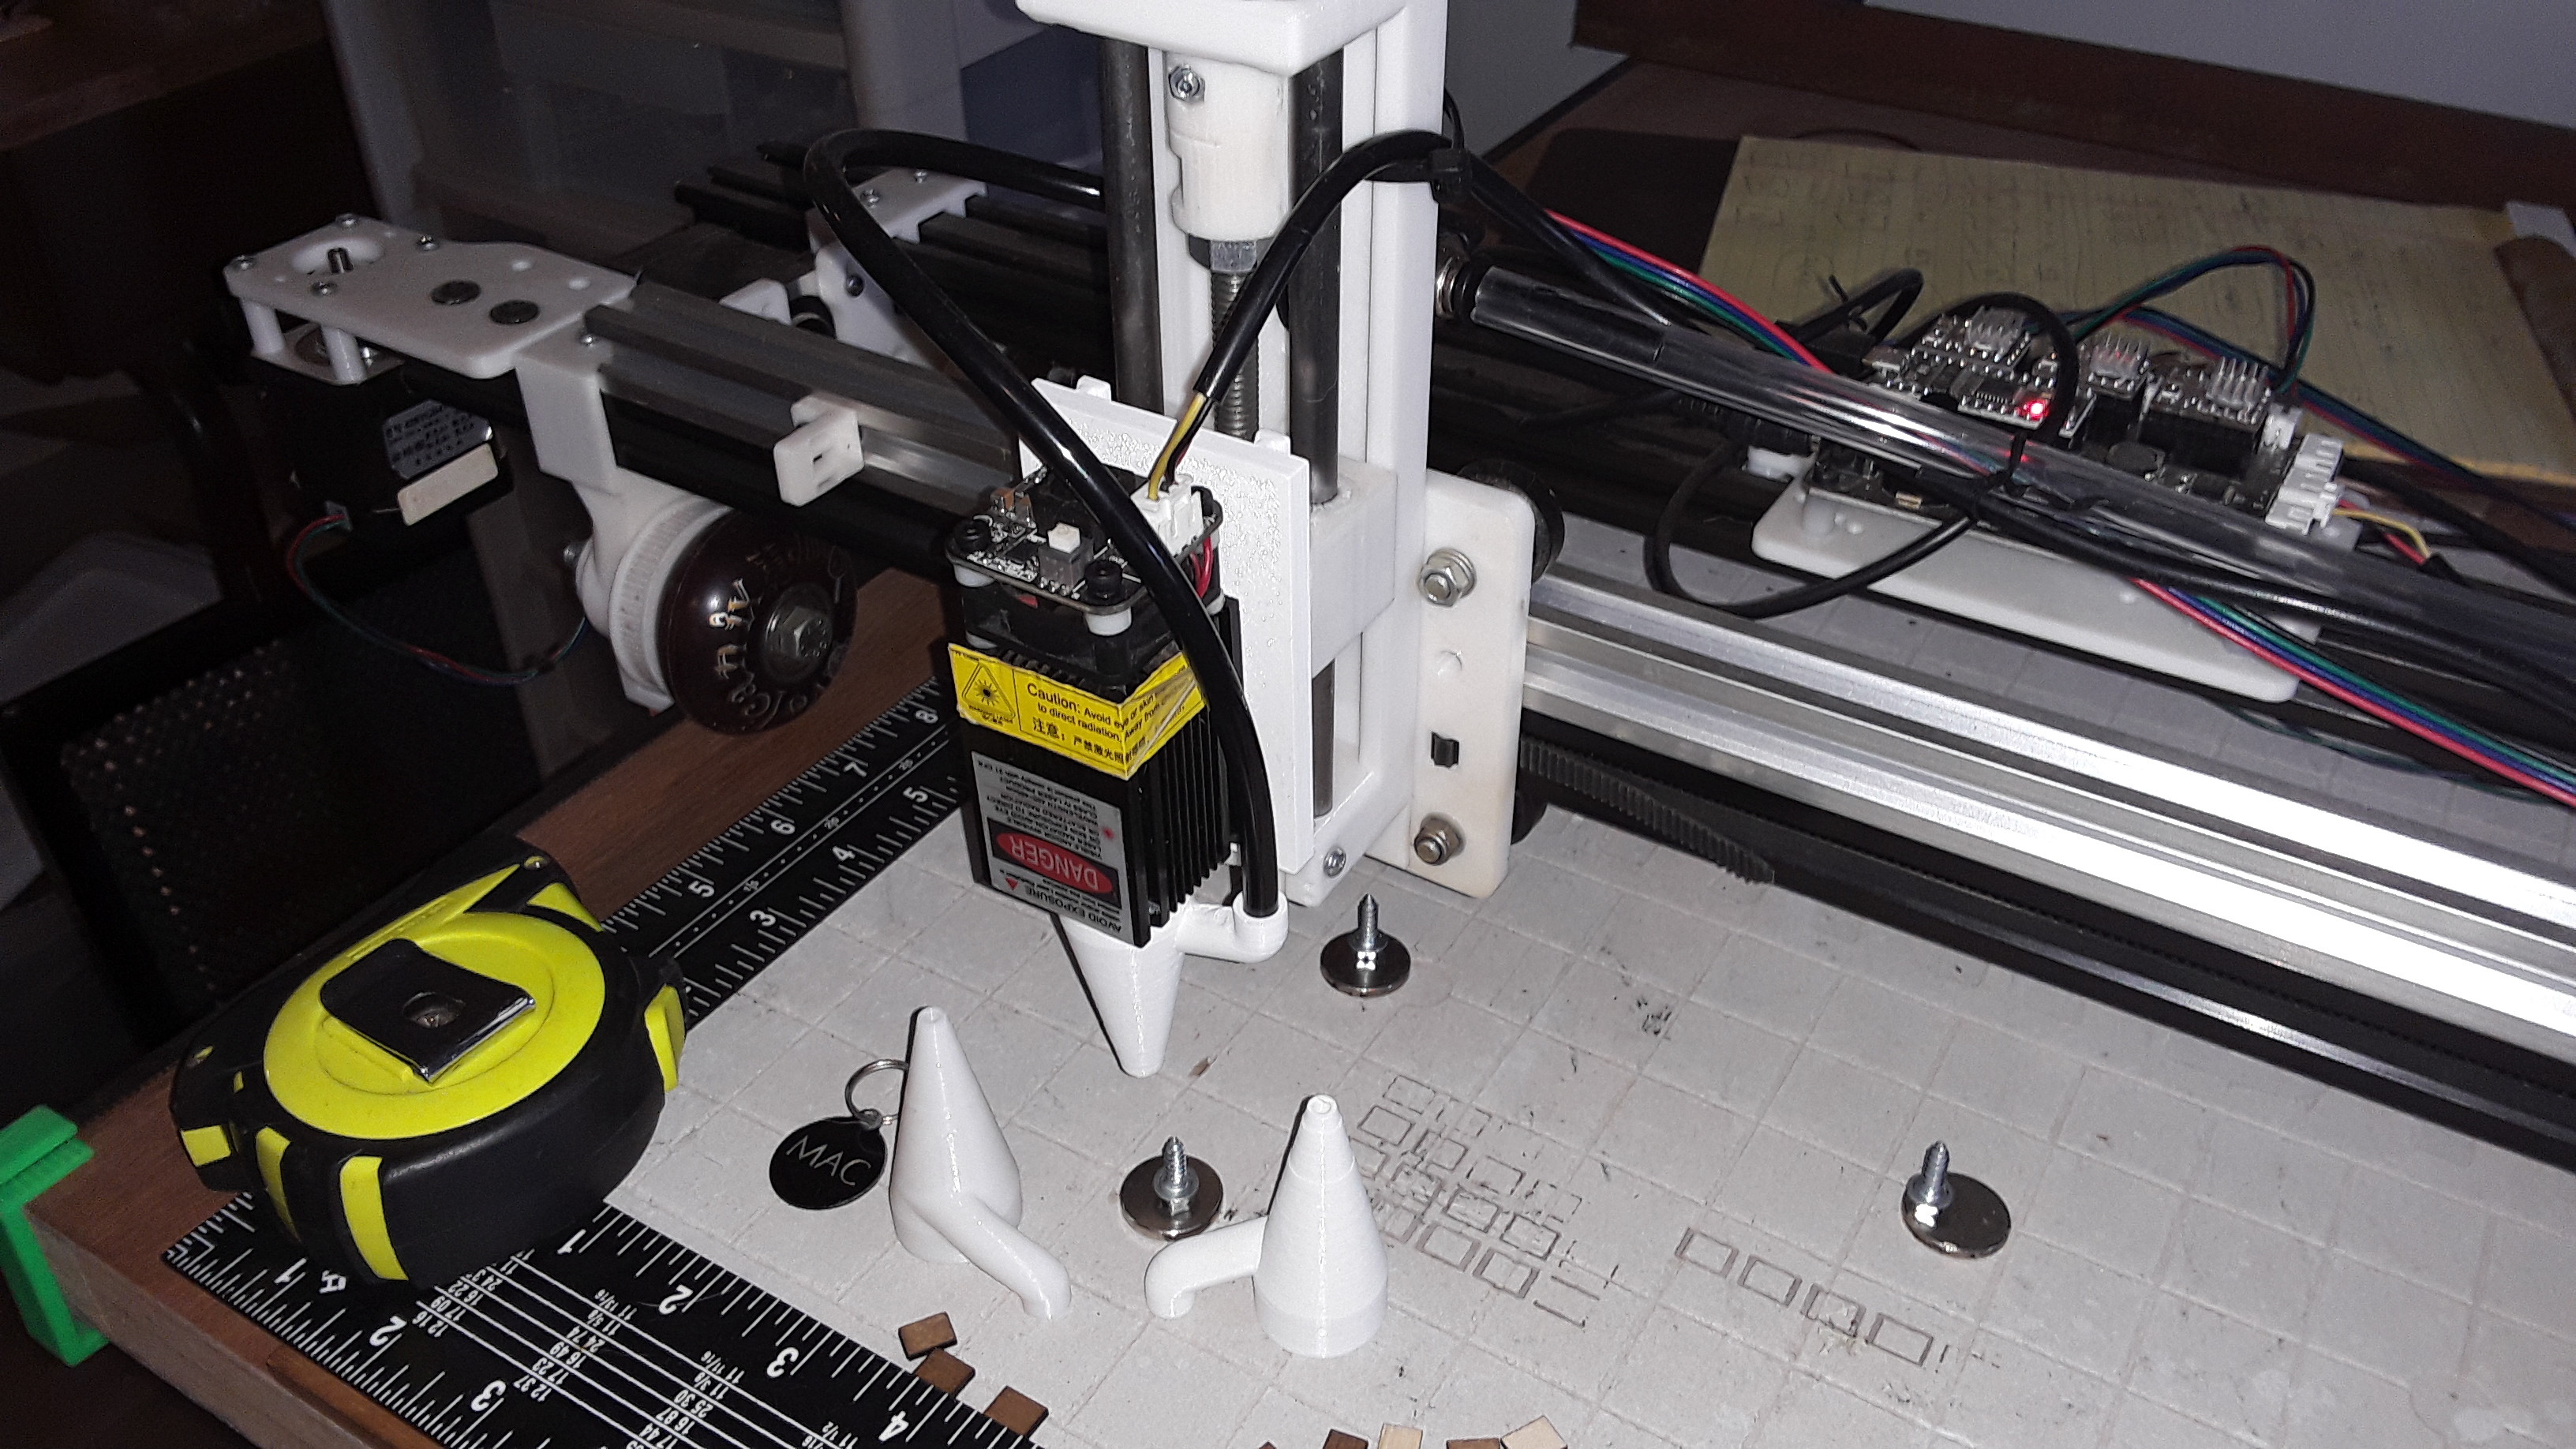
strapped onto the back of the Z-axis mount…
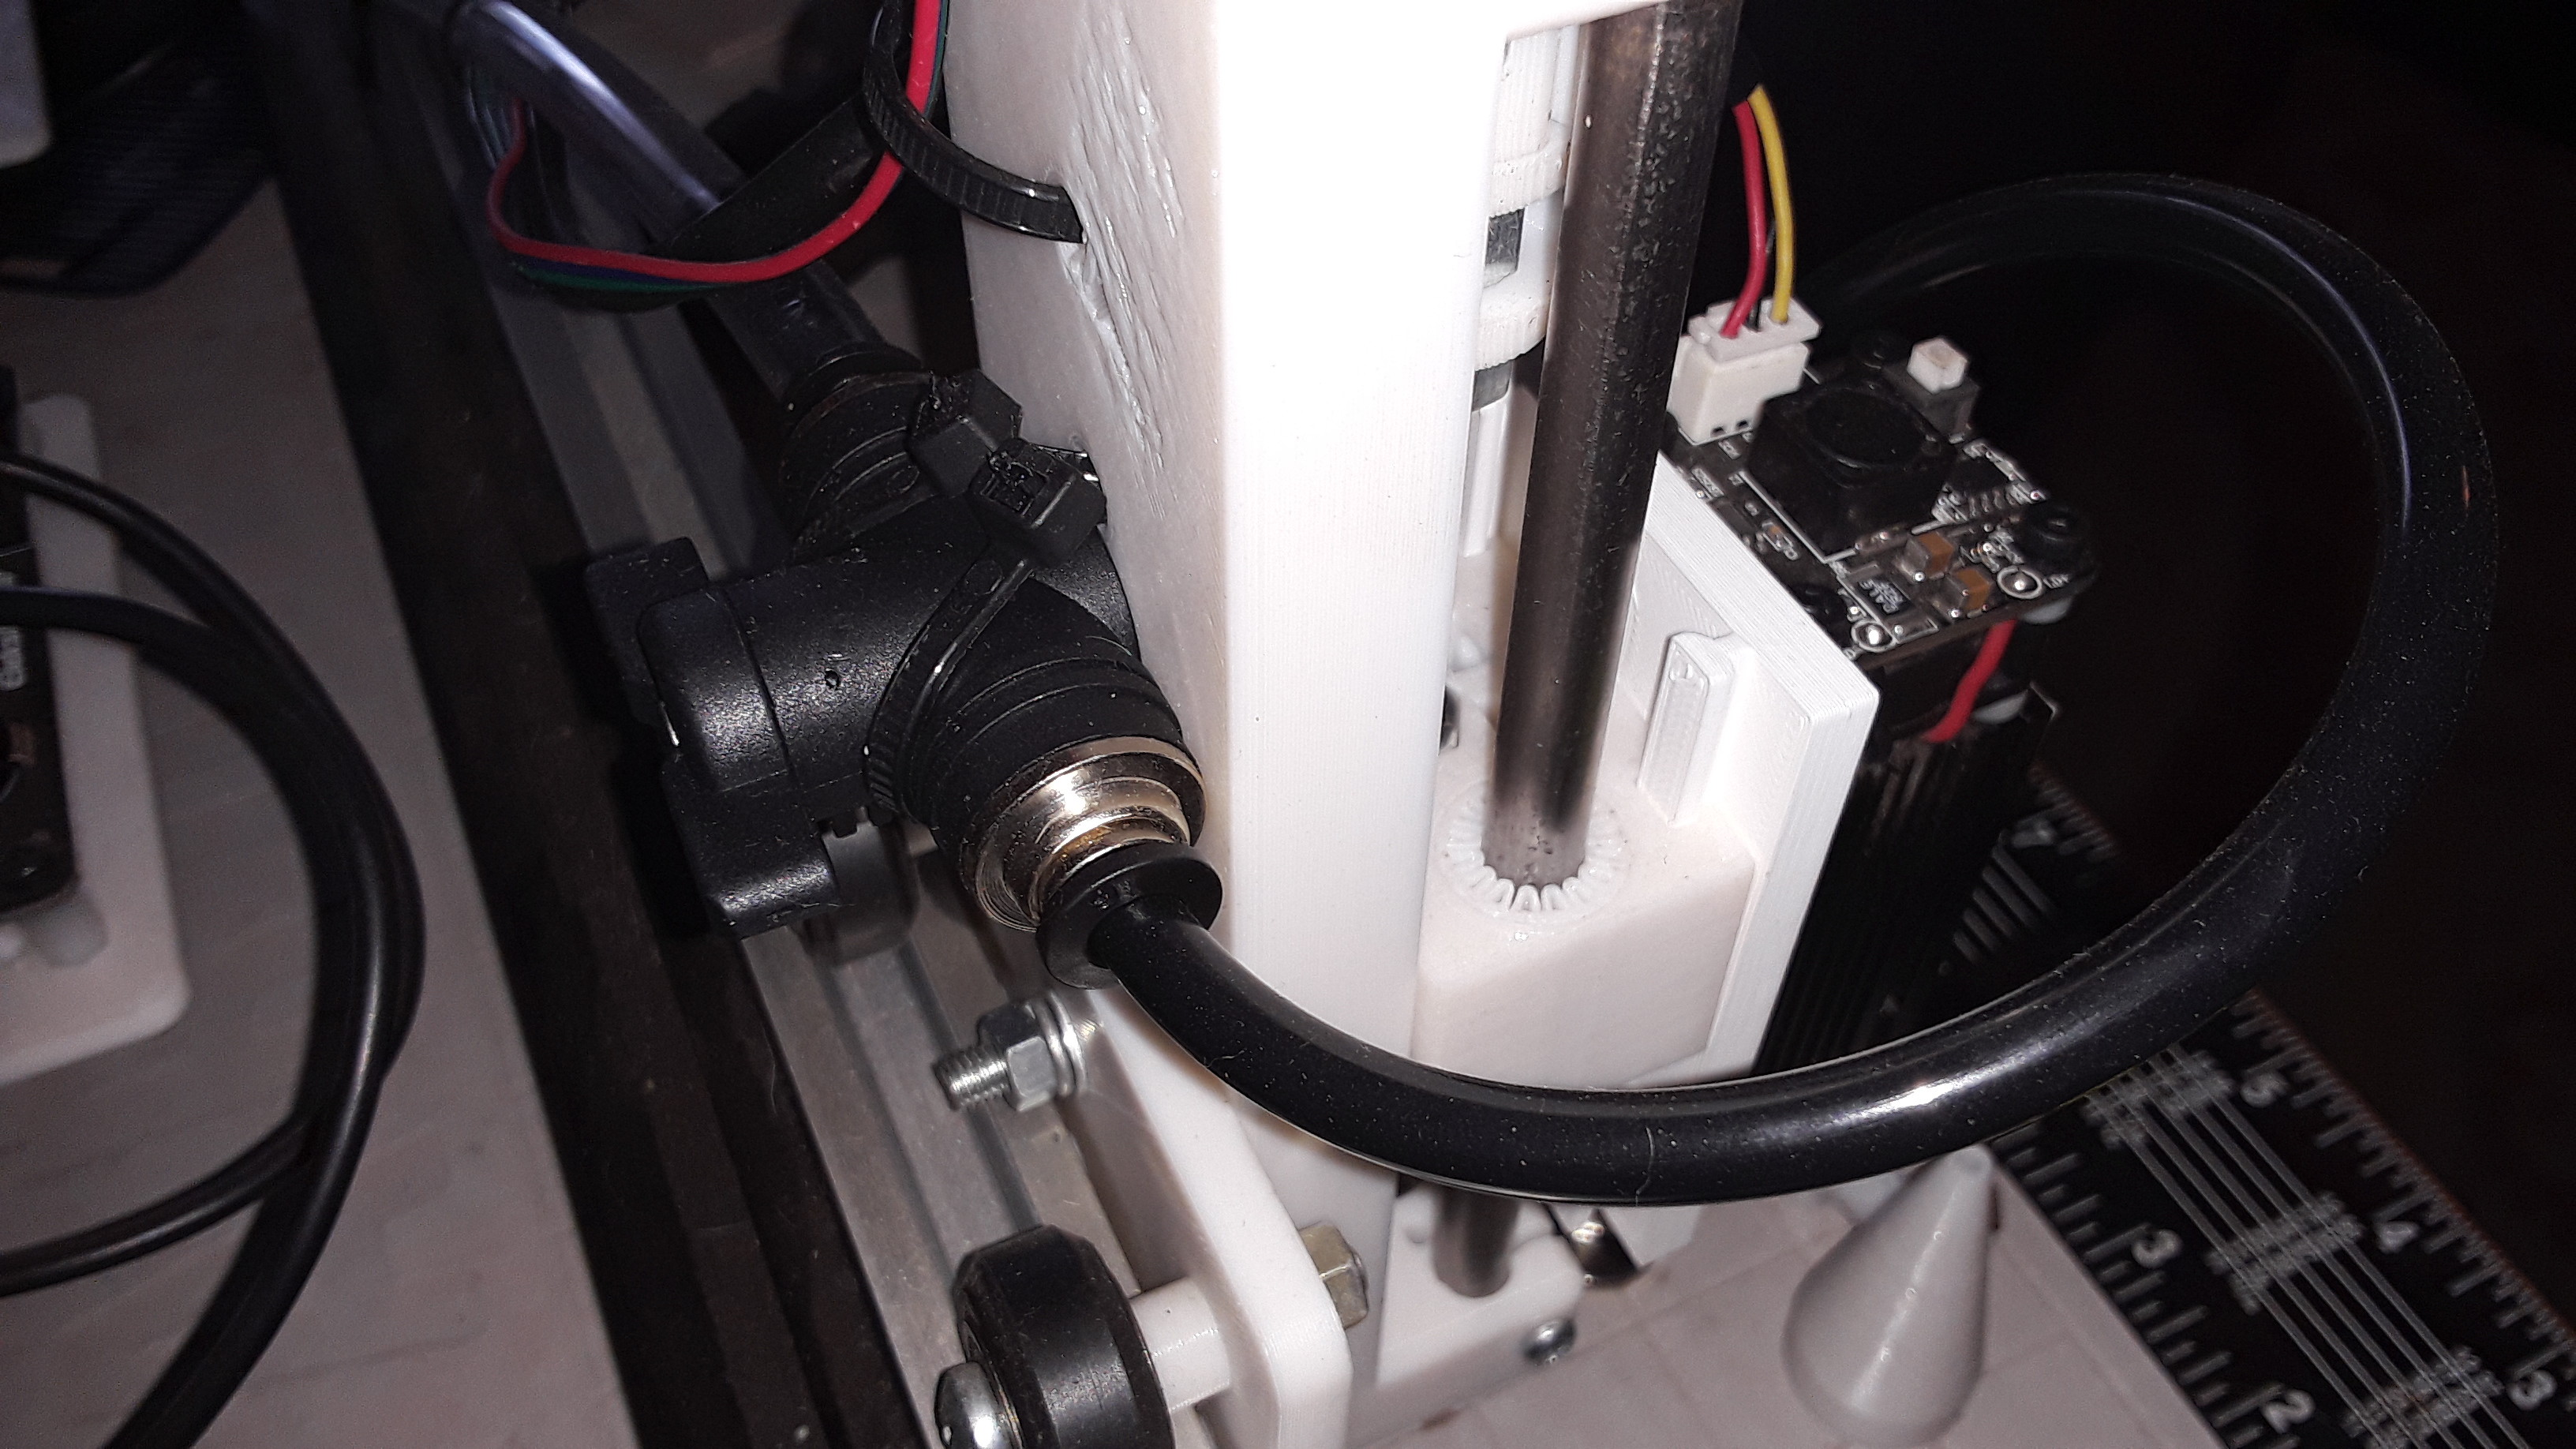
and then connects to an aquarium pump similar (though smaller capacity) to what’s provided with the Omtech laser machine…

The Onshape design file can be easily adjusted to accept a different diameter lens assembly and/or nozzle length and exit diameter…
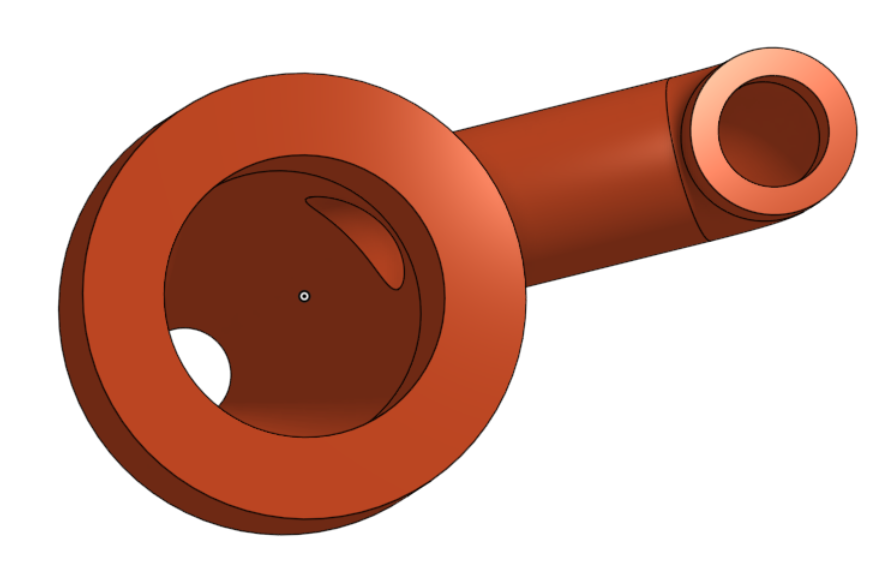
and can be found here.
In use, the ball-valve can be used to adjust the strength of the air stream. For engraving, it’s best to use very minimal air-assist (just enough pressure to keep smoke from the lens) and open the valve fully to cut through materials. Russ ( SarbarMultimedia has a zillion videos (mostly CO2 but same air-assist setup) that talk about “everything lasers” and this one might help…

Have fun.
– David
2 Likes
That looks like a great solution. I have a 2.5W cheapo laser that I hooked up, tested PWM and then I got thinking too hard about air assist. I should really just print this and move on. I have a few aquarium pumps that would work. Thanks for sharing. Very clever and simple design.
1 Like